Simrig Sim Rig SimRacing Decoration Aluminum 4040


Print Profile(10)


Description
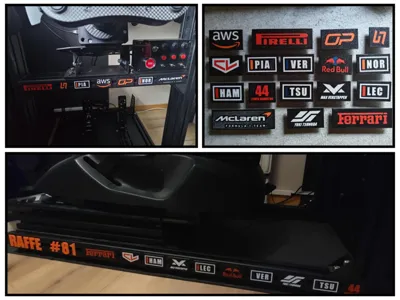
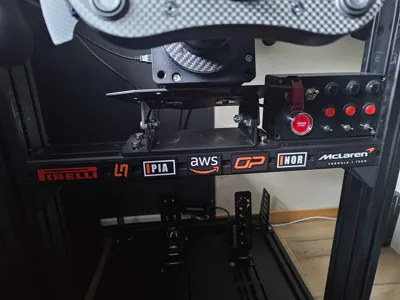
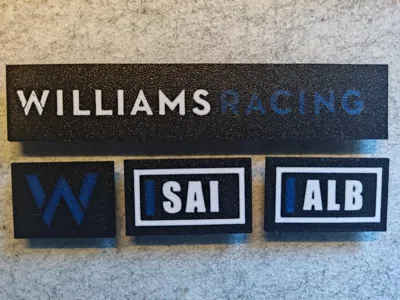
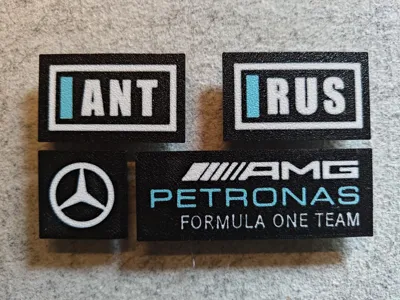
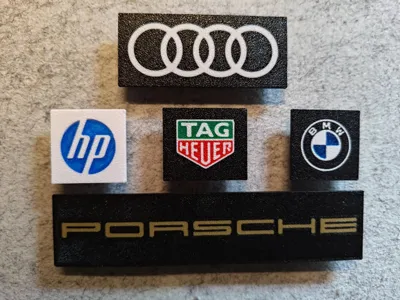
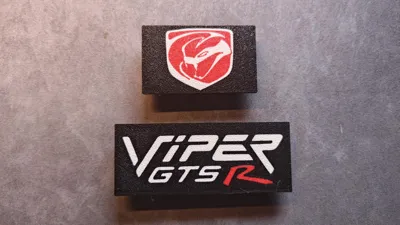
Decoration plates for aluminium profile simrig
Pimp your simrig using plates with sponsors / teams / drivers / etc for aluminium profile simrig.
If you have any suggestions please send them to me.
Boost Me (for free)
If you like the plates please support me with a boost.
The current ones are designed for 4040 aluminium profile (GT Omega Prime lite). Two plates do fit if you have a 8040 profile. The size is 30mm high and width depending on logo / text.
I have started making plates for 8040 profile, check it out here: https://makerworld.com/en/models/1832337-simrig-sim-rig-simracing-decoration-aluminum-8040#profileId-1956821
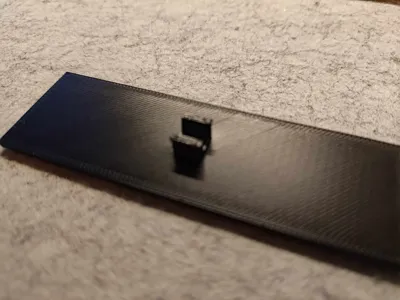
Mouting:
It is possible to mount / press the plates directly onto the aluminum profile but if possible, especially when using PLA, I would suggest sliding them on from the end of the profile.
If pressing it on set it at an angle and press it slightly down and in:

Colors:
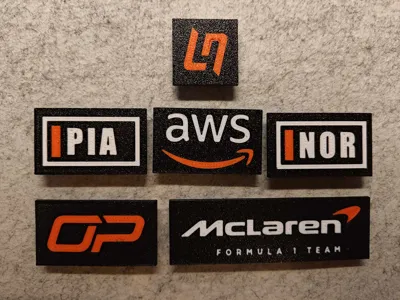
Designed so colors can easily be customized. I have organized them on plates according to color. However I do not have all colors (that's why the Red Bull logo has a blue sun) so please adapt to your liking.
Multiple designs using same colors will save time and filament due to color changes.
Changing colors:
The example images below can differ from this actual model.
1) Open the file and switch to the ‘Objects’ view

2) This should open the the following:

3) Select a part (multiple can be selected at once) and right click. Chose the ‘Change filament’ option and select one of your filaments/colors:

Adding more clips/tabs
If you want to add more tabs/clips this can be done in the object view (see above).
- Select tabs
- Copy and paste so you have two tabs
- Select one of the and then select the move tool
- Move it to the side (using move tool typing in a distance, not by free hand)
- Do the same for the other tab
Tabs can also be removed in the object view if you only want the plate it self.
License
You shall not share, sub-license, sell, rent, host, transfer, or distribute in any way the digital or 3D printed versions of this object, nor any other derivative work of this object in its digital or physical format (including - but not limited to - remixes of this object, and hosting on other digital platforms). The objects may not be used without permission in any way whatsoever in which you charge money, or collect fees.
Comment & Rating (47)