
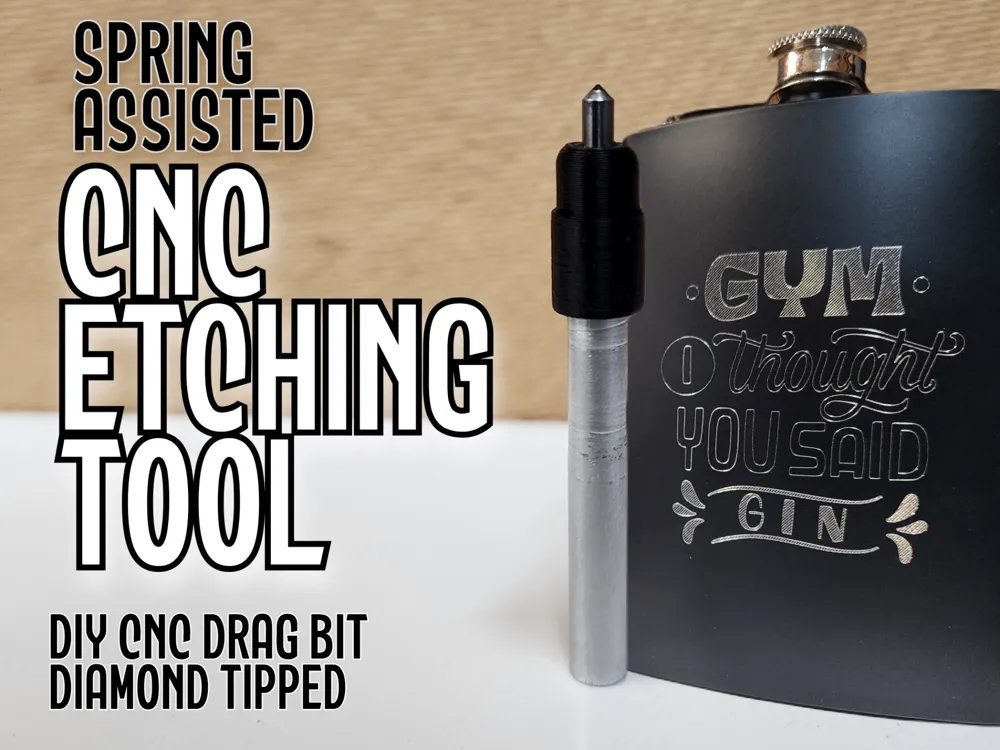
CNC Diamond Tip Etching Drag Bit - Spring Assisted



Print Profile(1)

Bill of Materials
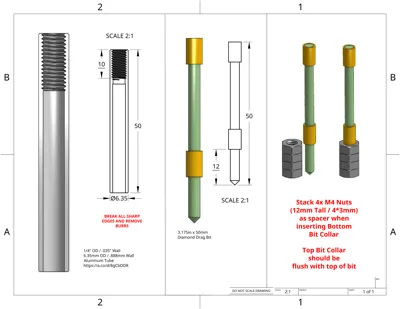
- AluminumTube x 1:
- M5x5GrubNut x 1:
- EngravingBit x 1:
- Spring x 1:
Description
Boost Me (for free)
Hi there! If you have a spare boost, I’d be so grateful for your support. While bigger creators often get lots of attention, boosting smaller creators like me truly makes a big difference. Your boost would help me keep sharing unique, niche models for everyone to enjoy. Thank you so much for considering it—it means the world! 🙏💖
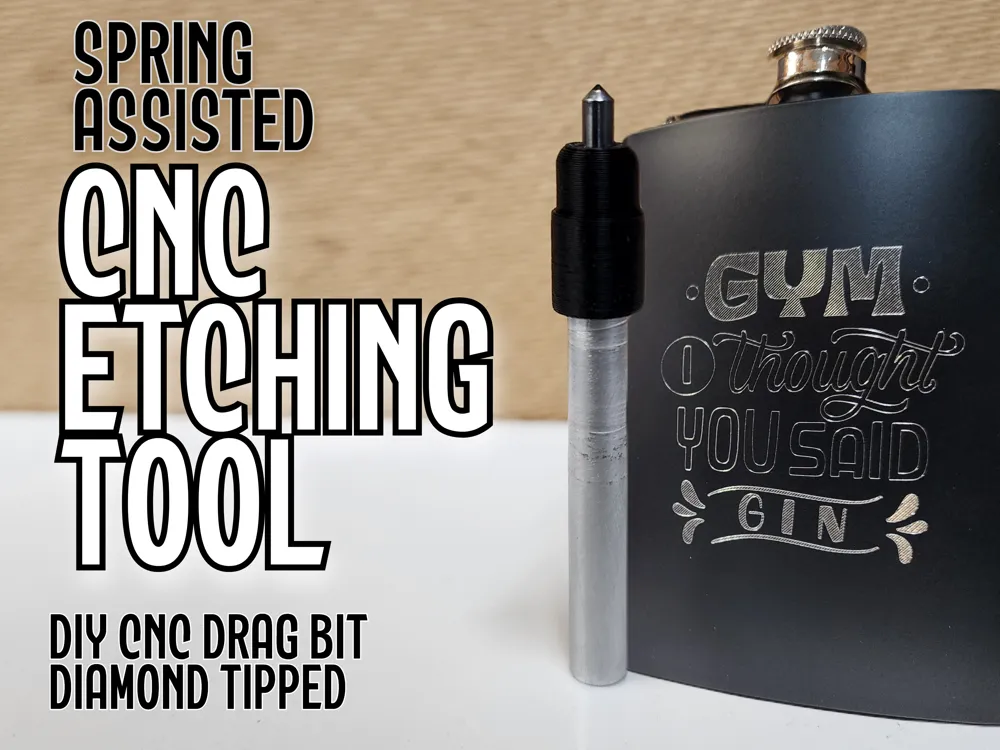
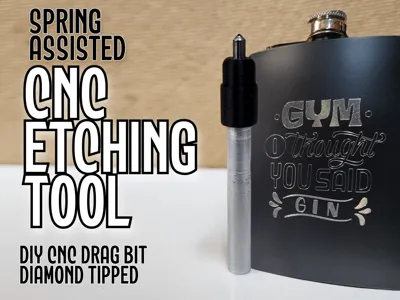
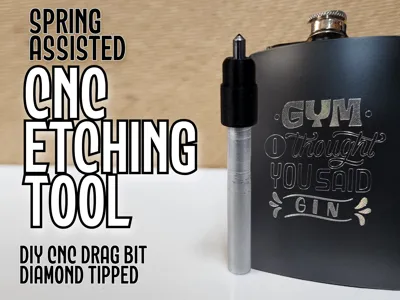
CNC Diamond Tipped Etching Drag Bit – Spring Assisted
A precision tool for crisp lines, delicate etching, and repeatable results.
🛠️ What It Is:
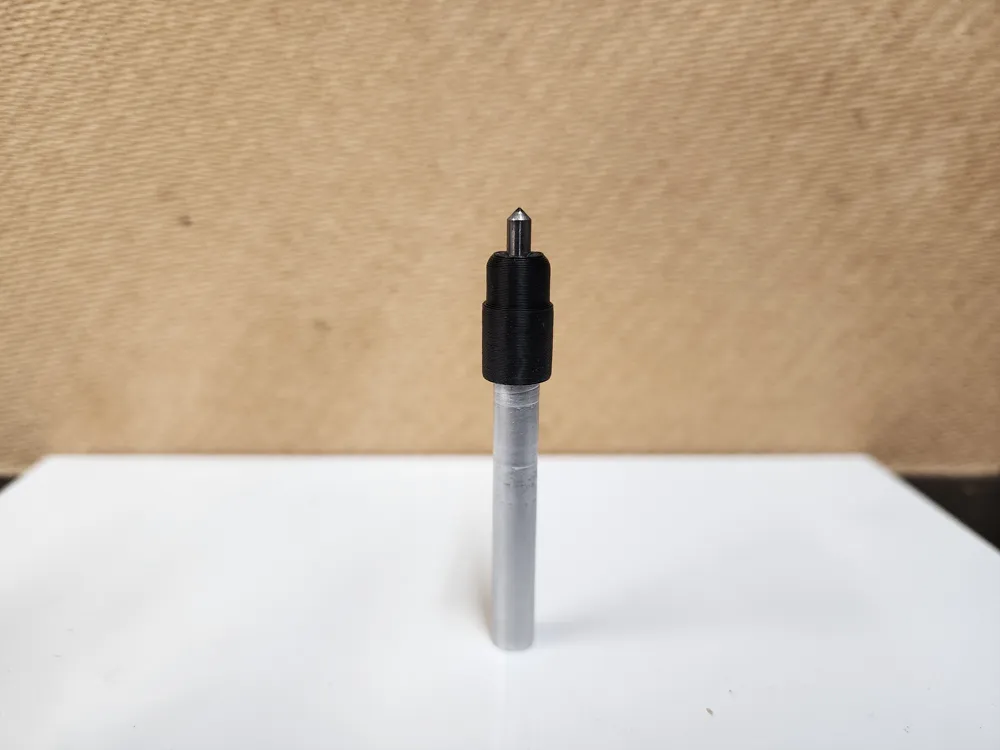
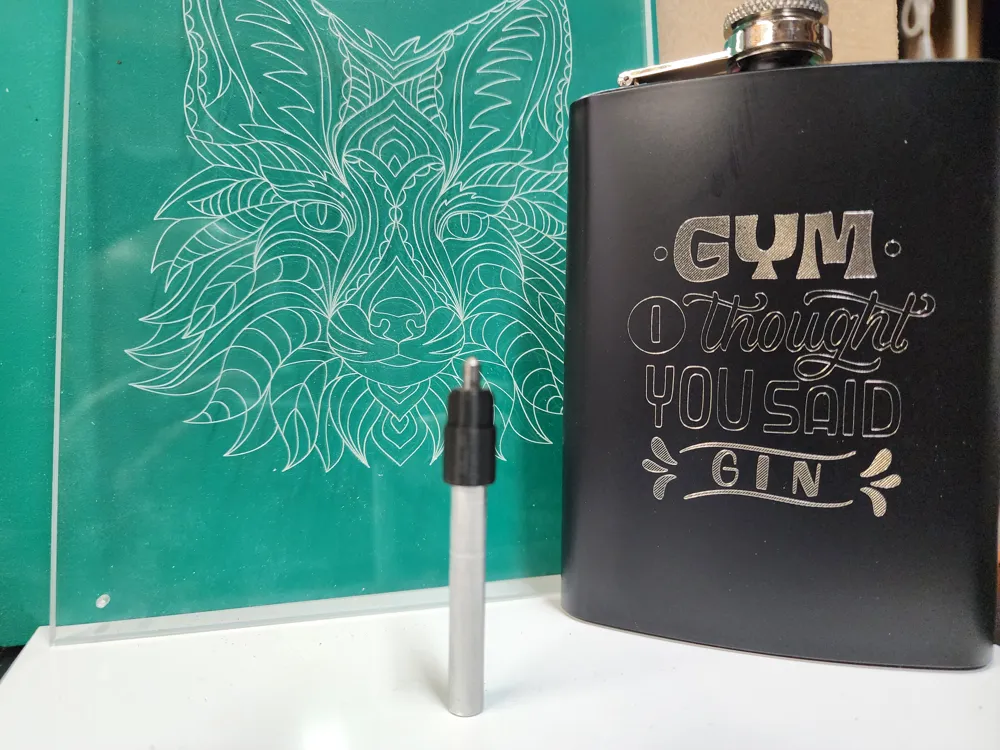
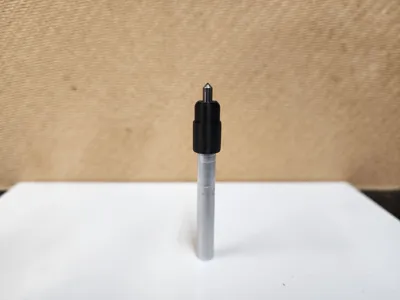
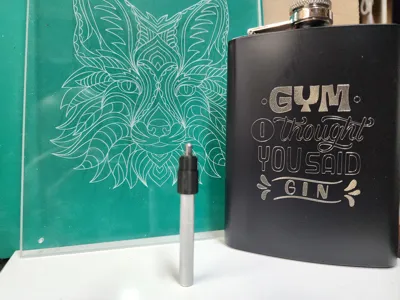
This is a diamond-tipped drag bit with an integrated spring assist, designed for CNC engraving and surface etching. Whether you're marking glass, anodized aluminum, acrylic, or ceramic tiles, this tool glides across the surface, delivering fine detail without carving too deep. Use no spindle rotation — it's a drag bit!
🧩 Why I Made It:
I wanted a reliable drag bit for my CNC that wouldn't gouge surfaces, skip under uneven pressure, or require constant Z-depth tweaking. Adding a spring-loaded body gave it just the right touch of give—ideal for inconsistent material surfaces or leveling imperfections. The built-in spring ensures consistent pressure, compensates for minor surface irregularities, and delivers smooth, even linework every time.
WATCH THE VIDEO FOR INSTRUCTIONS:
🔩 Features:
- Real diamond tip for ultra-hard surface etching.
- Spring-loaded assist to maintain consistent pressure.
- 1/4" shank to fit most CNC routers.
- Great for engraving text, logos, and graphics on metal, glass, and plastic.
- Works especially well with low-force engraving
📏 Specs:
- Tip angle: 60°, 90°, or 100° (see below for when to use each!)
- Tip material: Industrial diamond
- Max compression: ~3mm spring travel
- Body: Aluminum Tube with PLA
- Shank: ¼"
- 3D Printed Parts printed in PLA+
💡 Which Tip Angle Should You Use?
- 60° Tip – Best for fine detail and thin lines. Great for intricate logos, PCB marking, or fine fonts. Ideal for glass, acrylic, and anodized aluminum where precision is key.
- 90° Tip – A solid all-purpose choice. Balances line width and durability. Great for most text engraving, decorative patterns, and medium-detail work.
- 100° Tip – Ideal for bold markings and wider lines. Perfect when visibility is more important than fine detail (e.g., signage, serial numbers). Also better for uneven surfaces due to a more forgiving contact angle.
🔧 Recommended CNC Settings:
- Use no spindle rotation — it's a drag bit!
- Feed rate: 300–700 mm/min
- Depth: Let the spring do the work— tip just touches the surface. Set Z Depth to approx .25mm for engraving
- Use no spindle rotation — it's a drag bit!
💡 Pro Tips:
- Use mirror or reversed graphics when etching glass from the backside.
- Try light passes for detailed results, especially on soft materials like copper or plastic.
- Combine with CNC auto-leveling for even better consistency on warped materials.
| Qty | Item |
|---|---|
| 1x | Aluminum Tube – 1/4" OD / .035" Wall (6.35mm OD / 0.888mm wall) |
| Buy on Amazon | |
| 1x | Diamond Engraving Bit (60°, 90°, or 100°) |
| Buy on AliExpress | |
| 1x (I used a spring from a ballpoint pen and trimmed it to 10mm) | 0.3mm x 4mm x 10mm Compression Spring |
| 1x | M5 x 5mm Grub Screw |
| 4x (Used as spacers for assembly) | M4 Hex Nuts |
🛠️ Tools Required:
- M5 Thread Tap
- Mallet (for press-fit if needed)
- M5 Allen Key (for grub screw)
- 1/8" (3.175mm) Drill Bit (optional - to enlarge Tool tip hole to correct size)
📦 Slicer Settings & Print Notes:
🧵 Material: PLA+
🌡️ Heat Bed Temp: 68°C
🧱 Wall Generator: Arachne ←---- VERY IMPORTANT
🖨️ Layer Height:
- Layer height: 0.2 mm
- Initial layer height: 0.2 mm
📏 Line Width Settings:
- Default: 0.2 mm (or .25mm)
- Initial Layer: 0.35 mm
- Outer Wall: 0.2 mm (or .25mm)
- Inner Wall: 0.2 mm (or .25mm)
- Top Surface: 0.2 mm (or .25mm)
- Sparse Infill: 0.2 mm (or .25mm)
- Internal Solid Infill: 0.2 mm (or .25mm)
- Support: 0.2 mm (or .25mm)
🌀 Wall Generator:
- Arachne (for dynamic wall width optimization)
Boost Me (for free)
Hi there! If you have a spare boost, I’d be so grateful for your support. While bigger creators often get lots of attention, boosting smaller creators like me truly makes a big difference. Your boost would help me keep sharing unique, niche models for everyone to enjoy. Thank you so much for considering it—it means the world! 🙏💖
Documentation (2)
License

You shall not share, sub-license, sell, rent, host, transfer, or distribute in any way the digital or 3D printed versions of this object, nor any other derivative work of this object in its digital or physical format (including - but not limited to - remixes of this object, and hosting on other digital platforms). The objects may not be used without permission in any way whatsoever in which you charge money, or collect fees.


Comment & Rating (6)