
Print Profile(1)

Bill of Materials




- Magnets - 10mm x 2mm x 1: https://www.amazon.com/dp/B0CCX29DGC?ref=ppx_yo2ov_dt_b_fed_asin_title&th=1
- Tortoise 7,700 Yards Nylon Clear Thread x 1: https://www.amazon.com/dp/B09MZCC228?ref=ppx_yo2ov_dt_b_fed_asin_title&th=1
- Sewing Needle x 1:
- Super Glue x 1:
Description
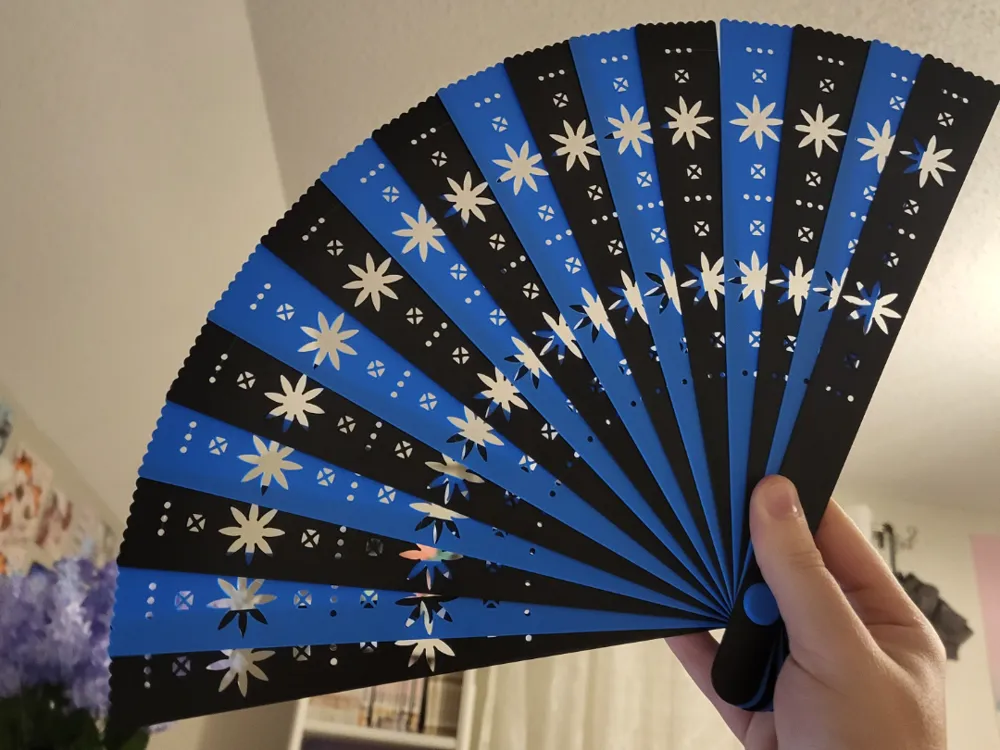
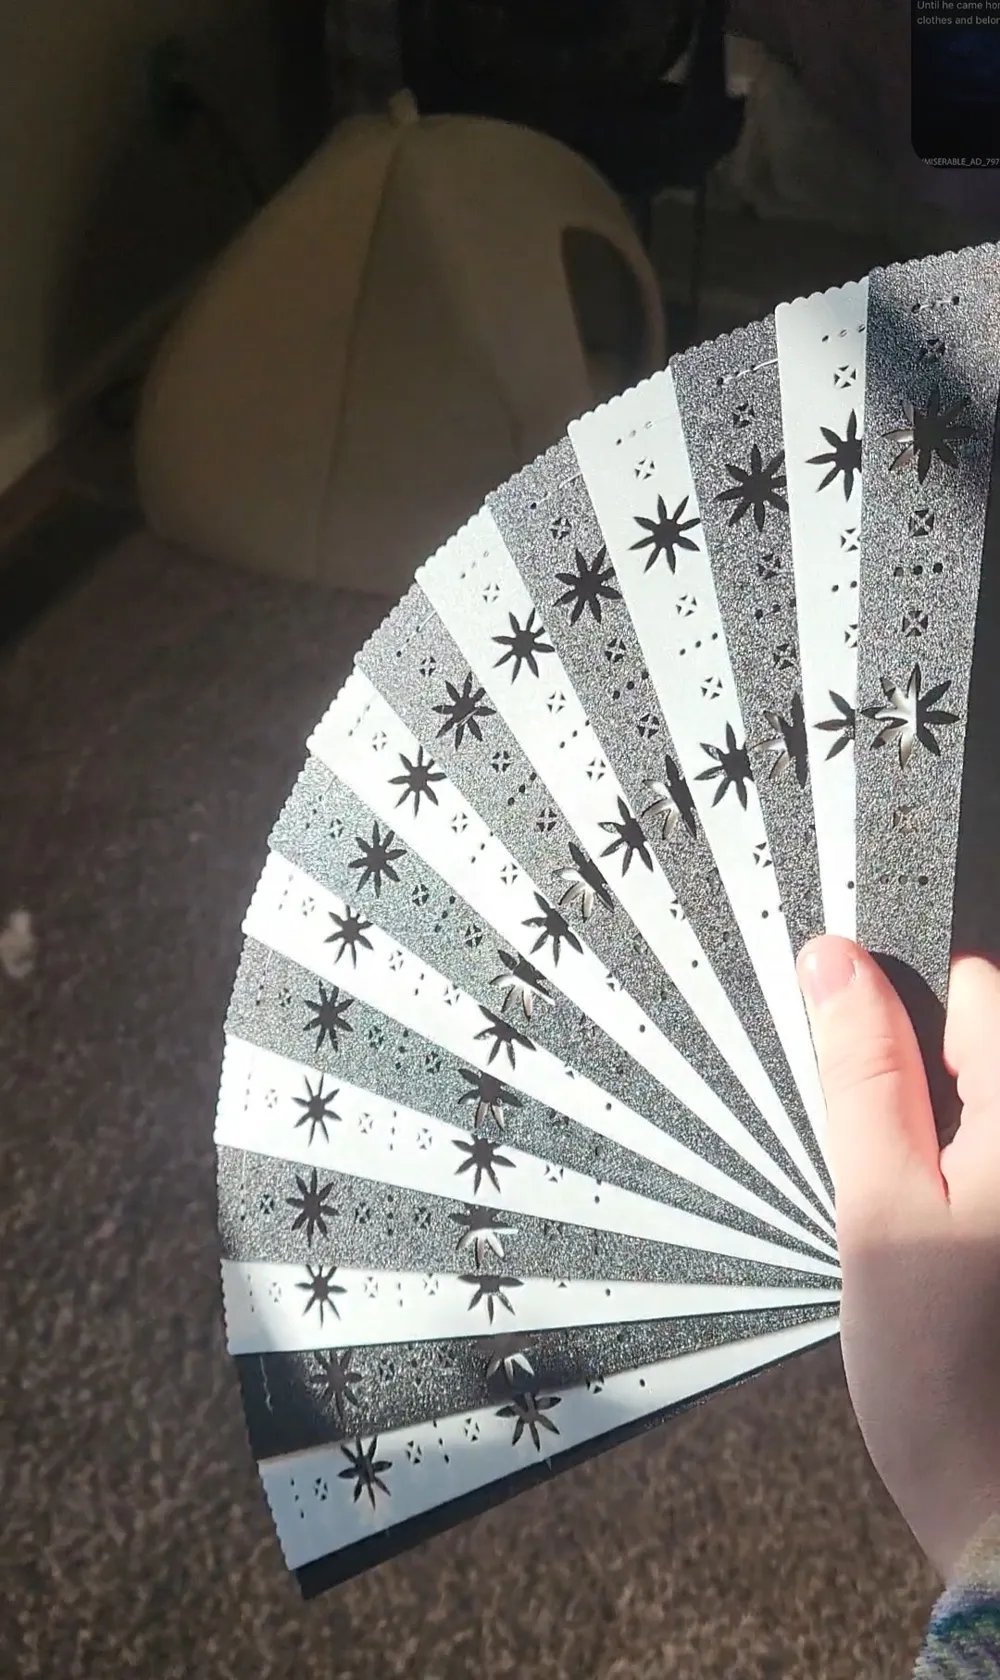
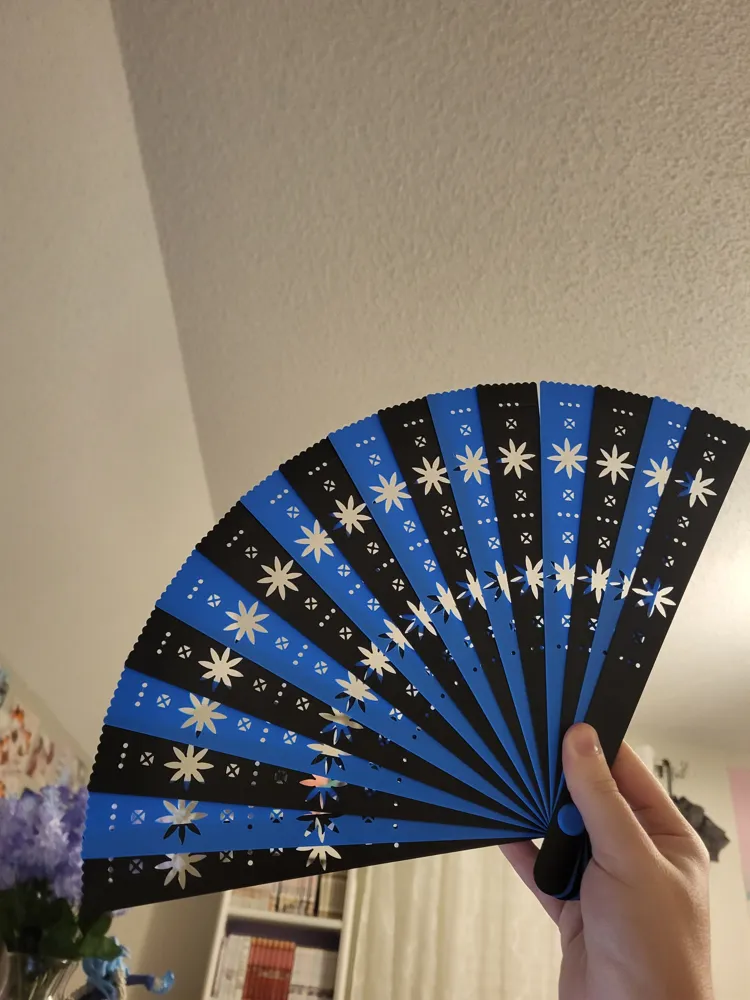
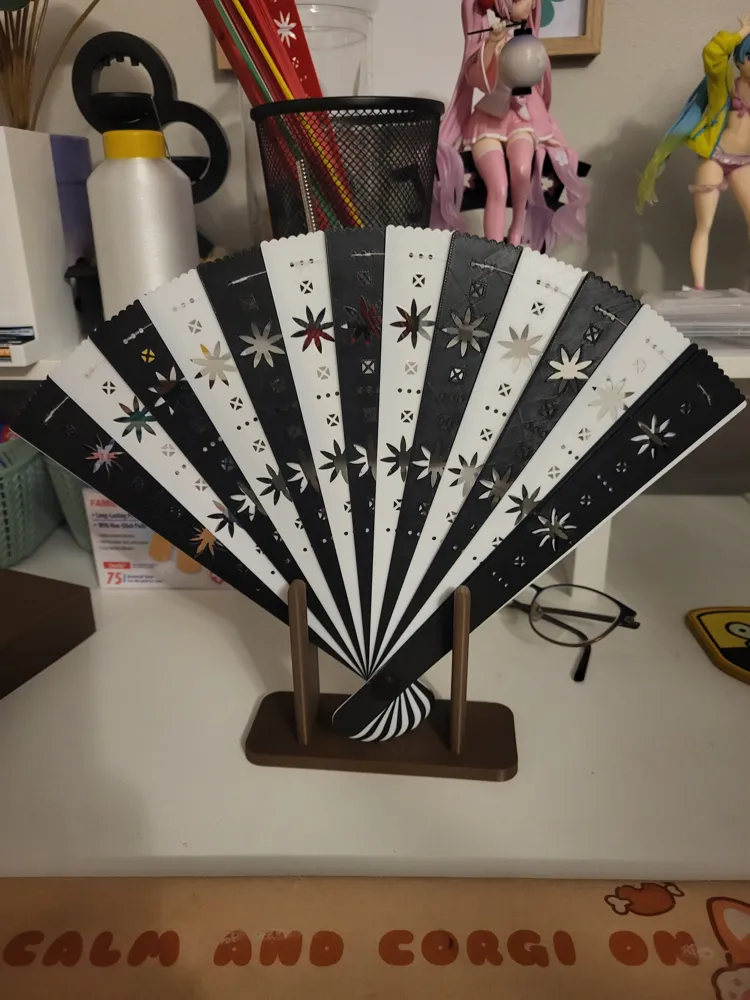
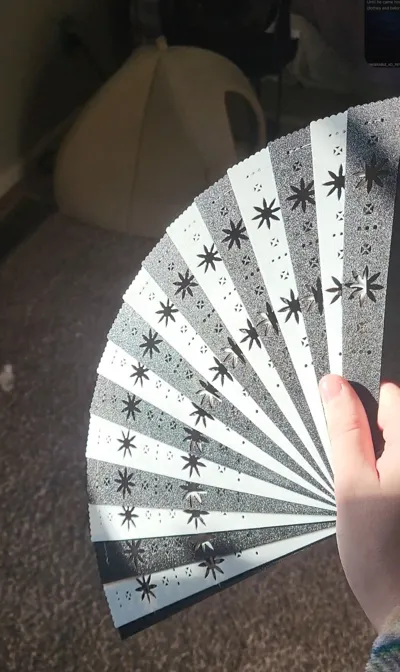
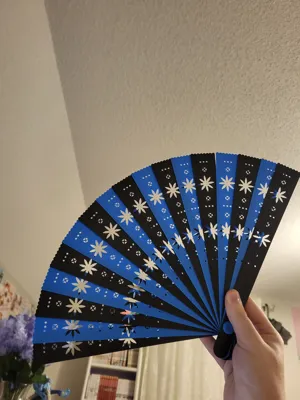
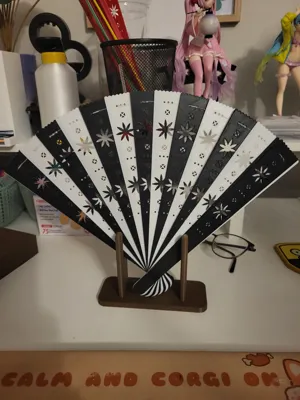
A usable or displayable Asian inspired hand fan.
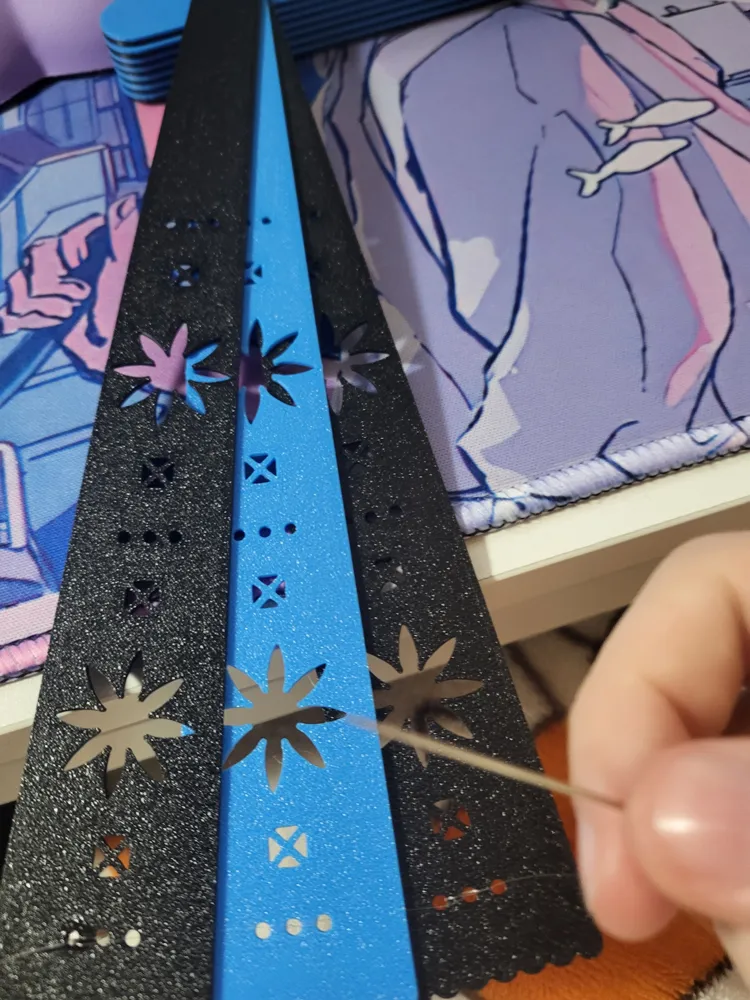
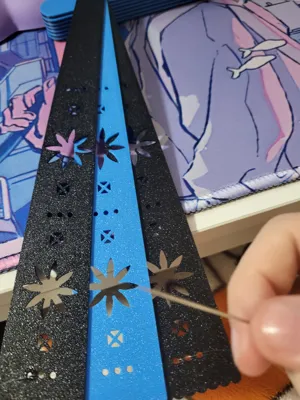
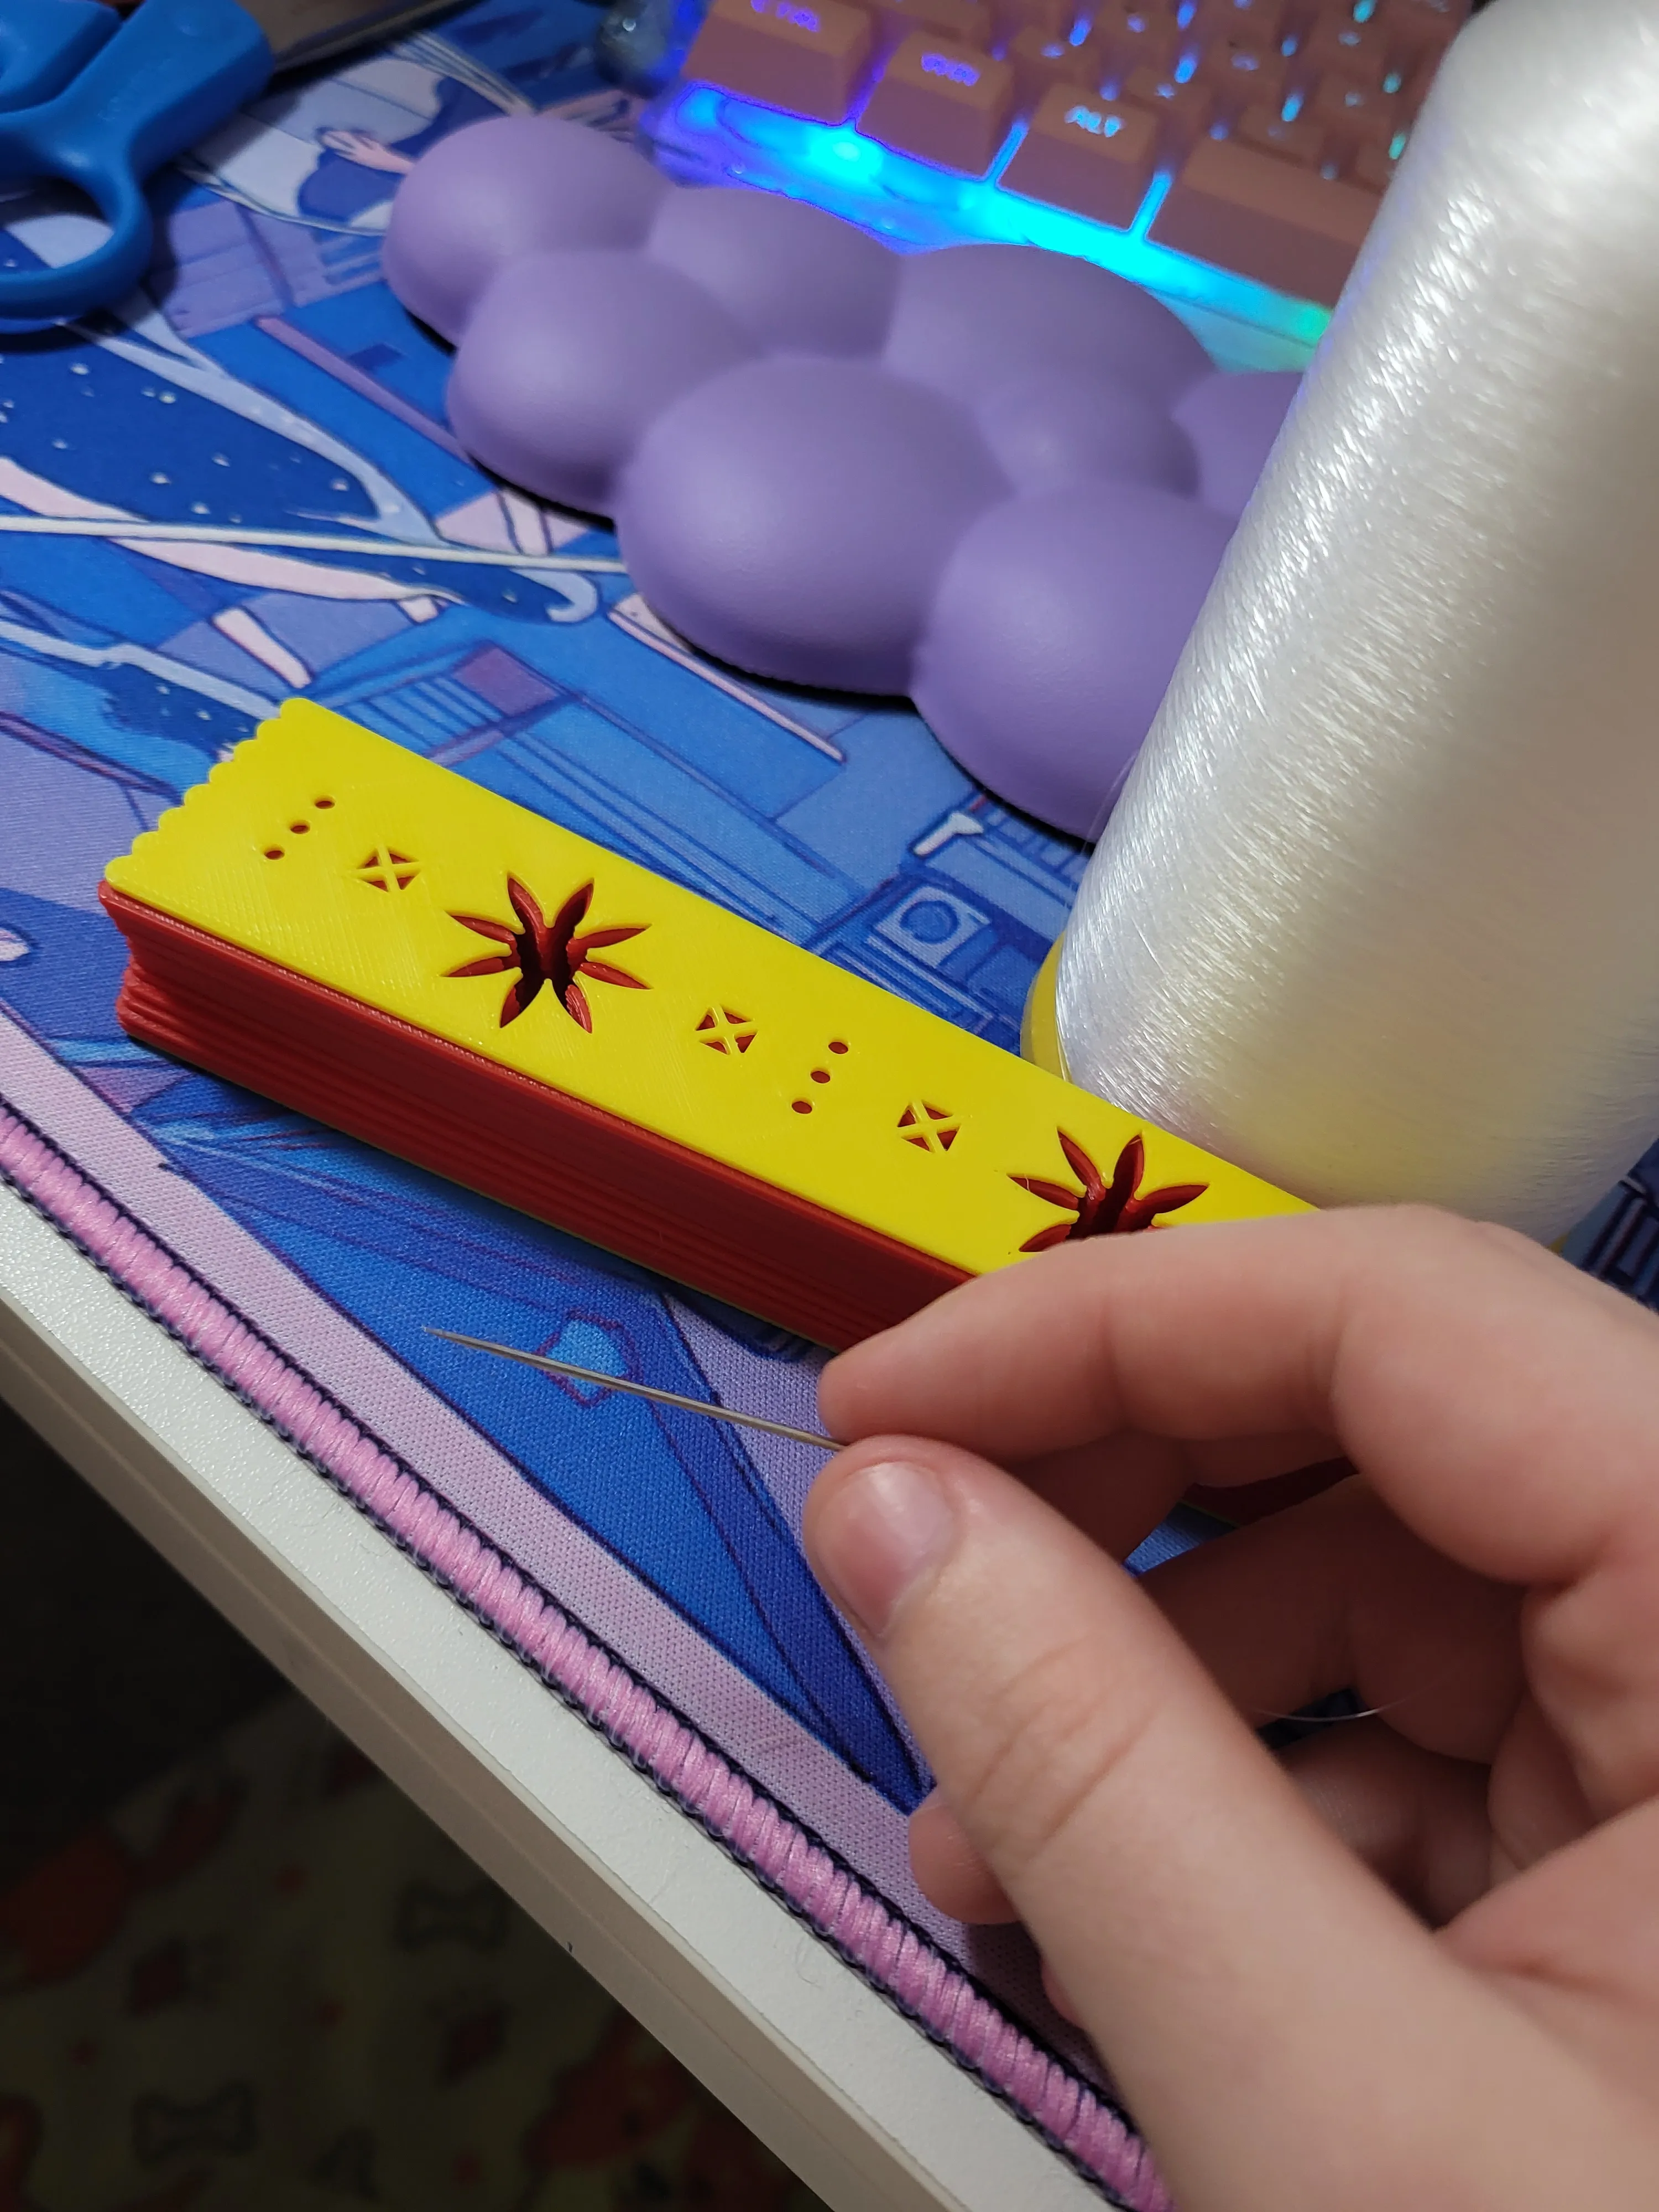
You will have to sew the blades together using sewing thread or whatever material of your choice. I find sewing thread or clear quilting thread to work best, Using a needle also makes the process easier.
----------------------------------------------------------------------------------------------------------------------------------------------------------------------------------------------------------
Don't want to print it? Buy my fully printed works off of my Etsy
Like my designs? Consider supporting me by tipping me on Kofi!
you can also but commercial license or tip on Patreon!
----------------------------------------------------------------------------------------------------------------------------------------------------------------------------------------------------------
How to Assemble:
Everything you'll need
- Printed out parts
- super glue
- sewing needle
- thread
- Magnets - 10mm x 10mm x 2mm
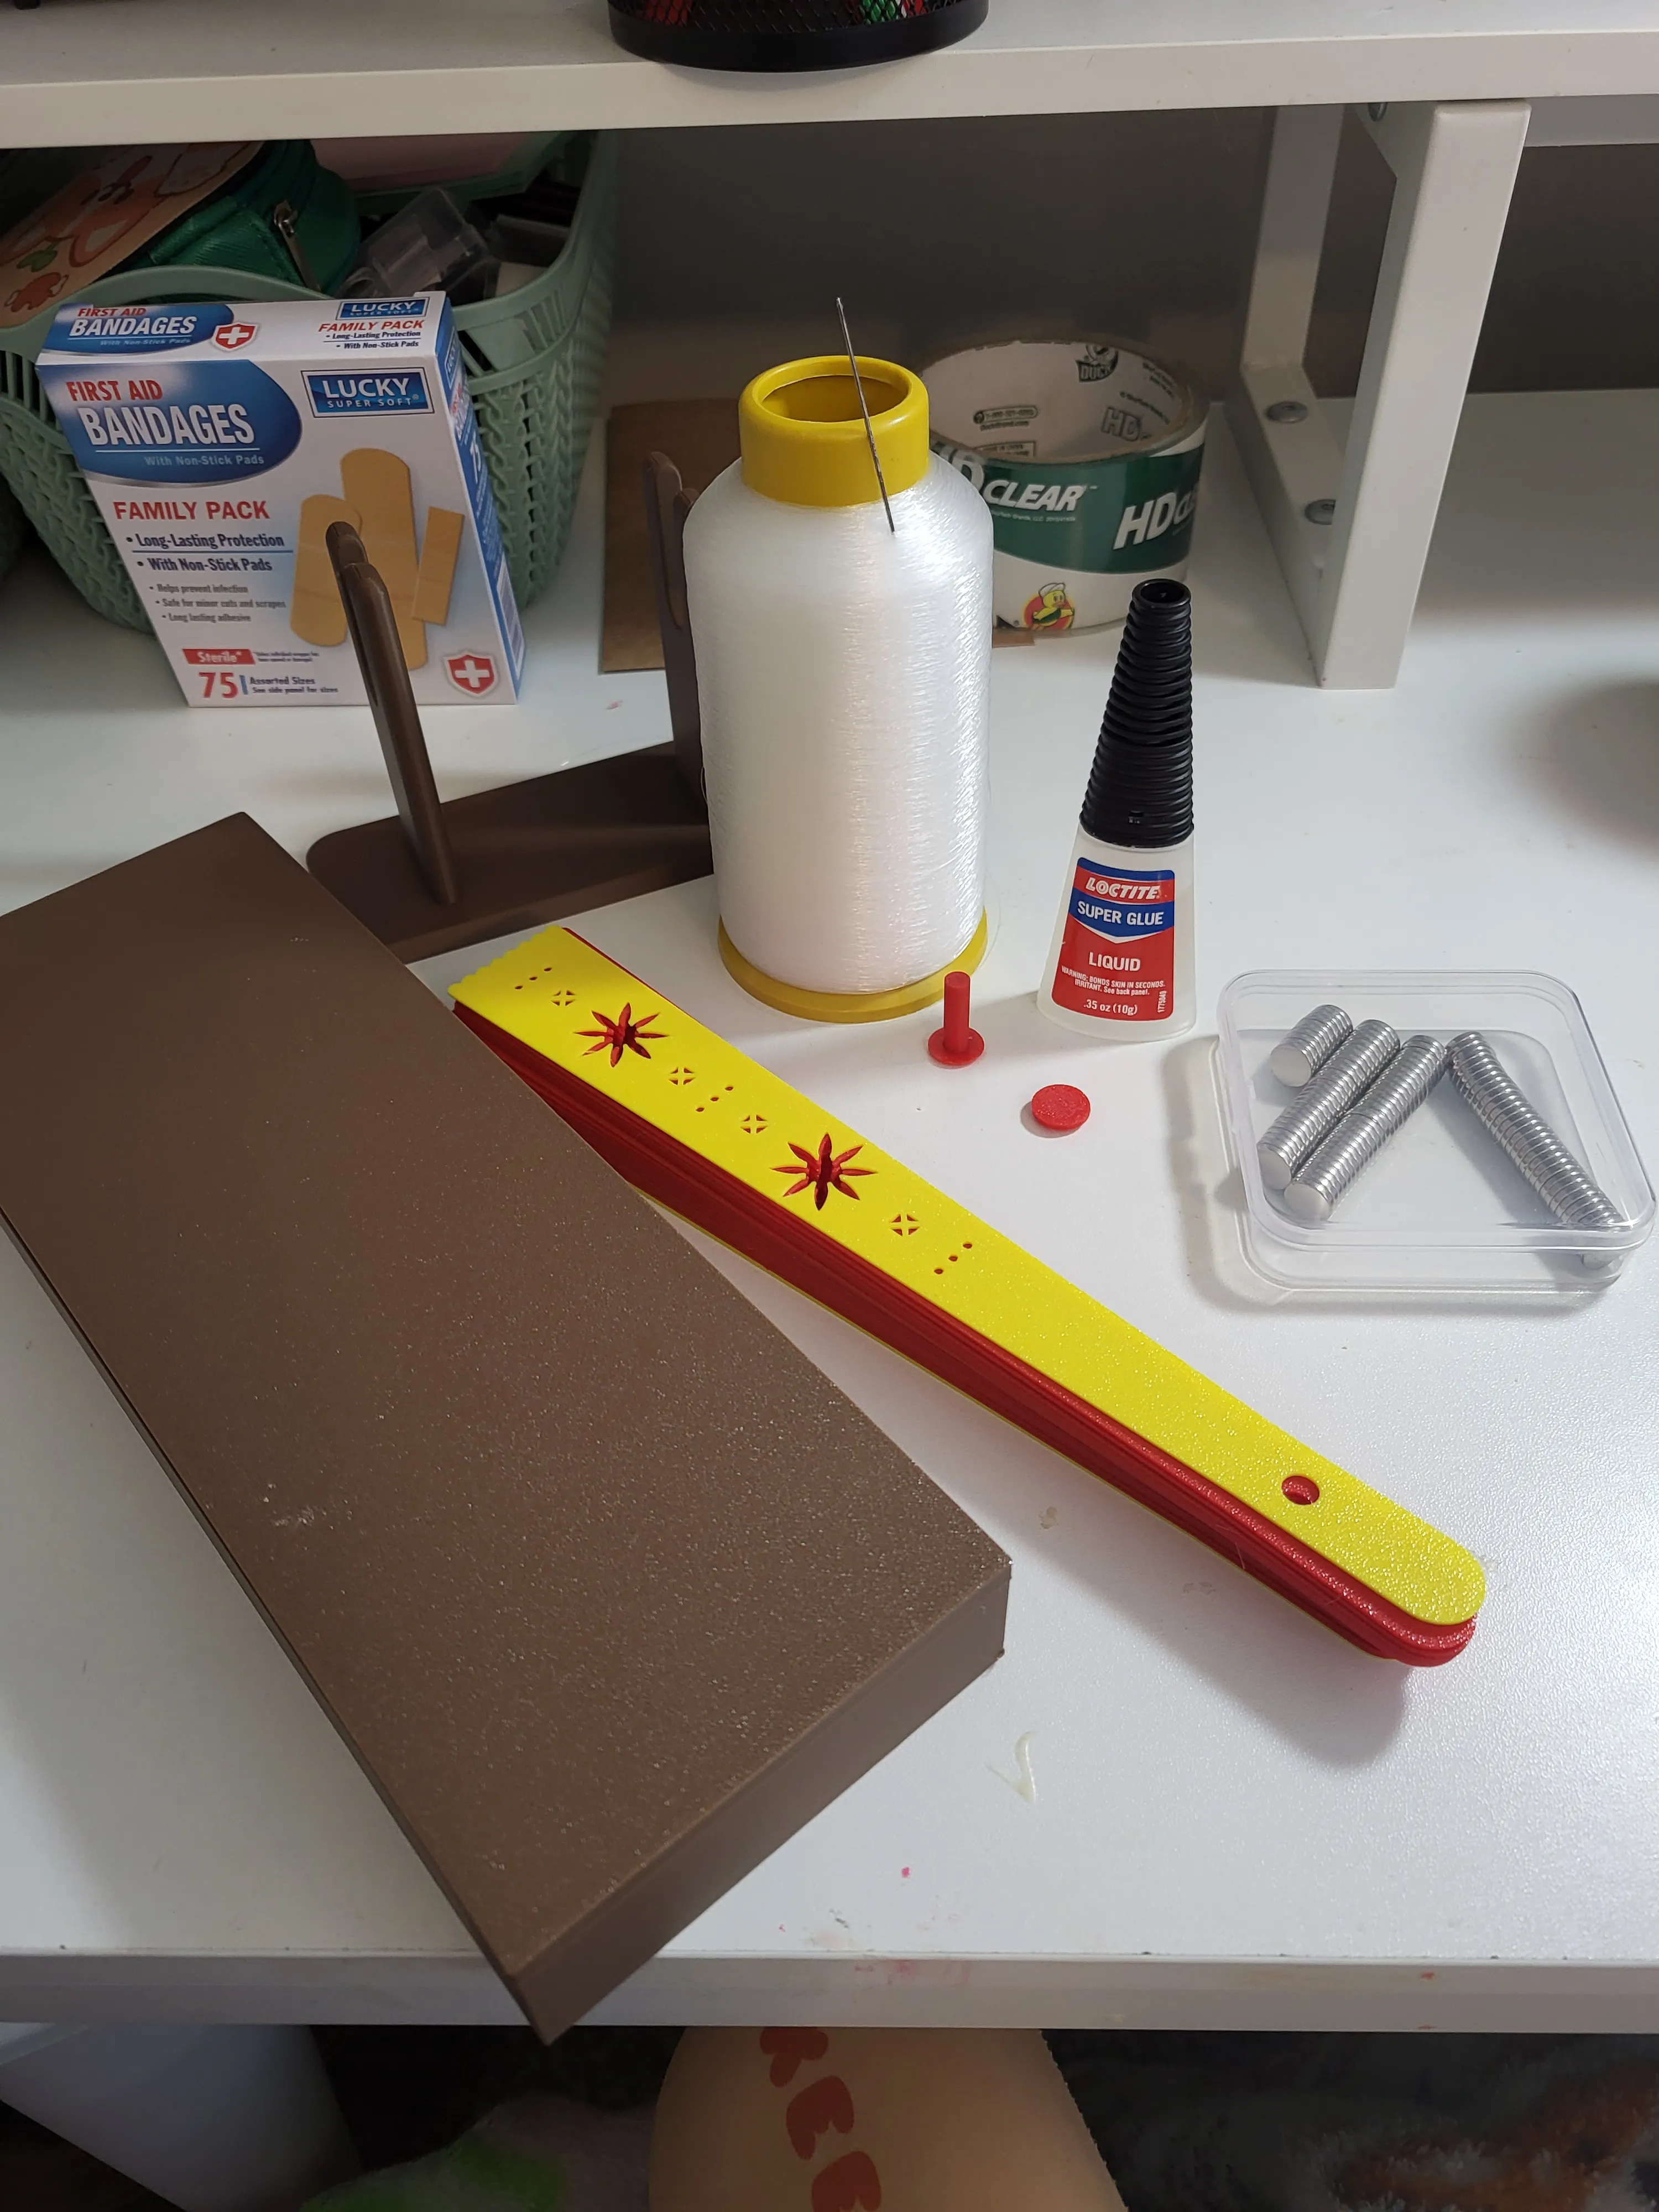
1. Print Out your blades and peg assembly. You will need a total of 16 to 17 blades to fill the little peg.
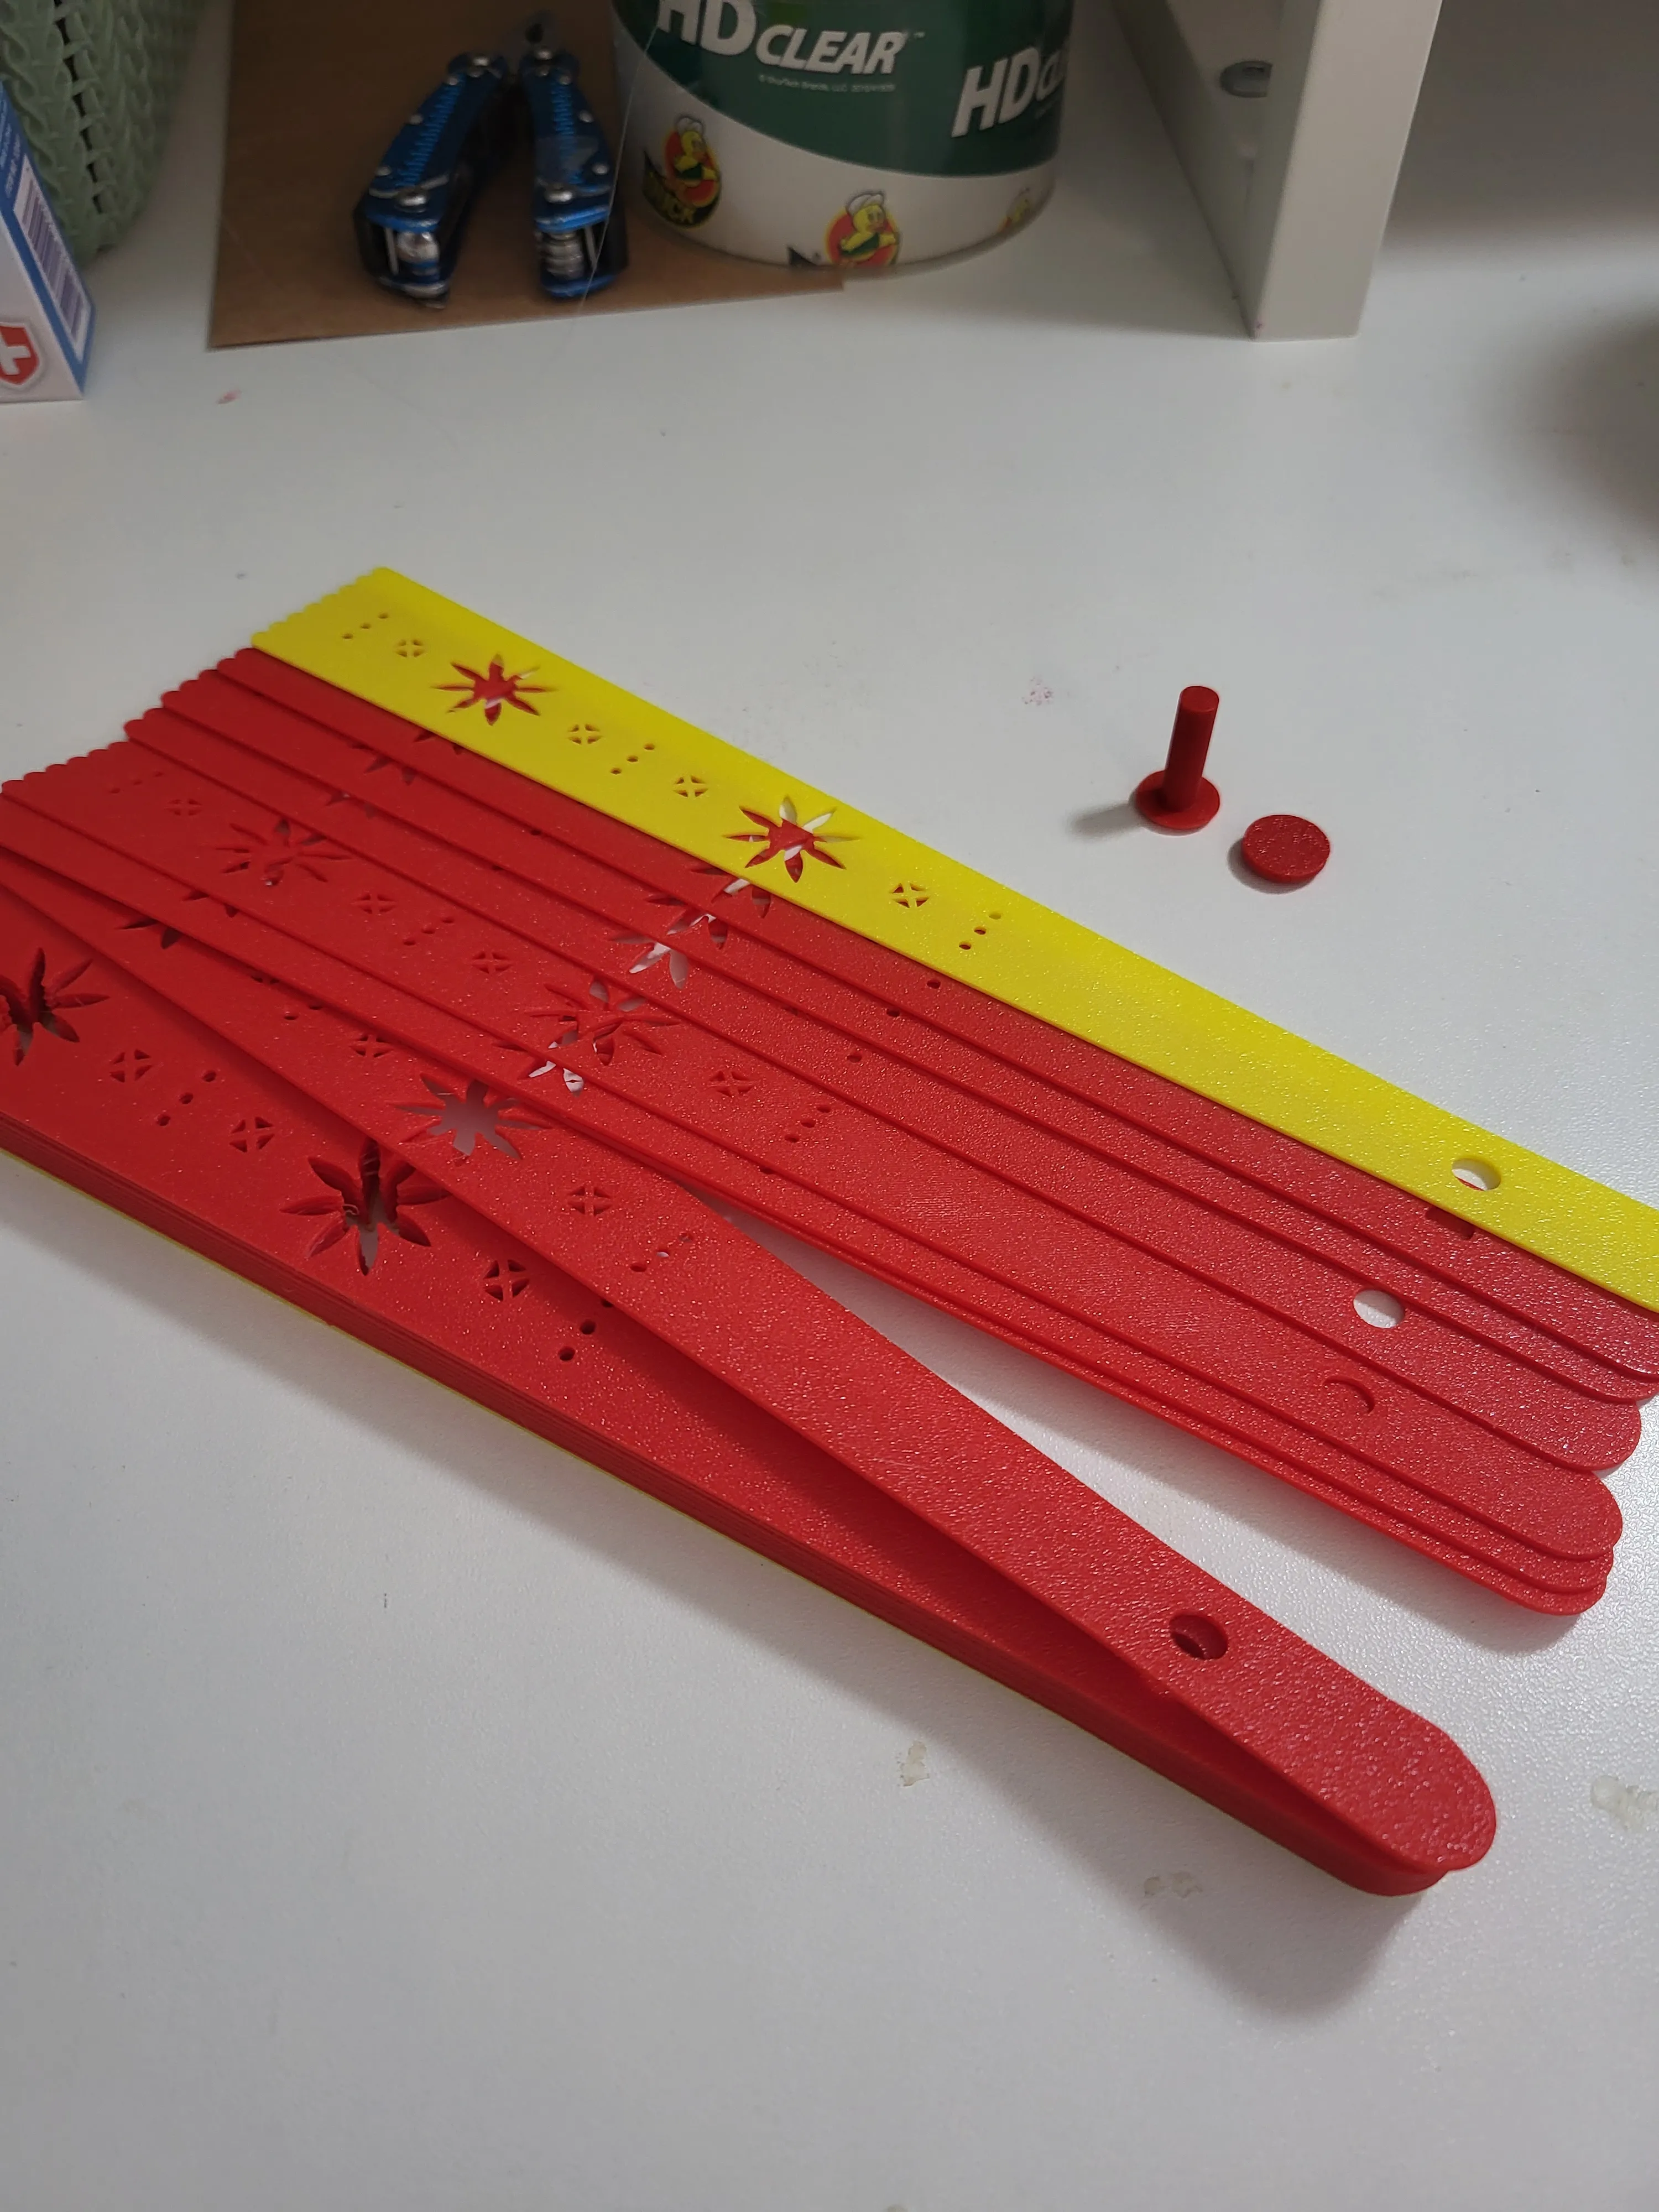
2. Stack your fan blades on the peg
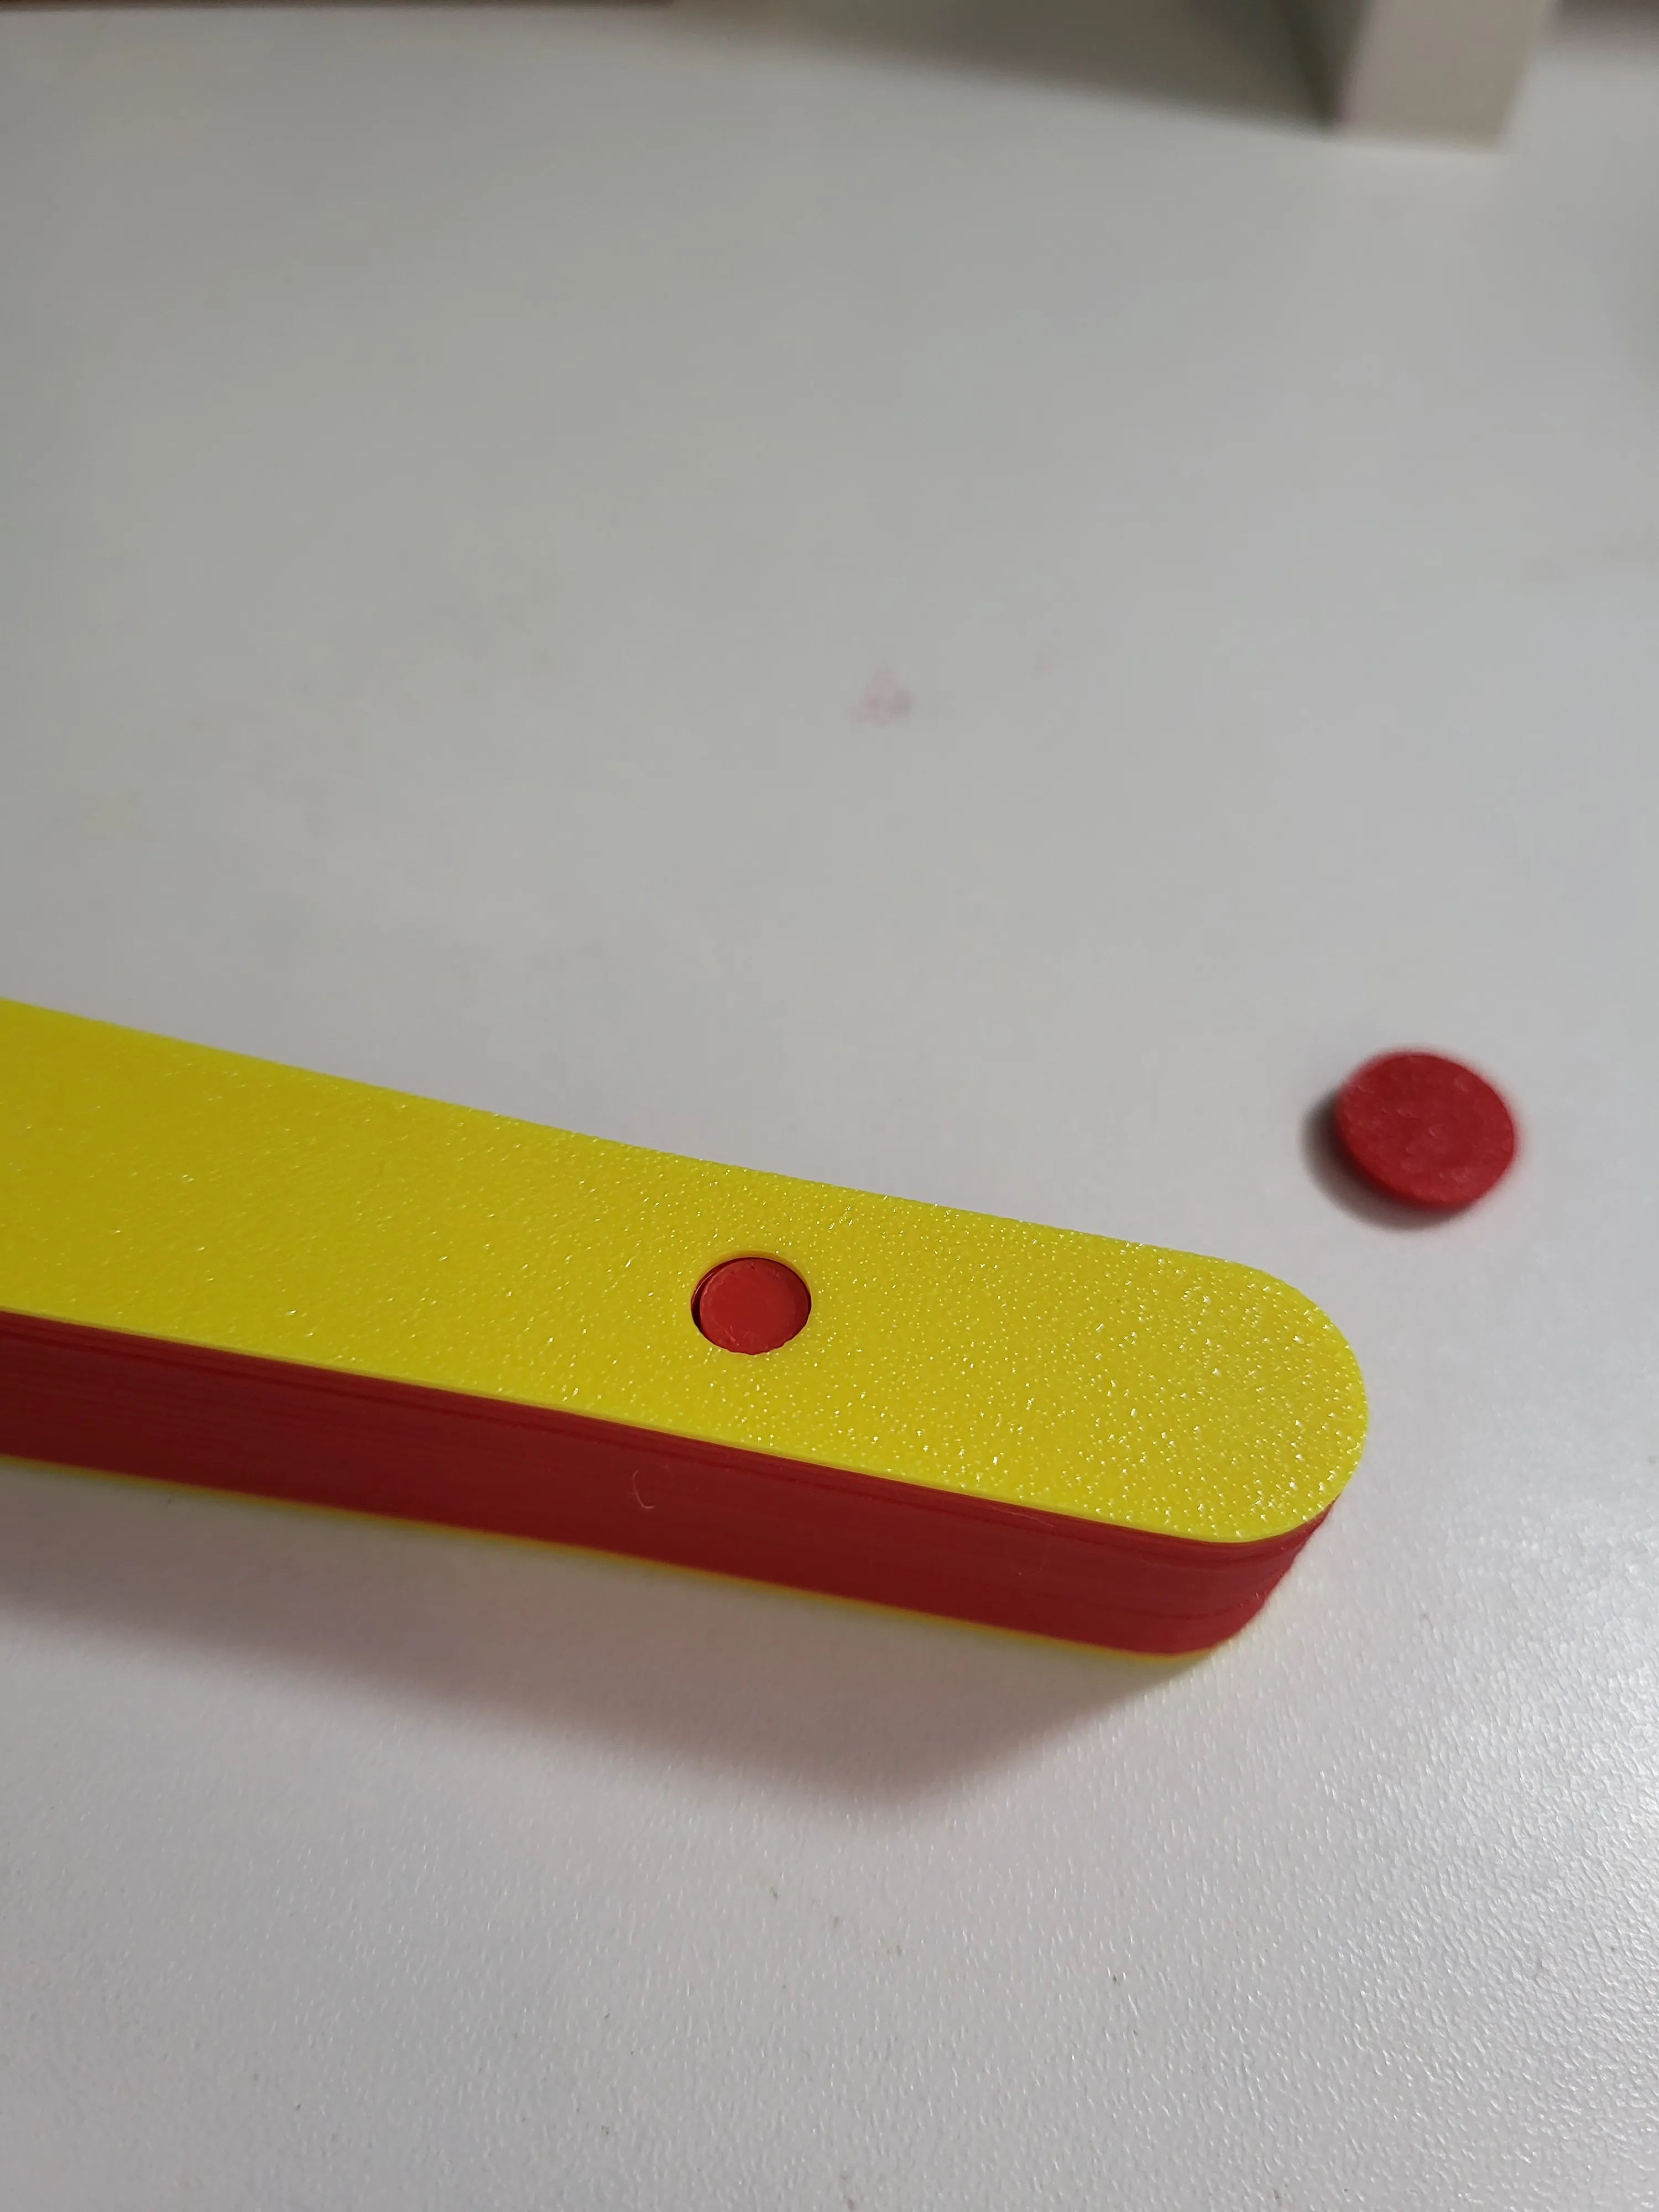
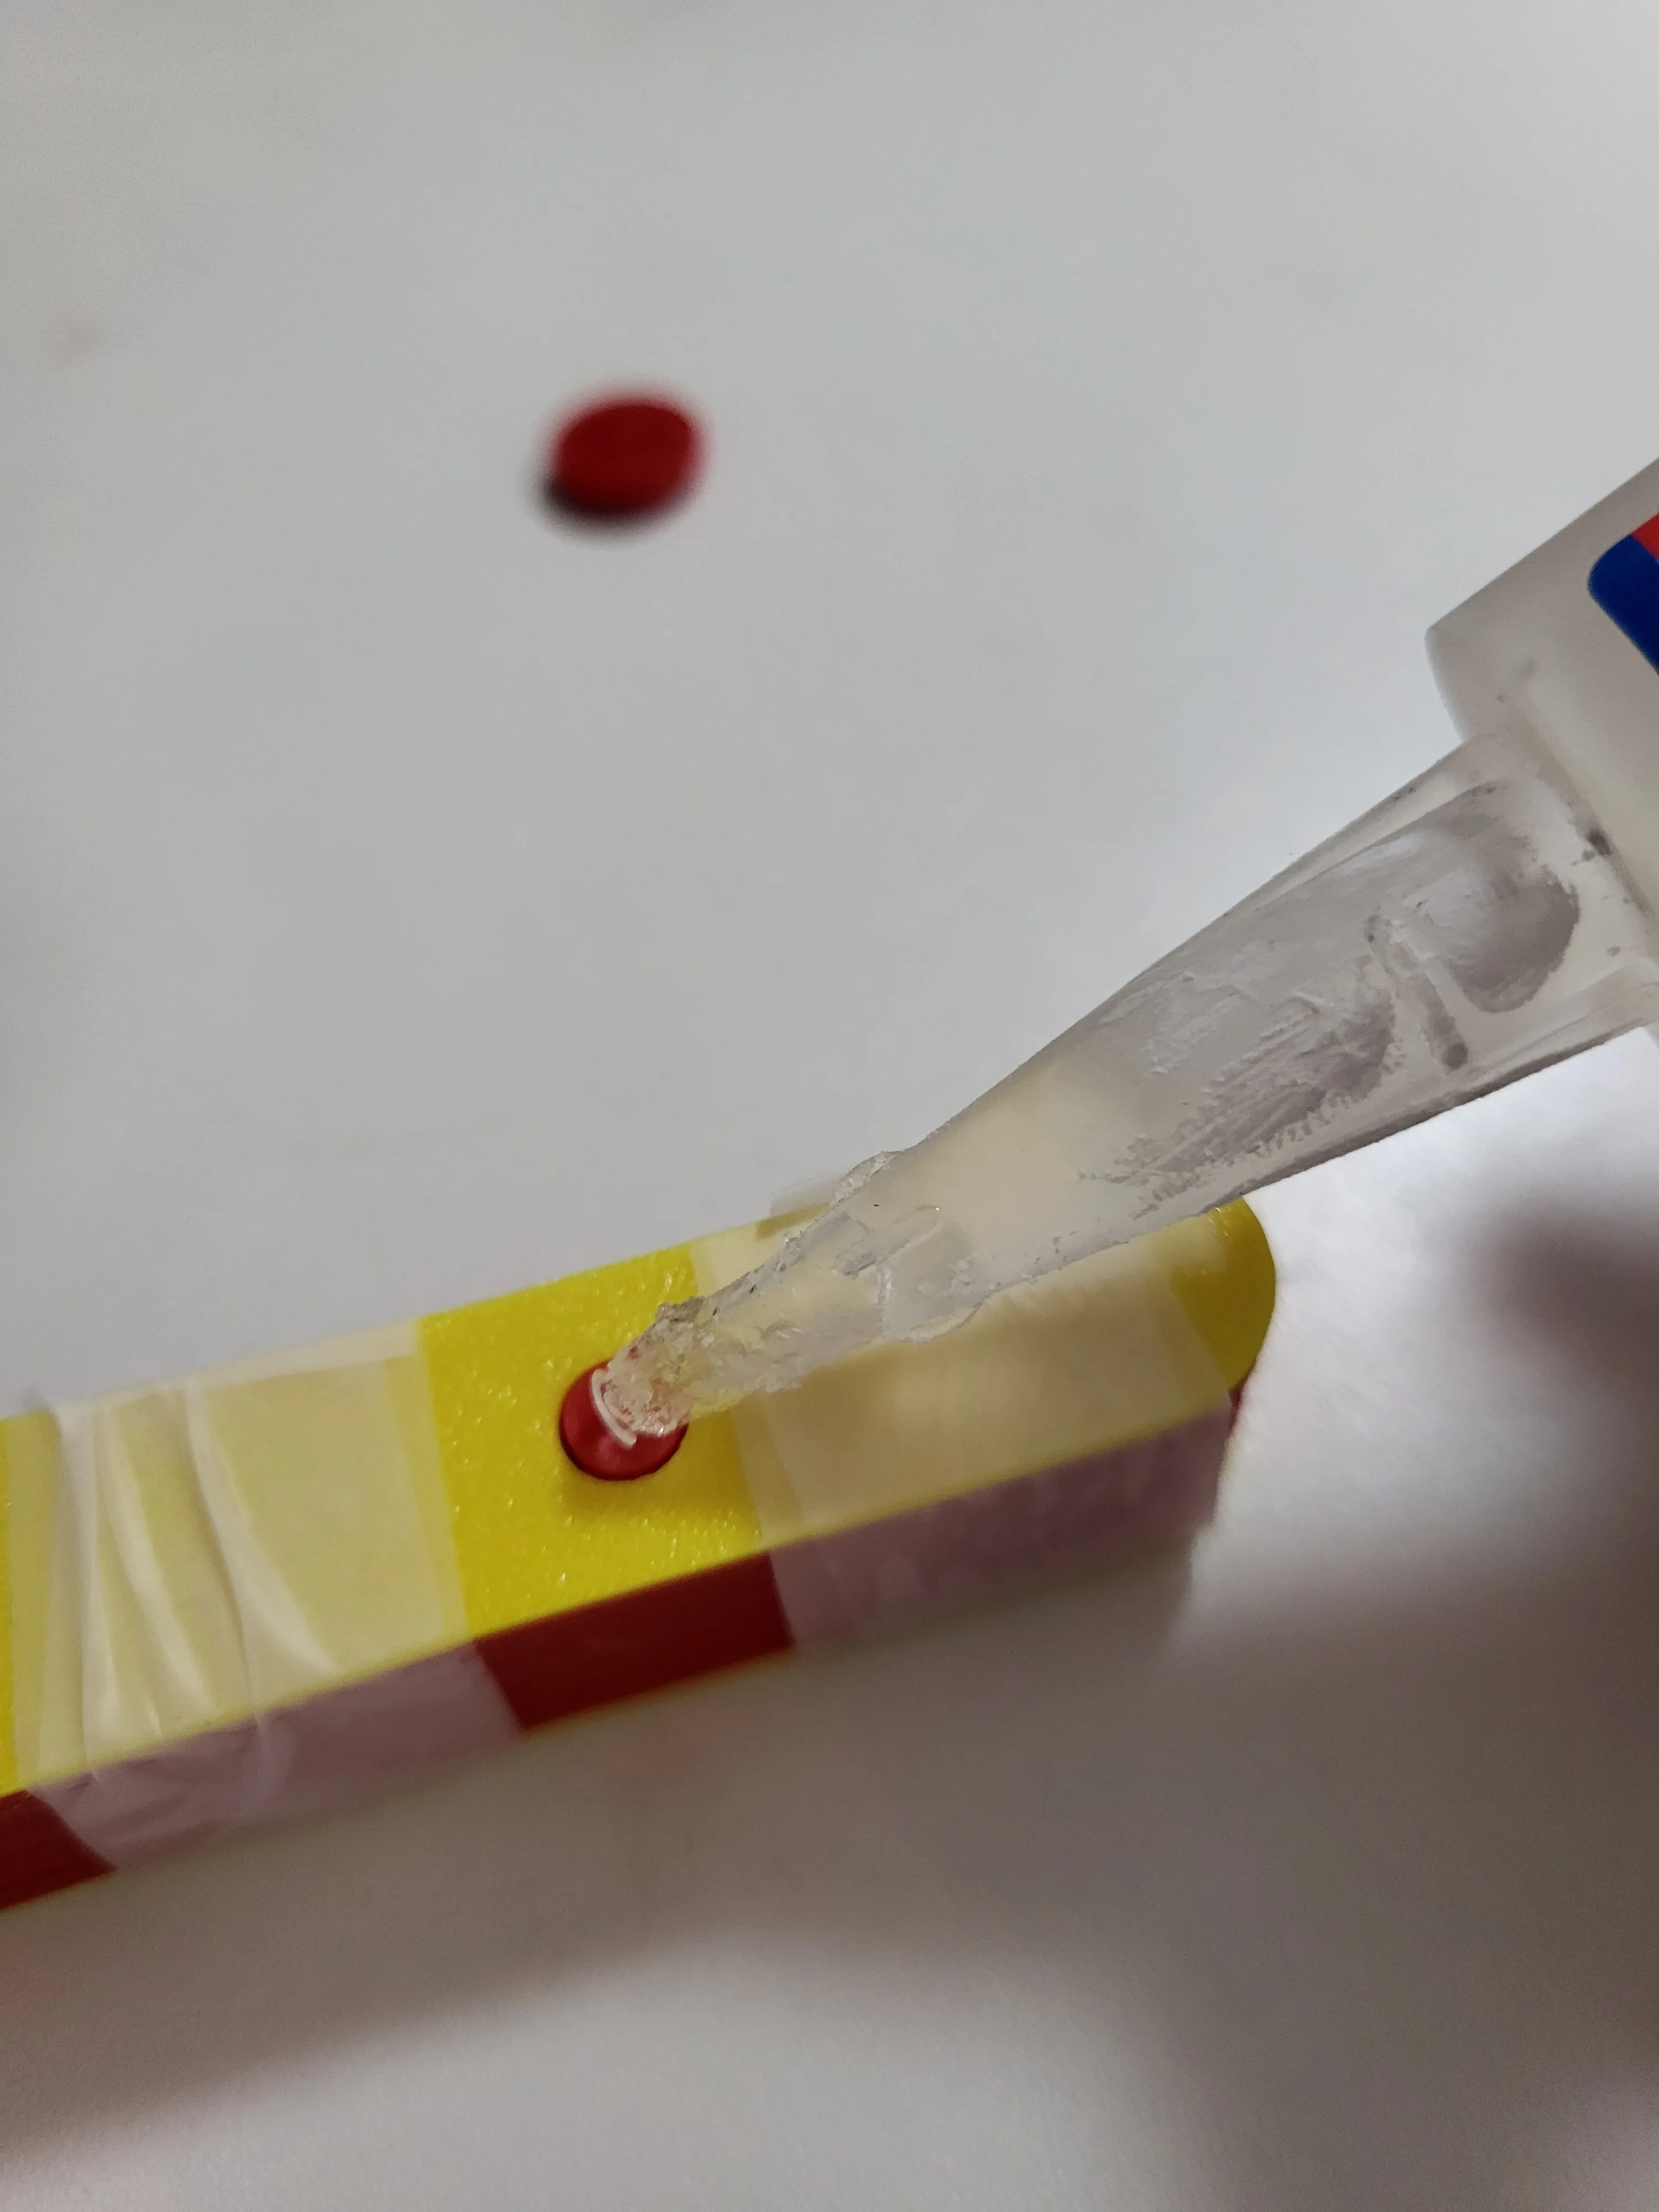
3. Glue the circle to the other side of the peg using super glue (adding tape to keep the blades together might help)
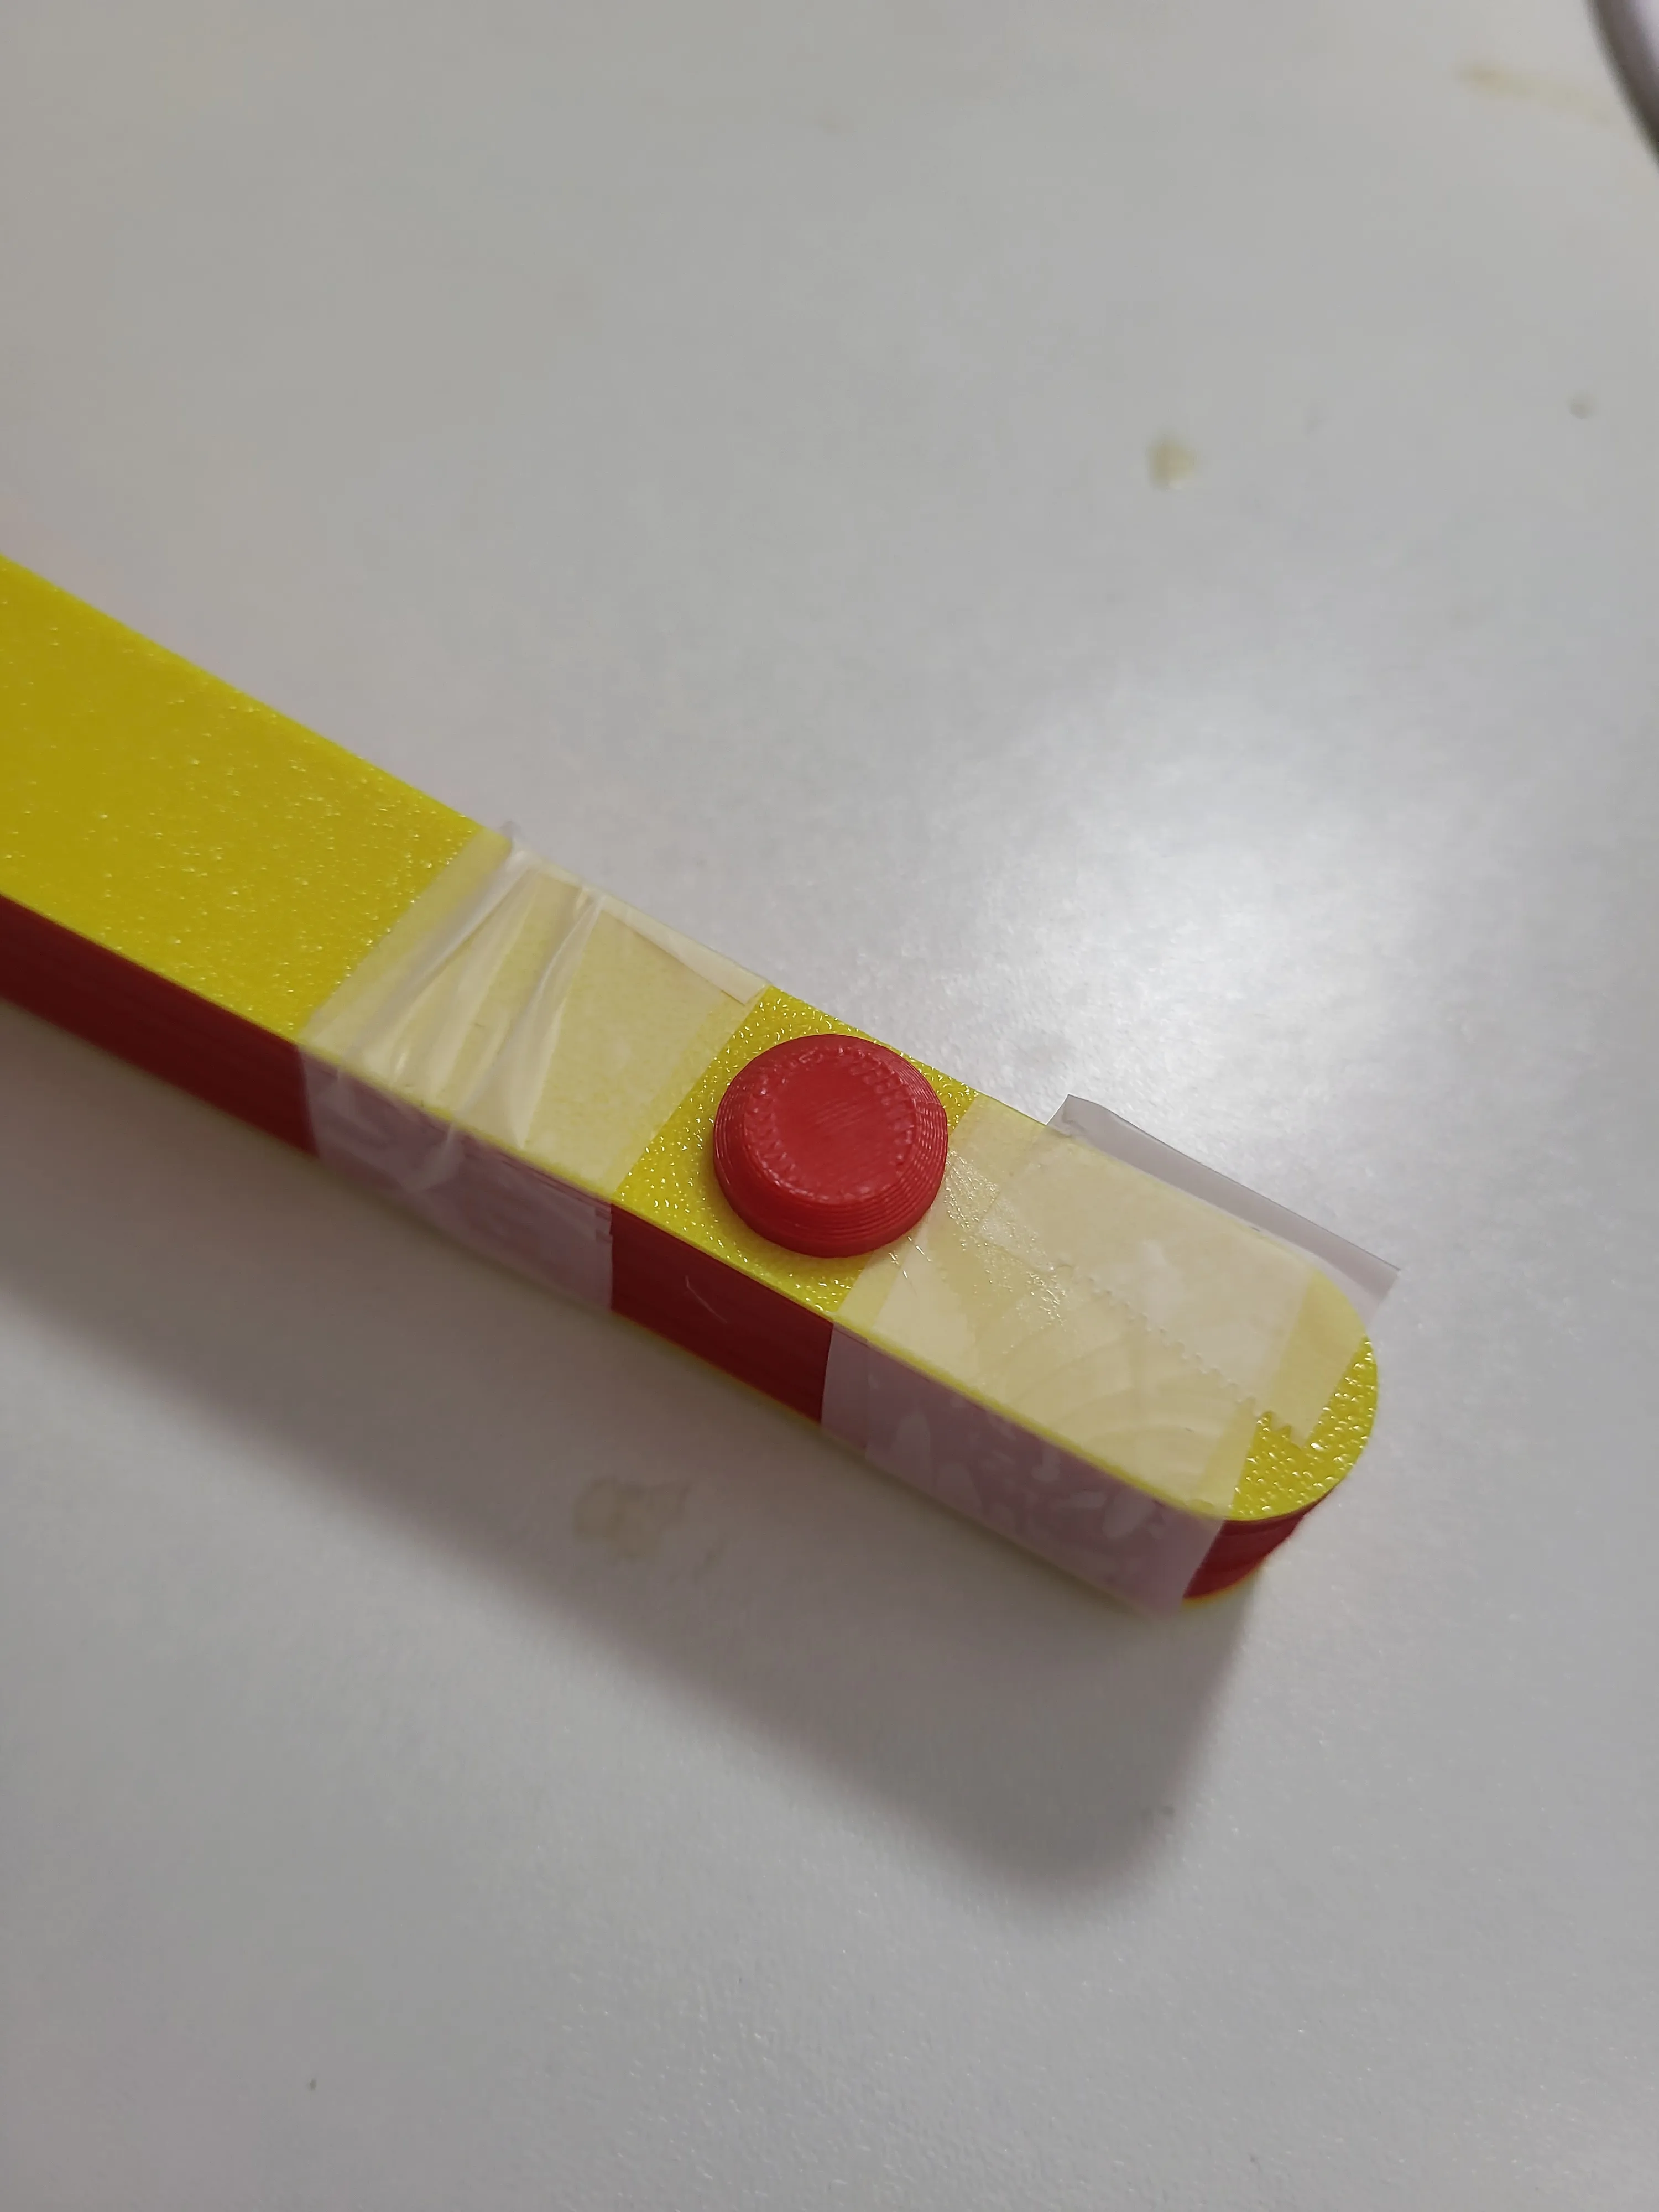
3. Stitch your fan blades together in the way you desire
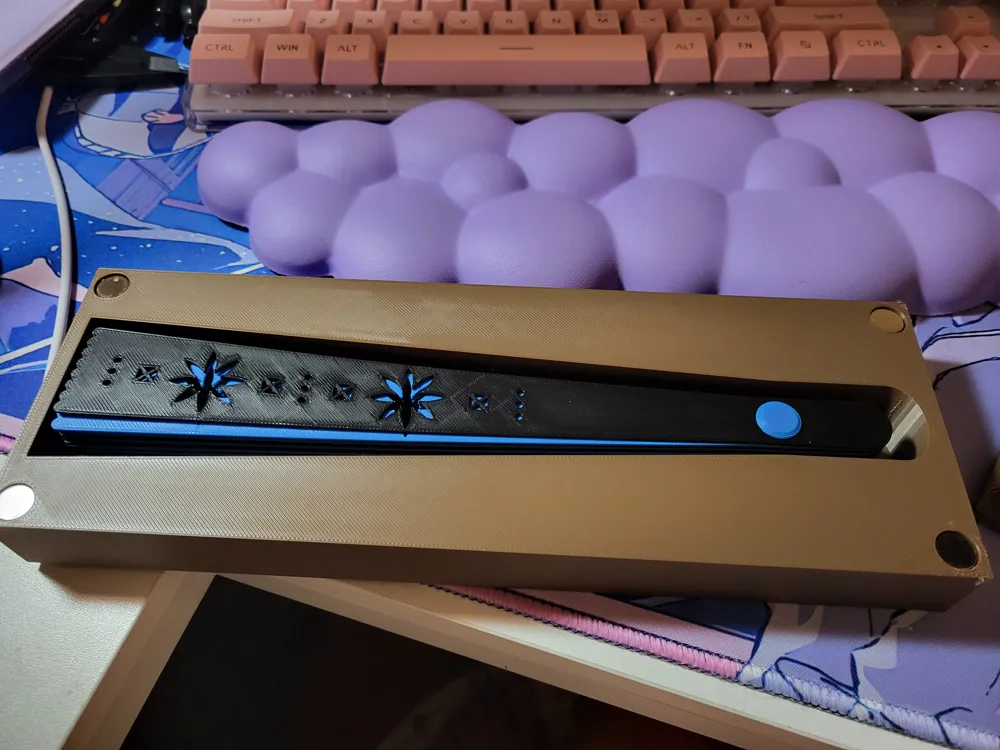
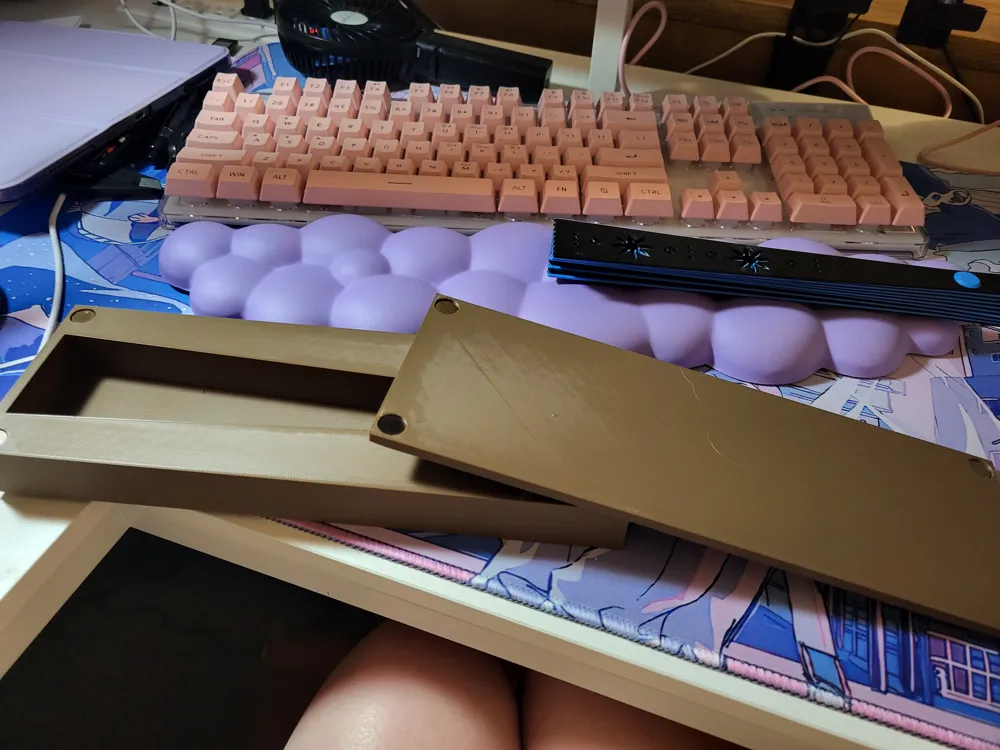
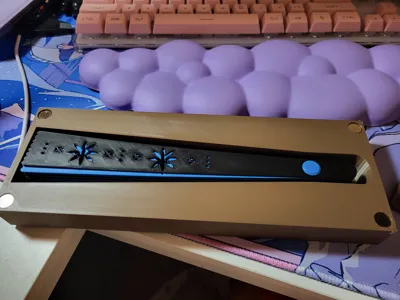
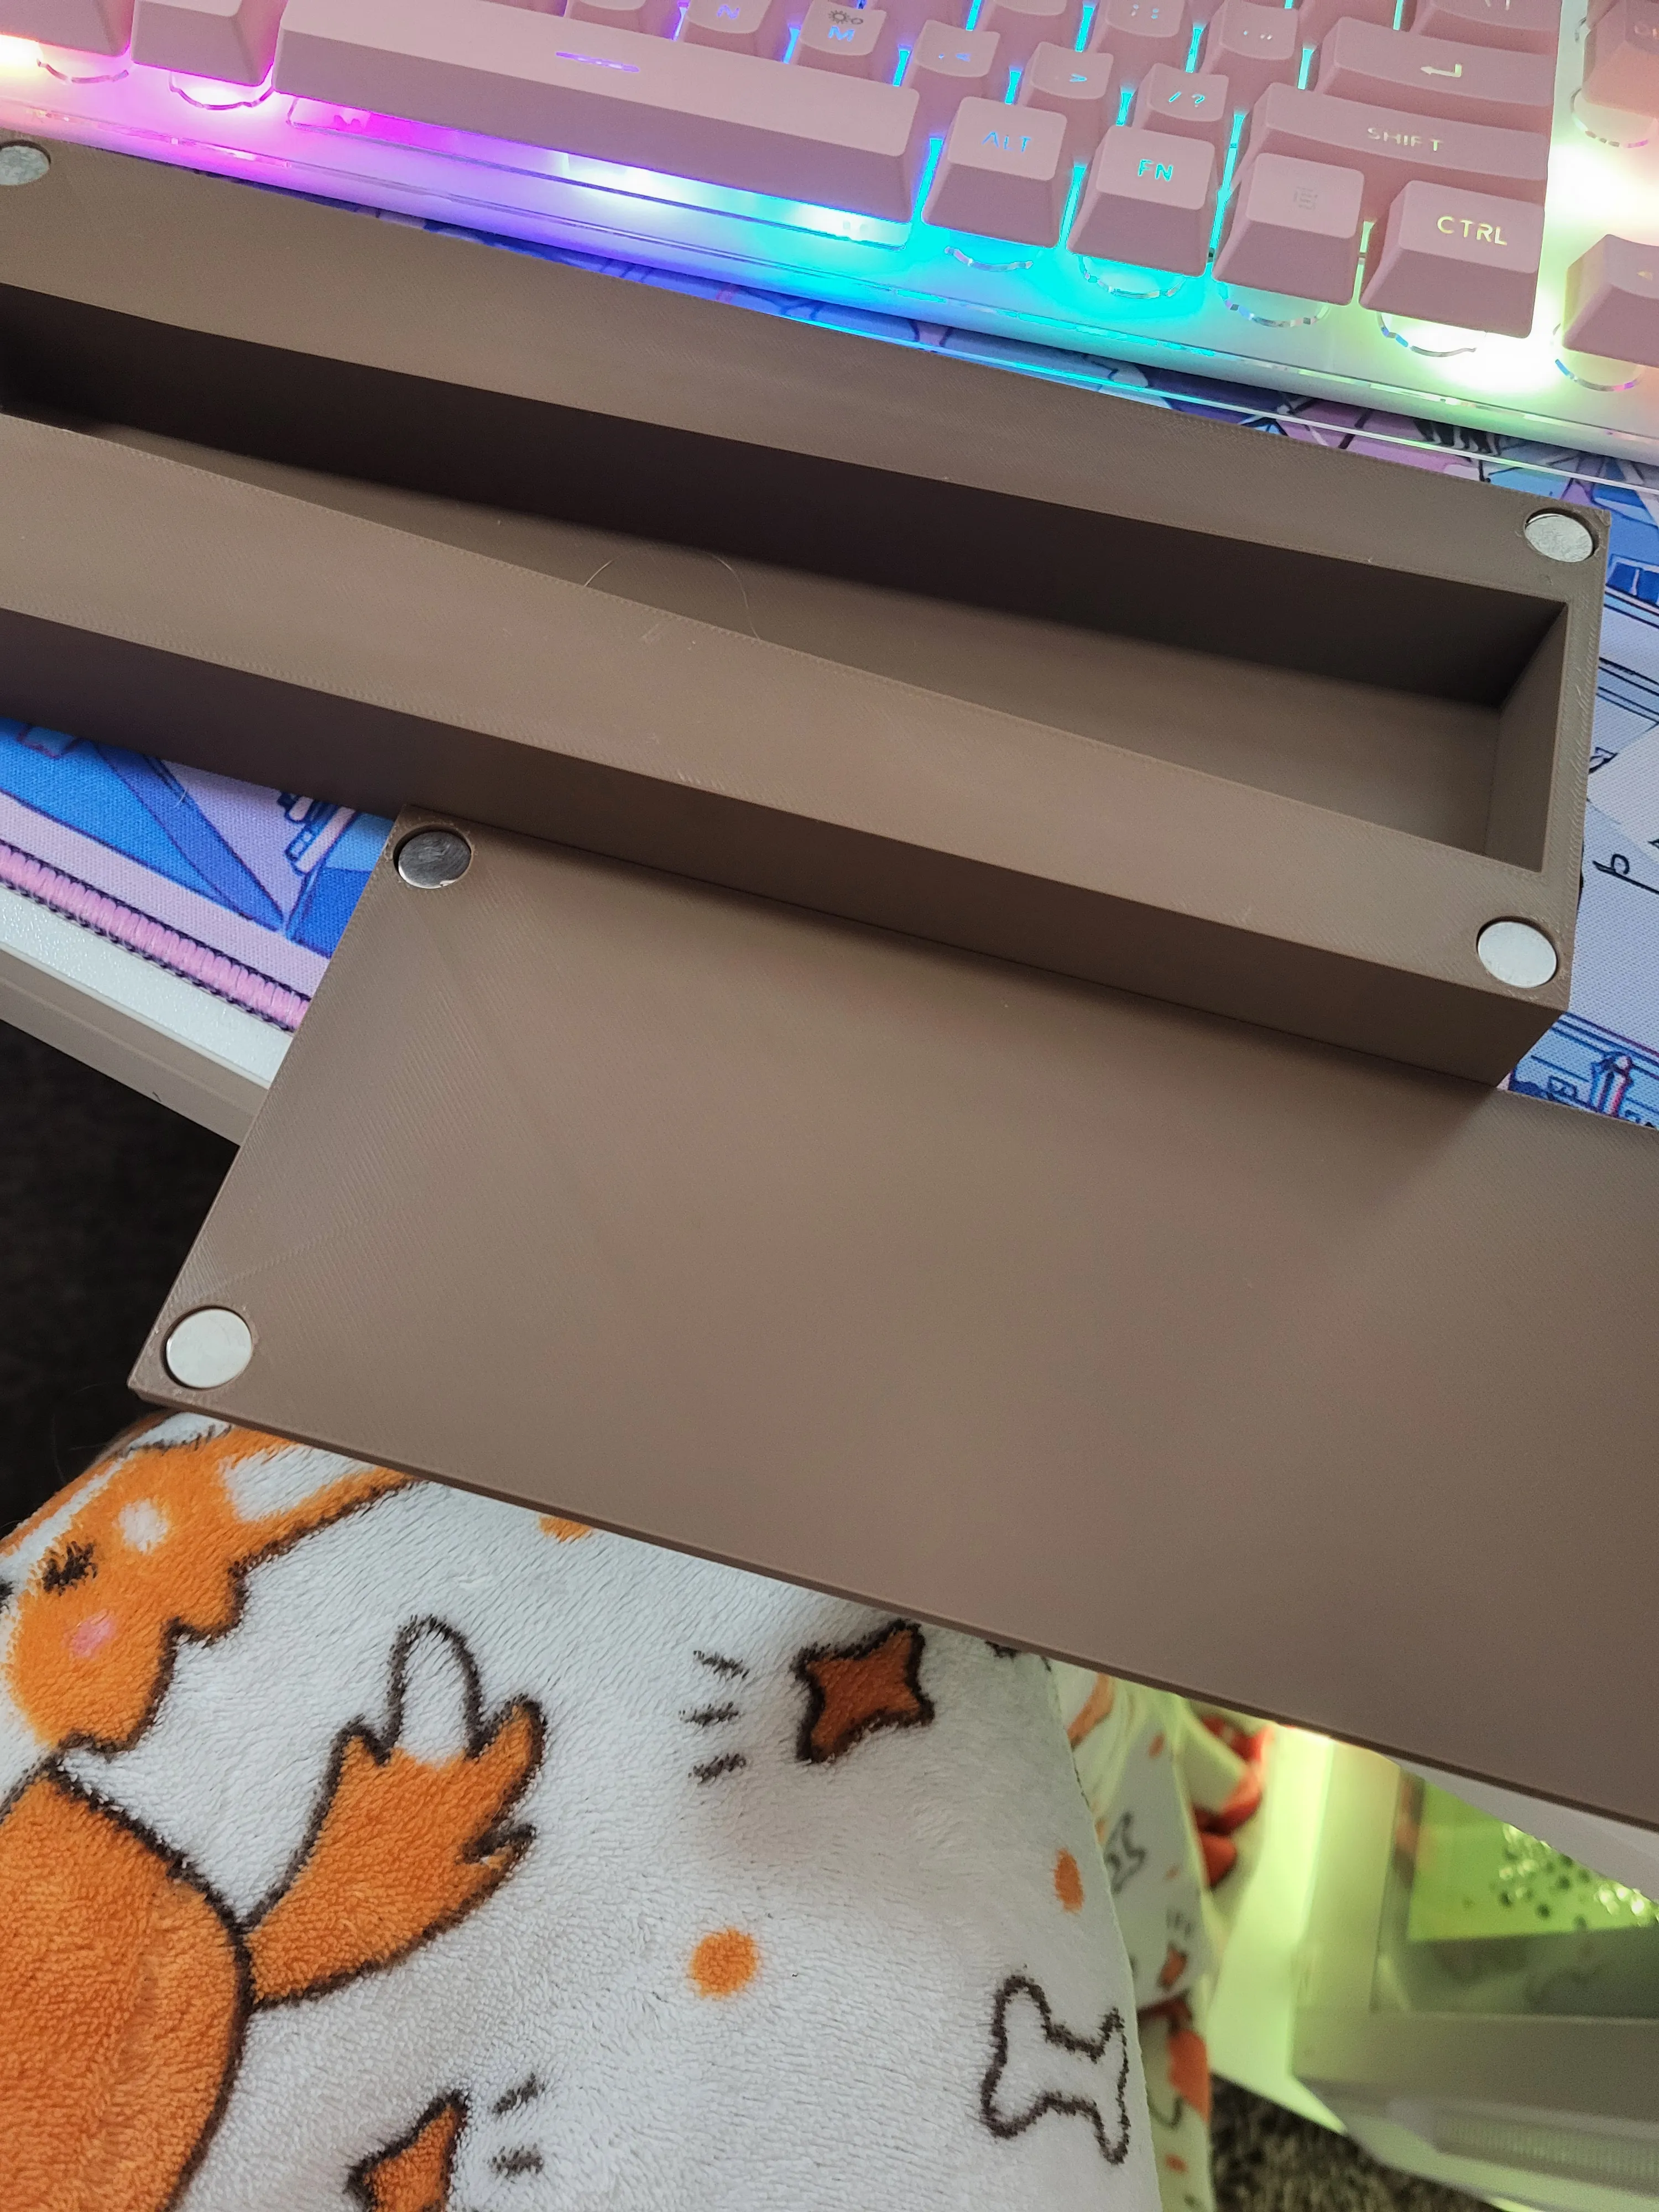
4. The box needs a total of 8 - 10mm x 10mm x 2mm magnets
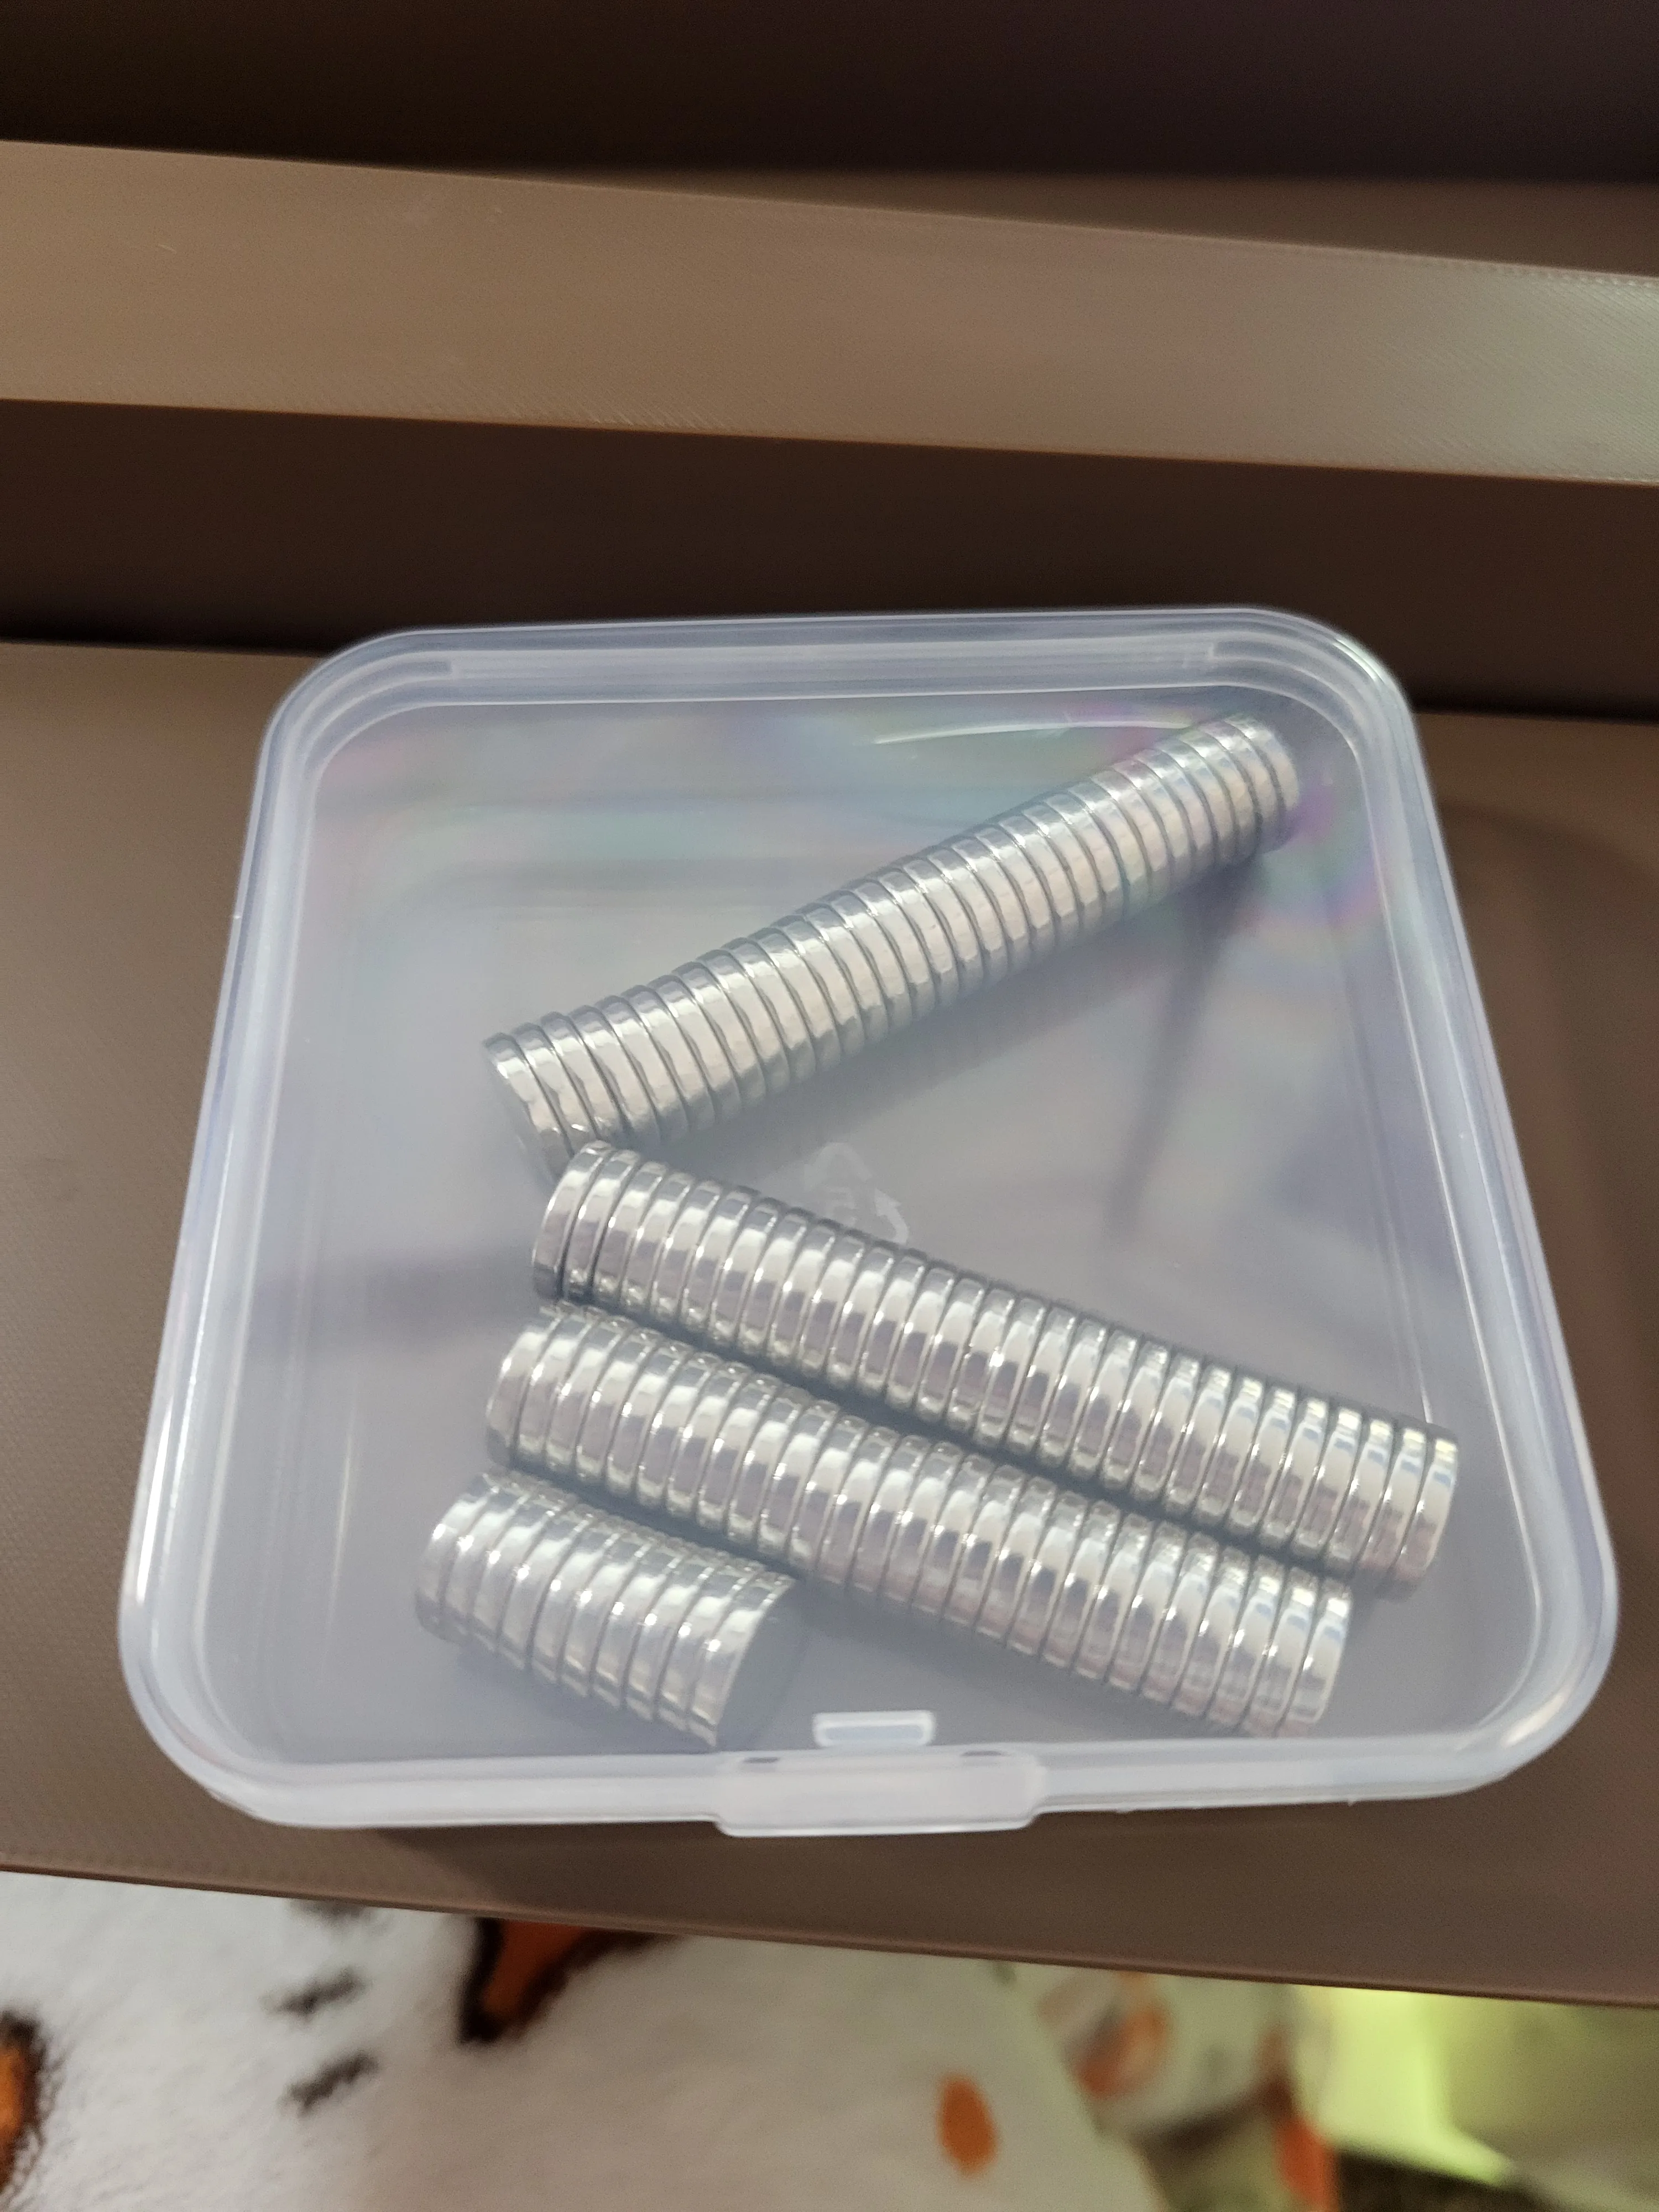
5. Glue the magnets to the correct positions
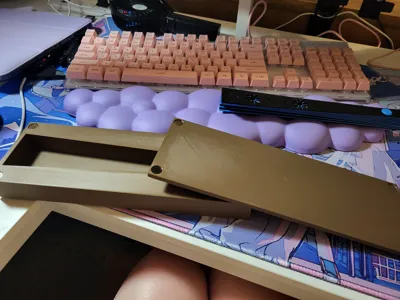
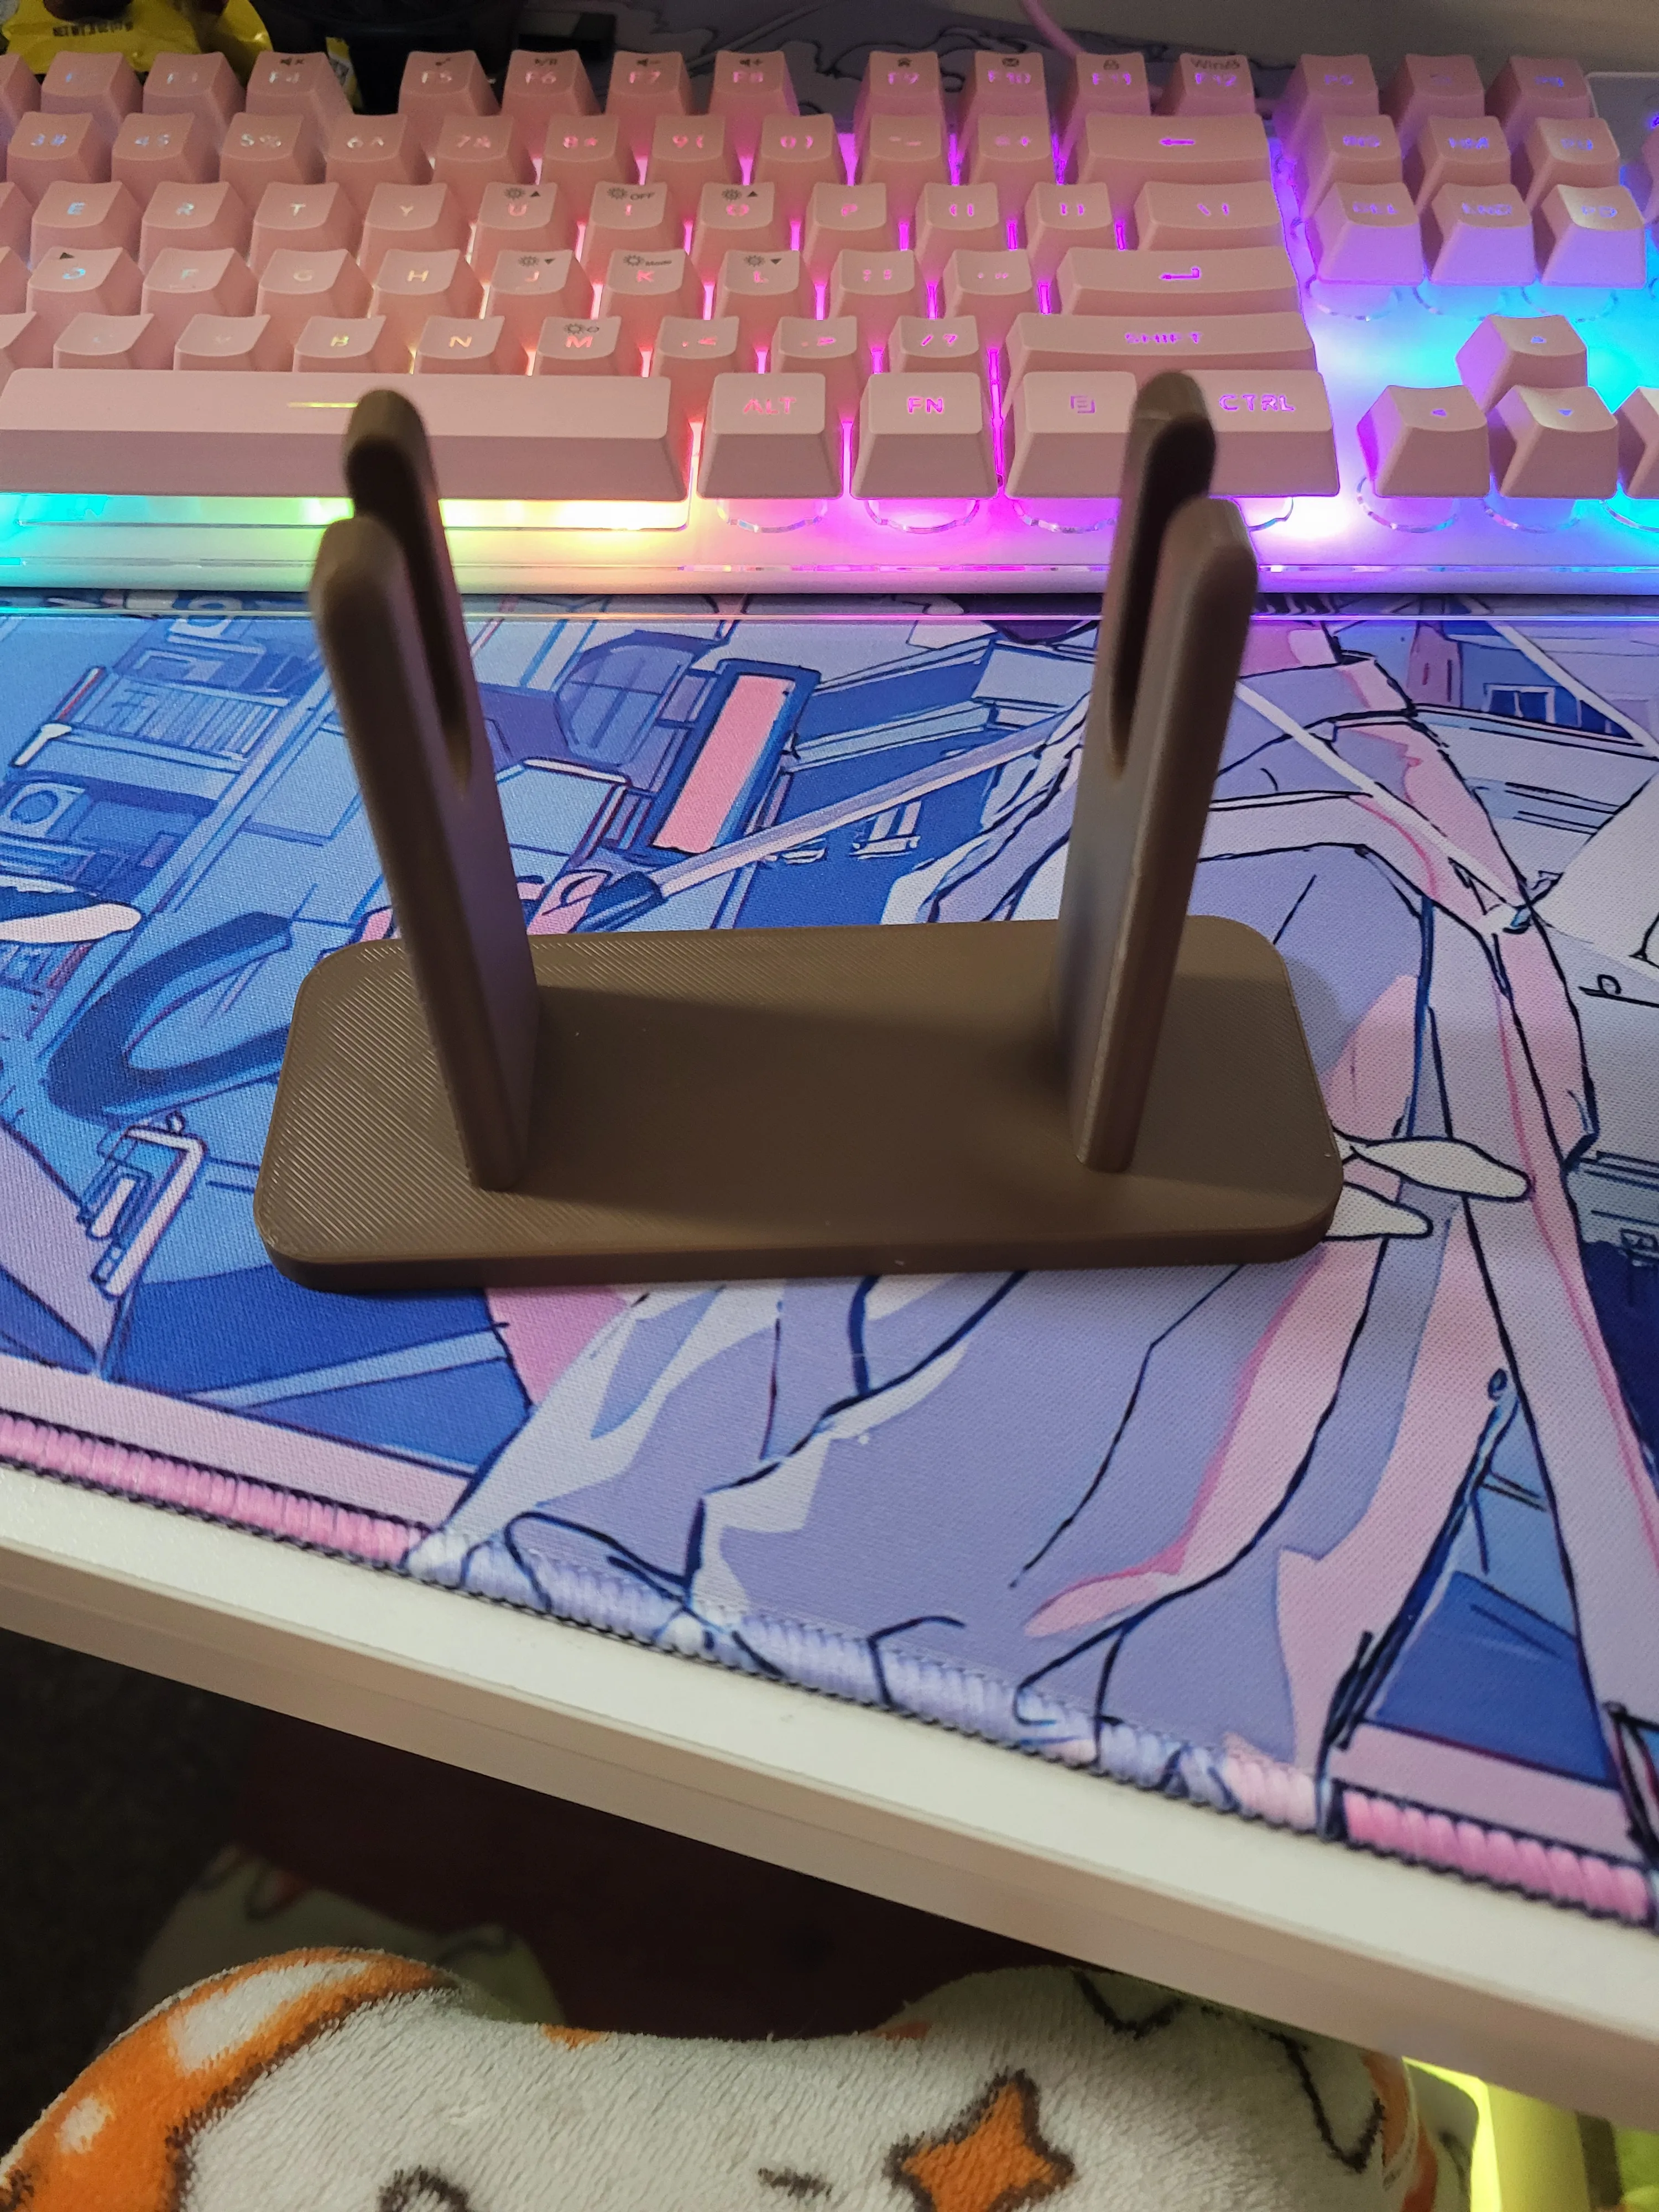
6. Print your stand
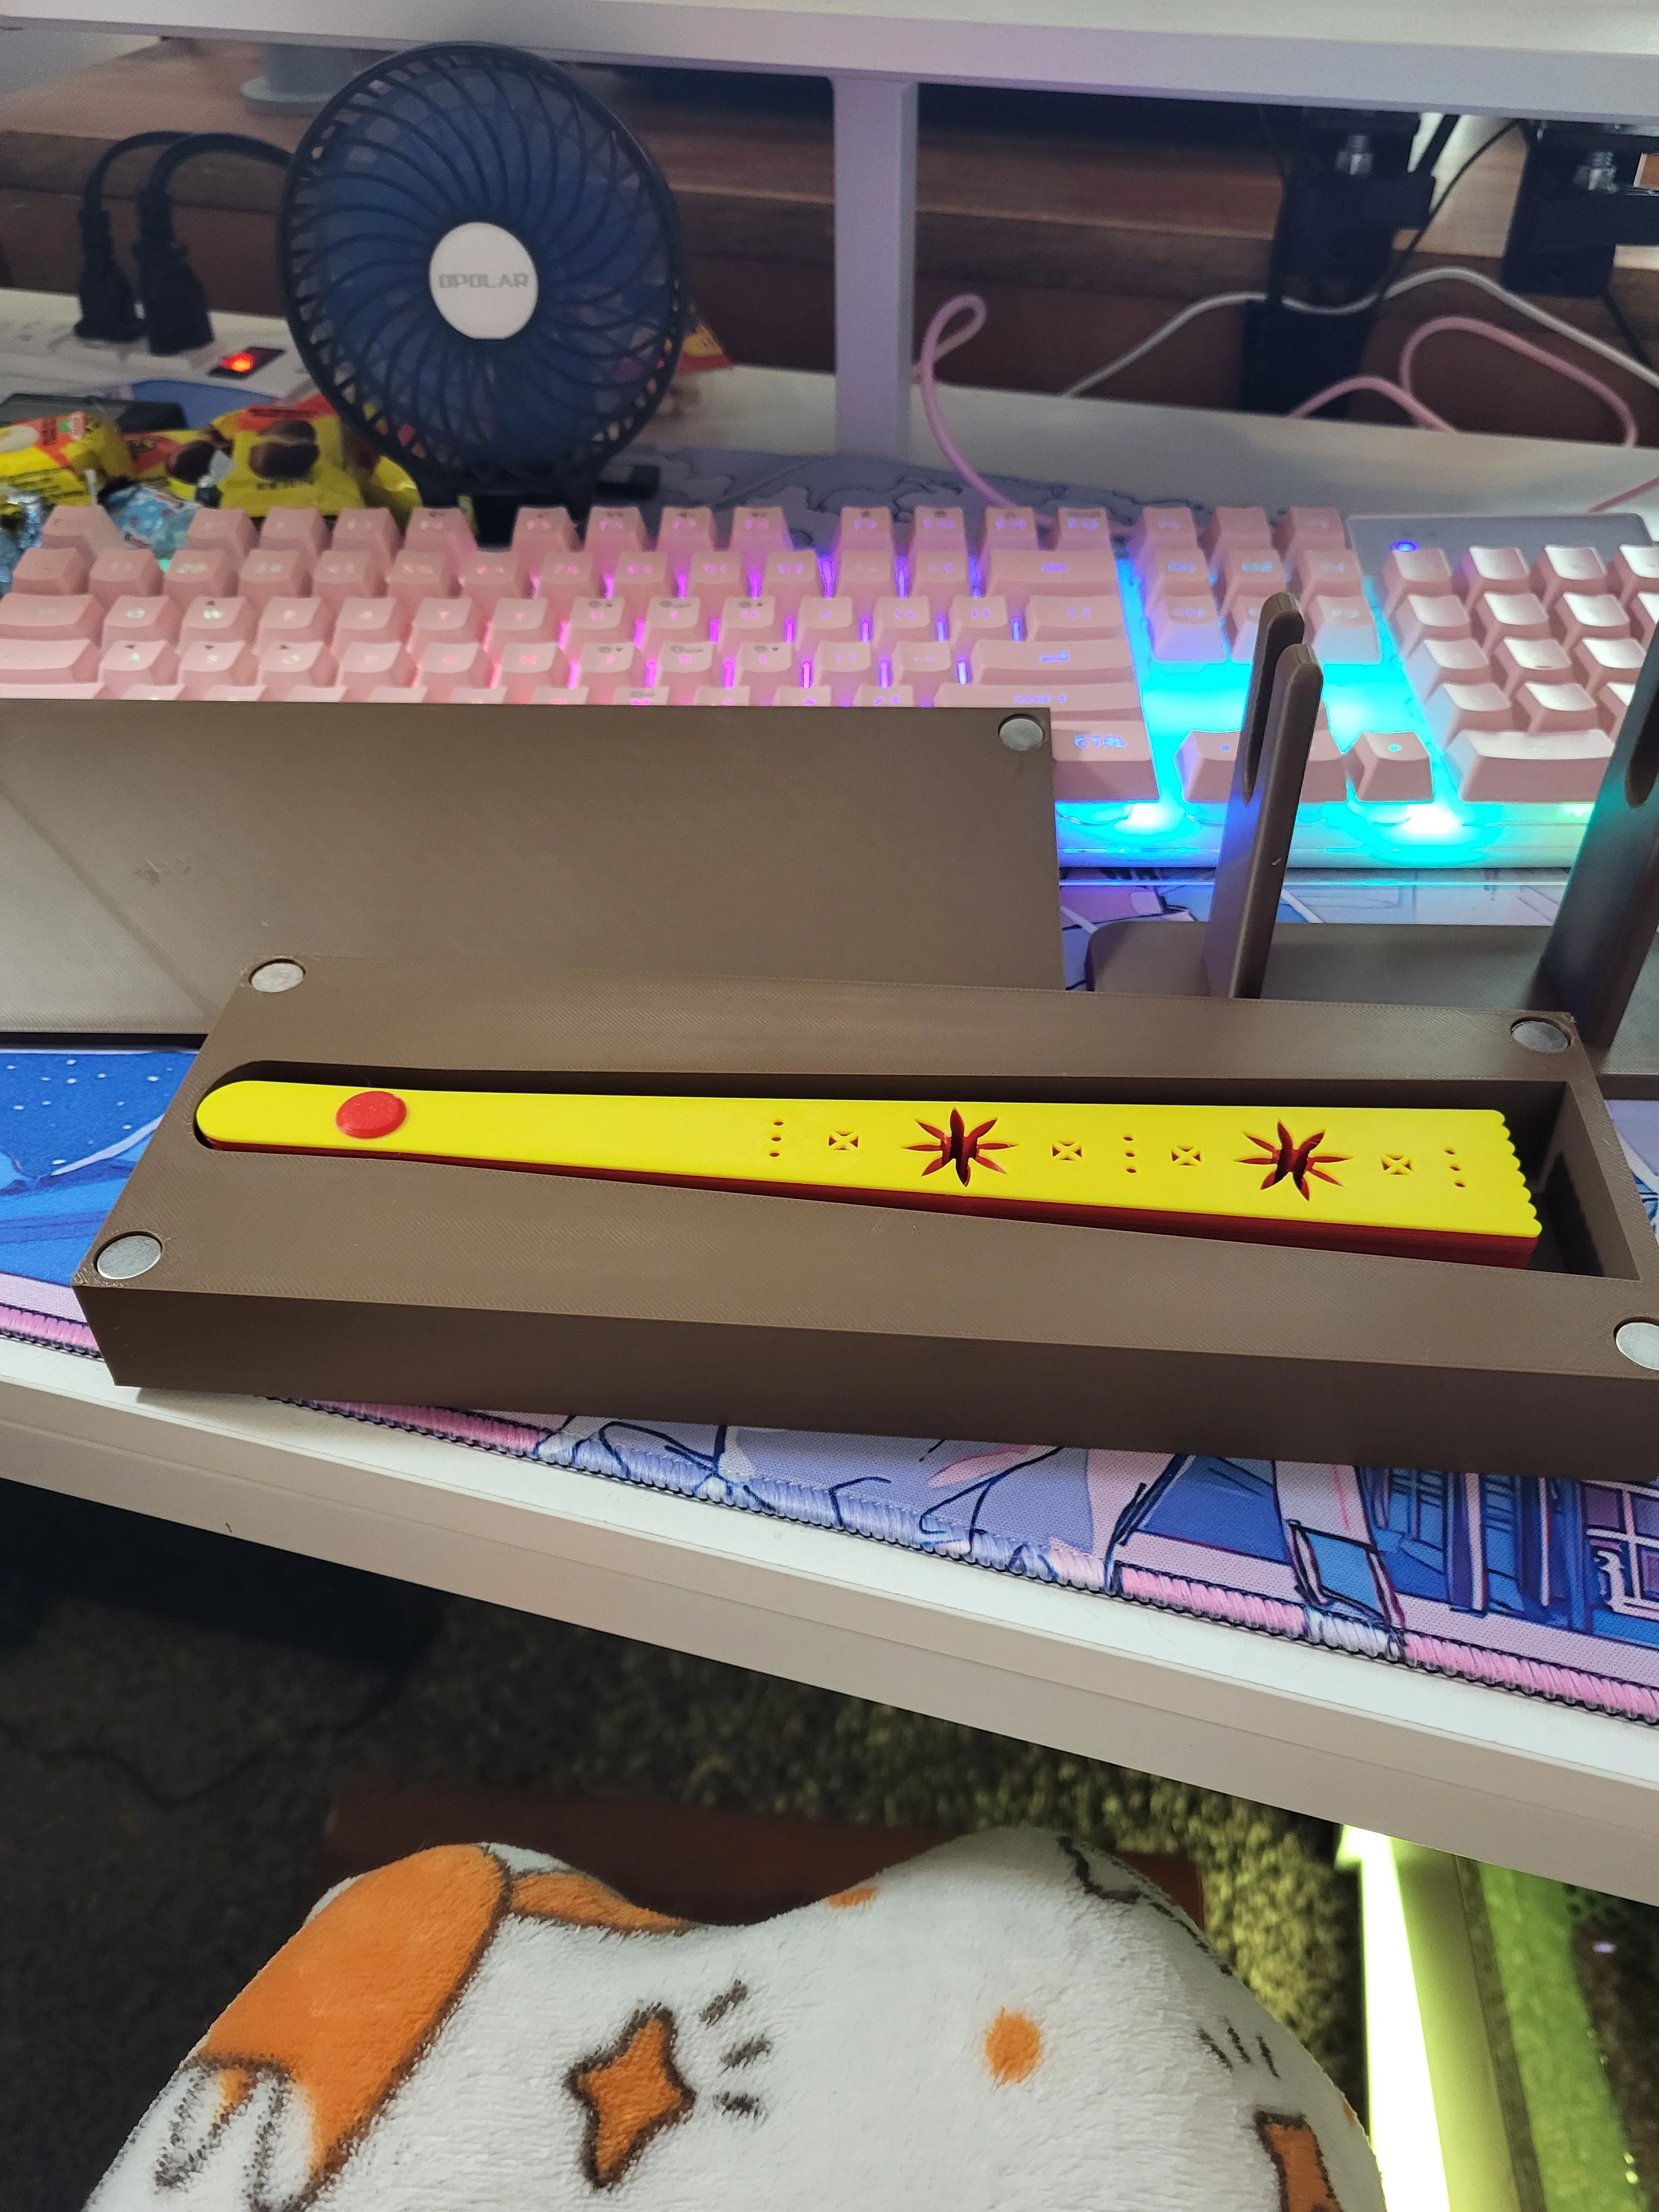
7. All Done!
Boost Me (for free)
Boost me if you enjoy my work!
License

You shall not share, sub-license, sell, rent, host, transfer, or distribute in any way the digital or 3D printed versions of this object, nor any other derivative work of this object in its digital or physical format (including - but not limited to - remixes of this object, and hosting on other digital platforms). The objects may not be used without permission in any way whatsoever in which you charge money, or collect fees.


Comment & Rating (6)