
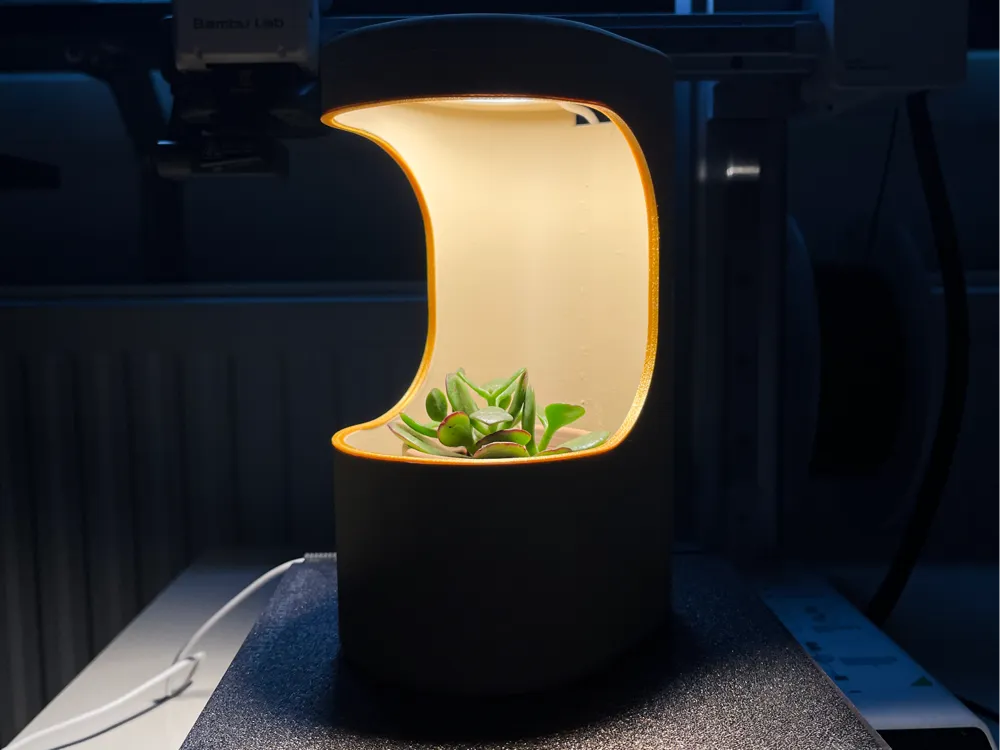
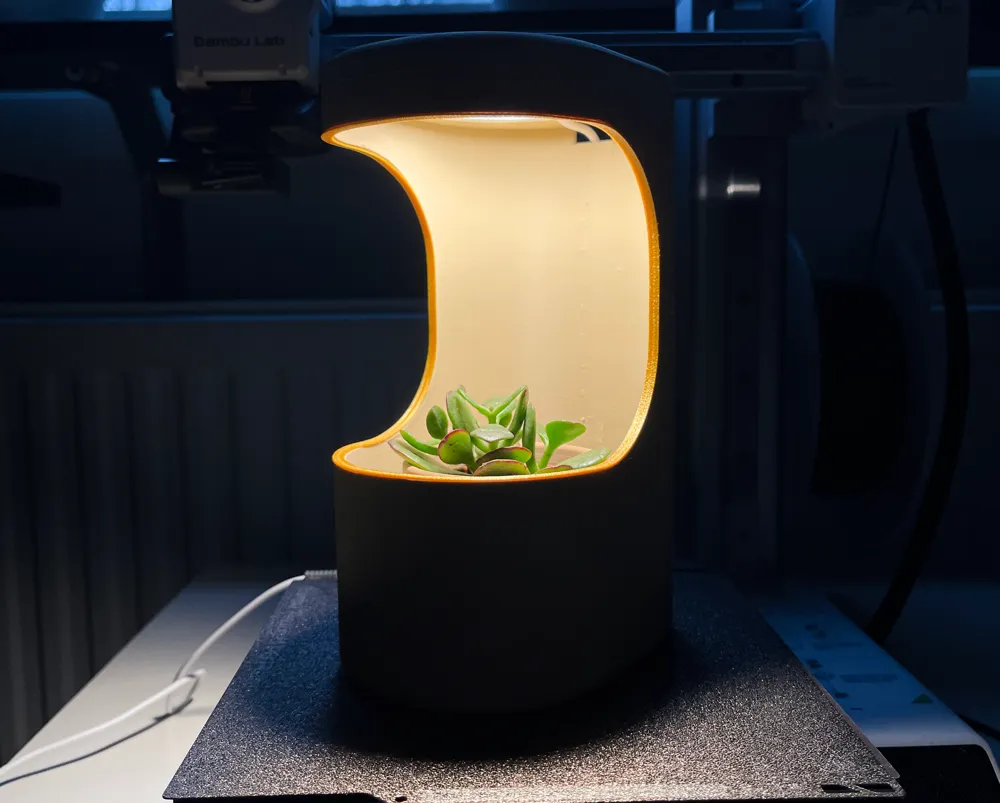
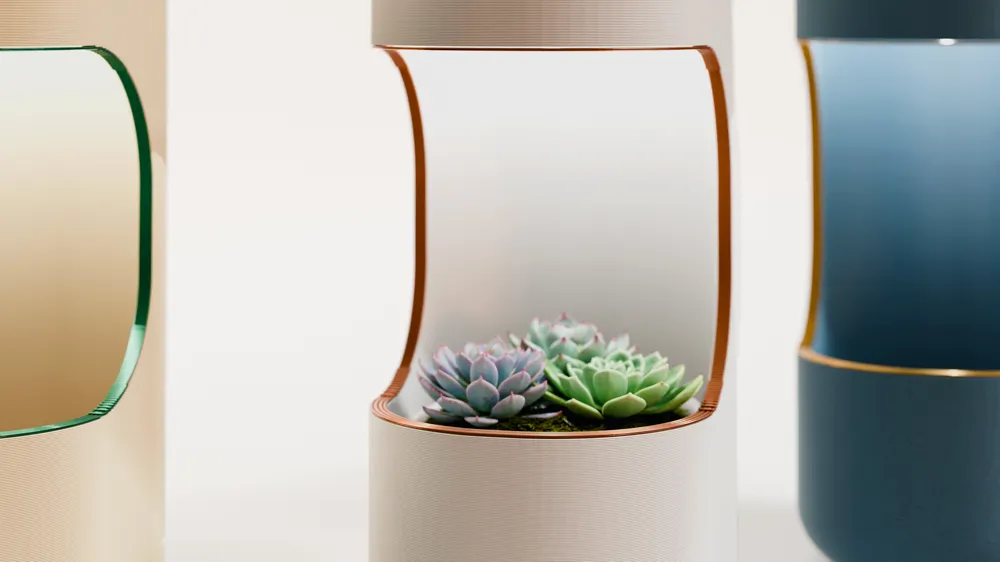
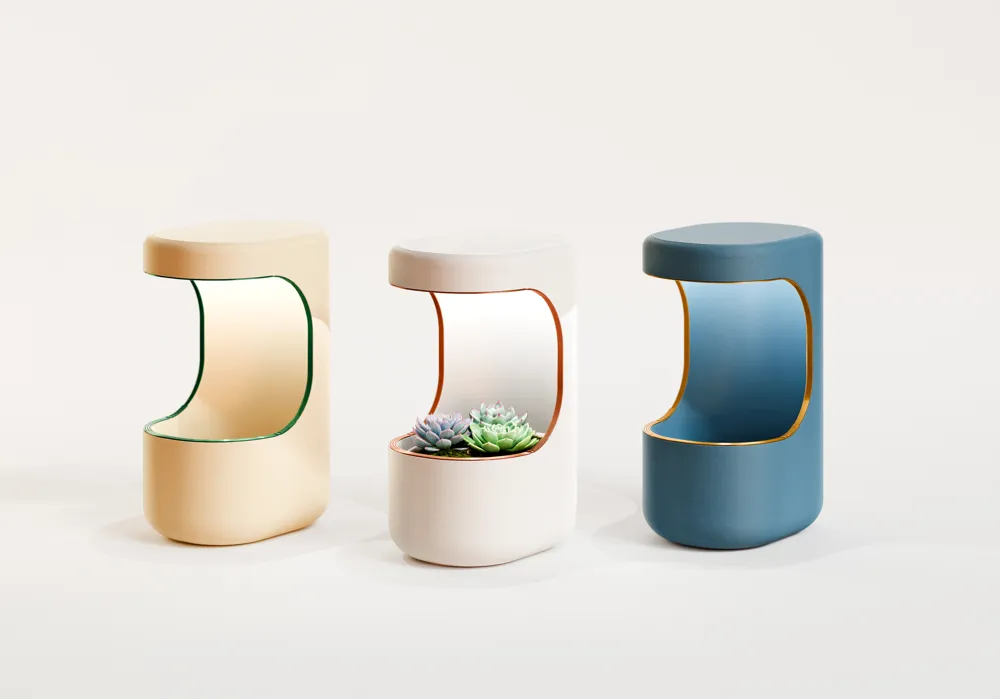
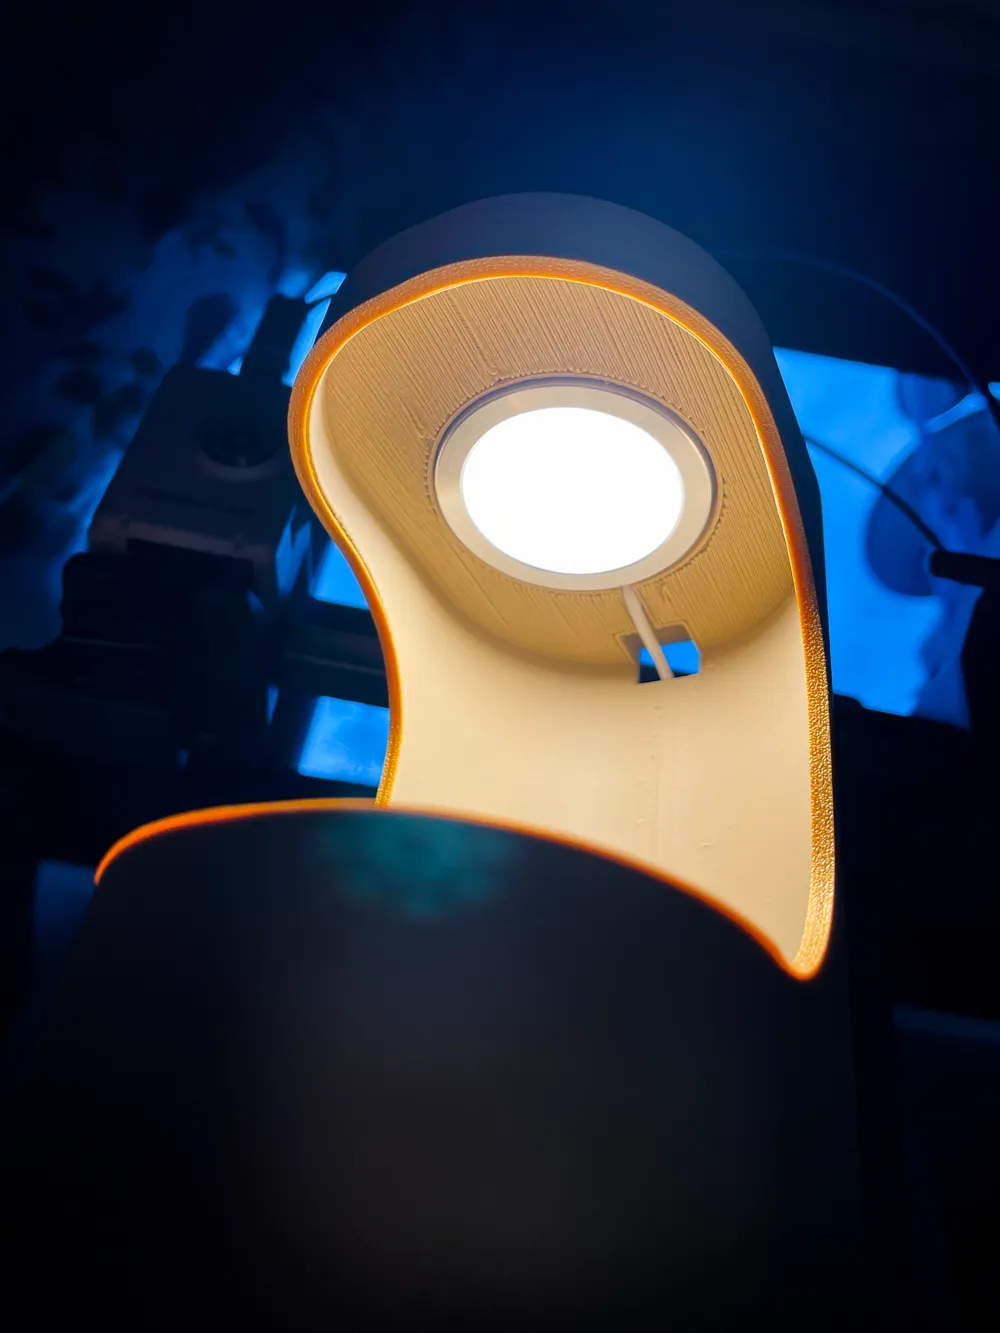
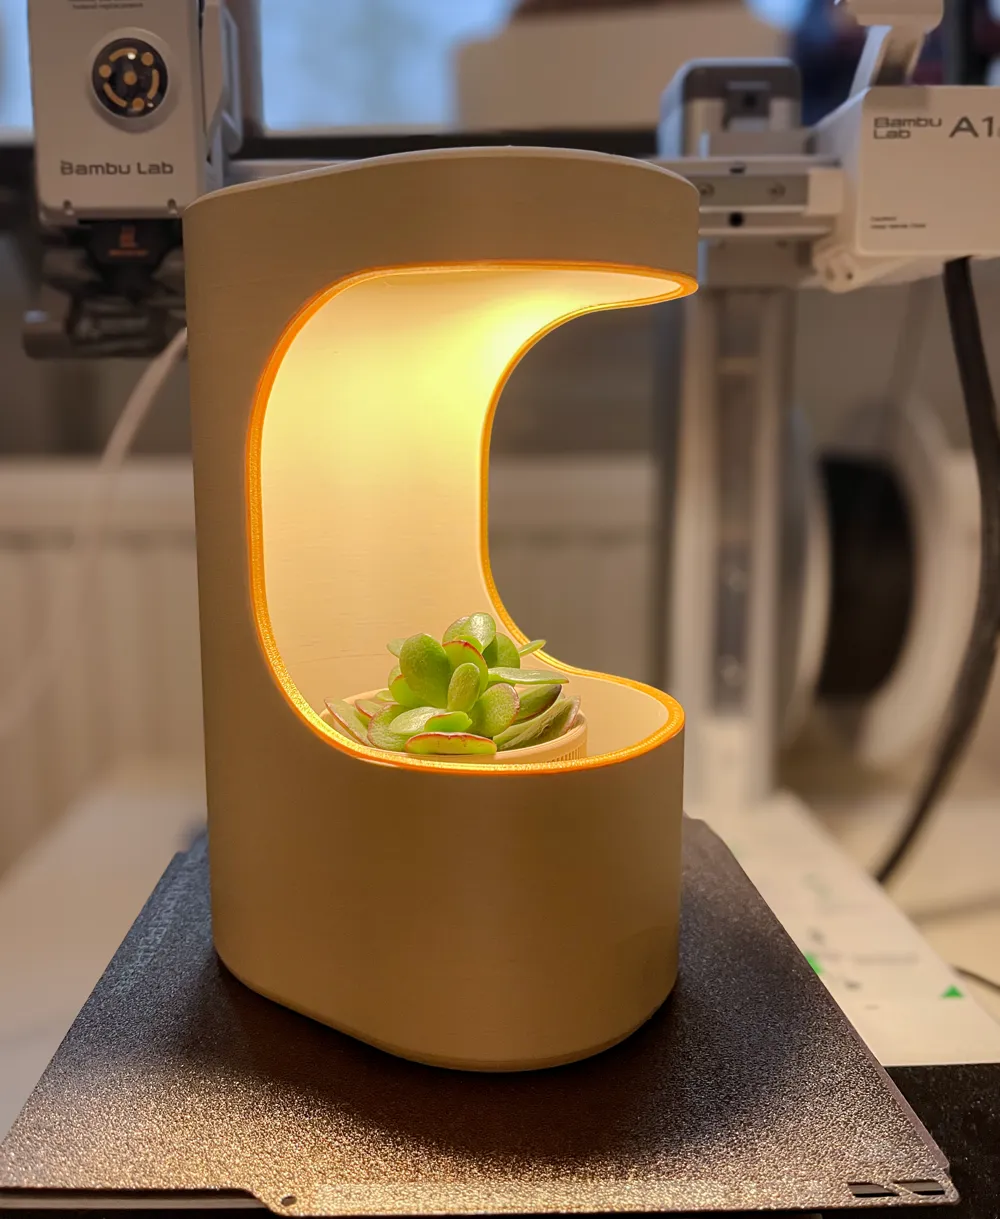
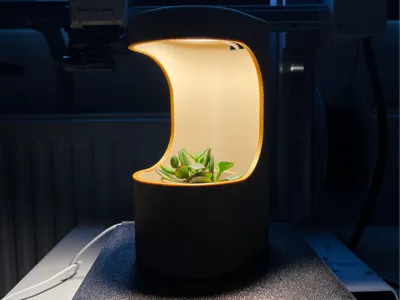
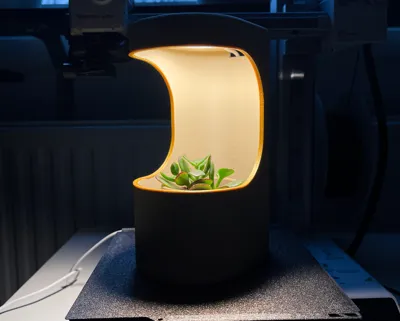
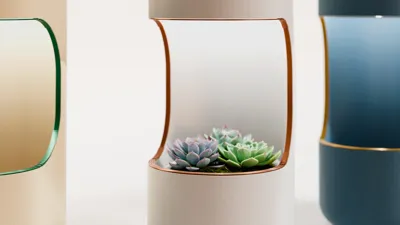
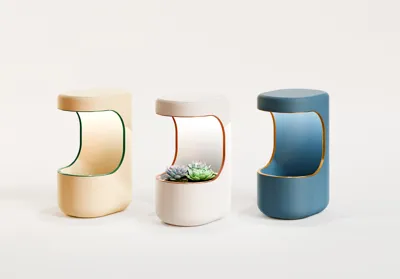
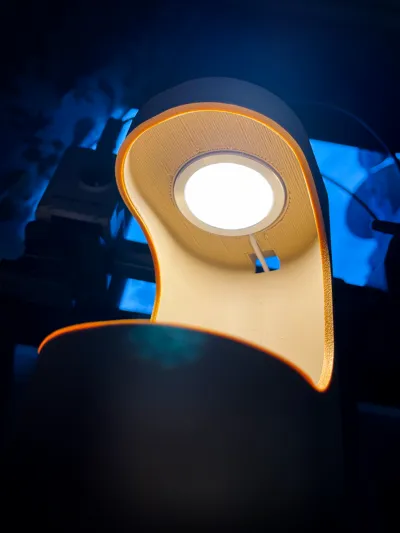
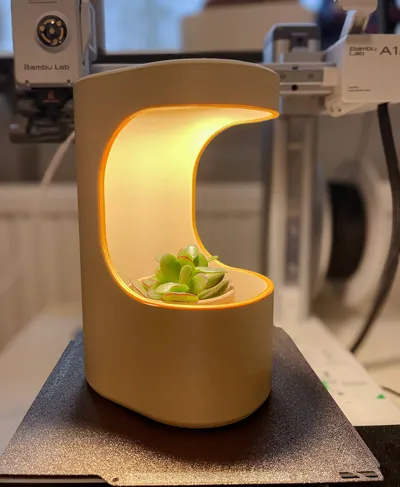
Indoor Planter with LED Grow Light
Print Profile(2)


Bill of Materials



Description
Boost Me (for free)
Boost me for free
🎯 Recommended Print Settings
For best results, print this design with a standard 0.4 mm nozzle and a 0.24 mm layer height—this is the sweet spot balancing speed and detail. Infill of 8% would work well, keeping it lightweight yet stable enough for everyday use.
🧾 Printing Options:
✅ Option 1: Fully Automatic (with AMS / Multi-Color Print)
- Just use the "Fill" option when applying colors in Bambu Studio — it will automatically fill the outer liner of the model.
- This method requires no assembly — just one click and done.
- However, it will take around 22 hours to print.
(Yeah... this is when I really wish I had a H2D 😅)
✅ Option 2: Print Separately & Assemble (Faster Method)
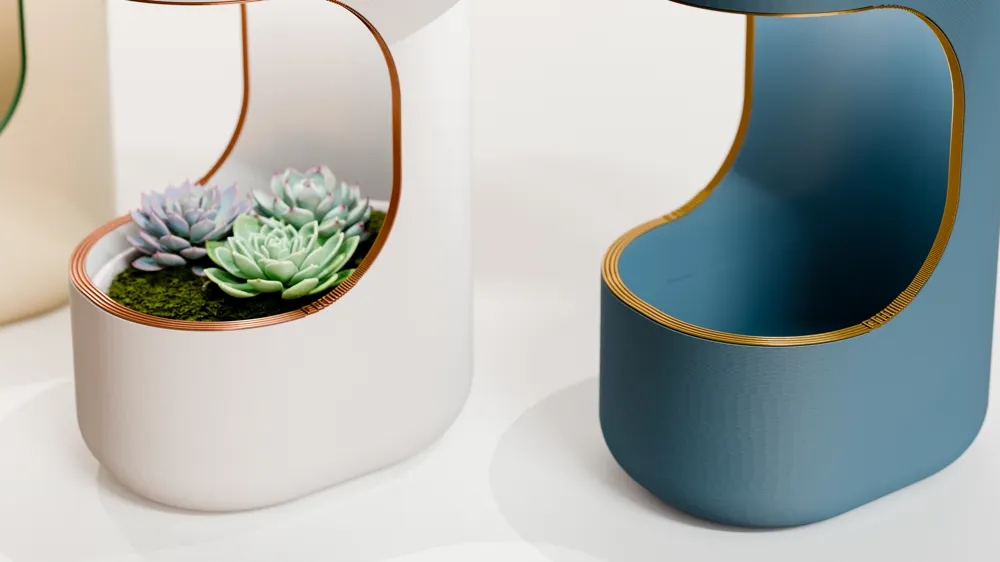
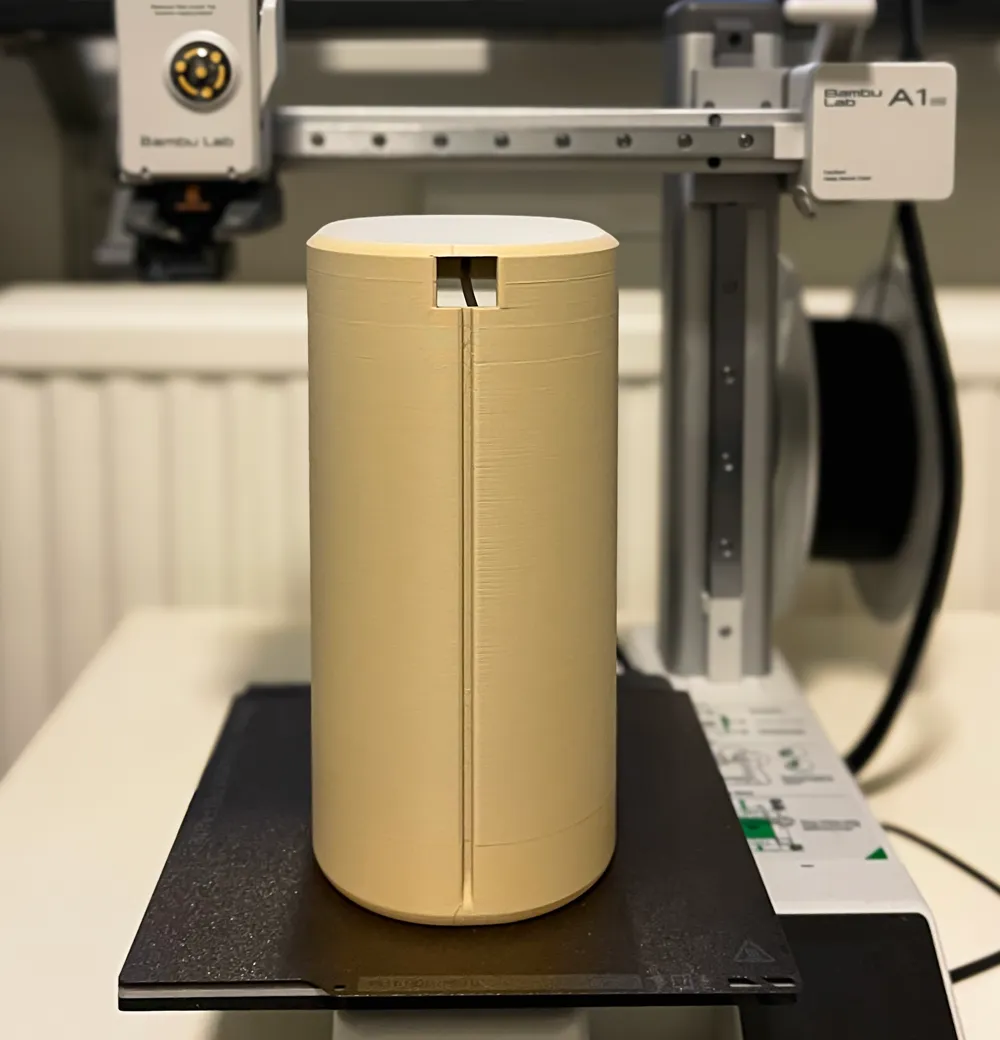
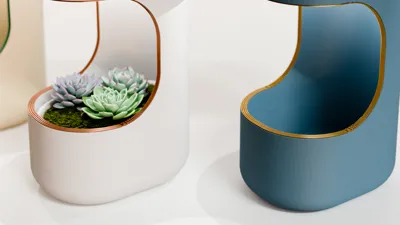
- I’ve included the outer liner , so you can print it and the planter individually.
- Total print time: under 6.5 hours!
🛠️ Assembly Instructions for Option 2:
- Align the Liner:
- Start by lining up the top and bottom ends of the outer liner with the main body.
- Refer to the reference image below for positioning.
- Shape & Hold:
- Gently shape the liner to match the curve of the planter.
- Use masking tape to temporarily hold it in place.
- (I prefer masking tape because it doesn’t leave marks, but any tape will work.)
- Apply Gentle Heat (Optional but Helpful):
- Use a heat gun or hair dryer to apply gentle heat across the curved liner.
- After removing the tape, the liner will hold its shape better — making it easier to glue.
- Glue the Liner:
- Apply super glue along the edge of the liner and press it into place.
- Insert the Cable:
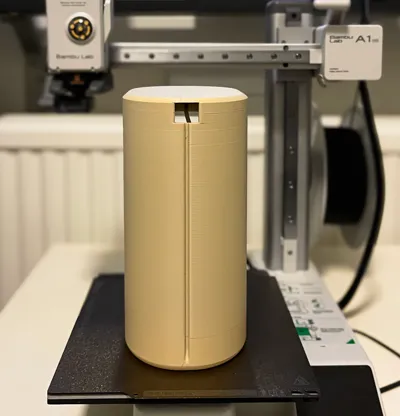
- Thread your USB cable through the rectangular hole in the body.
- The body with the control button, press the button down gently while pushing it through — that helps it slide in easier.
My Other Designs
Check out my other designs
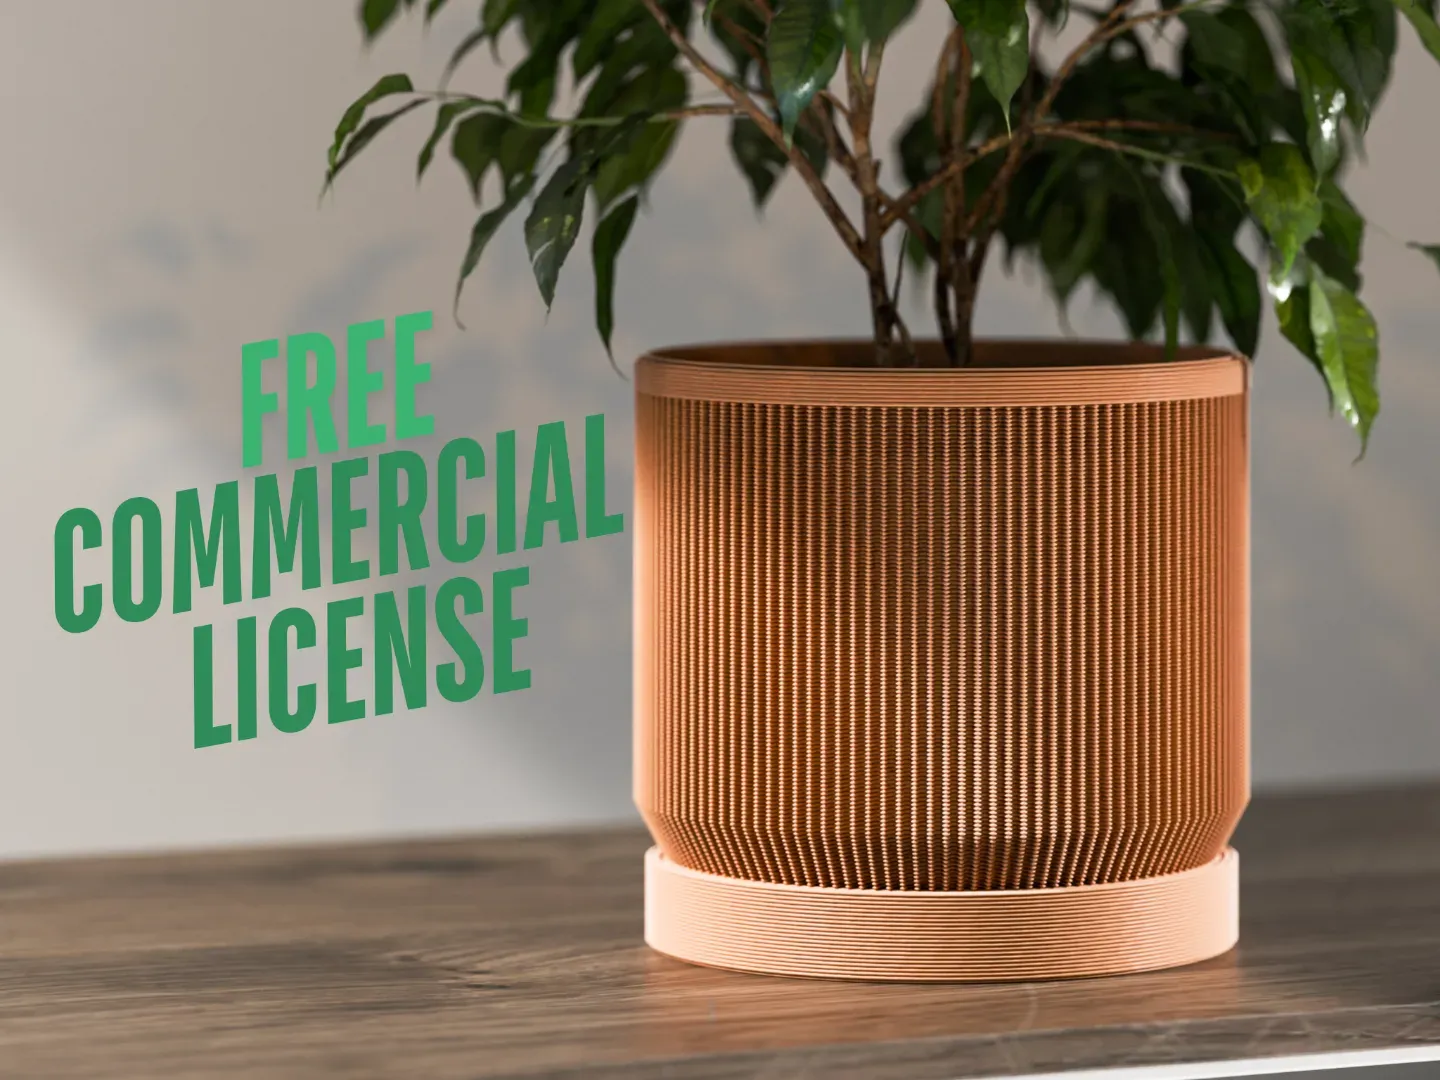
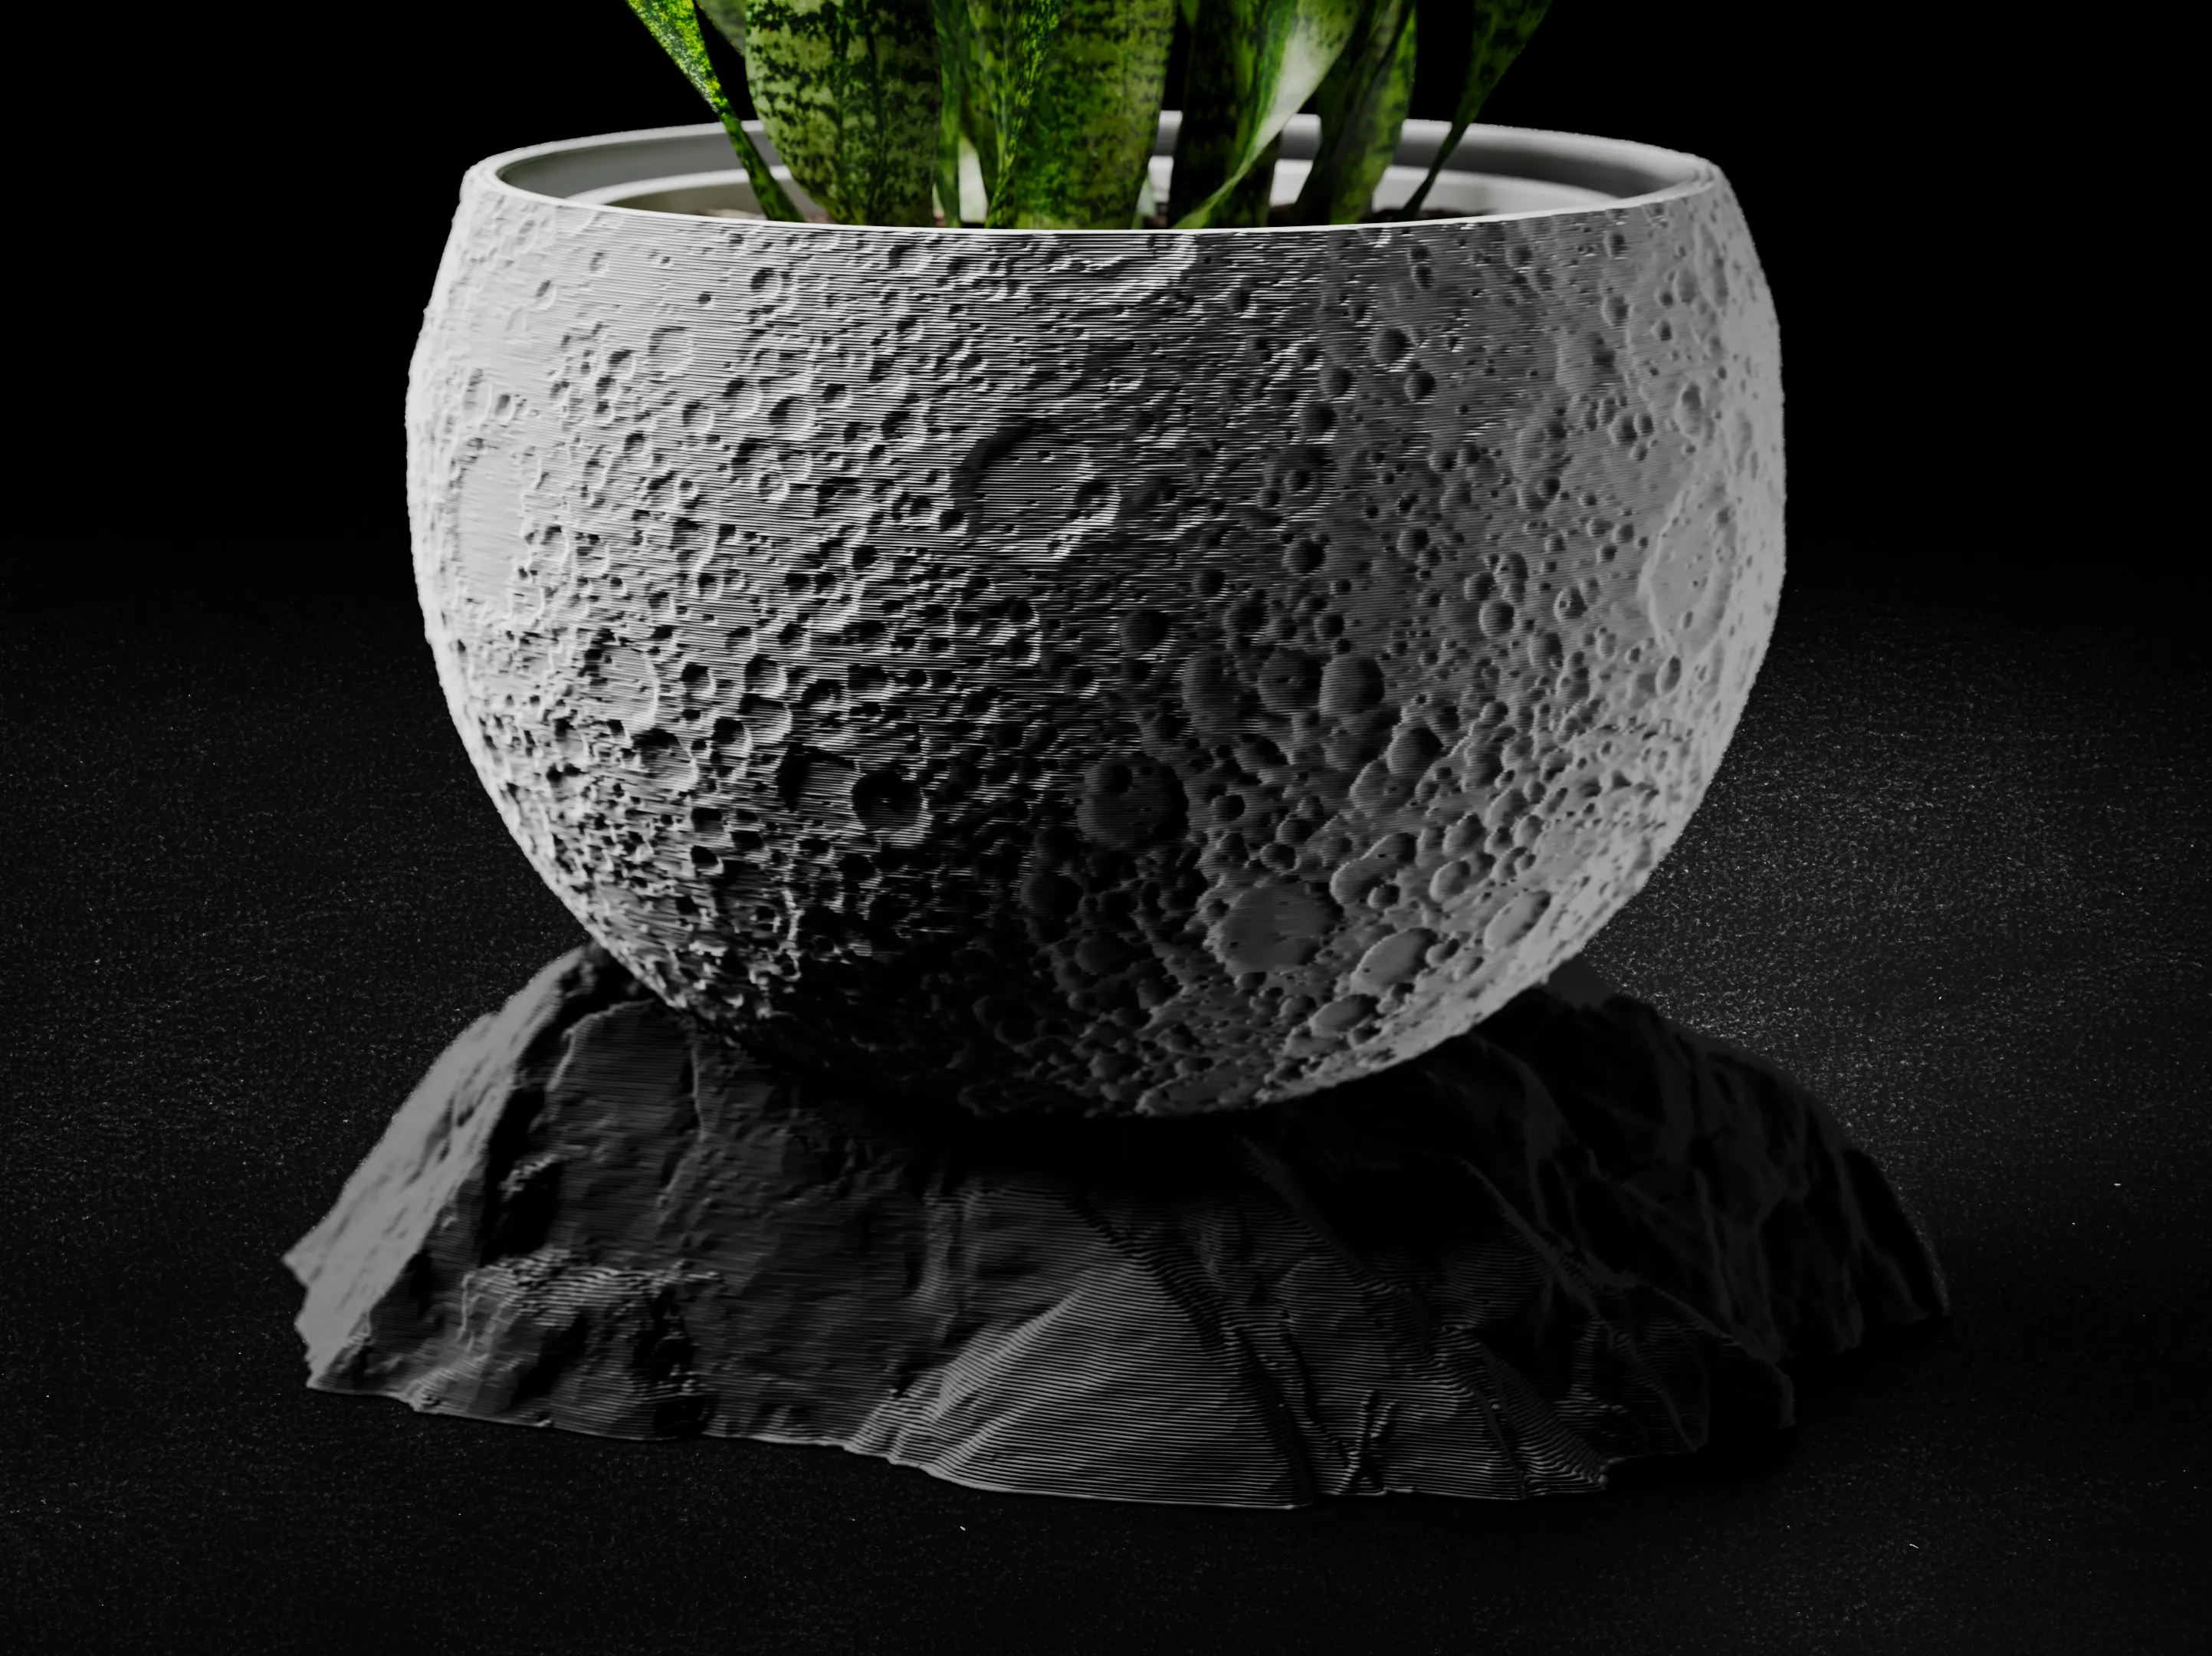
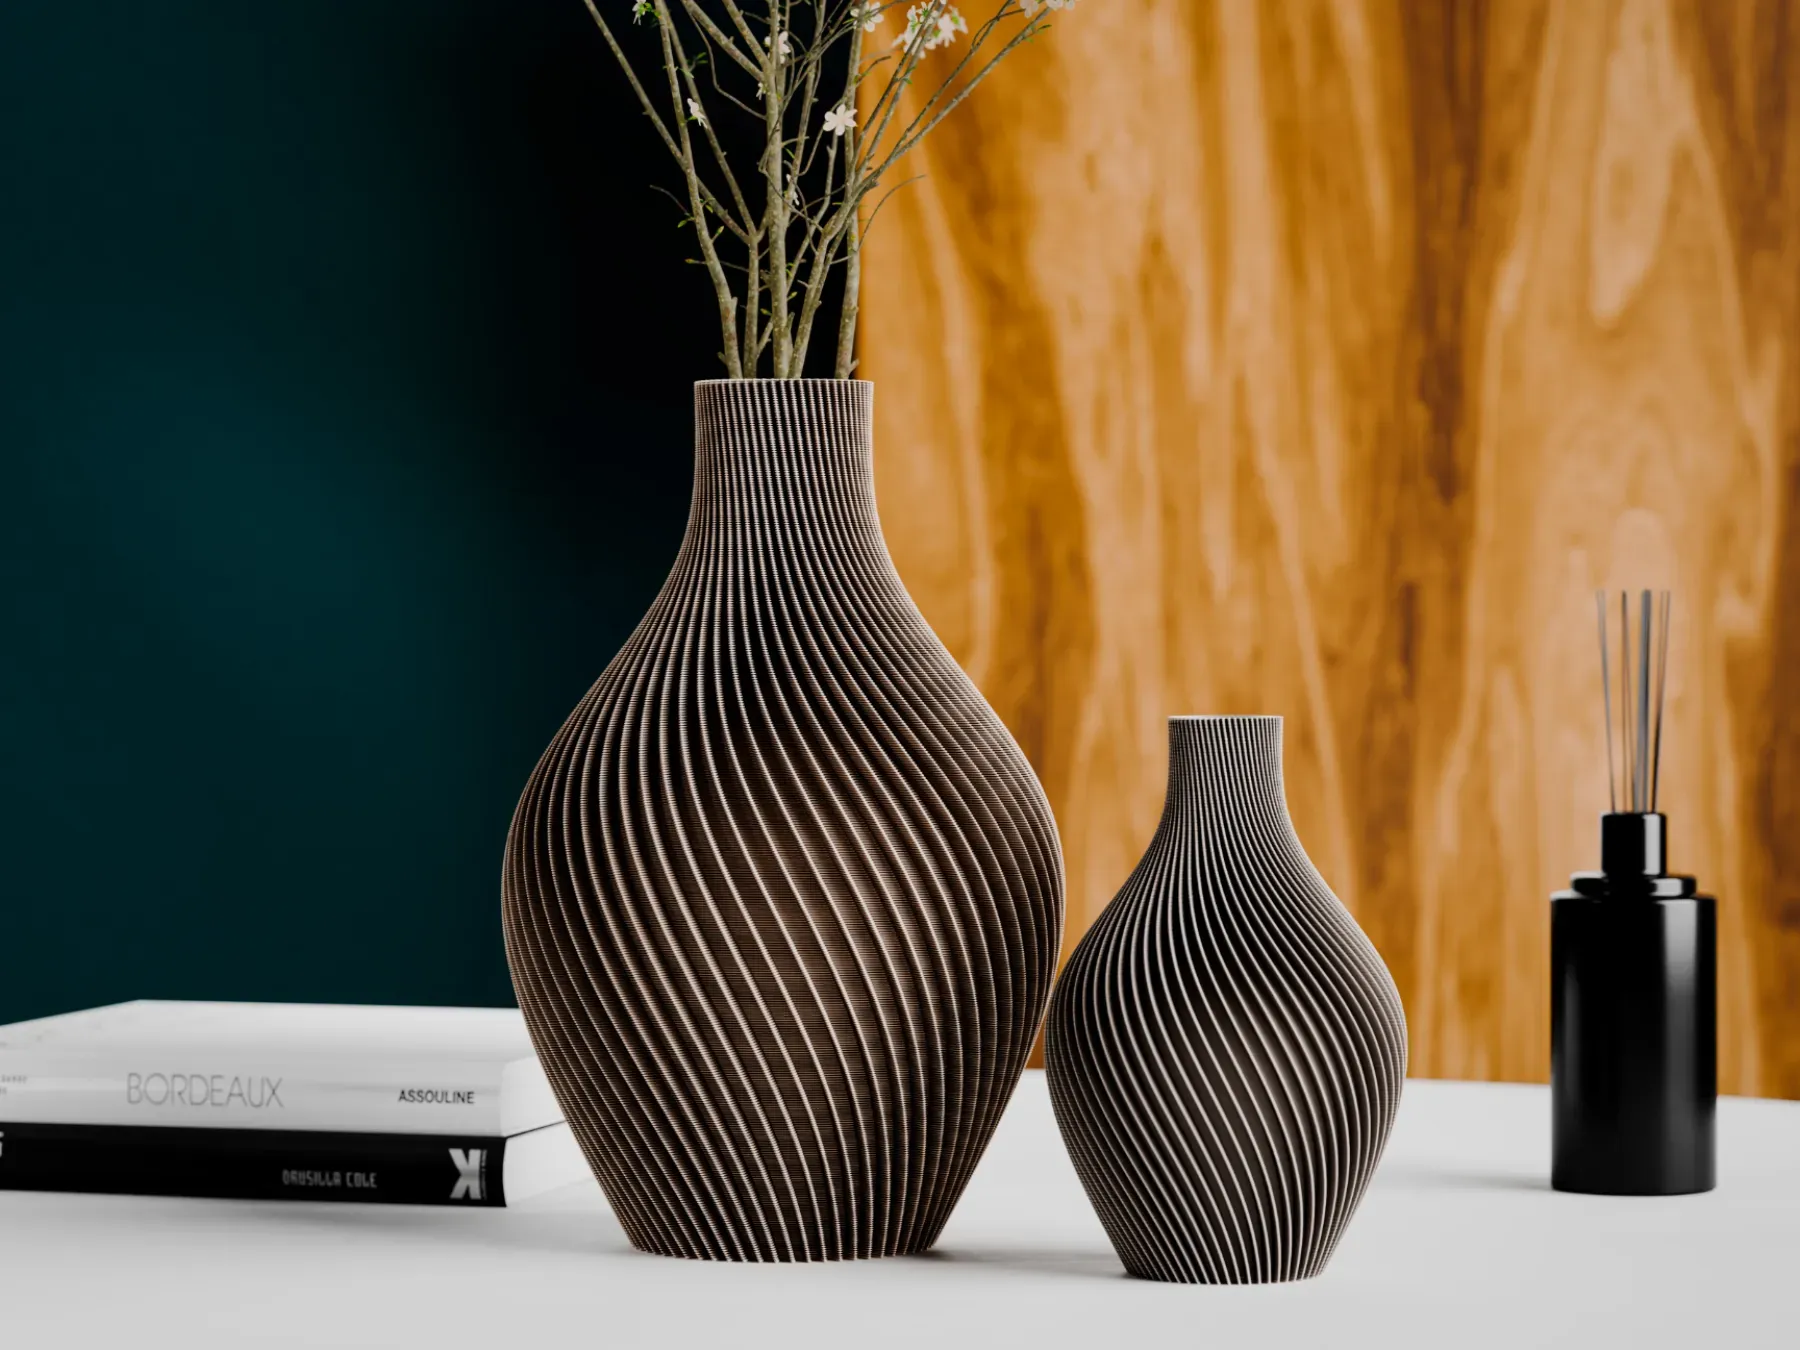
Let me know if you have any questions or difficulties. Happy Printing !!!
Commercial license available for my models through Patreon.
https://patreon.com/NordicCreativa
Love My Designs? Support My Work with a Coffee ☕

License

You shall not share, sub-license, sell, rent, host, transfer, or distribute in any way the digital or 3D printed versions of this object, nor any other derivative work of this object in its digital or physical format (including - but not limited to - remixes of this object, and hosting on other digital platforms). The objects may not be used without permission in any way whatsoever in which you charge money, or collect fees.


Comment & Rating (26)