
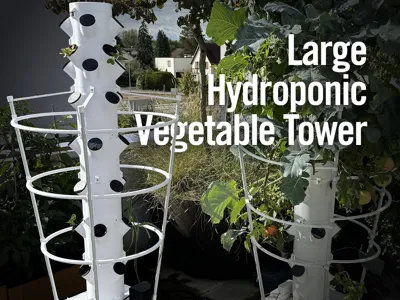
Vertical Garden - Large Hydroponic Vegetable Tower
Print Profile(7)


Description
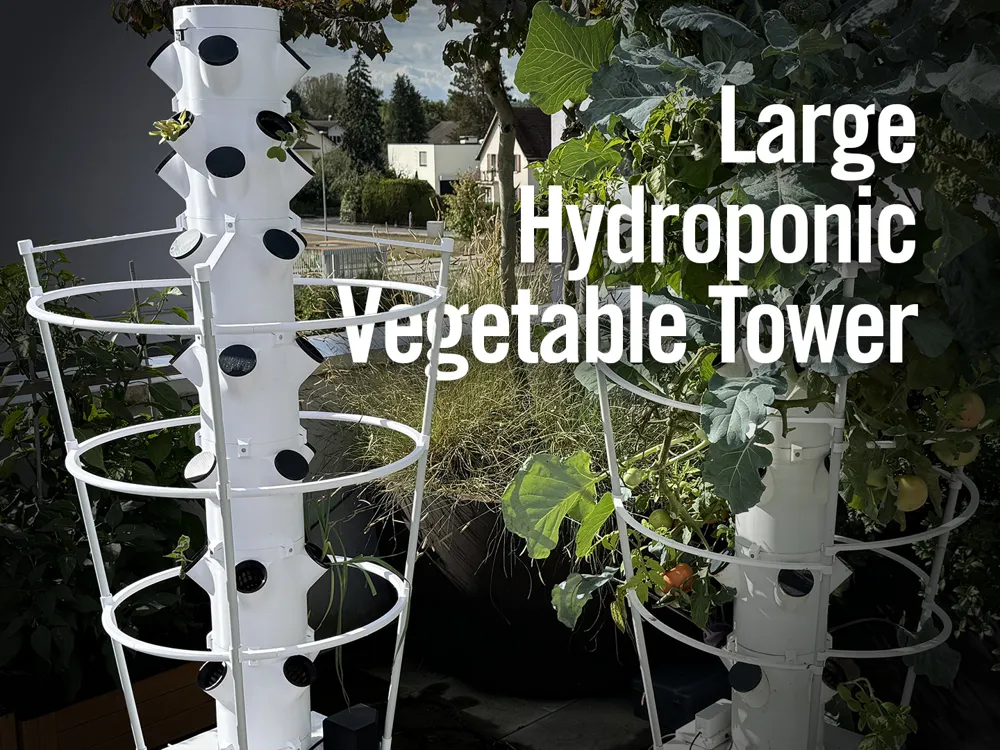
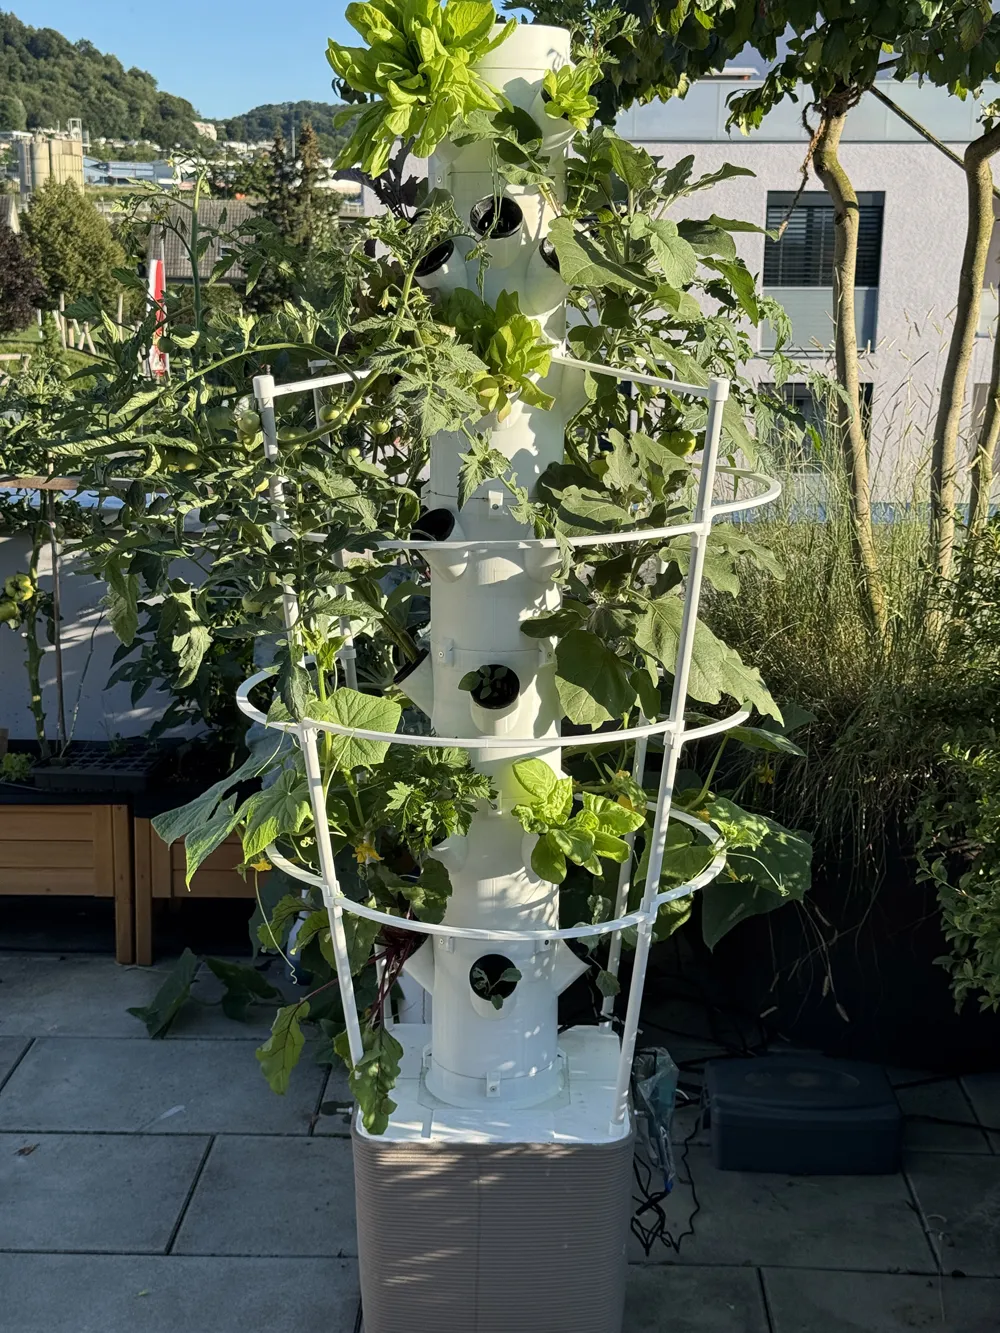
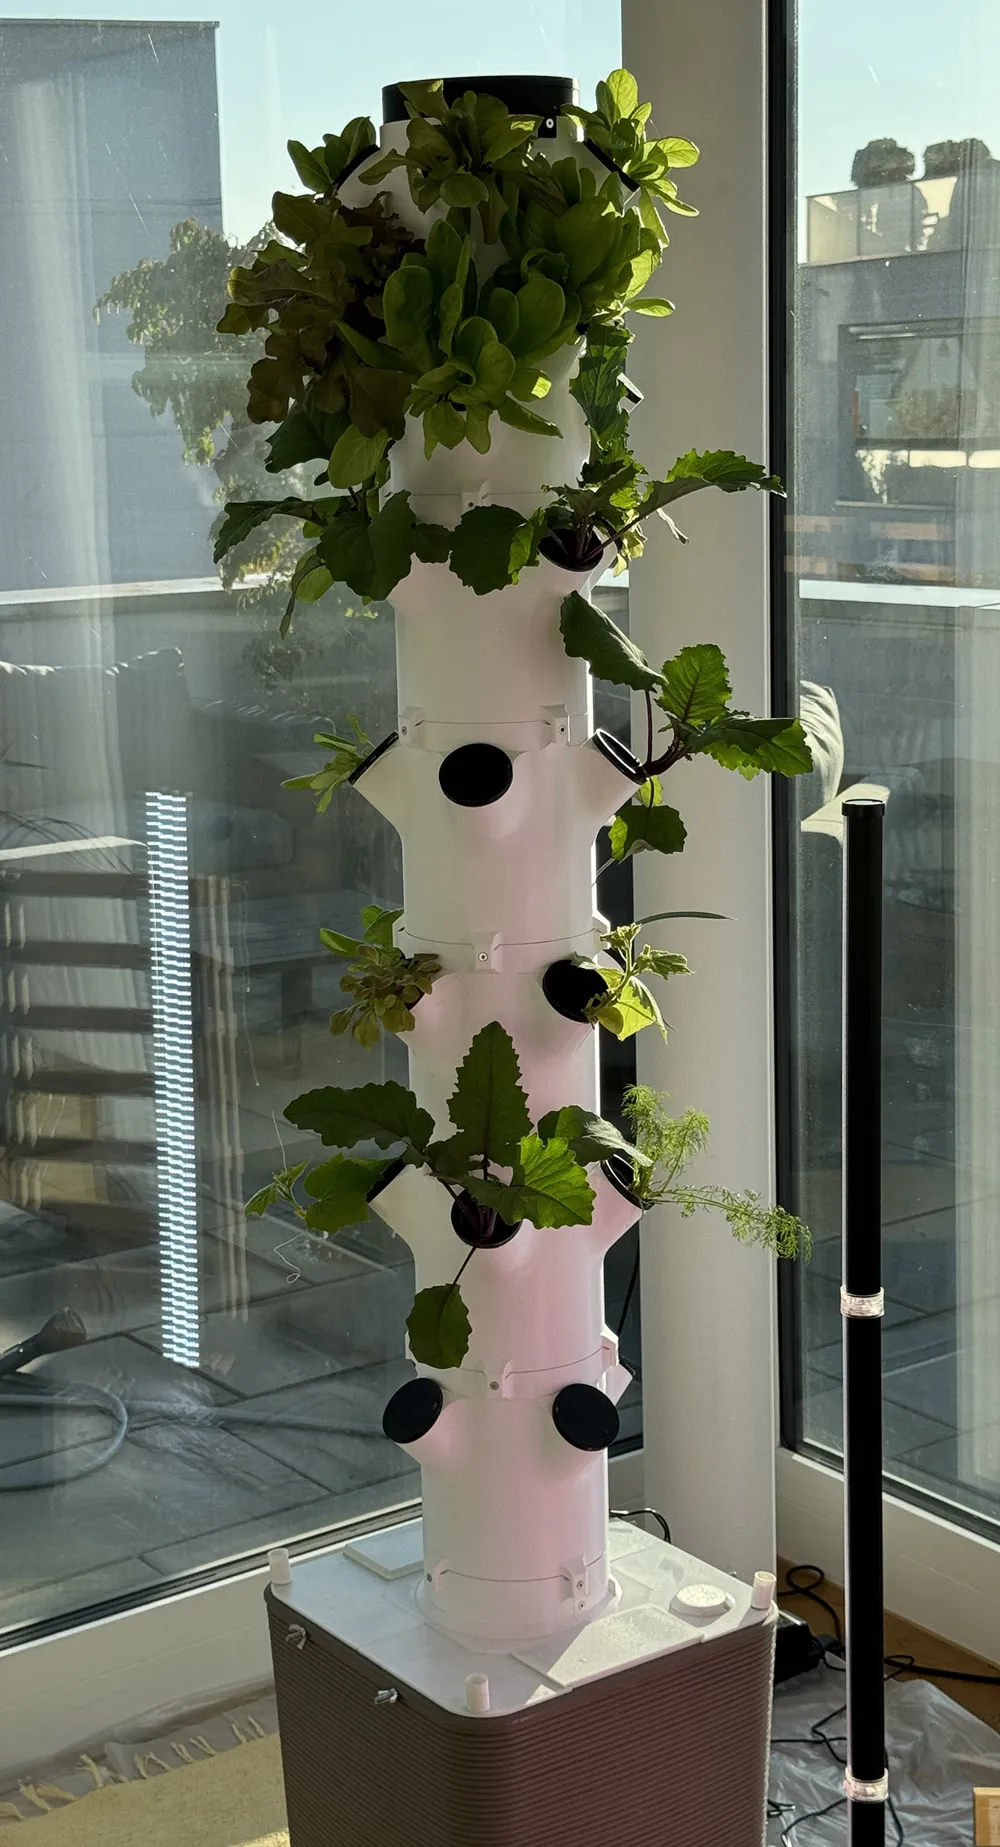
Grow Big: Tomatoes, Broccoli, Cucumbers, Peppers, Lettuce, Herbs, & More
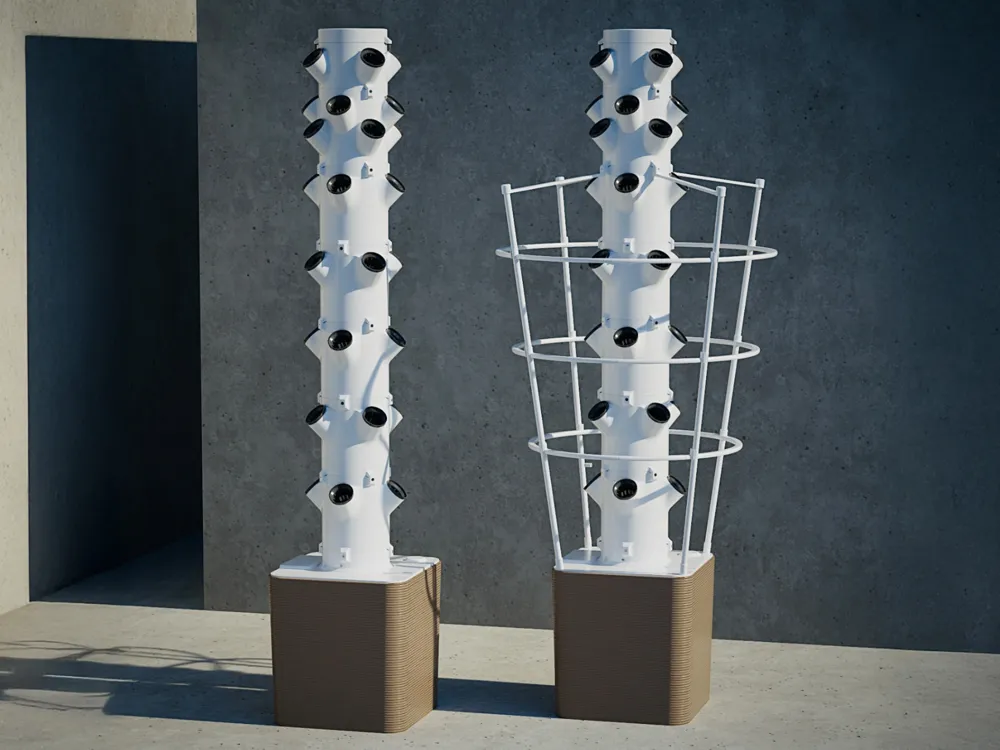
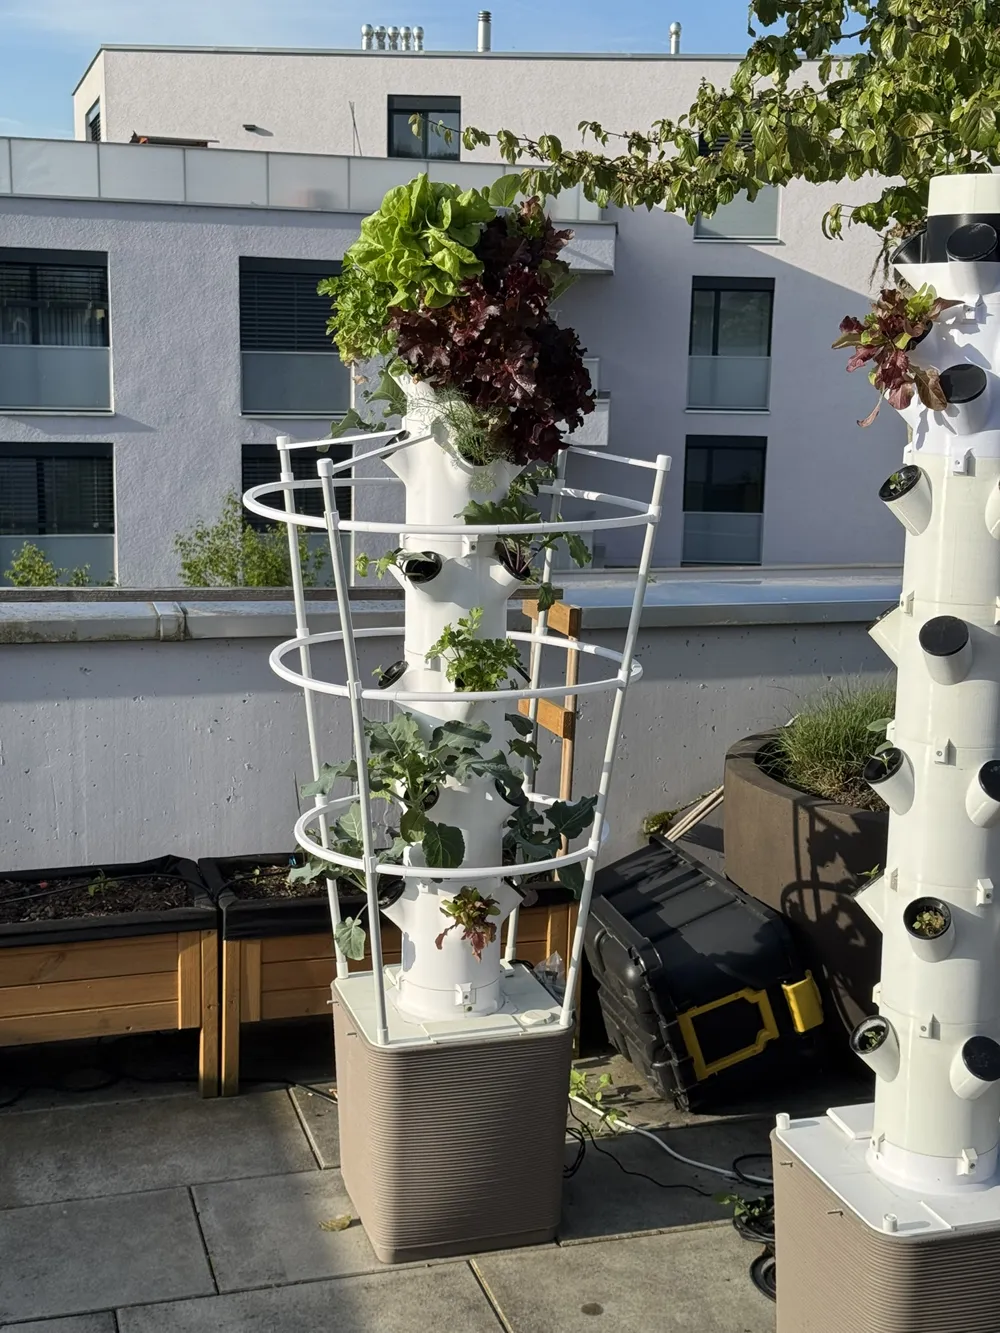
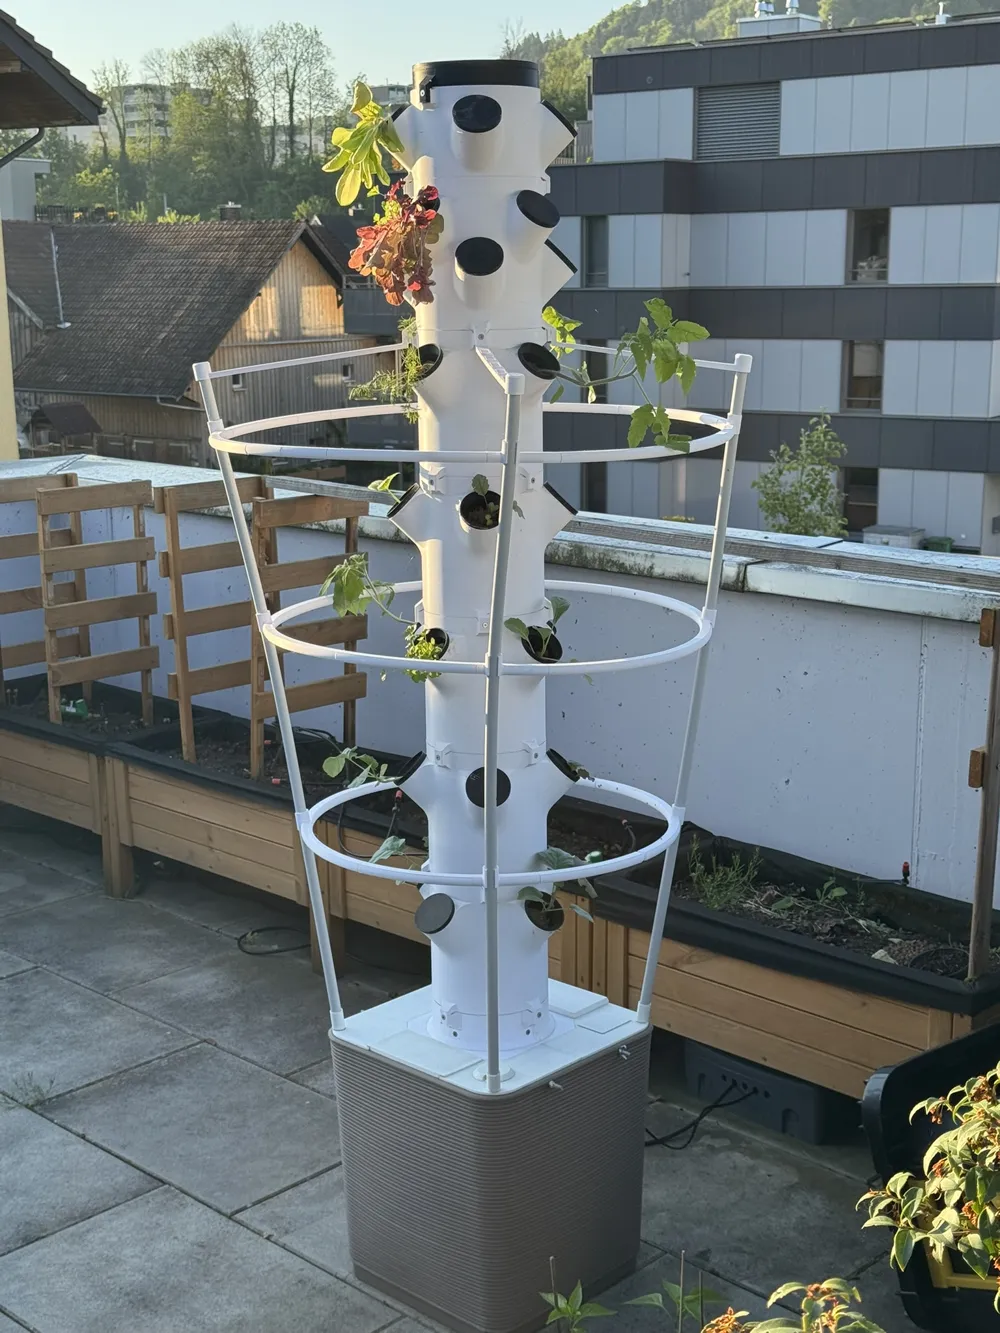
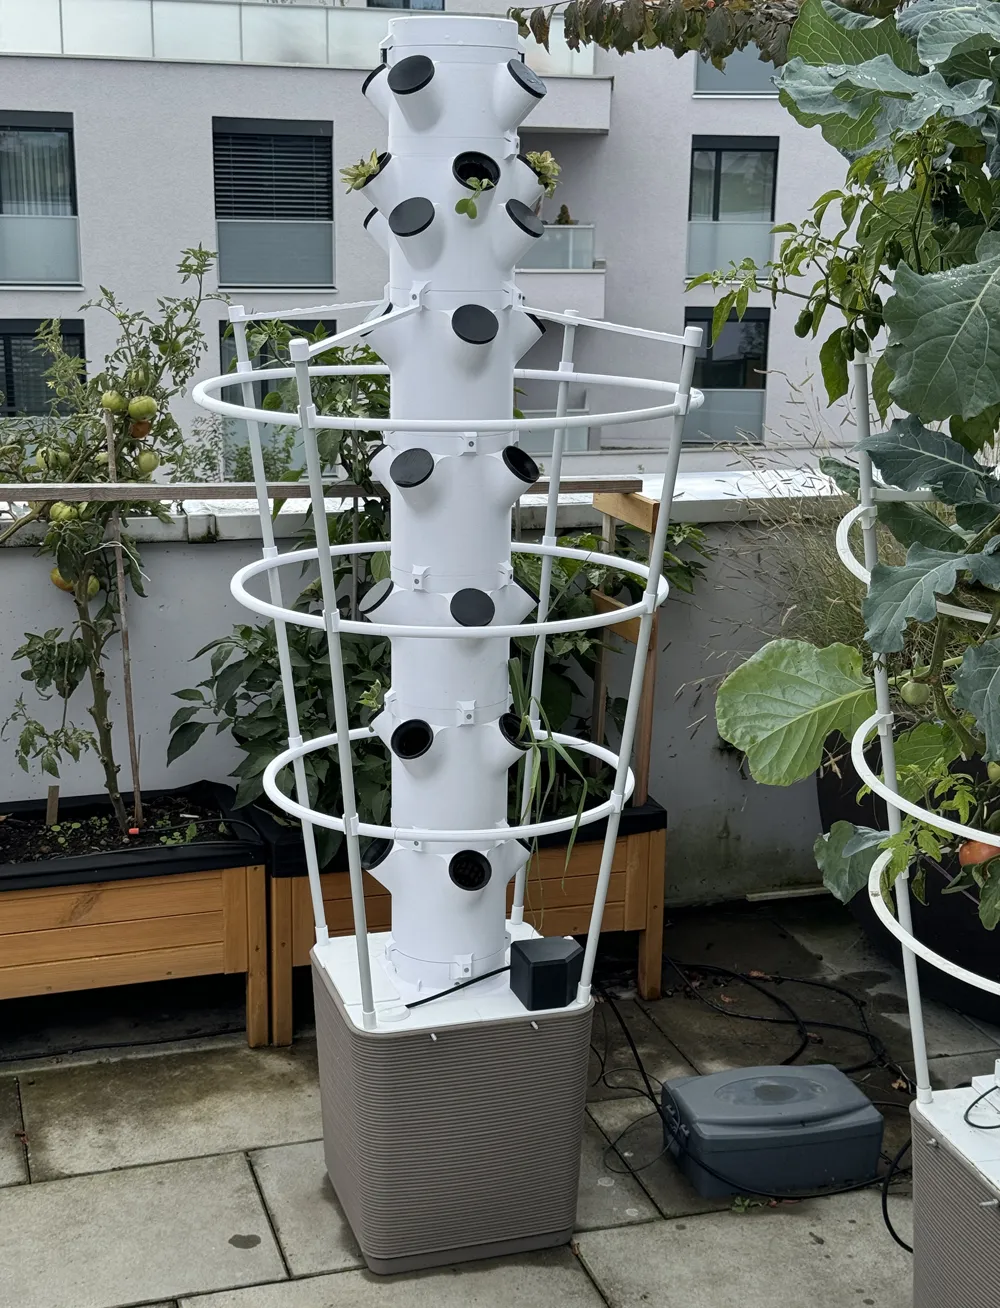
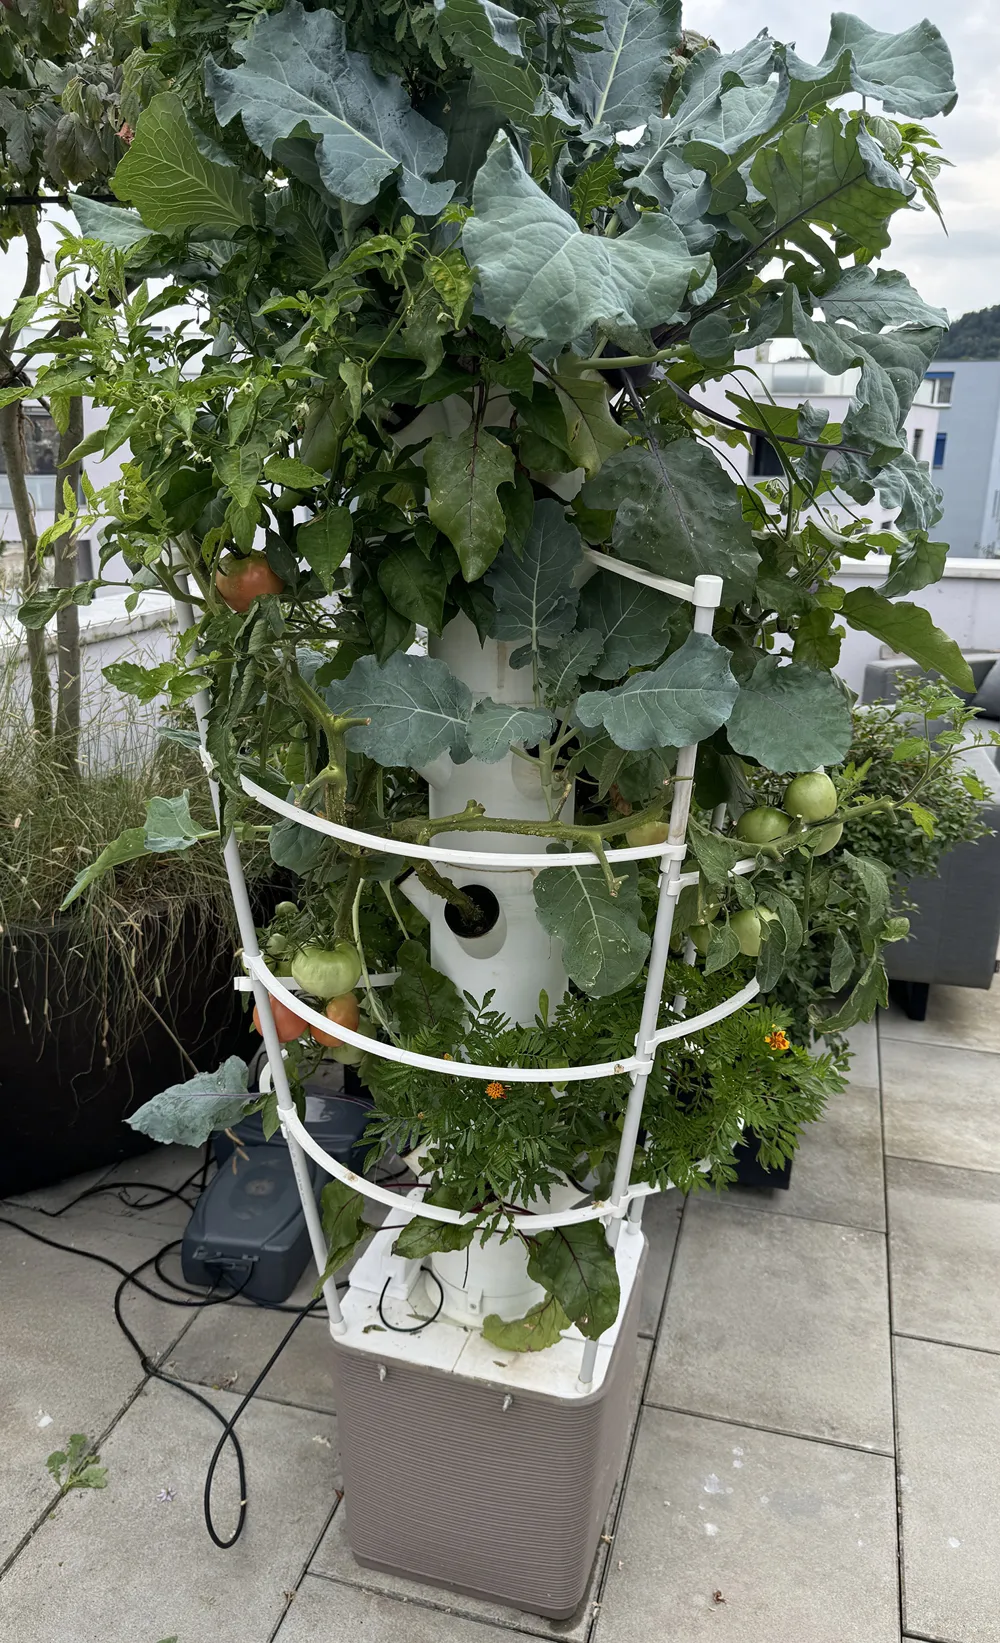
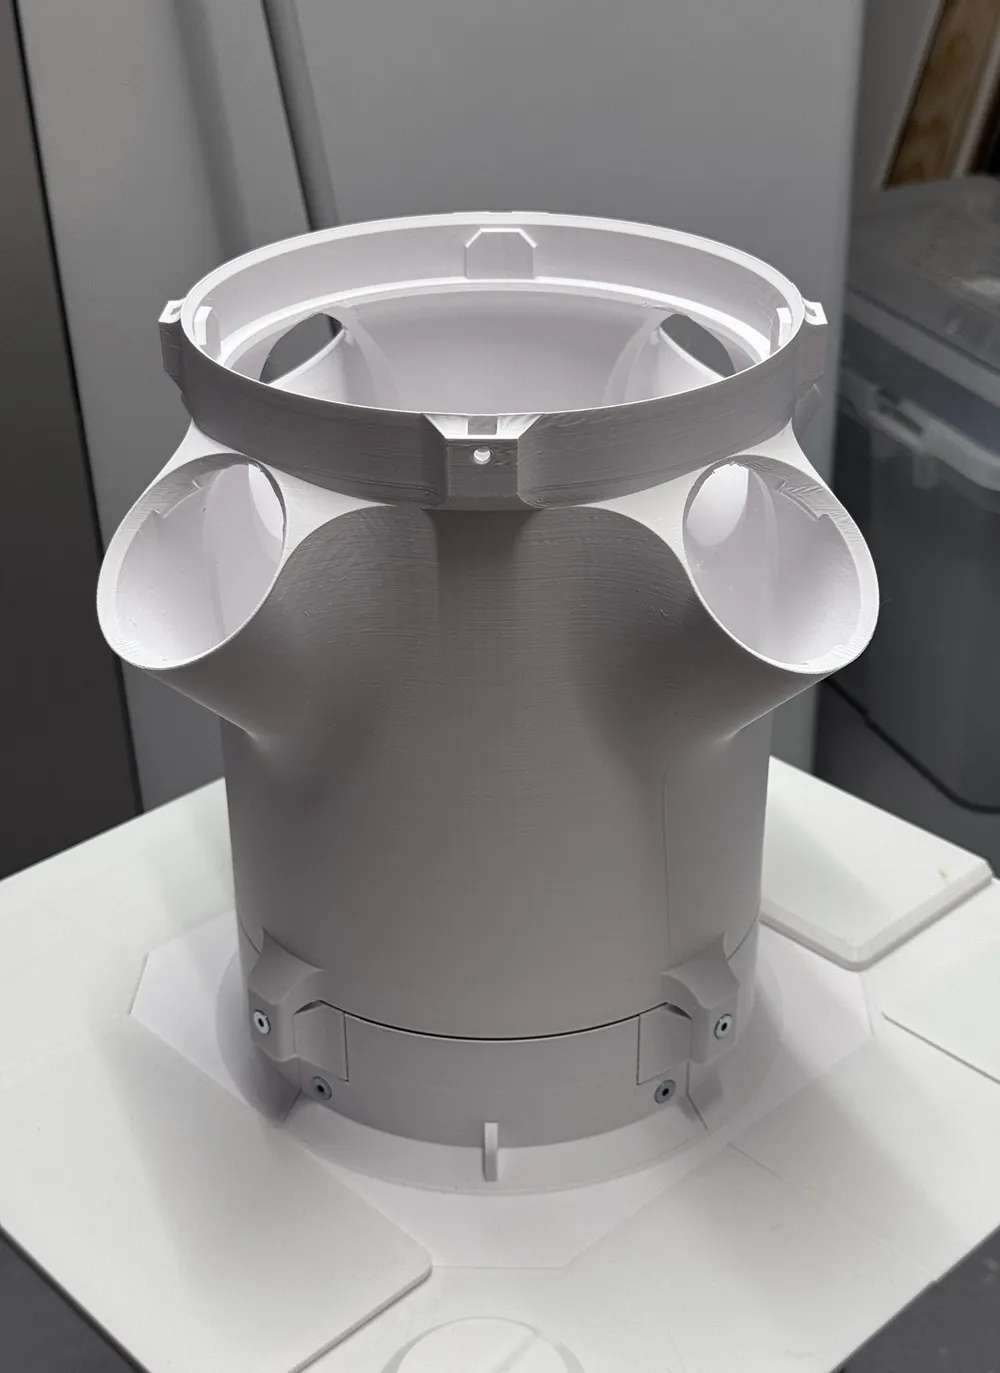
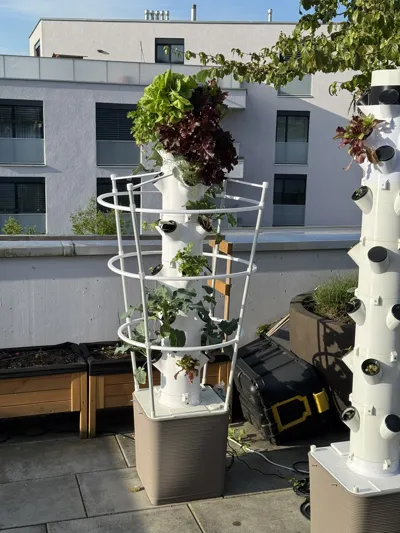
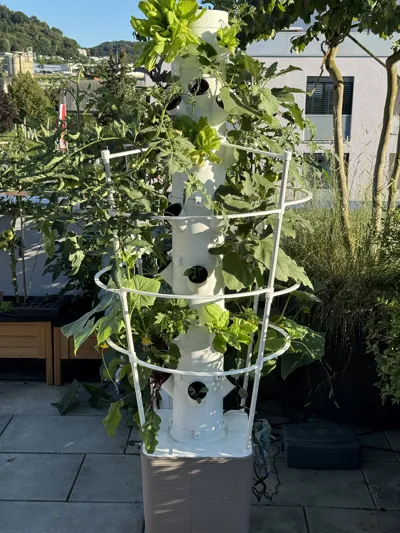
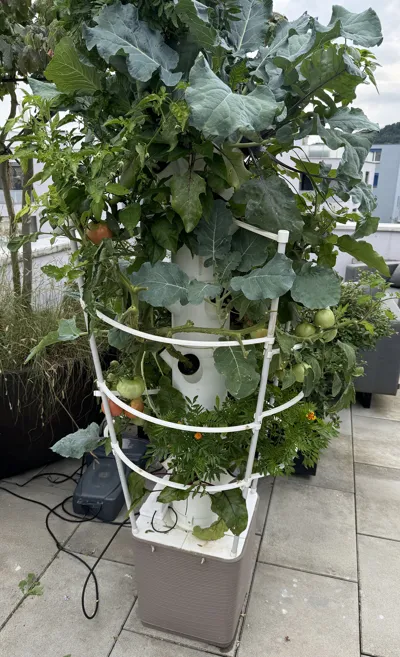
This is a 3D-printable vertical hydroponic garden tower made for serious growing. It’s designed to handle larger vegetables like tomatoes, kohlrabi, cabbage, broccoli, cauliflower, lettuce, herbs, eggplants, and cucumbers—perfect for anyone who wants to grow a lot in a small footprint, whether on a balcony, terrace, or garden.
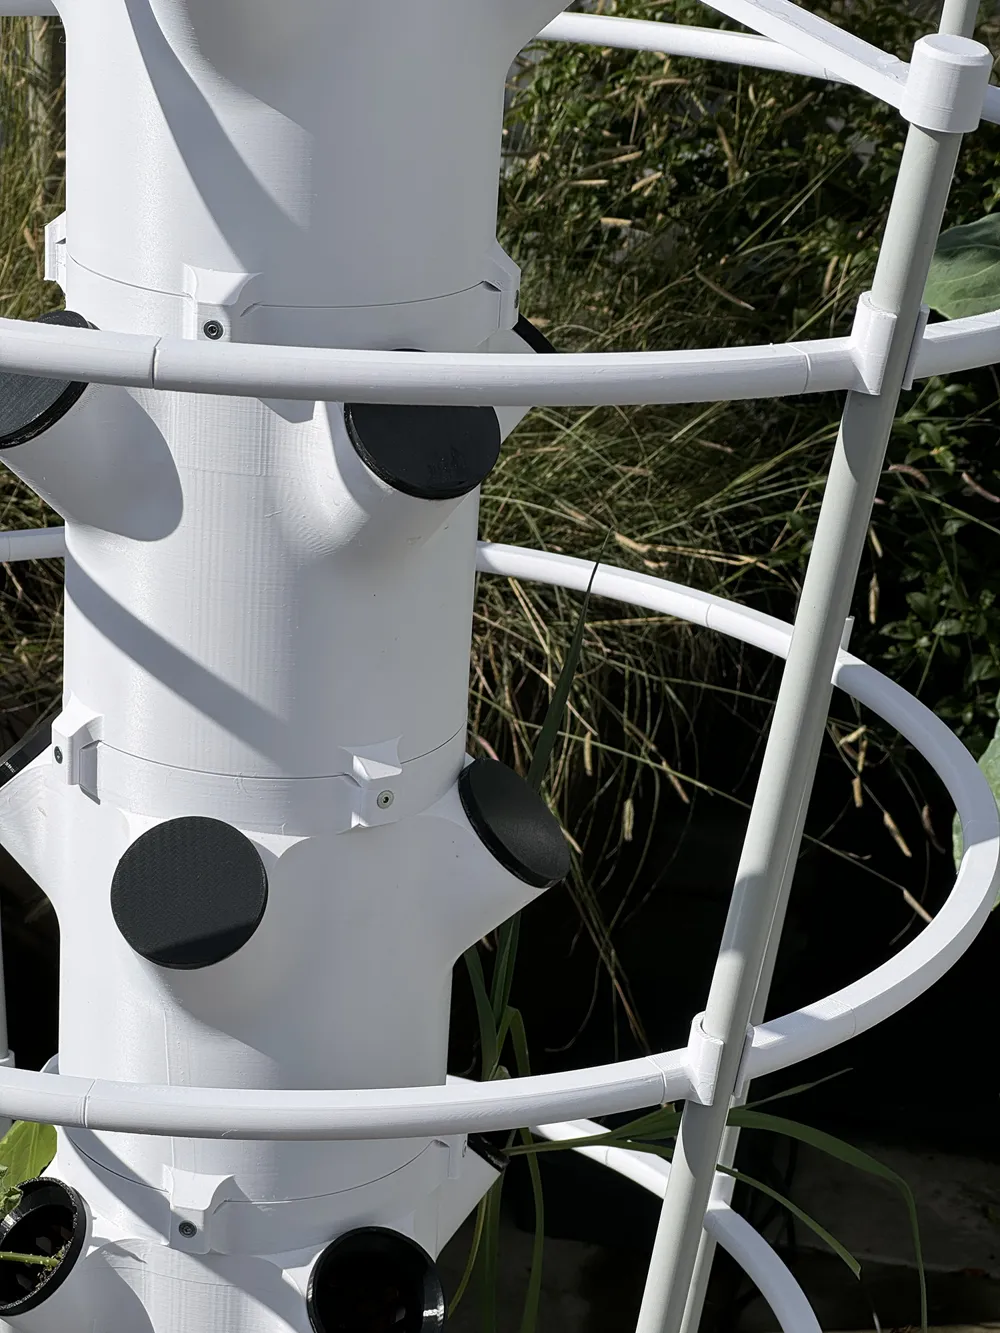
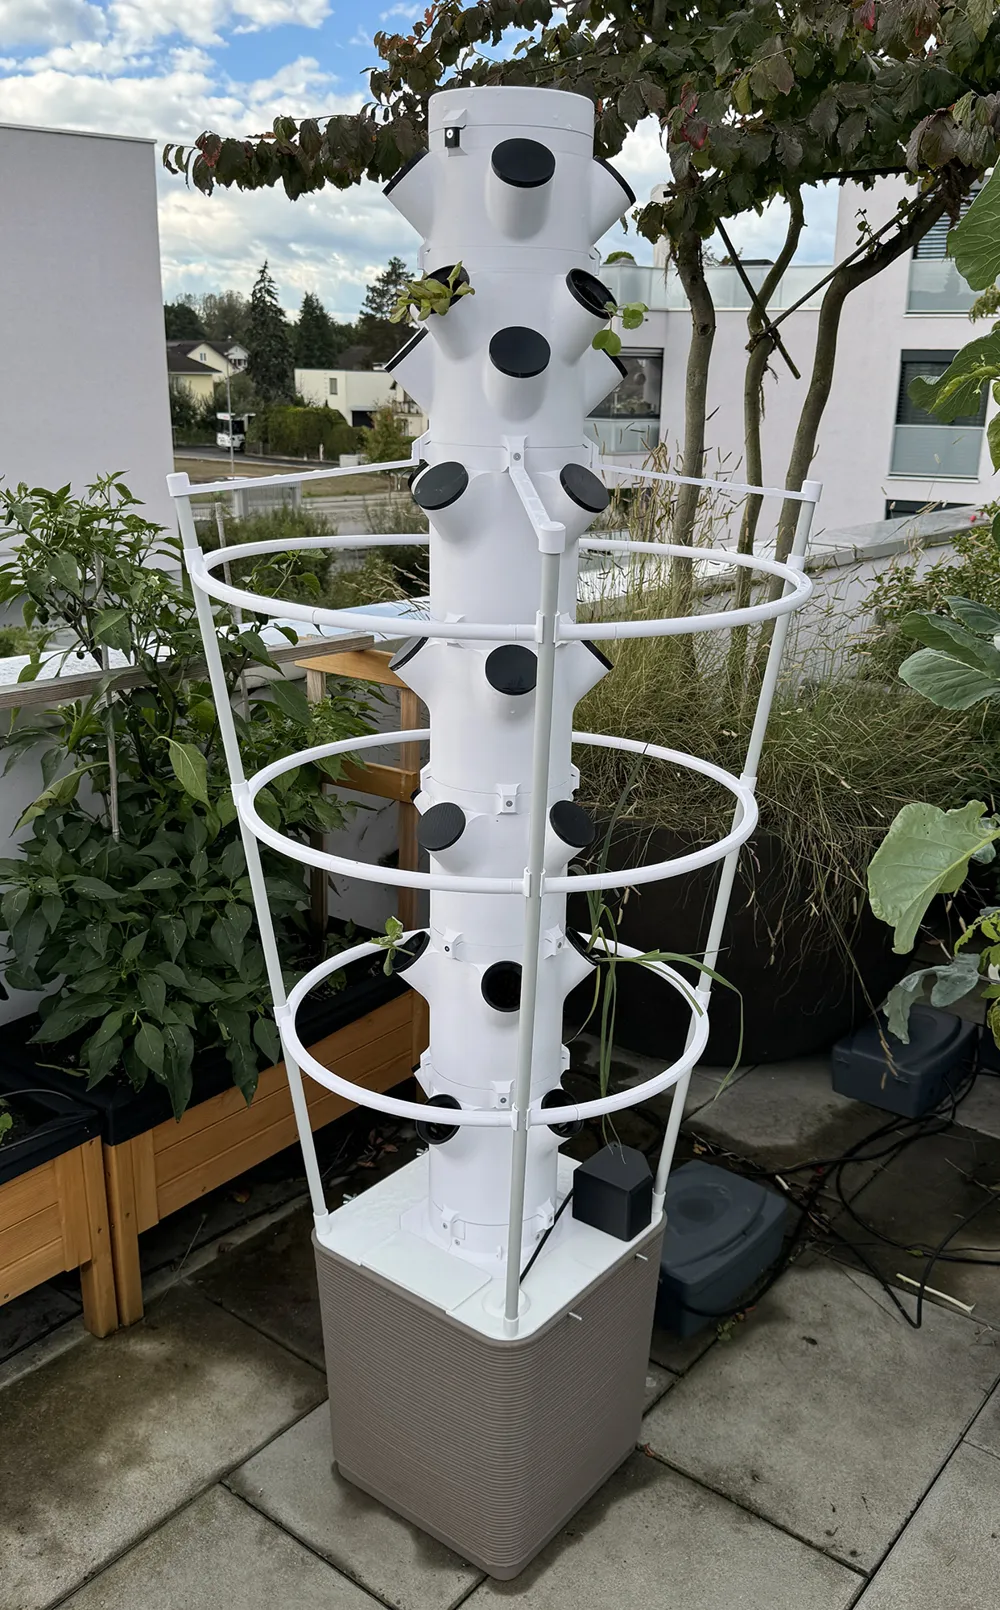
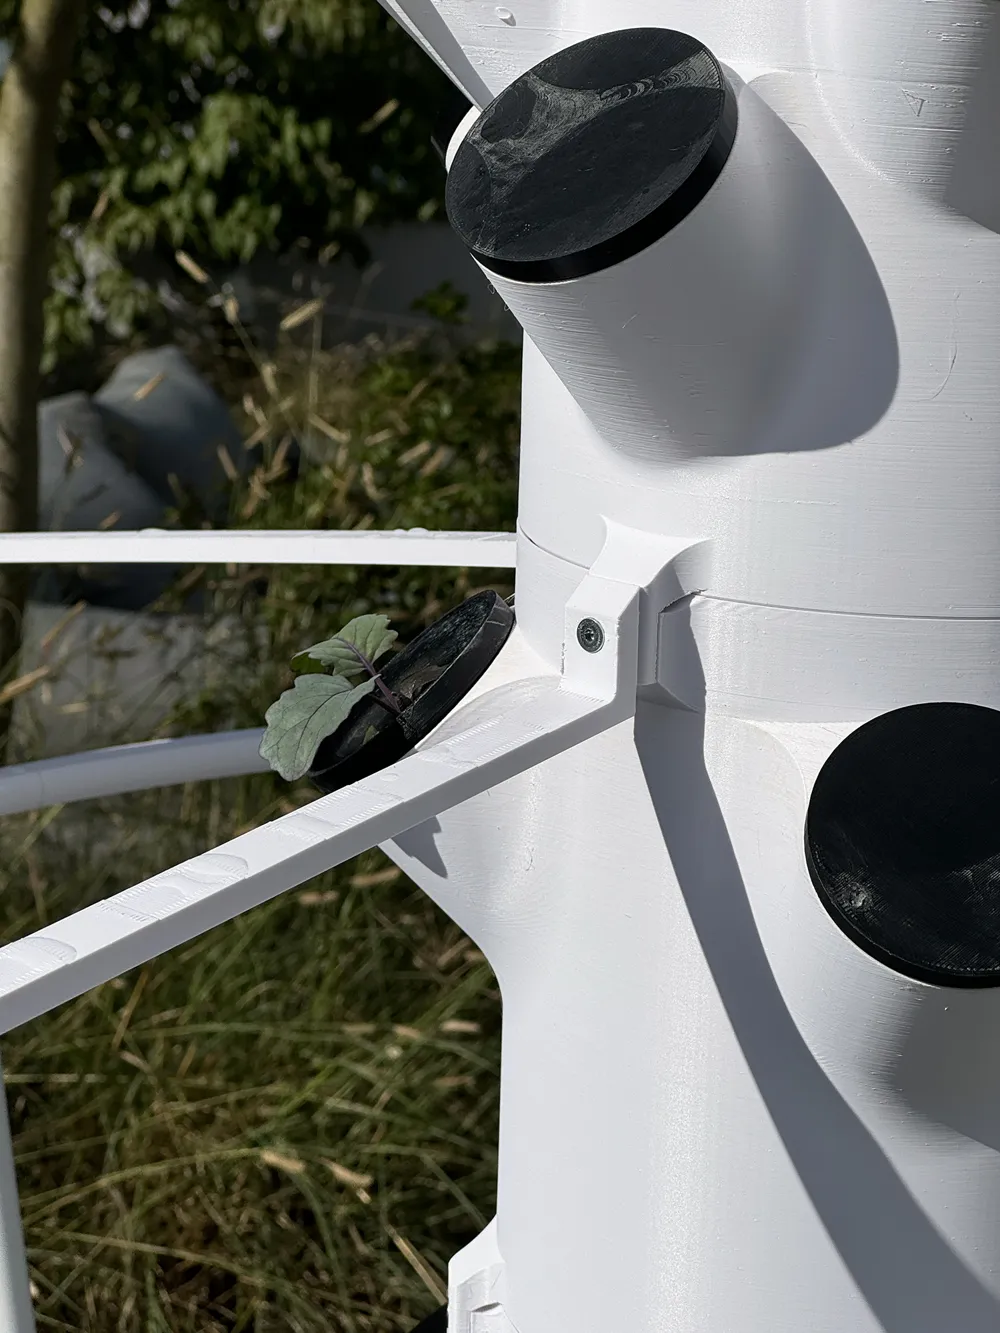
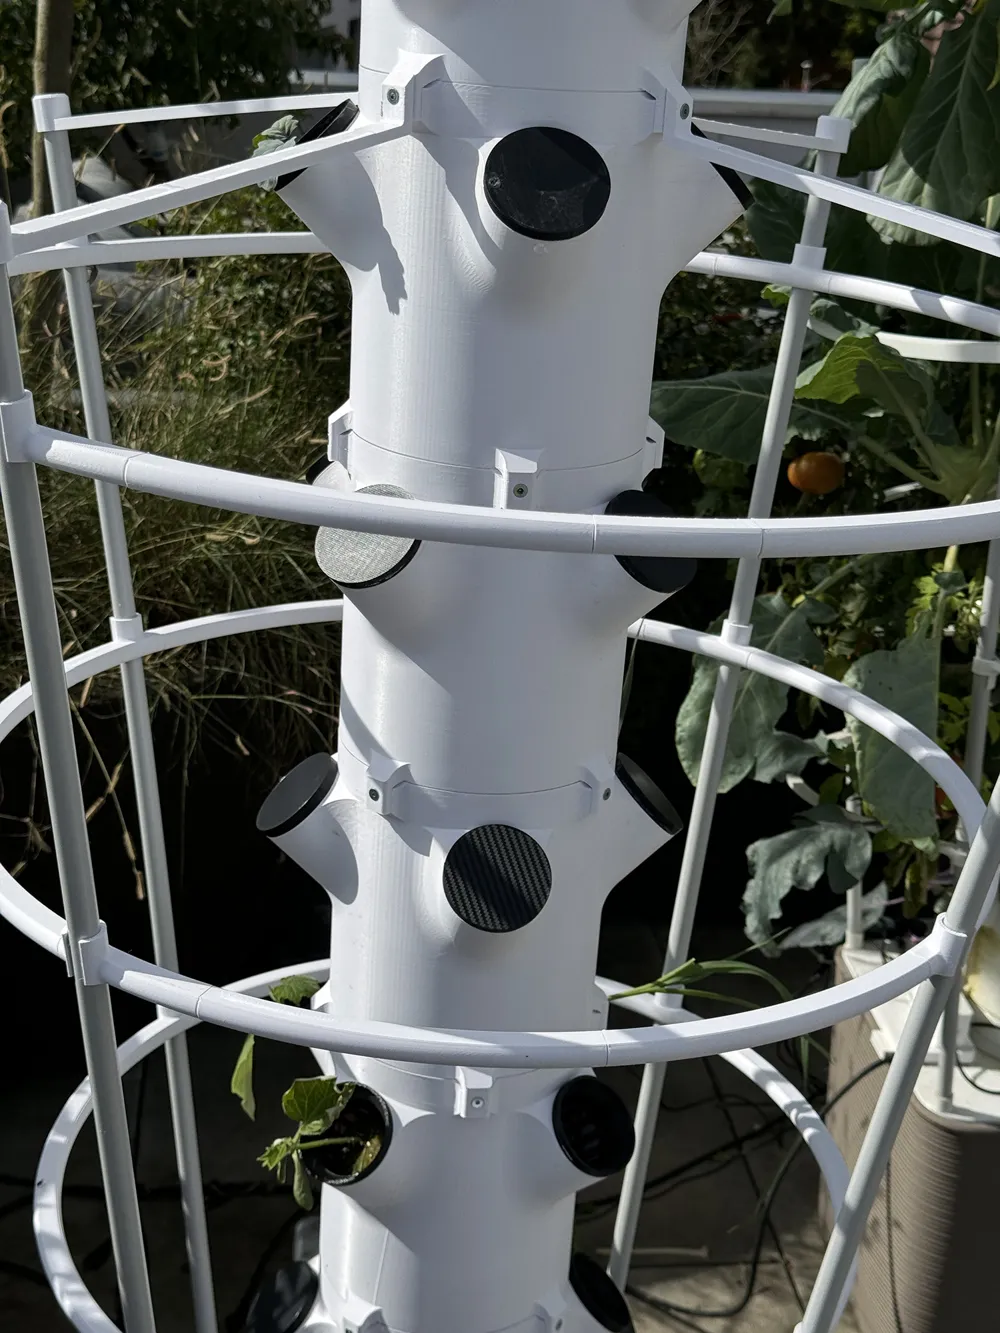
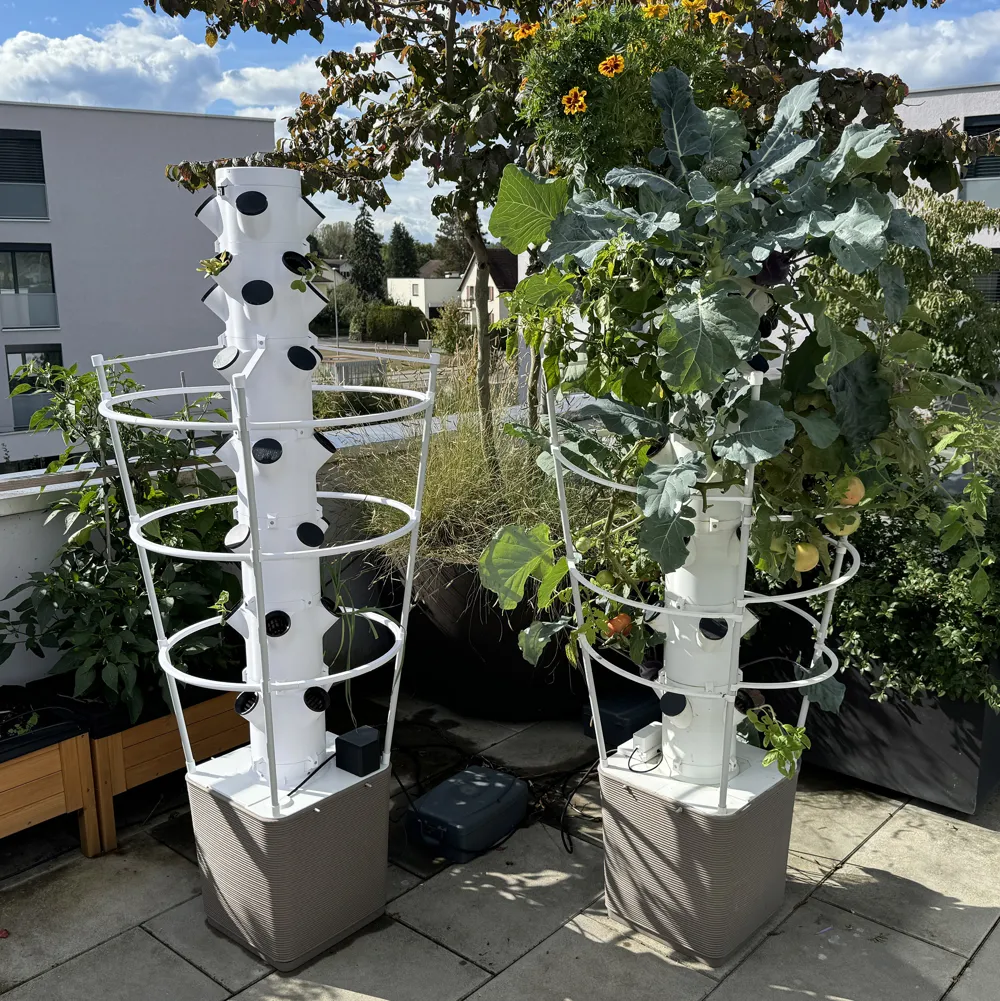
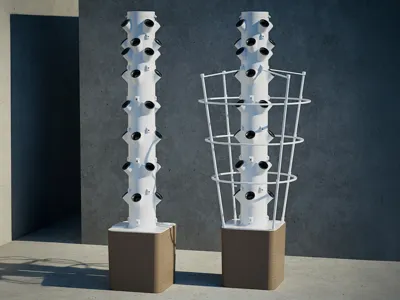
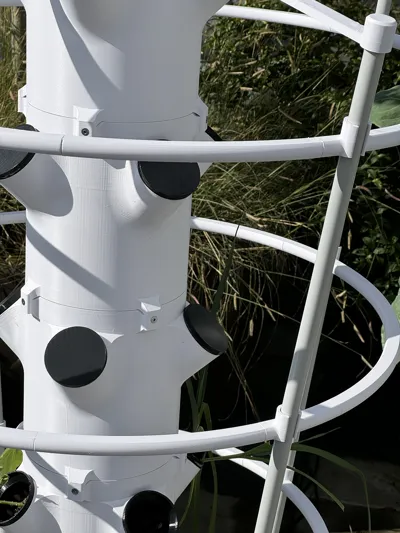
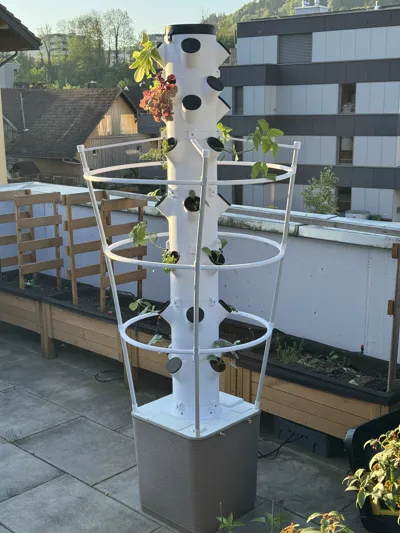
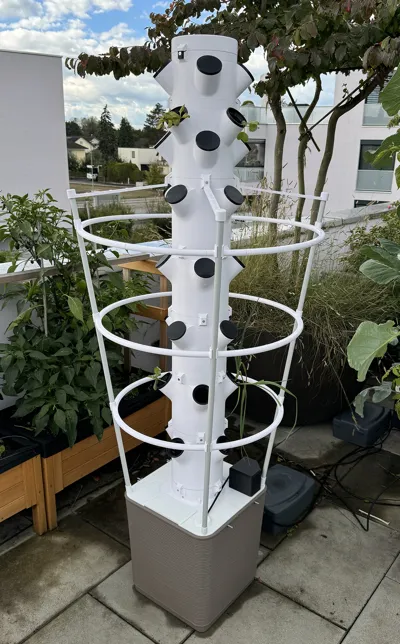
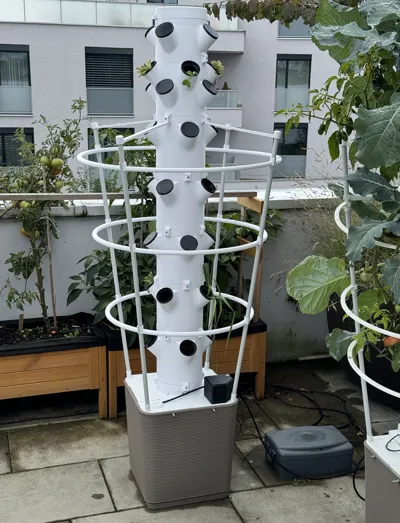
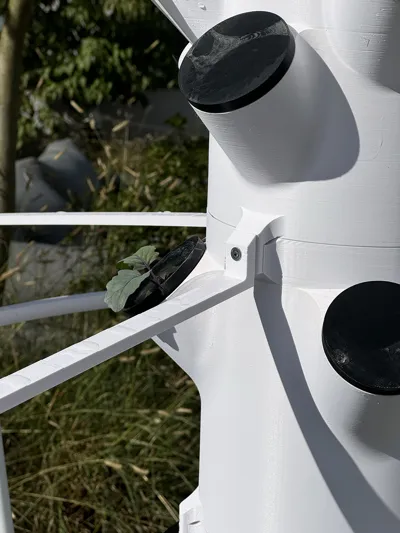
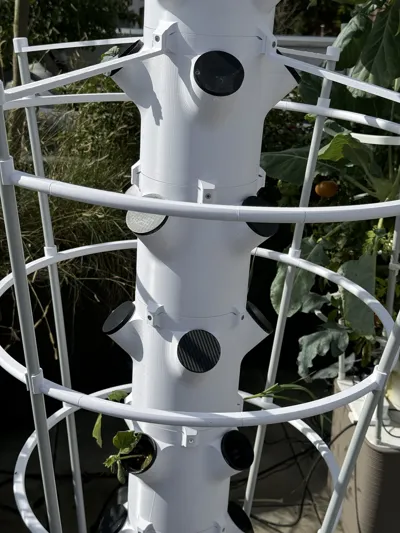
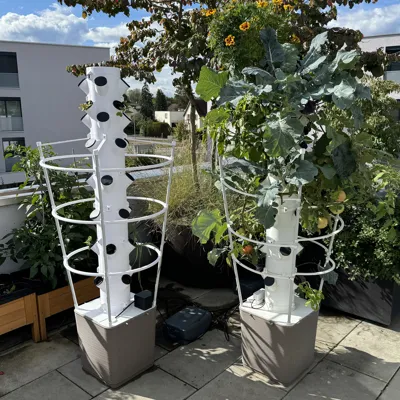
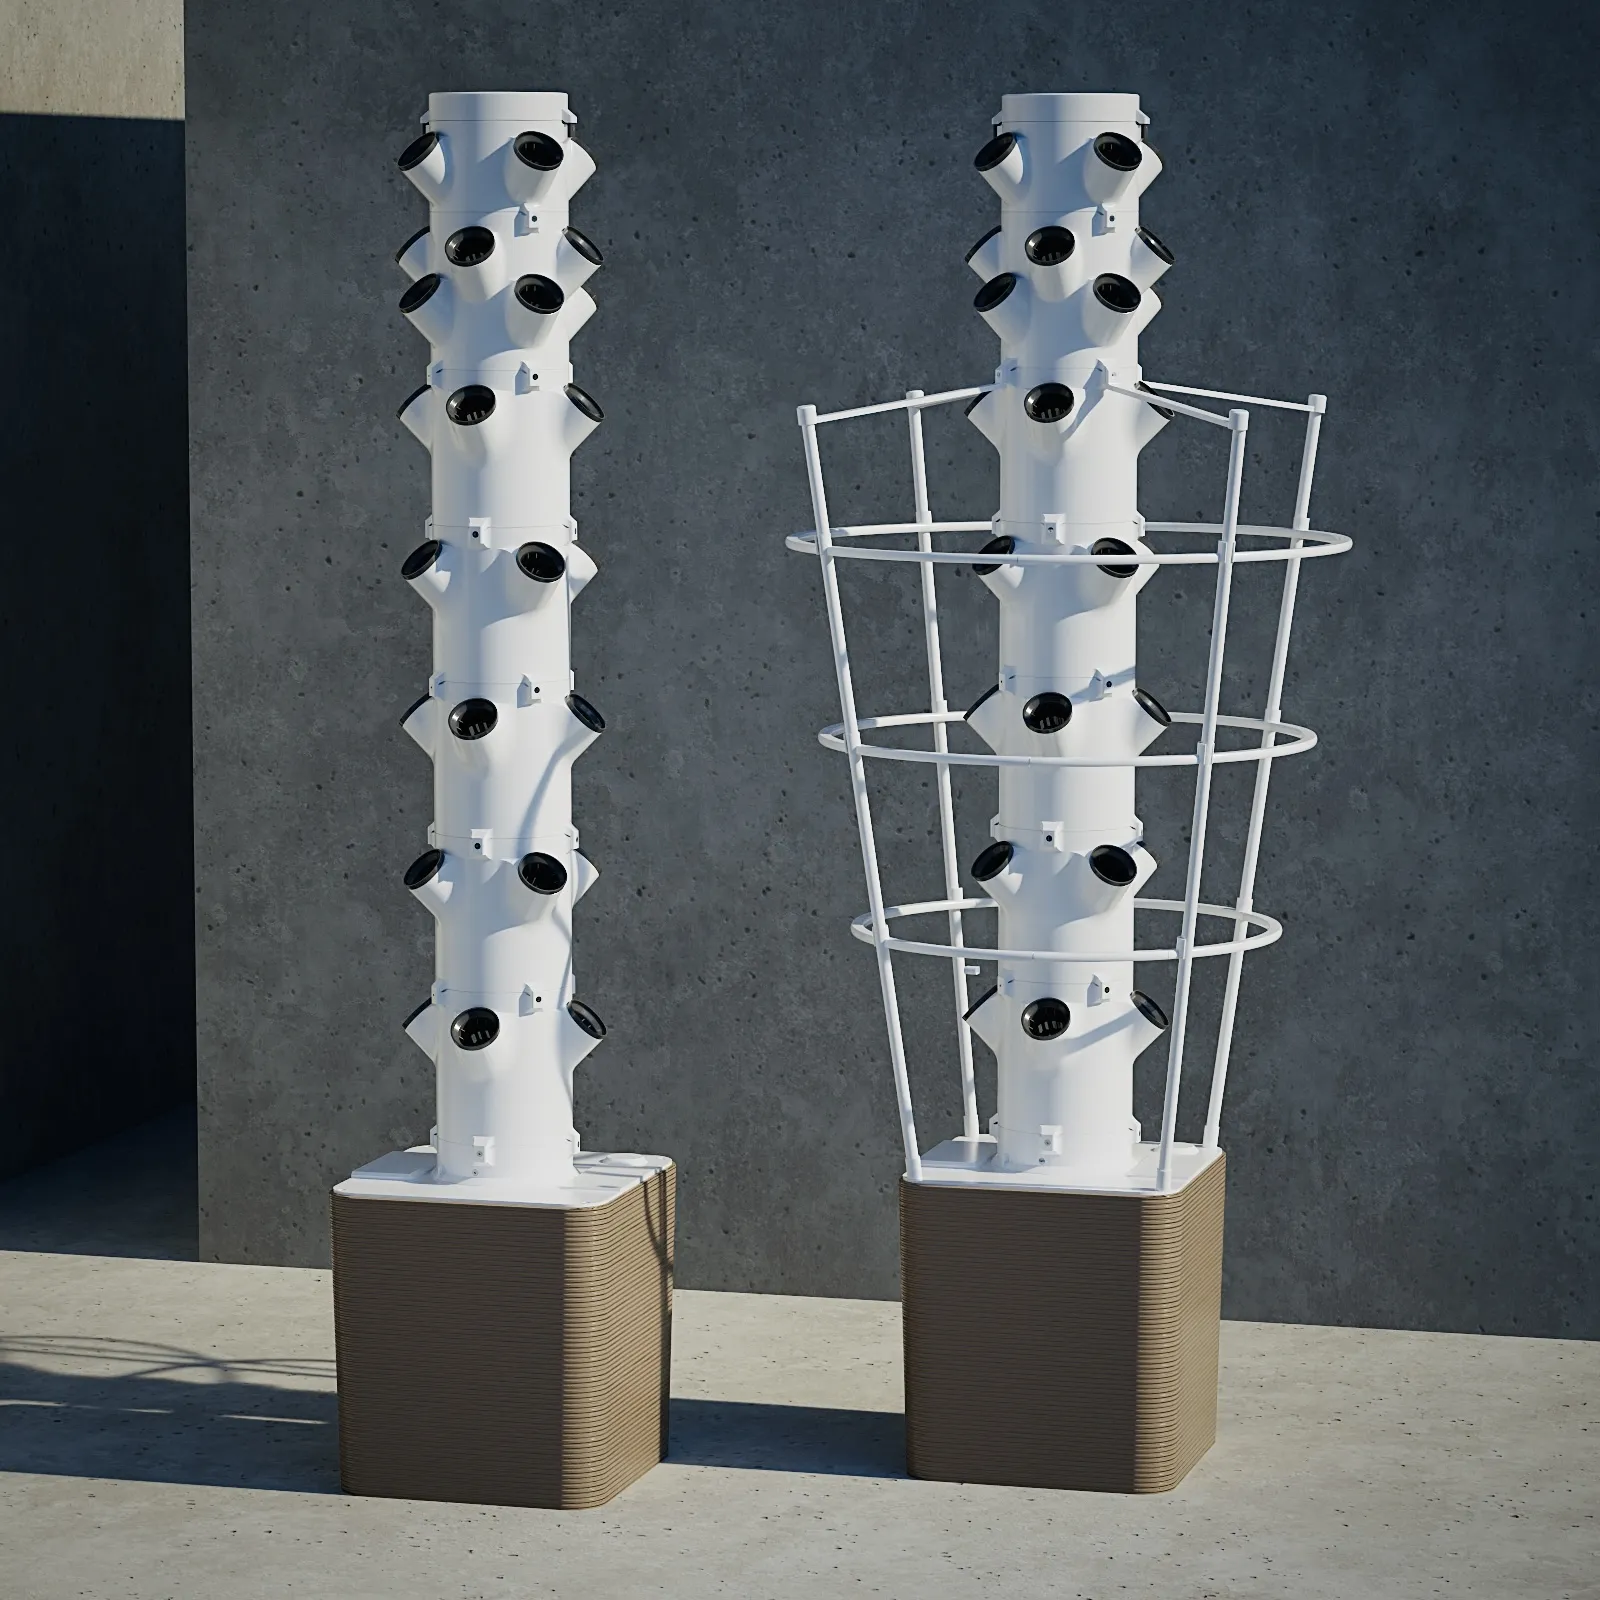
It’s built to fit a large plant pot (45 liters) that’s easy to find in Switzerland (added international link). The system has been tested outdoors for 5 months, proving itself wind-resistant and sturdy. There’s also an optional support structure in the printprofiles ideal for heavy crops like tomatoes and cucumbers.
Boost Me (for free)
I’ve put a lot of heart into this, and if you like it, a boost would really help me keep going. Thanks so much for the support!
Modular by Design
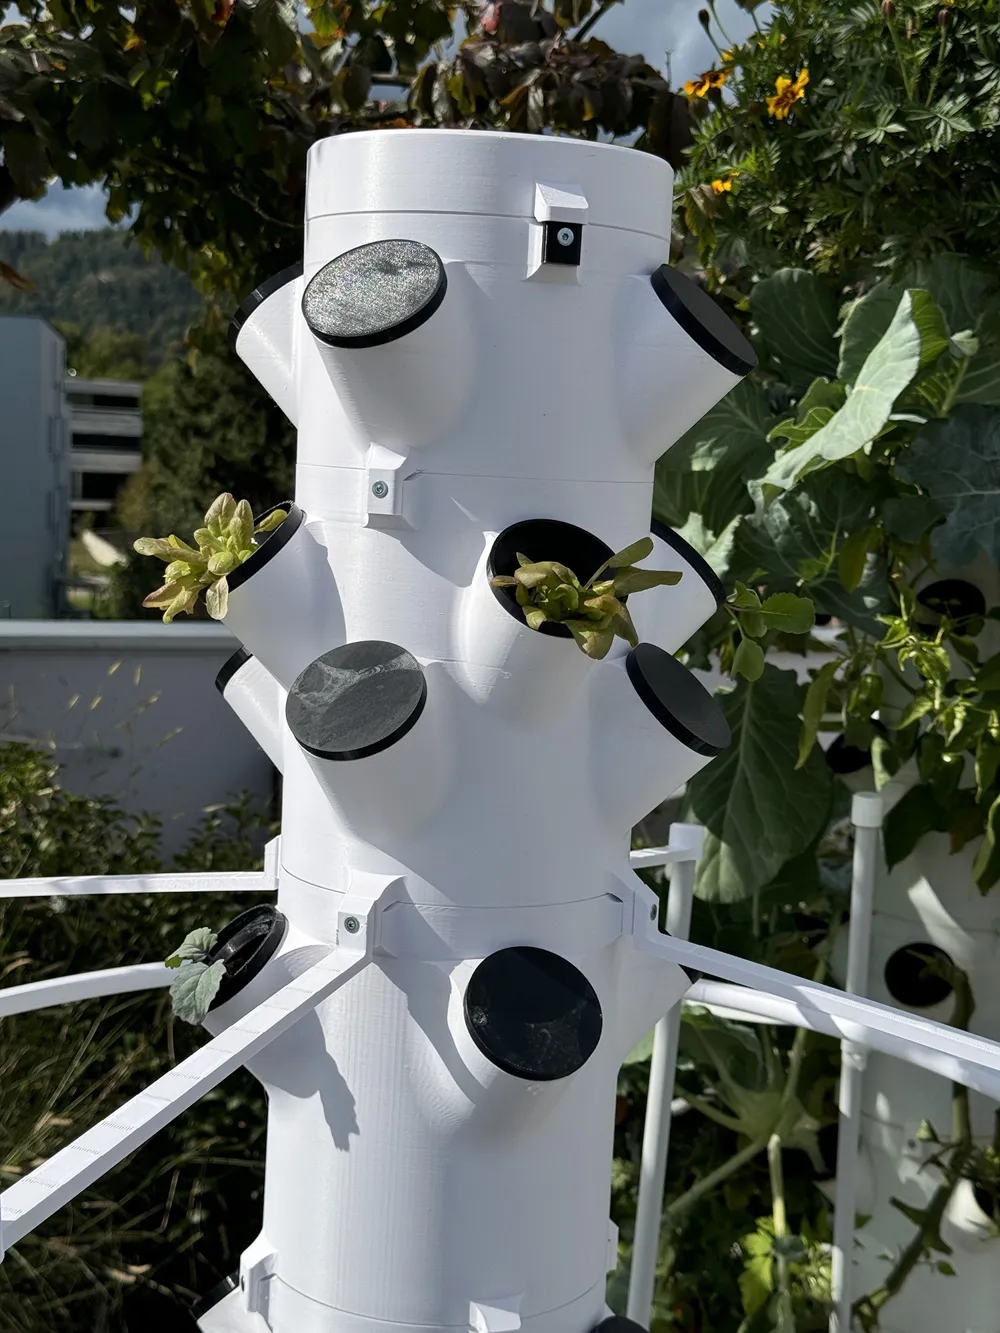
You decide which pots to use and how tall to build your tower! Choose from three pot sizes, tailored to your crops:
- GrowBig4 – Ideal for large vegetables like tomatoes, cucumbers, kohlrabi, broccoli, and more.
- Grow8 – Great for compact crops like radishes and small salad varieties.
- GrowSmall4 – Perfect for head lettuce, herbs, and flowers.
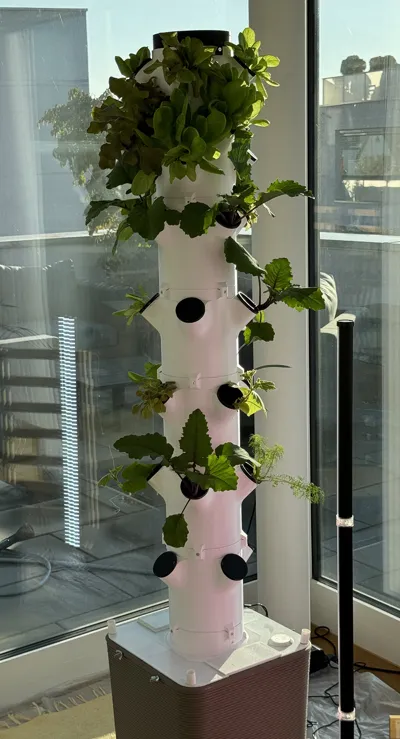
Start from the GrowBig4, move up to the Grow8, and finish with the GrowSmall4 on top! In this combination on the pictures, the tower stands 180 cm tall.
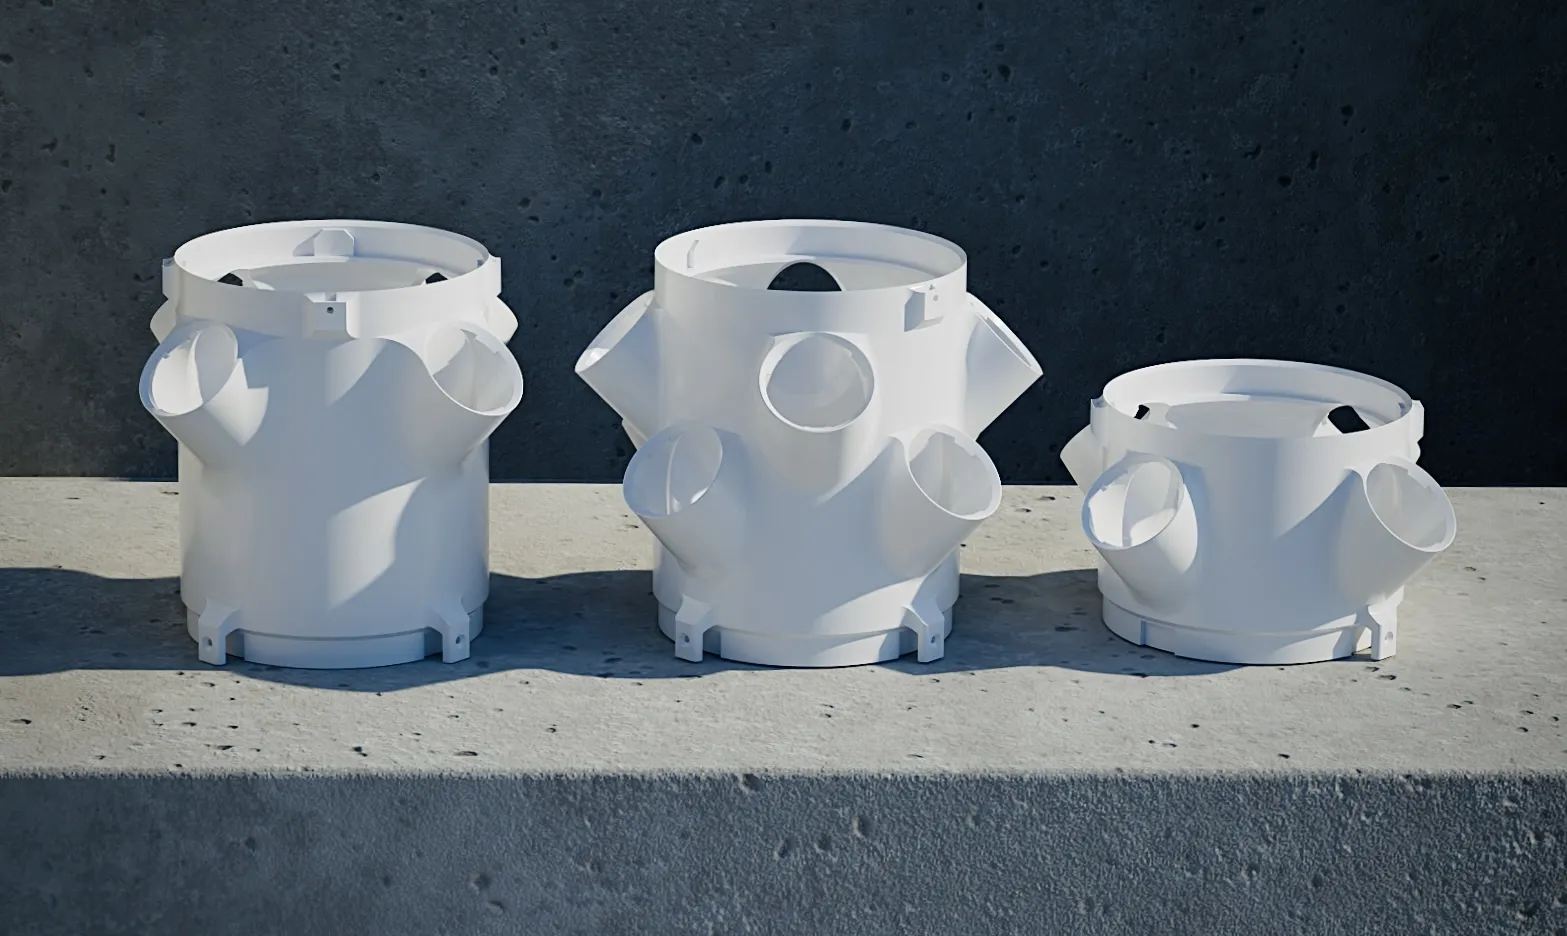
Plenty of room for strong, healthy root growth.
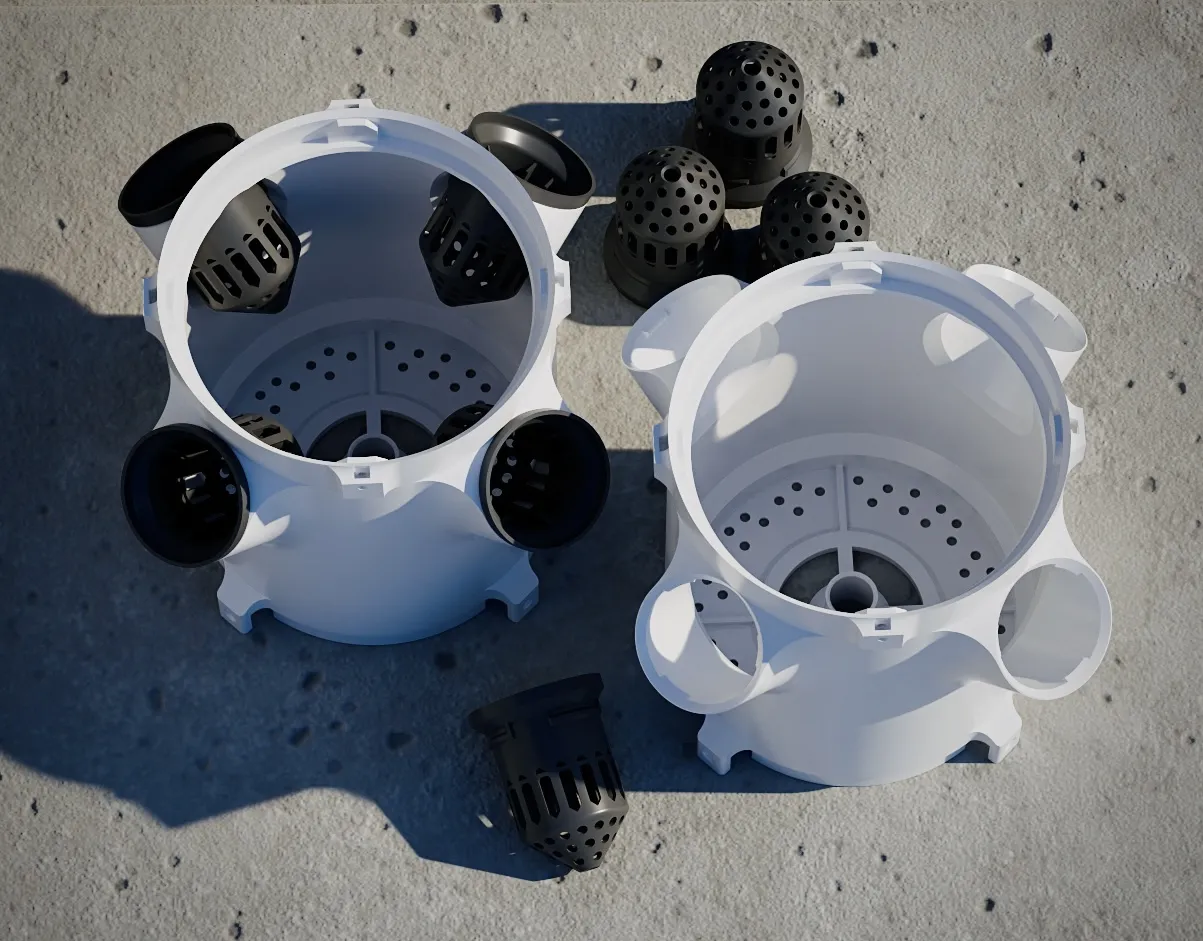
🎥 This is the second version of the tower.
Here's a video of the crops grown with the first version:
The 3d printed parts You‘ll need
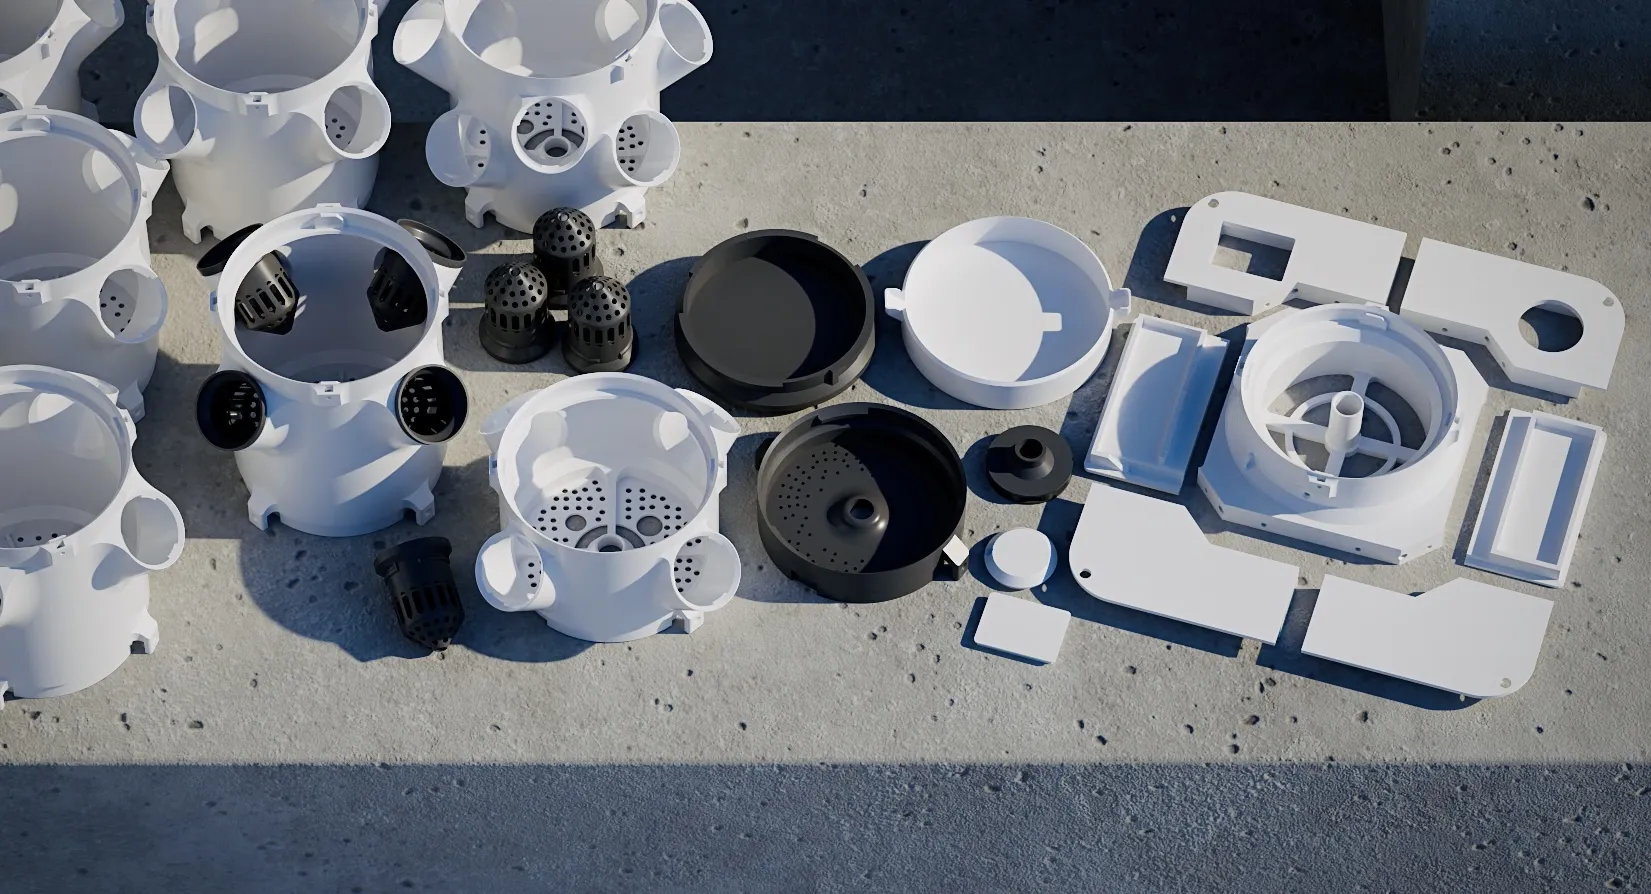
🛠️ What You’ll Need (besides the printed parts):
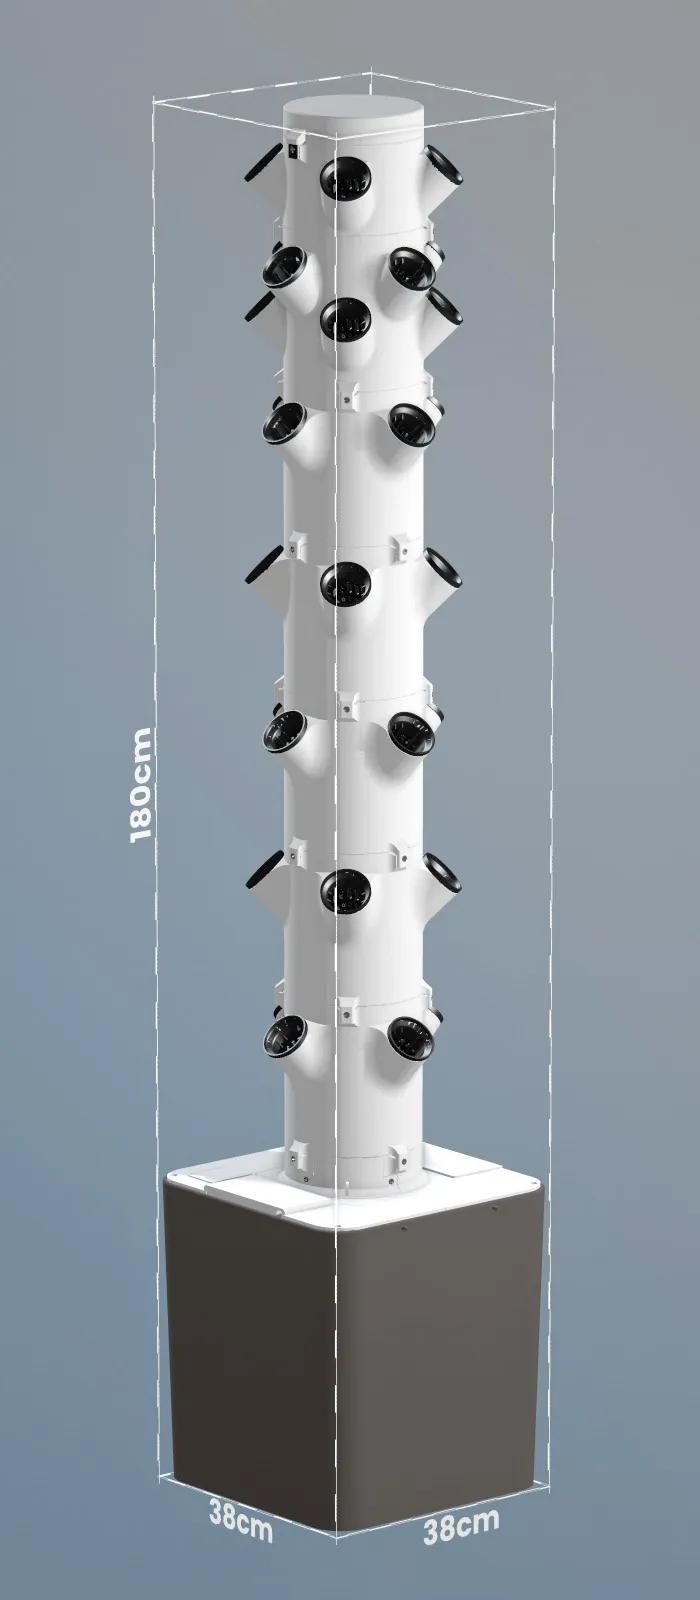
- A large plant pot
- Submersible pump
- 20mm outer diameter sturdy pipe 2m long, and cut to the lenght needed. ( I used an aluminium pipe)
- Around 28 x M4 countersunk head screws (16mm long) with nuts
- 2 x shorter M4 countersunk head screws (8mm long) for filter flap
- 12 x M5 screws (around 25mm long) with nuts for the Baselid
- 2 x M6 threaded rods around 450mm long (cut from 1 meter)
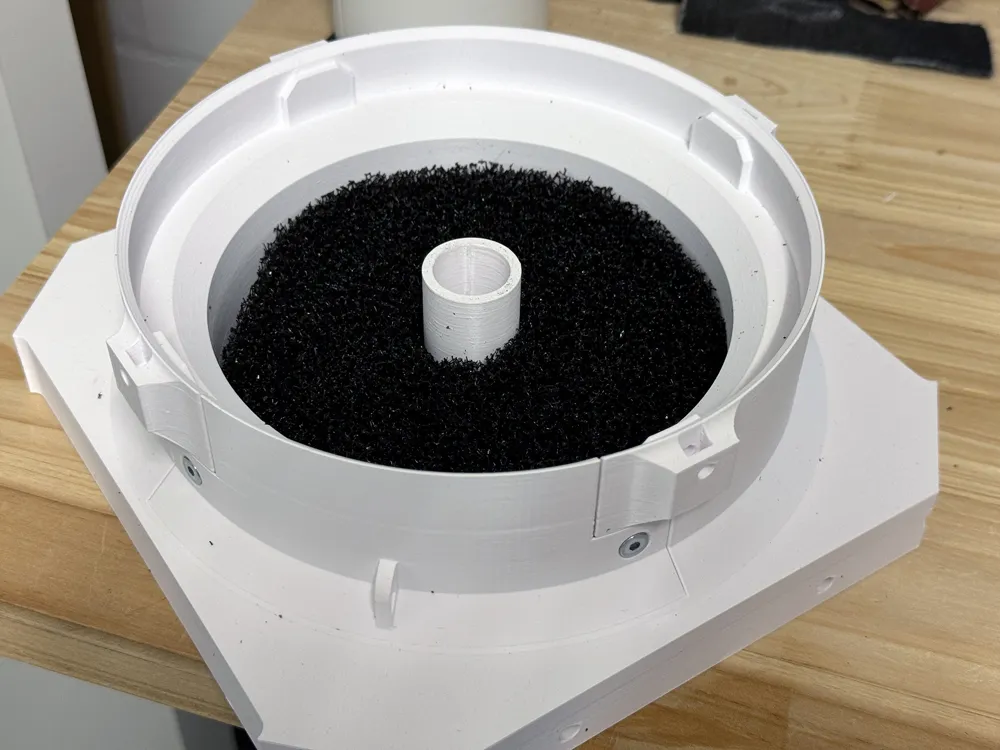
- Aquarium filter foam around 30mm thick (to cut and use as filter)
Optional Support Structure: 4 x 1m installation pipes (with 16mm outer diameter)
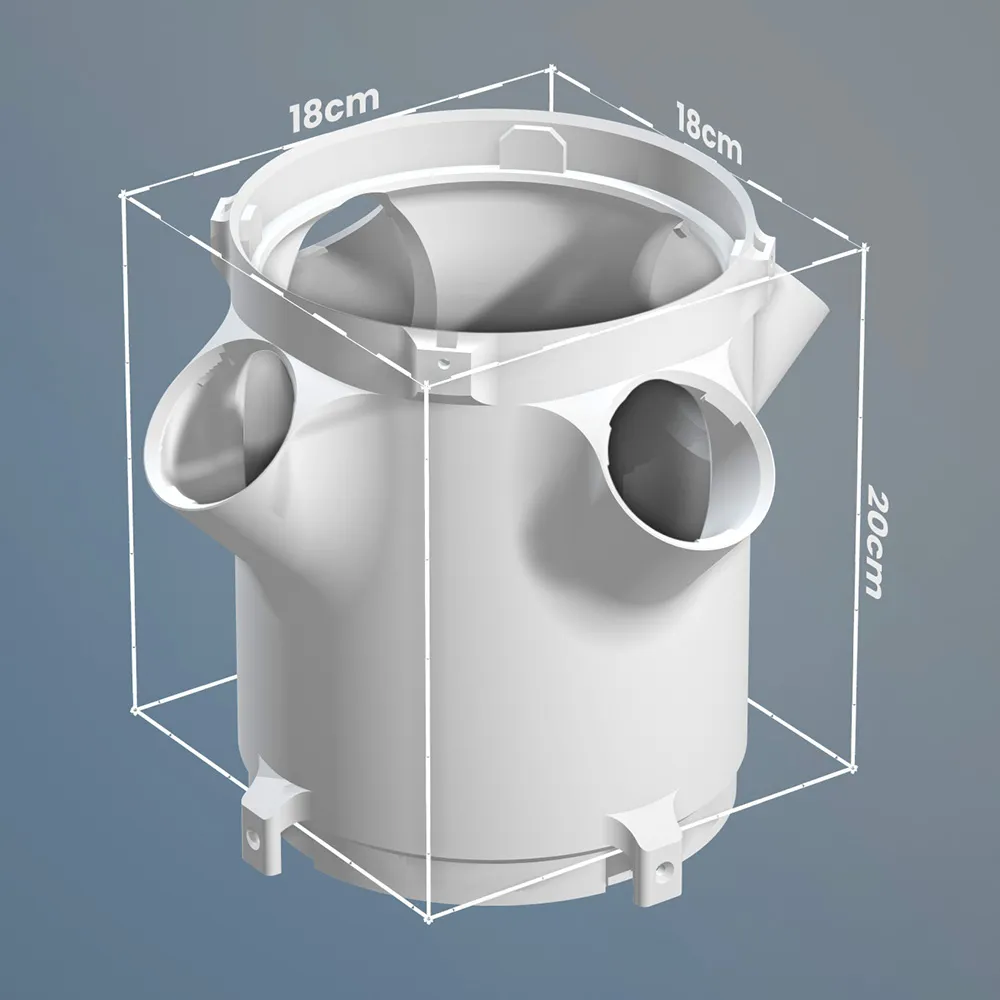
🌱 Tower Assembly Instructions
⚠️ Important Notes Before You Start
- Do not use an electric screwdriver.
- Do not overtighten screws.
Over-tightening can damage 3D-printed or plastic parts.
Step 1: Prepare the Base
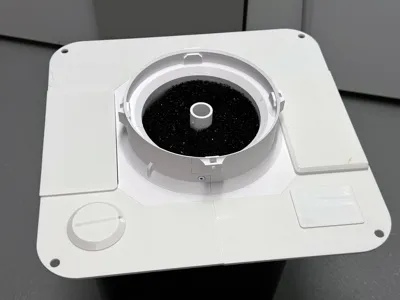
- Align all Baselid parts precisely.
- Secure them using 12 M5 screws and nuts.
- Place the pump inside the container.
- Ensure the pump’s output is centered exactly in the middle of the pot—measure carefully for accuracy.

Step 2: Assemble the Lid and Filter
- Place the lid onto the pot.
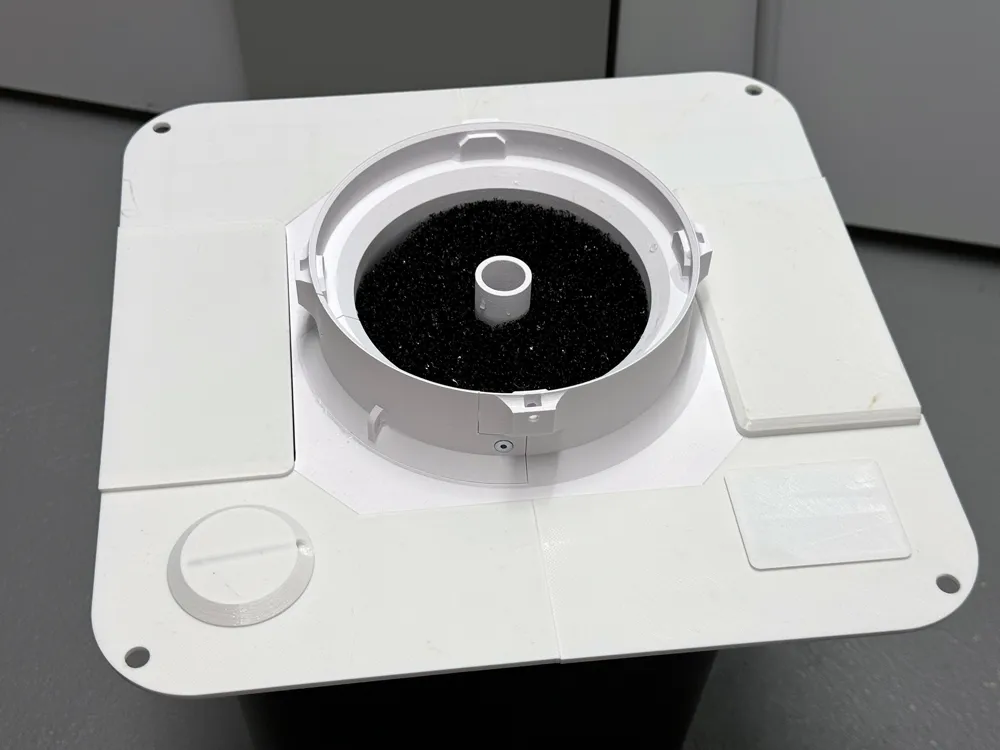
- Route the cable through the side with the square hole, as shown in the reference image.
- Important: Drill two holes on each side of the pot, aligned with the holes on the lid.
- These will later hold the rods.
- Insert two nuts into the small holes inside the base.
- Place the Filterflap..
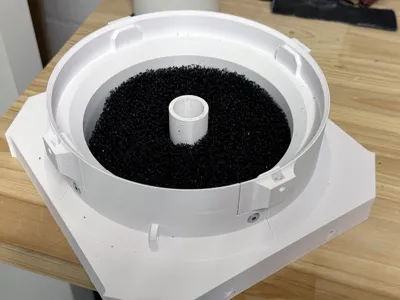
- Cut a filter from 3 cm thick aquarium foam:
- It should have a hole in the center and a slit from the outer edge to the hole.
- Position the slit away from the filter flap when placing it.
- Insert 4 nuts into the 4 top holes of the base.

Step 3: Install the Tower Structure
- Insert the 2 m aluminum pipe vertically in the center of the pot.
- It should align precisely with the pump outlet.
- If it doesn't, now is the time to adjust it.
- Insert the two rods completely through the pot and base.
- If they don’t fit, slightly widen the holes in the pot until the rods slide through smoothly.
- These rods provide stability and secure the tower to the pot.
- For maintenance, you can remove the rods and lift the upper part to the side to clean the pot without disturbing the plants.
- Seal all remaining holes in the lid using the corresponding cover parts.
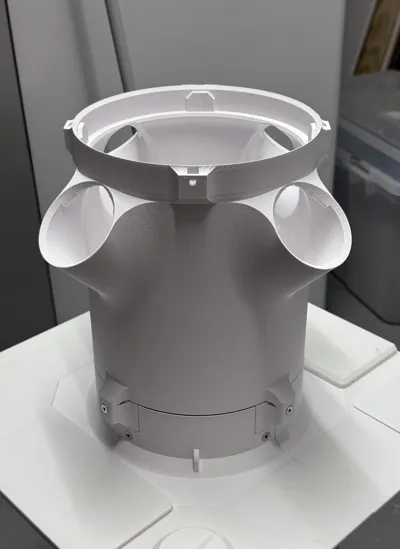
- Place the GrowBig4 pot on top of the structure.
- Screw all components together securely.
- Insert 4 nuts into the designated holes of the GrowBig4 pot.

Step 4: Final Assembly
- Add all your GrowPots onto the tower structure:
- For each big GrowPot, insert 4 nuts into the designated holes.
- For each small GrowPot, insert 2 nuts.
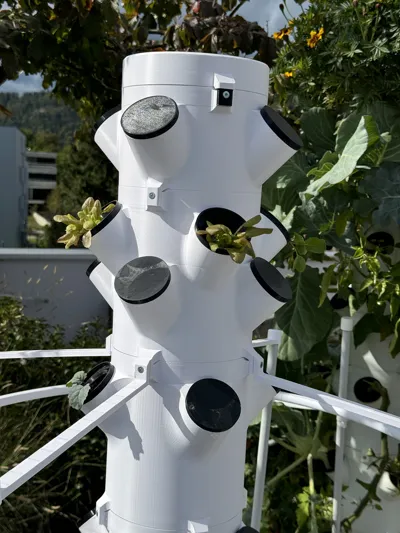
- Place the black Rainbase on top of the tower.

Step 5: Final Adjustments and Testing
- Cut the aluminum pipe:
- Mark the pipe so that it extends 1 cm above the Rainbase.
- Remove the pipe completely to cut it.
- After cutting, reinsert it—if the pump is perfectly centered, this should be easy.
- If adjustment is needed, open one of the base lids to manually reposition the pump.
- Fill the pot halfway with water and test the system:
- If no water comes out at the top:
- The pump may be too weak, or
- There might be leakage at the connection between the pump and pipe.
- If leakage occurs, add a sealing ring to the connector.
- If no water comes out at the top:
- Secure the GrowPots:
- Add screws to all GrowPots to fix them firmly in place.
- Attach the black sprinkler:
- Push the black sprinkler onto the top of the pipe.
- It should fit snugly.
- Note: The system will work even without the sprinkler based on tests, but the sprinkler is important if you want to lift and remove the tower easily, as it secures the pipe to the structure.
- Install the top covers:
- Add the black lid on top.
- If the water inside gets too warm, place the white cap over it for additional protection.

Important: Accessing the Pot
- To access and clean the pot:
- Open and remove the white and black lids at the top of the tower.
- Ensure the sprinkler sits firmly on the end of the pipe.
- Pull out the two base rods.
- Carefully lift the entire tower structure and place it aside.
- Make sure to lift high enough so that the pipe also slides out easily.
- If the top lids are open, the pipe will automatically slide upward as the structure is set down.
Printing Notes:
This design uses a lot of filament due to its size. Use PETG! The smooth plate is recommended. I’ve tested it with:
- BambuLab PETG HF
- eSun PETG HS
Both materials are strong and UV-resistant.
White petg is great because it reflects sunlight and prevents the system from heating up too fast—but it also encourages algae. That’s why the top parts are black, where most algae tend to grow.
There’s also a white cap to block sunlight in summer. Remove it on colder days to help warm the water.
🌿 Hydroponic Setup:
If you're new to hydroponics, this tower is a great place to start. I personally learned everything from YouTube creators and kept it simple.
Here’s what I use:
- Terra Aquatica TriPart fertilizers
- A pH meter and EC meter
- Good water (filtered or rainwater is best)
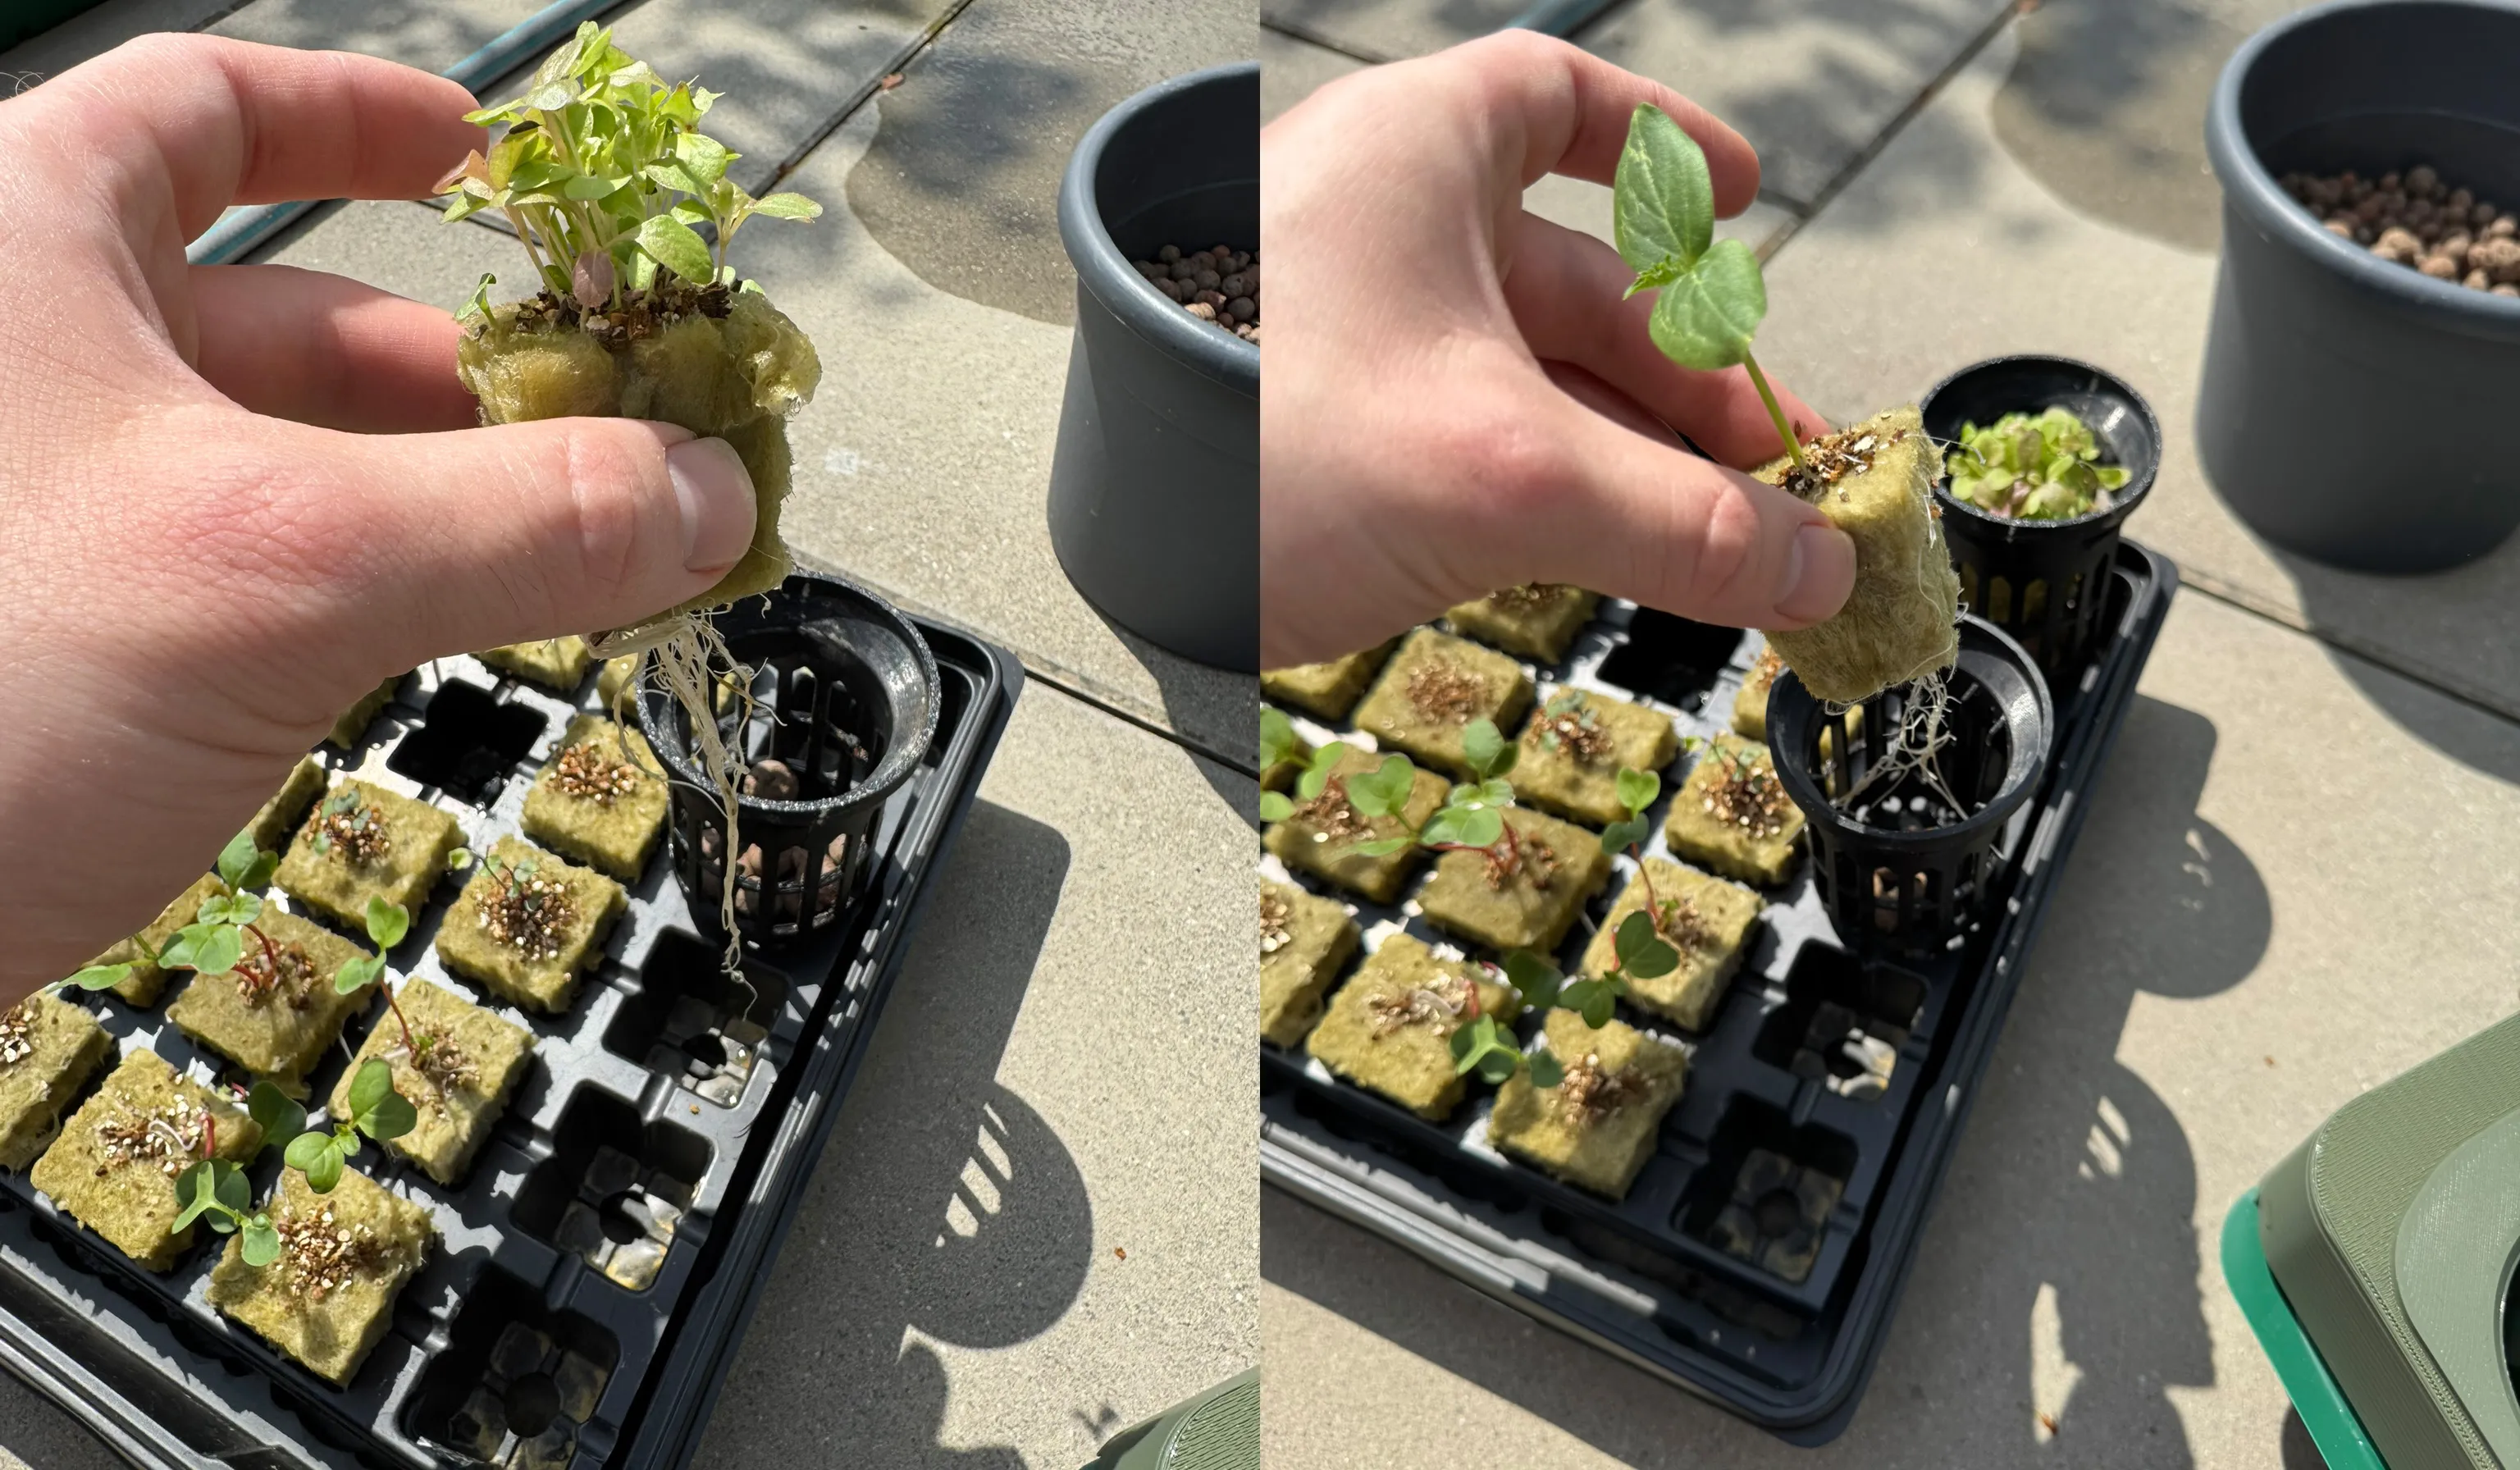
Seeds are started in rockwool cubes. Once roots develop, I move them into the net pots. The system is low-maintenance, high-reward.
In detail: Seeds in Rockwool and some Vermiculite on top. Then putin with some Clay pebbles on the bottom of the netpot.
🔧 Why I Built This:
I started out using a free hydroponic tower from Printables. It was a great entry point—but quickly became too small, unstable, and not suitable for big plants.
This version is larger, stronger, and much more versatile—a proper step up for anyone who wants to grow big crops vertically.
🪴 Need help with a pot?
If you can’t find a plant pot that fits your build just right, let me know what pot you’re using or looking at – I’ll see if I can make a version that works with it. Always happy to help out and keep things growing smoothly, if I find Time.
If you have the Skills, you can download the STEP File of the lid and adapt to your pot. The Sizes in the Files:
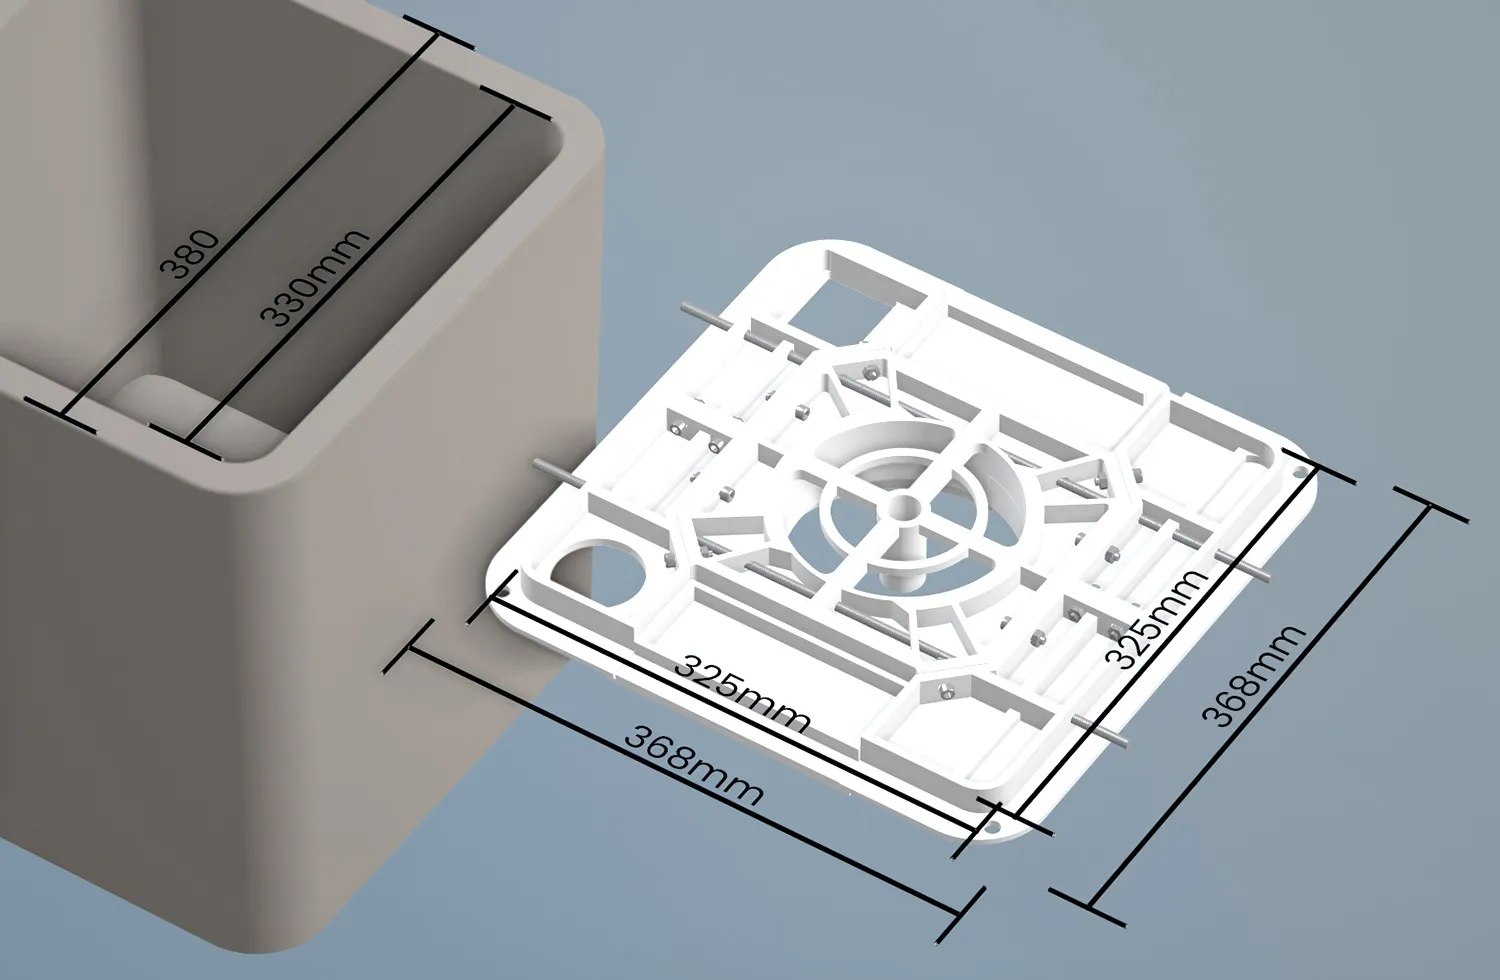
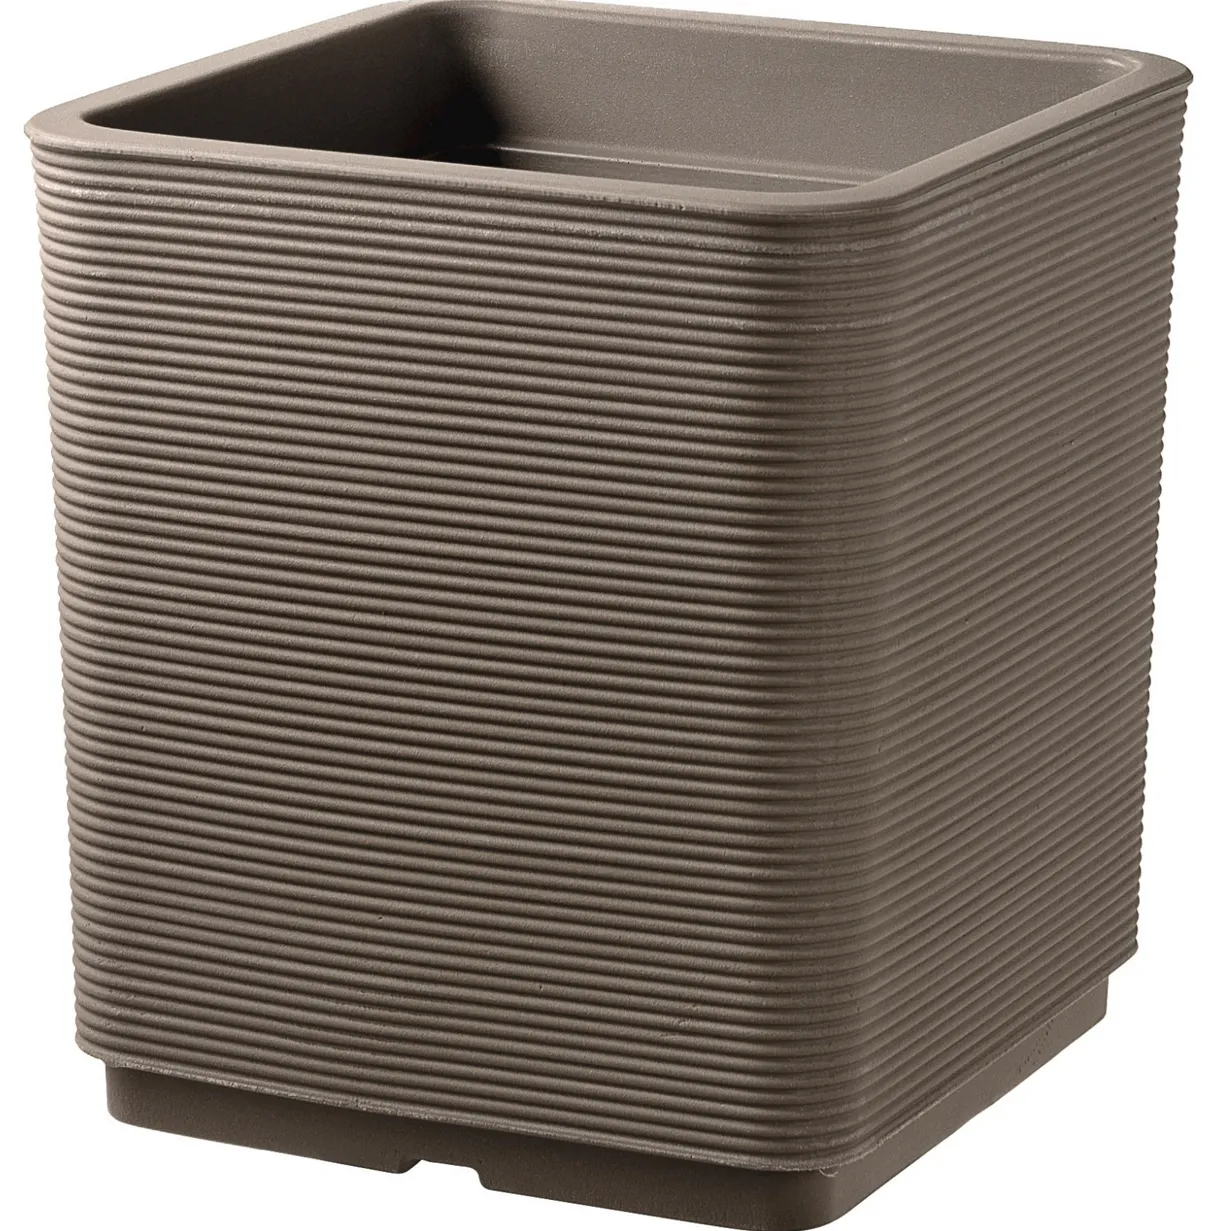
Here’s what an ideal pot should have:
- At least 40 liters / 10 gallons
- Square (quadratic) shape for better stability
- Thick upper rim to securely hold the lid
- No drainage holes at the bottom
- Made from plastic (preferably polyethylene) or similar material
- Drillable rim to attach the printed top securely
Links:
The Pot
https://www.landi.ch/shop/bewaesserungsgeraete_100802/blumenkasten-taupe-38-38-40-cm_57381
https://royalestones.ie/indi-pixel-cappuccino-italian-planter-384x398x384mm.html
https://royalestones.co.uk/indi-pixel-anthracite-italian-planter-384x398x384mm.html
https://www.artiplantes.fr/1795-grand-pot-cubique-gris-anthracite-striato.html
https://www.infabbrica.com/vasi-plastica-quadrati-fioriera-quadrata-thar.htm
Alternative in Germany:
The Pump
https://www.sicce.com/de/products/multifunction-pumps/syncra-silent.html?___from_store=en
Available on Amazon too:
Sicce Syncra Silent 2.0 or equal, syncra 1.5 should also works.
License

You may create derivative works based on this object, provided that all such derivative works are published exclusively on the MakerWorld platform and include proper attribution to the original creator. You may not share, upload, host, distribute, or publish this object—or any derivative work of this object—on any other digital platform, marketplace, or distribution channel. Commercial use of this object and any derivative works is strictly prohibited. This includes, but is not limited to, selling, renting, sublicensing, or using the object in any context in which you receive monetary compensation or other financial benefits.


Comment & Rating (1062)