
ZWO EAF Mounting Plate for TS-Optics 2" Newtonian
Print Profile(1)

Bill of Materials


Description
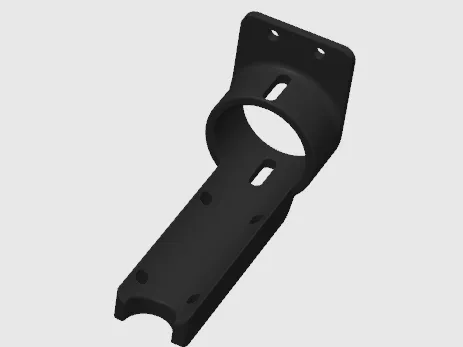
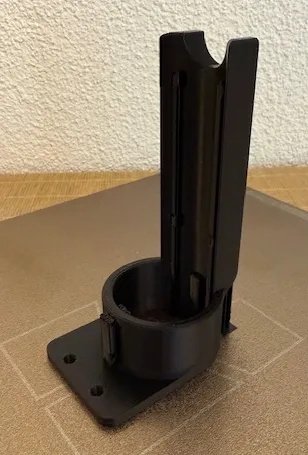
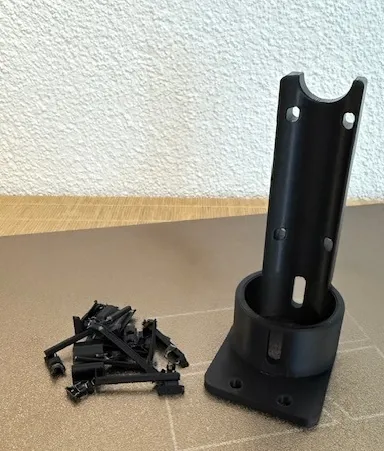
ZWO EAF Mounting Plate for TS-Optics 2" Newtonian Focuser (8kg, 2-inch)
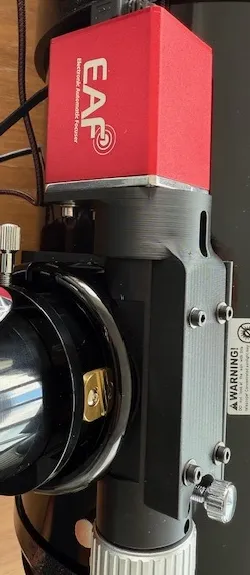
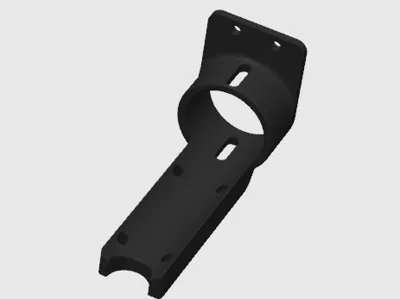
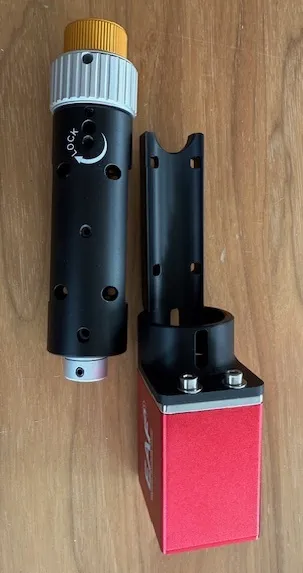
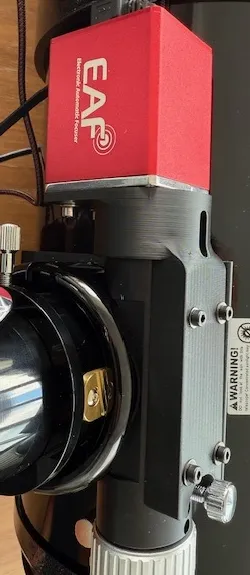
This EAF mounting plate was designed for the TSRPN2, enabling ZWO EAF focuser integration. The original shaft coupling, due to manufacturing variations, might be slightly oversized, potentially causing friction. Minor hand-sanding can remedy this. I personally rotated the entire assembly to prevent the EAF from extending beyond the telescope, conveniently obviating the need for EAF inversion. The four original M3 screws require replacement with four 30mm M3 screws and washers.
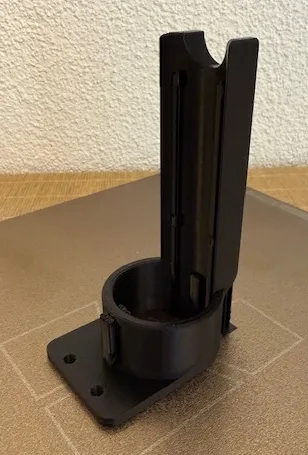
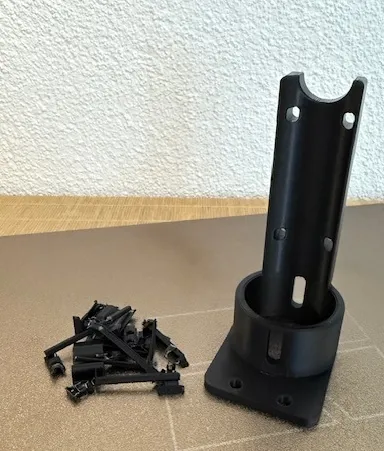
For optimal printing, I suggest PLA or PETG with a 4mm wall thickness. While the minimal overhangs are printable without supports, their inclusion enhances hole precision.
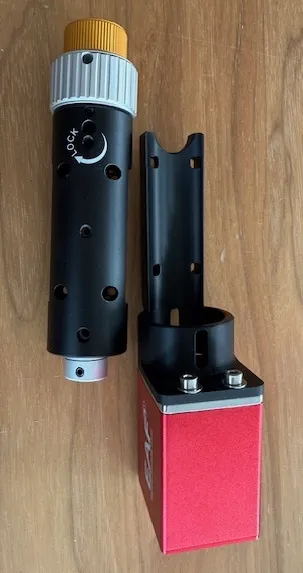
Assembly begins by securing the shaft coupling to the TSRPN2. Next, attach the EAF to the mounting bracket. Rotate the coupling to facilitate EAF tightening. Finally, mount the plate—the most straightforward approach.
ZWO EAF Mounting Plate for TS-Optics 2" Newtonian Focuser (8kg, 2-inch)
This EAF mounting plate was created for the TSRPN2, allowing for the mounting of the ZWO EAF to the focuser. The original shaft coupling may be slightly too large depending on the manufacturing tolerances and can cause friction. However, this can be easily remedied with some light sanding. In my case, I rotated the entire assembly to prevent the EAF from extending beyond the telescope. This prevented the need to invert the EAF.
The four original M3 screws should be replaced with four 30mm M3 screws with washers.
For printing, I recommend PLA or PETG with a wall thickness of 4.
The minimal overhangs can be printed without support, however I recommend the use of support for improved hole precision.
To assemble, first clamp the shaft coupling to the TSRPN2.
Then mount the EAF to the mount. Then rotate the coupling so the EAF can be tightened. Finally, mount the mounting plate. This is the easiest way to attach the mounting plate.
License

You shall not share, sub-license, sell, rent, host, transfer, or distribute in any way the digital or 3D printed versions of this object, nor any other derivative work of this object in its digital or physical format (including - but not limited to - remixes of this object, and hosting on other digital platforms). The objects may not be used without permission in any way whatsoever in which you charge money, or collect fees.


Comment & Rating (0)