
Microgreens & Sprouts Planter – your mini garden
Print Profile(6)

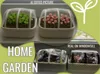


Description
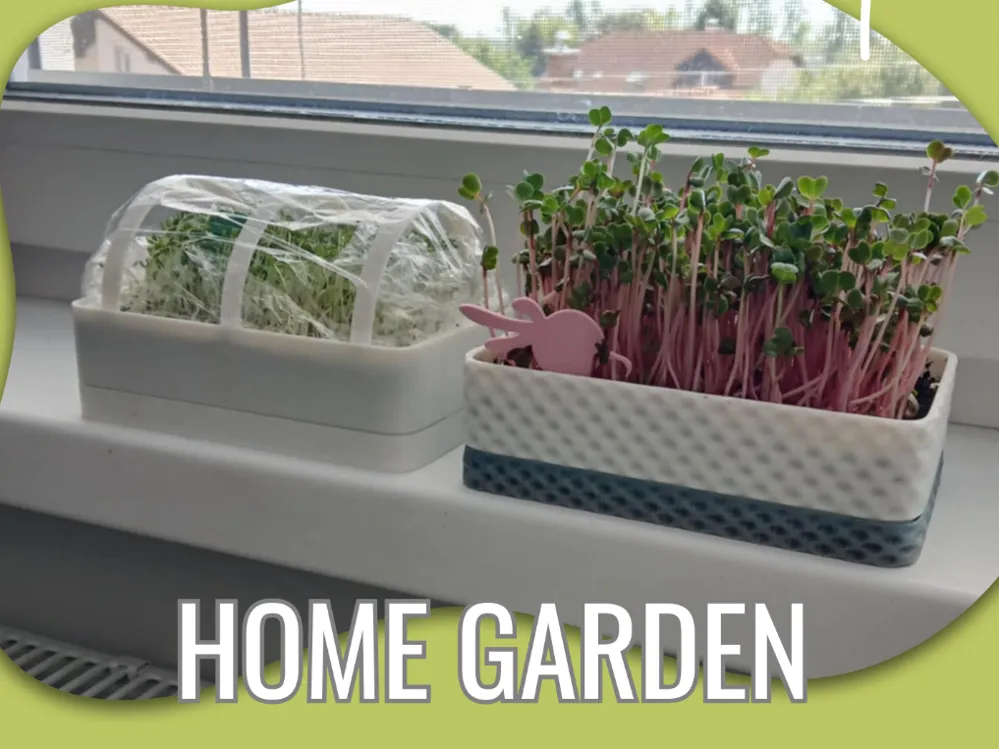
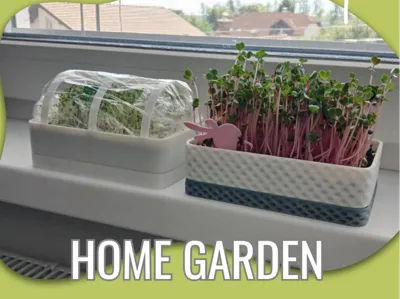
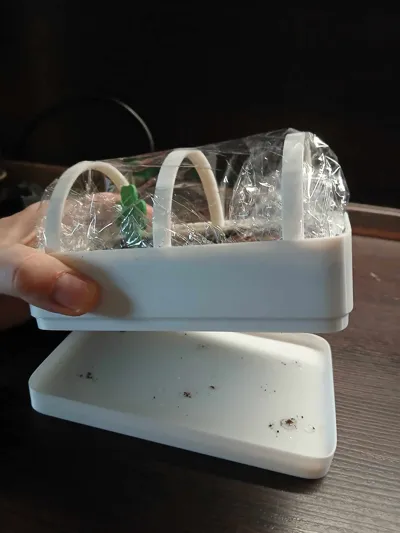
Microgreens & Sprouts Planter – your home mini garden on a windowsill!
Looking for a stylish and practical way to grow your own nutrient-packed microgreens at home? Check out this modular planter model, designed especially for indoor window sills full of light!
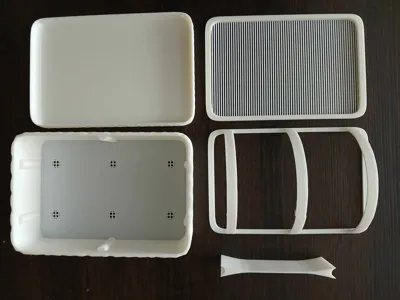
💧 What’s included in the model?
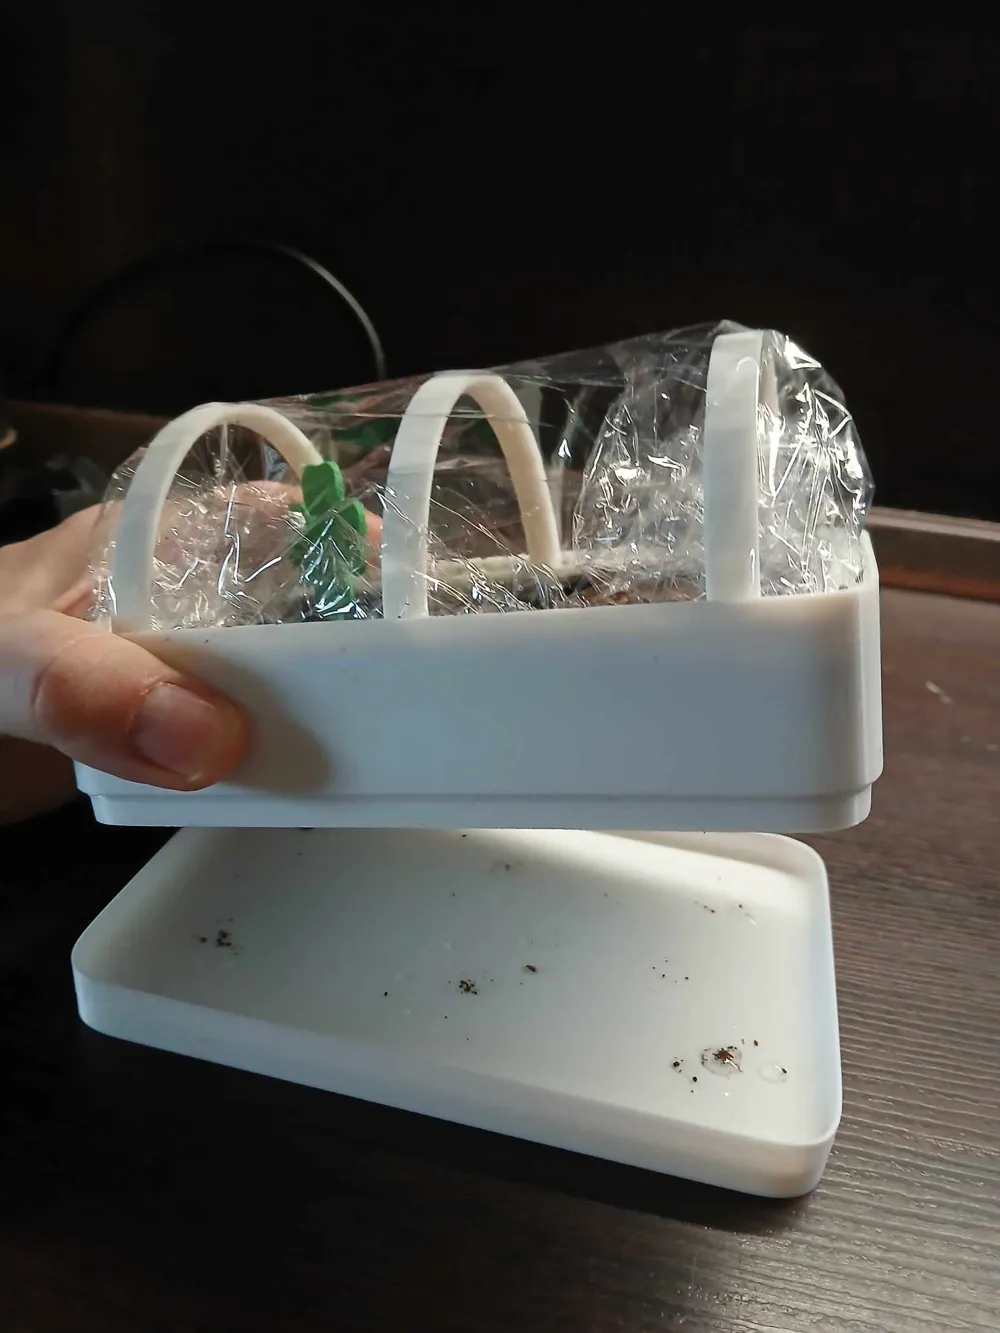
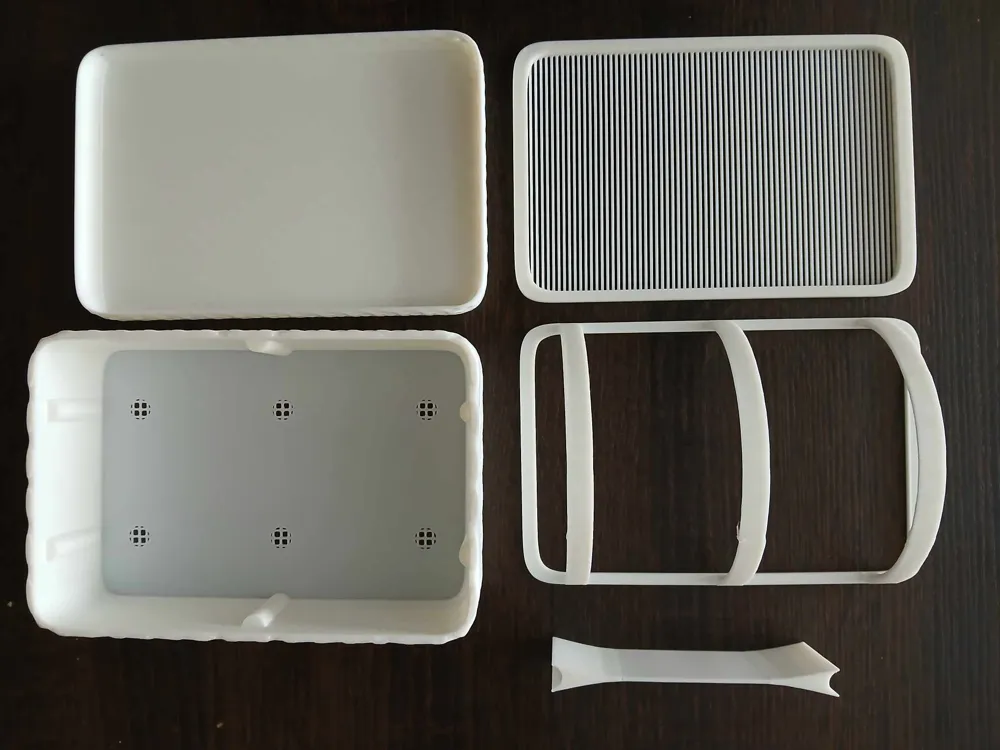
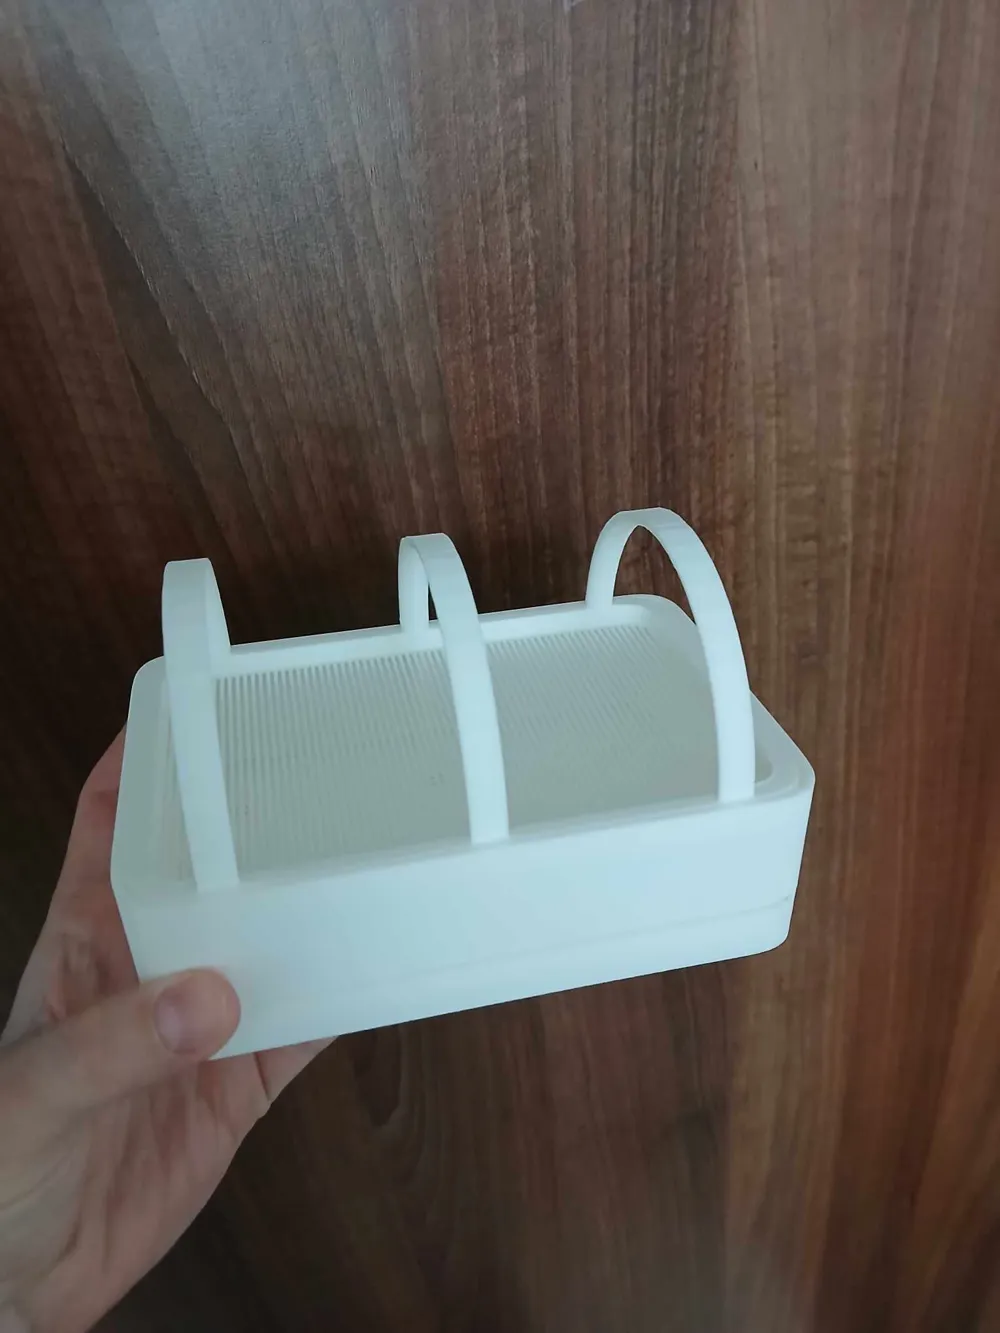
- A bottom tray to catch excess water – keeping your windowsill dry and clean.
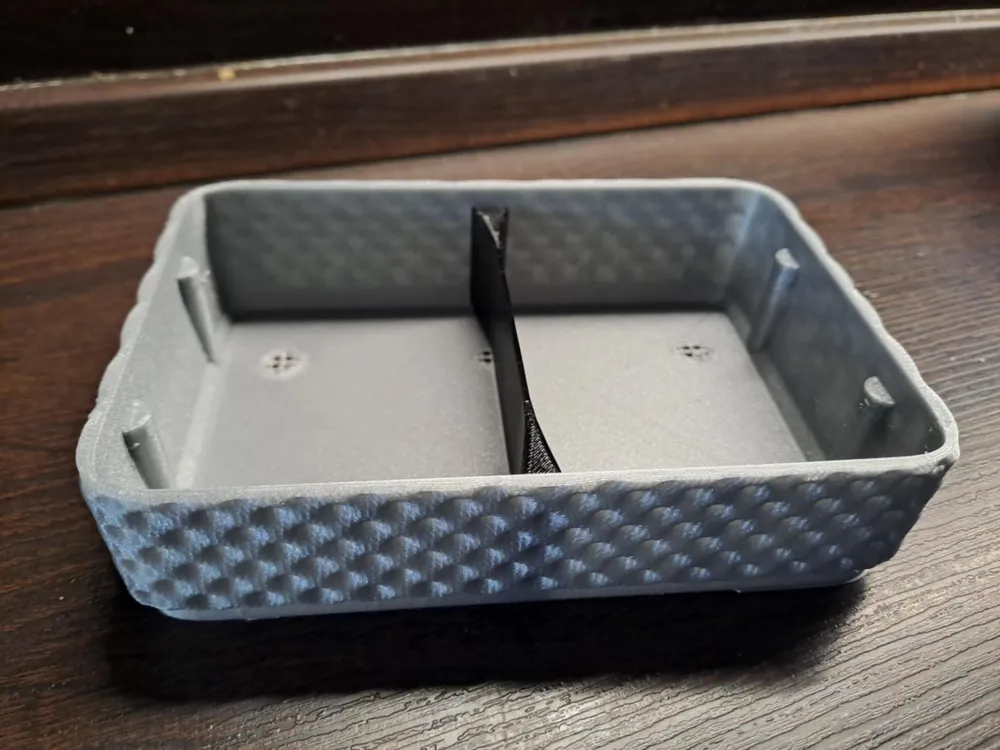
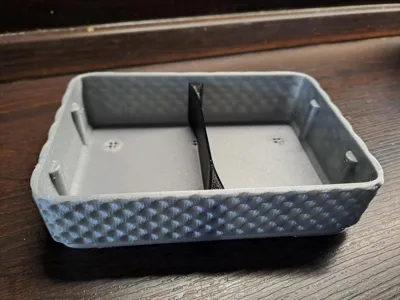
- A main grow tray, perfect for filling with soil and sowing microgreens.
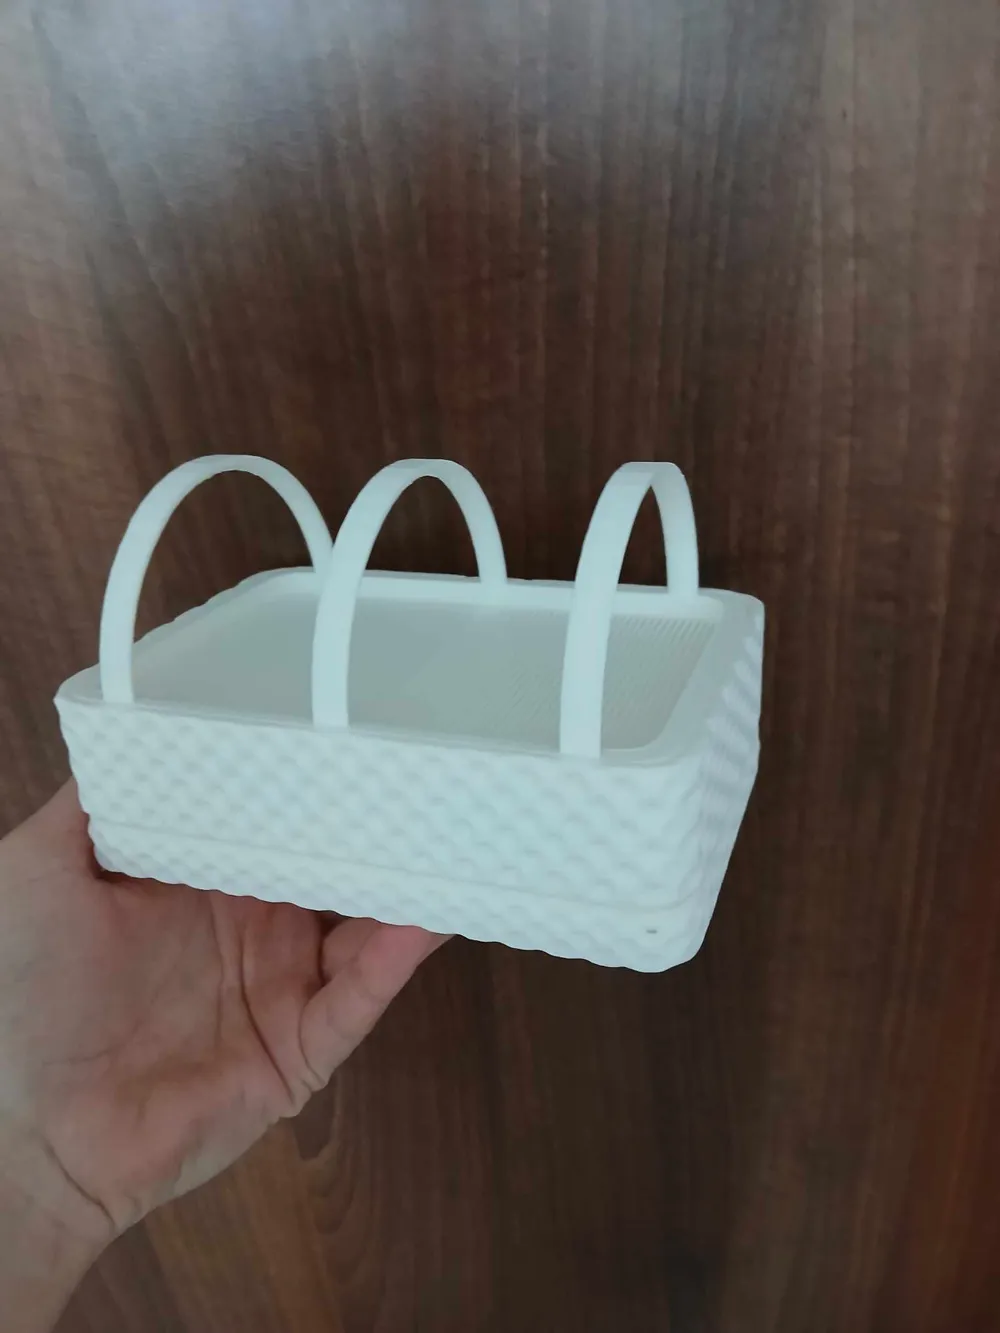
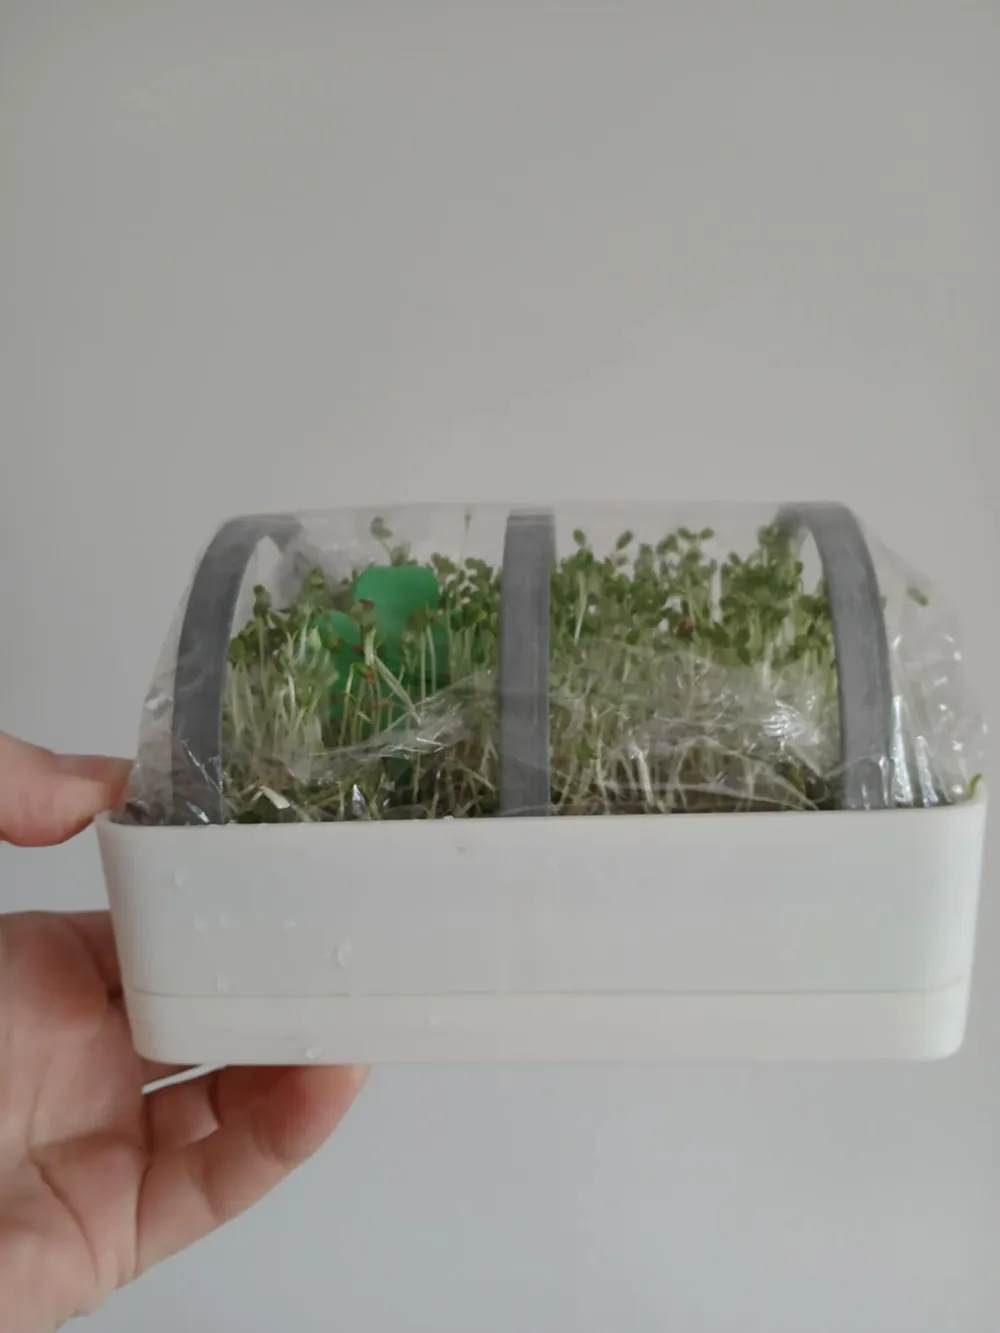
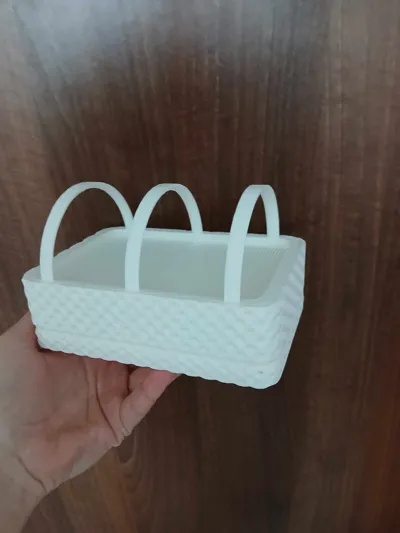
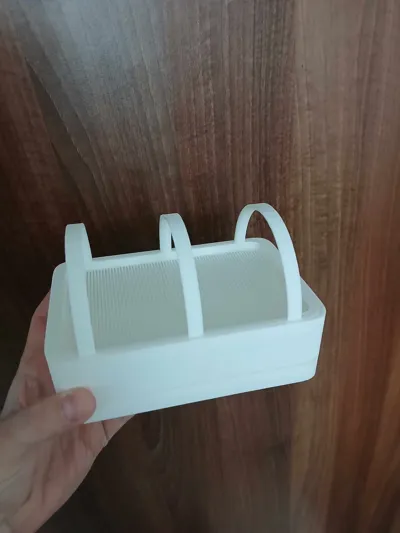
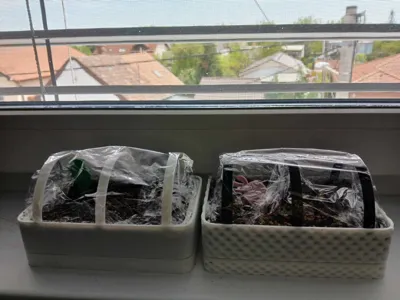
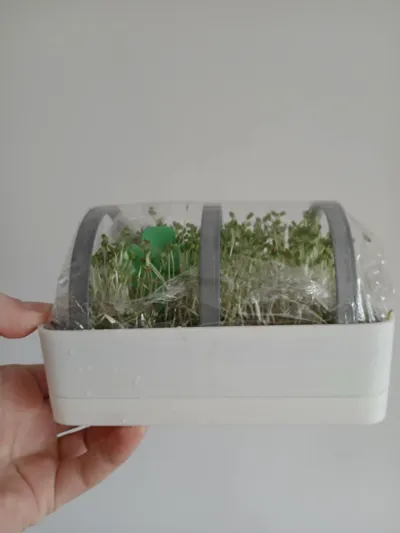
- Food wrap rings to cover the tray and keep humidity during the first days of sprouting.
- A grid insert for sprouting without soil – perfect for clean and easy seed sprouting.
- An optional divider wall – grow two varieties at once!
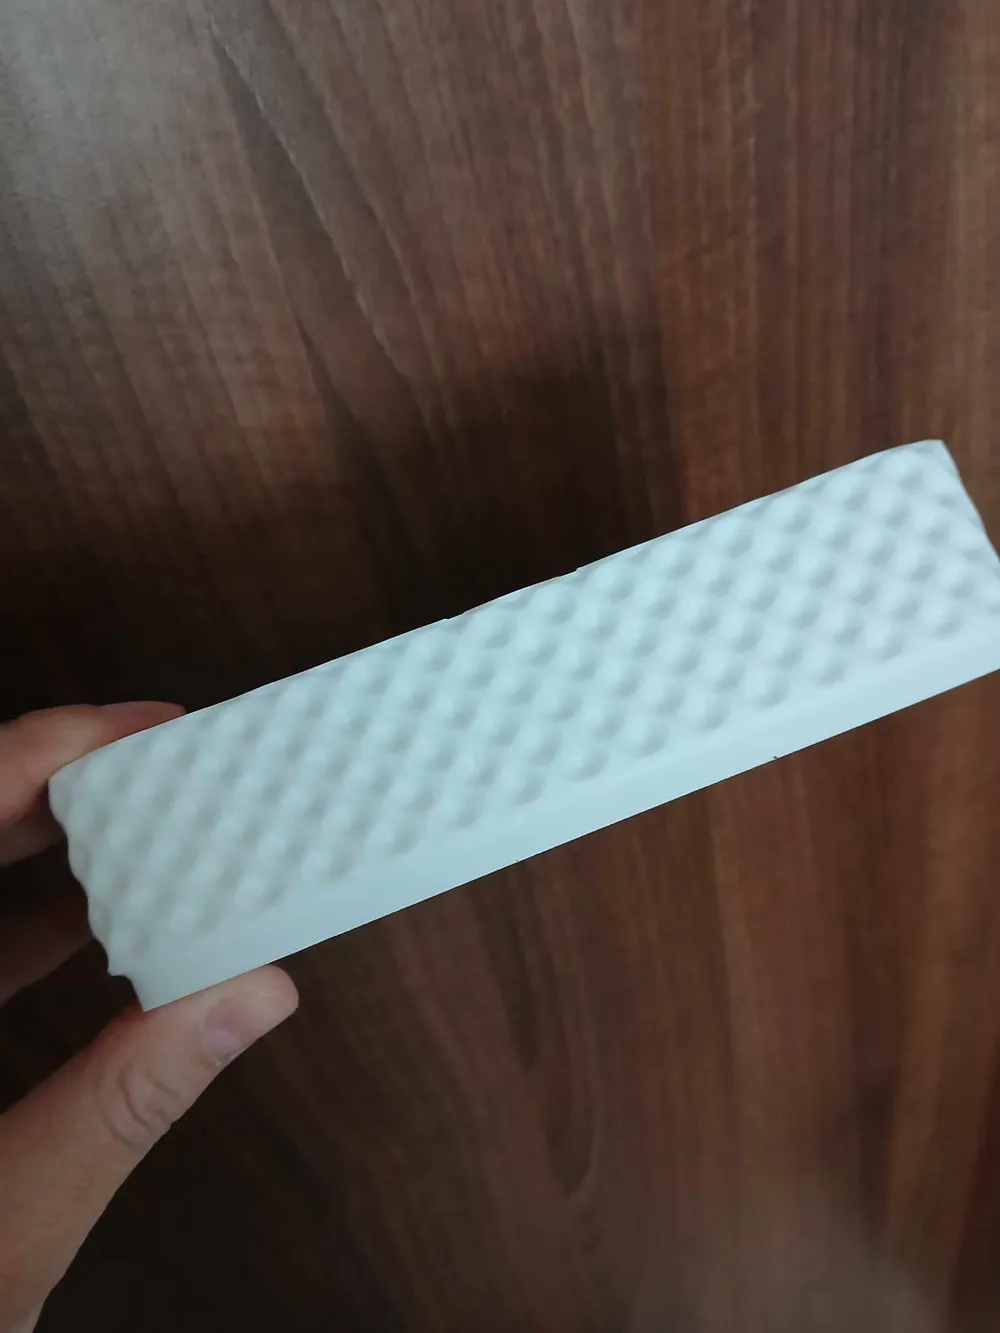
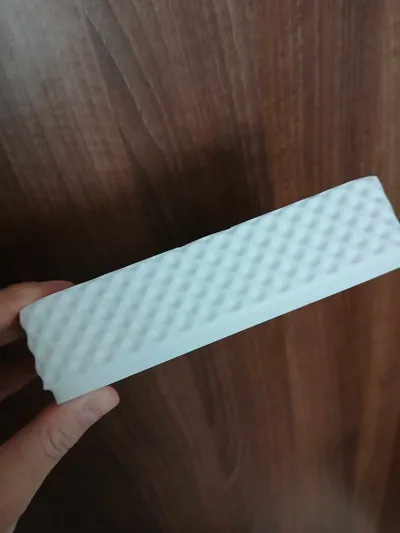
- Choose between a decorative patterned version (main print profile) for stylish spaces like living rooms, or a simple no-pattern version (second print profile) for faster, material-saving prints.
>>>> The markers you can stick into the substrate in the planter – for clover, radish, corn, and peas – are available on our profile.
🧡 We recommend printing with food-safe filament – for safe and healthy home growing. If you're not printing with food-safe filament, at least line the inside of the tray with food-grade cling film.
The dimensions are - approximately:
main tray – inside: 14.5 x 9.5 x 3.5 cm
bottom tray – inside height: 0.8 cm
total height without the greenhouse cover: 4.5 cm (external)
with the greenhouse cover: 9 cm
Boost Me (for free)
Thank you for your support
🍀 Why microgreens and sprouts?
- Fast and easy to grow – even without a garden.
- Packed with vitamins, antioxidants, and enzymes.
- Perfect for salads, smoothies, sandwiches, or as a pretty food garnish.
- Plus – with this tray, you skip store-bought plastic packaging and grow sustainably at home!
🧑🏭 Why this model?
- Compact, functional, and designed specifically for 3D printing.
- Great as a gift for plant lovers or healthy living fans.
How I did it:
I ordered & bought microgreens seeds from website and substrate (not sprouts) – specifically clover, radish, peas, and corn.
Microgreens: are young plants grown in soil or a substrate, harvested about 7–14 days after sprouting, when they already have leaves. The stem and leaves are eaten.Sprouts: are grown without soil, just in water, and harvested earlier (usually 2–7 days). The whole seed, along with the sprout, is consumed. (Some people grow them just in water, others use special papers, gauze, and similar materials.)
I added the substrate to the main tray, moistened it with water, and mixed it a bit.
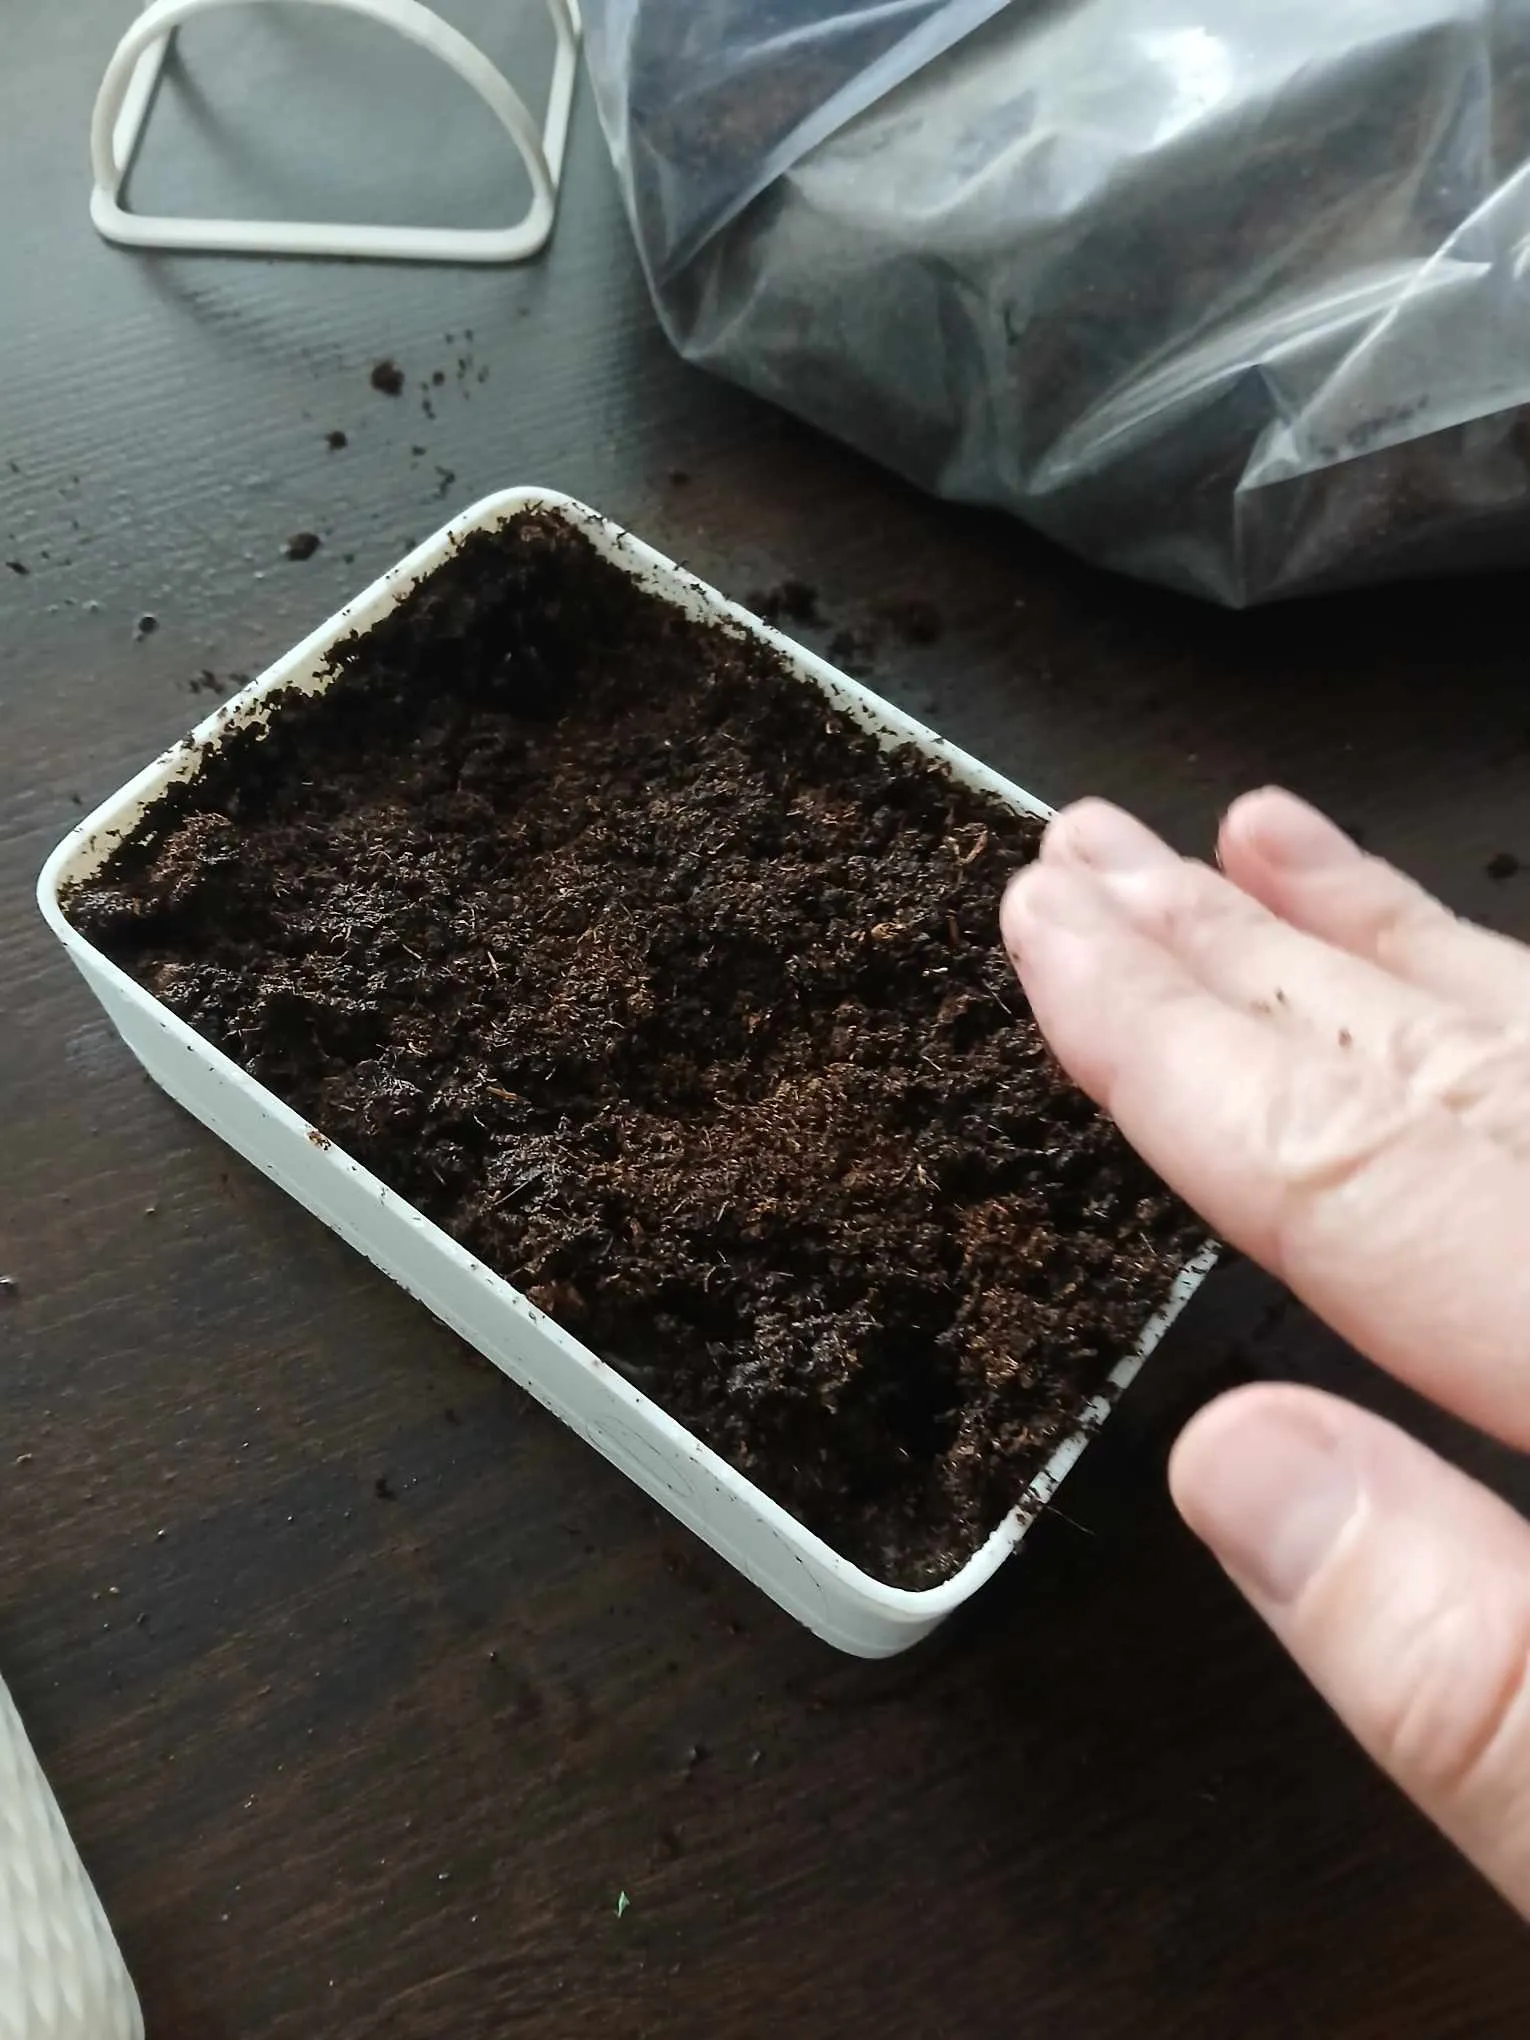
I sprinkled the seeds on top, following the recommended density for each type of microgreen.
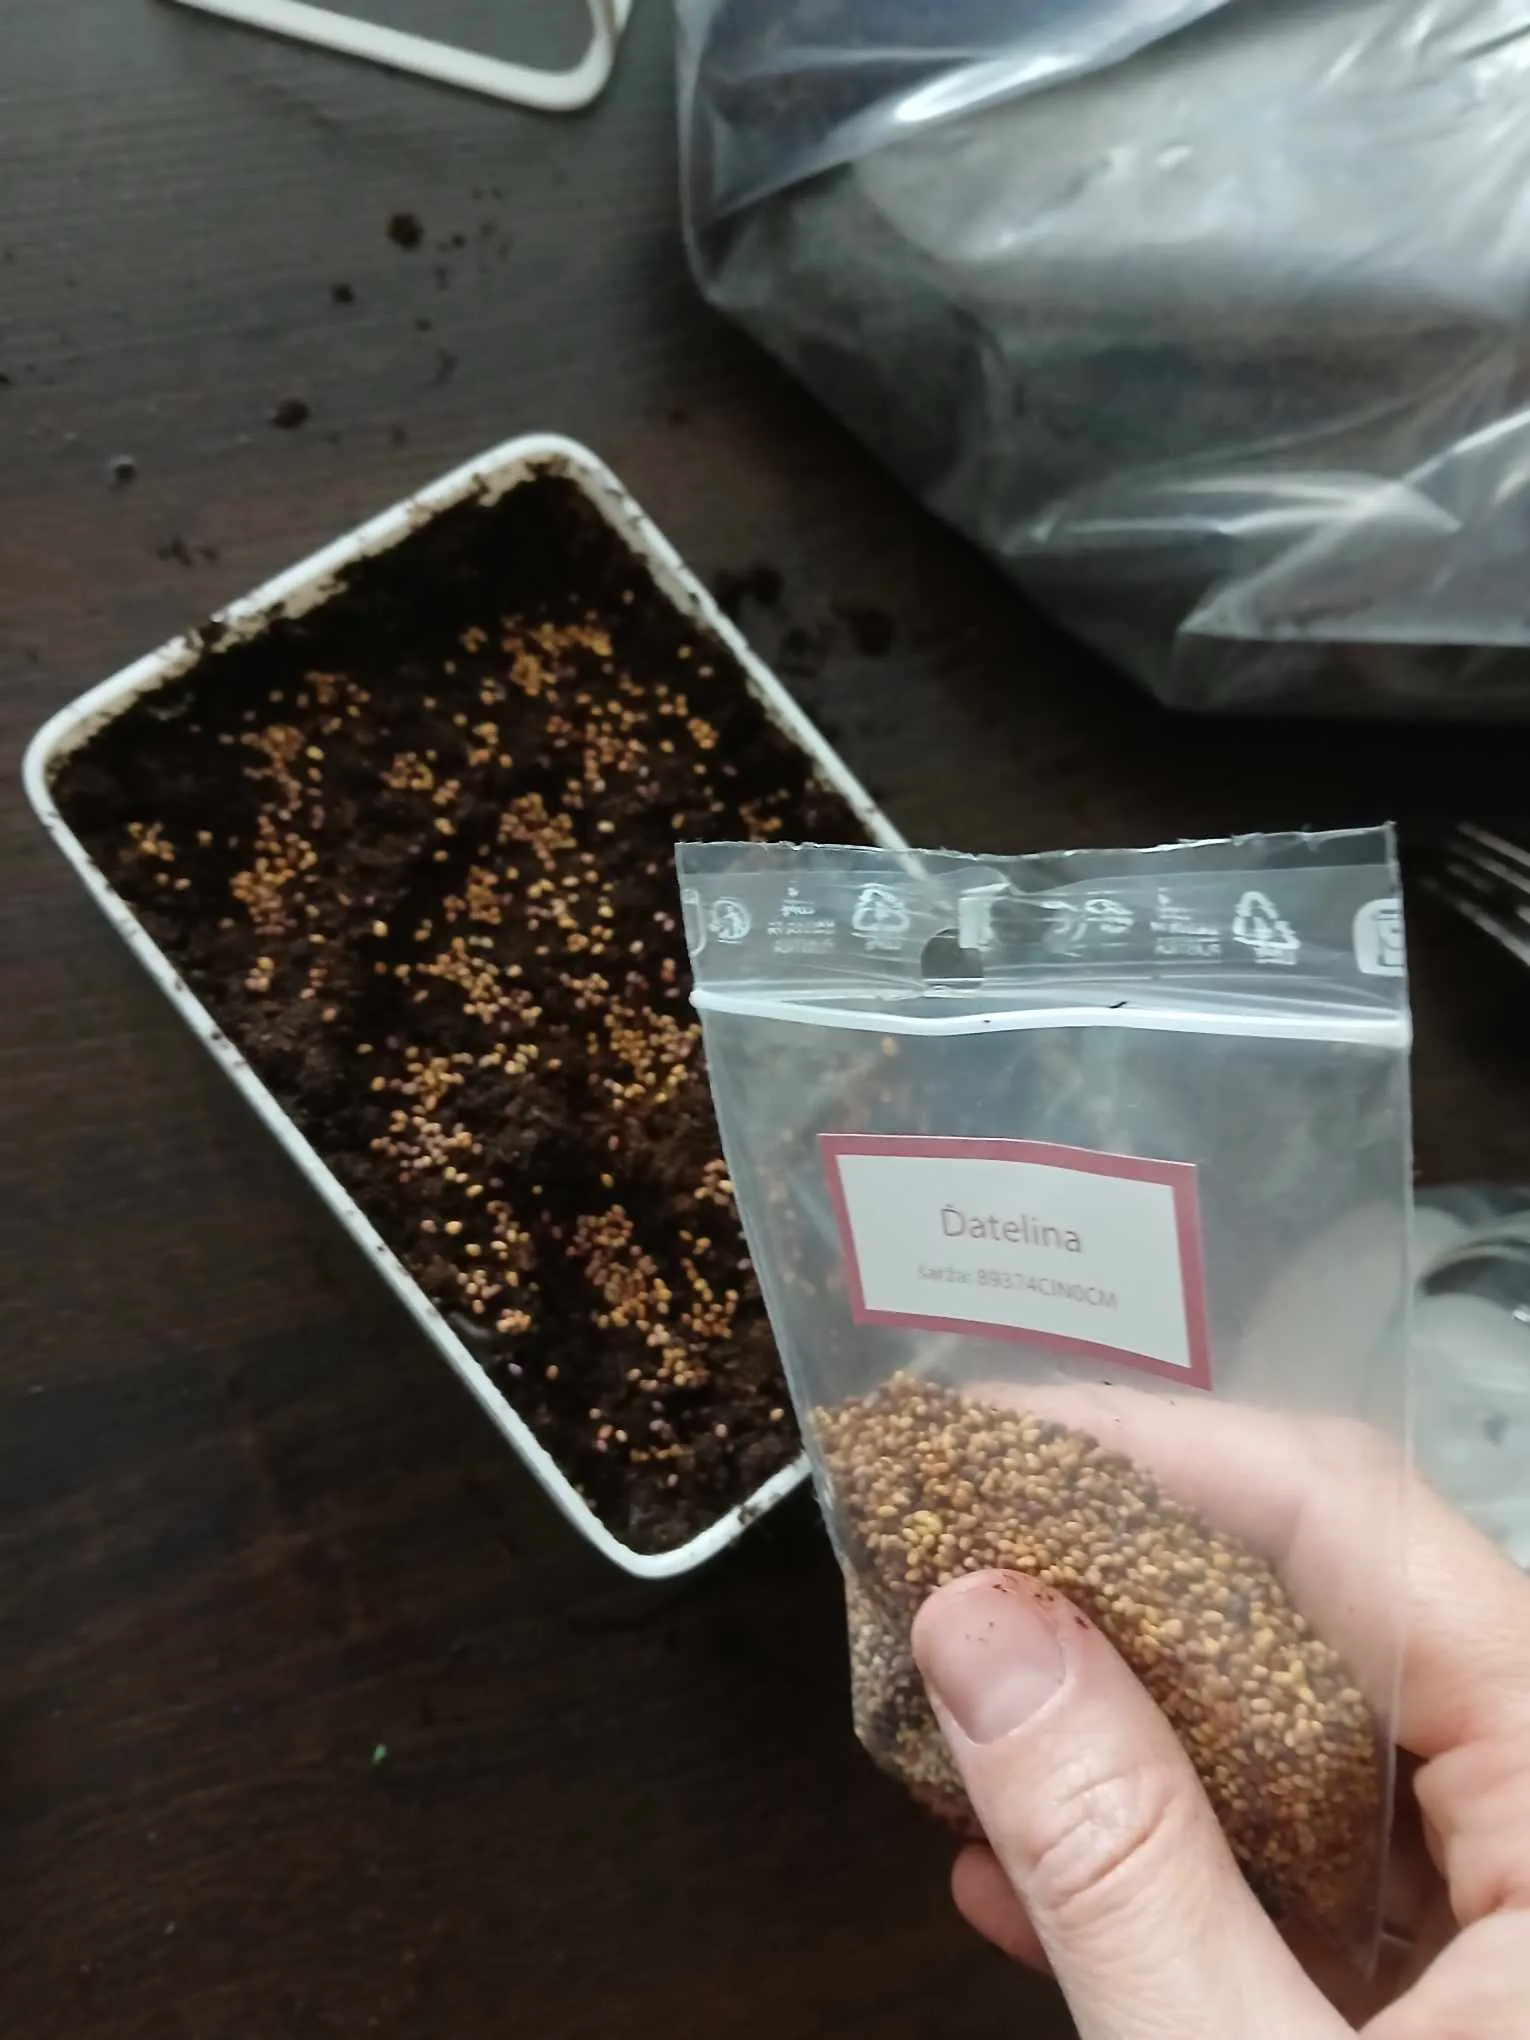
- I added plant markers to label each type of microgreen. - are available on our profile.
I misted the seeds with water.
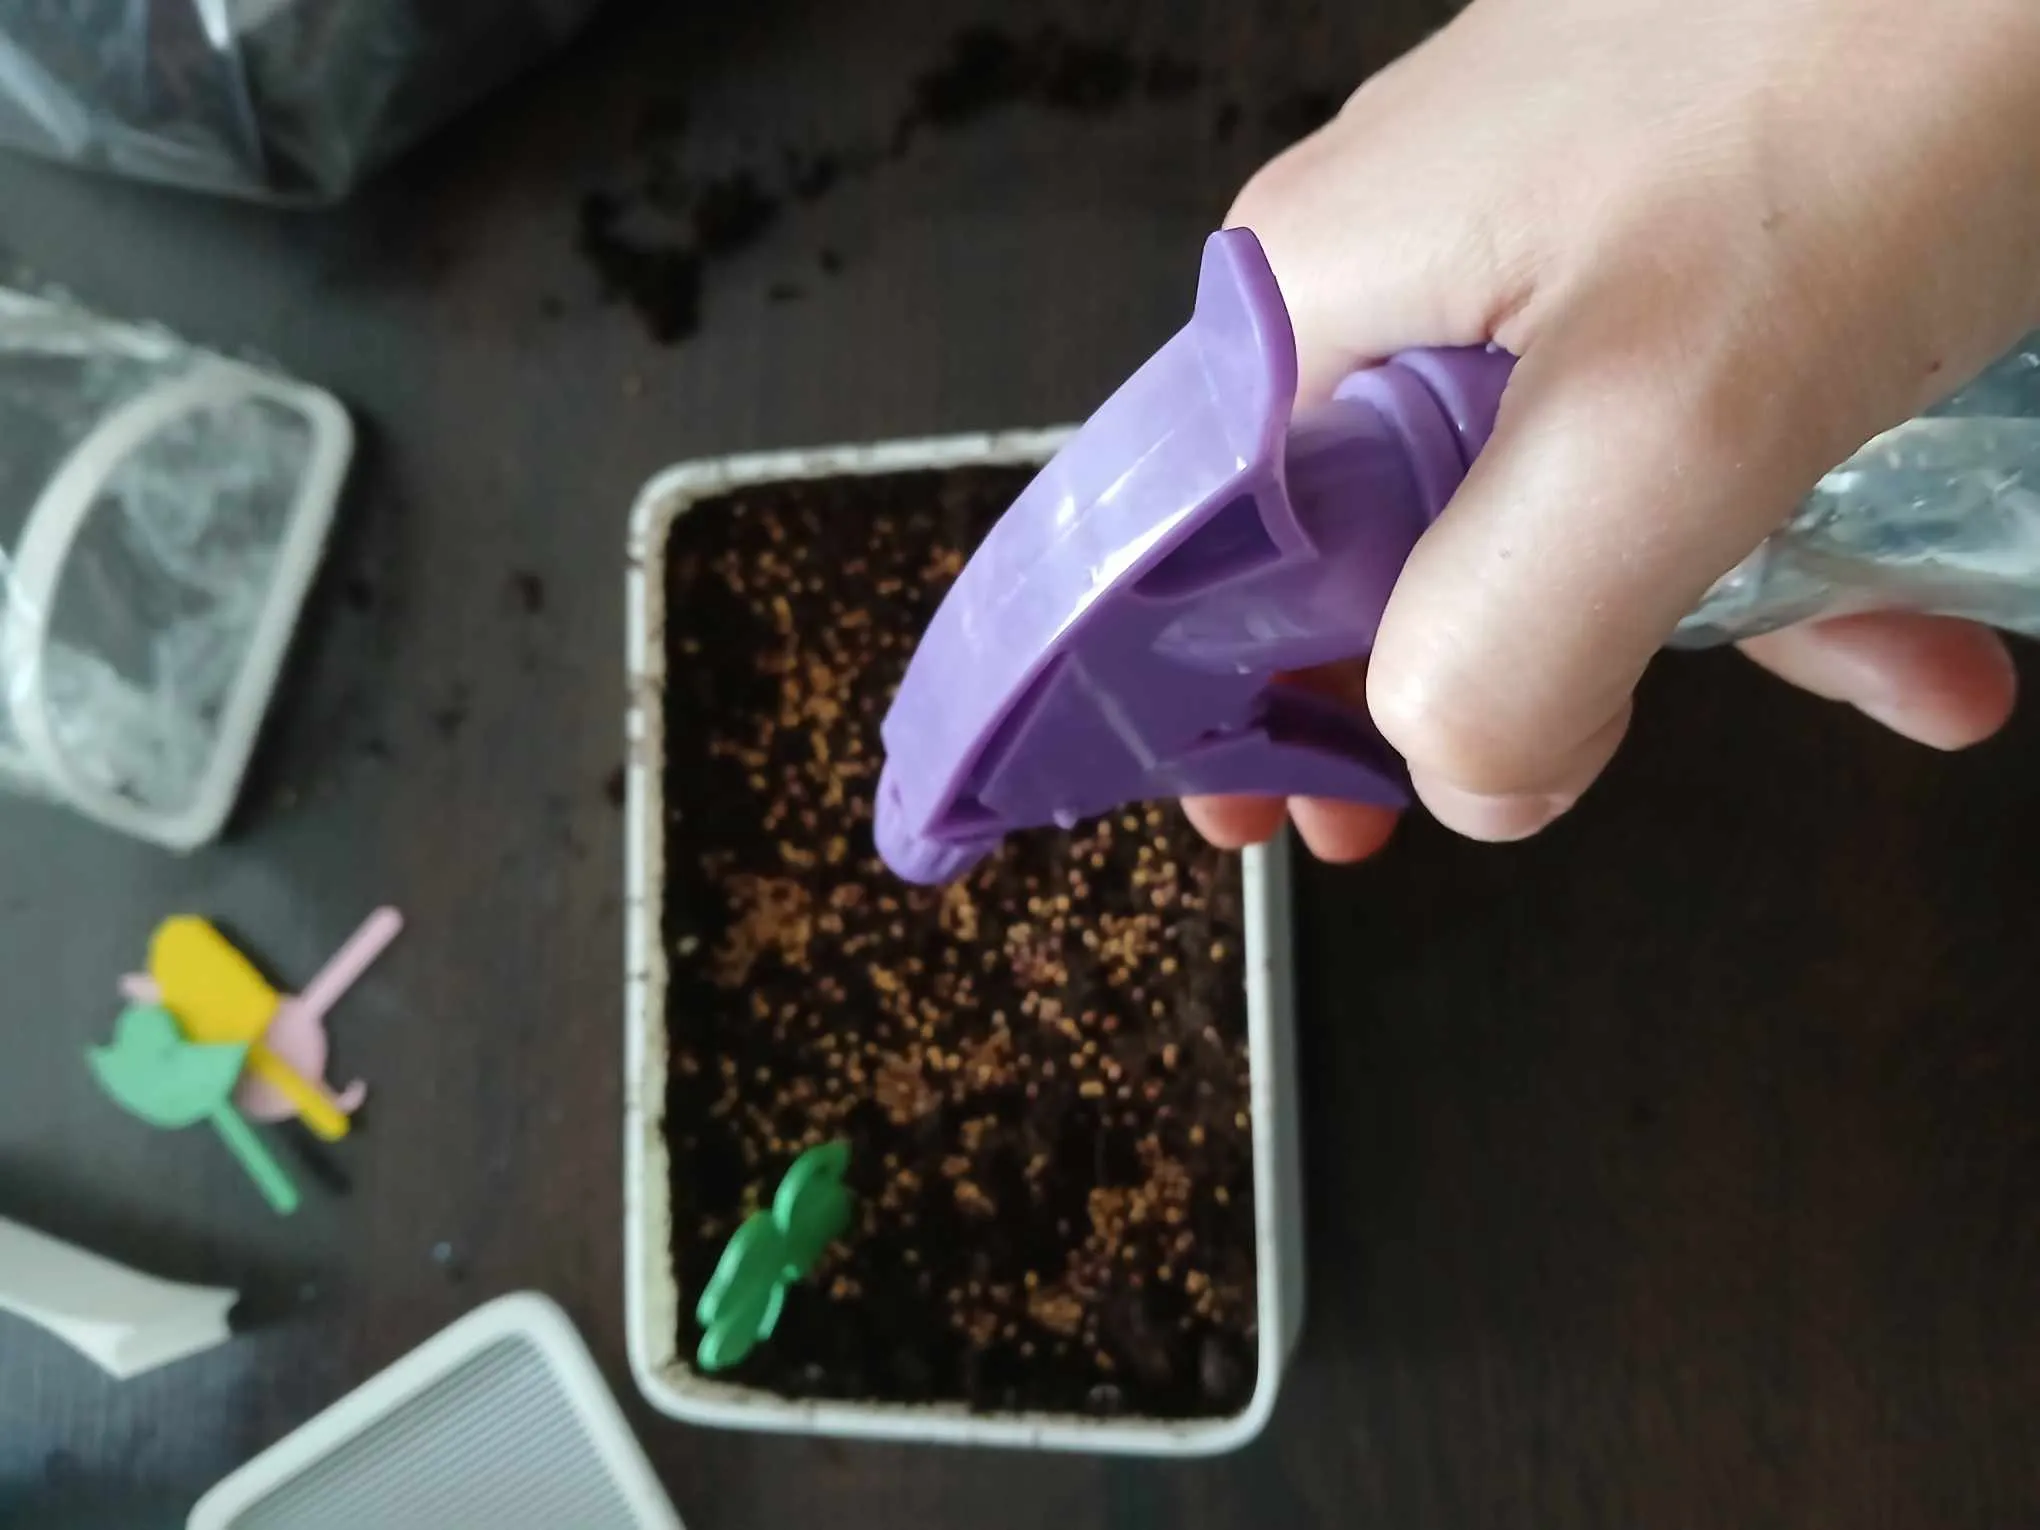
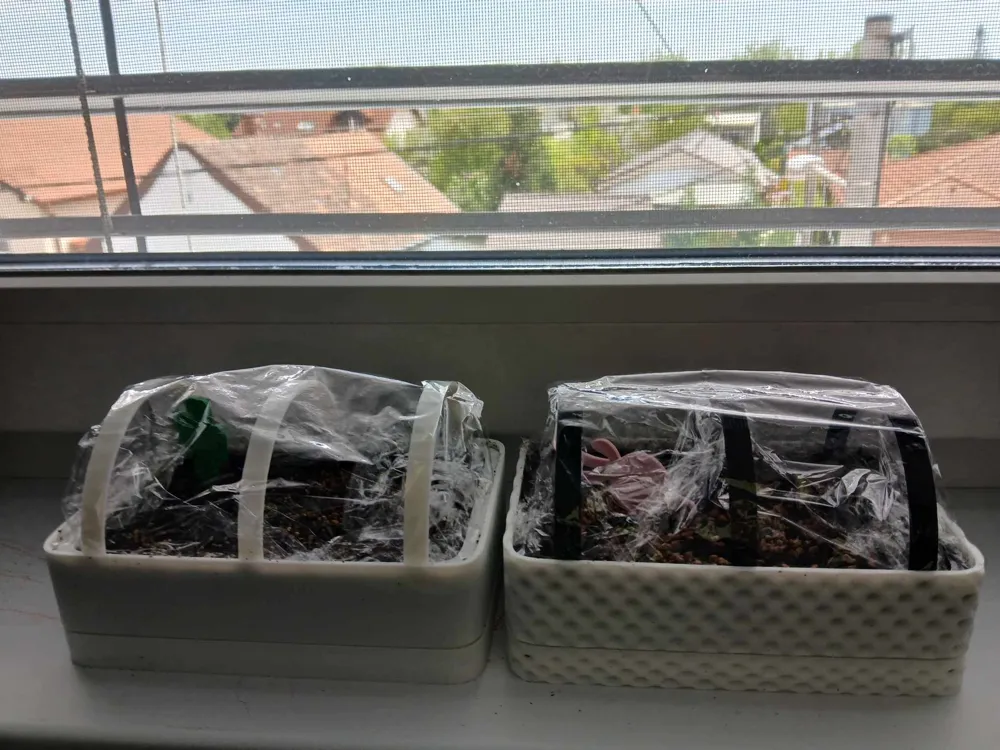
- I wrapped the rings with food-safe cling film.
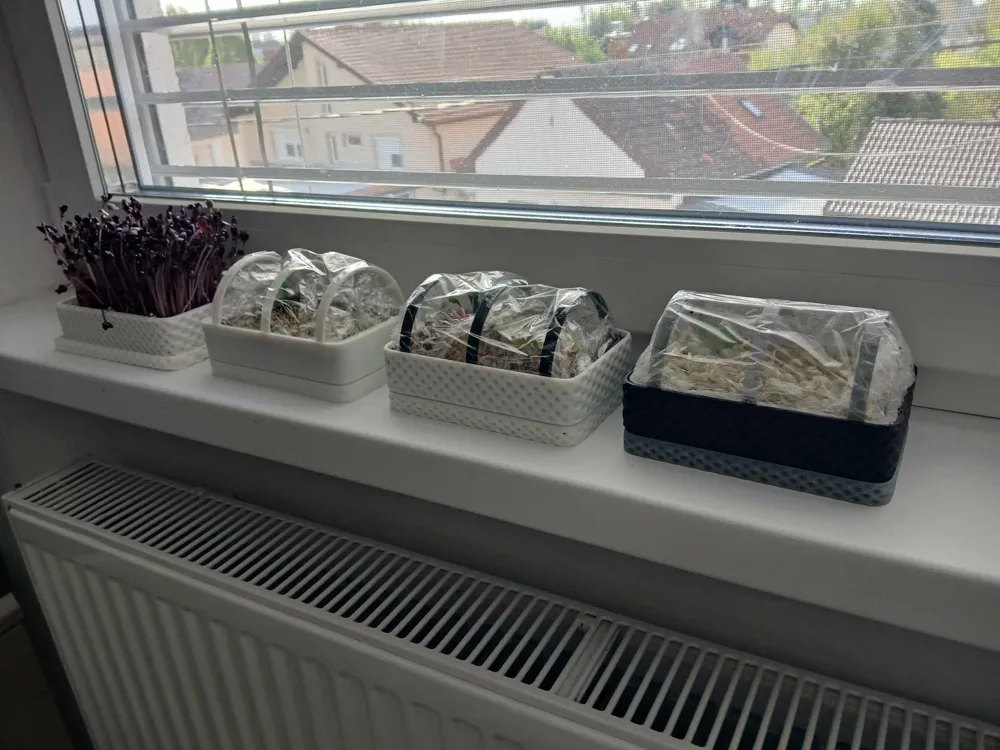
I placed the complete tray on the windowsill. I didn’t use the grid insert, since I’m growing microgreens, not sprouts. I also didn’t use the divider wall because I planted just one type in the entire tray. But if I wanted to grow two types at once, I would definitely use it.
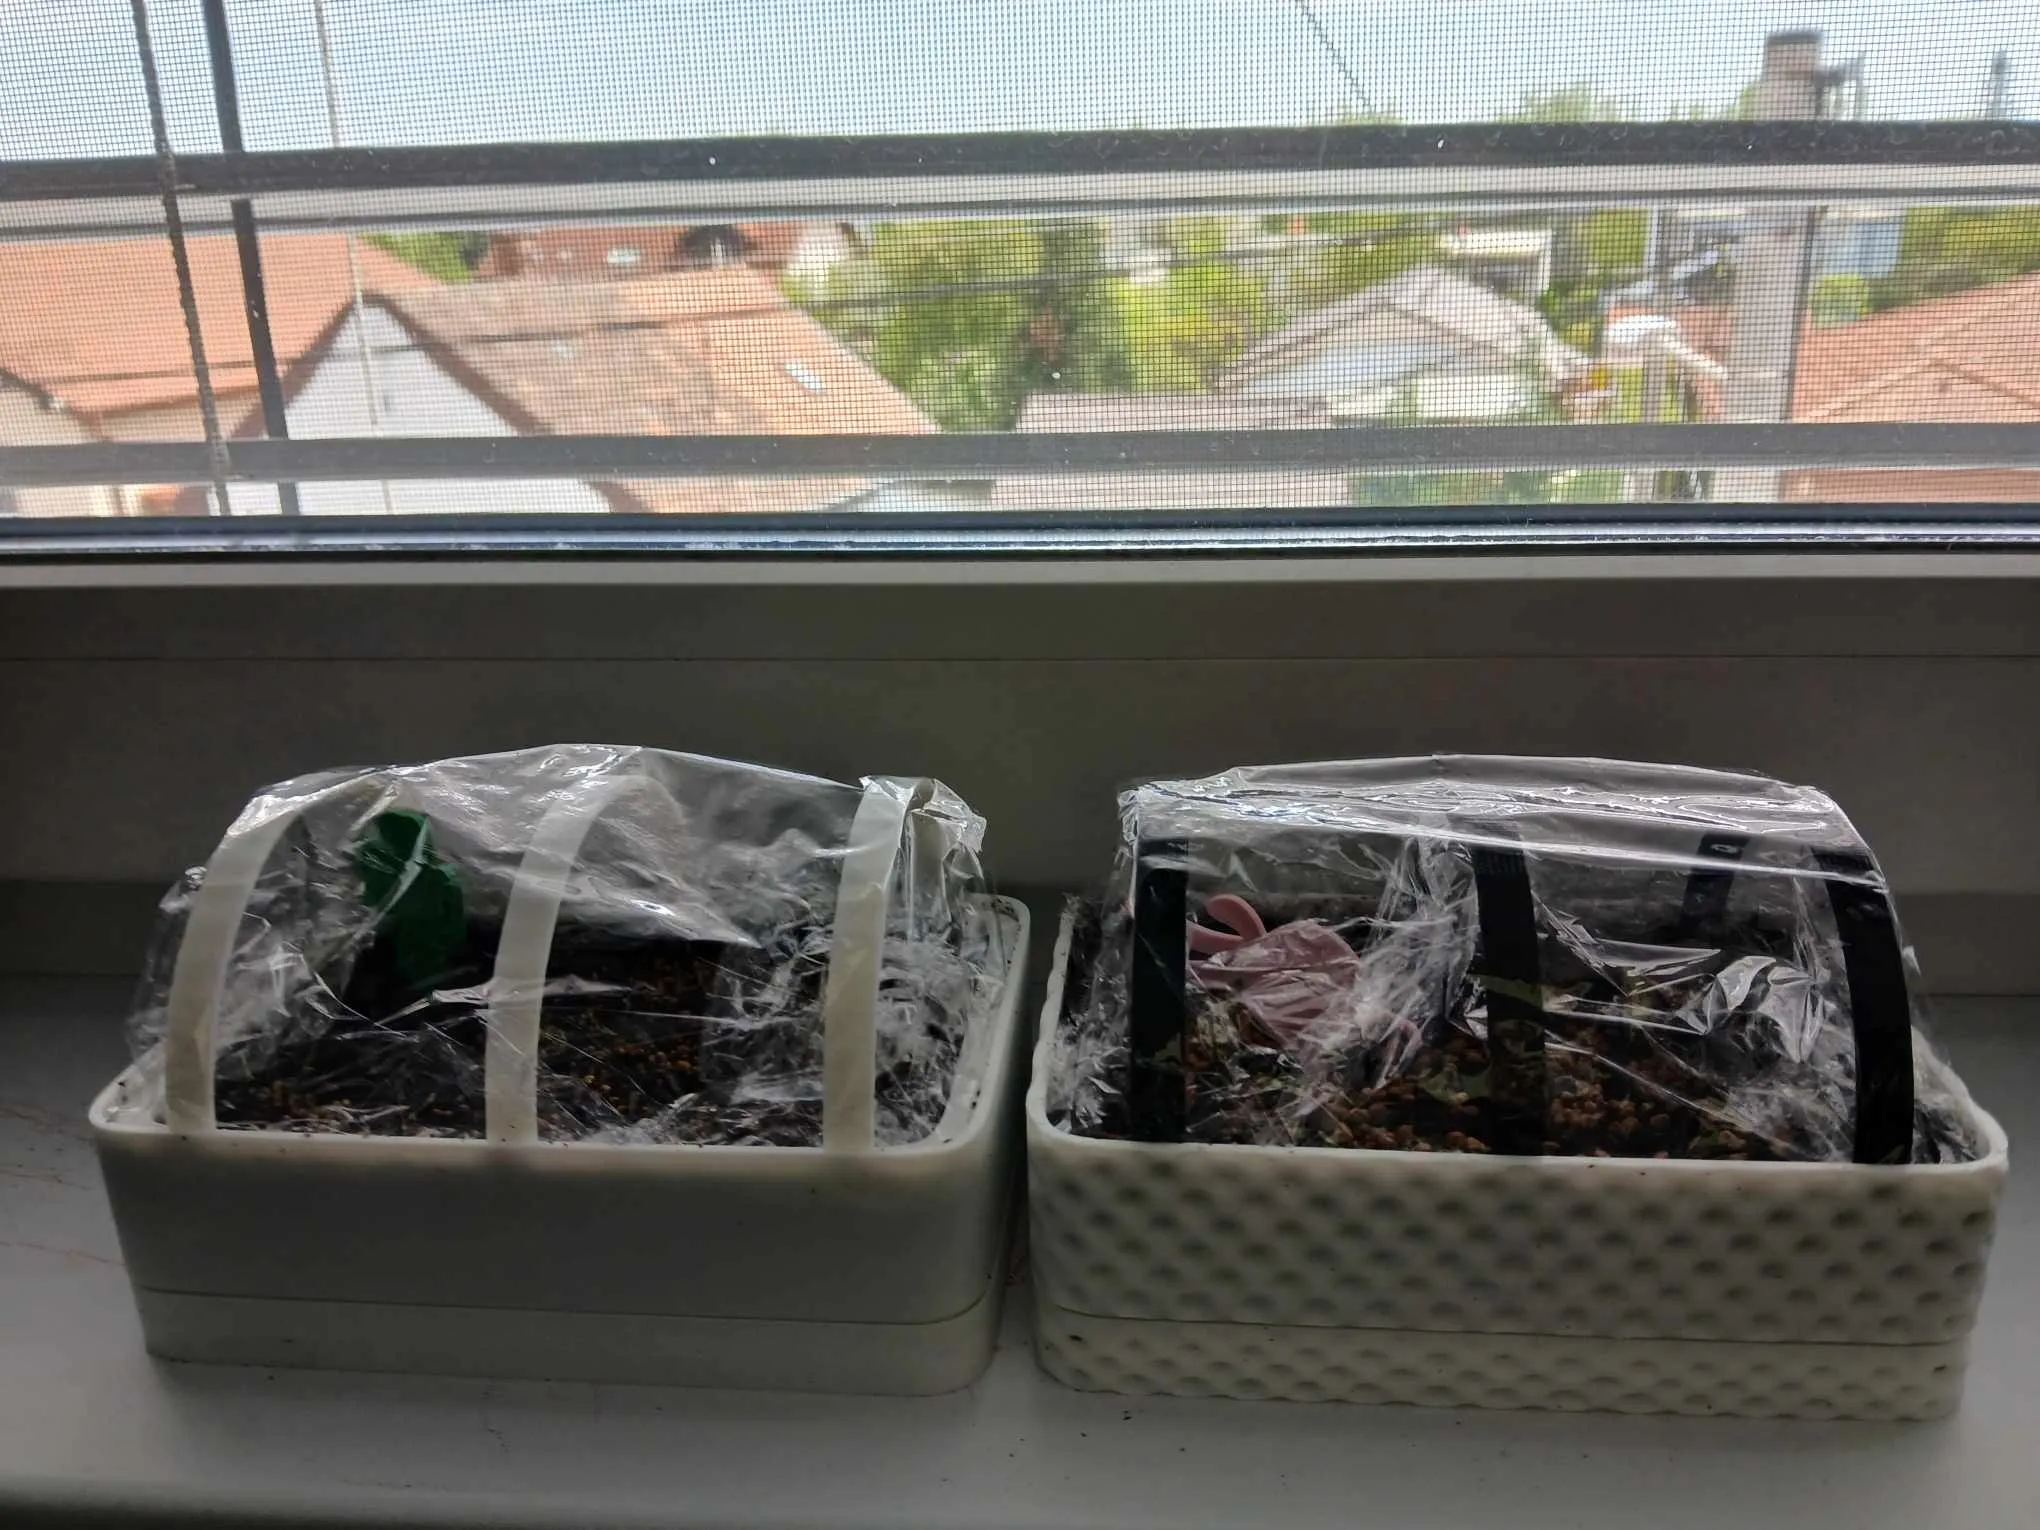
I’ll continue following the germination instructions – watering as needed. Once the microgreens grow, I’ll remove the cling film, snip the greens, and eat them.
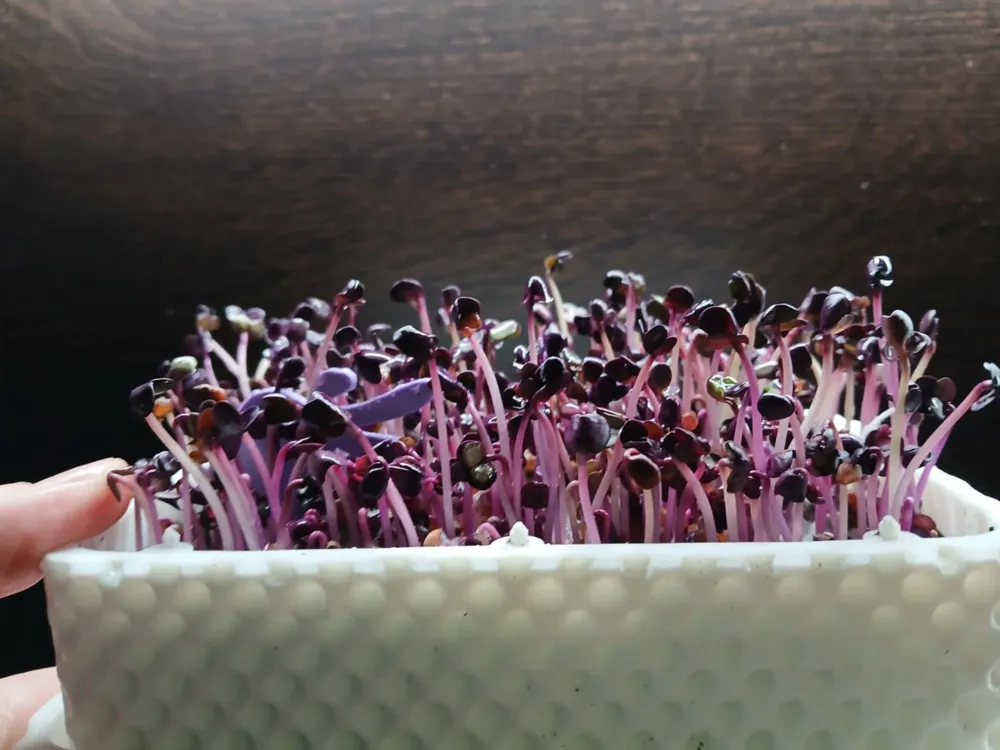
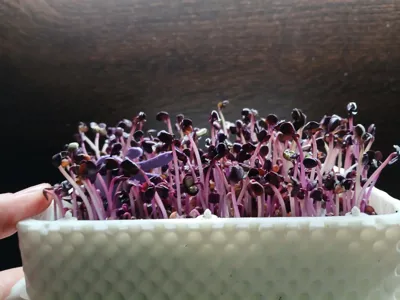
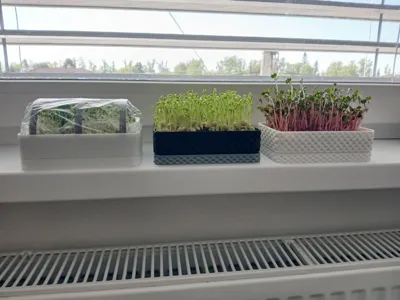
This is the 4th day of the purple radish. I'm already removing the greenhouse cover and leaving it like this on the windowsill. The instructions say it should be cut on the 7th day.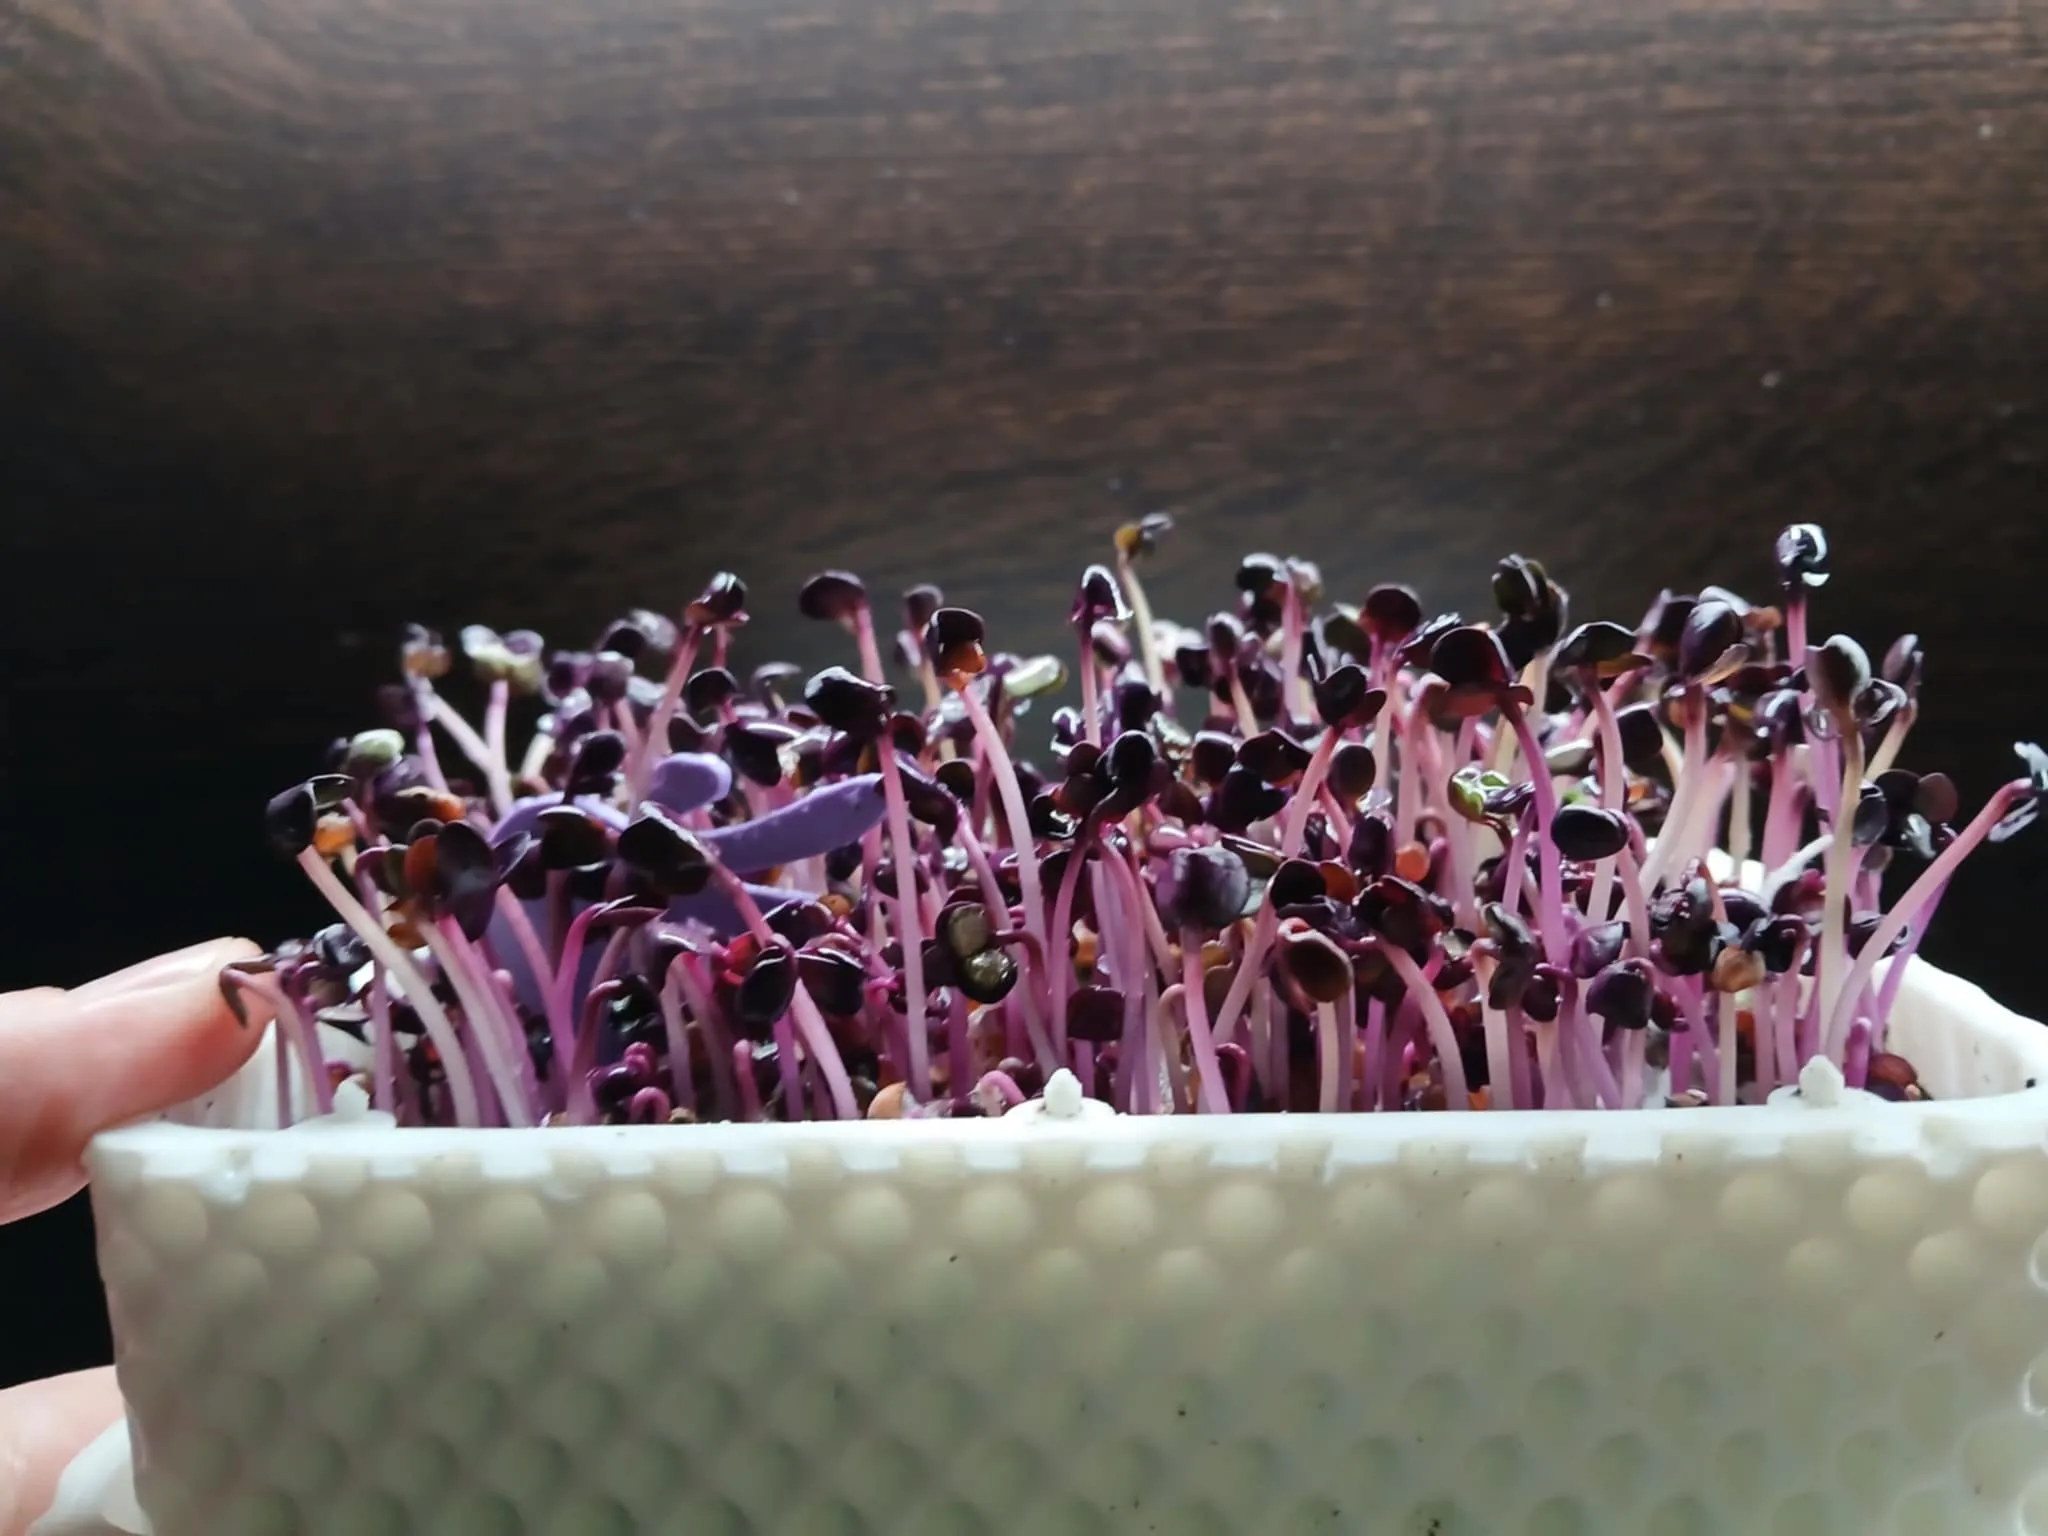
This is the 6/7th day of the purple radish. I grabbed some scissors and snipped off a piece of the stalk with a leaf. I washed it and dug right in. Yum, it was delicious!
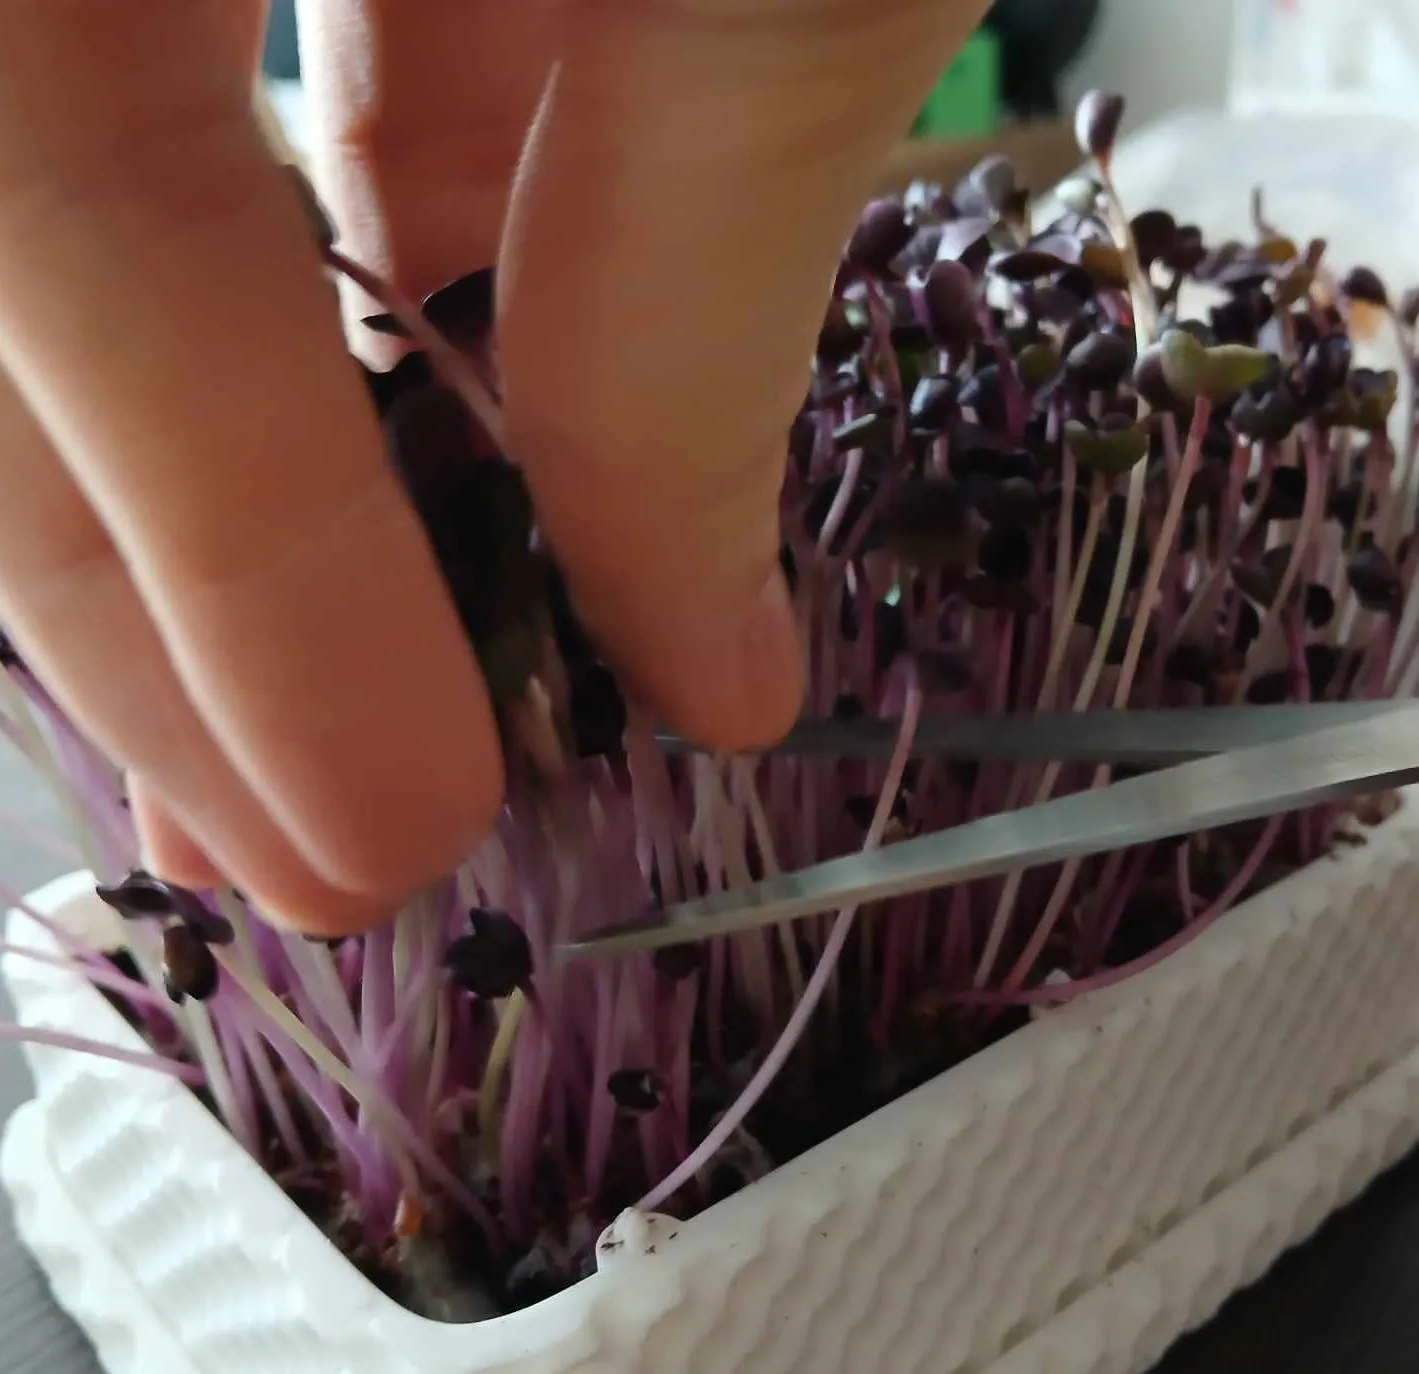
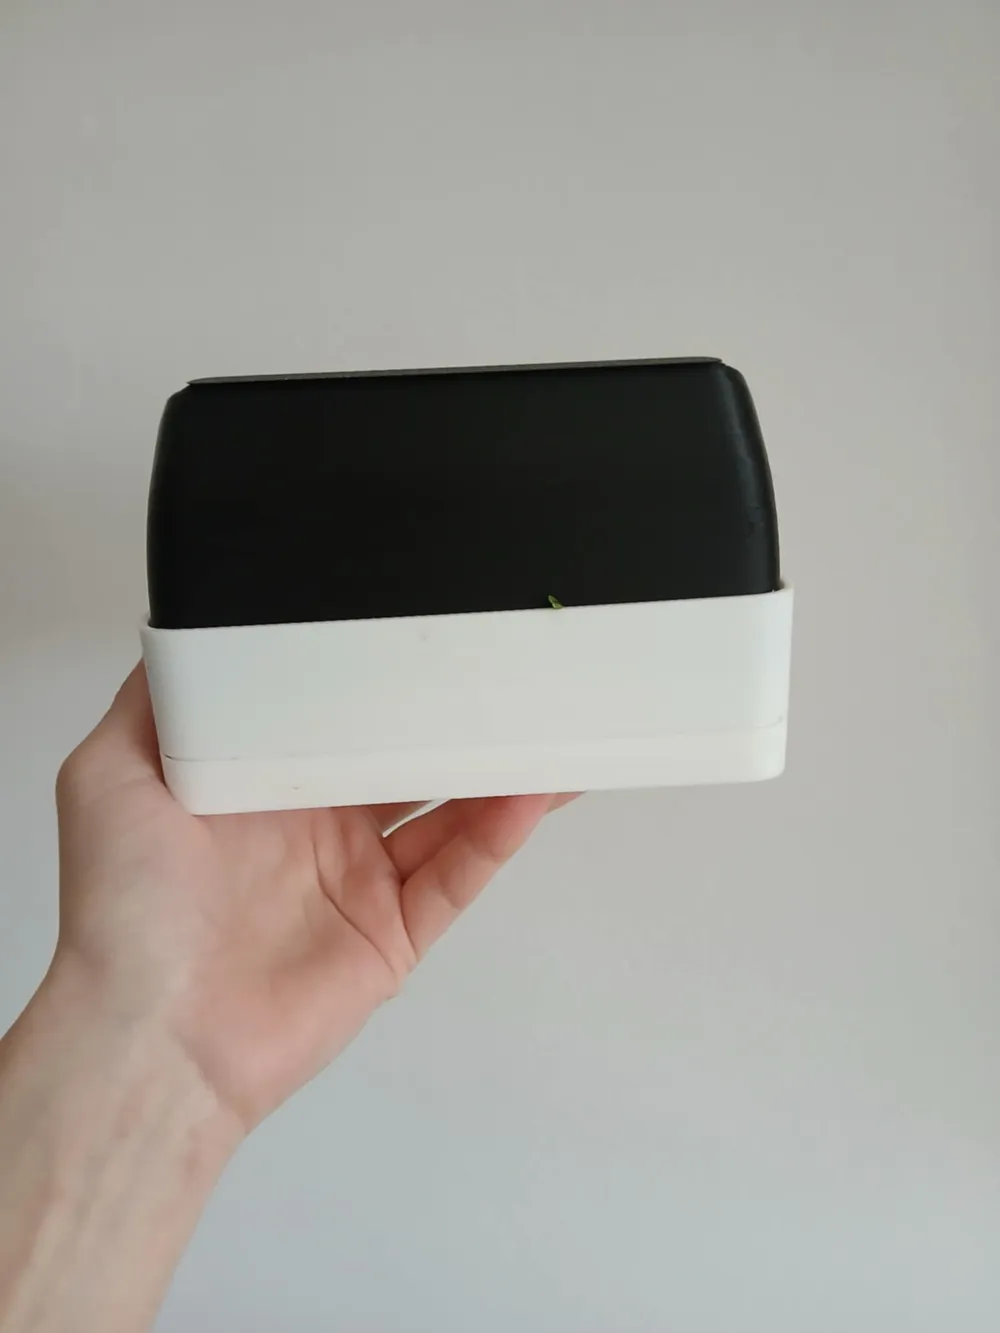
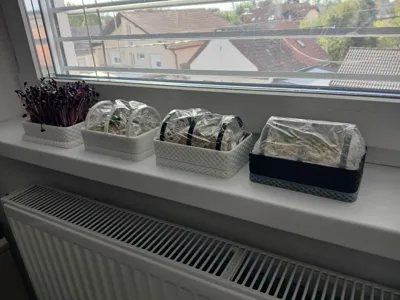
If you’re wondering why this bowl looks different, it’s because it was our very first design version—the one we used to spot every flaw and tweak everything we didn’t like. We still put it to use, though; even if it isn’t perfect, it’s perfectly functional. All the other plants will be photographed in the current model from now on. :)
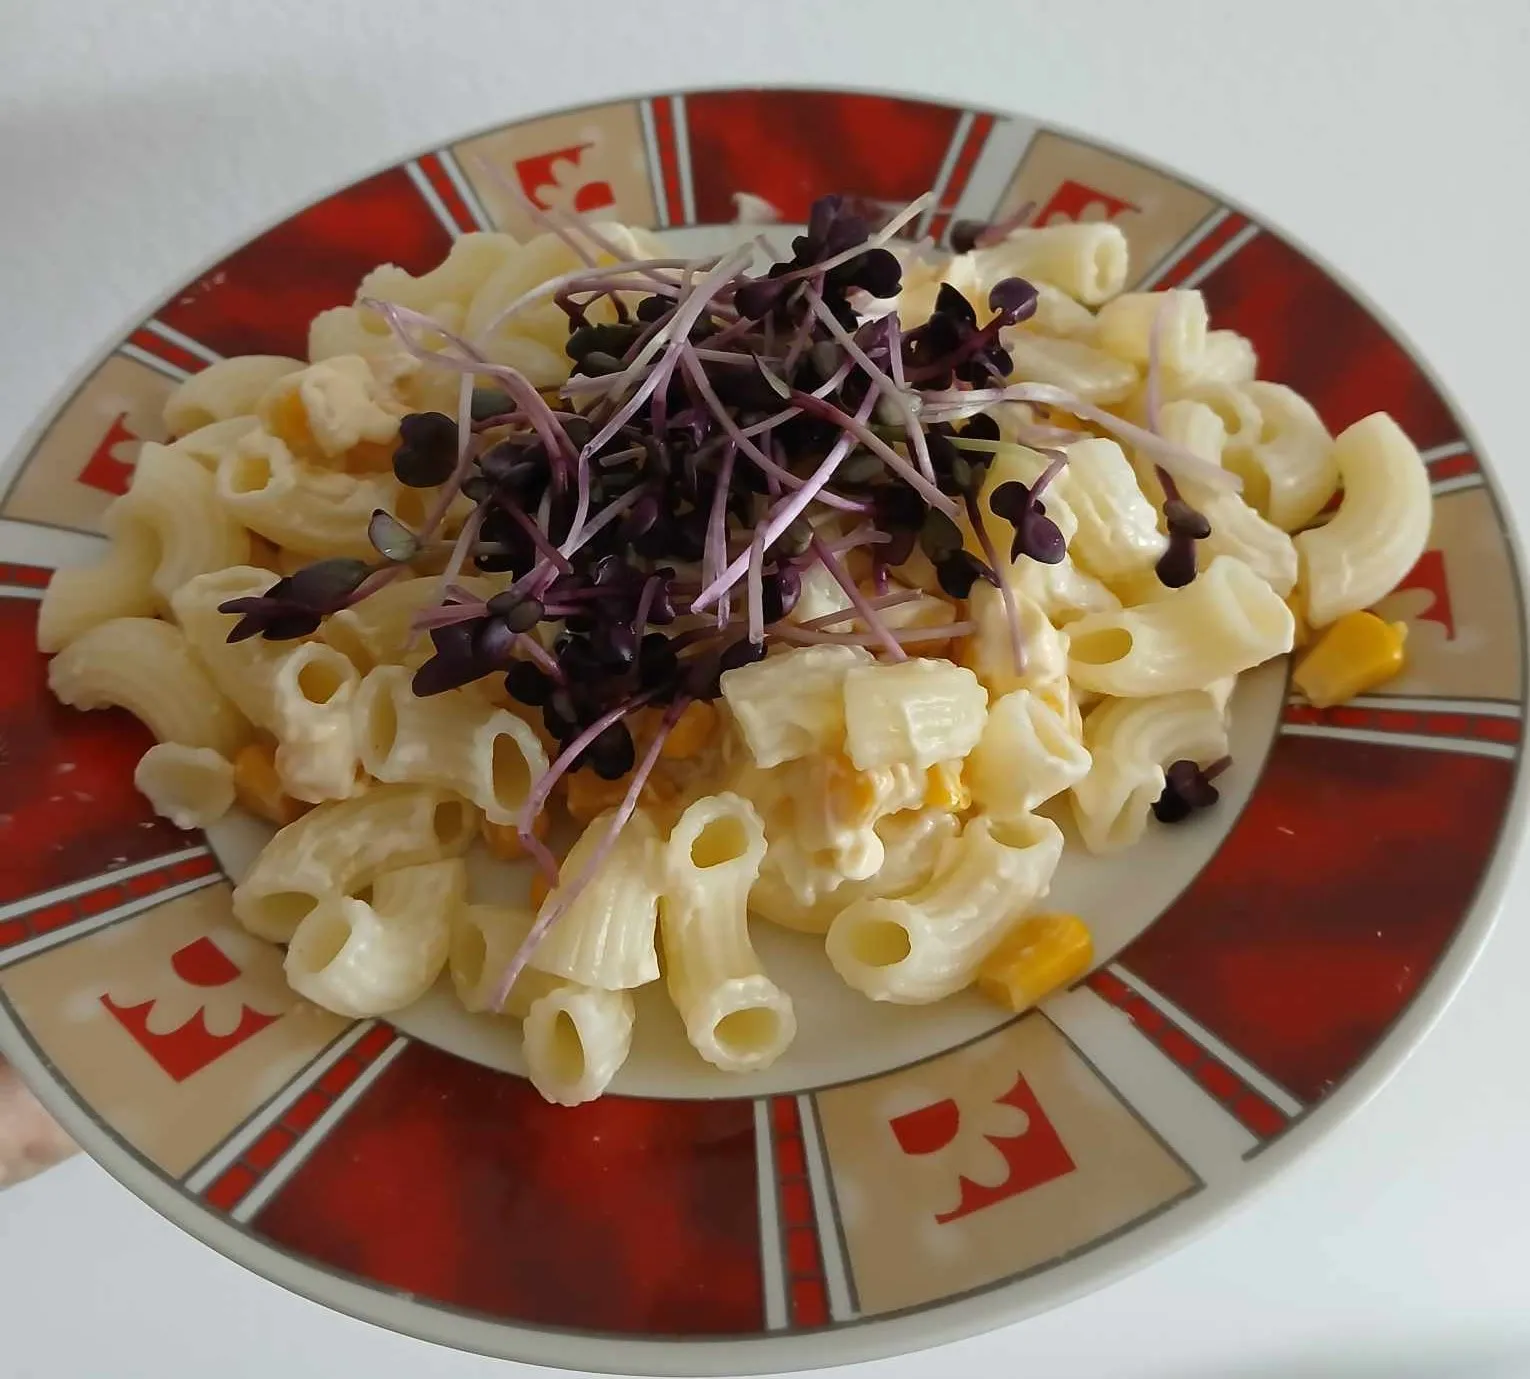
9. What should happen next? According to the instructions for purple radish micro‑greens, I’m supposed to snip them on day 7, keep them in the fridge, and eat them within a few days.
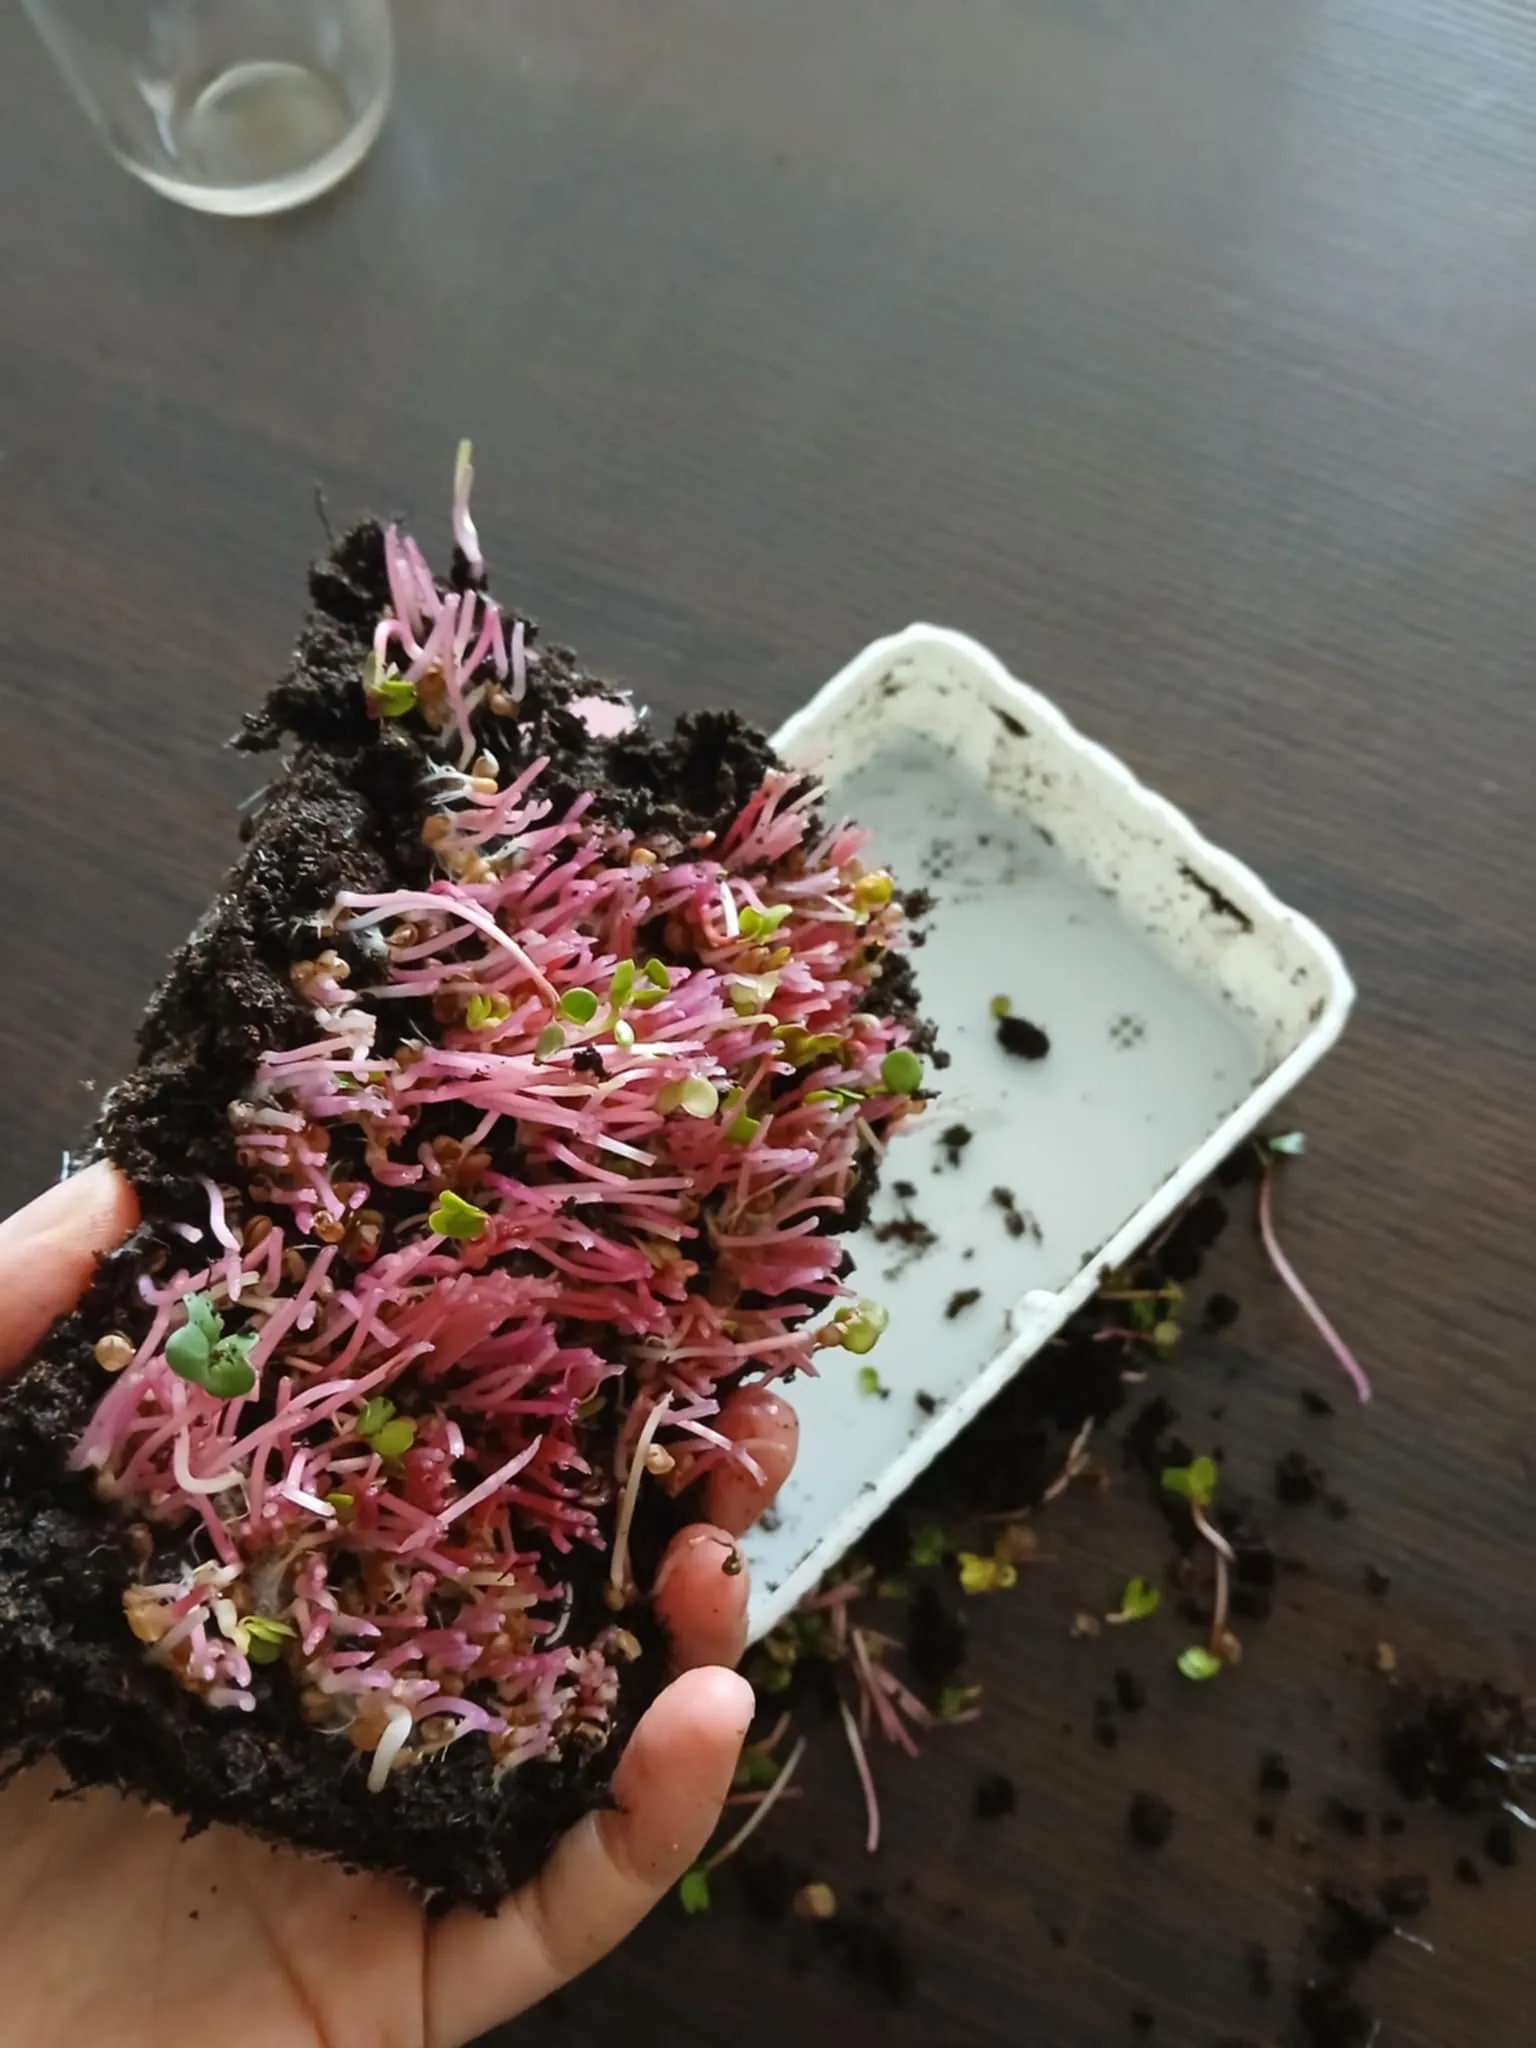
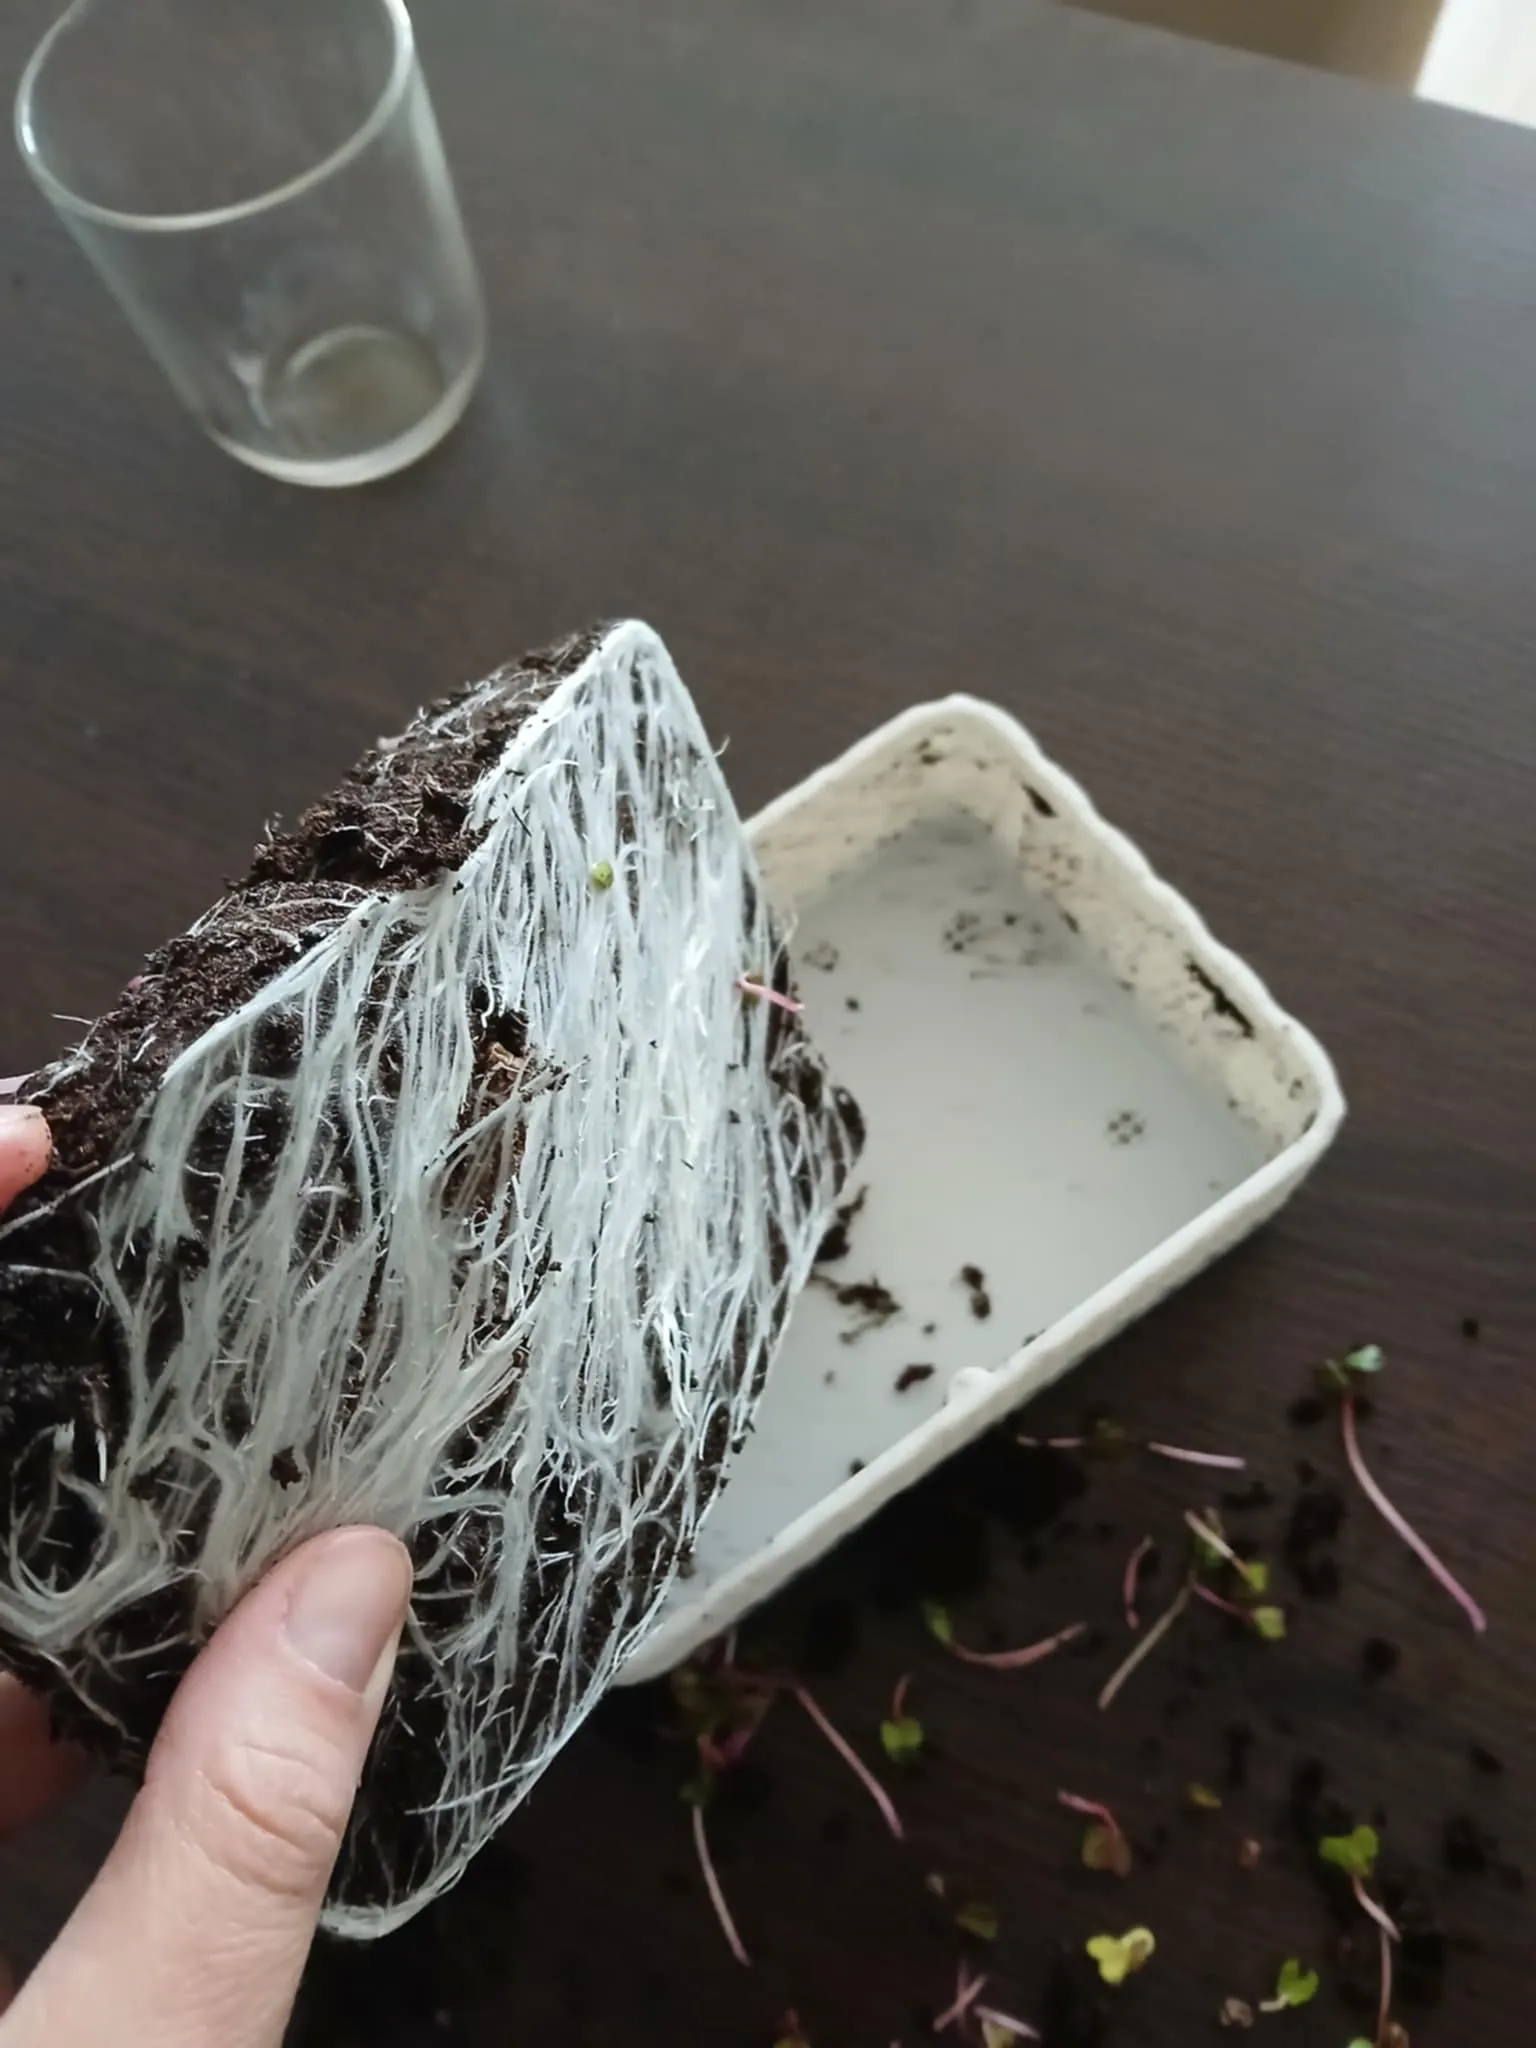
10. After trimming, part of the plants remained in the substrate. Some seeds, like peas, had large roots in the back part. I separated what I could from the substrate and gently sifted it by hand so that I could reuse at least some of the substrate.
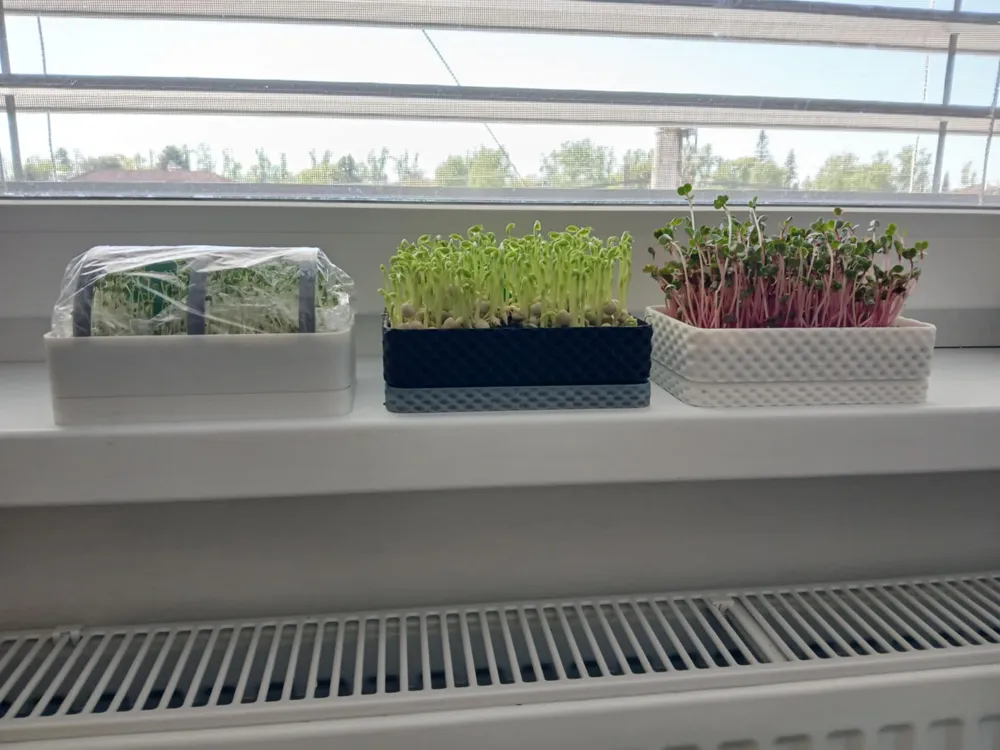
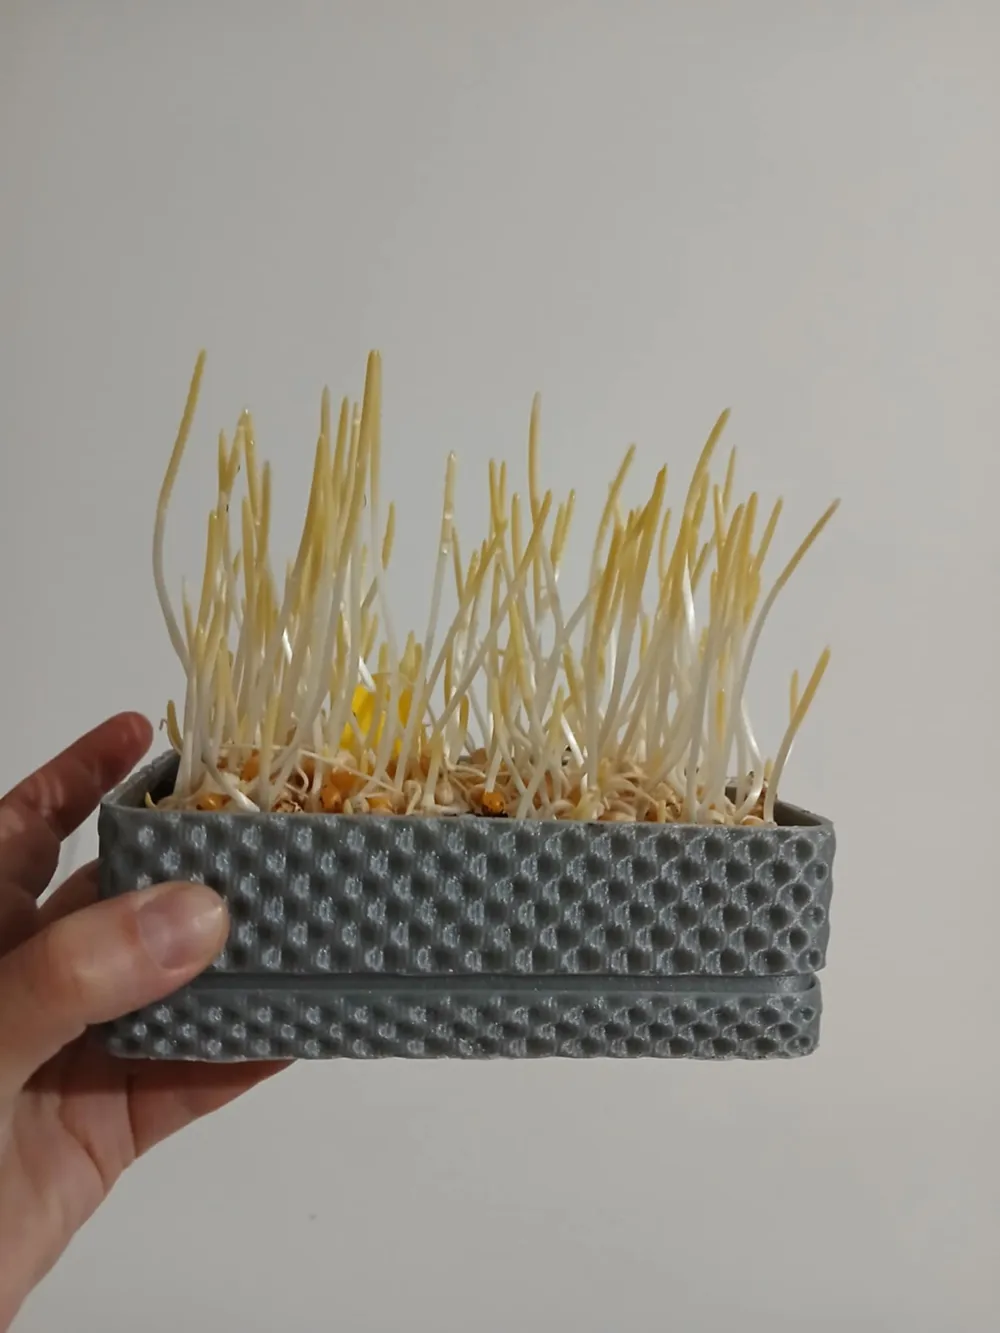
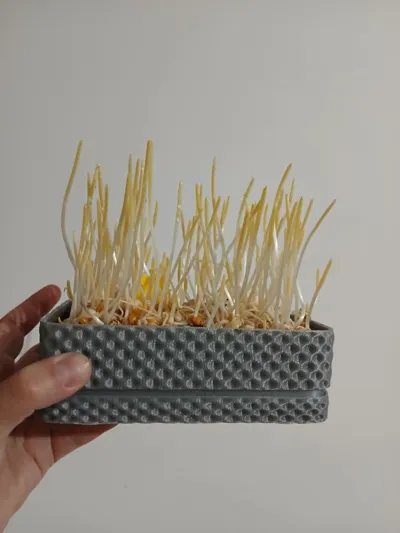
My others microgreens in this planters:
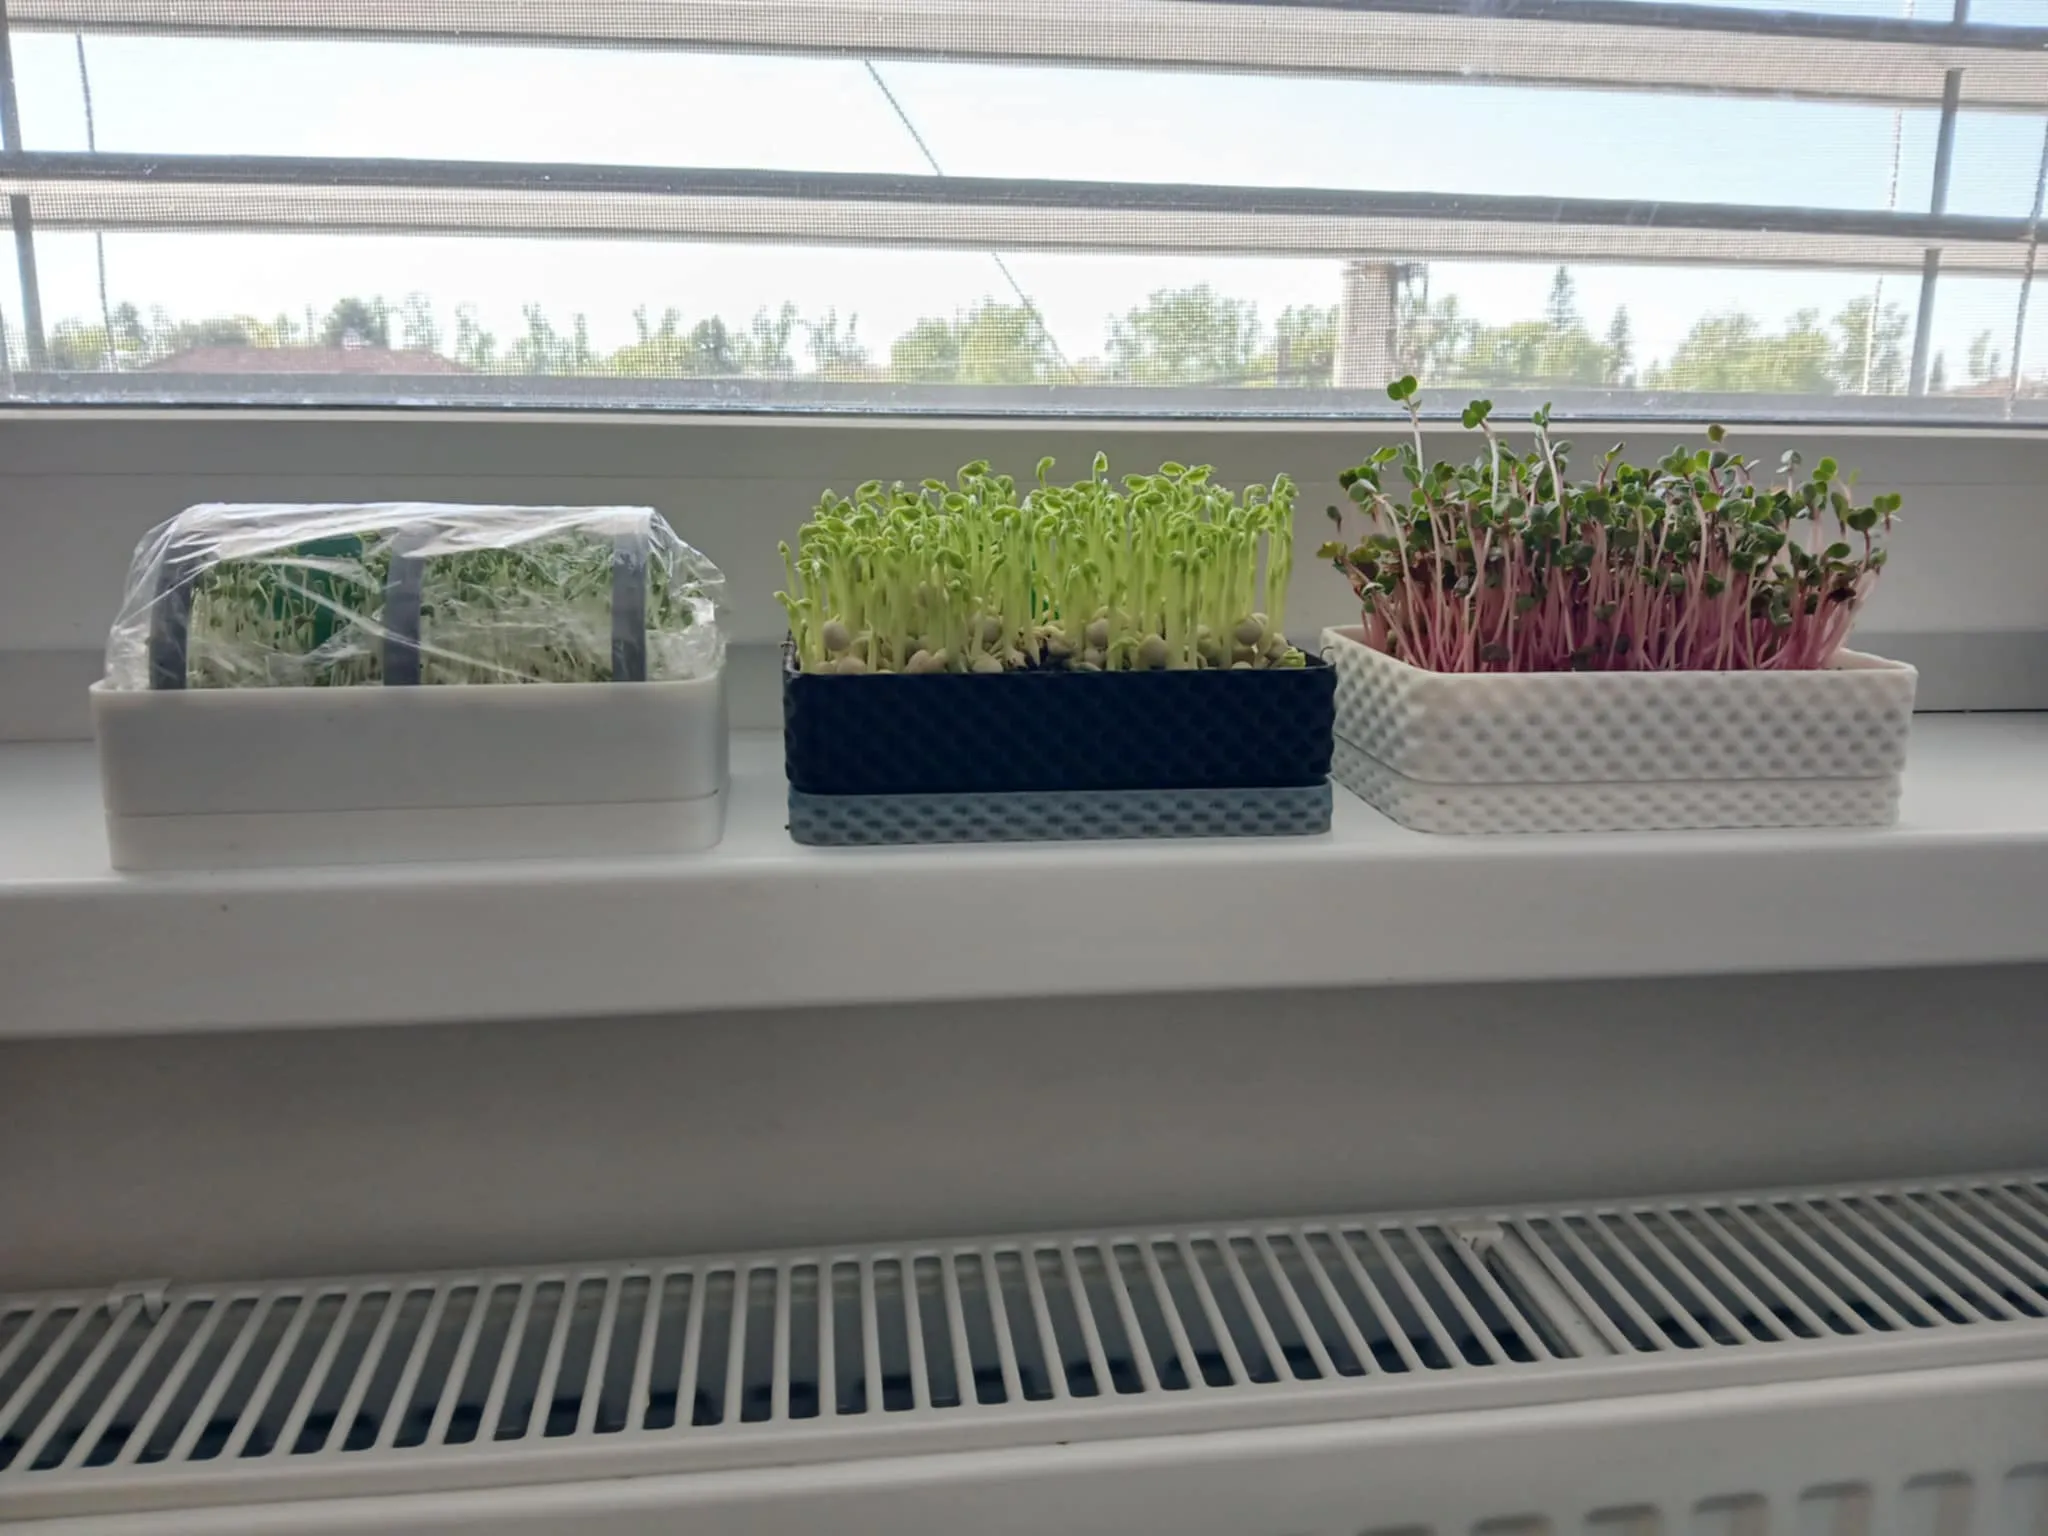
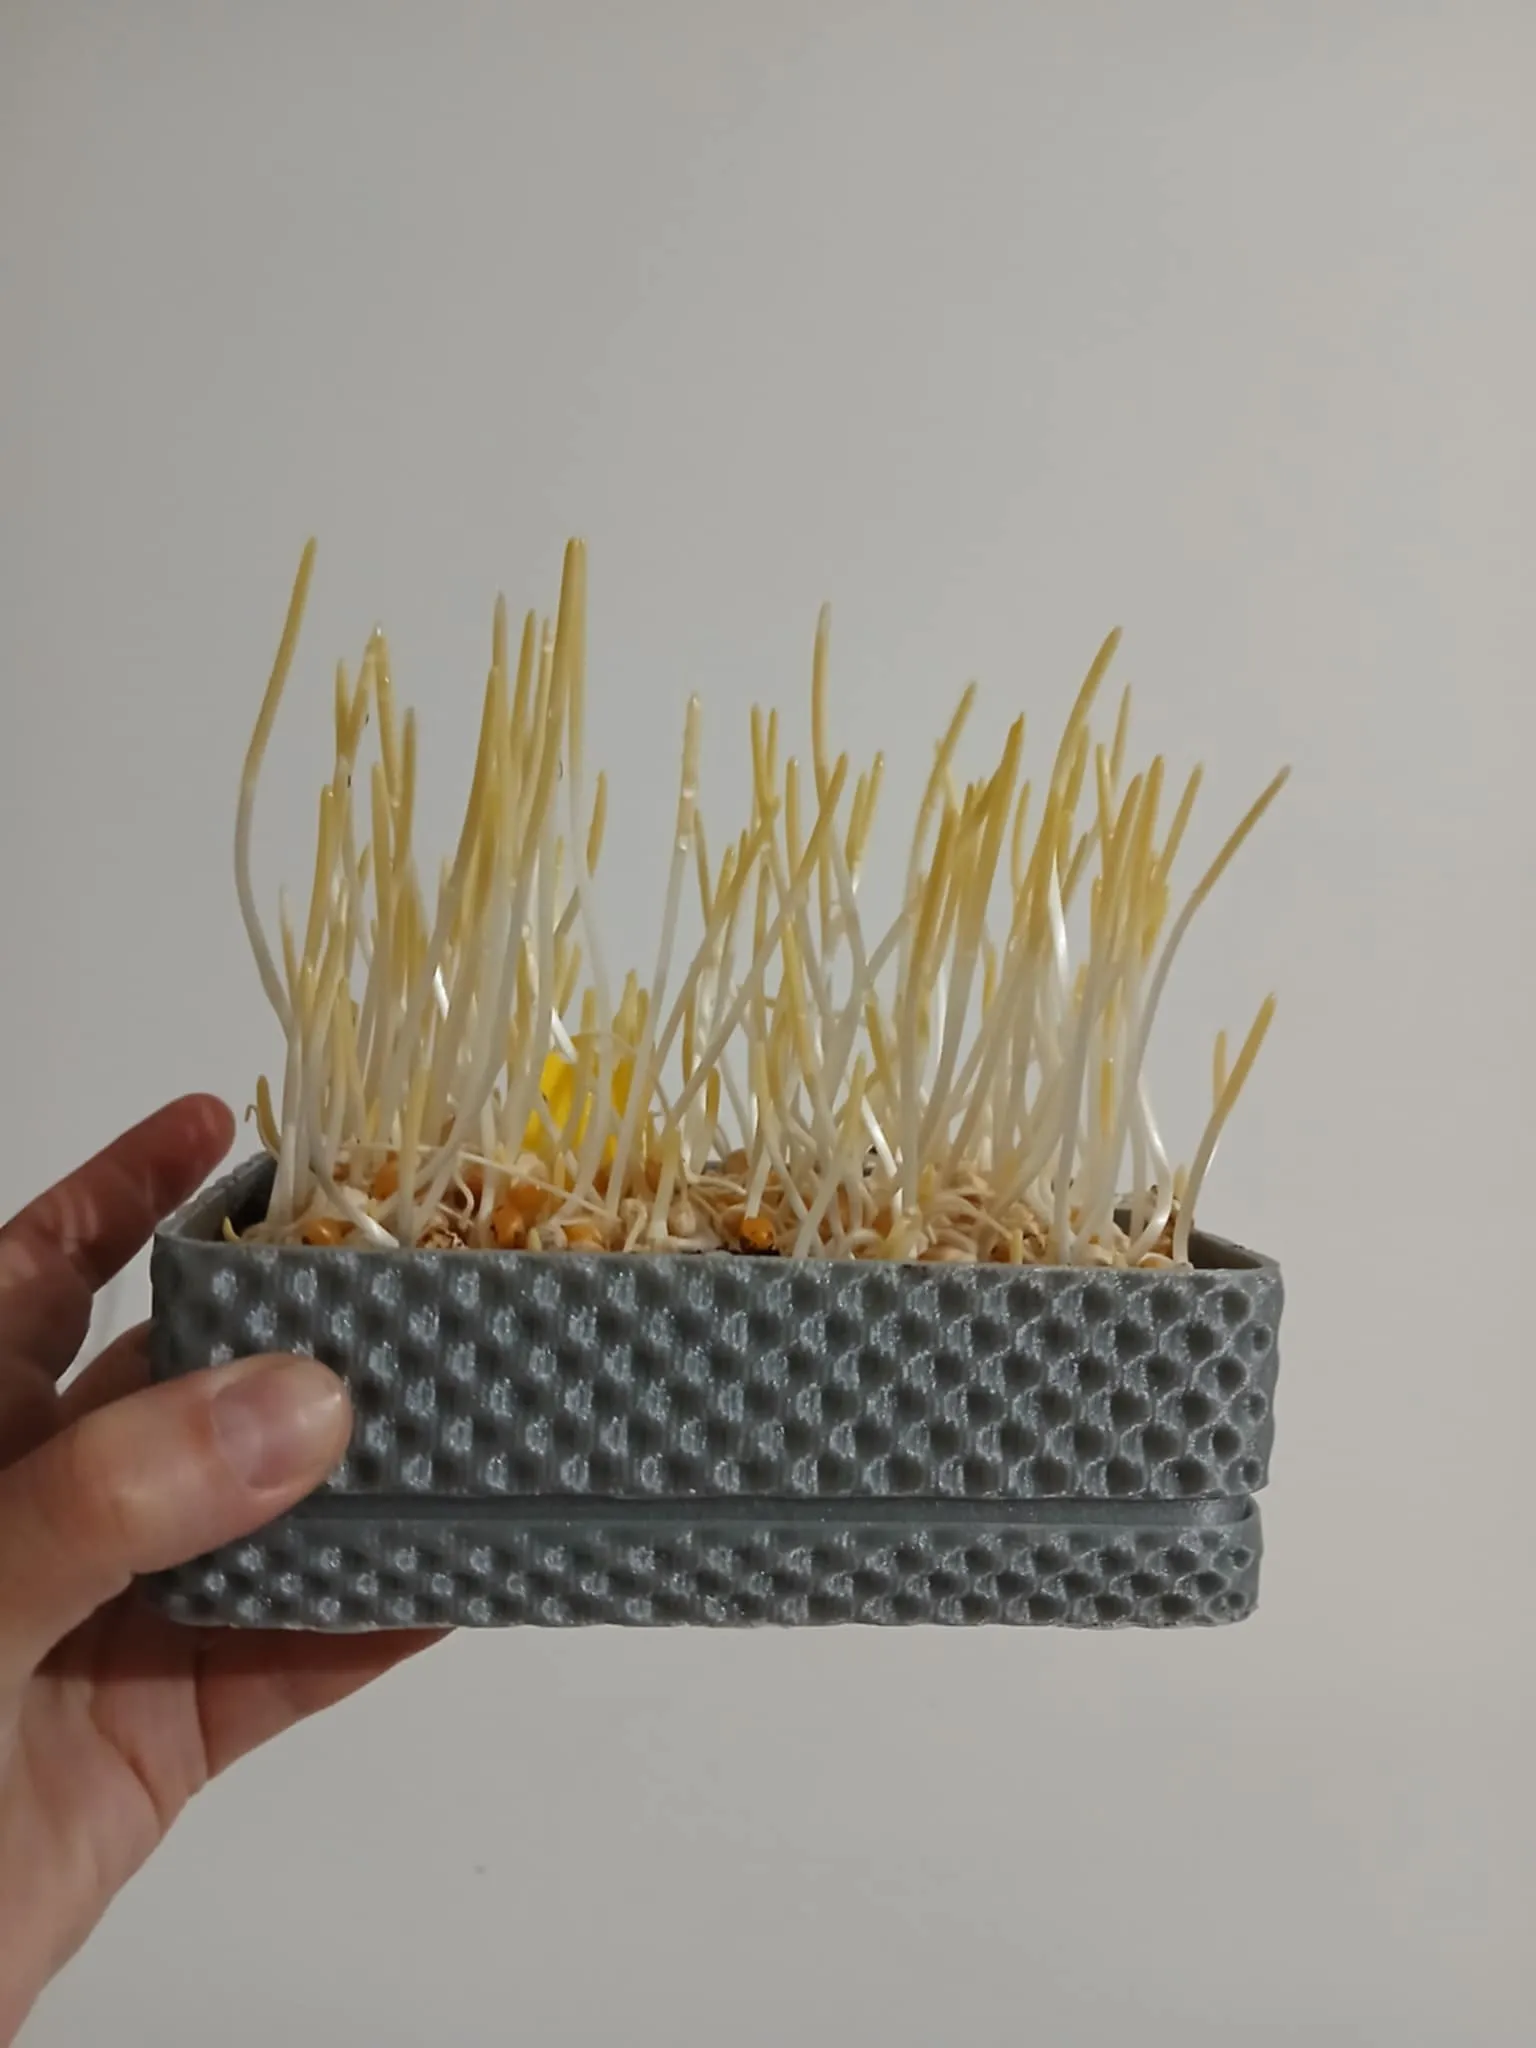
I recommend planting according to the instructions that come with the seeds, especially if you're a beginner.
-------------------------------------------------------------------------------
Accessories for planter:
1. Dome - Added at the request of one of you :)
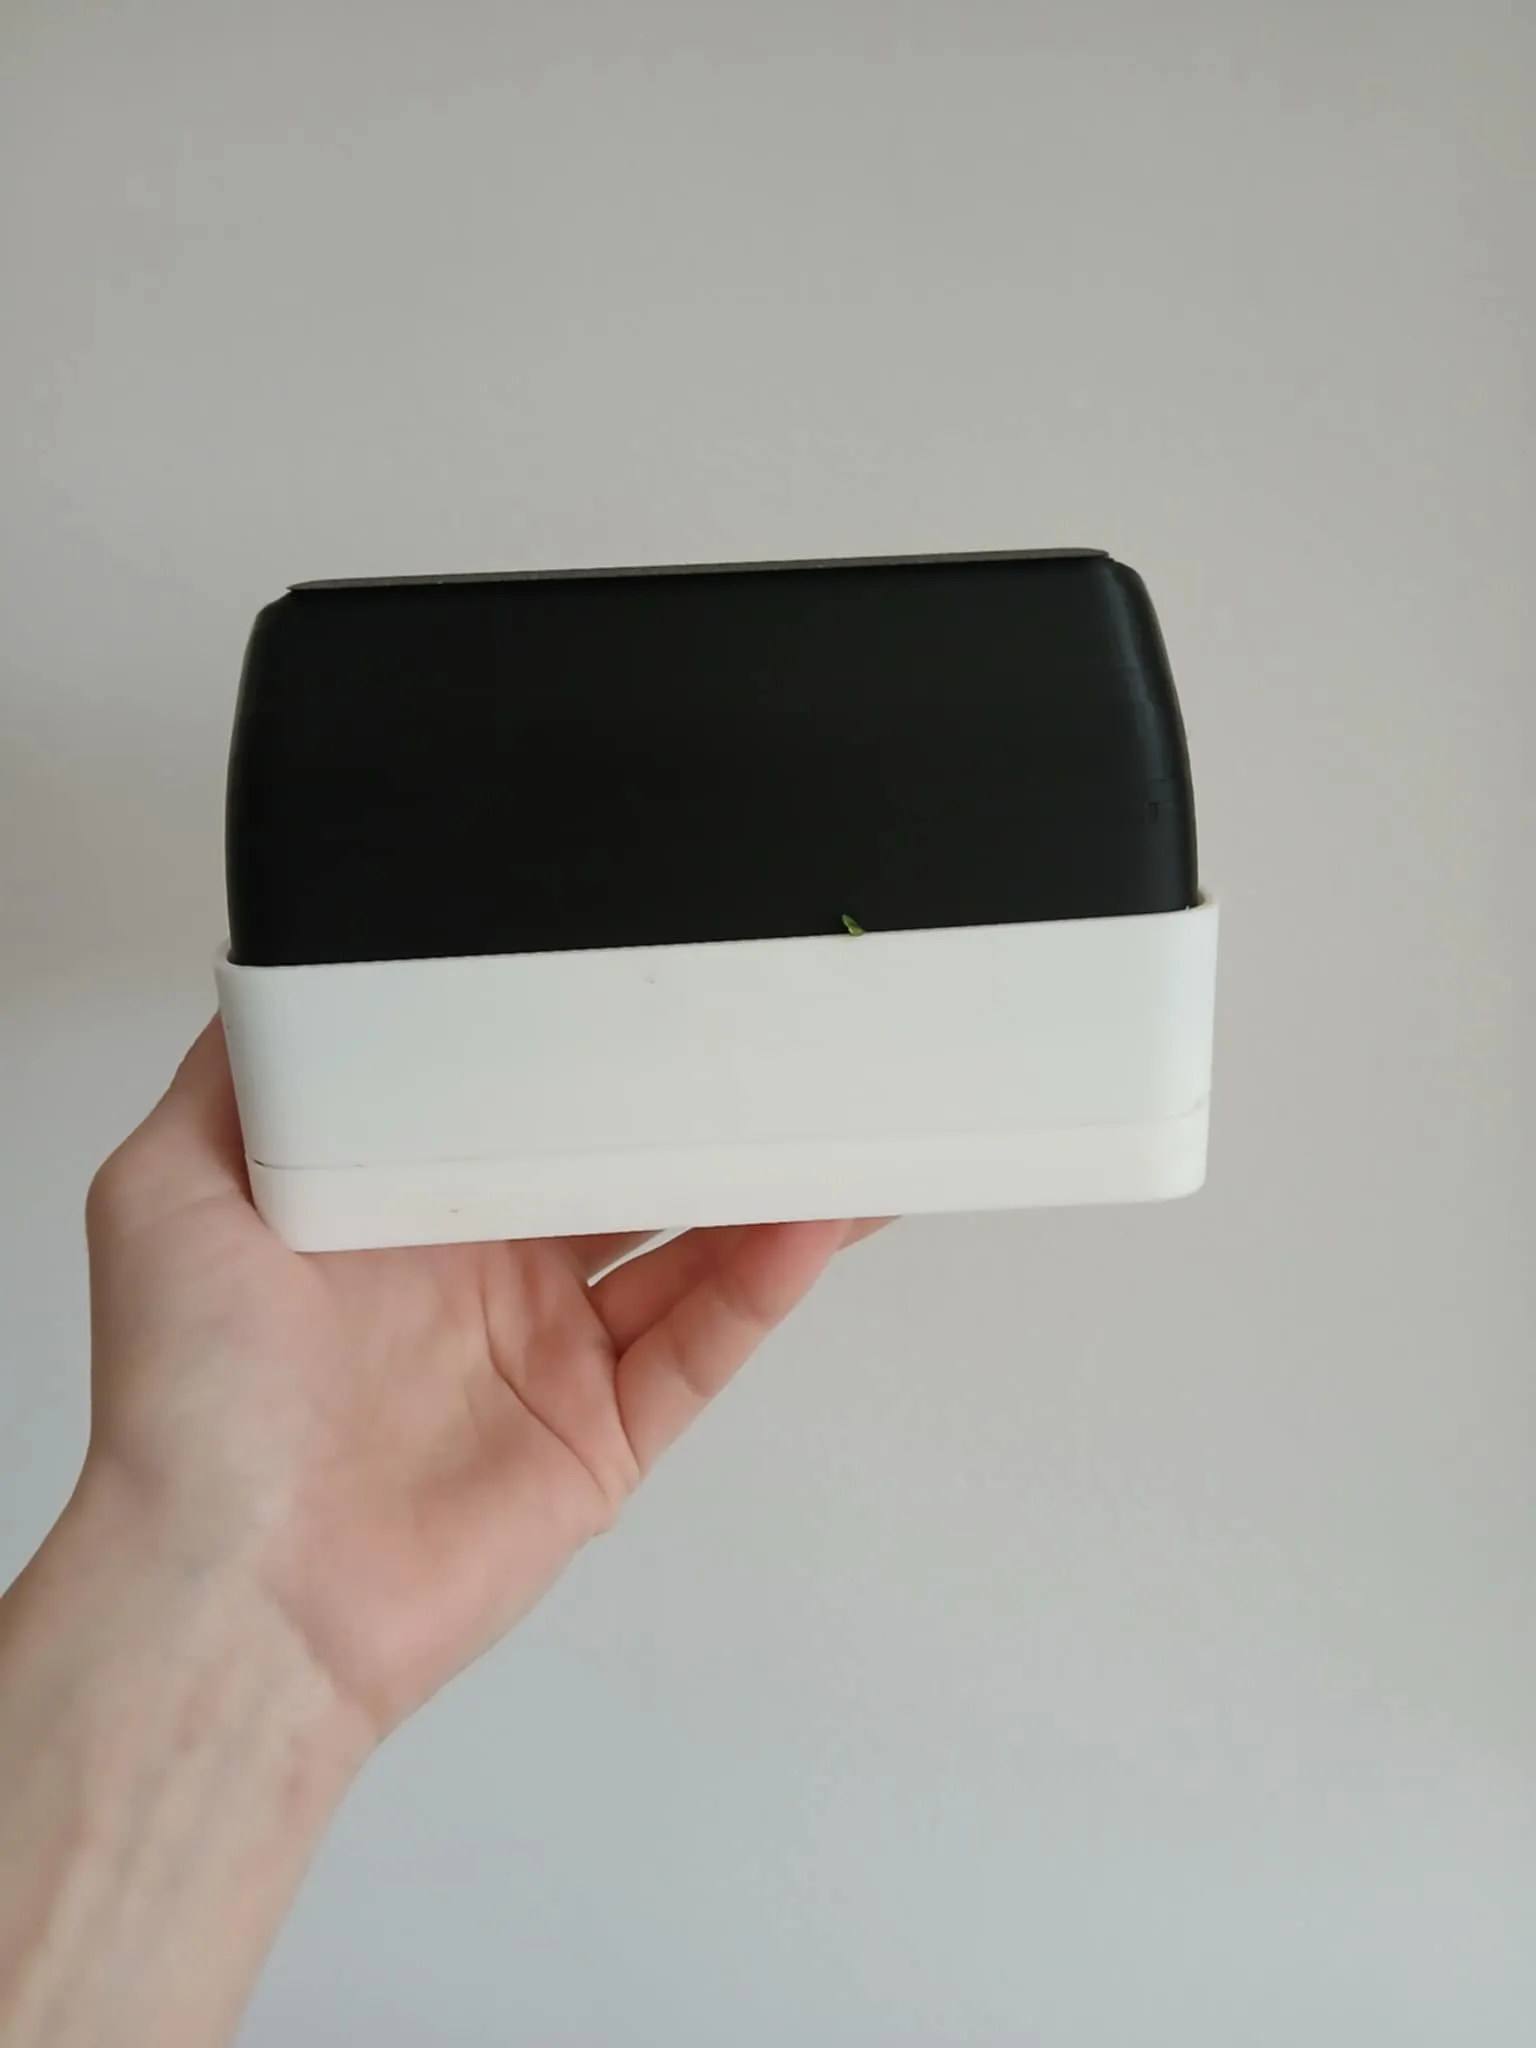
- If you print it with transparent filament, you can use it instead of the foil hoops from the main design.
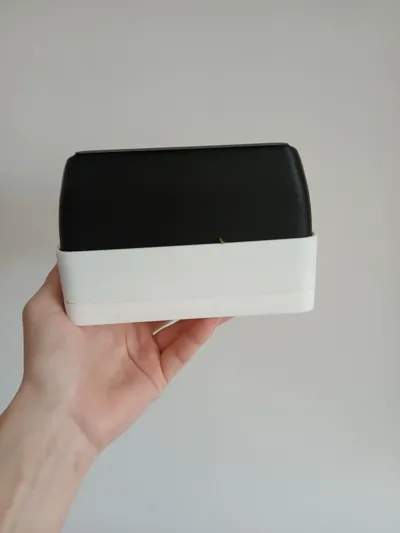
- Or print it with dark filament and use it as a shade – for example, corn microgreens should be grown in the dark.
2. Pattern planter without holes:
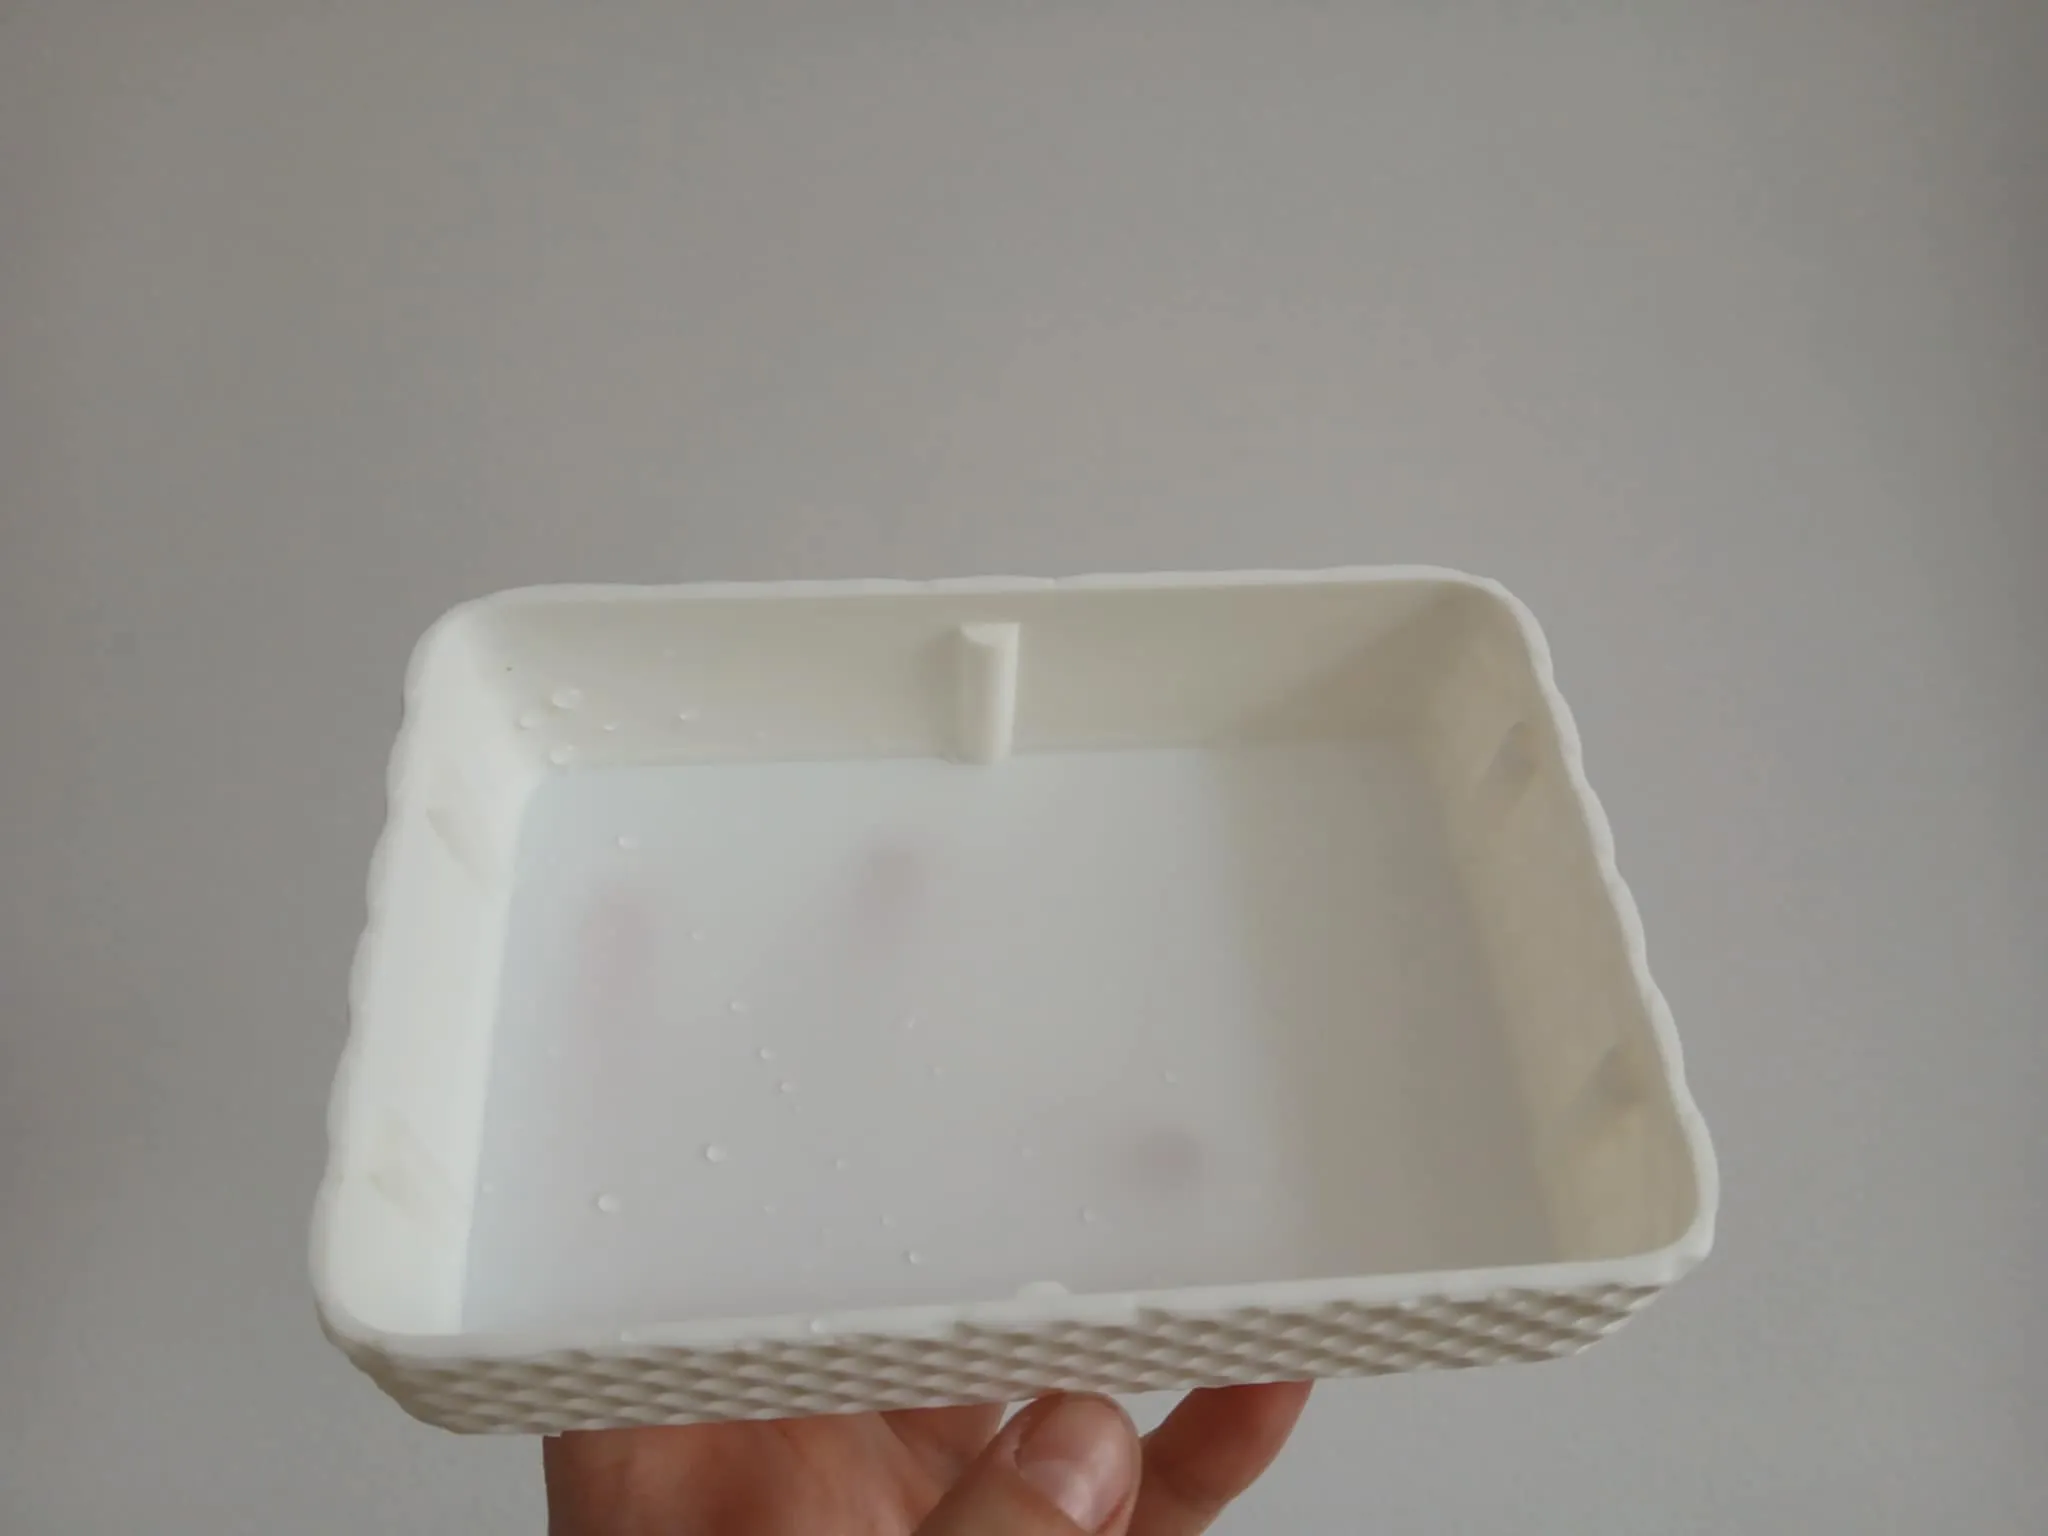
- At the request of one of you, we've added a main tray without holes. It's more suitable for sprouting, where the seeds need to be soaked in water.
- If you're using a sprouting pot that requires water, use this dish to prevent the water from draining away.
3. Planter without holes:
- faster-to-print tray without bottom holes and without pattern
We will soon add more plates to this print profile that we have planned.
---------------------------------------------------------------------------------
Thank you so much! I hope you’ll like this model. We already have a few improvements in mind, and I also want to try a version of the planter designed just for soil‑free sprouts. Stay tuned to this model so you don’t miss anything!
🔁 Like, share, save, follow, rating and comment!
💬 Let us know how you like the model, what you’re growing, and which filament you used.
📸 Show off your windowsill micro-farm – tag us or leave a review!
🚀 We’d love a boost – and don’t forget to check out our other models on our profile!
🧑🌾 Let’s inspire more people to grow fresh food at home!
💚 Remember – every little sprout is a small miracle grown by your hands... and your printer! 🌿
License

You shall not share, sub-license, sell, rent, host, transfer, or distribute in any way the digital or 3D printed versions of this object, nor any other derivative work of this object in its digital or physical format (including - but not limited to - remixes of this object, and hosting on other digital platforms). The objects may not be used without permission in any way whatsoever in which you charge money, or collect fees.


Comment & Rating (56)