Search models, users, collections, and posts
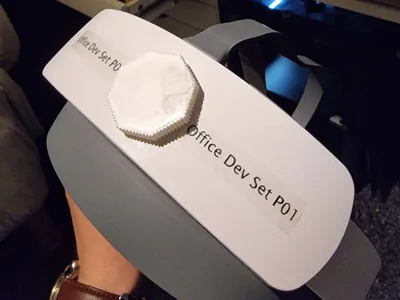
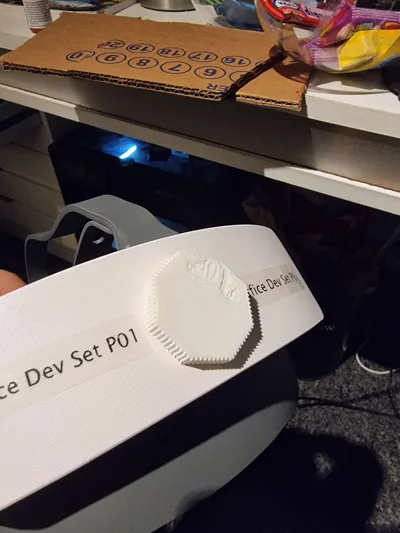
Adjustment Knob For Pico Neo 3 Pro
IP Report


Print Profile(1)

0.6mm nozzle, 0.18mm layer, 2 walls, 15% infill
21 min
1 plate
Open in Bambu Studio
Boost
1
2
2
0
1
1
Released
Description
🛠 Fixing a Broken Pico Neo 3 Pro Enterprise: Custom Knob Replacement
I had a broken Pico Neo 3 Pro Enterprise and decided to bring it back to life by making a replacement adjustment knob. Here's how I did it:
Modeling & Design
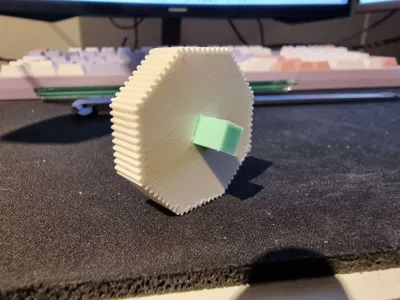
- I modeled the adjustment knob in Autodesk Maya, replicating the original dimensions.
- The design includes a separate friction-fit rectangle piece (referred to as the "rettankle" here), which helps secure the knob in place.
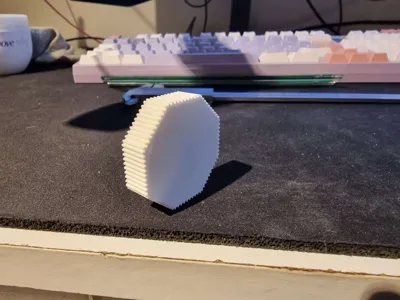
🖨 3D Printing Details
- Printer: Bambu Lab P1S
- Nozzle Size: 0.2mm (for better detail and precision)
- Materials:
- Knob: PLA with 20% infill
- Rectangle piece ("rettankle"): ABS with 100% infill for added strength
💡 Note on fitment: Due to the 0.2mm nozzle, the tolerance might differ from your setup.
If the fit is too tight or loose, scale the rectangle part by ±0.1mm to adjust the friction fit.
Boost Me (for free)
Boost me to help with future projects :)
License
This user content is licensed under a
Creative Commons Attribution-Noncommercial
Comment & Rating (2)