
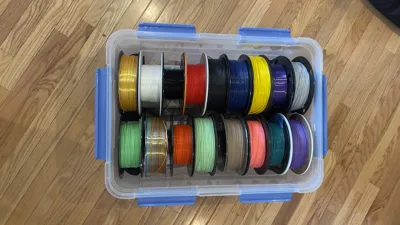
Extra Large 75L Filament DryBox - Holds 22 Spools!
Print Profile(3)


Description
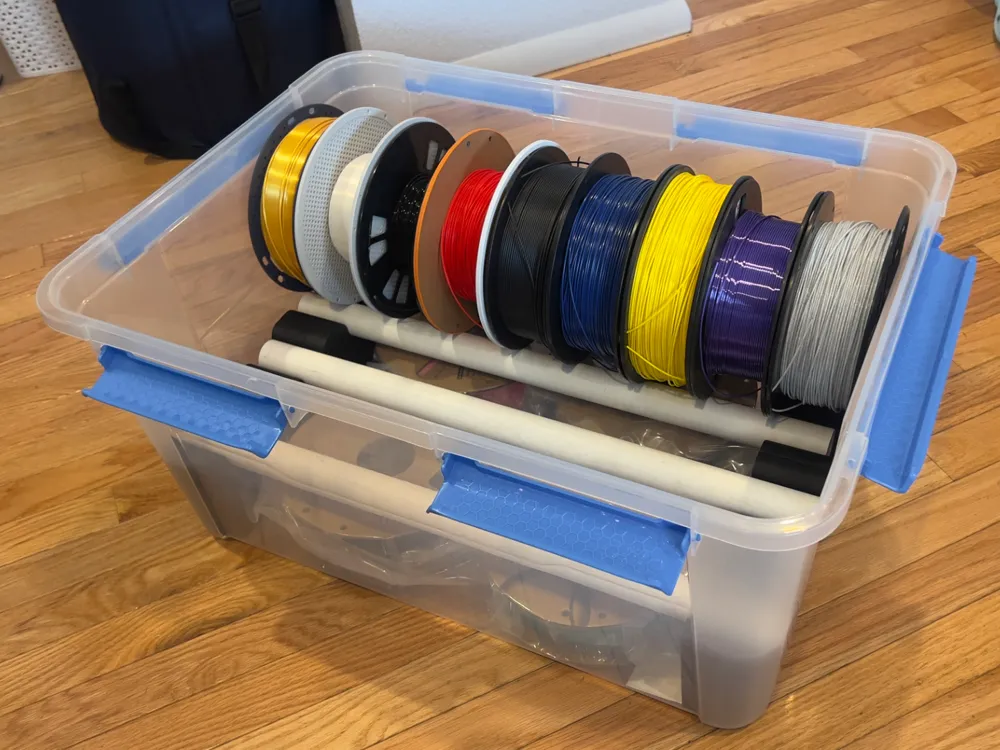
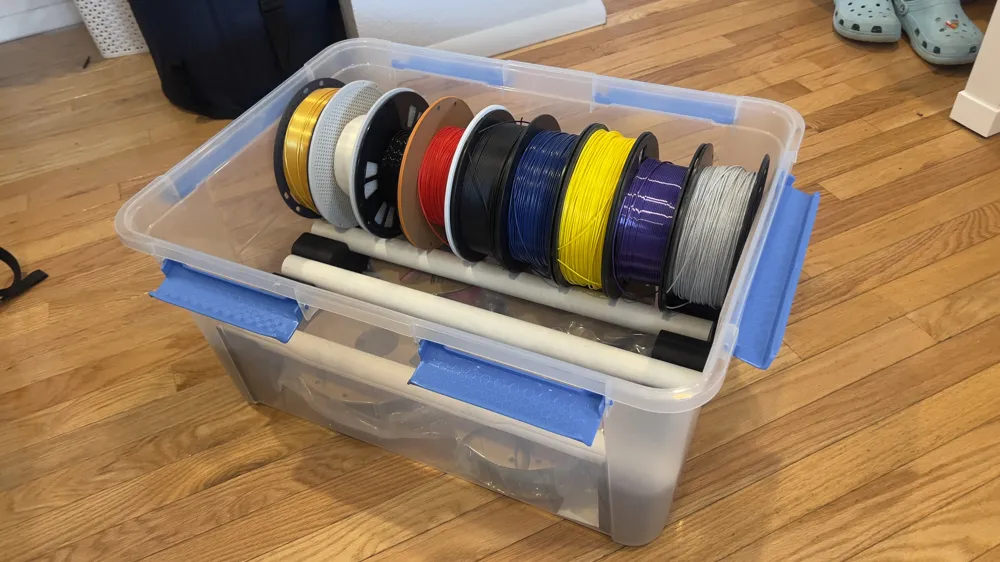
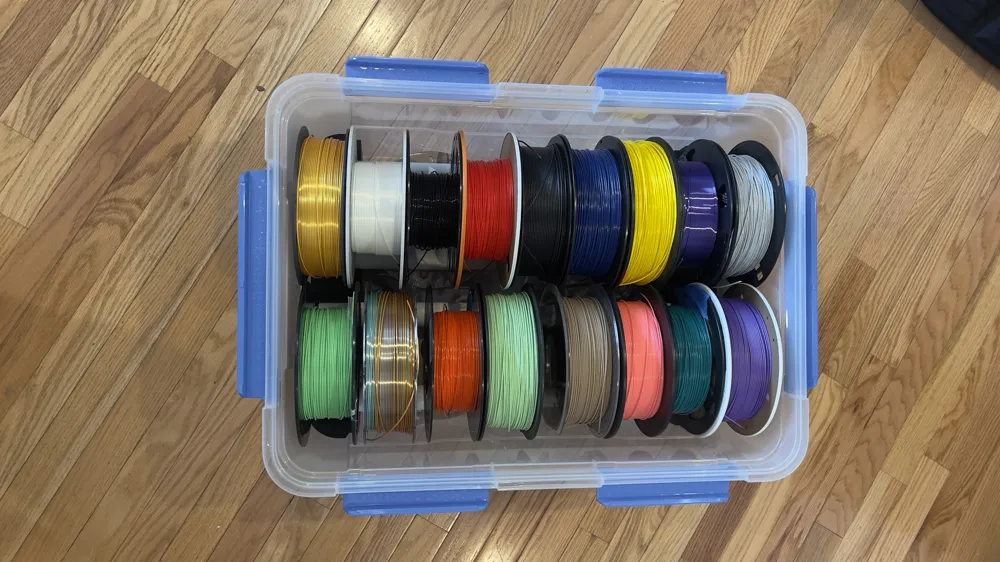
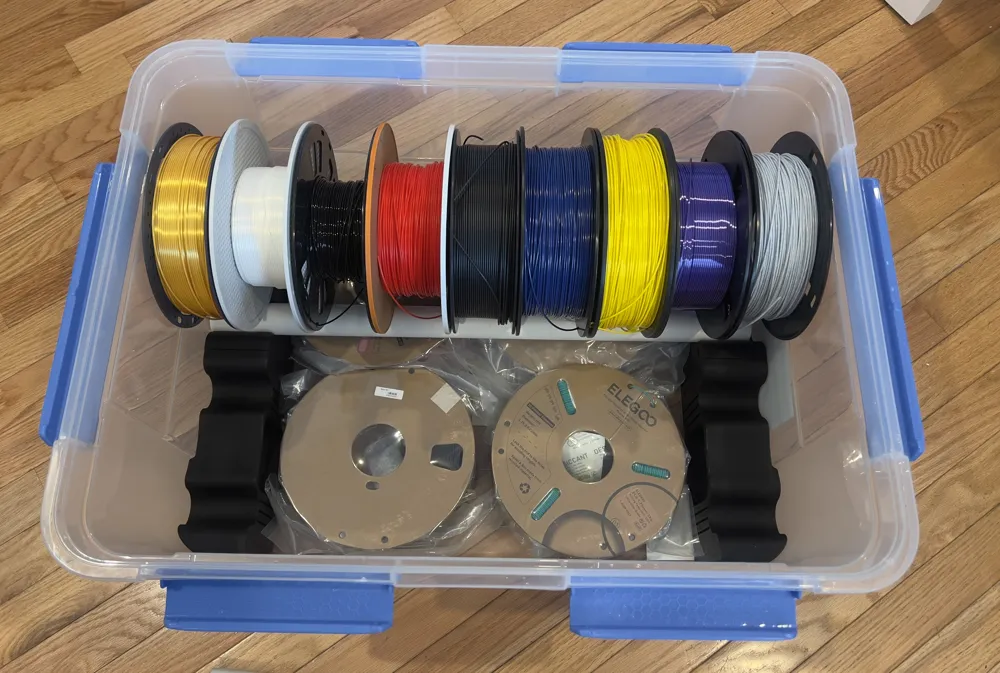
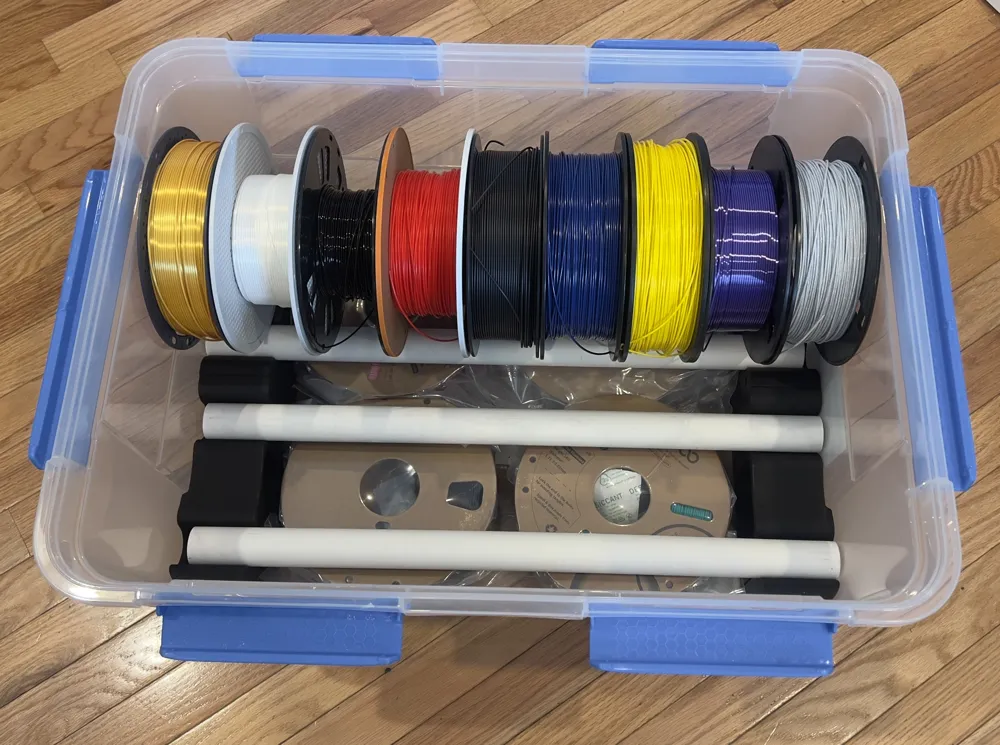
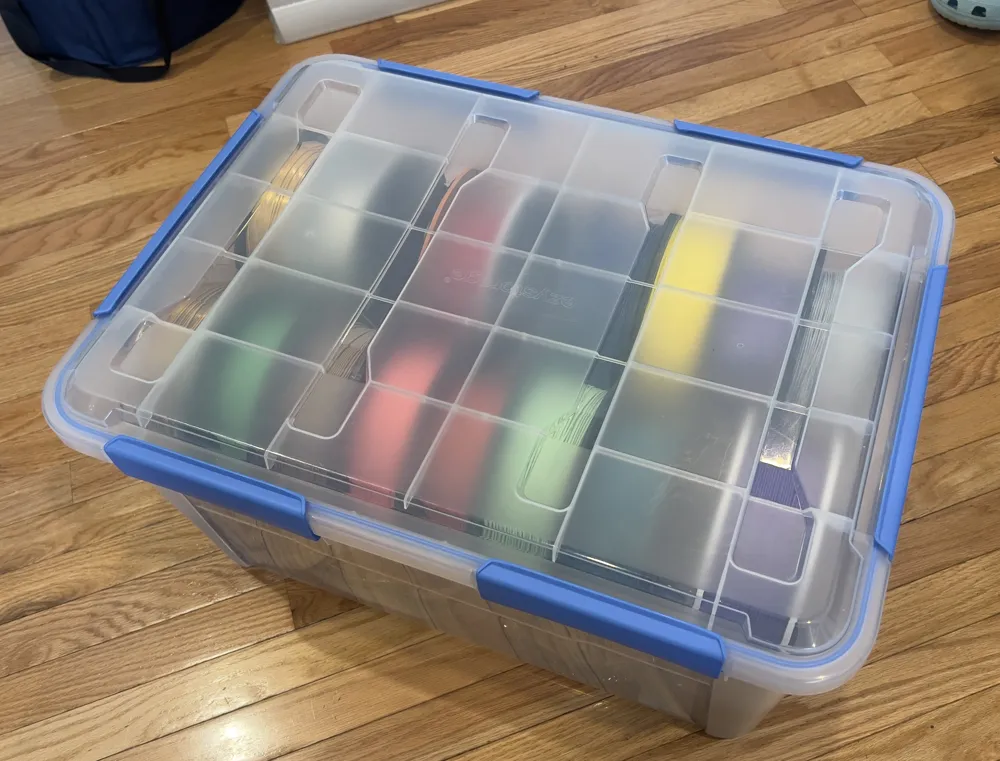
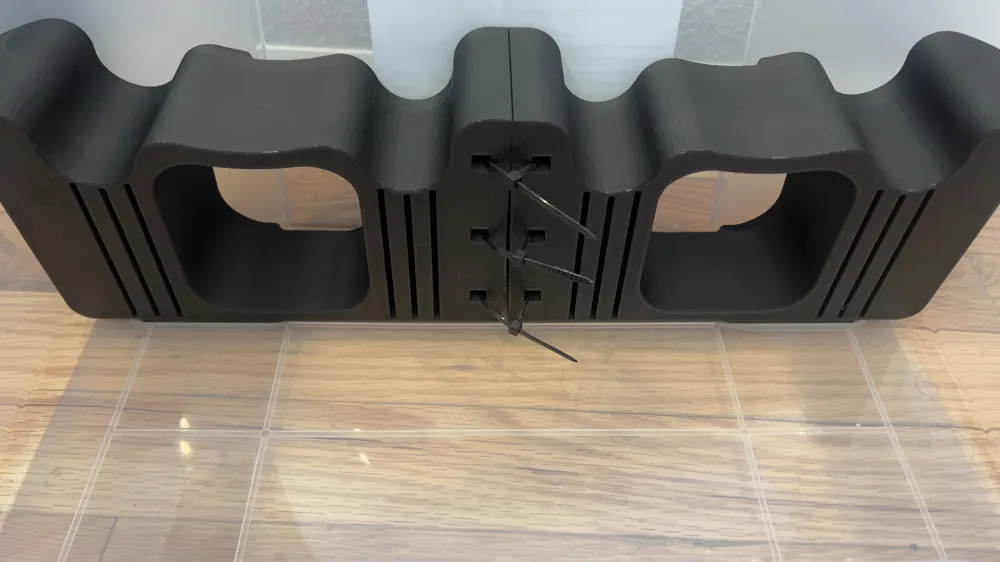
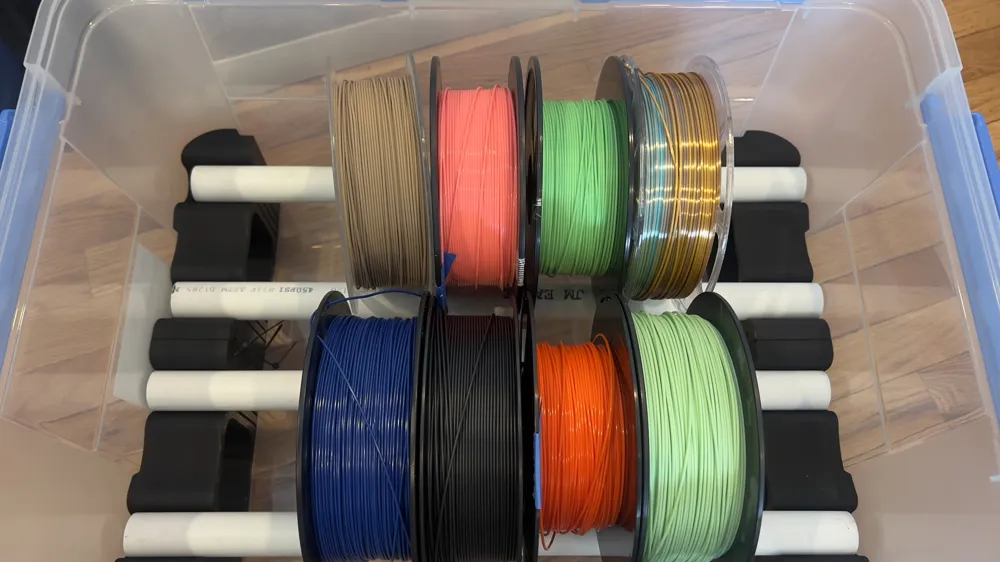
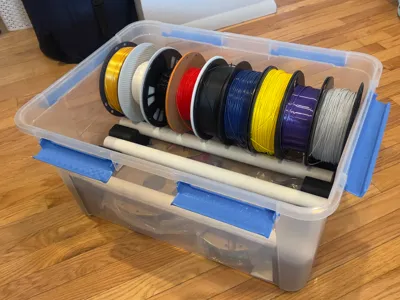
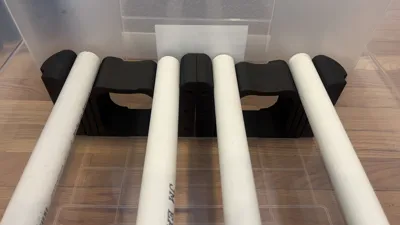
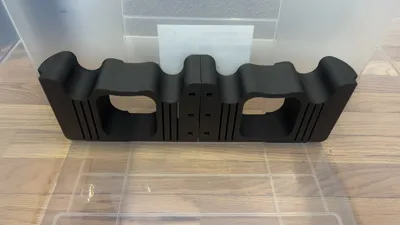
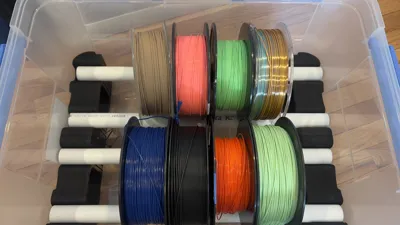
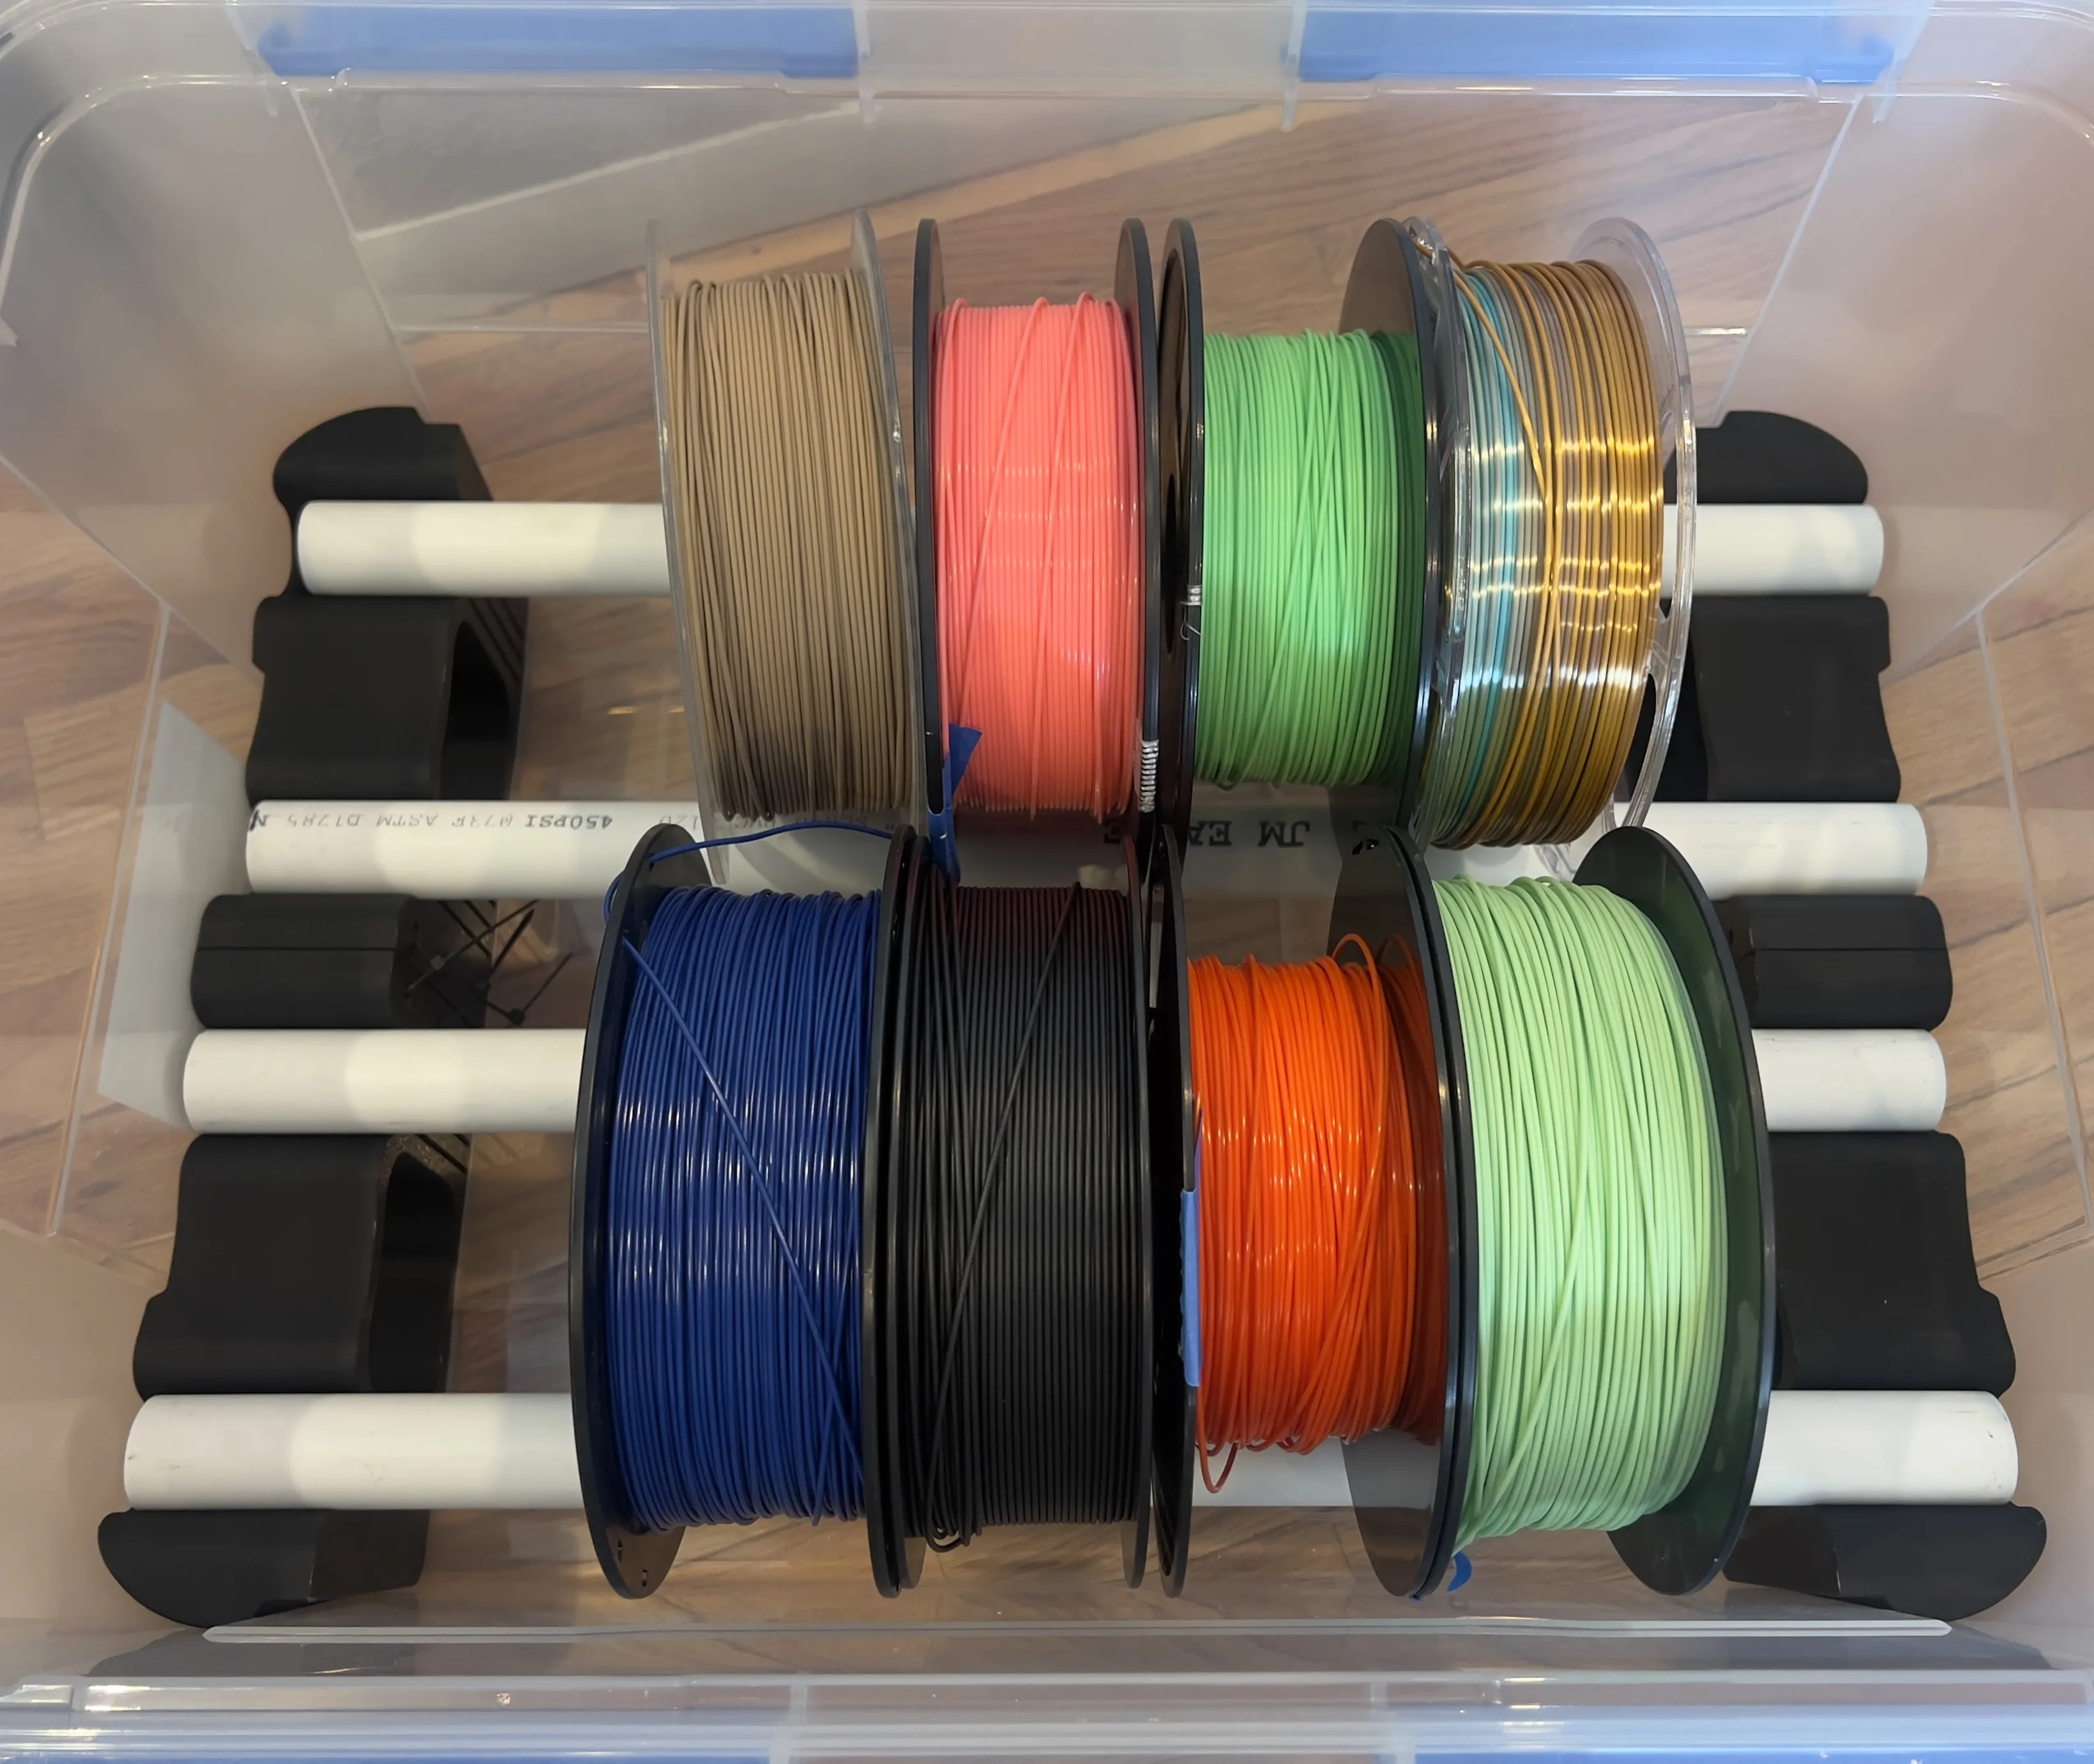
I needed a way to store a lot of filament and keep it dry, so after many iterations, I made this! It's designed to be a drop-in-place rack that only needs a bit of PVC pipe and some zip ties, and can store up to ~22 spools.
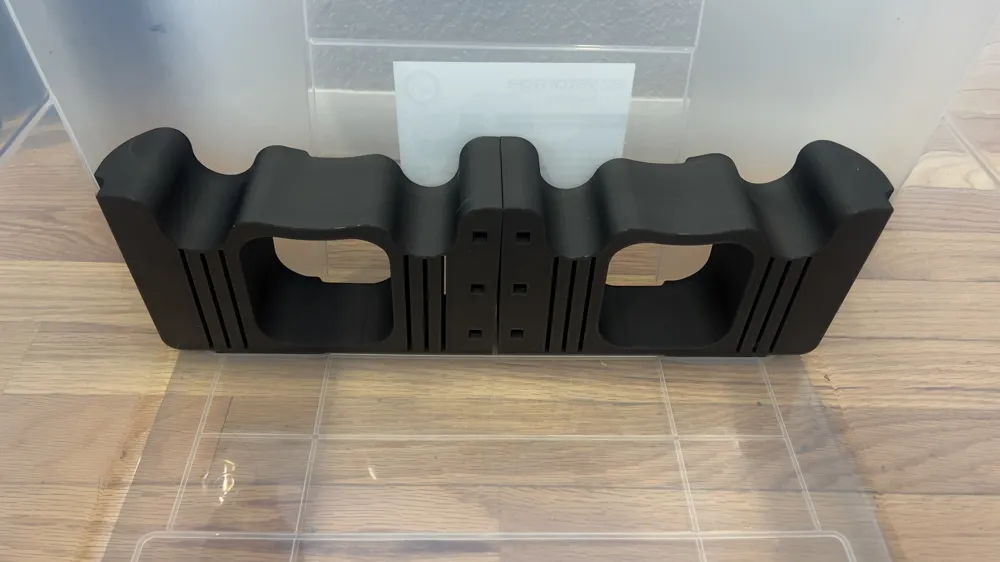
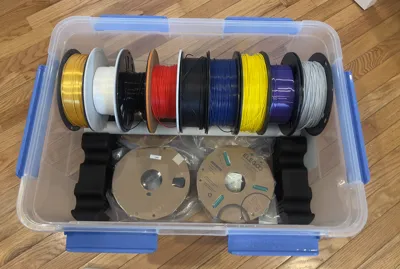
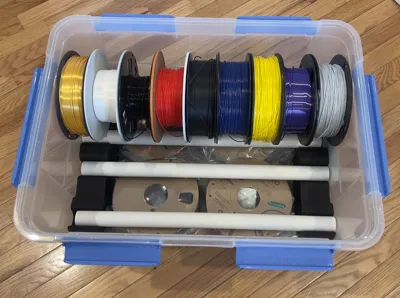
The pipes can be removed to access the filament stored in the lower compartment while leaving one row of the spools in place. Additionally, there are some little pockets in the risers, so you could put a box of silica beads in there to help with any extra moisture. I haven't yet looked for a model that fits it well, but when I do, I'll include a link. Or I'll just design one myself.
Components:
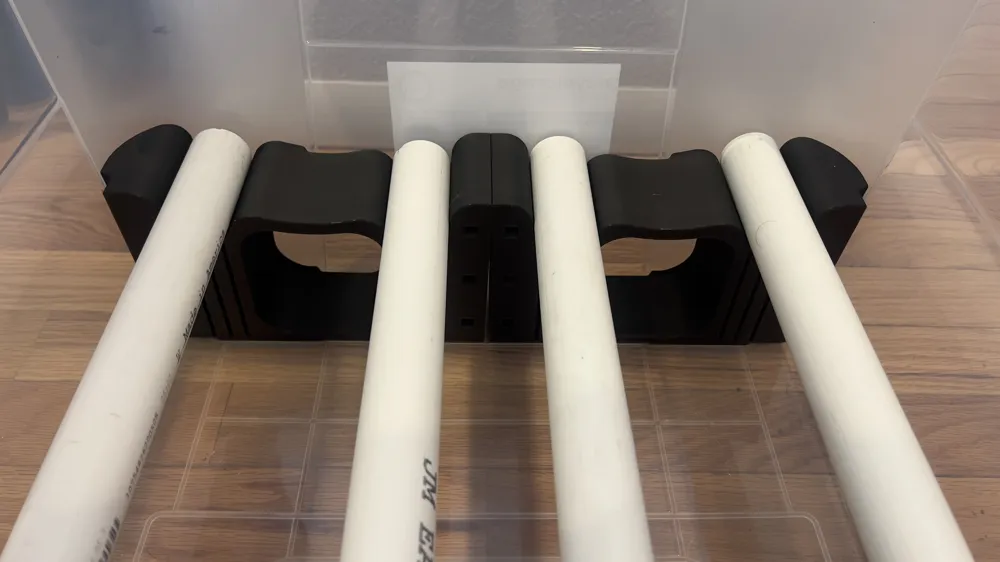
It uses 1" PVC pipe, composed of 4 pieces, each ~22" long. Additionally, I recommend using 6 zip ties, each 7" or more long, however, it seems like you could get away without them if you want.
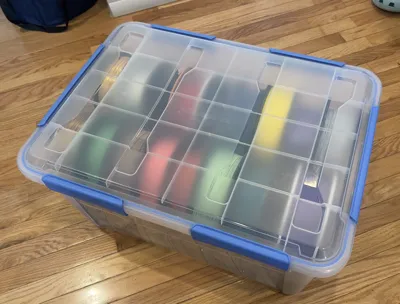
I used this 75-liter (79.3-quart) box from Home Depot, but I have seen it cheaper at Target as well. I'm not sure how well other brands would fit, feel free to try and let me know! I'll update this if we find others that work.
https://www.homedepot.com/p/Ezy-Storage-75L-79-3Qt-Waterproof-Clear-Latch-Tote-IP-67
or
https://www.target.com/p/ezy-storage-79-3qt-ip67-waterproof-storage-box/
Assembly:
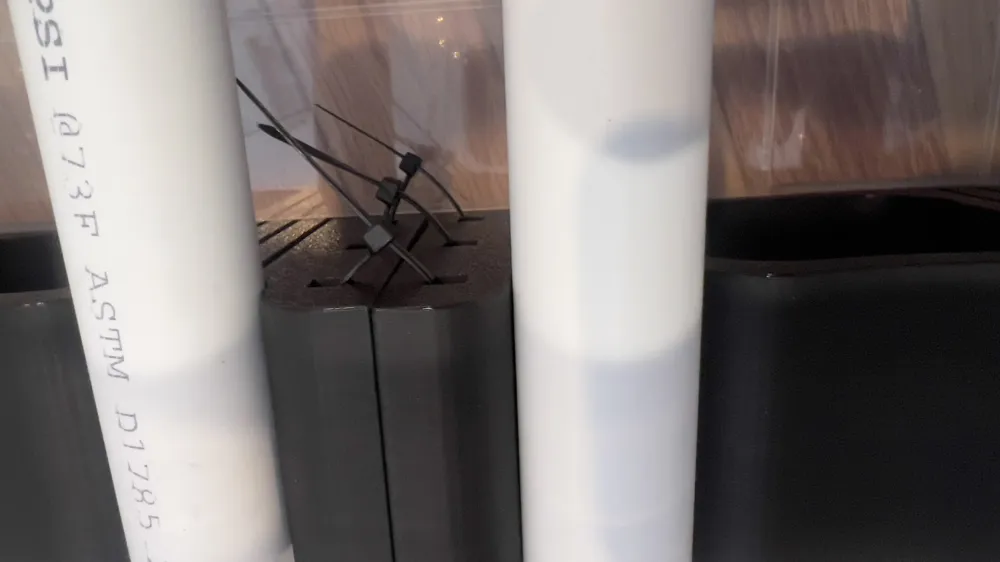
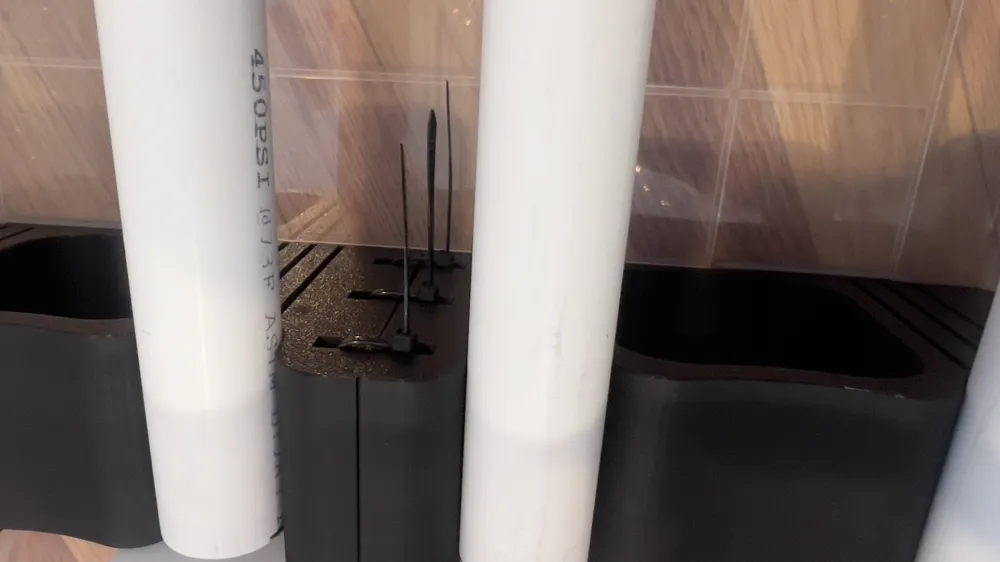
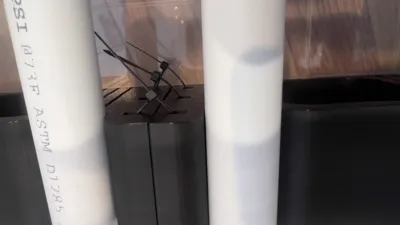
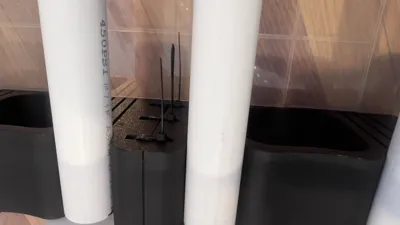
I would recommend first printing the parts and then using the box as an exact guide of how long to cut the PVC. I accidentally cut mine a little too short, as you can see in the photos. Them being a little too short is not an issue, but when I have a spool on the end, it can get a little off-kilter, which looks a bit funky.
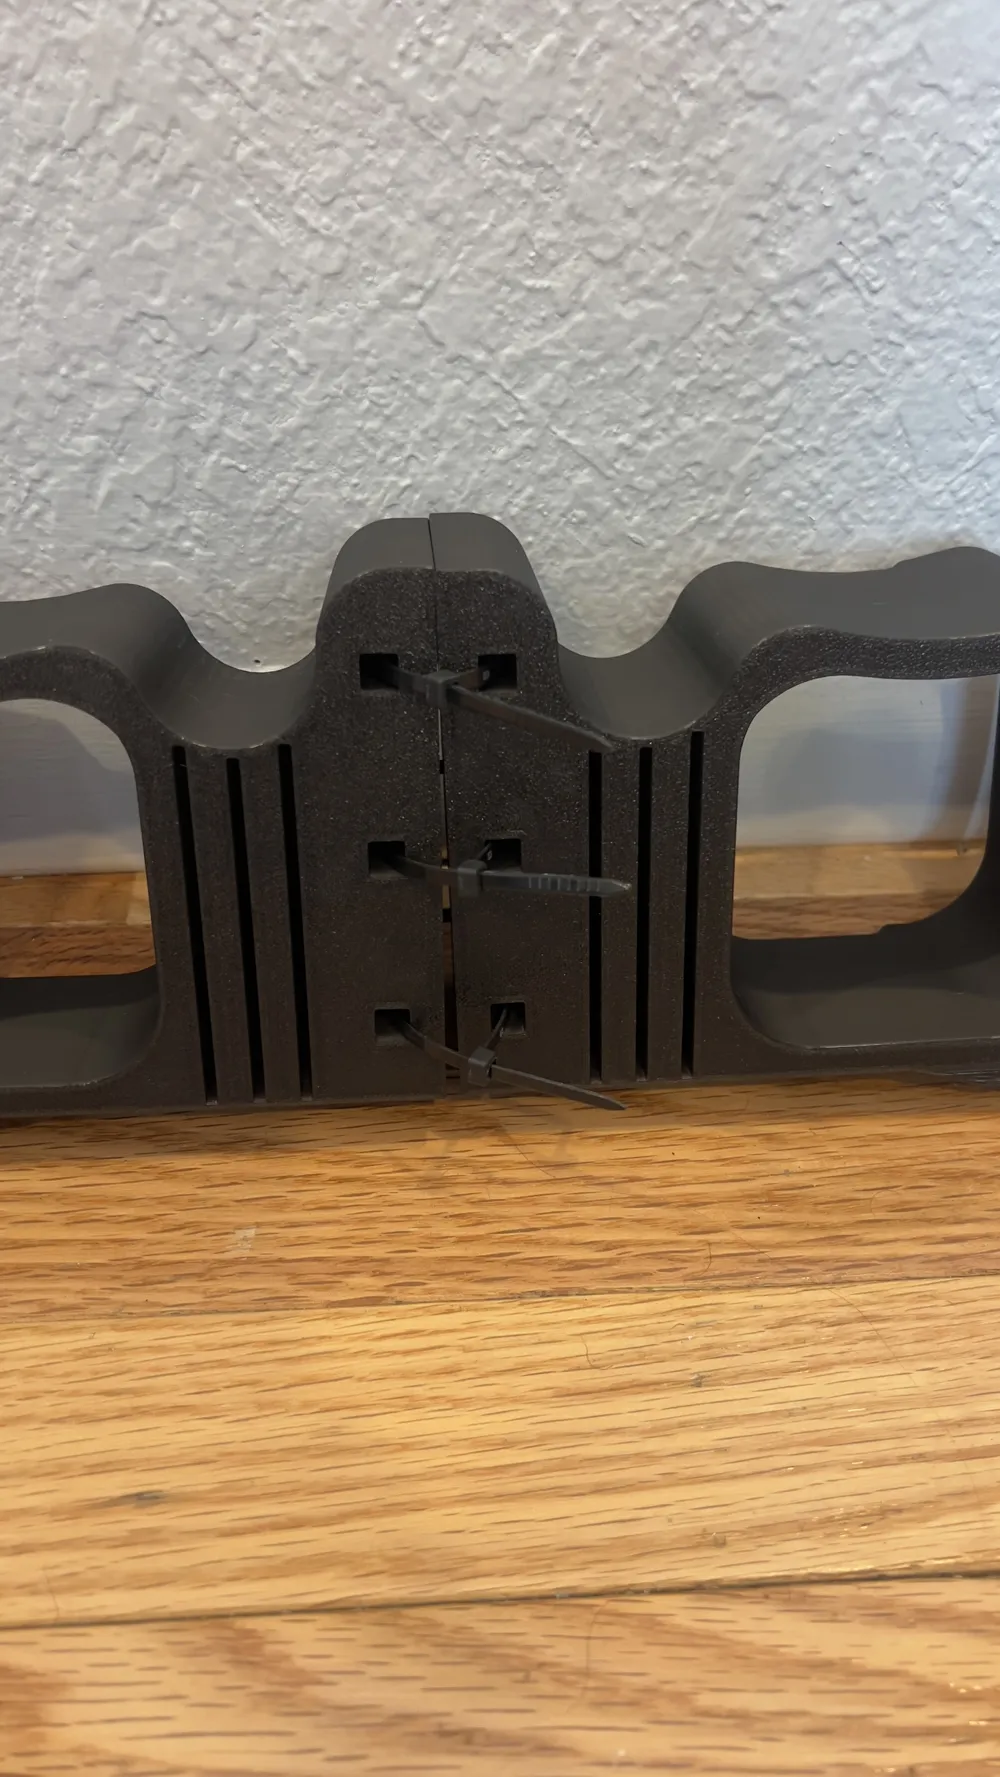
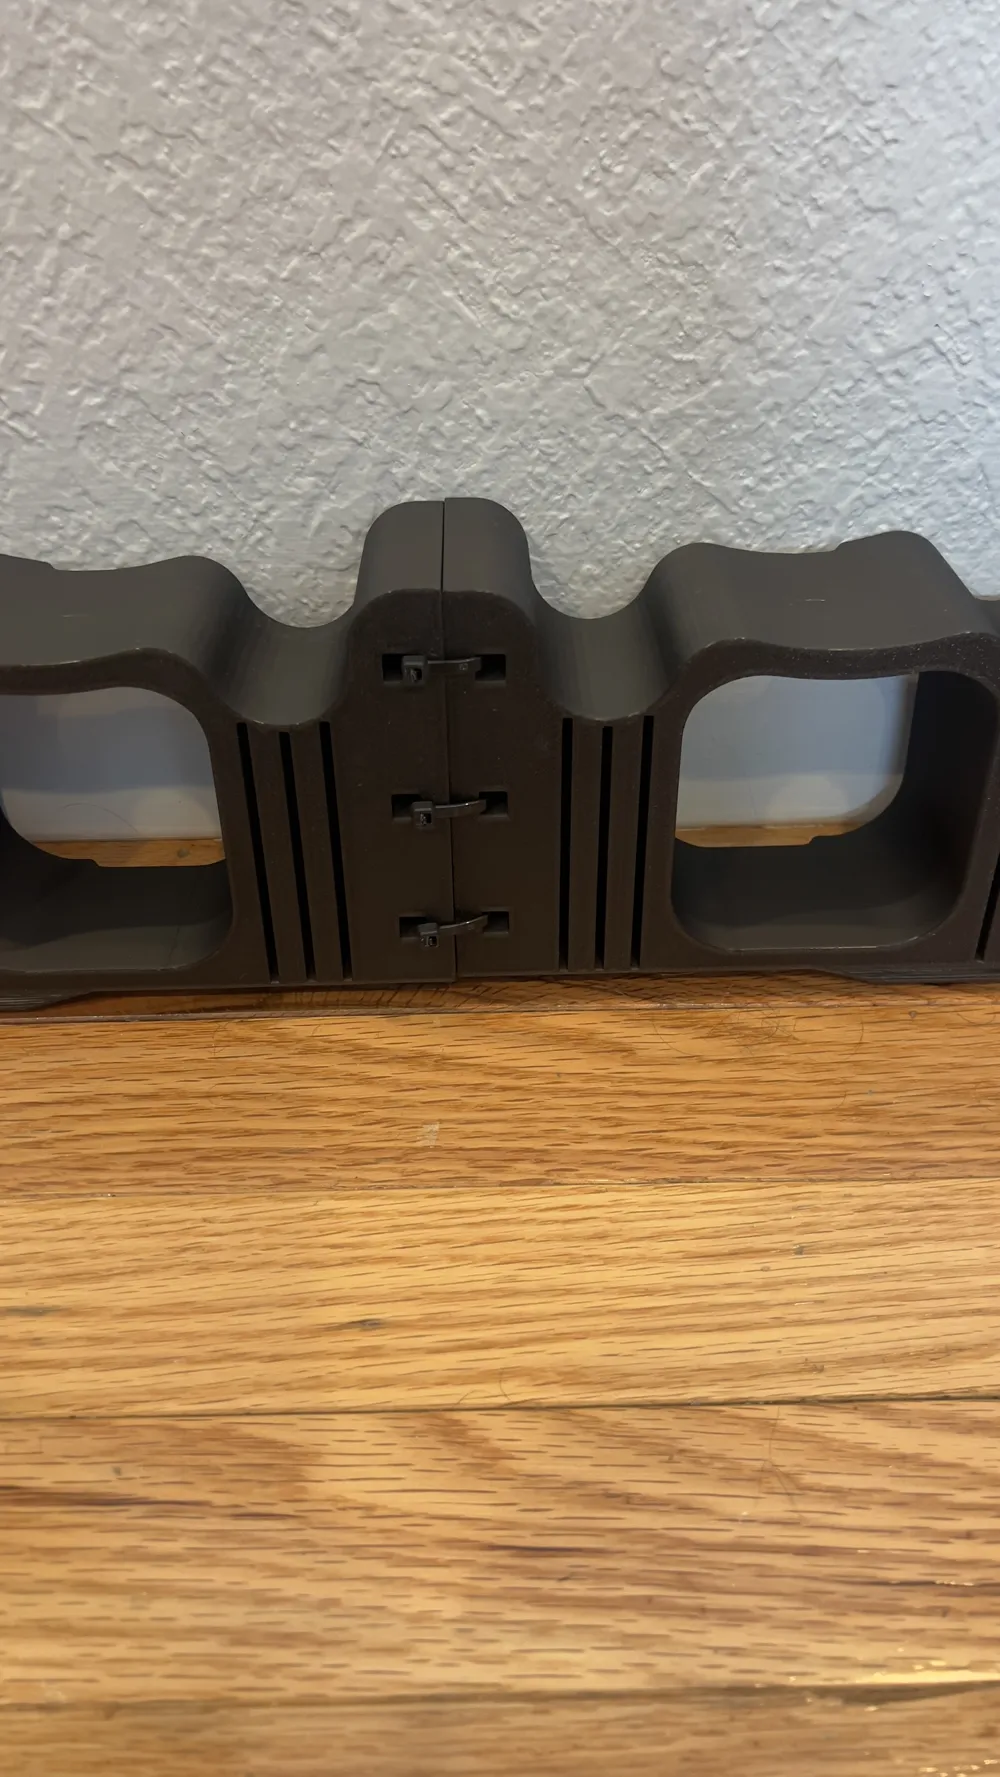
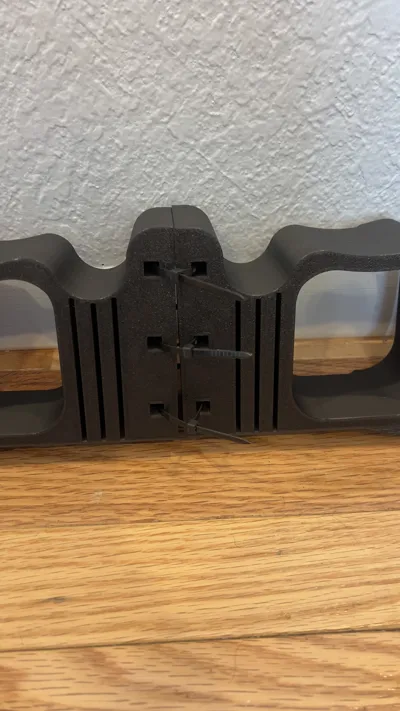
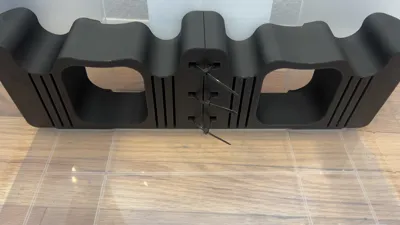
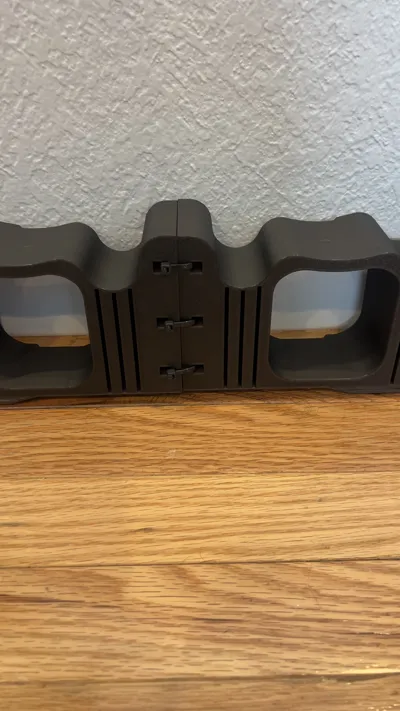
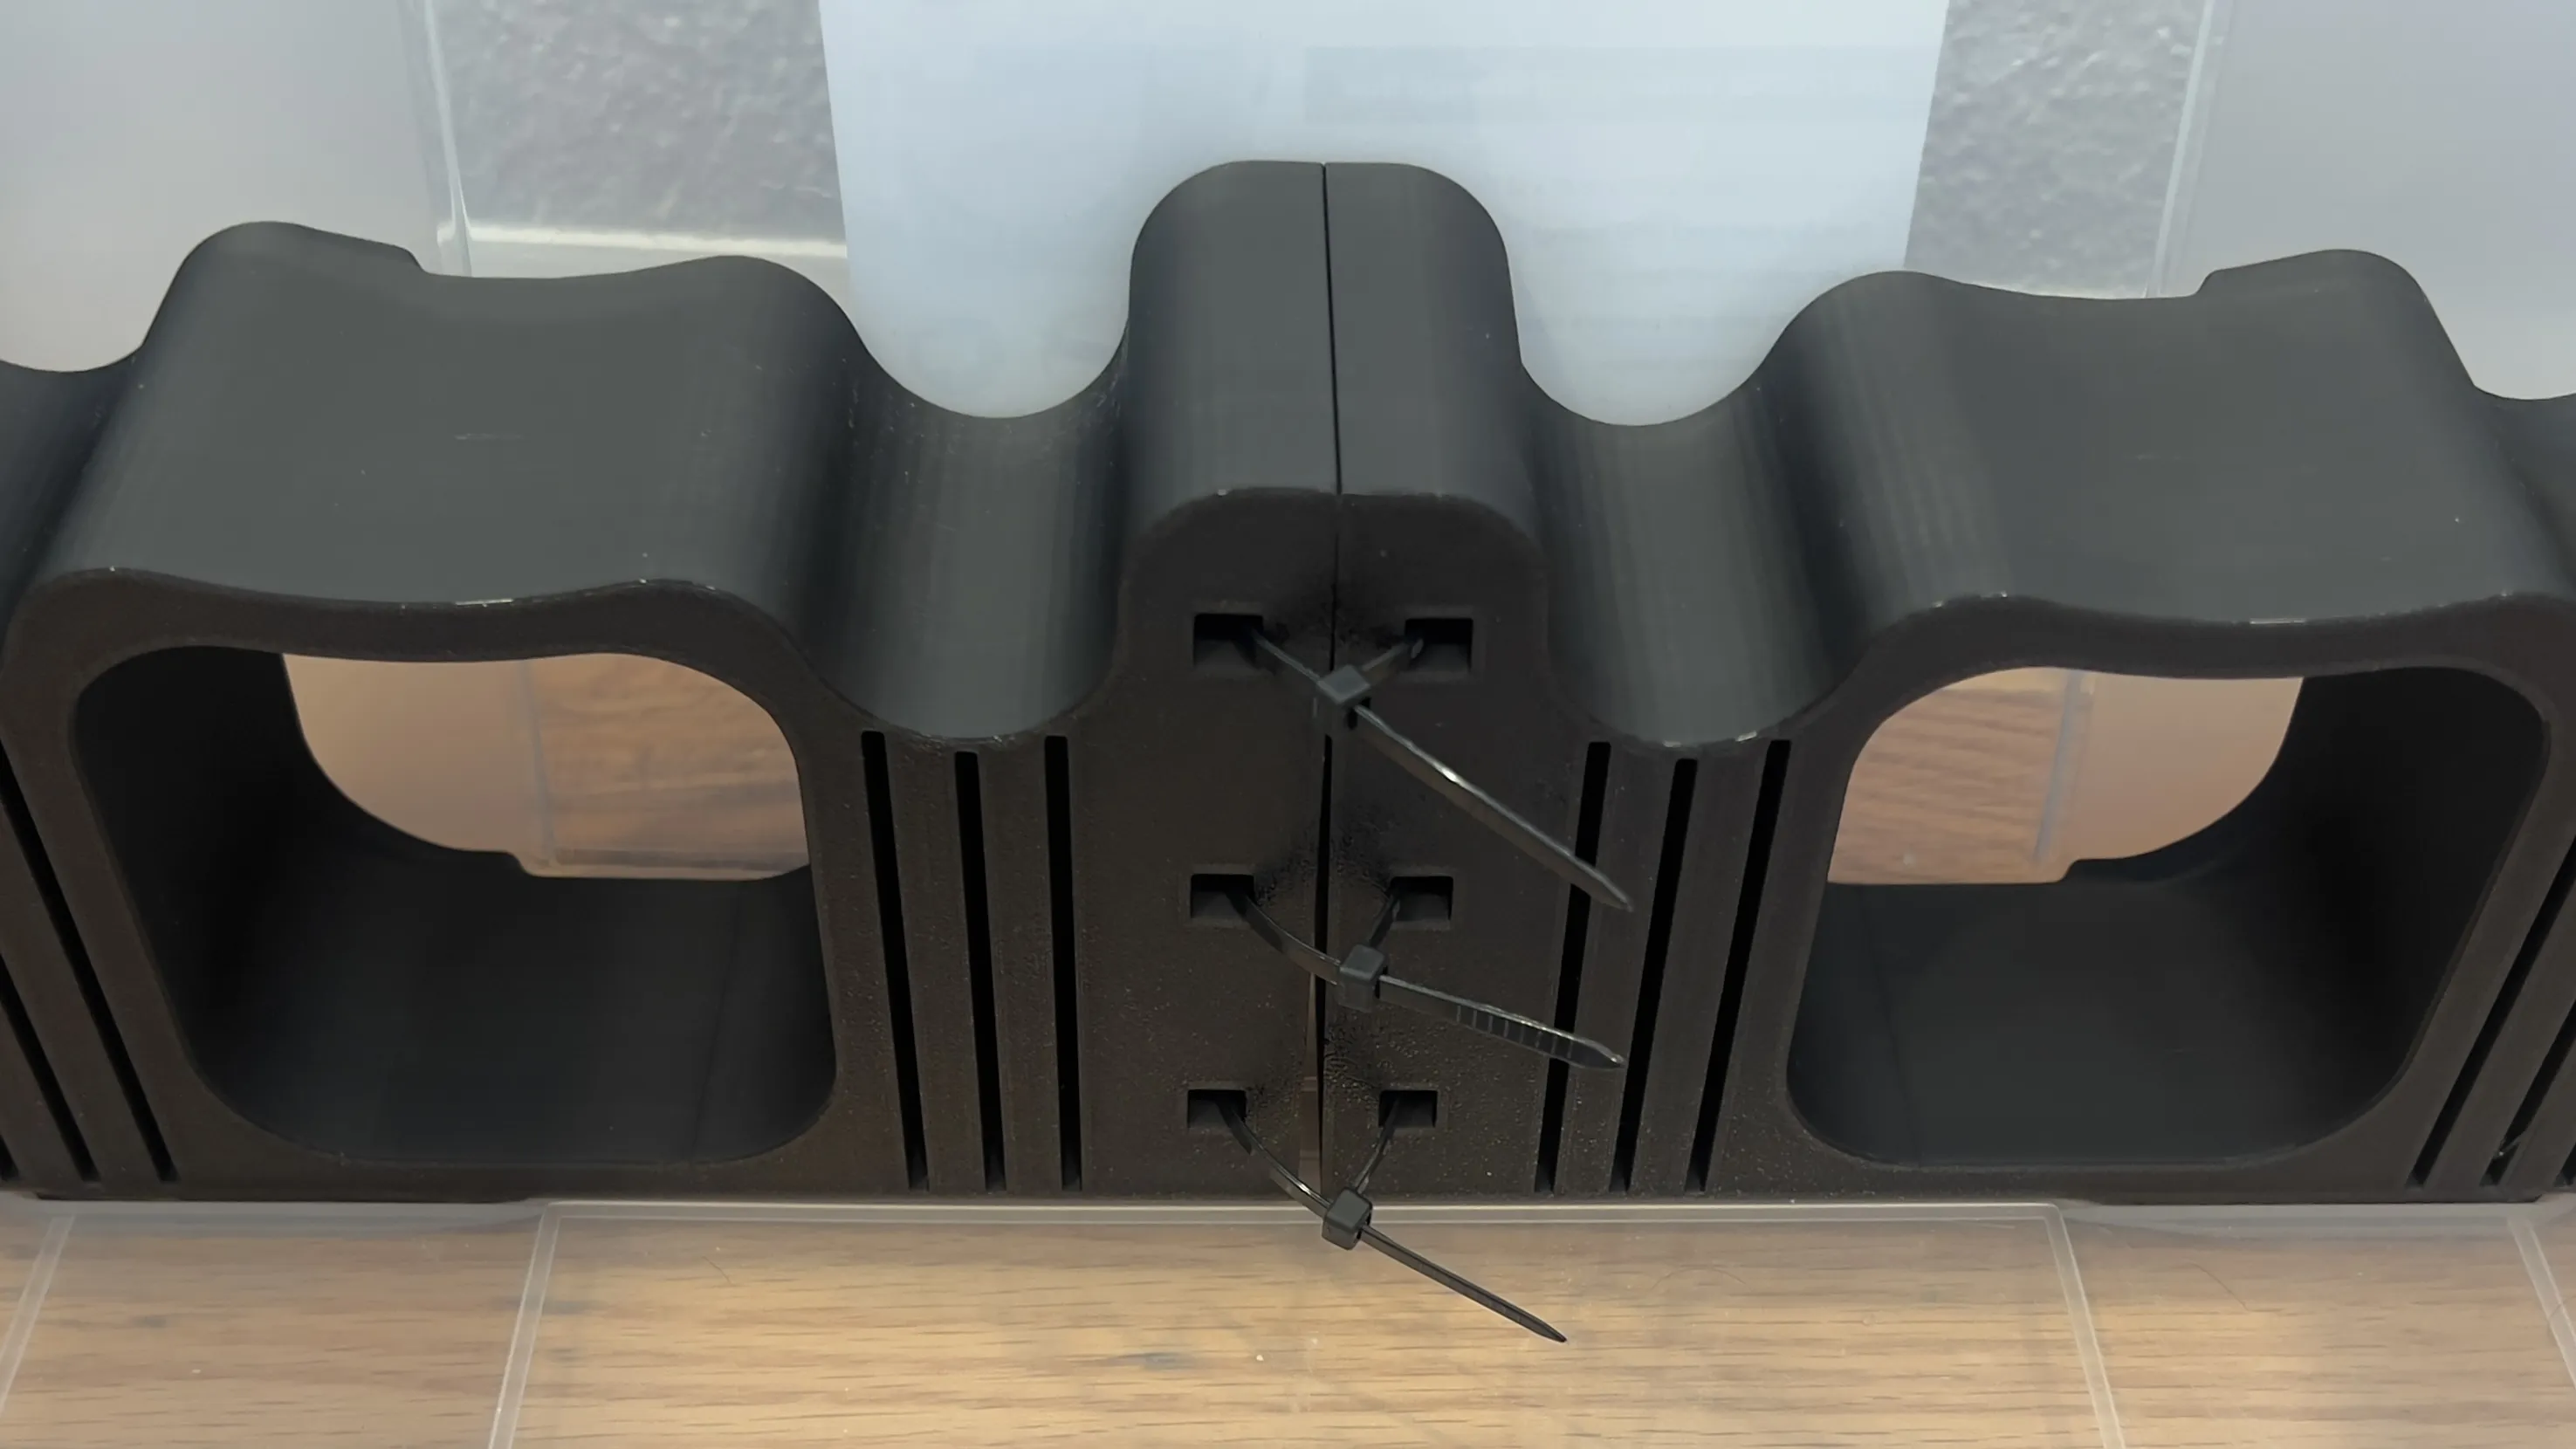
If you do decide to use the zip ties, you can either do the 7" zip ties or string two 4" ones together to make one big one. There are some specific steps to follow to make sure the zip ties are tightened correctly:
Loosely put the zip ties through the holes, and just barely tighten them.
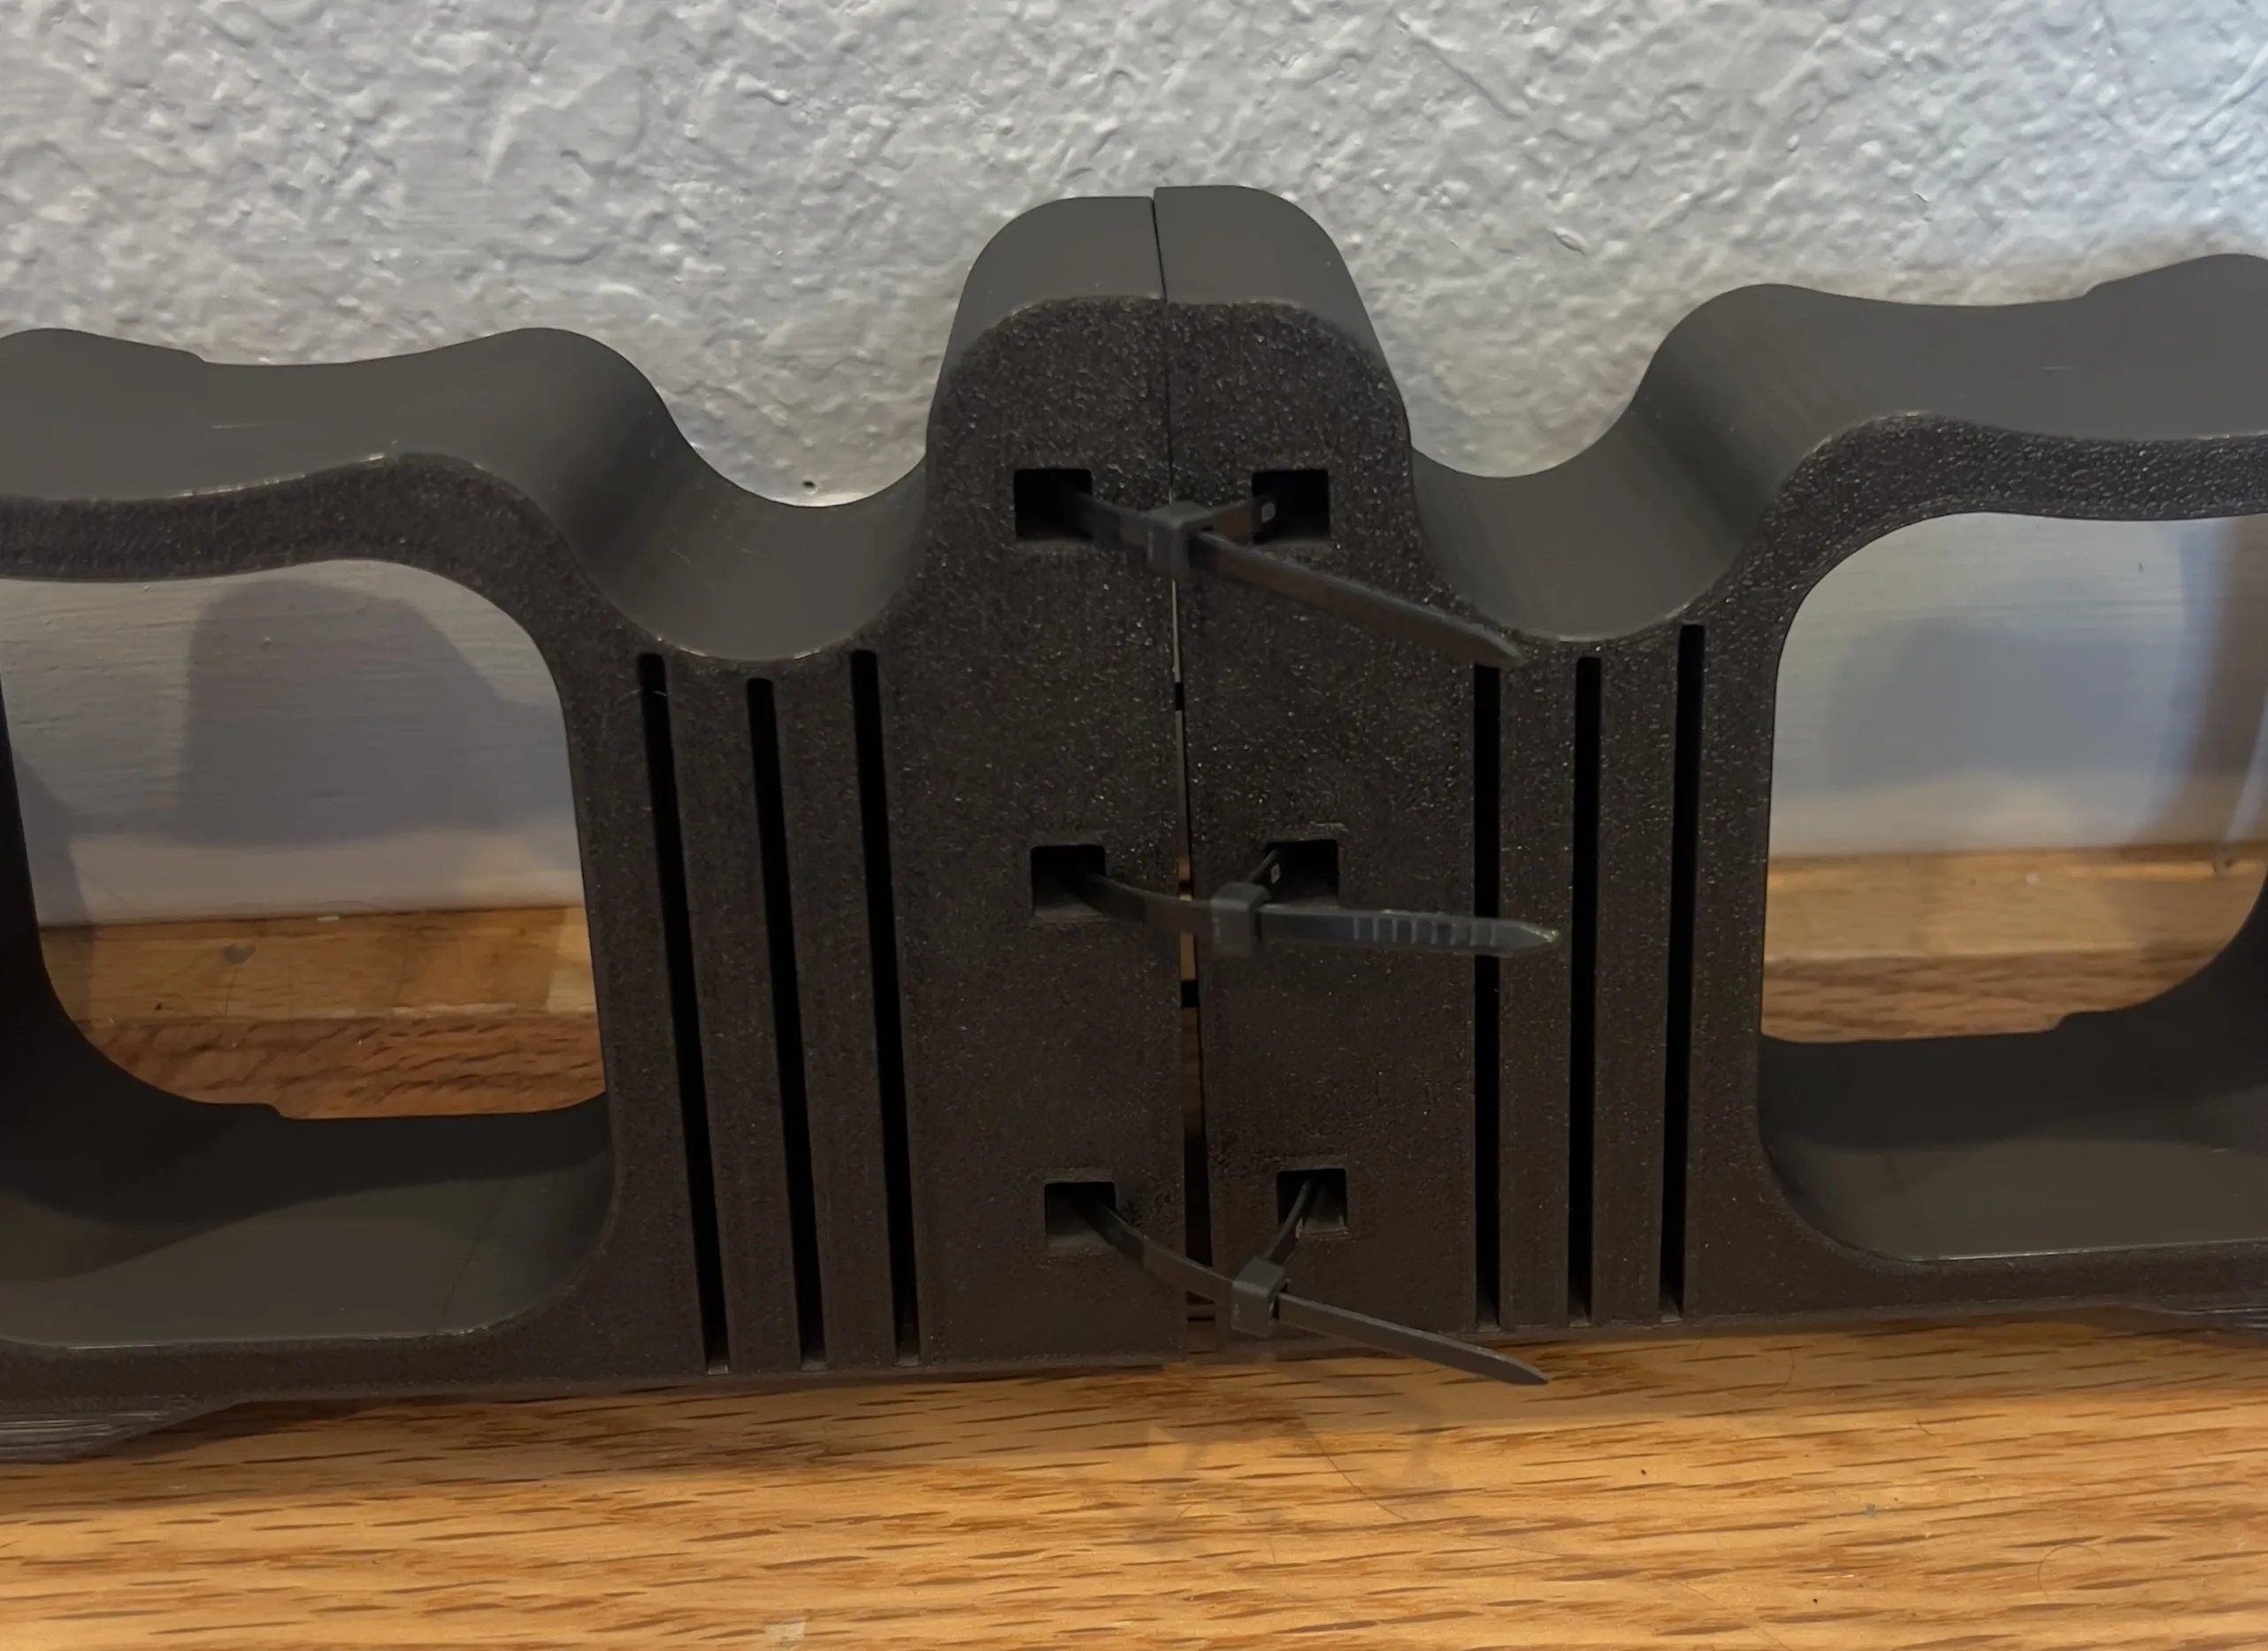
Put the assembly into place in the box, with the zip ties still loose.
Place the PVC pipes on top, and put a couple of spools of filament on them. This ensures that both sides will sit exactly where they want to when they are loaded with weight.
While the spools are still on top, tighten the zip ties enough so that they don't wiggle, but also don't pull the pieces together. This part can be a little tricky if you have large fingers like me, but enough finagling and you'll get there. Or just get someone else to do this step.
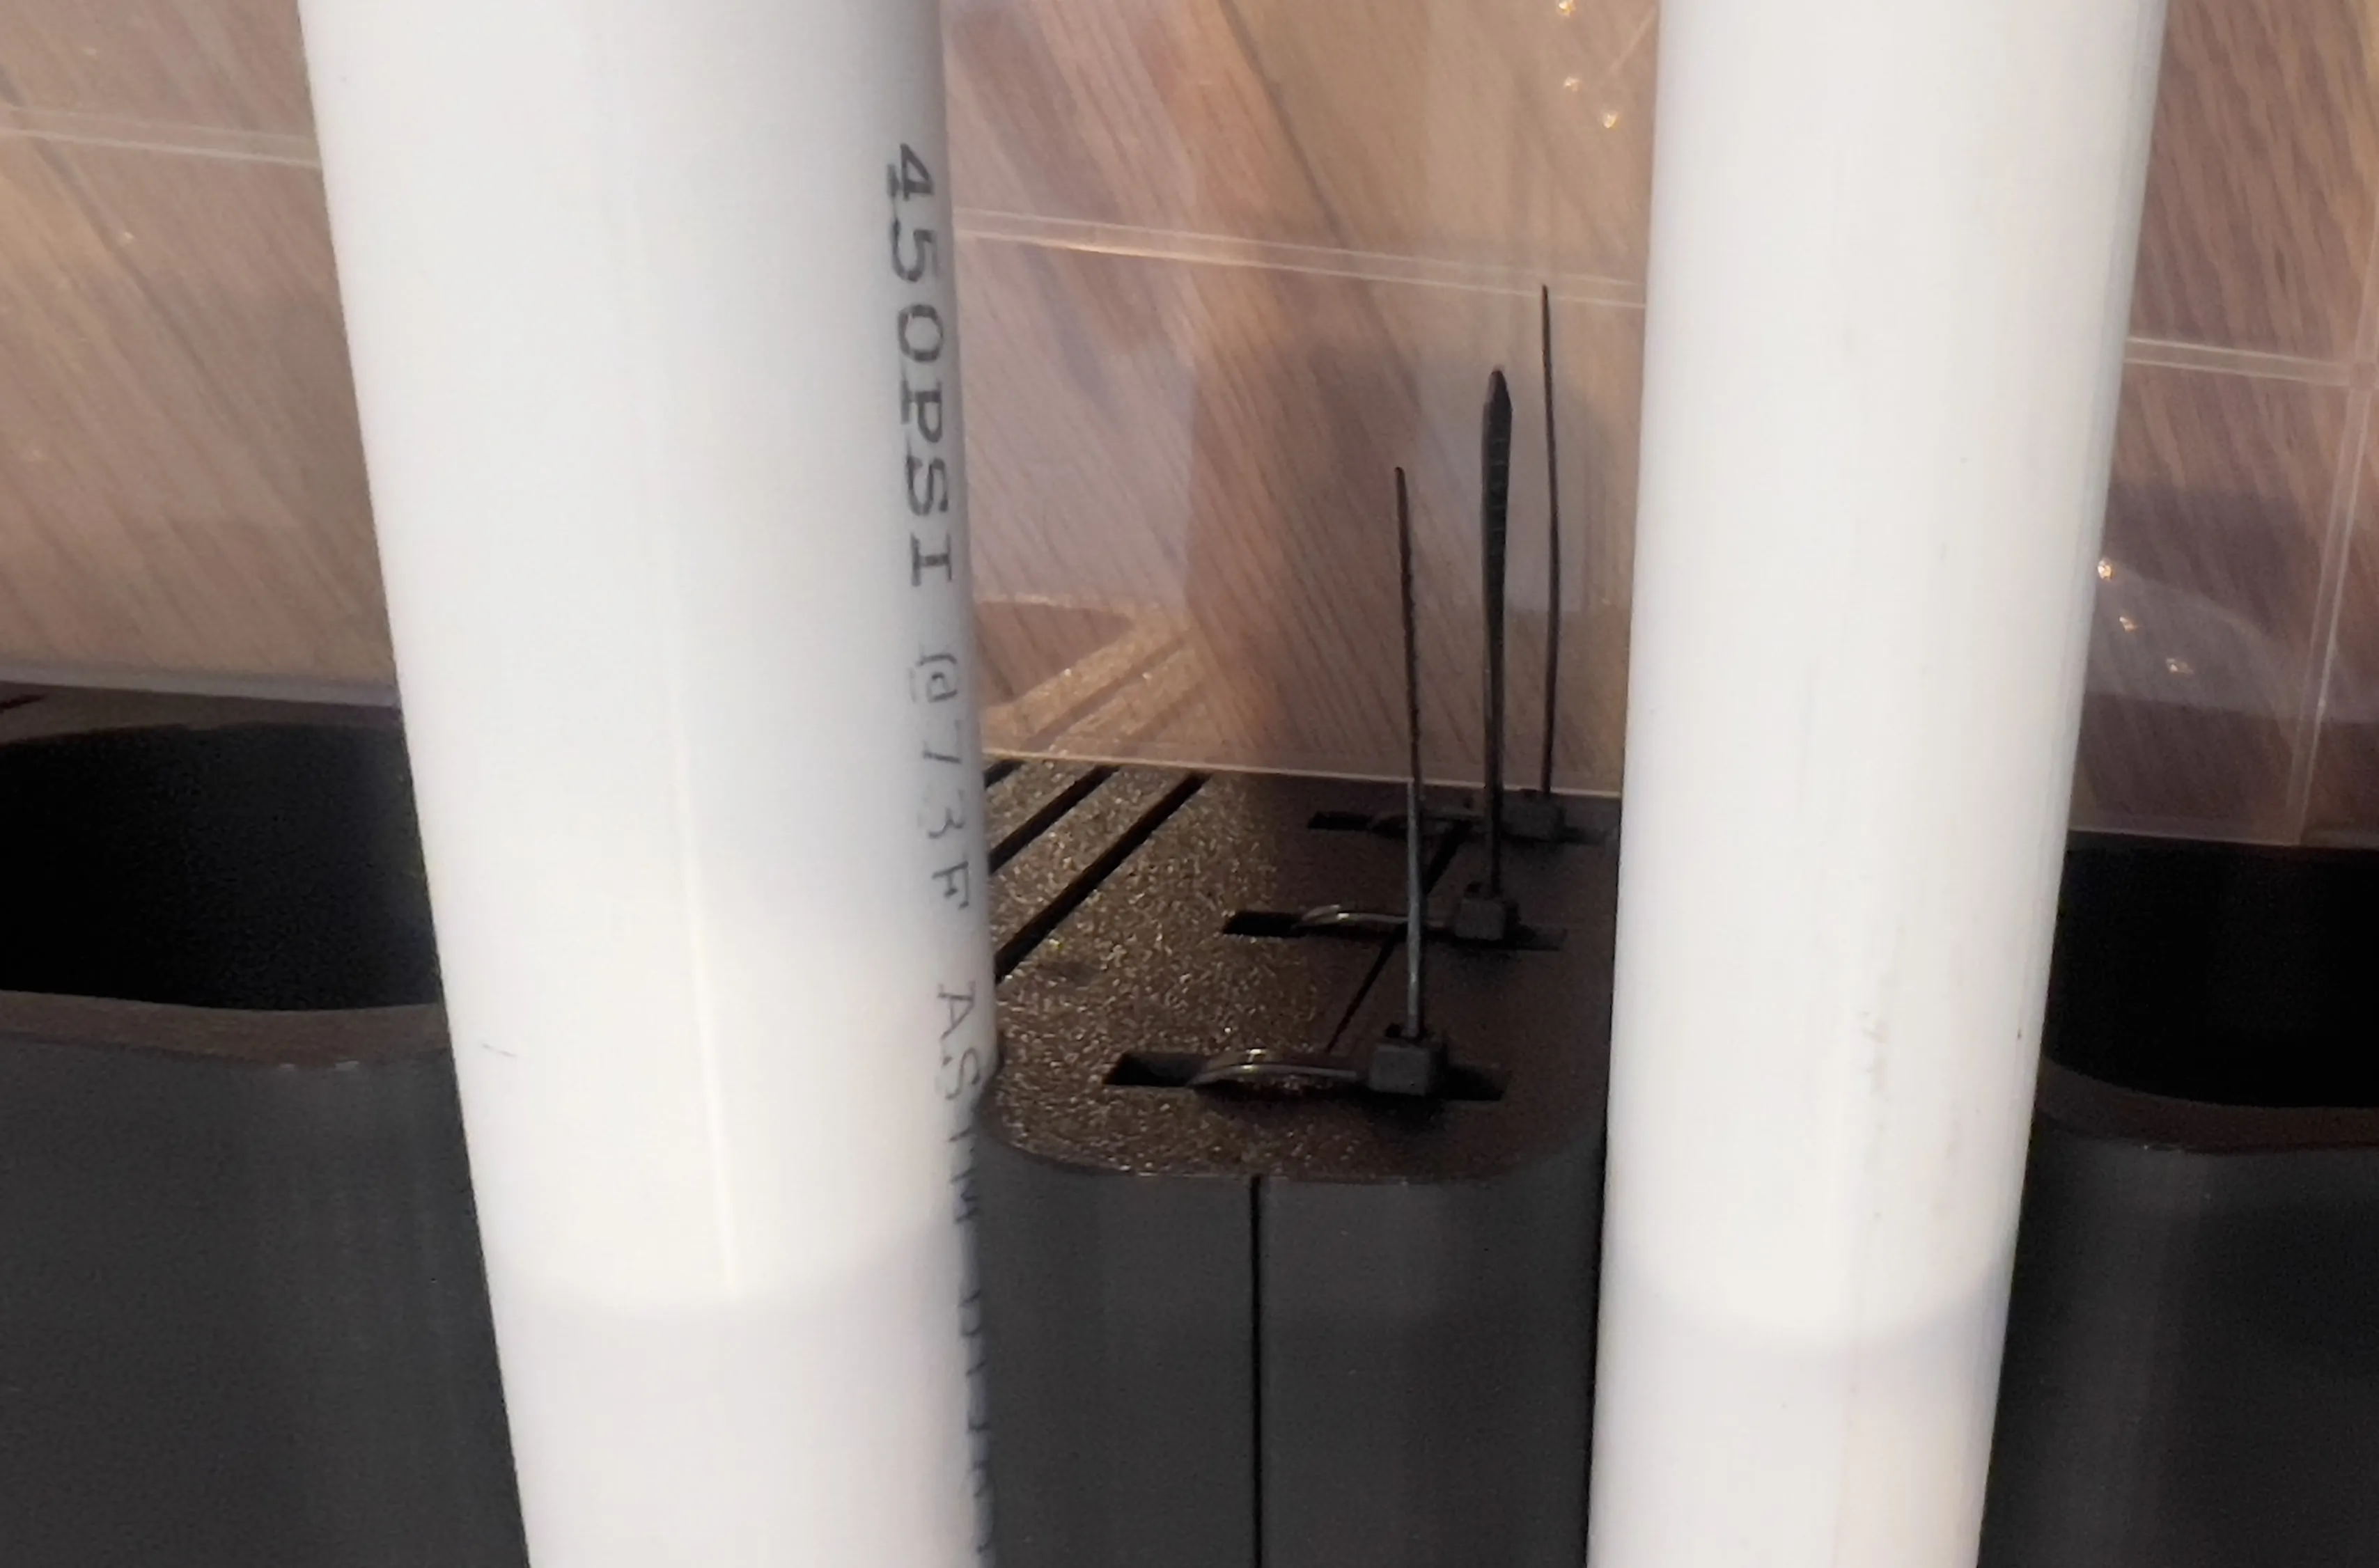
Remove the spools and PVC, and cut the zip ties.
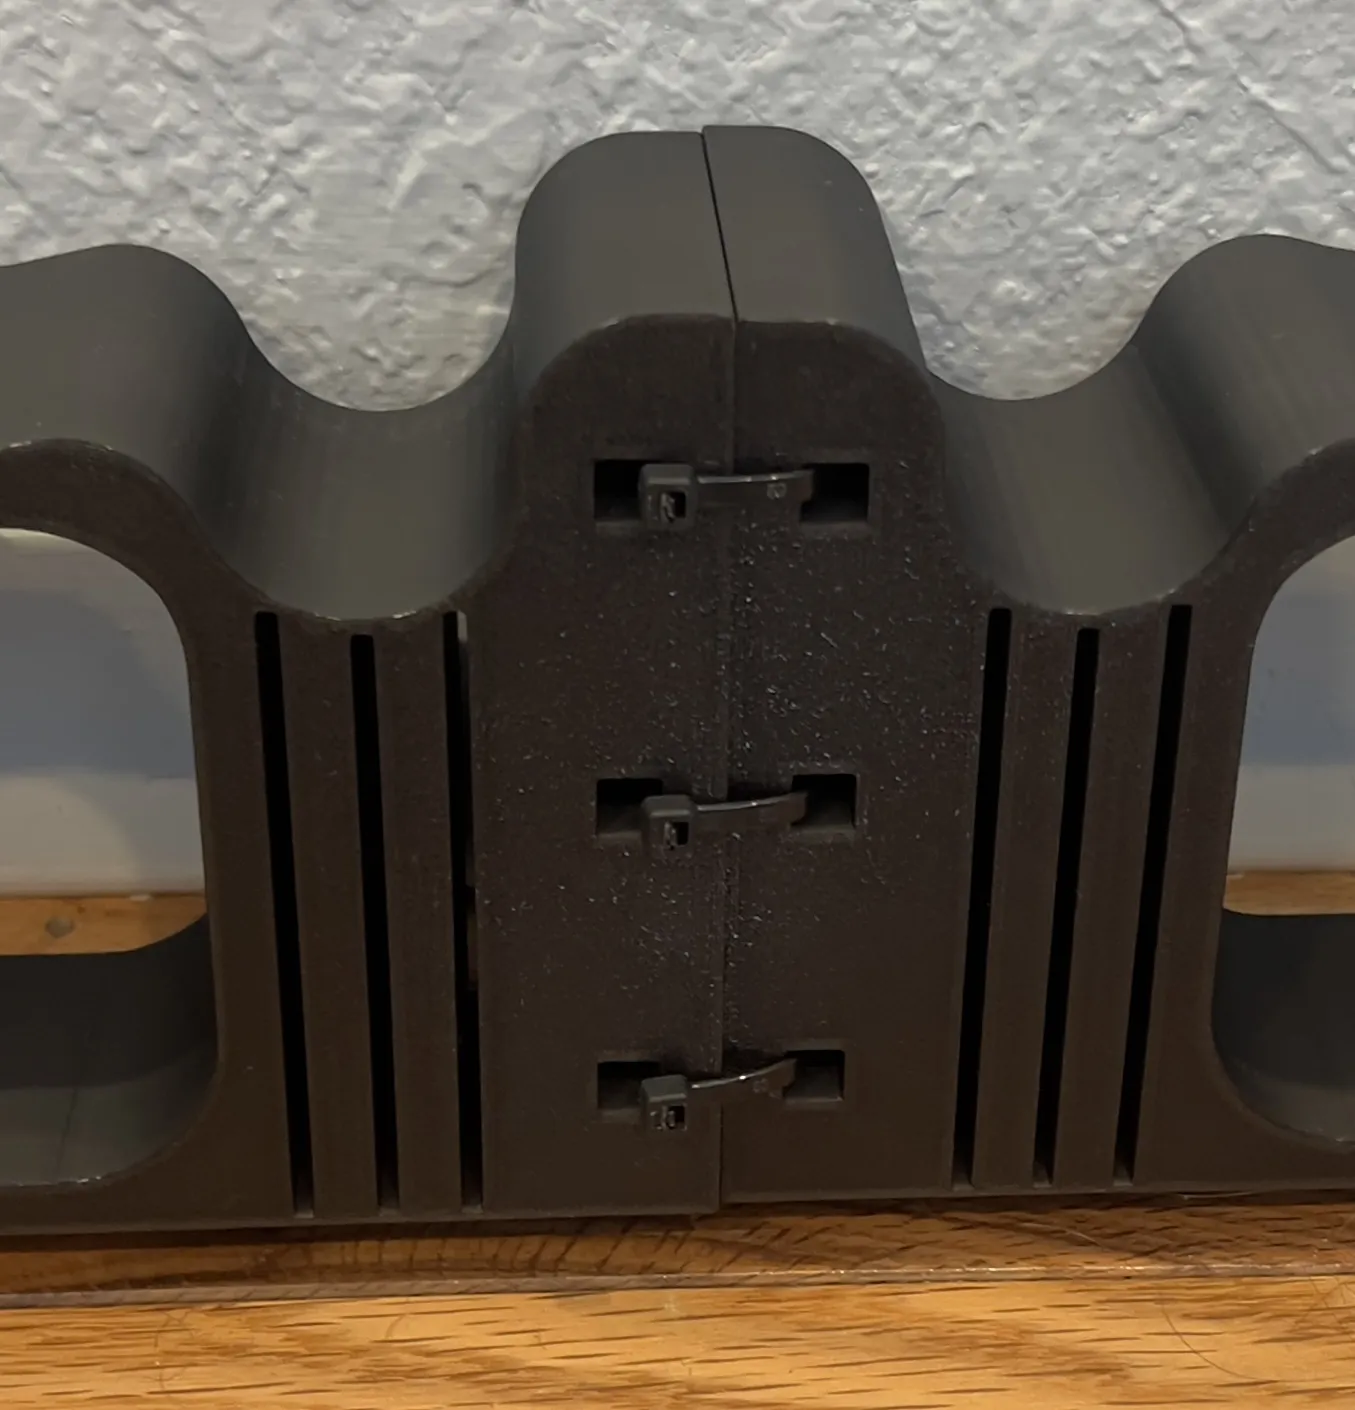
- DO NOT TIGHTEN THE ZIP TIES ANYMORE. There will be some wiggle room if you take the part out. That is normal. If you tighten the zip ties, it will not sit in the divots correctly.
Thank you!
I hope you enjoy this! I've worked on it for a long time and finally feel like it's ready to share, so please let me know if there's anything to improve on!
License

You shall not share, sub-license, sell, rent, host, transfer, or distribute in any way the digital or 3D printed versions of this object, nor any other derivative work of this object in its digital or physical format (including - but not limited to - remixes of this object, and hosting on other digital platforms). The objects may not be used without permission in any way whatsoever in which you charge money, or collect fees.


Comment & Rating (17)