
Self-dispensing Build Plate Cleaner - PlateMate R1
Print Profile(6)


Description
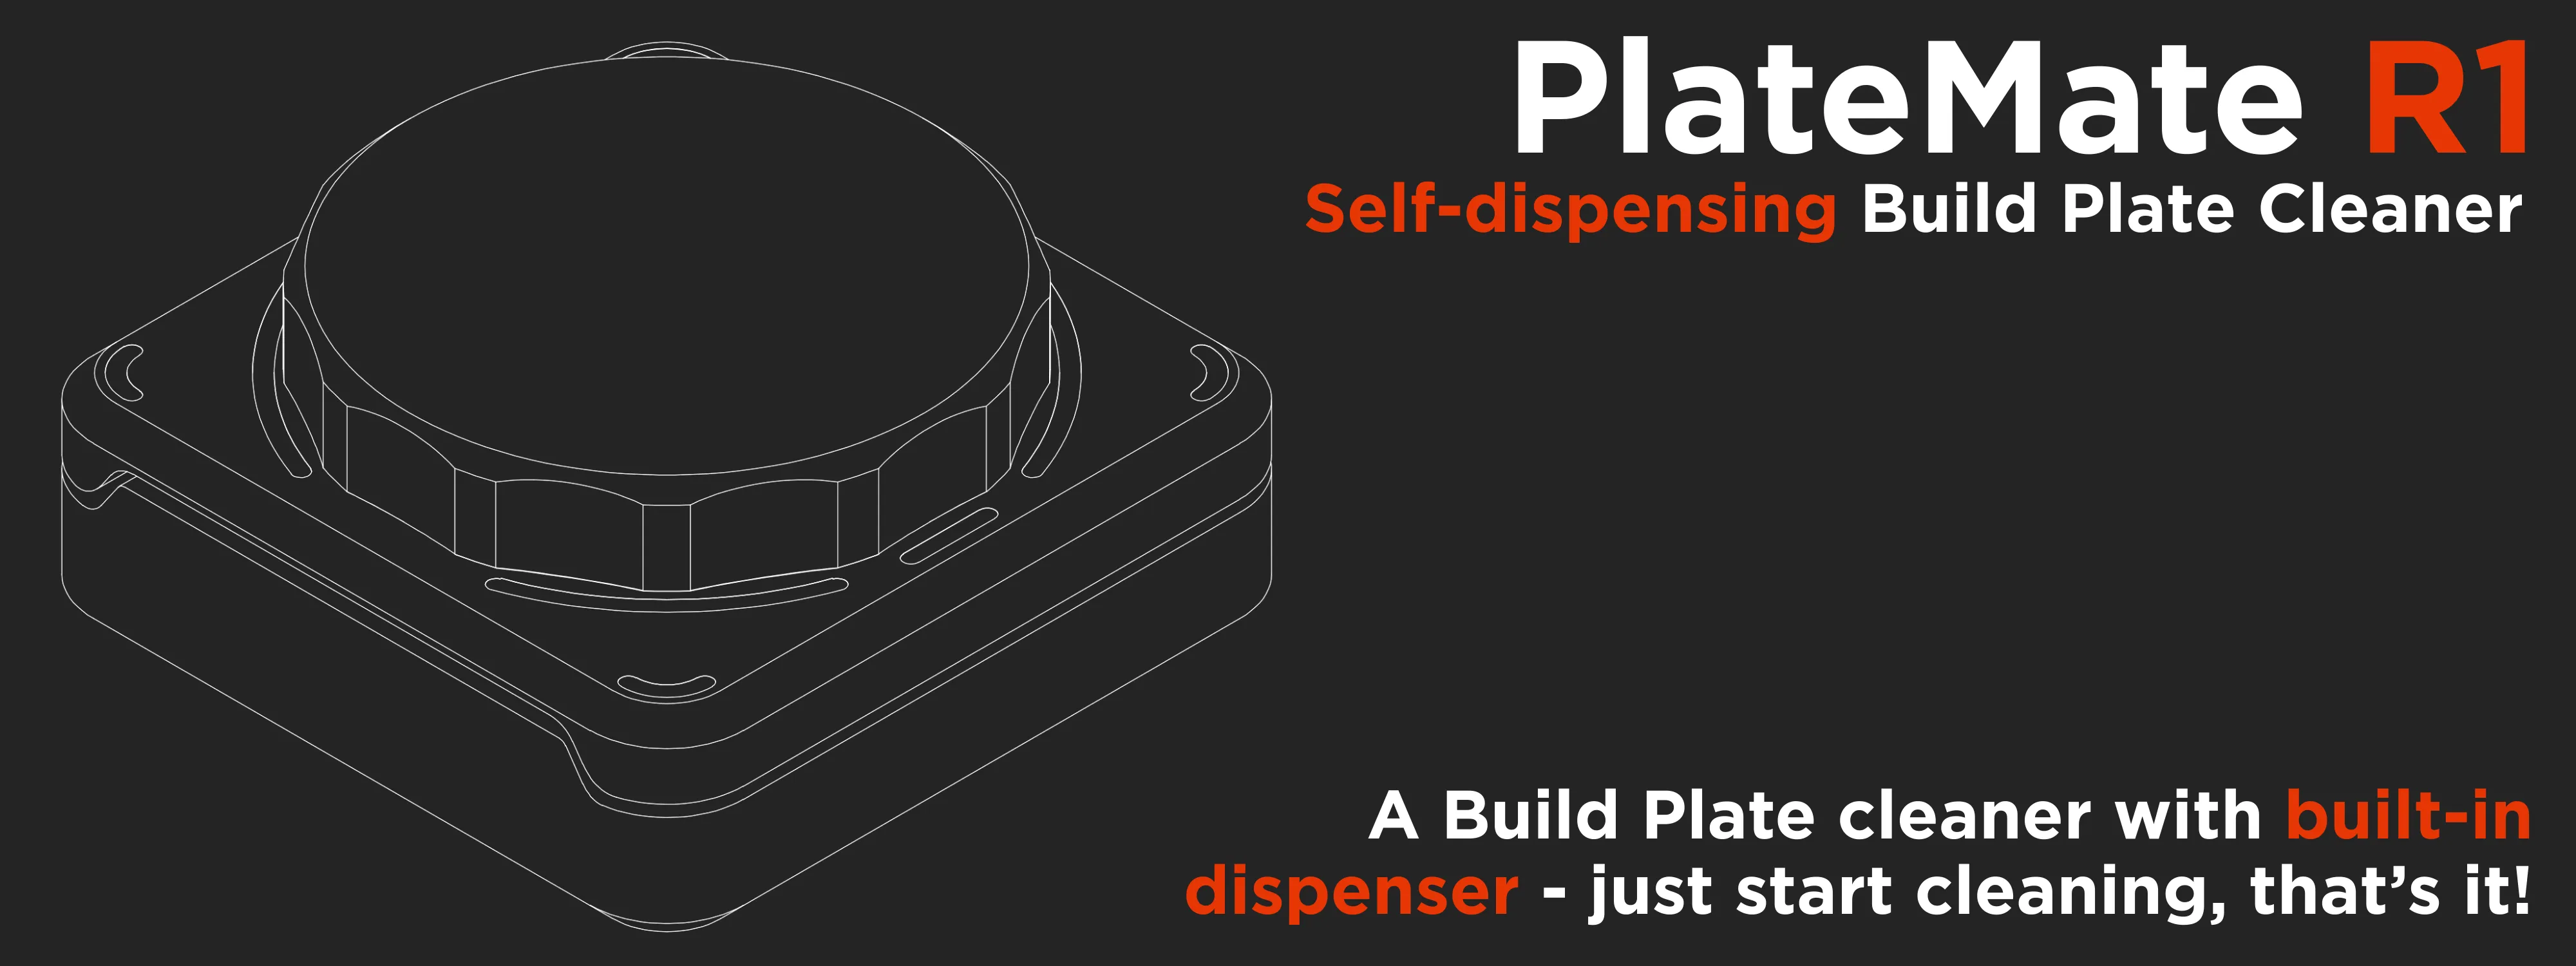
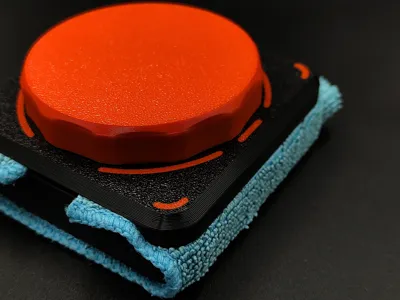
Overview of the project:
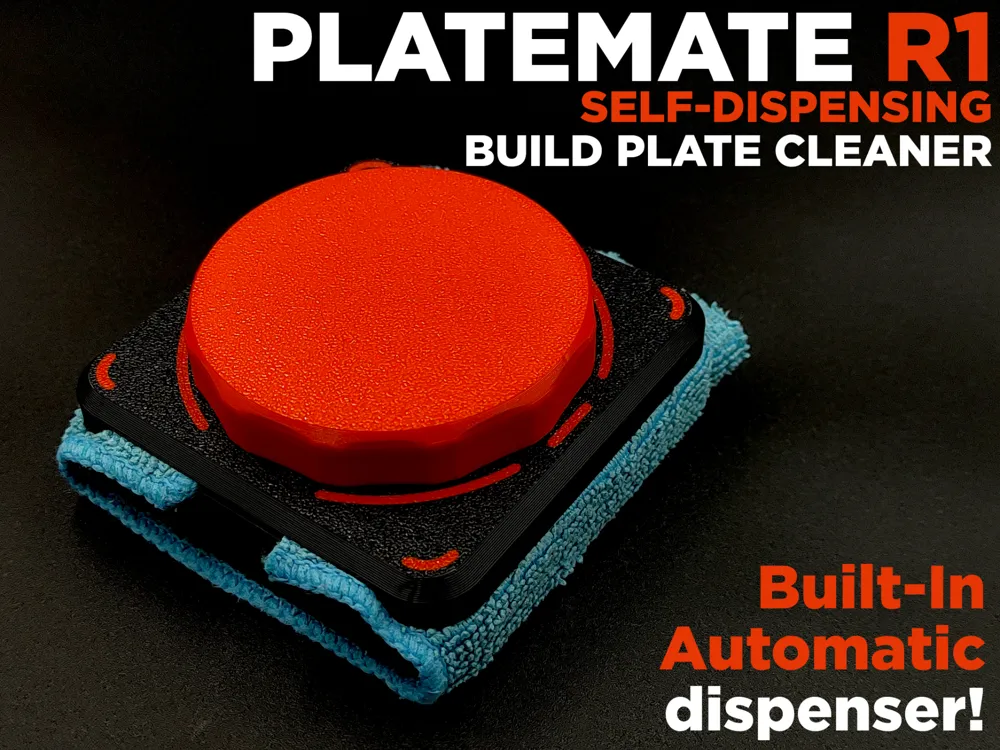
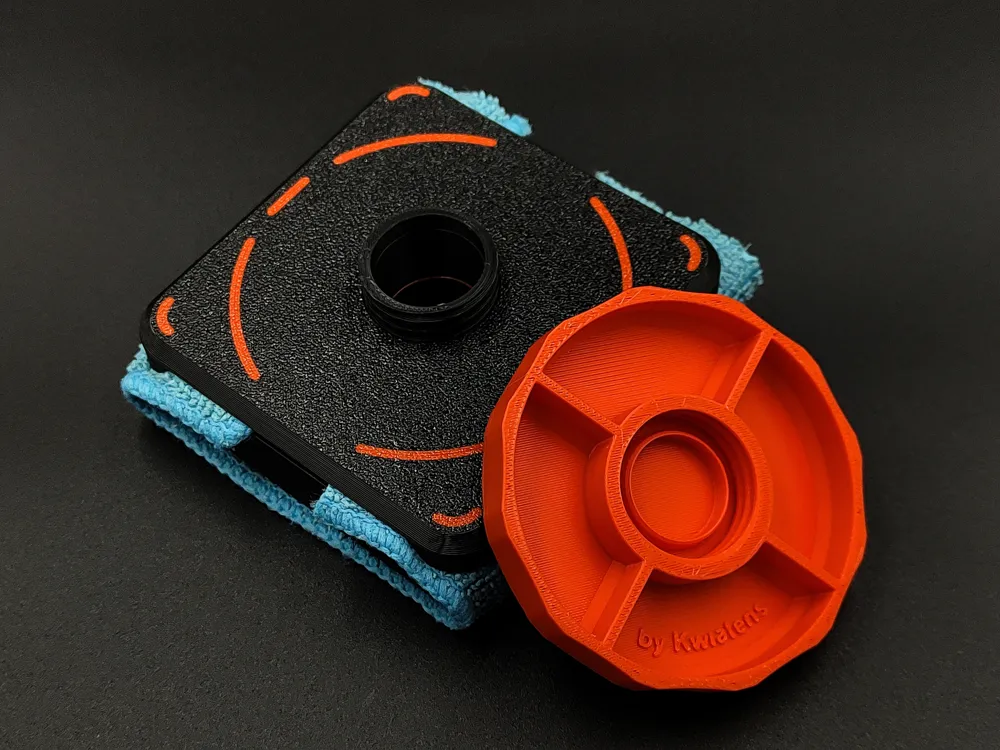
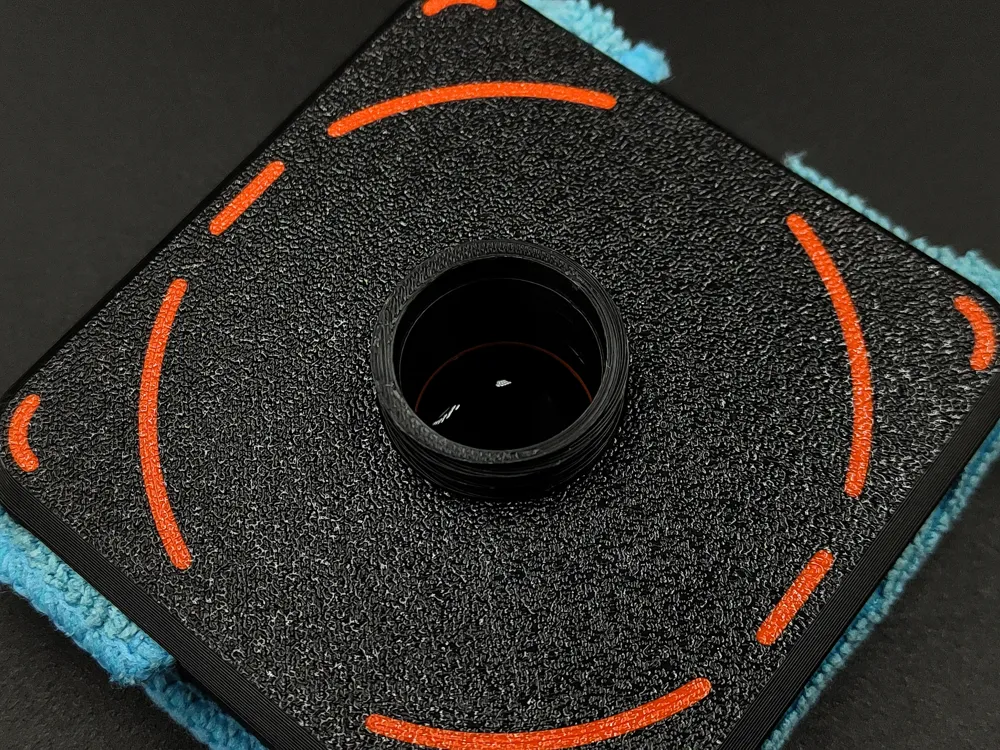
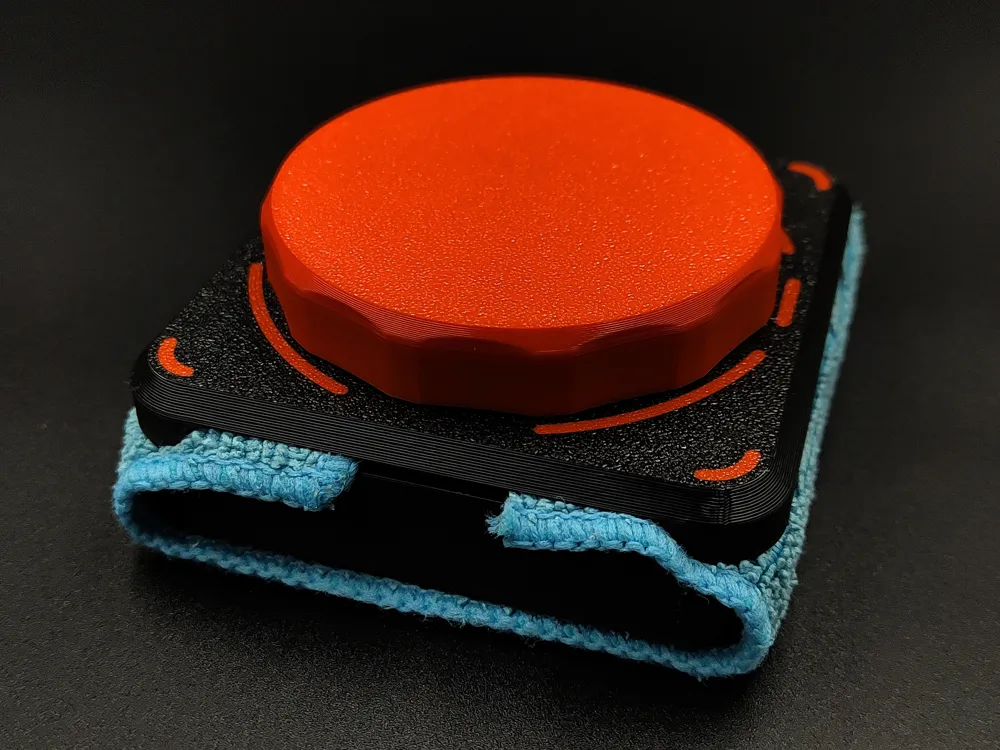
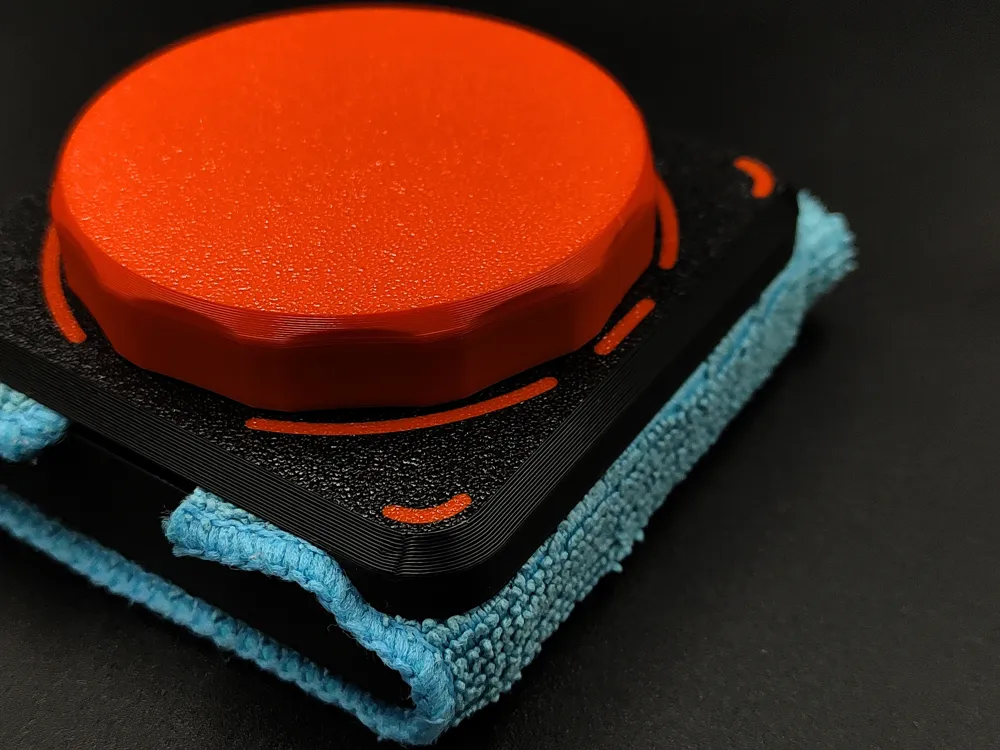
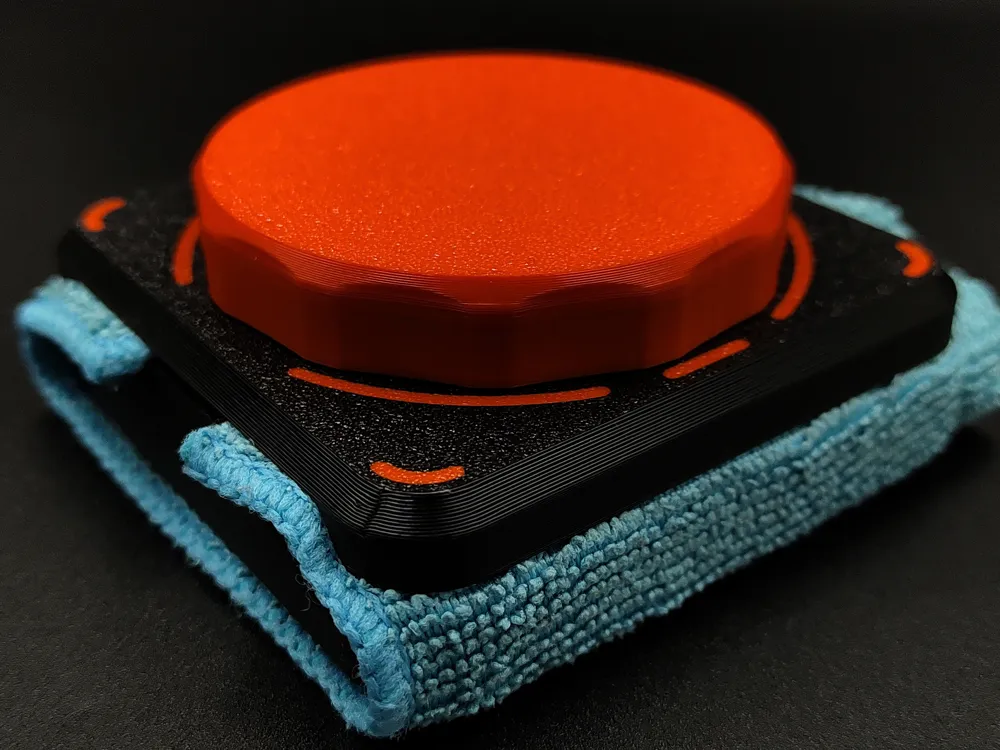
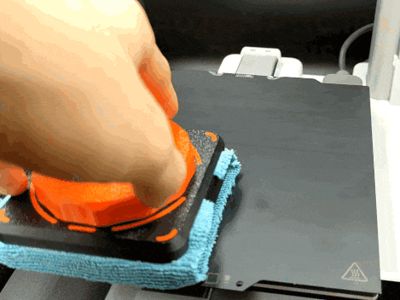
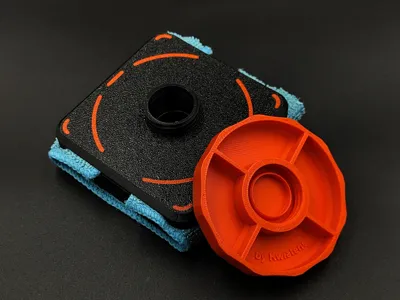
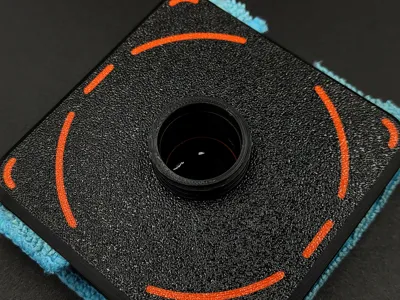
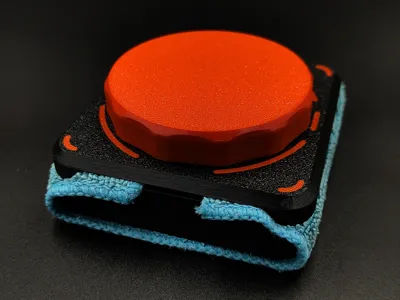
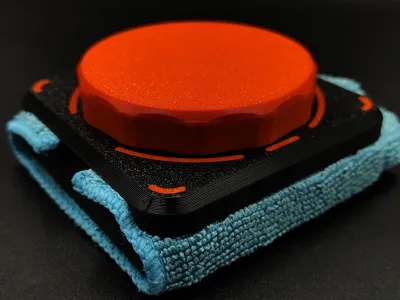
PlateMate R1 is an self-dispensing build plate cleaner, designed to be printed in only three parts with no hardware required!

To use it, simply start cleaning your bed, and it will automatically dispense the right amount of cleaning solution onto the cleaning cloth. How cool is that! The body of the cleaner is an ~65ml reservoir for your cleaning solution of choice.
On top of this awesome feature, it uses significantly less liquid compared to applying it manually.
I designed it because I was tired of constantly searching for that cleaner bottle all around the room :)
How to use:
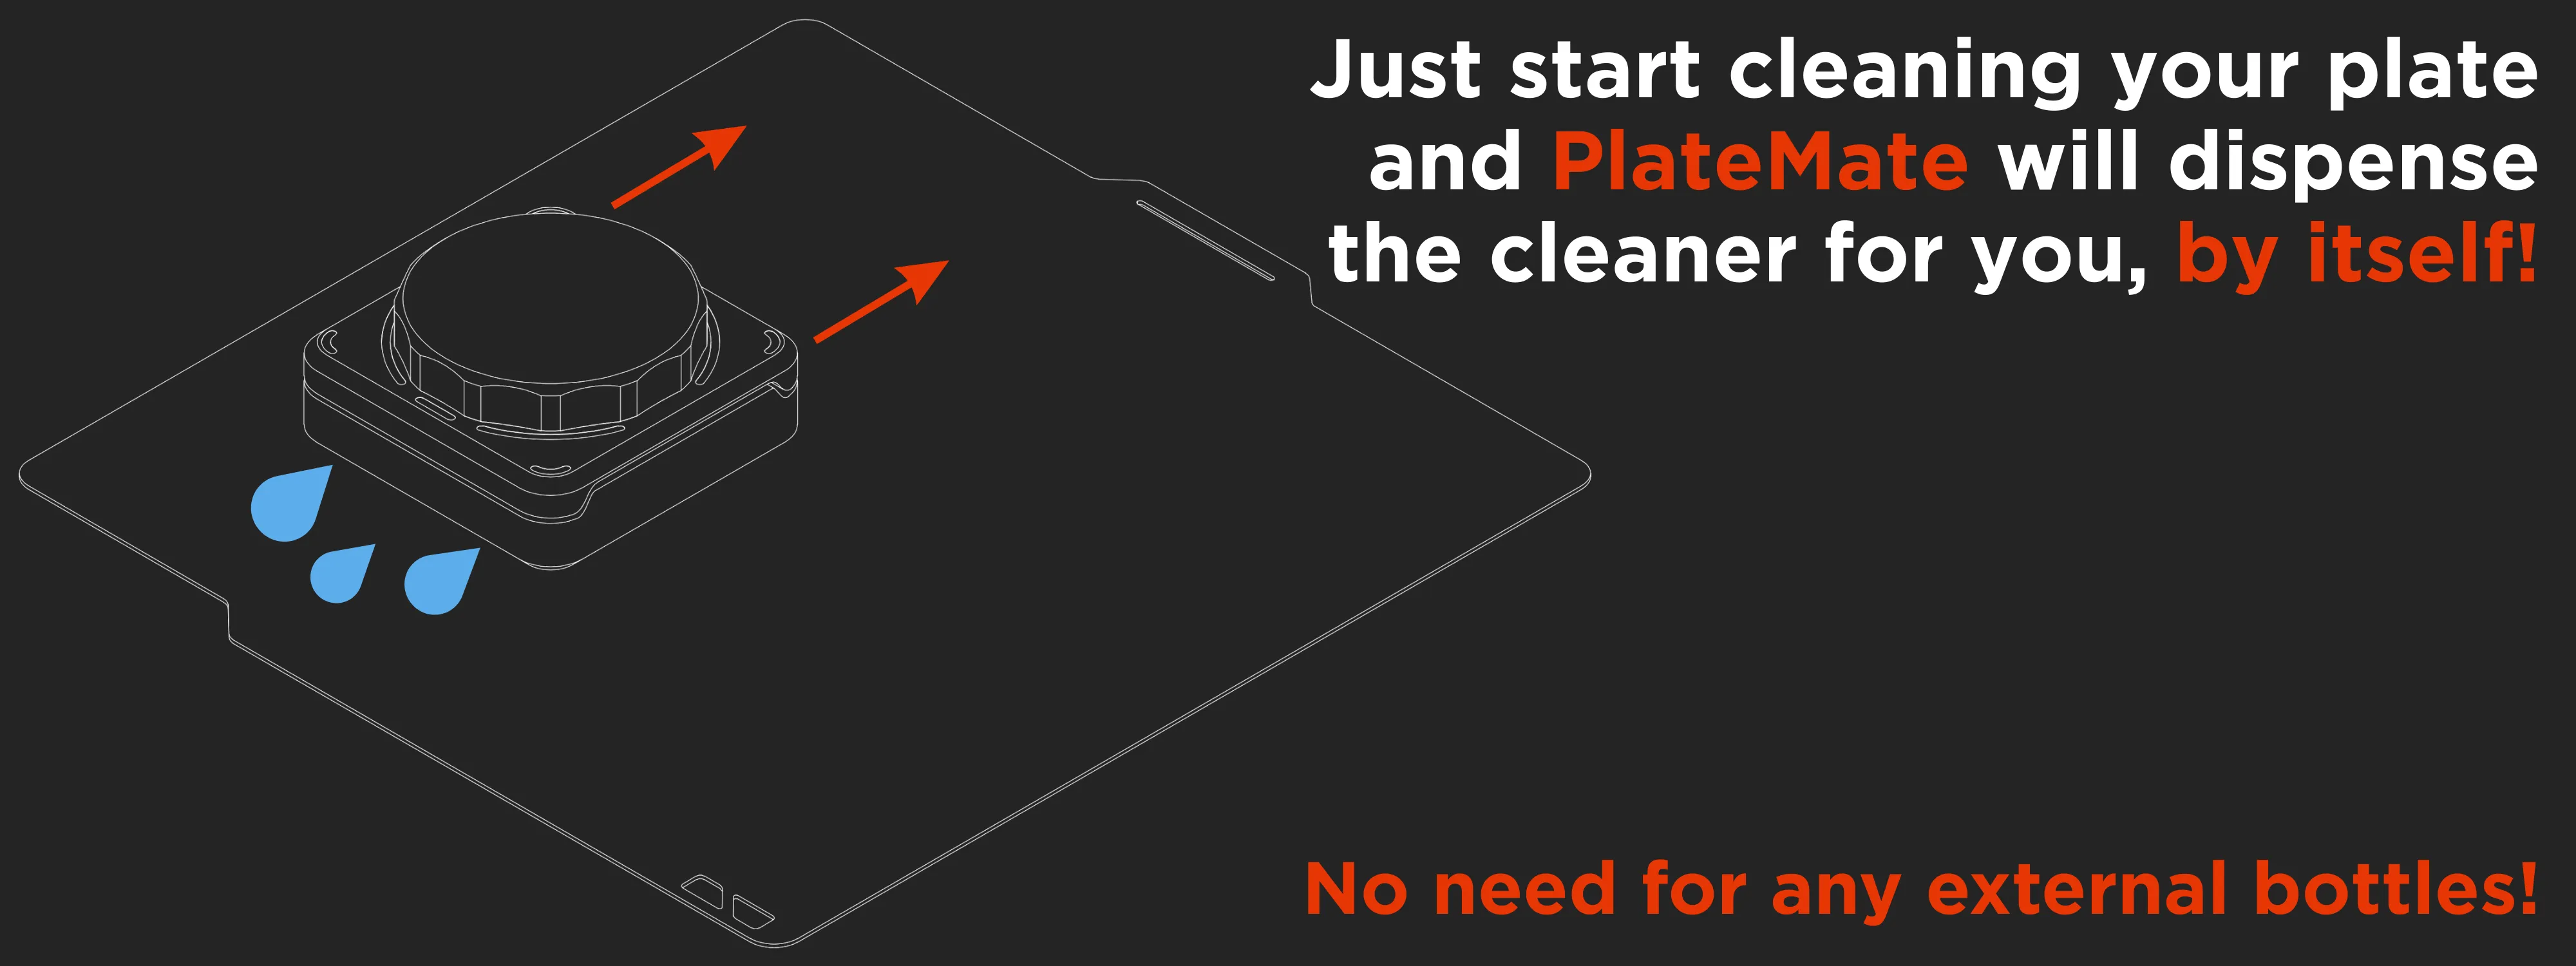
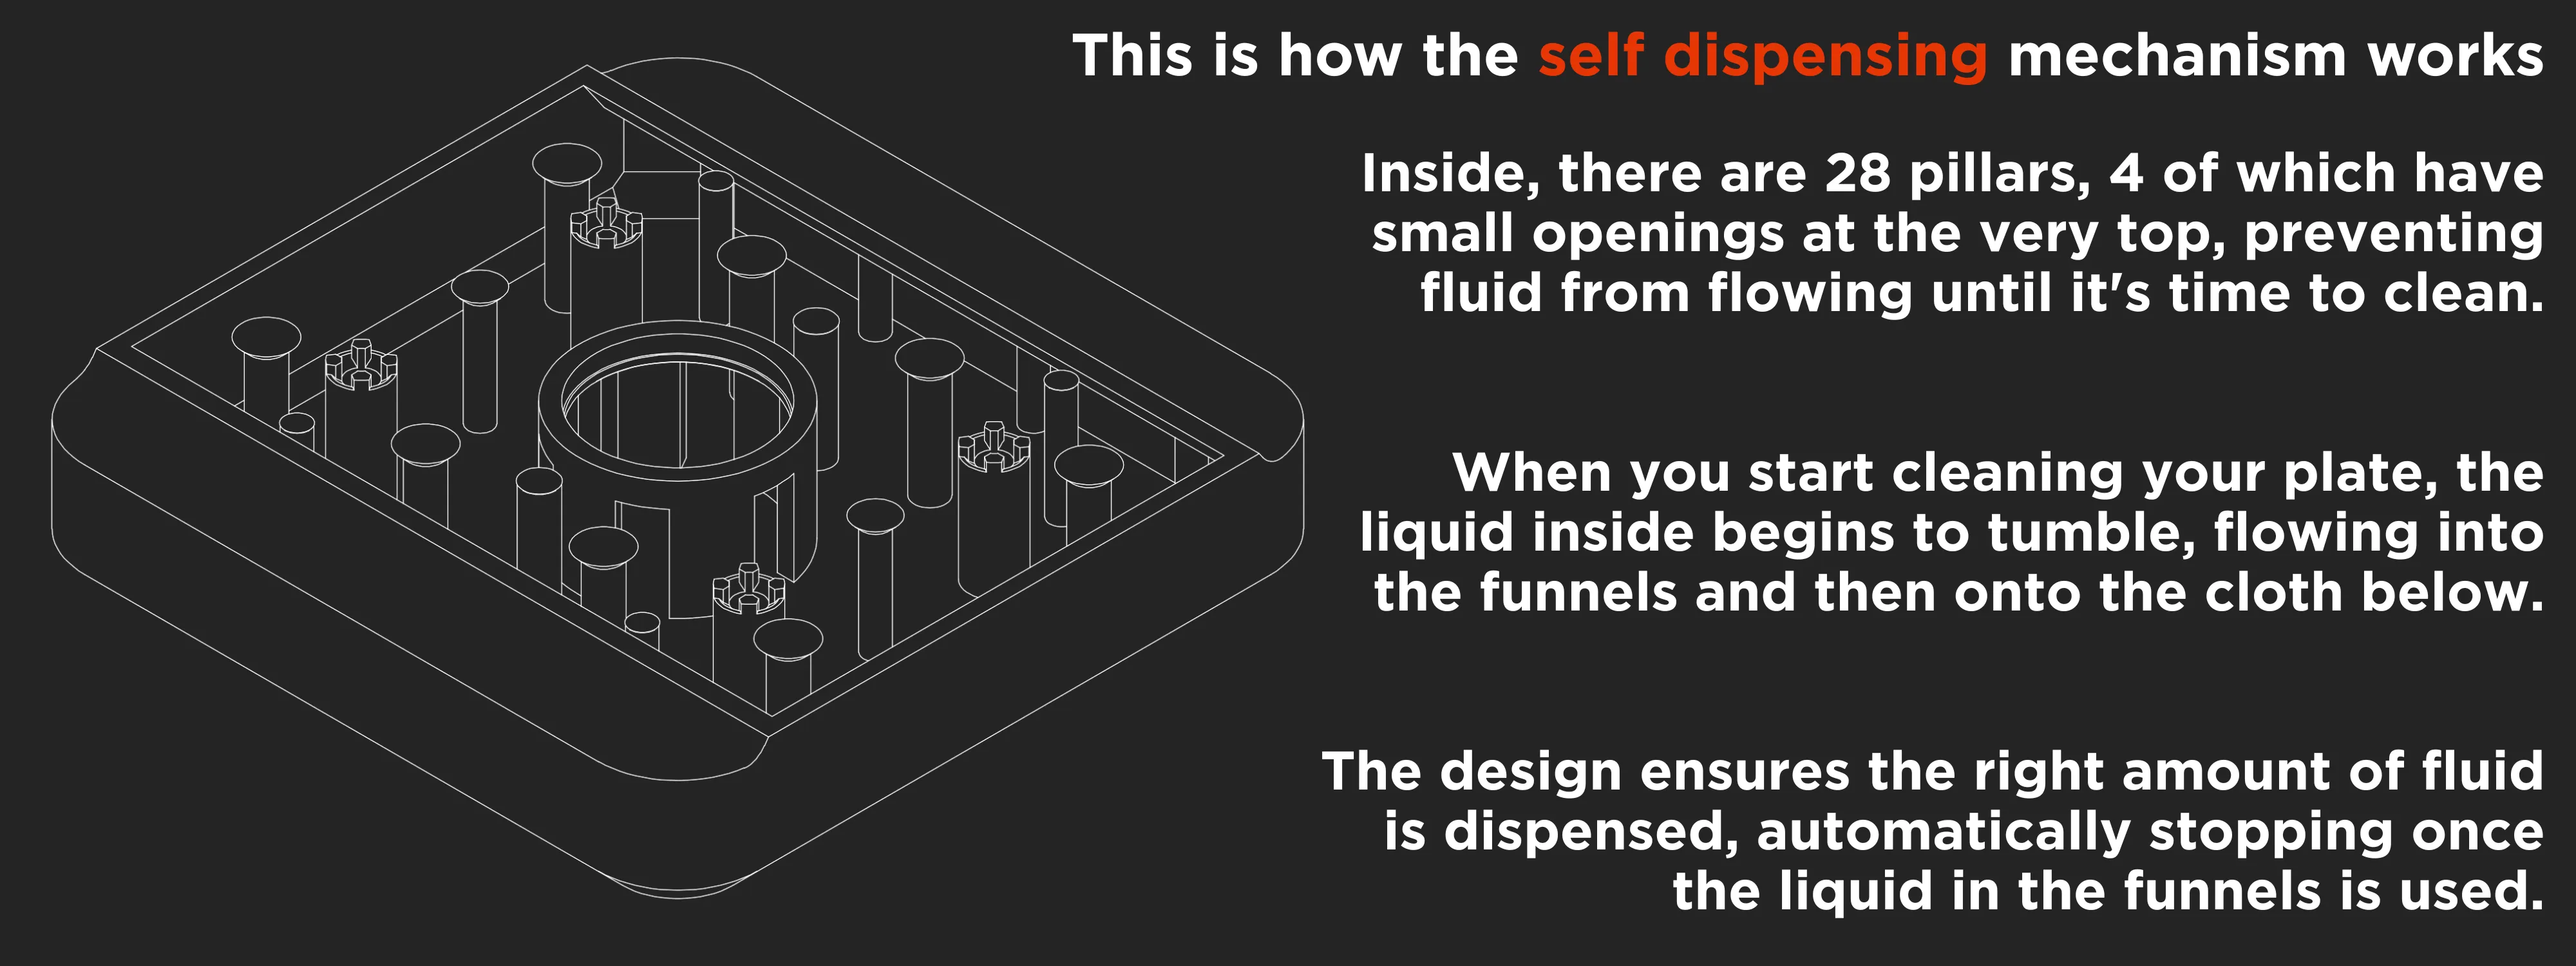
For those who wonder how it works:
Also, I've designed a tray for this plate cleaner to keep the cloth clean :)
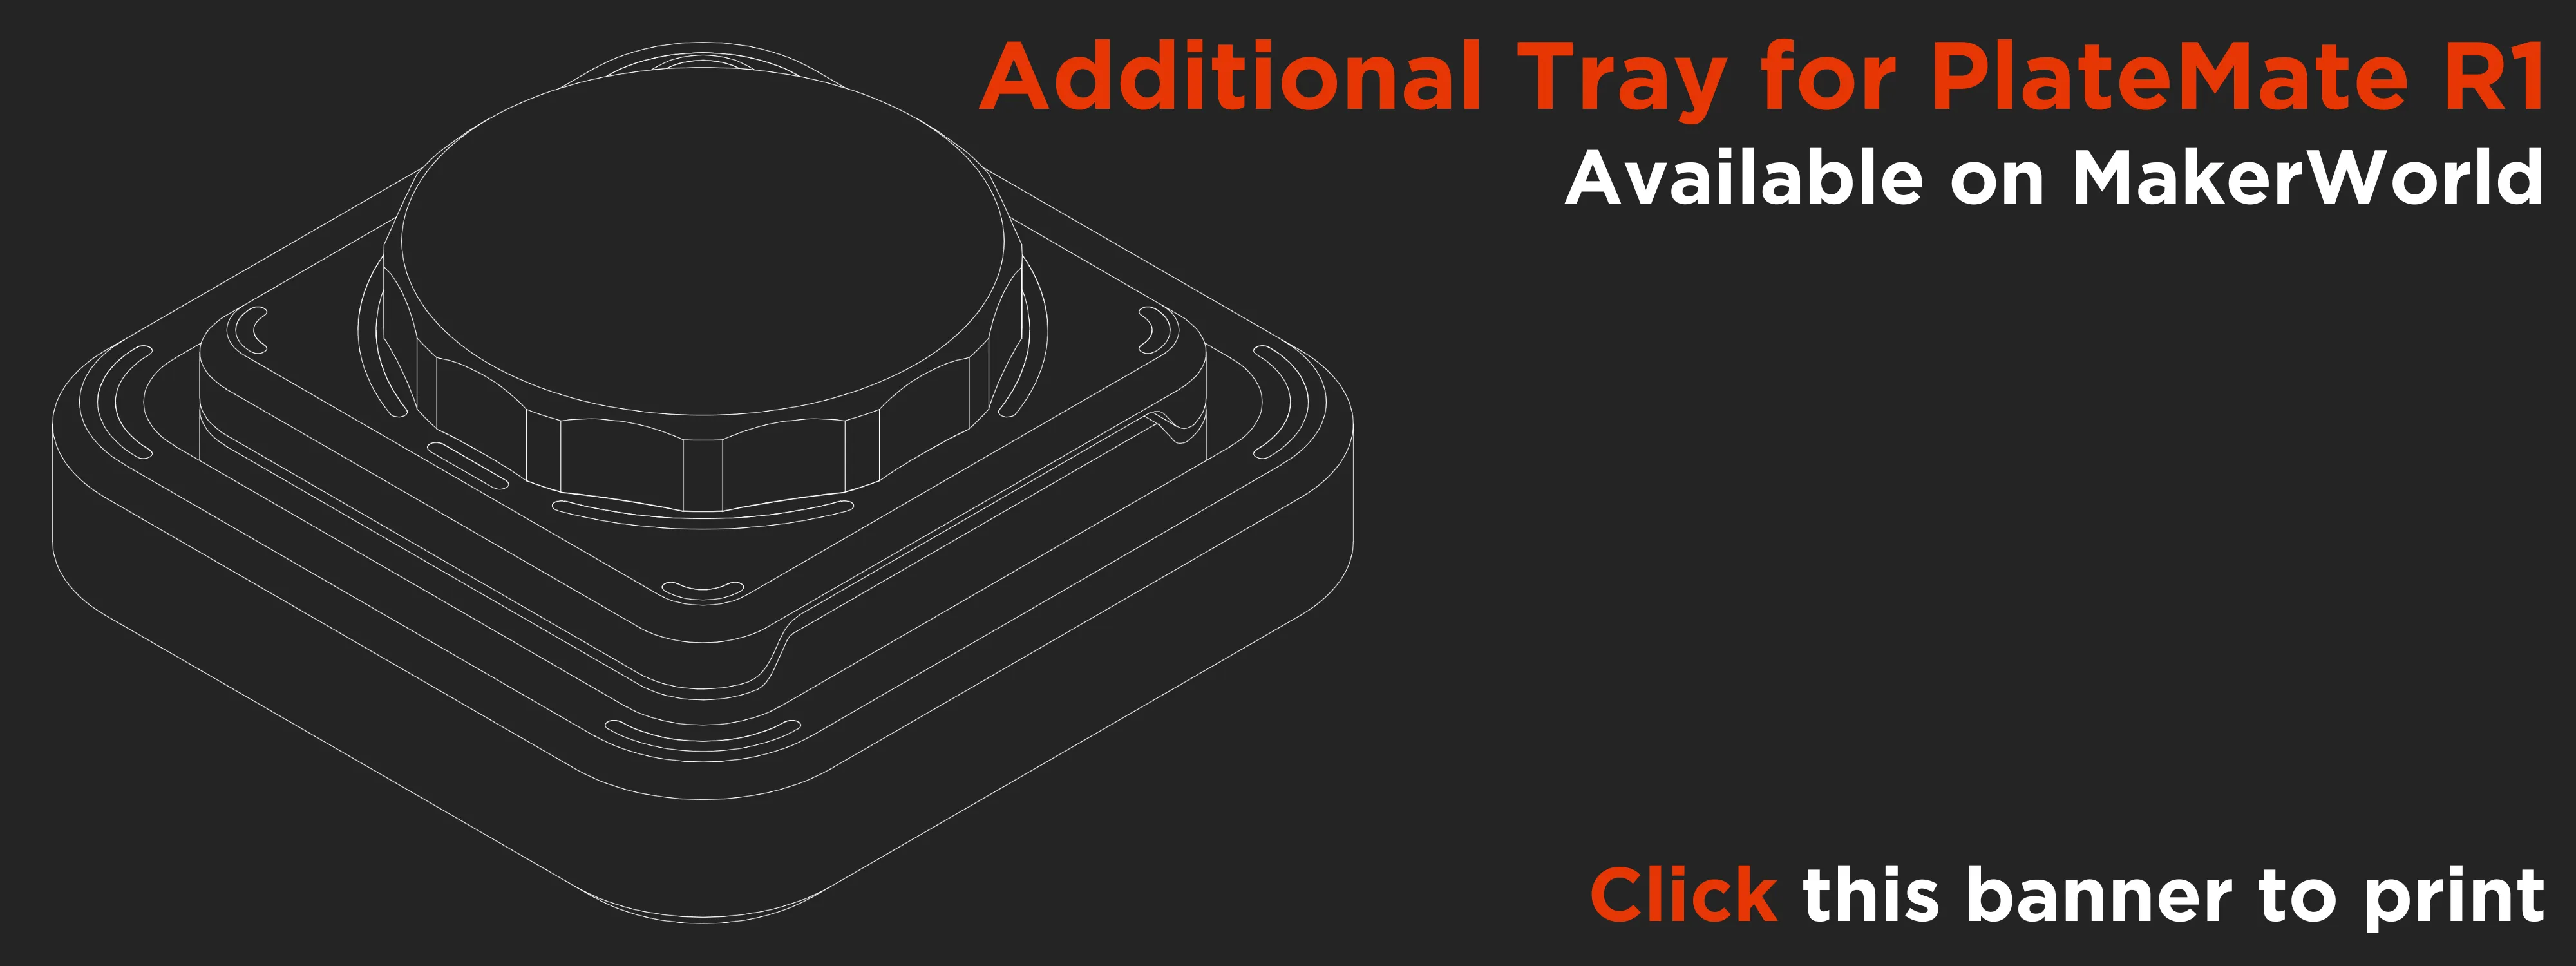
You can print it by clicking here or the banner
Warning about refilling:
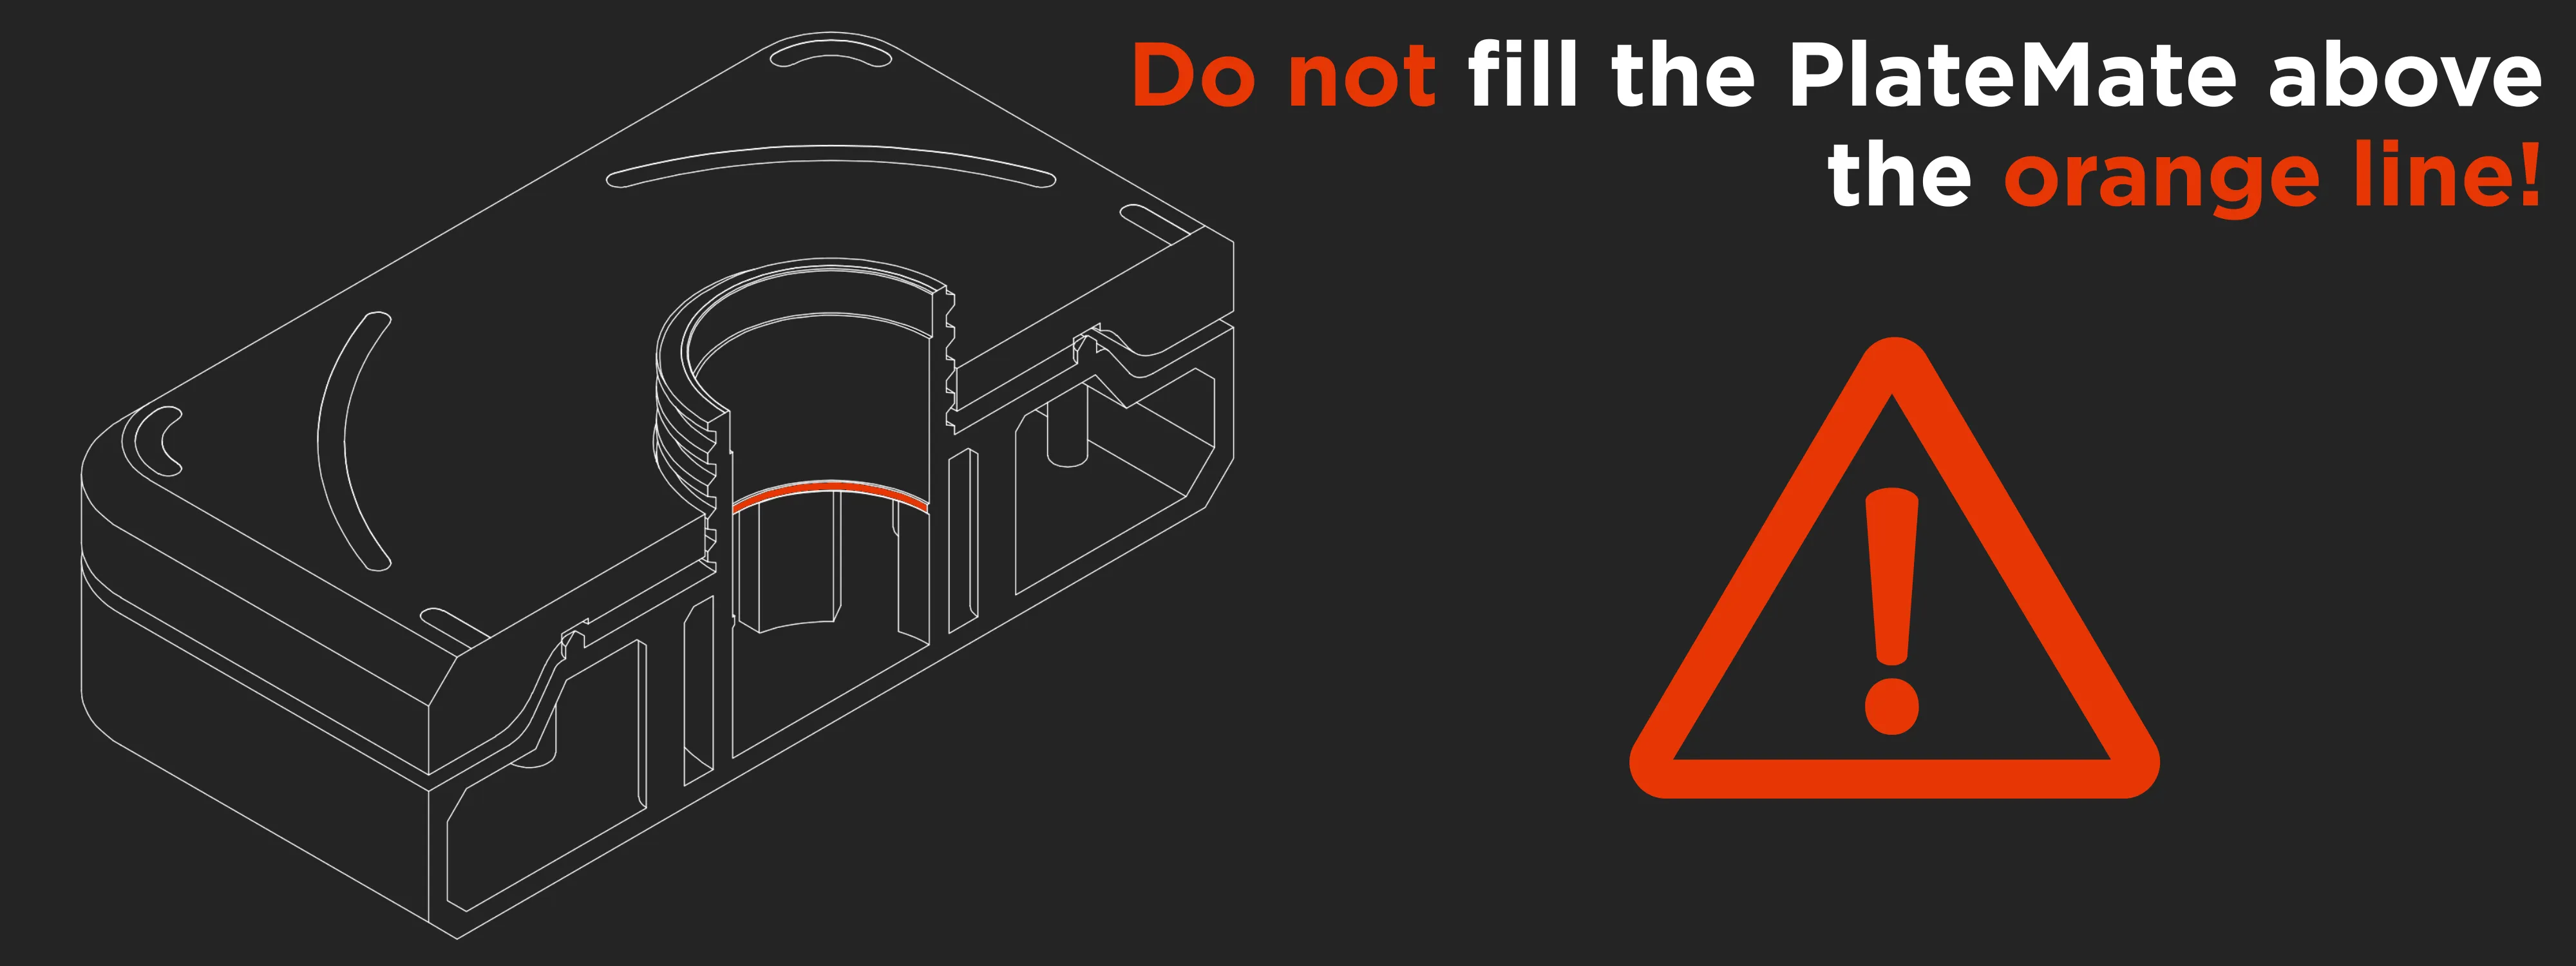
Please note that when you are running low on the cleaning solution, you may need to shake the cleaner for it to dispense.
Printing guide:
- Clean you build plate before printing (no pun intended 😅)
- 0.4mm nozzle recommended
- If you don't have an AMS, select the “Non-AMS” print profile, so that you will still have the visual features visible.
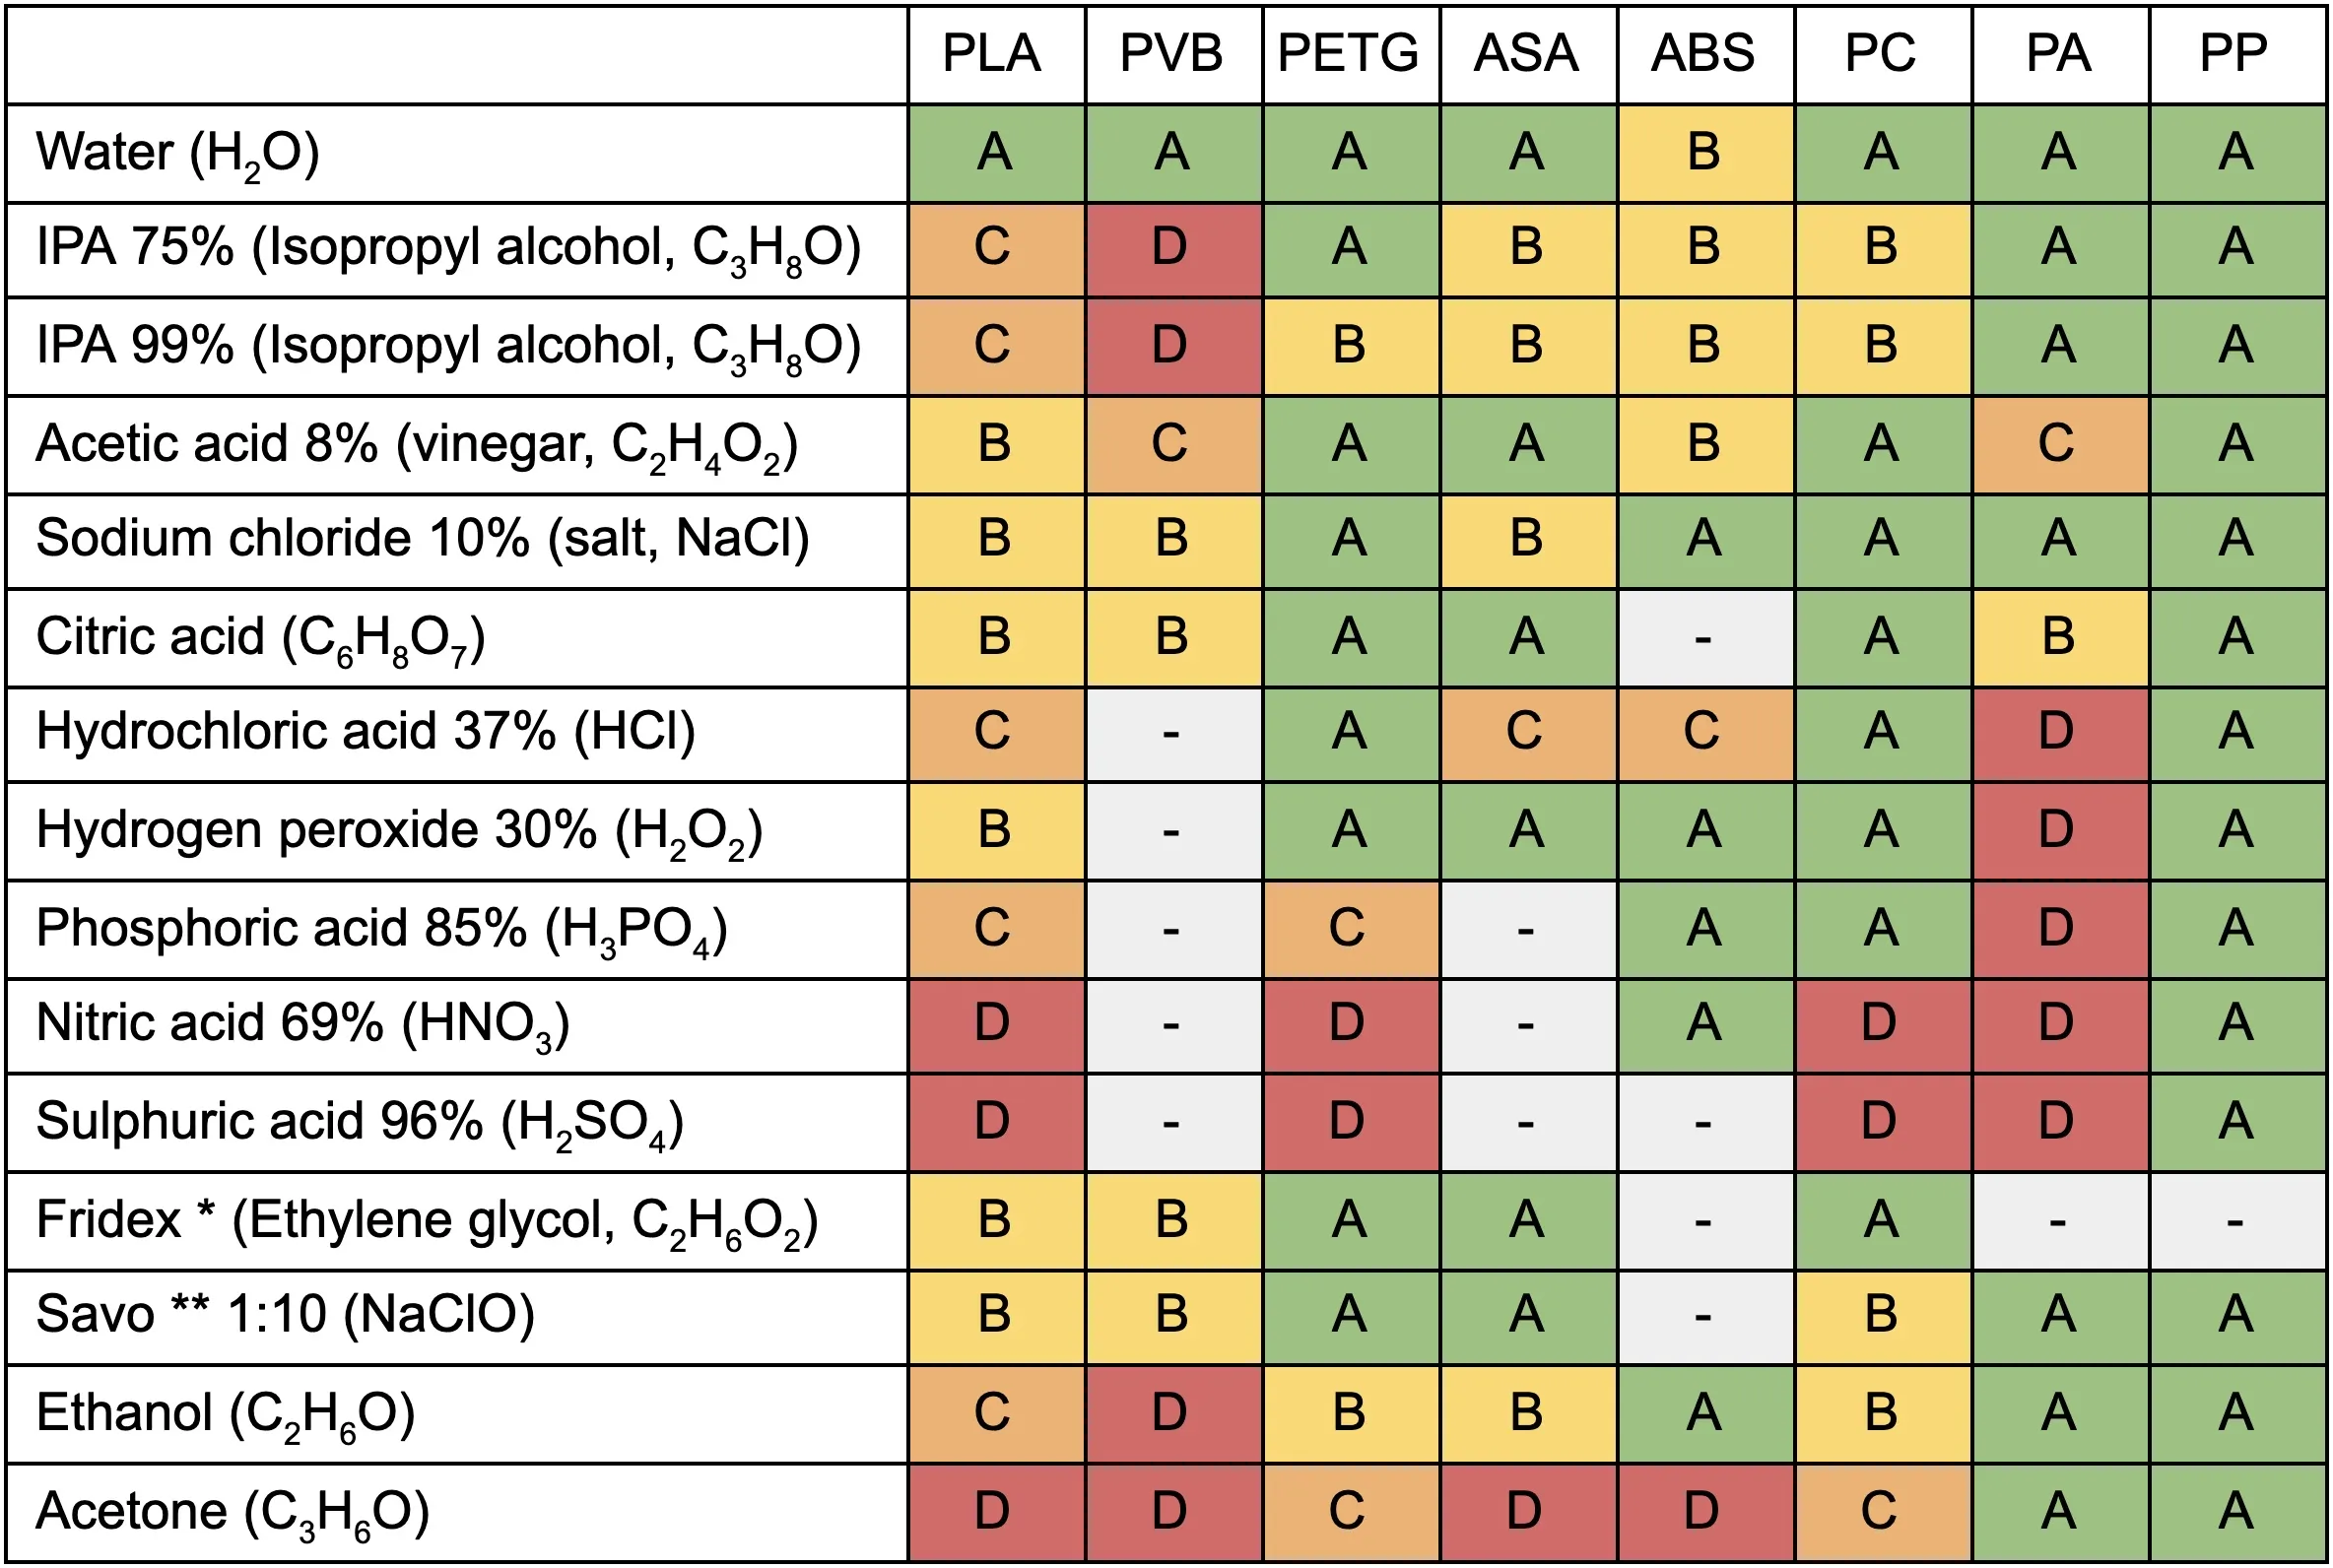
- If you want to use IPA or other solvents, make sure to print in a material that does not react with it. From more common materials PETG seems to be a pretty good choice. Do not use PLA.
Assembly guide:
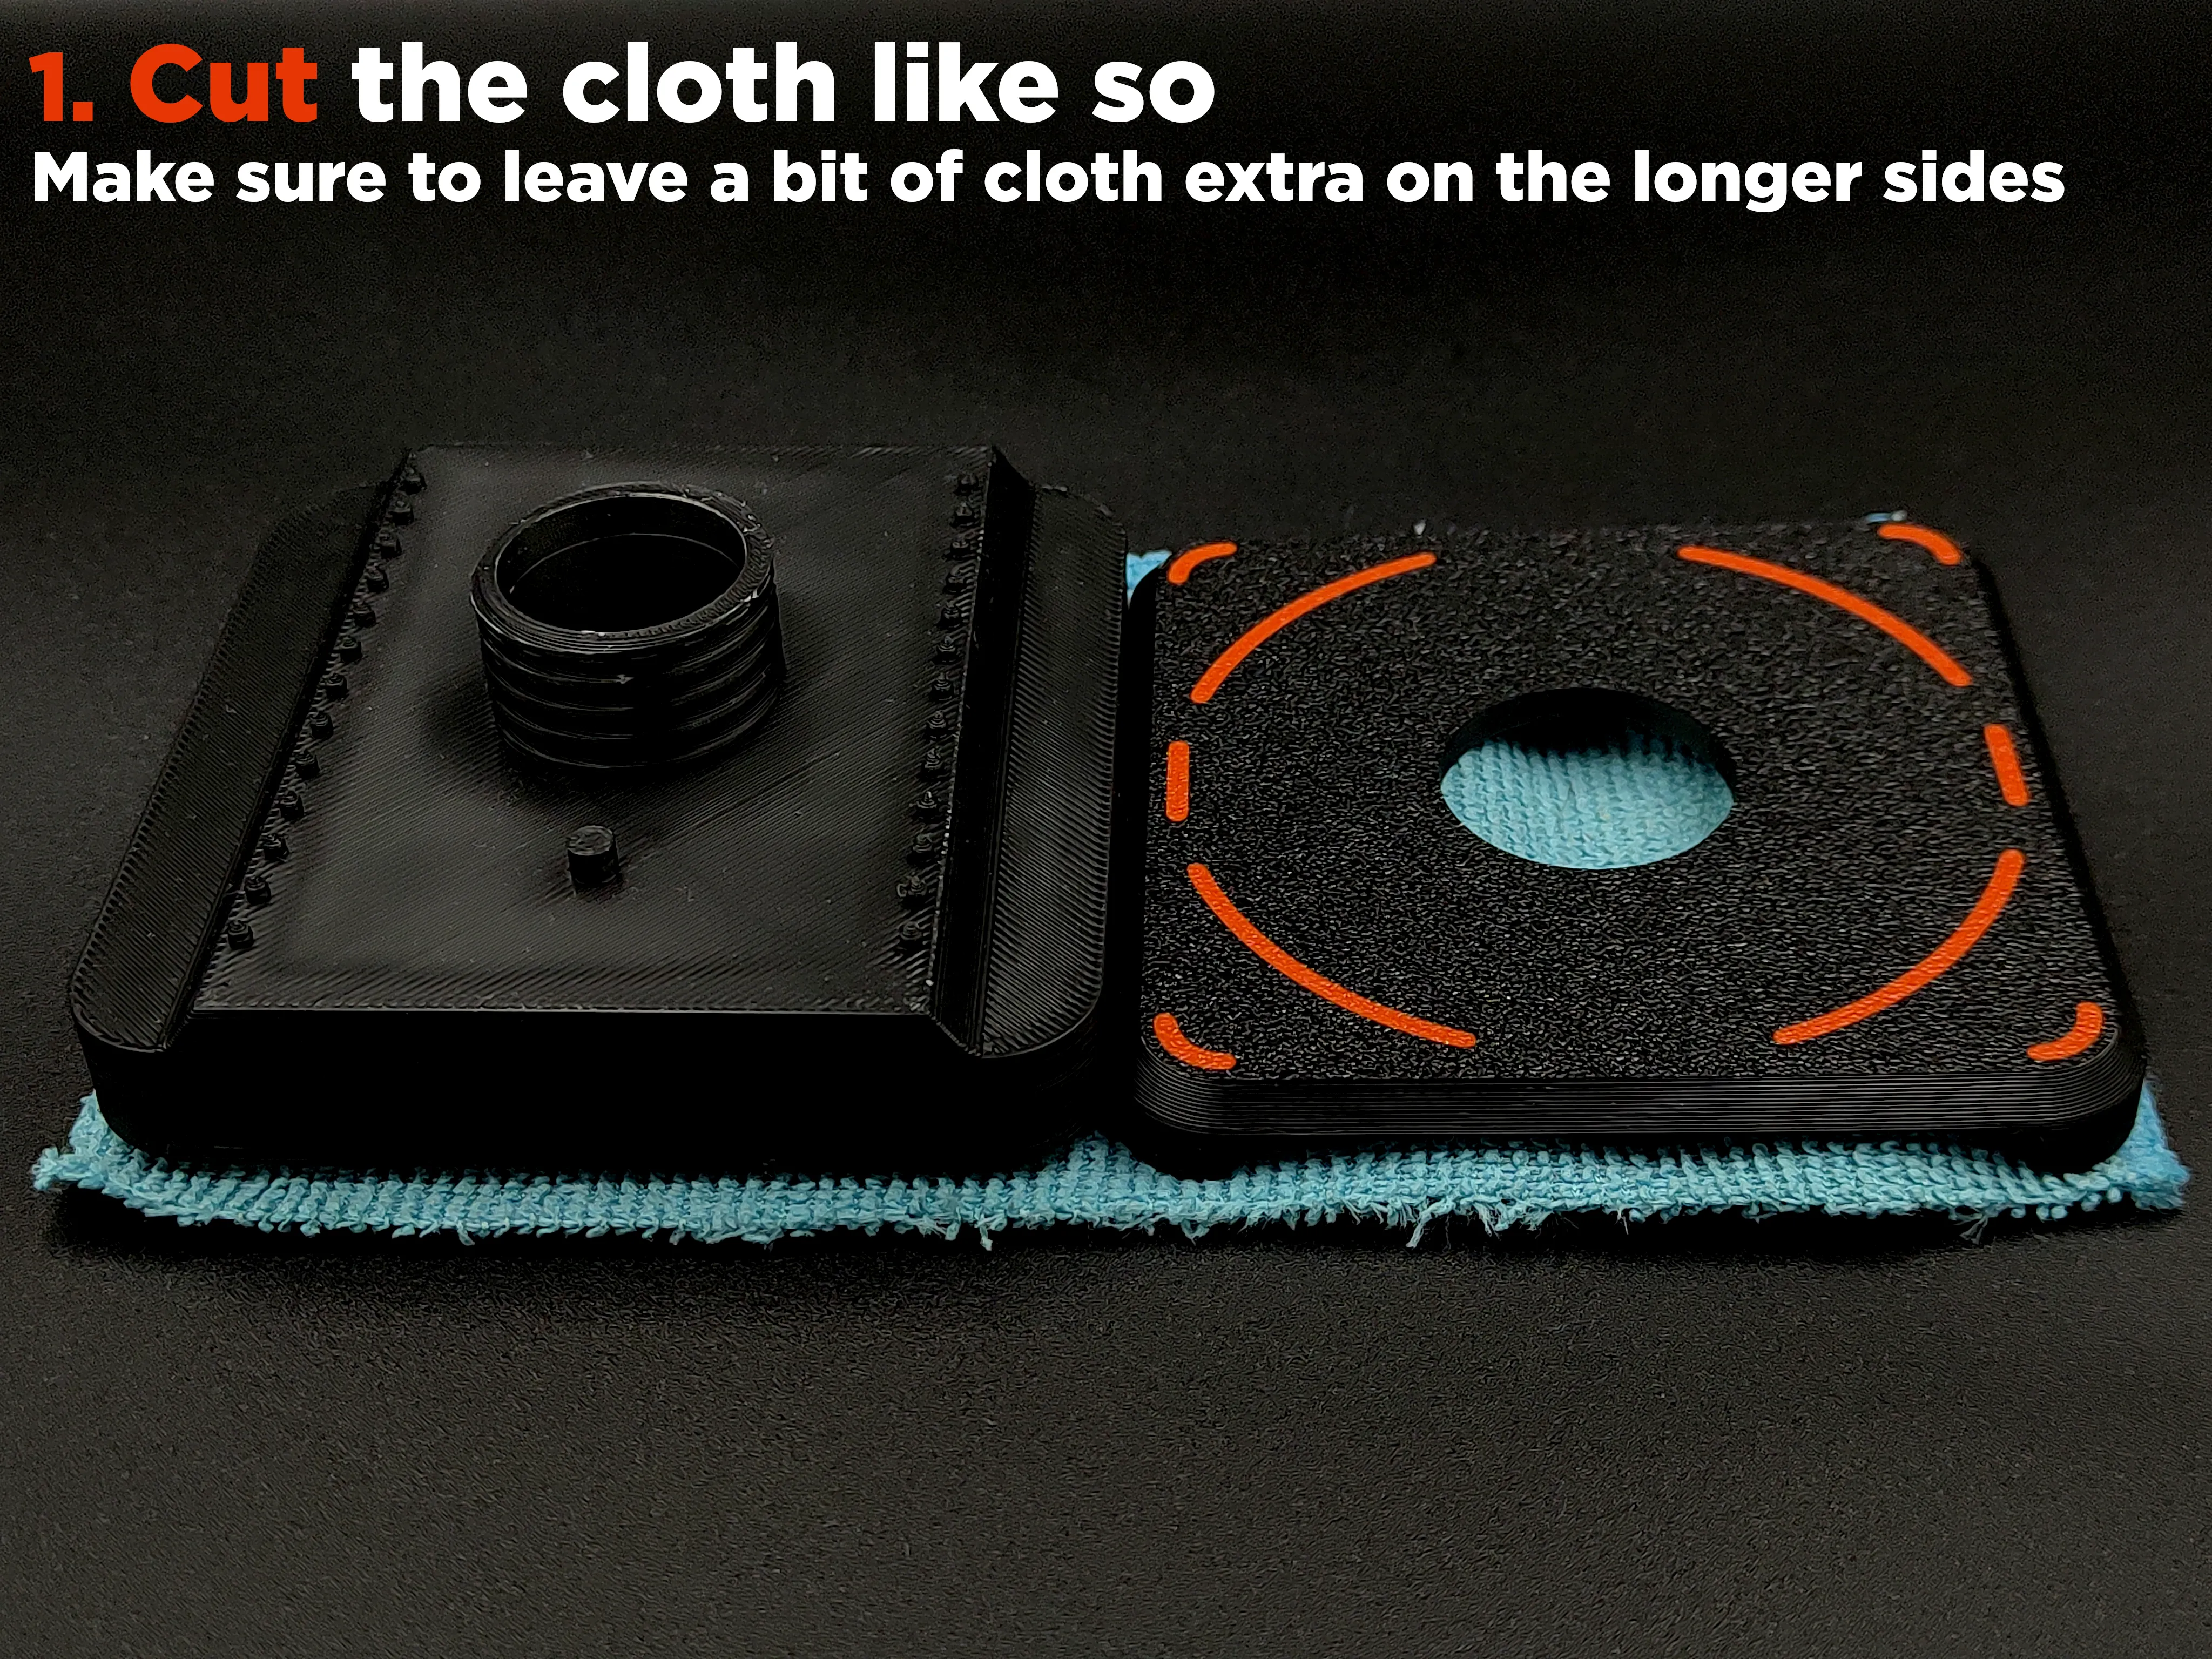
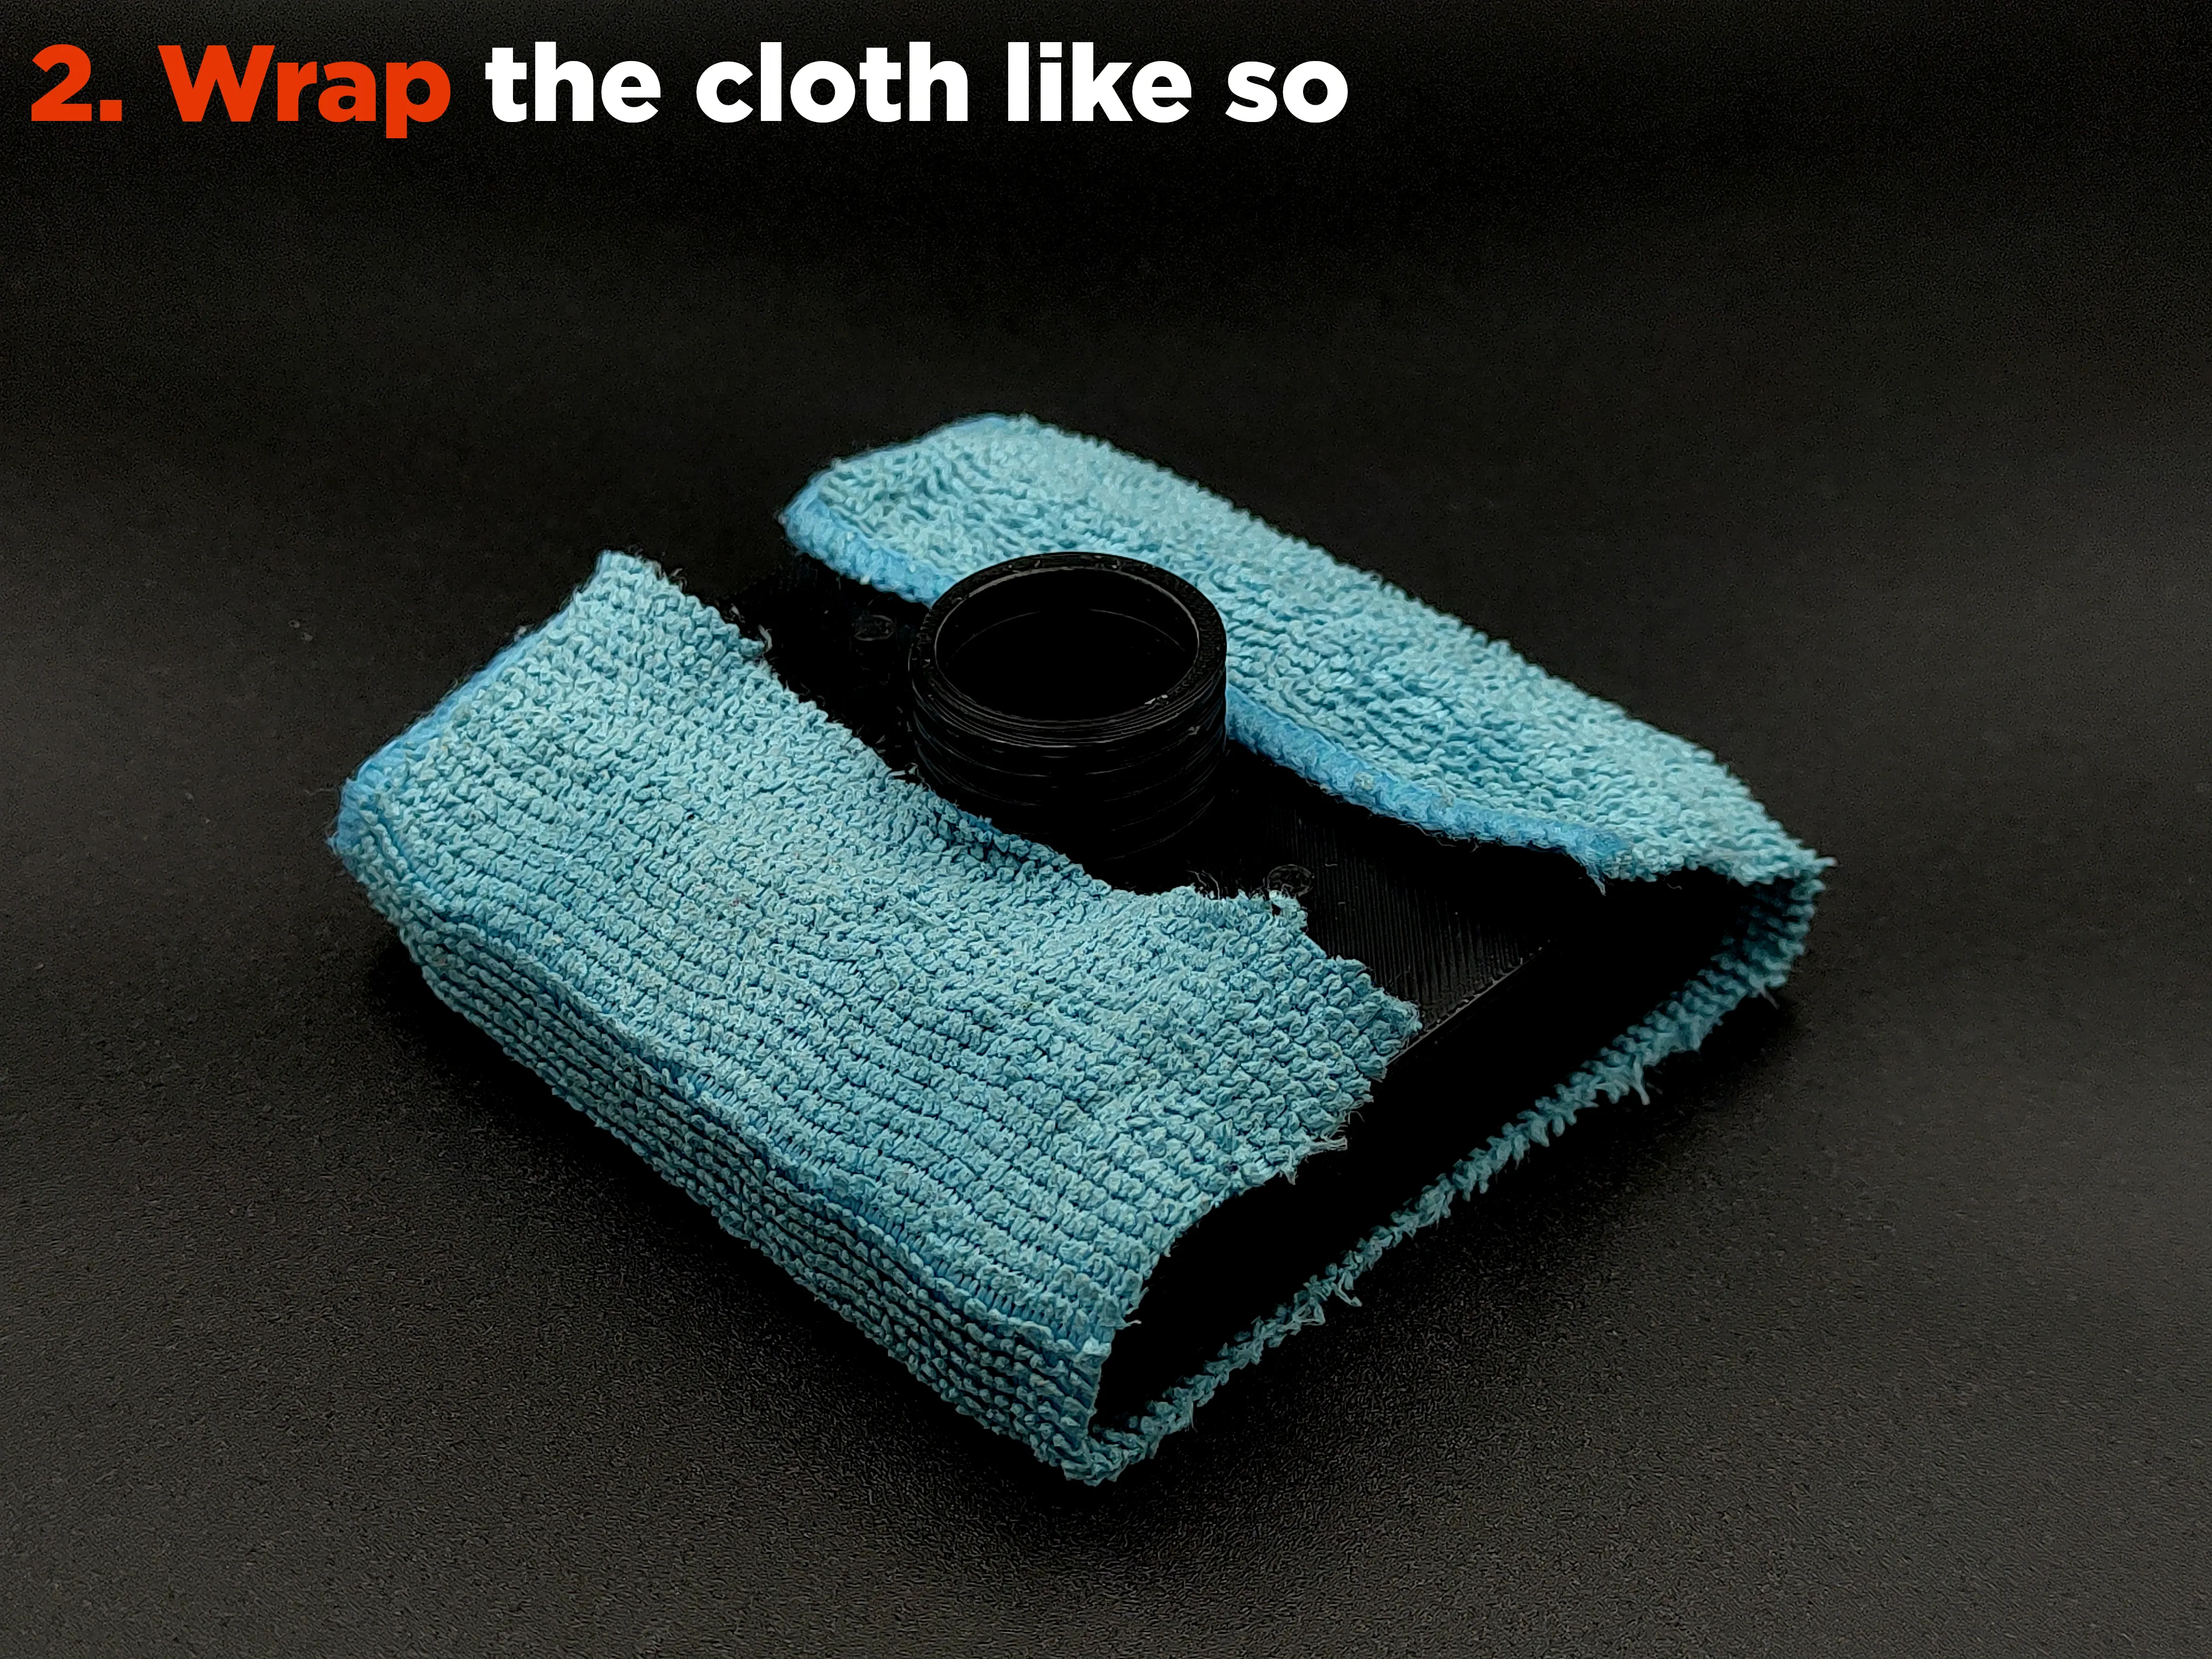
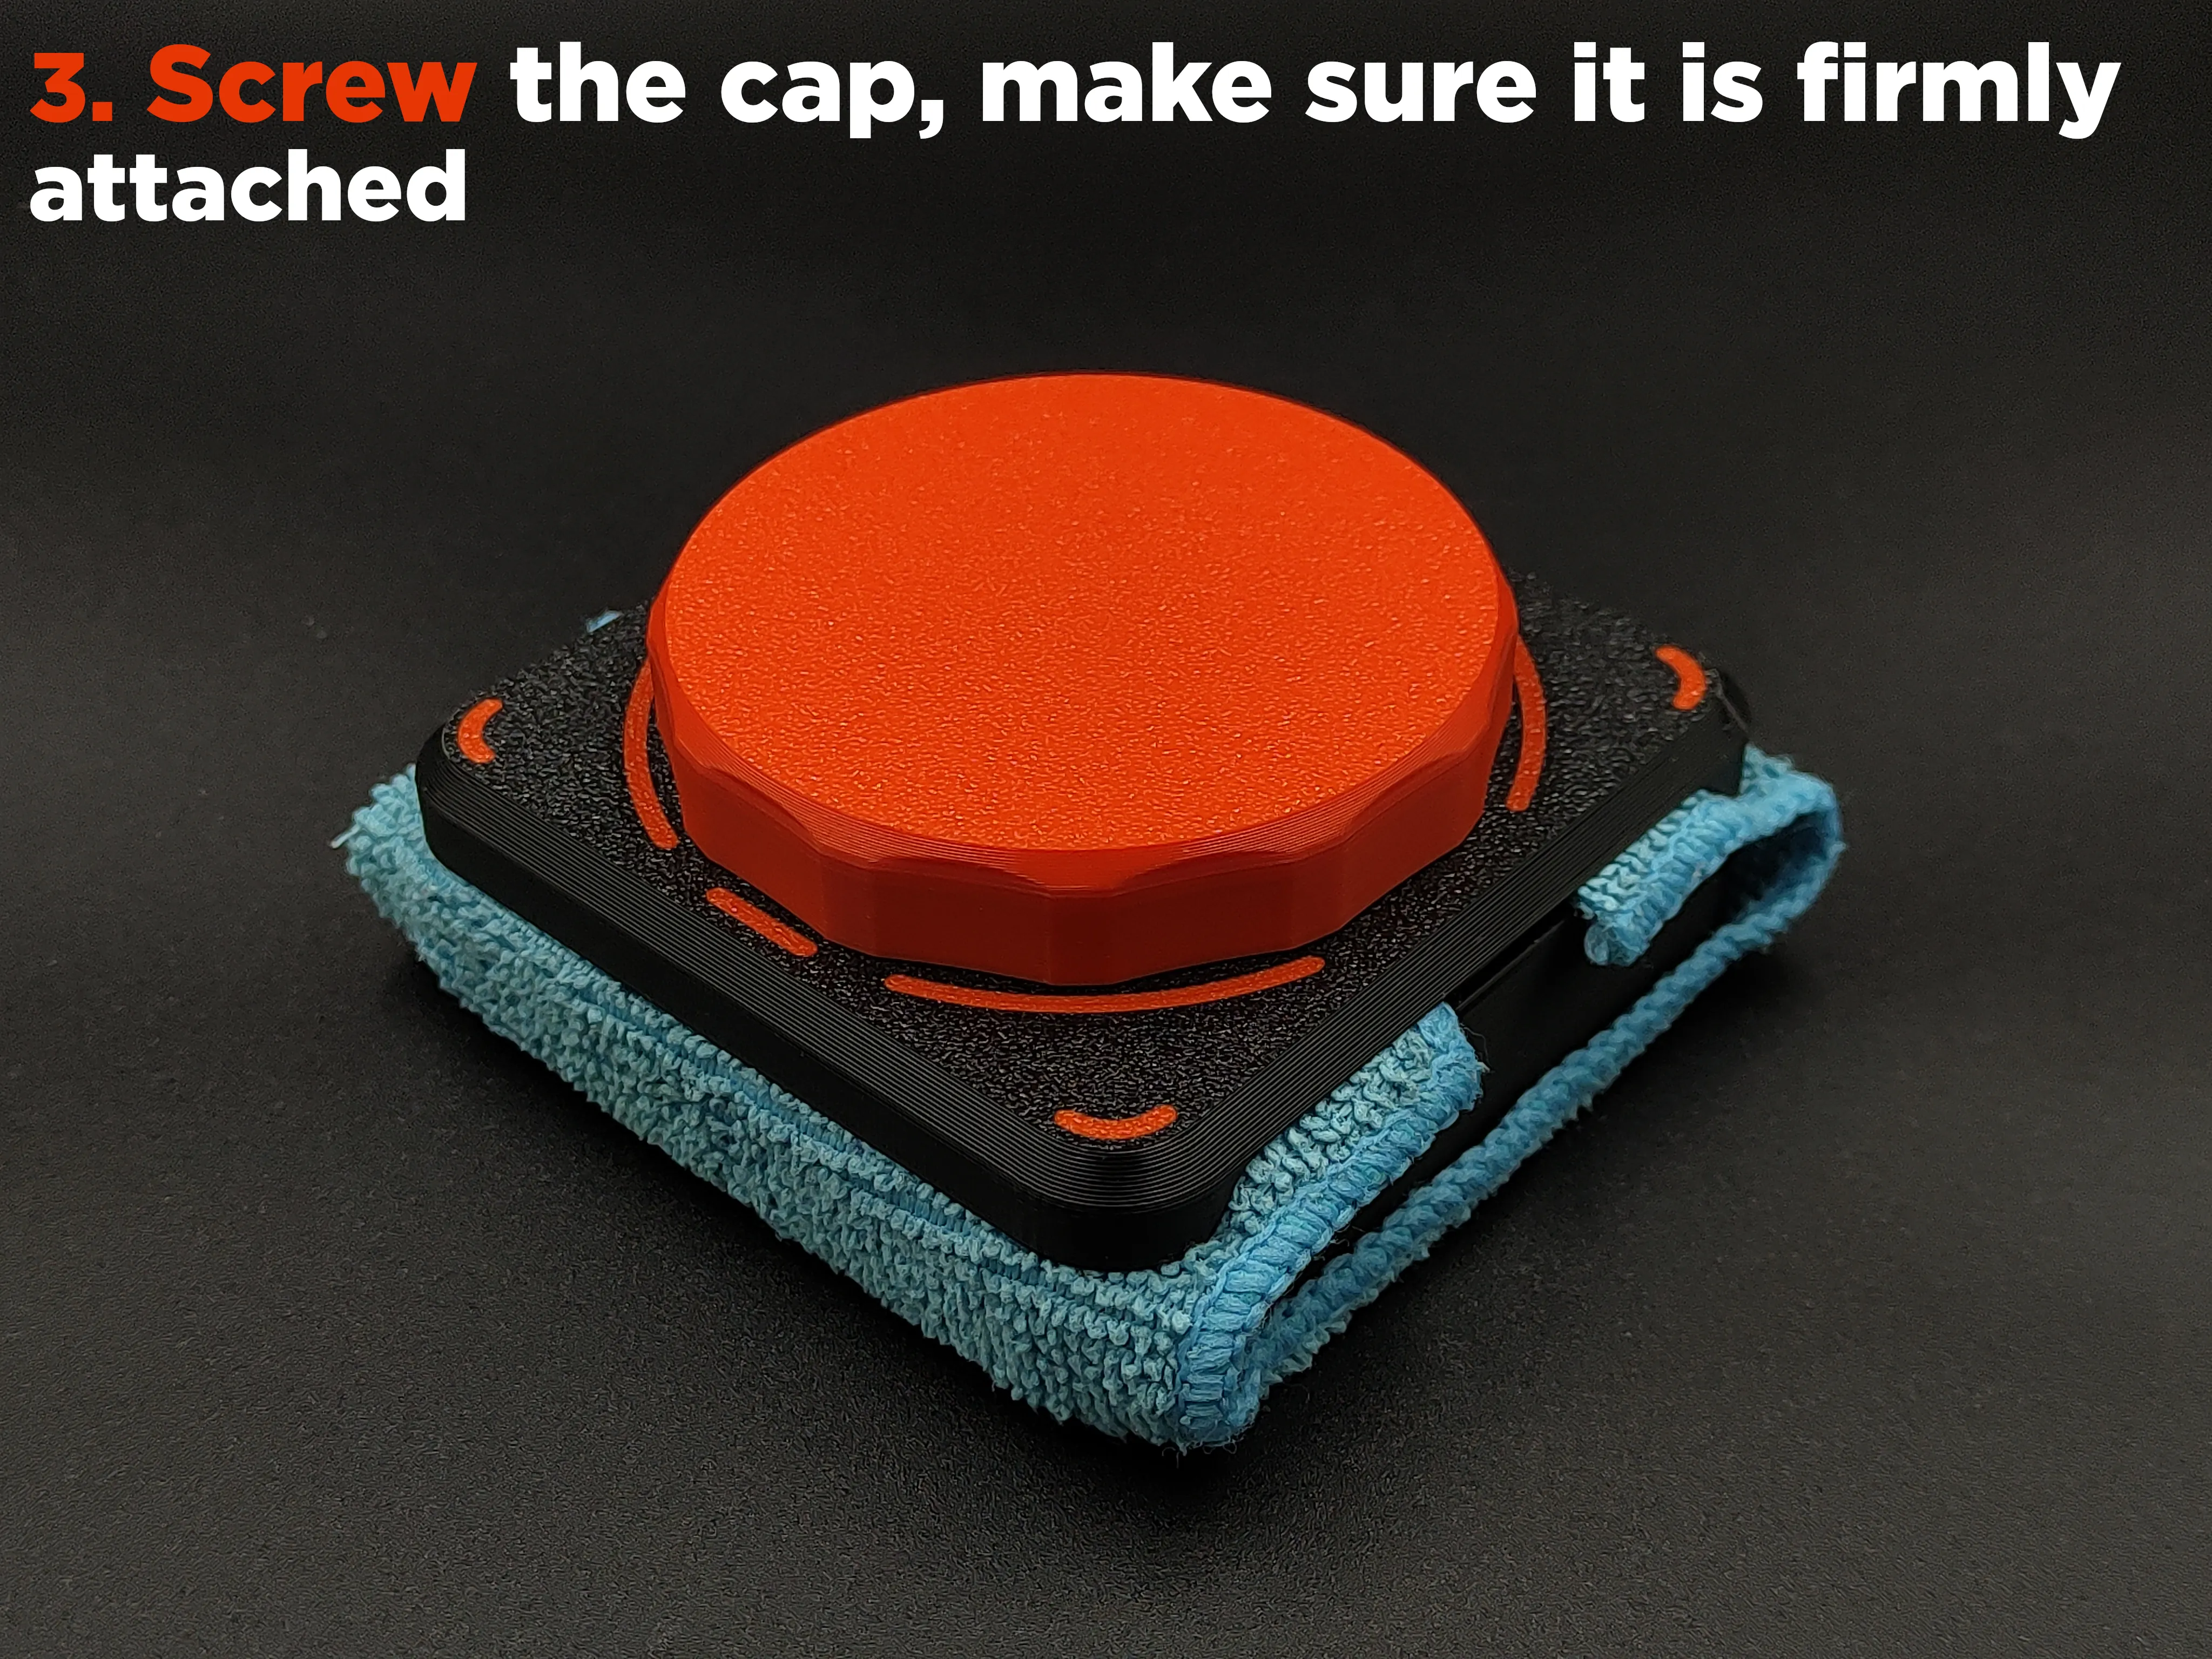
Also, make sure to check if it isn't leaking :)
I'm sure this design can be improved even further, so if you have any suggestions or feedback, feel free to share them in the comments - I’d really appreciate it!
Also, here is how many iterations it took to get it just right :)
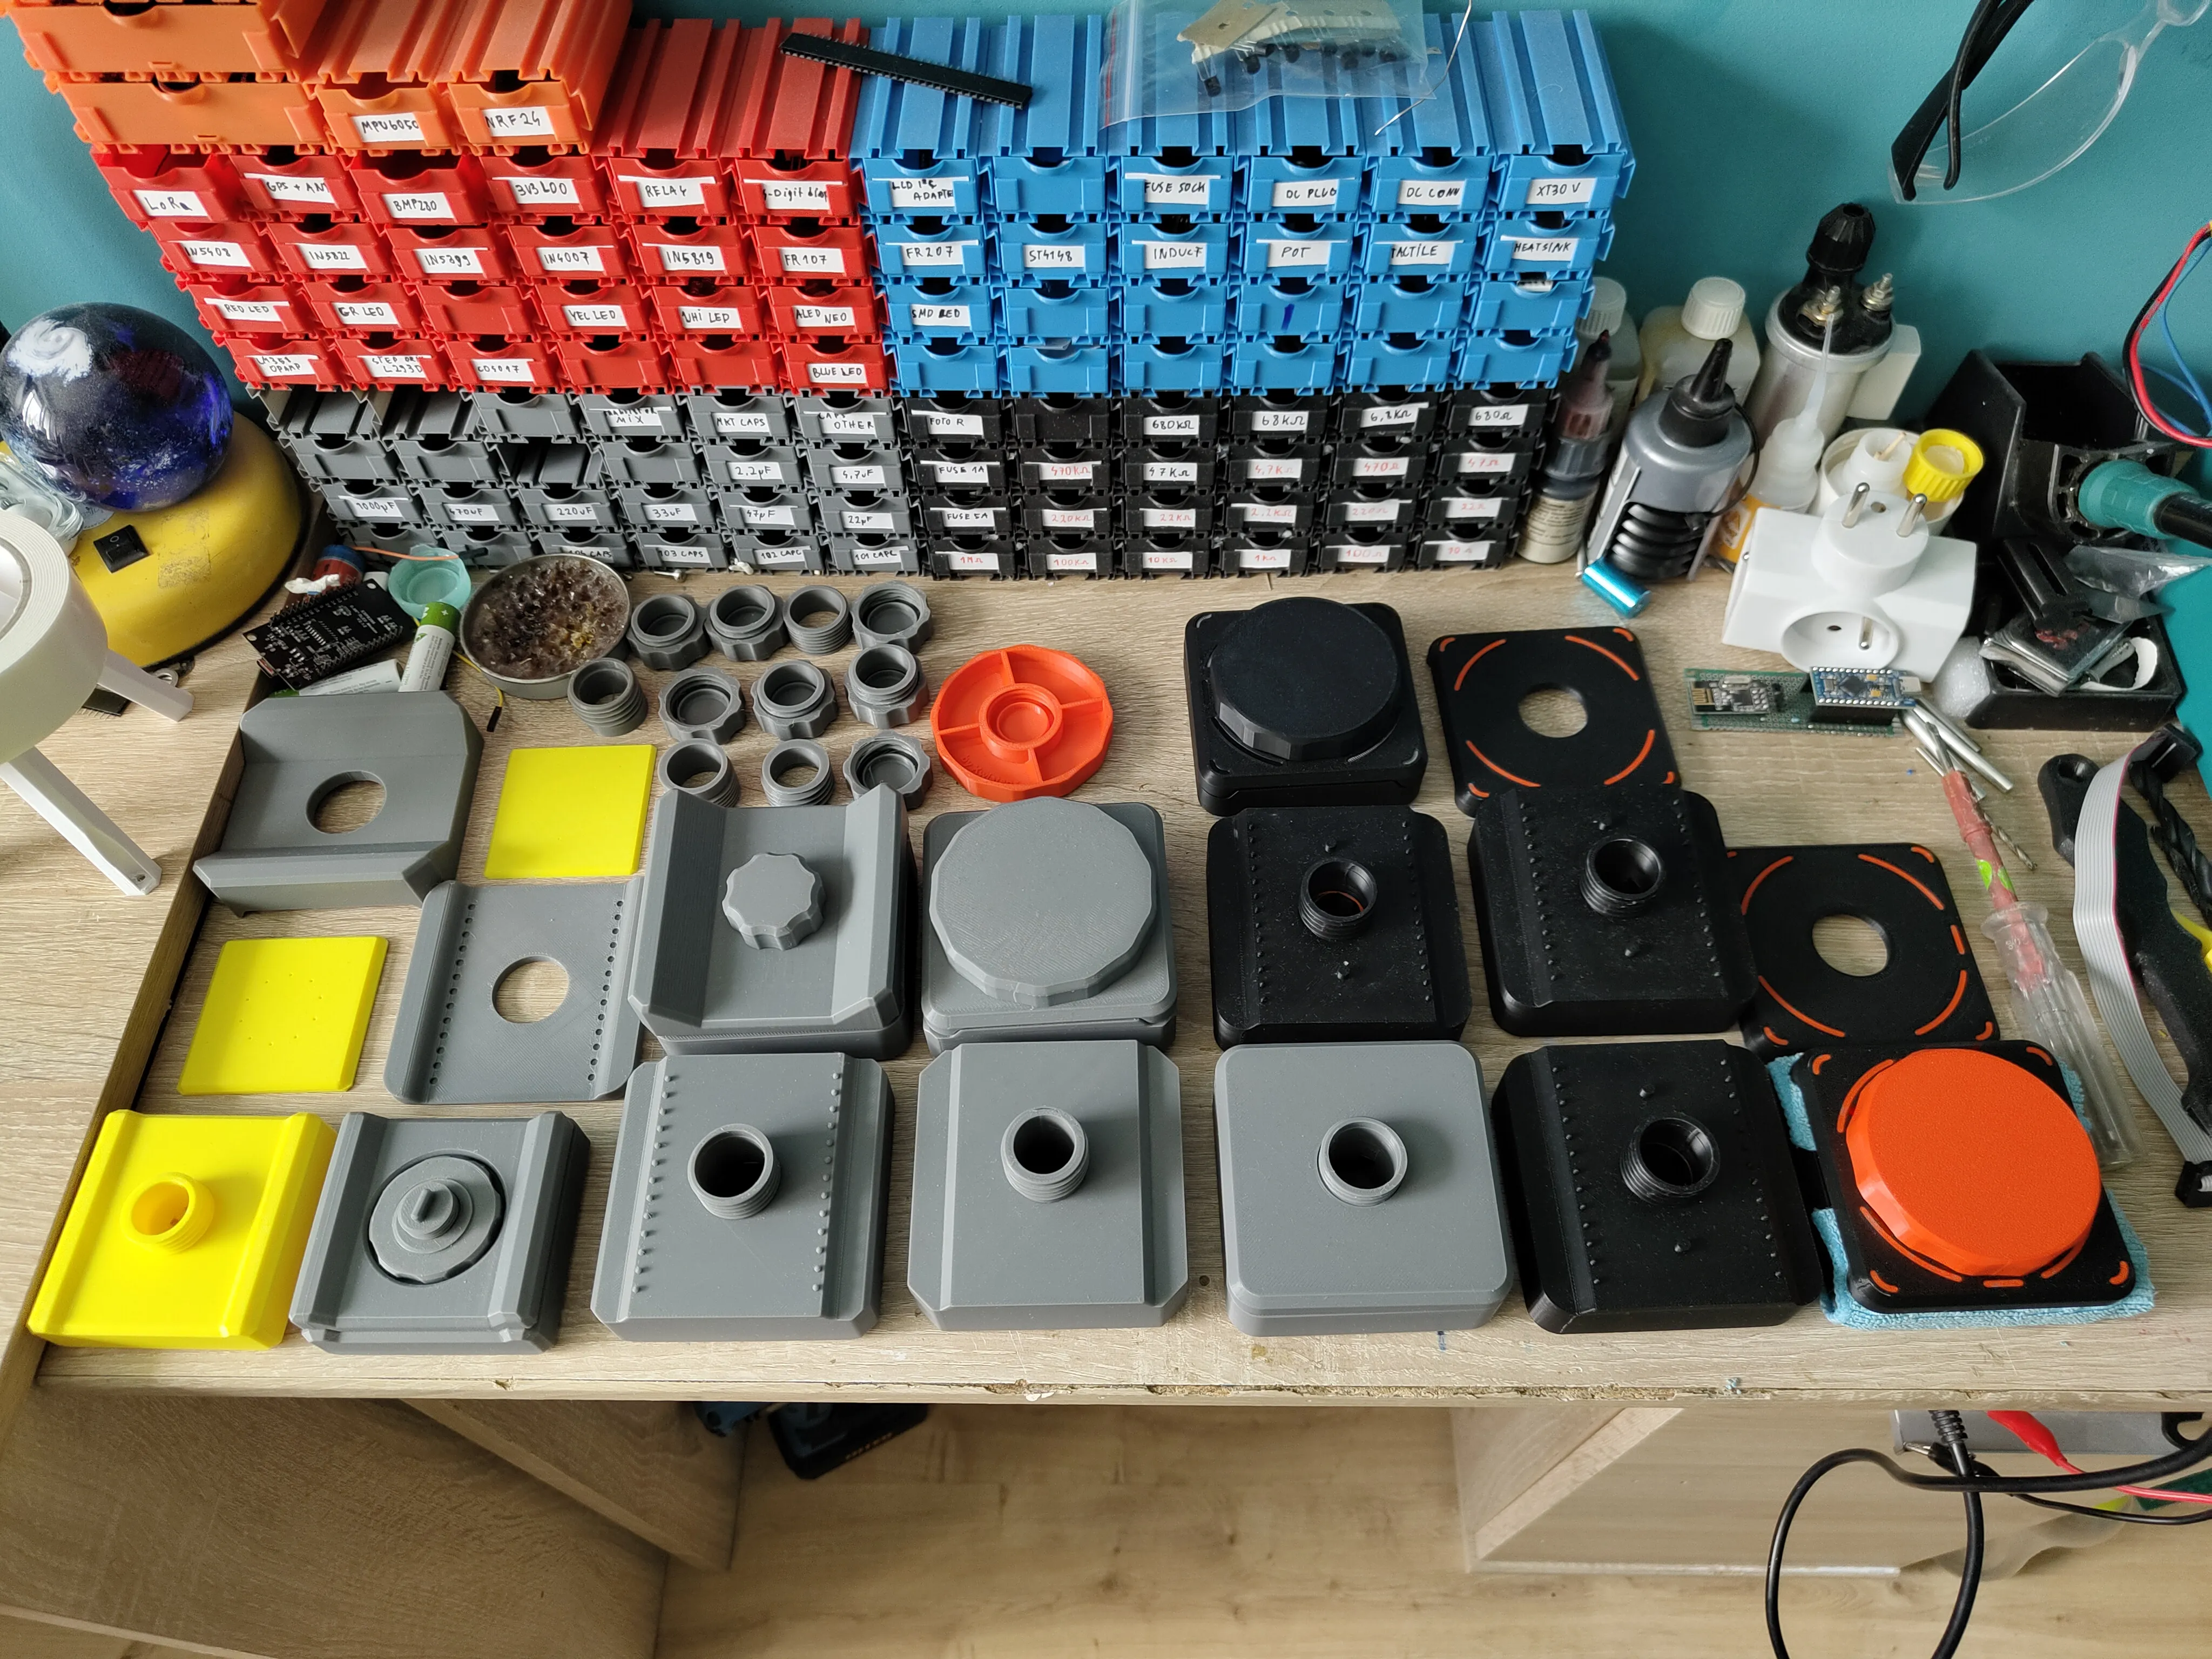
I might do a video on my channel where I would explain how the mechanism “evolved” in each iteration, because at first it was “working” on a completely different principle. I'm sure that would be an interesting story :p
No warranty is provided. Use it at your own risk and take the responsibility upon yourself.
Don't forget about reviewing the model, it really helps to improve my designs :)
Special thanks to JLCCNC for supporting my project work!
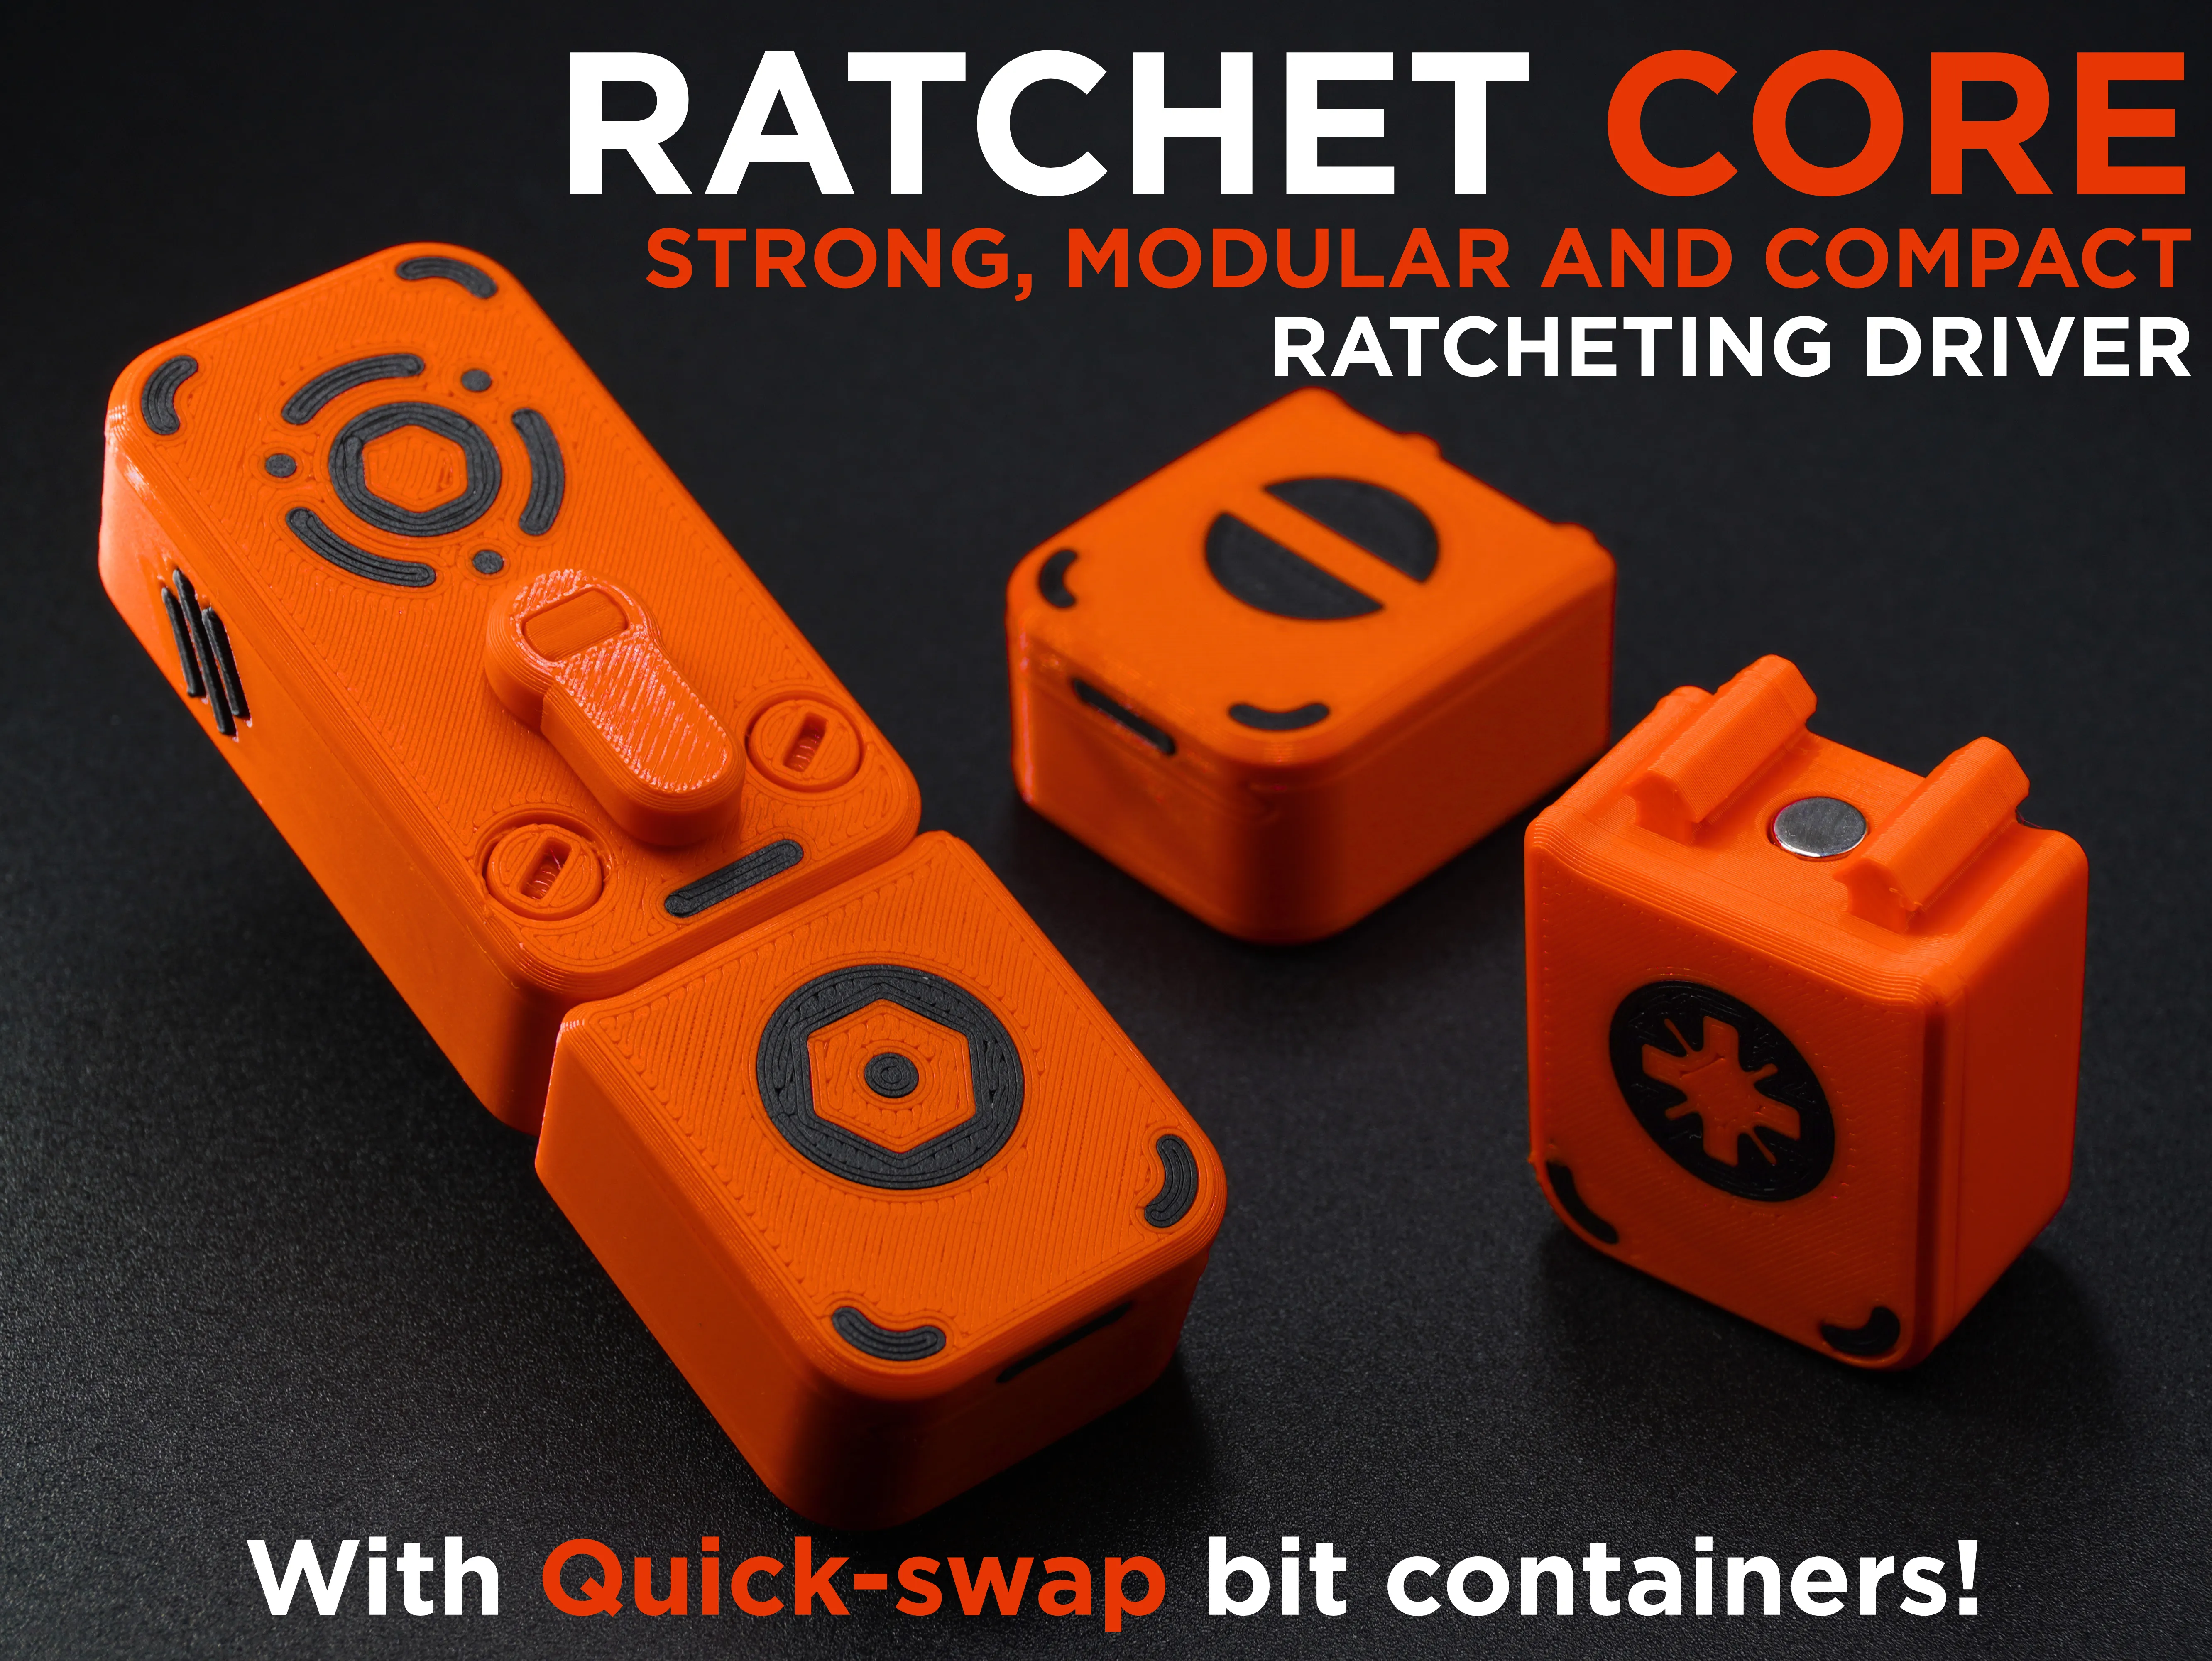 | 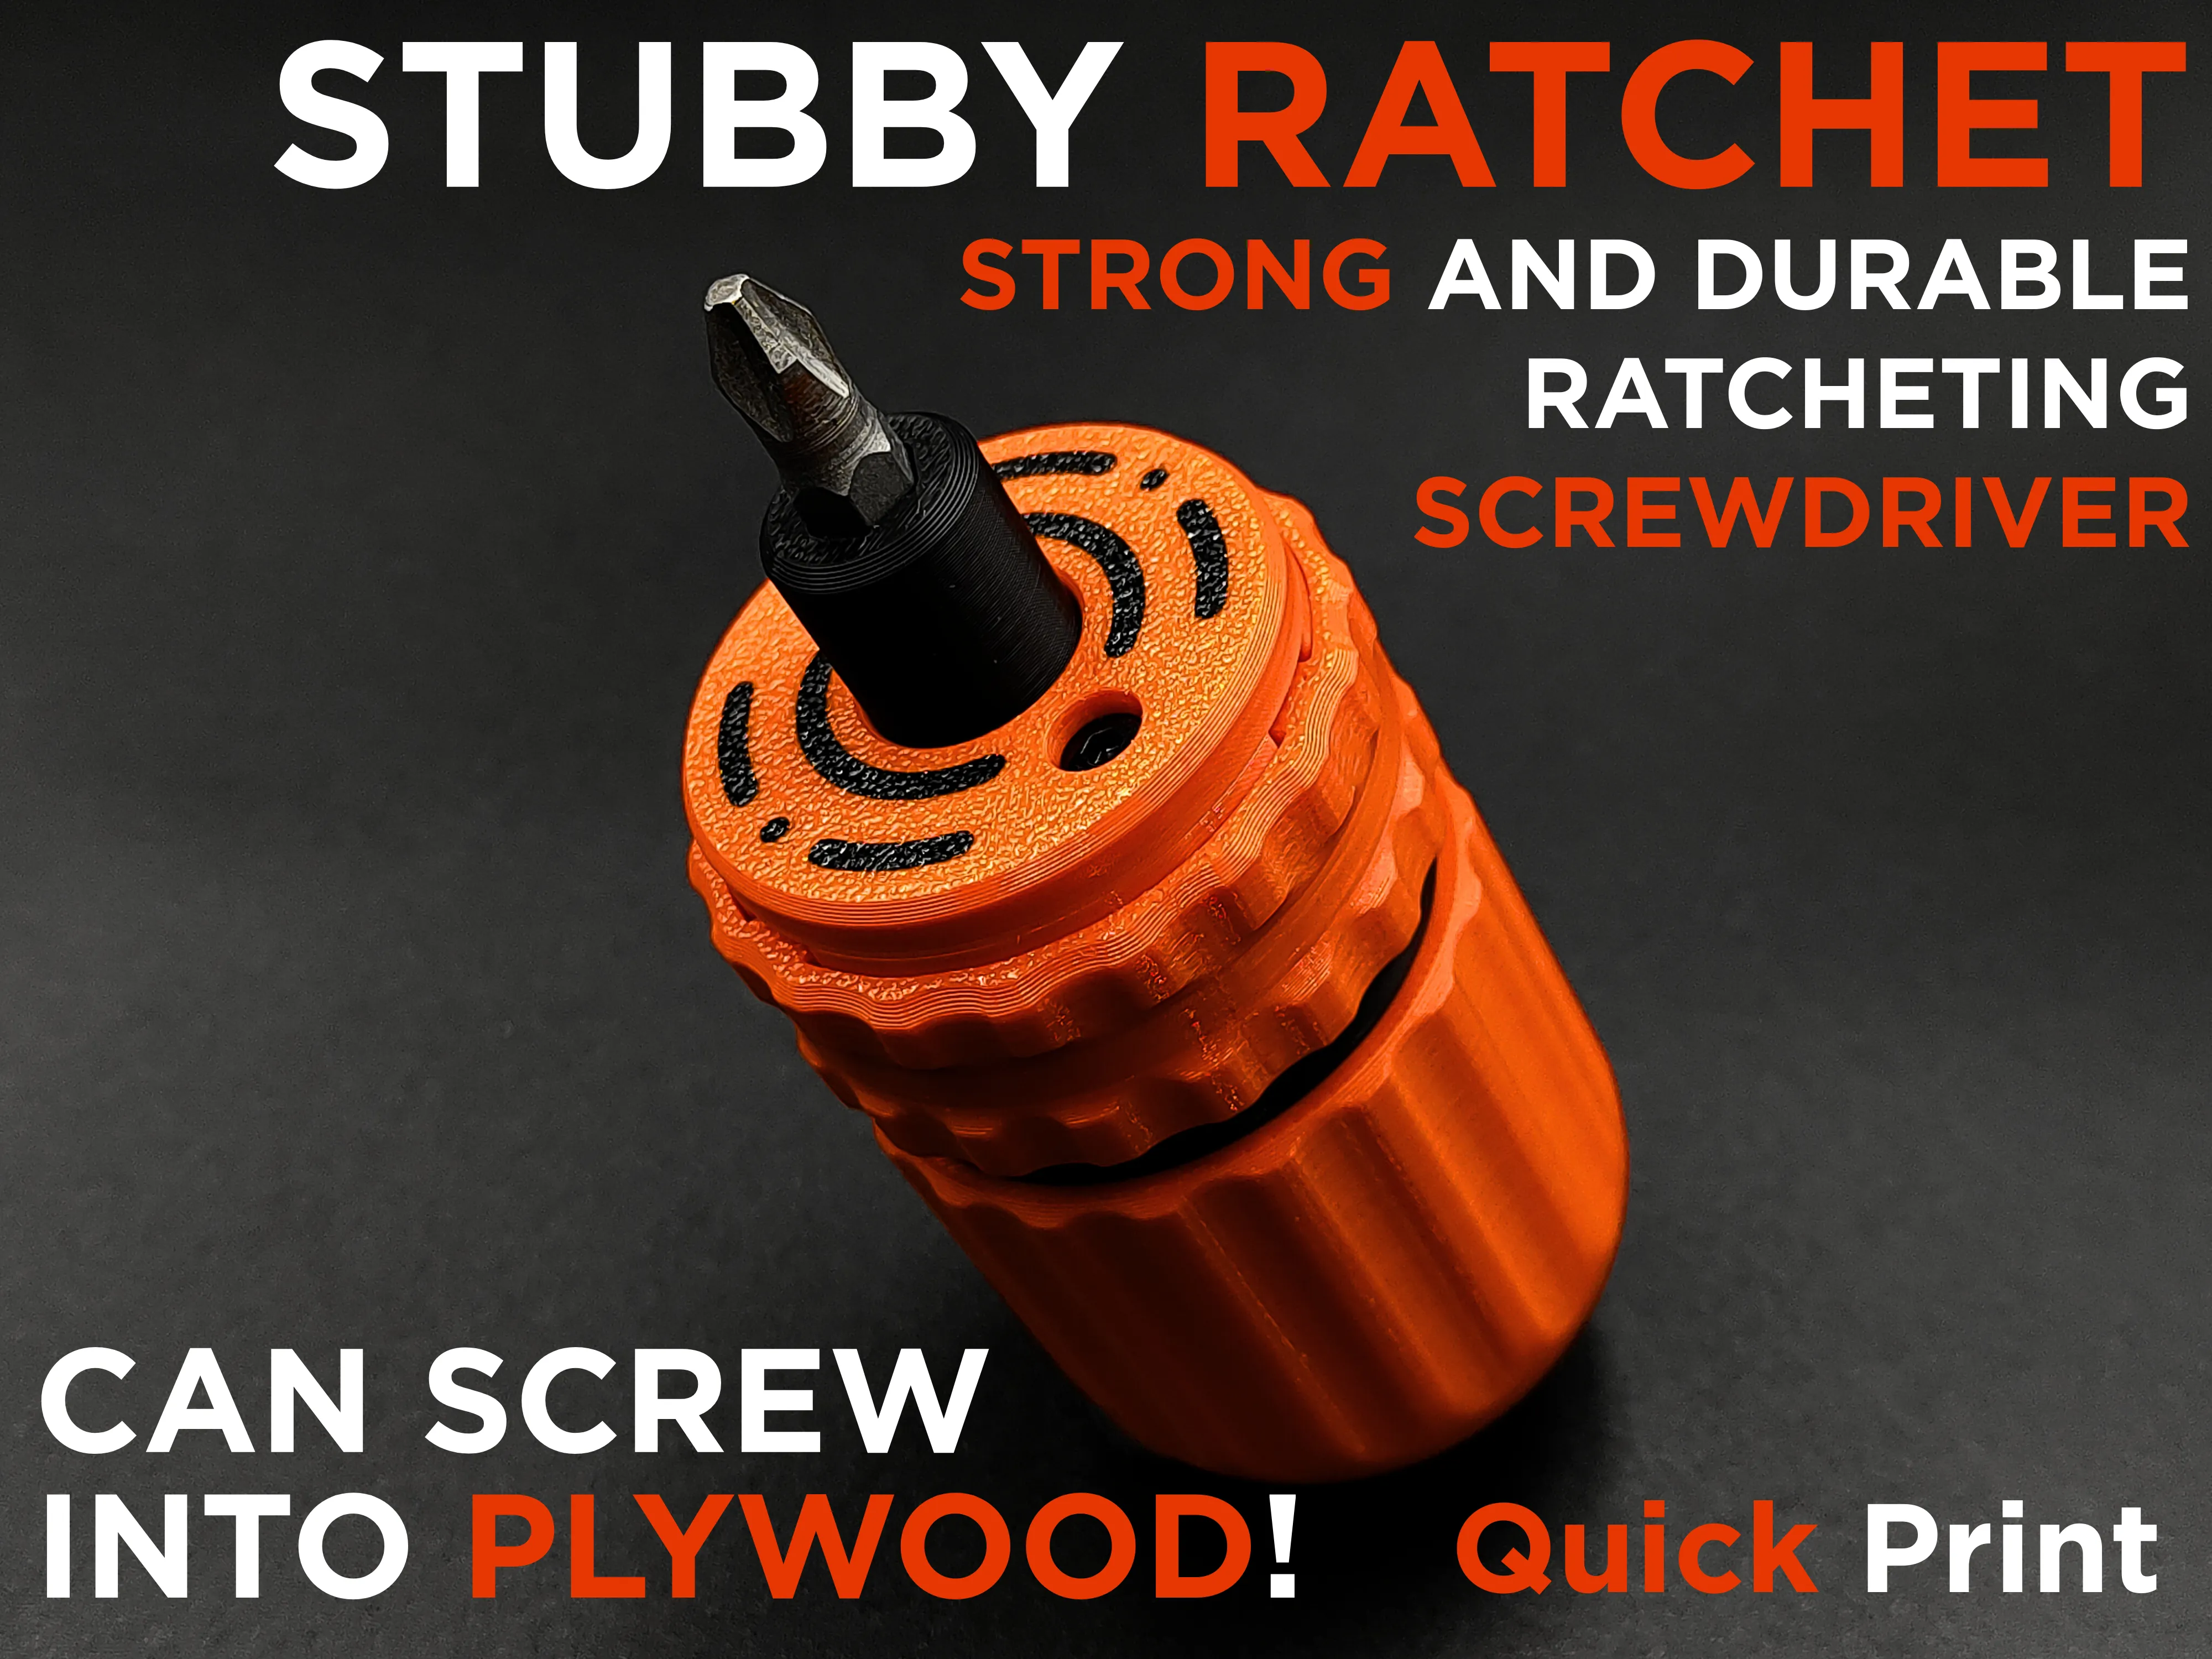 | 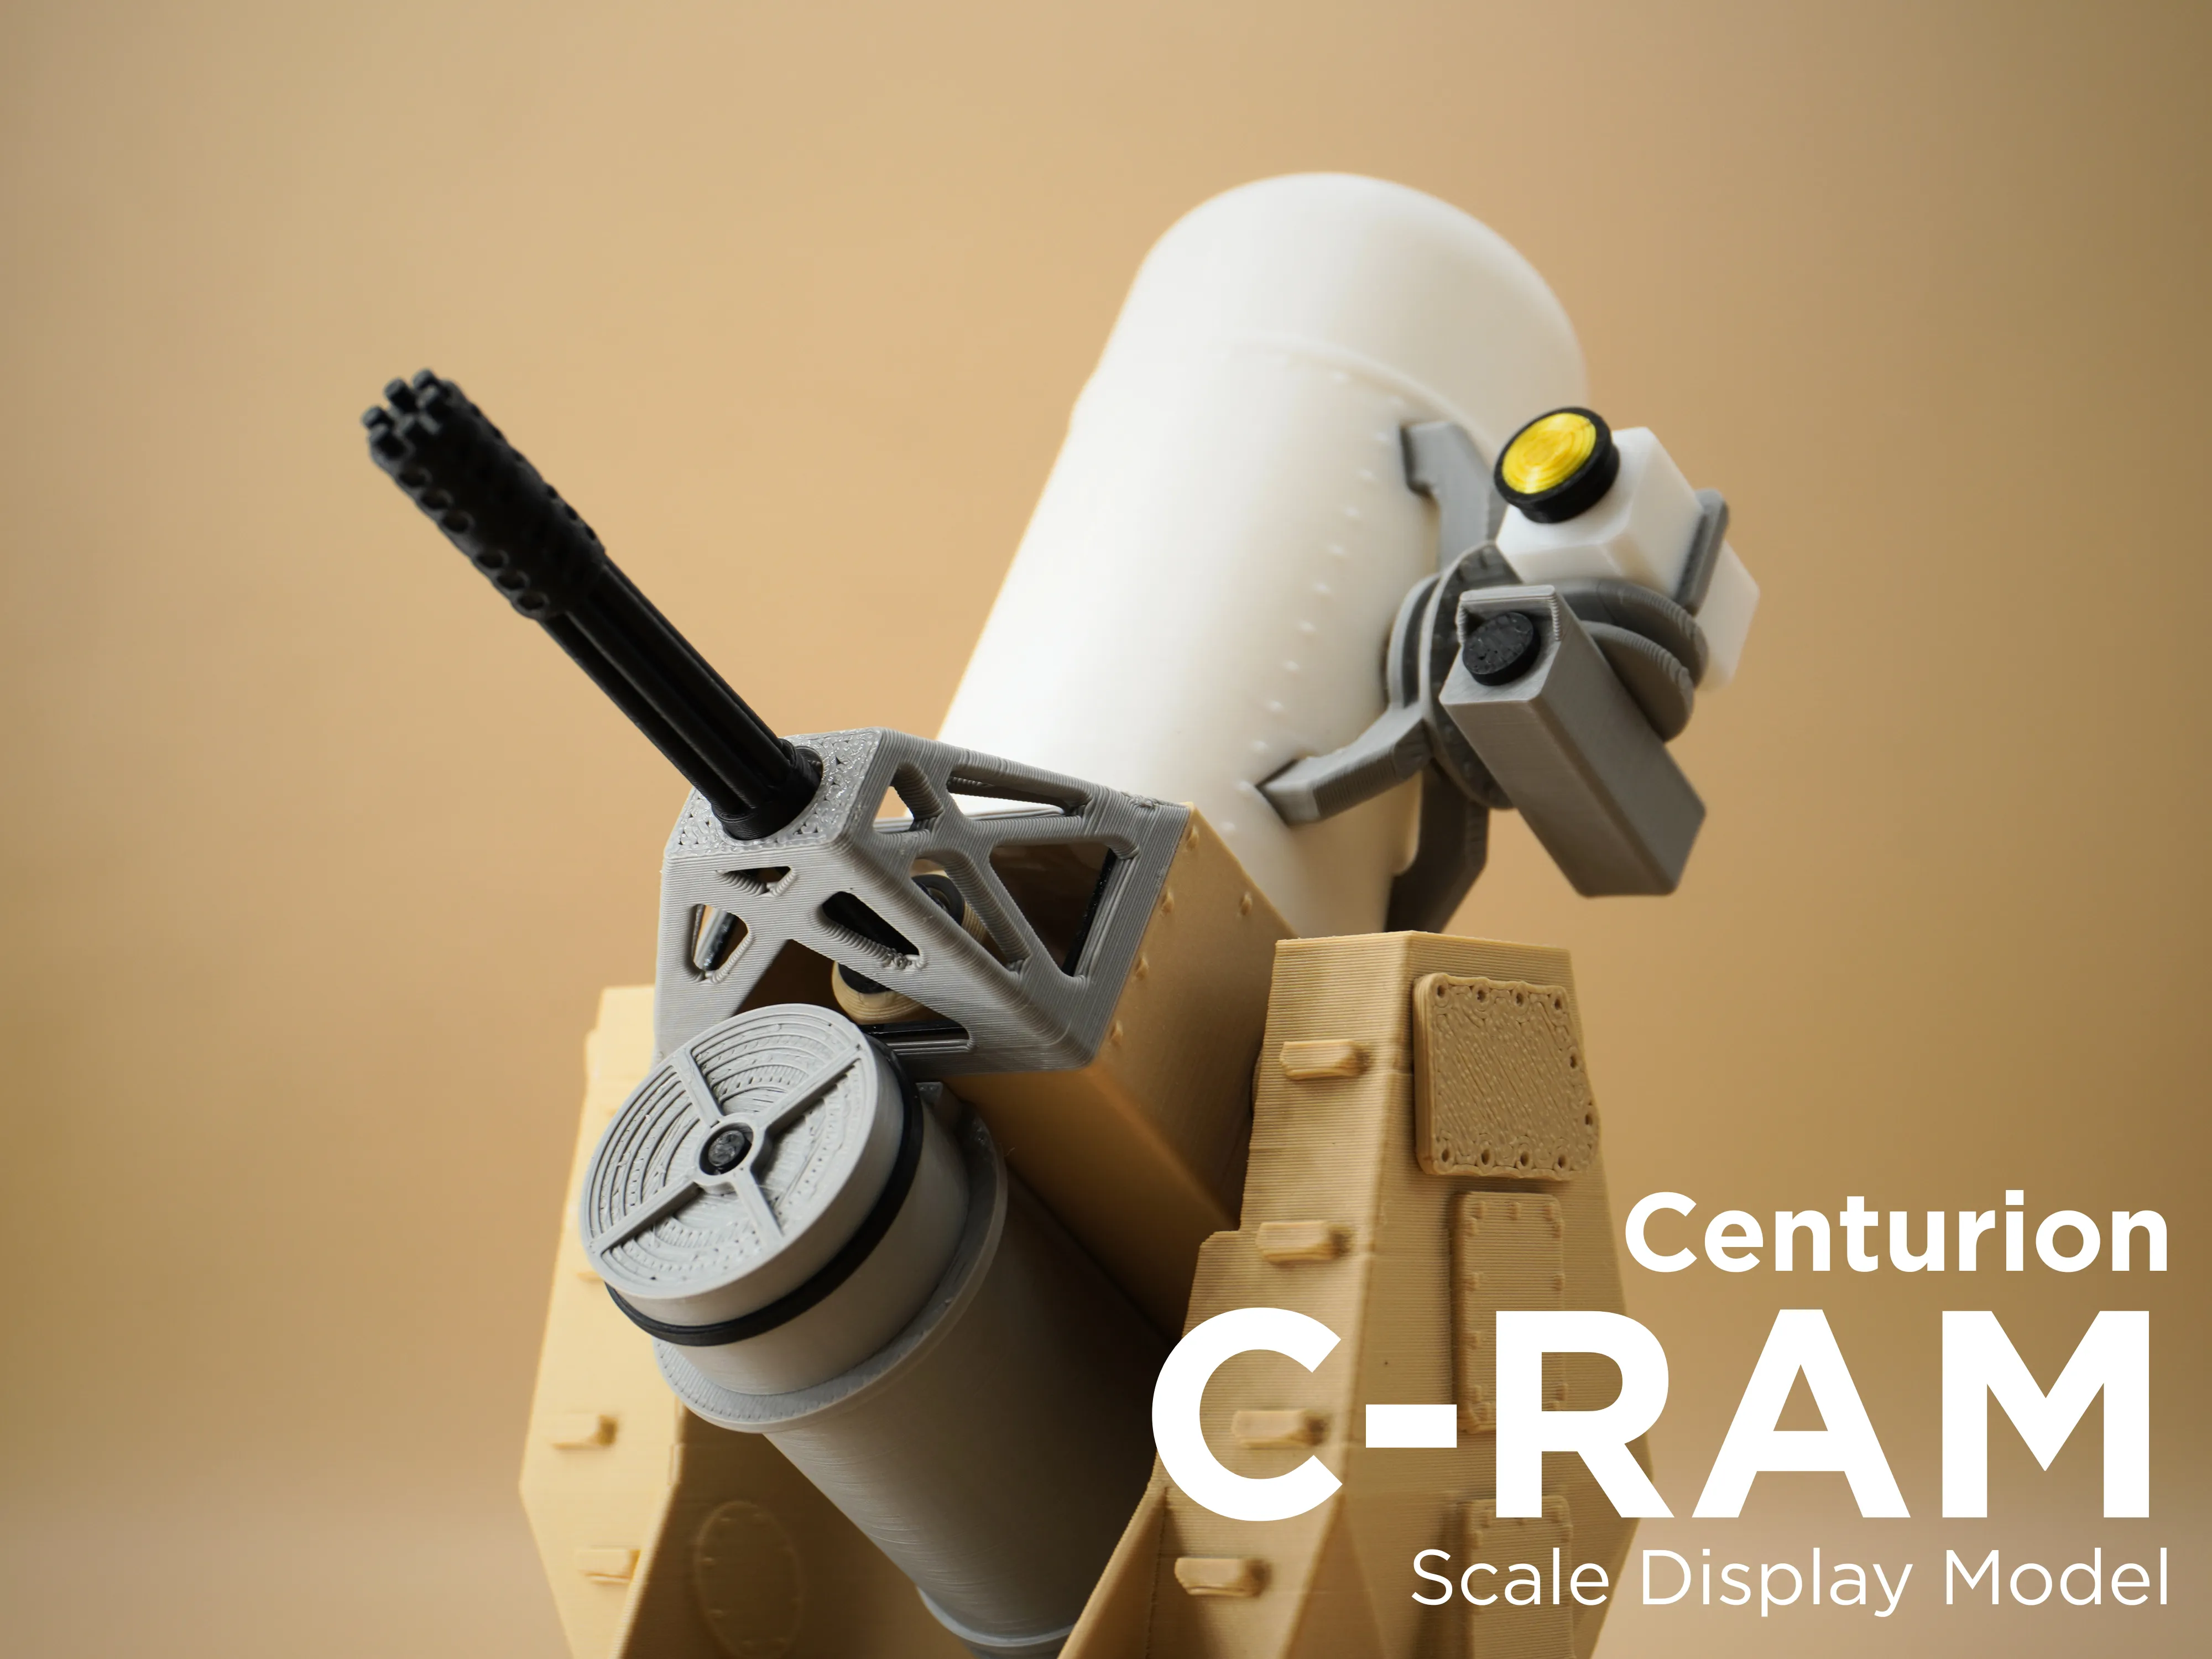 |
Ratchet Core - Modular Reversible Ratchet Driver | Stubby Ratchet R1 - Ratcheting Screwdriver | Centurion C-RAM Scale Display Model |
License

You shall not share, sub-license, sell, rent, host, transfer, or distribute in any way the digital or 3D printed versions of this object, nor any other derivative work of this object in its digital or physical format (including - but not limited to - remixes of this object, and hosting on other digital platforms). The objects may not be used without permission in any way whatsoever in which you charge money, or collect fees.


Comment & Rating (332)