
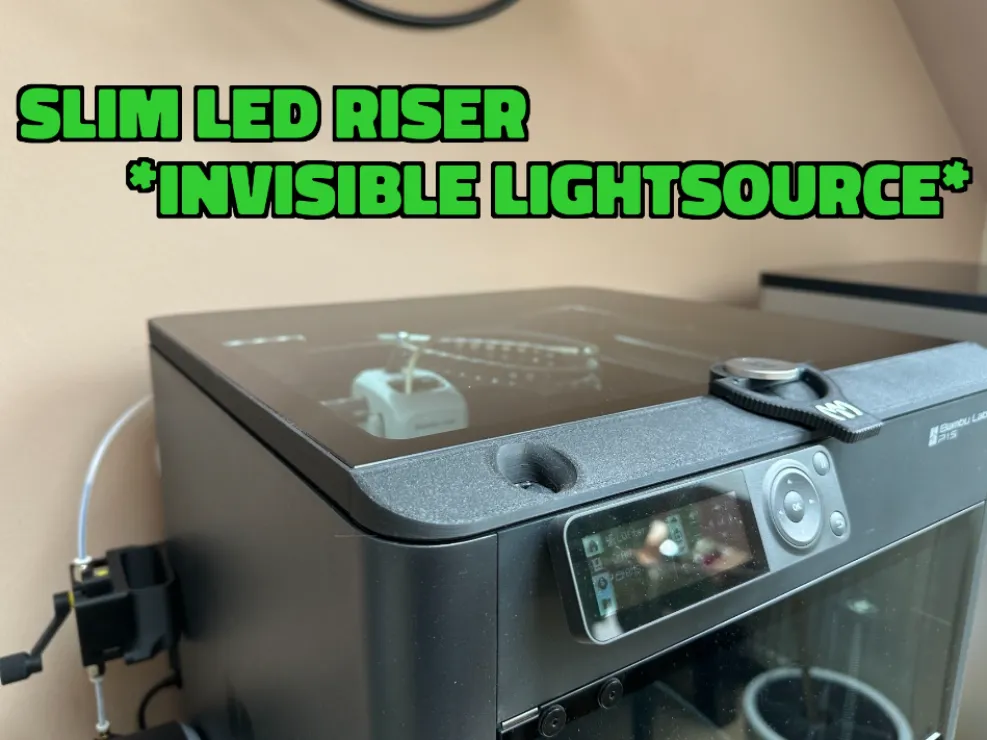
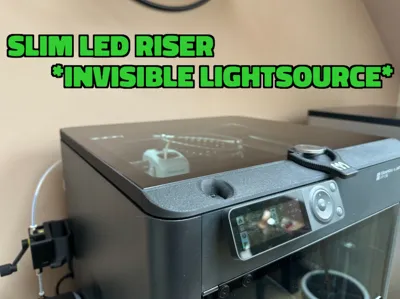
Slim LED Riser X1C/P1S *invisble light source*
Print Profile(4)


Bill of Materials




Description
Hello folks!
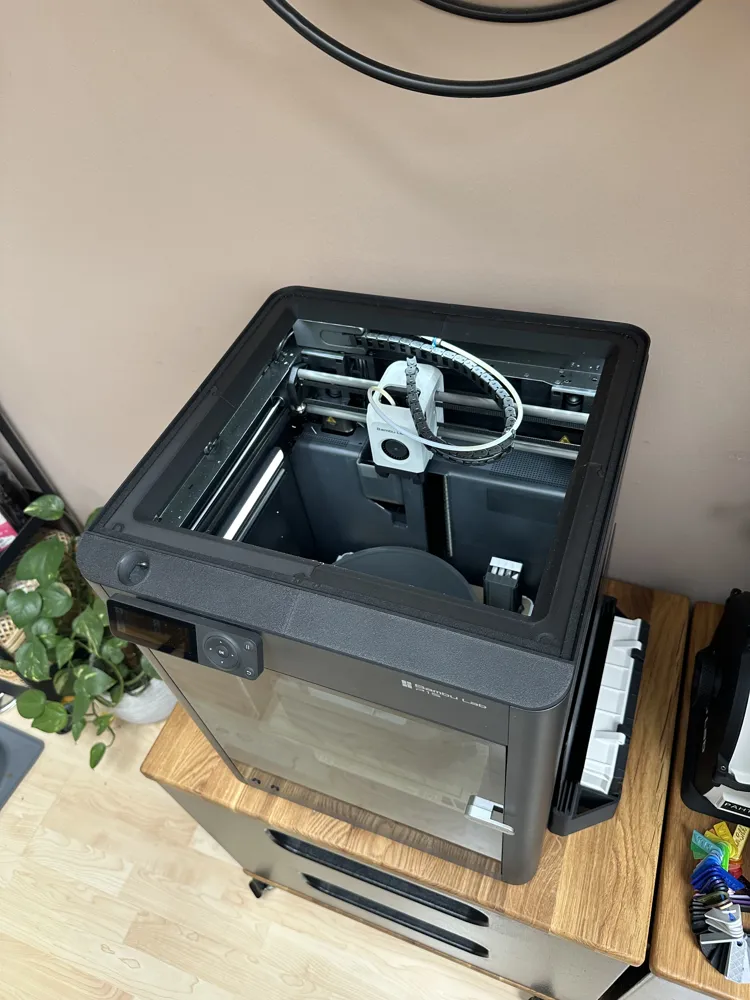
some of you have asked me to upload my slim top glass riser.
When i first got my Bambu X1C, i was a bit dissappointed with the stock chamber light, just like probably most of you were.
While there was already a ton of options out there at that time, i could'nt seem to find the right one for me.
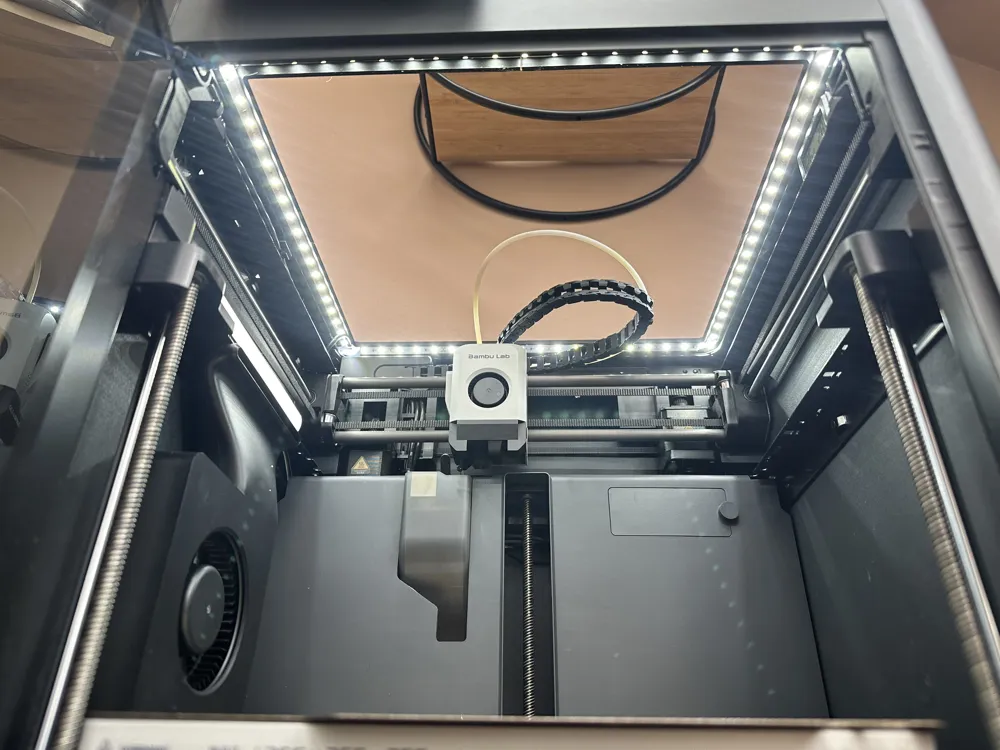
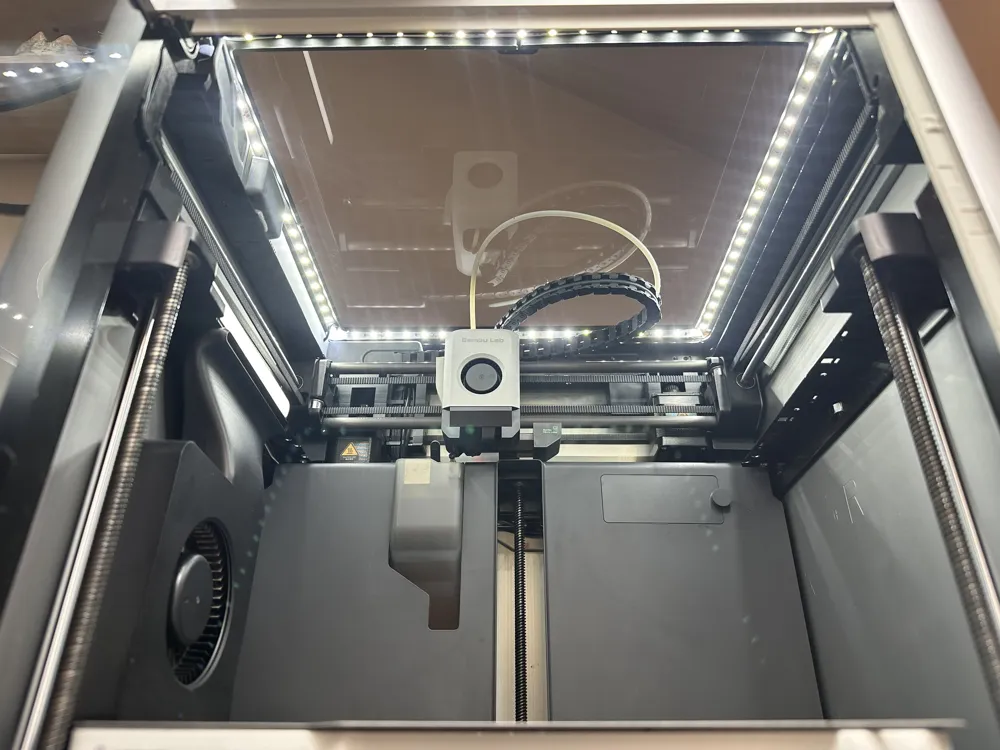
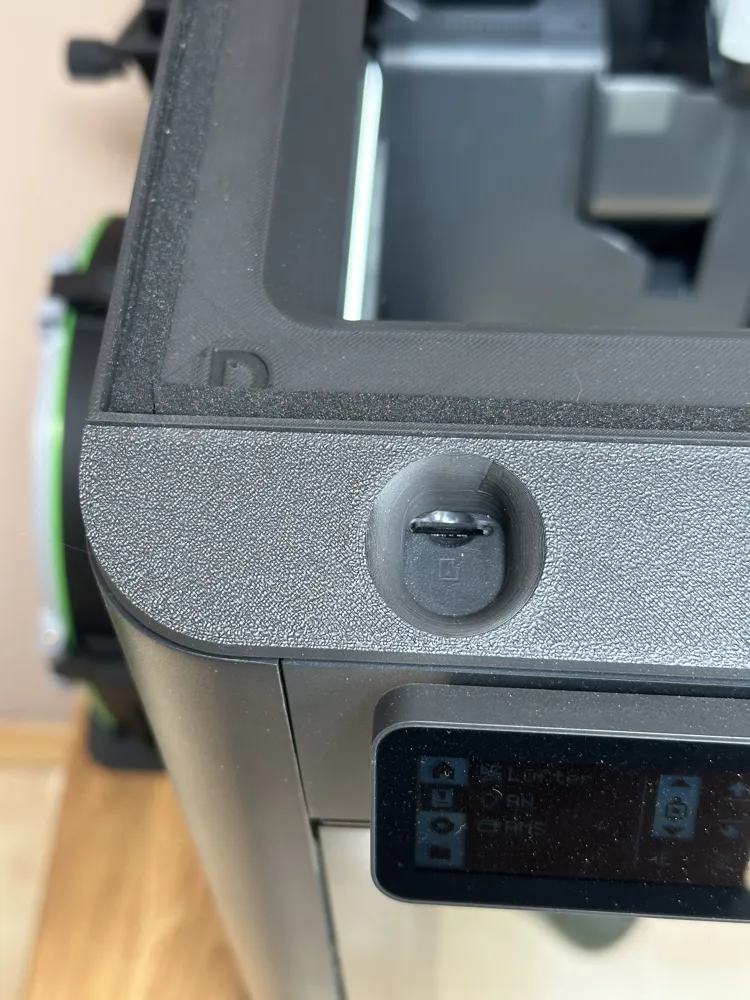
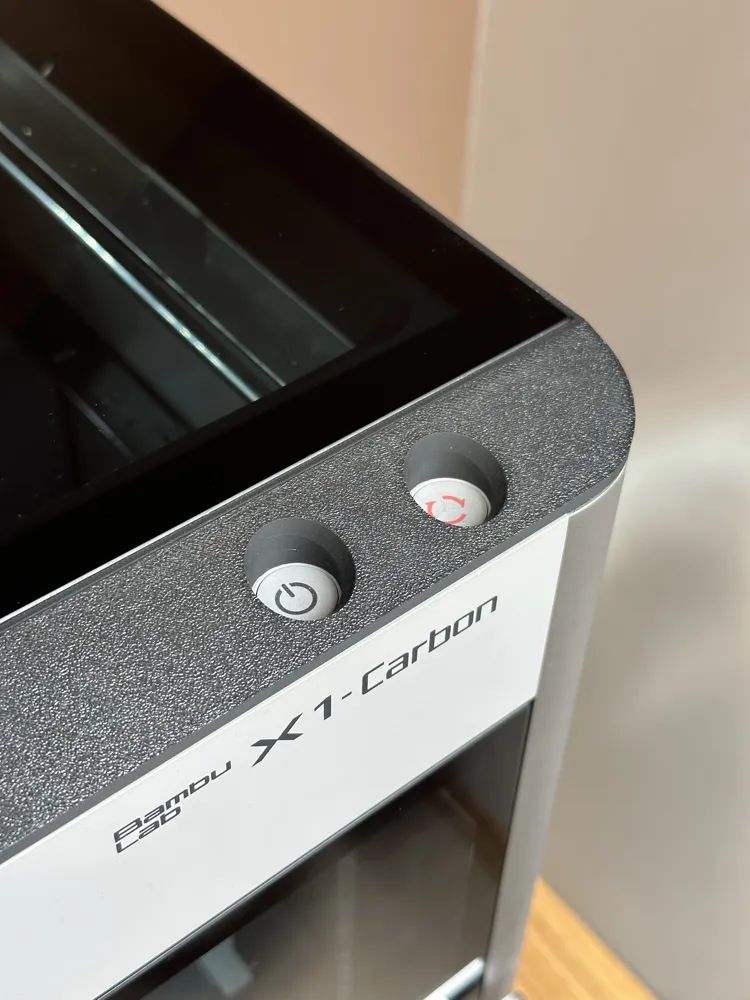
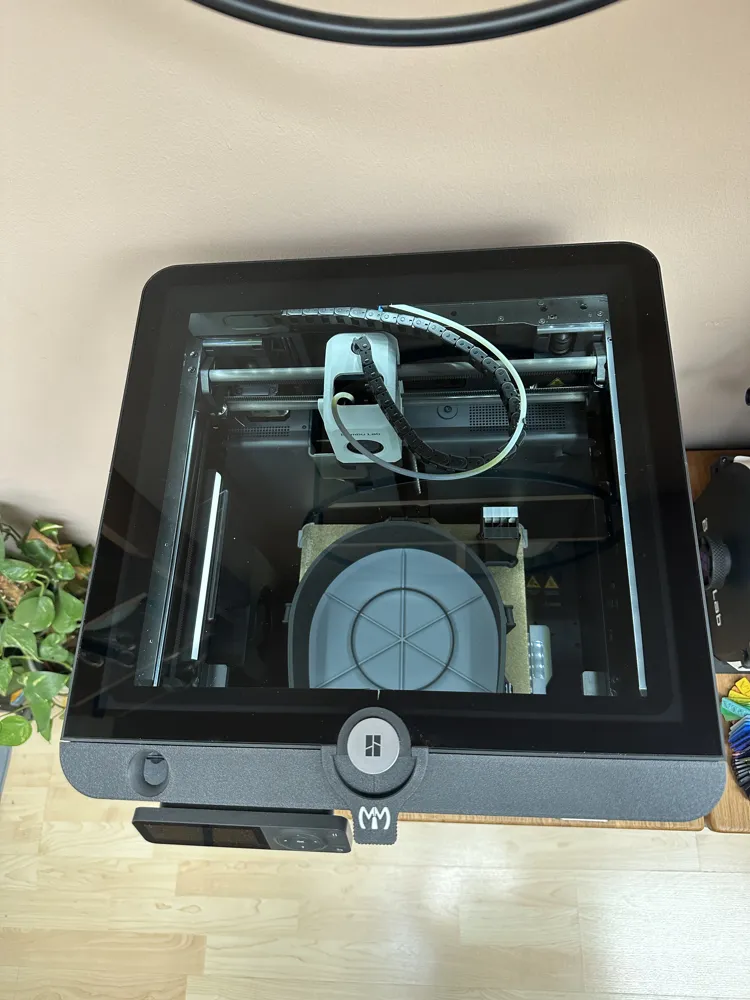
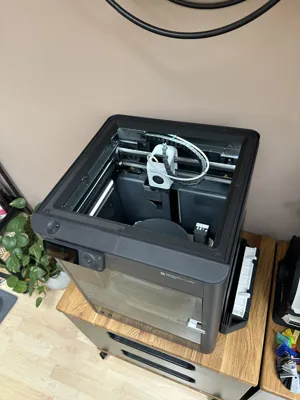
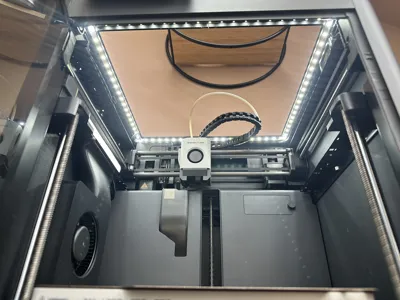
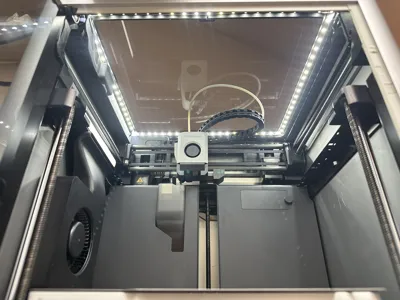
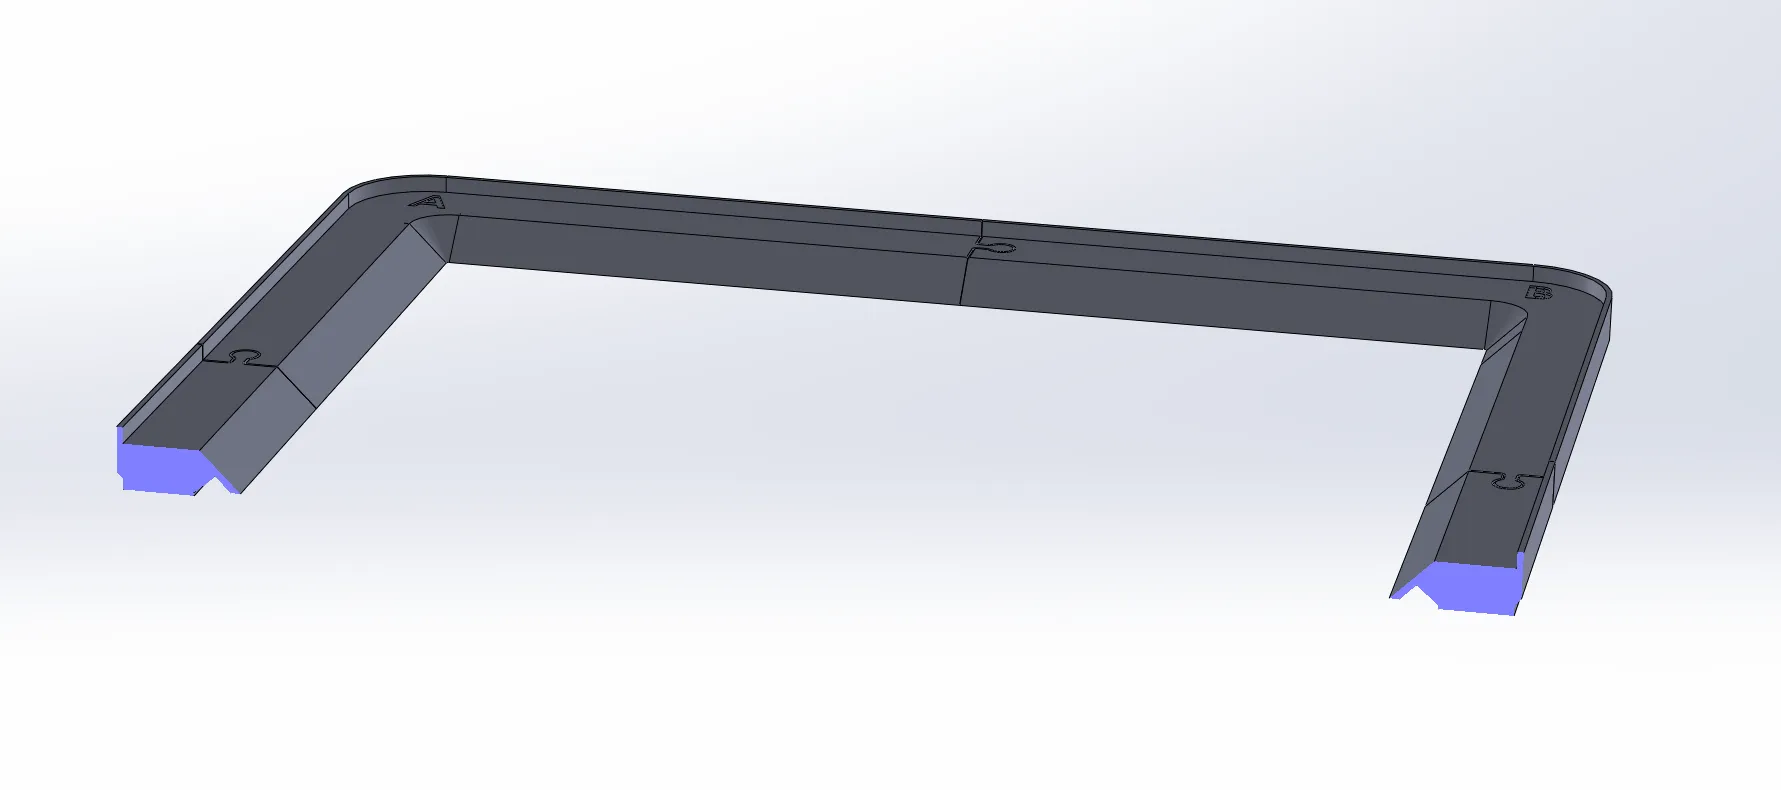
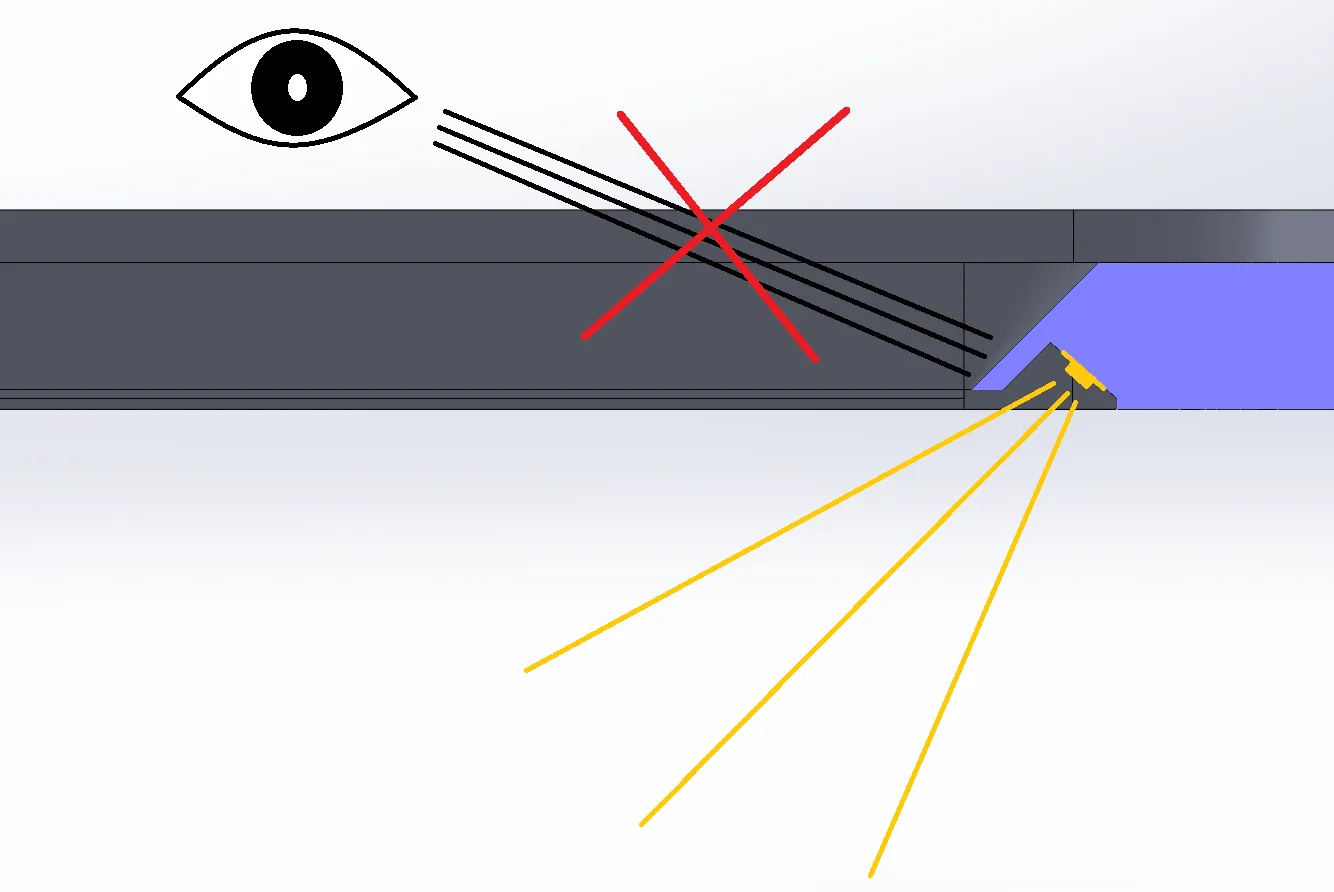
"I wanted a simple, very slim design that provides good lighting for the chamber.
What was very important to me is that the LED strips are not visible at all from above."
The maximum width of LED strip = 8mm!
try to get a strip without gel/insulation, it will be easier in the corners.
Boost Me (for free)
As far as material choice goes, well, it depends! As always when it's about 3d printing :D
I printed the final version of mine from ASA-CF - because i do a lot of high temperature printing.
The first version, that i printed from PLA wrinkled and deformed due to too high temperatures.
If you only print PLA, you will get away with a PLA riser too.
This model relies on supports! I use support interface material for ABS/ASA for best surface quality.
The assembly is very simple:
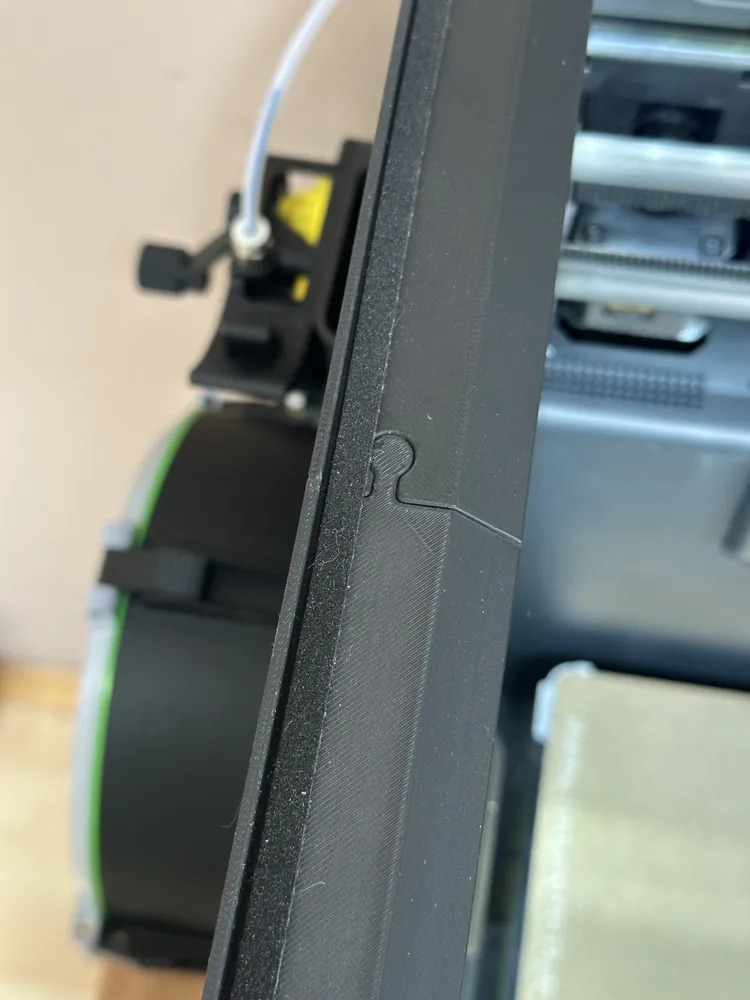
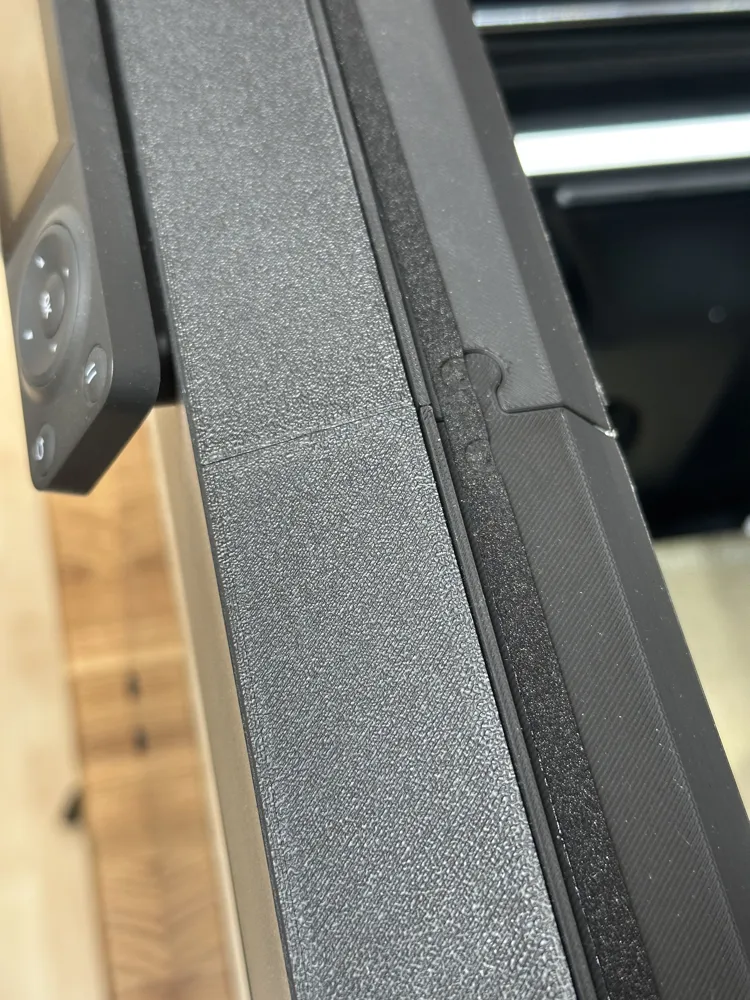
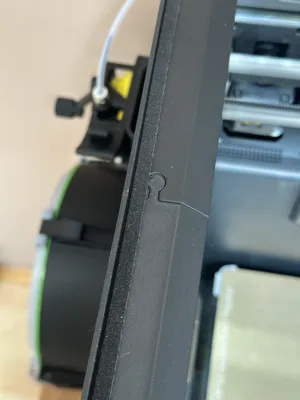
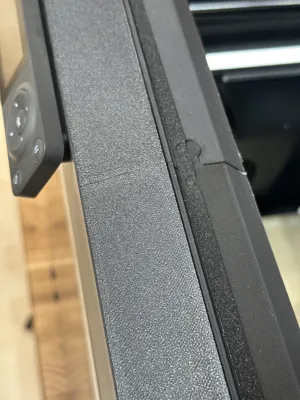
The 4 Pieces of the main frame are slotted together. In my case the fit is tight enough so there is no need for glueing.
After putting these pieces together you can already apply the LED strip.
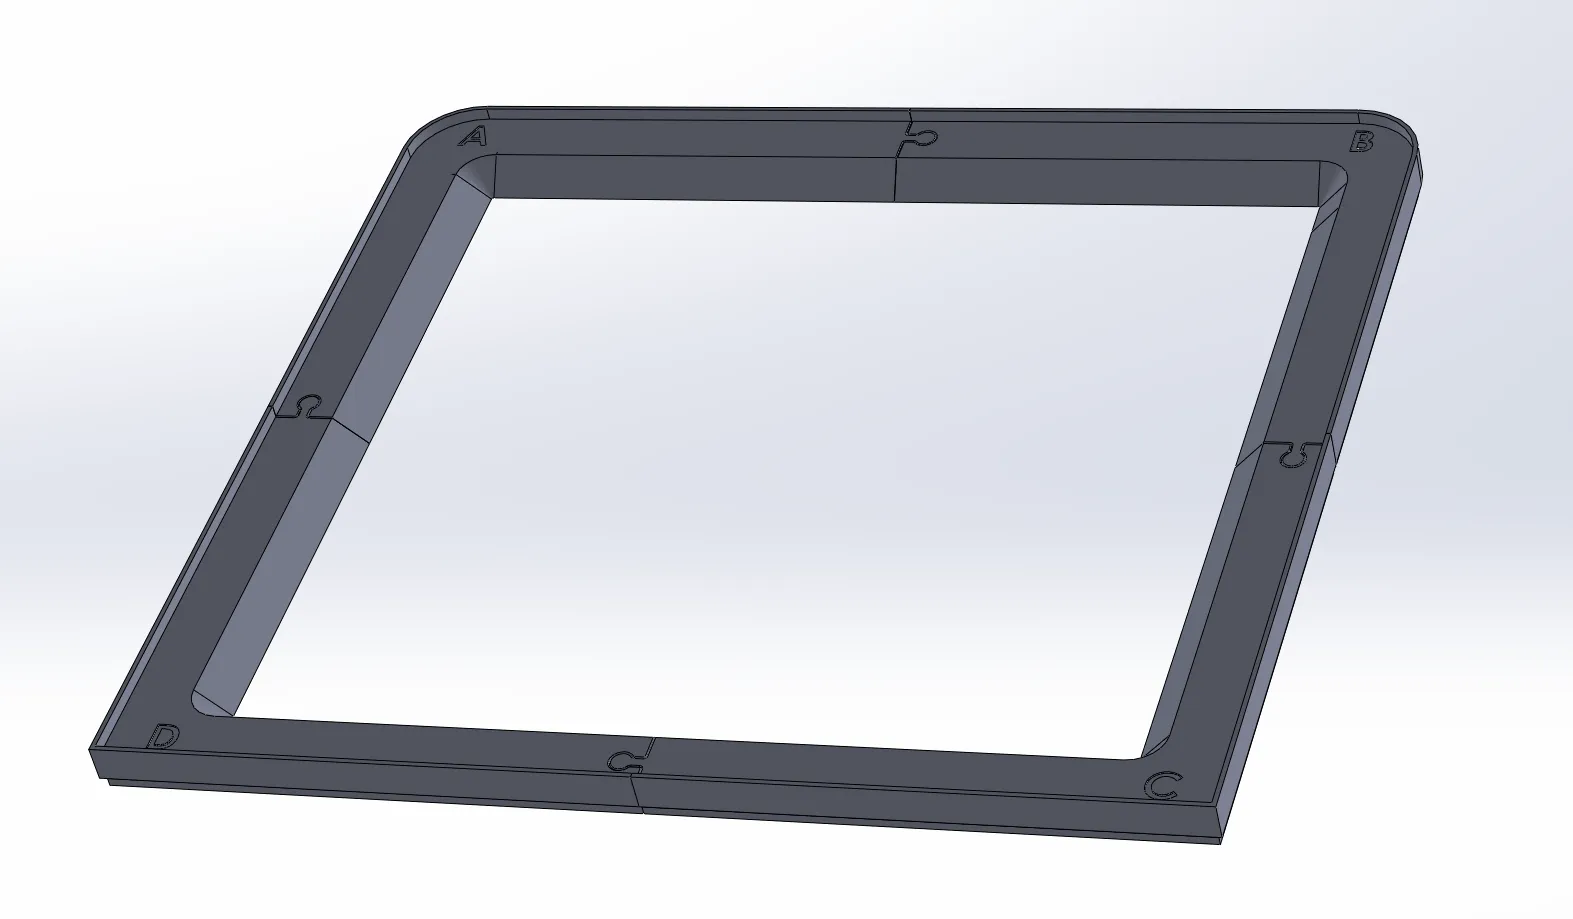
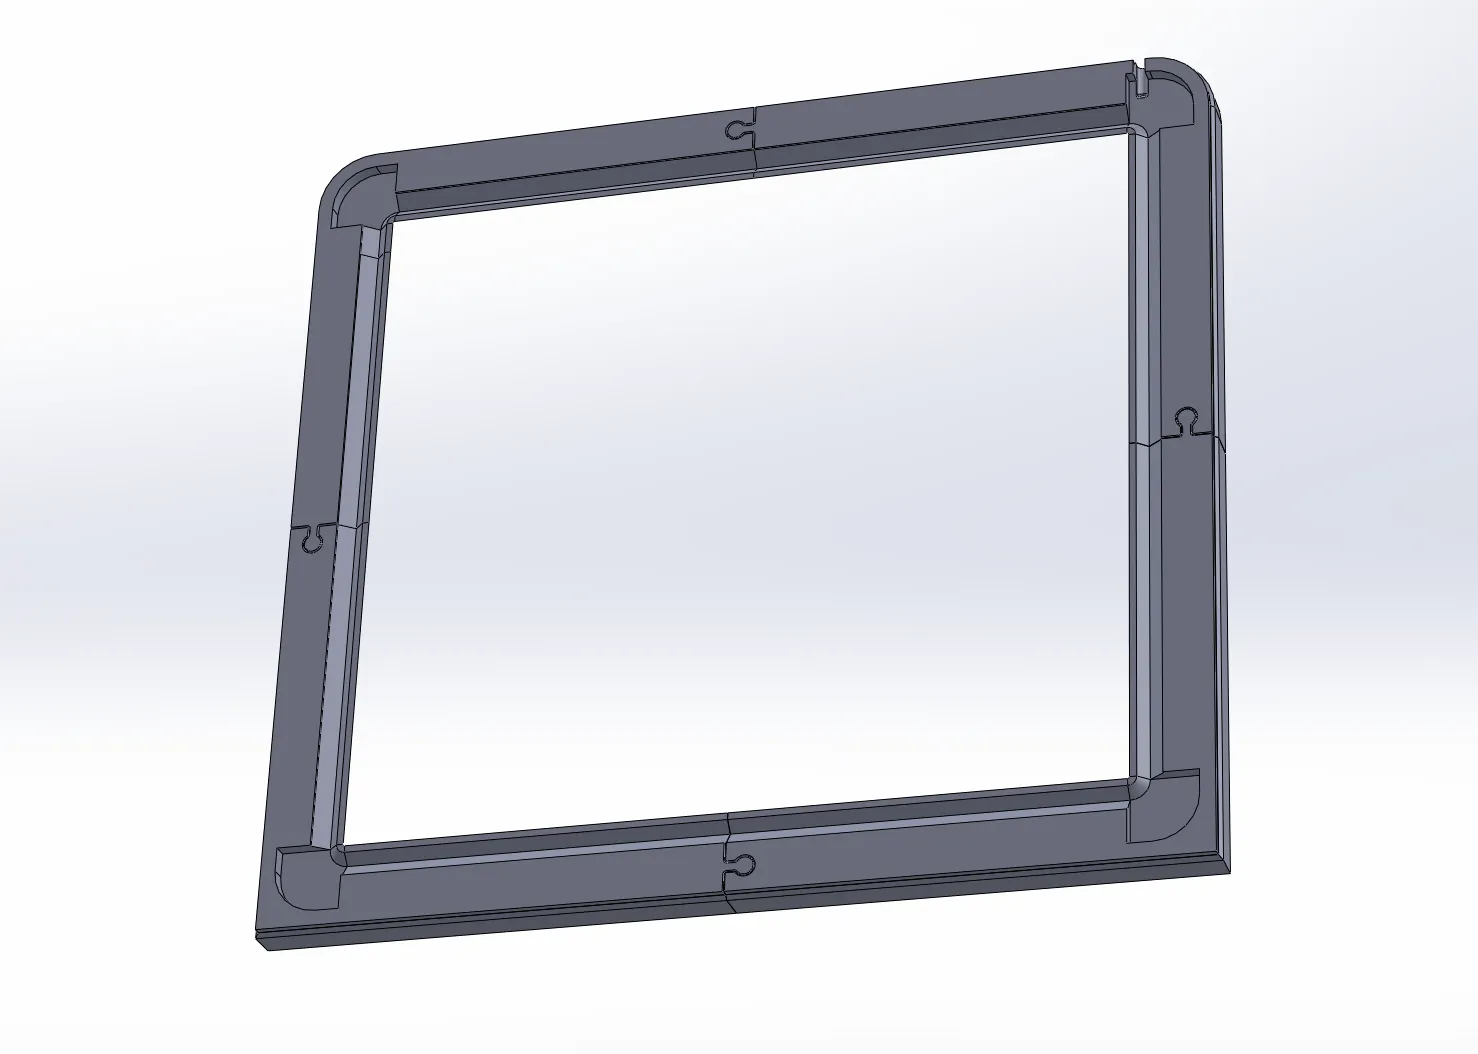
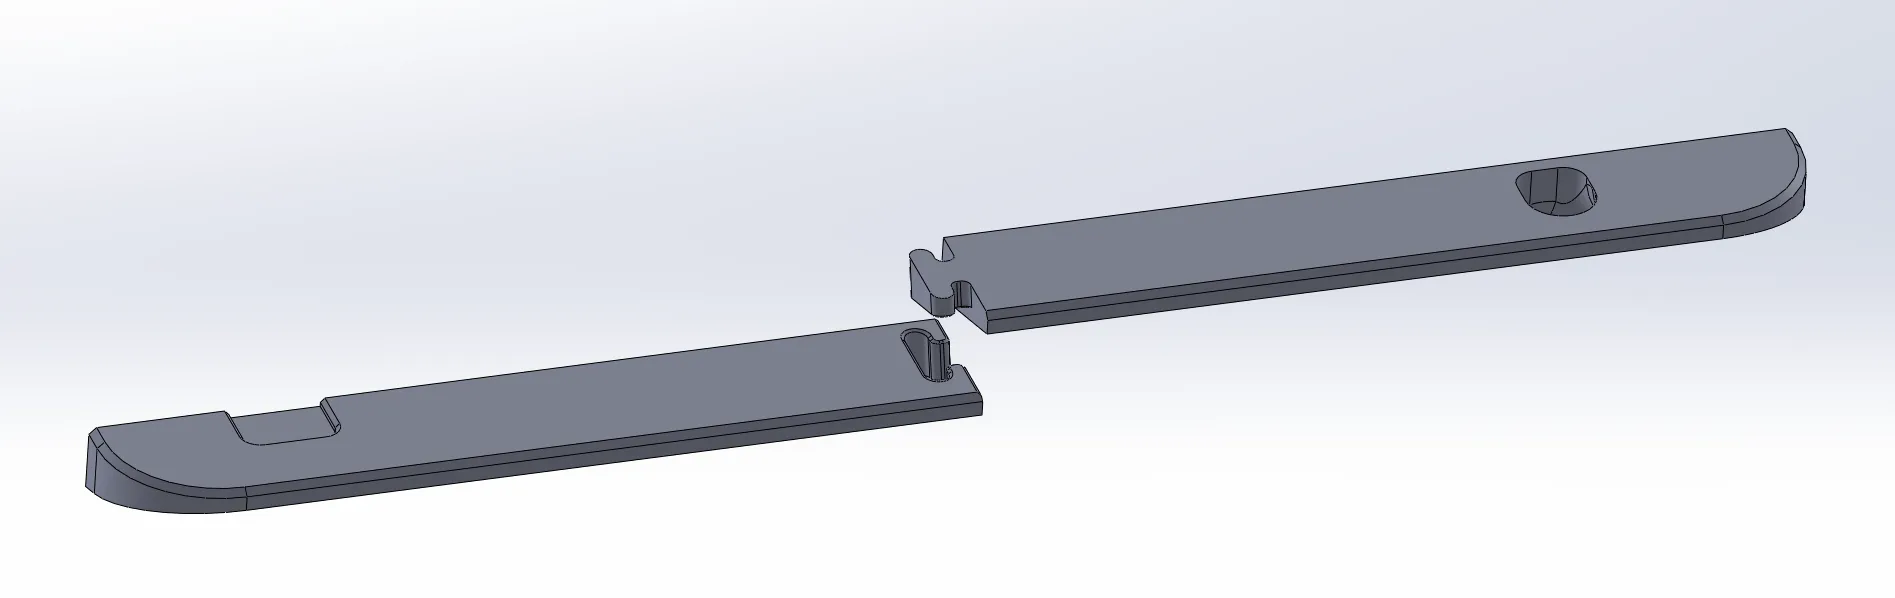
The two pieces on the front are also just pushed together.
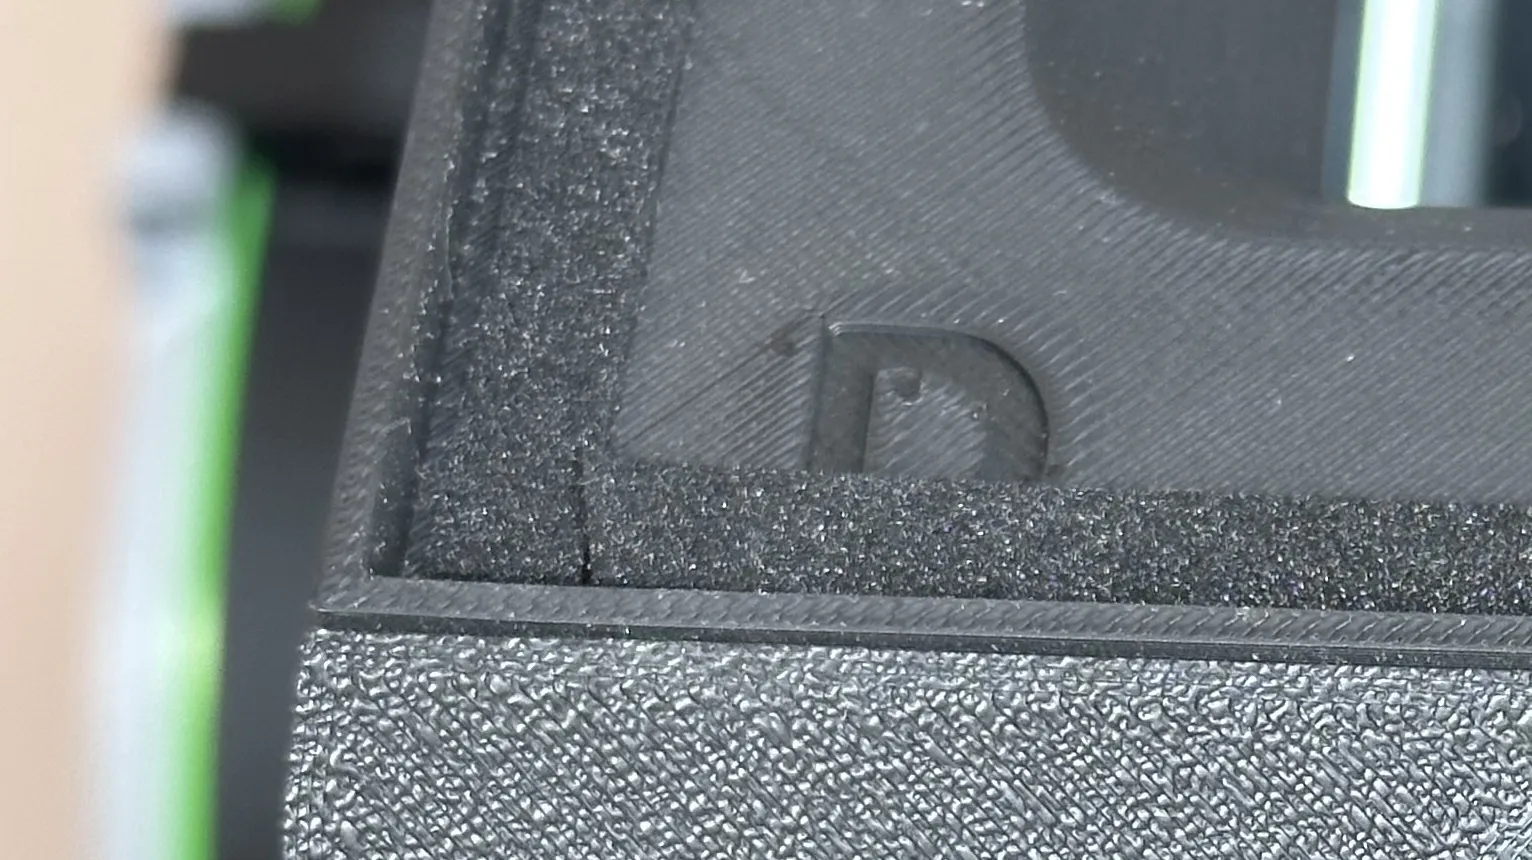
Apply a seal with pre applied adhesive. The one i used is about 2mm thick.
Without the use of this seal the top glass will be recessed a little bit too deep.
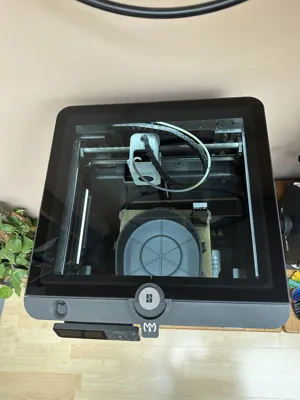
Fix the whole riser to the top of the printer with double sided tape. The more expensive stuff is usually better, i used 3M.
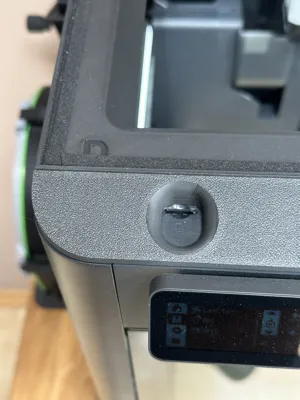
The wiring can be routed out at the rear left corner.
I wired mine internally with a relais coupled to the stock light - i do not recommend that to beginners!
Hope you like this model!
License

You shall not share, sub-license, sell, rent, host, transfer, or distribute in any way the digital or 3D printed versions of this object, nor any other derivative work of this object in its digital or physical format (including - but not limited to - remixes of this object, and hosting on other digital platforms). The objects may not be used without permission in any way whatsoever in which you charge money, or collect fees.


Comment & Rating (131)