
Falcon A1 and A1 Pro Riser
Print Profile(2)





Description
Membership
Hello! If you like my exclusive designs and already own a business or plan to start one, I offer you the opportunity to legally sell my models and exclusive designs here. You have three options to purchase my licenses: monthly, quarterly, or annually – with the annual option being the most affordable. With a subscription, you support my work and enable me to continue developing new models and designs. 🙂
Hello, my friends of 3D printing and laser engraving!
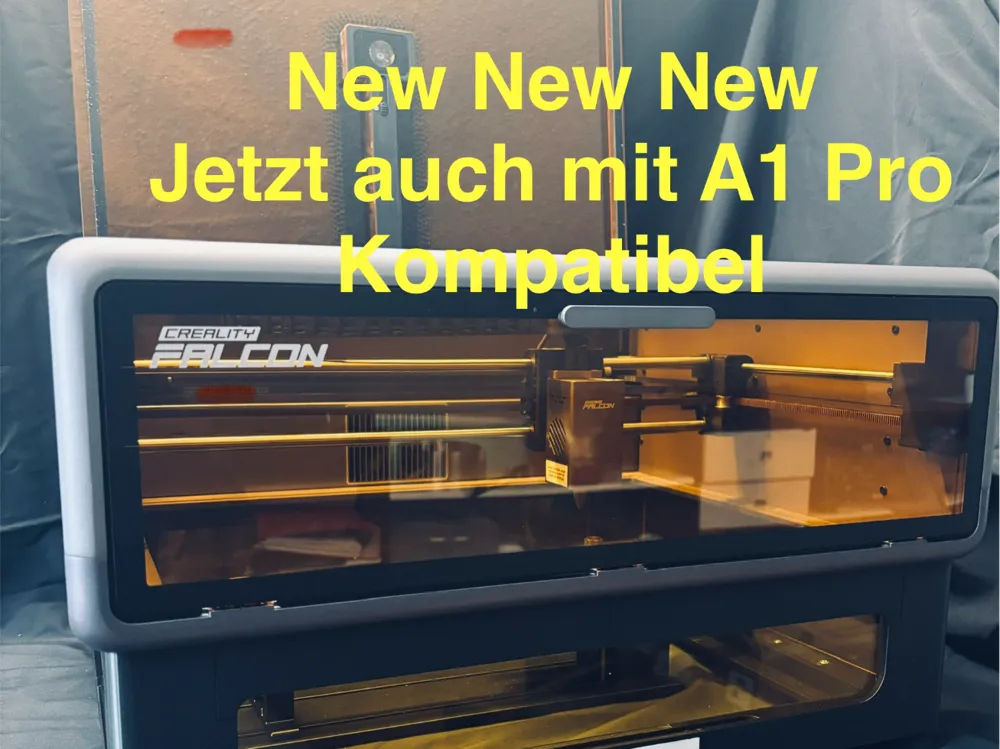
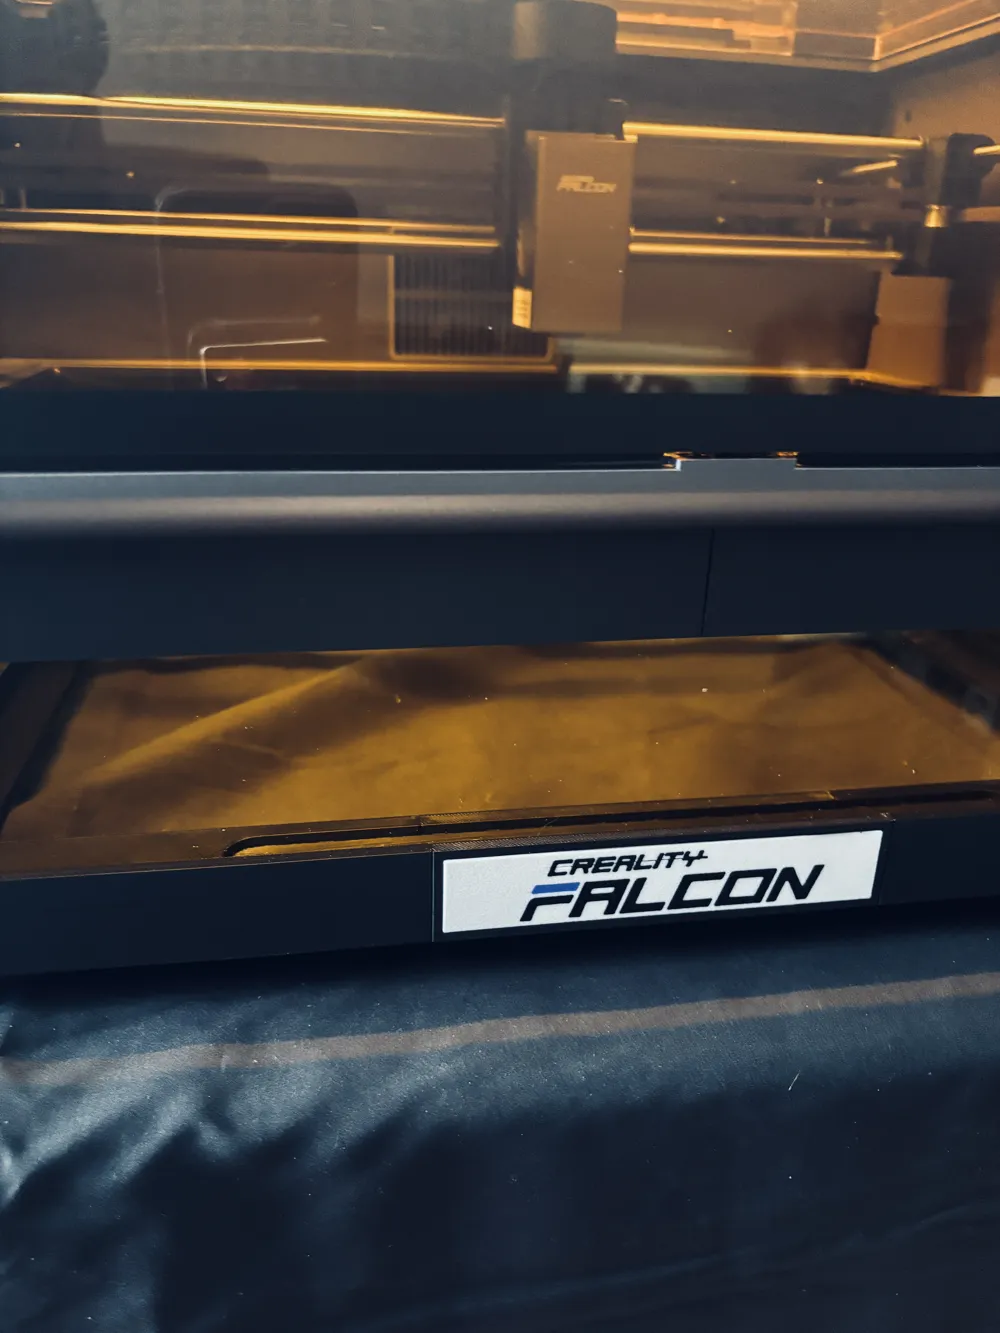
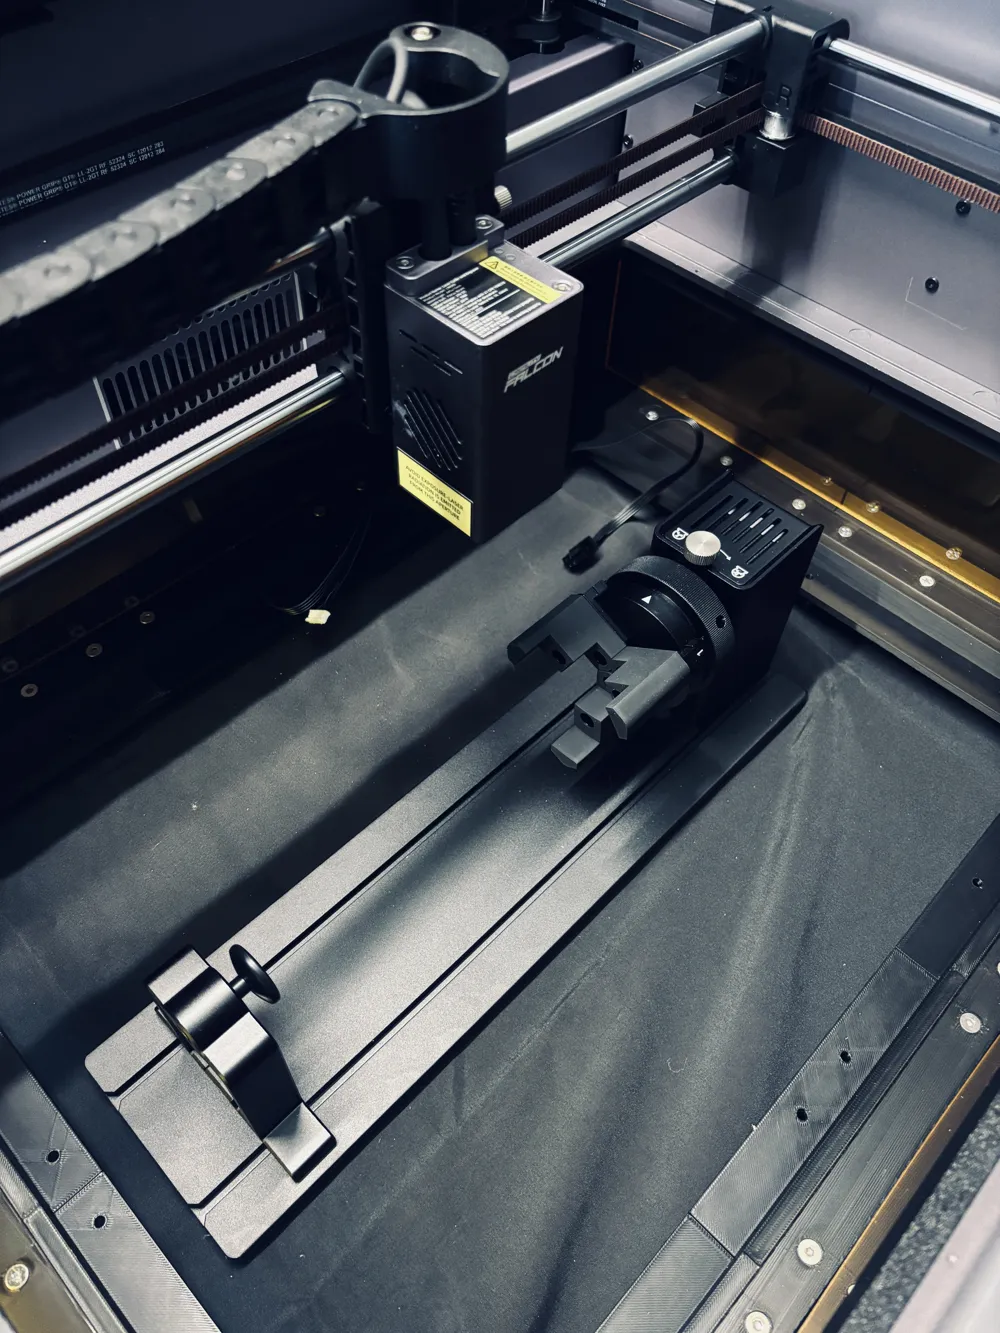
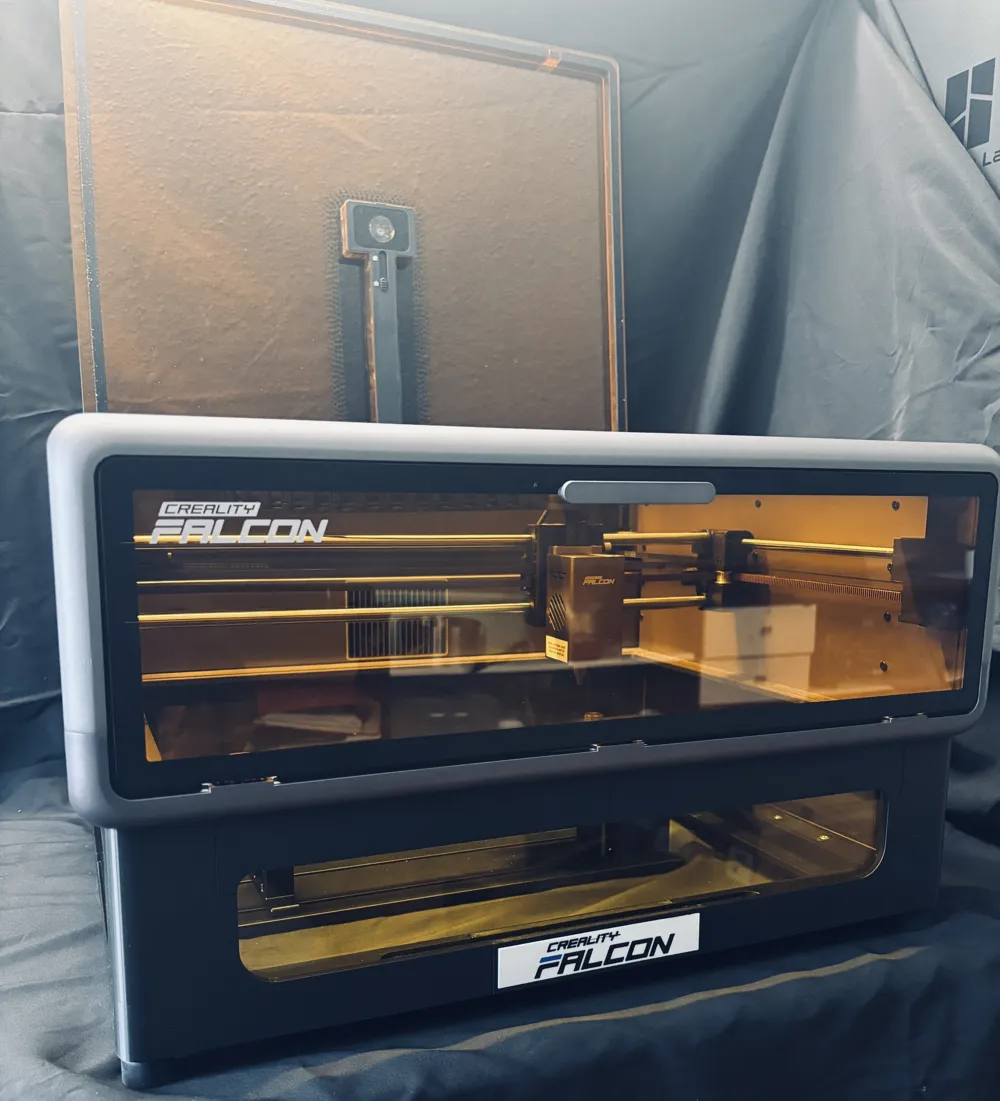
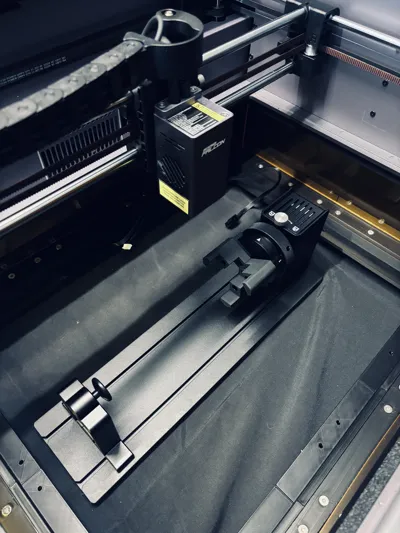
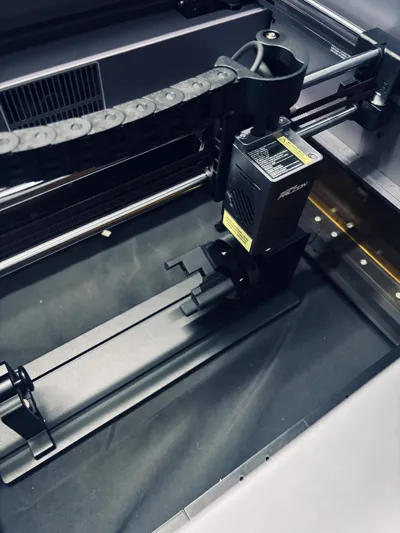
I recently acquired the Creality Falcon A1 – as I'm sure many of you creative minds have too. Along with it, I ordered the rotary axis. However, I wasn't really happy with the included risers.
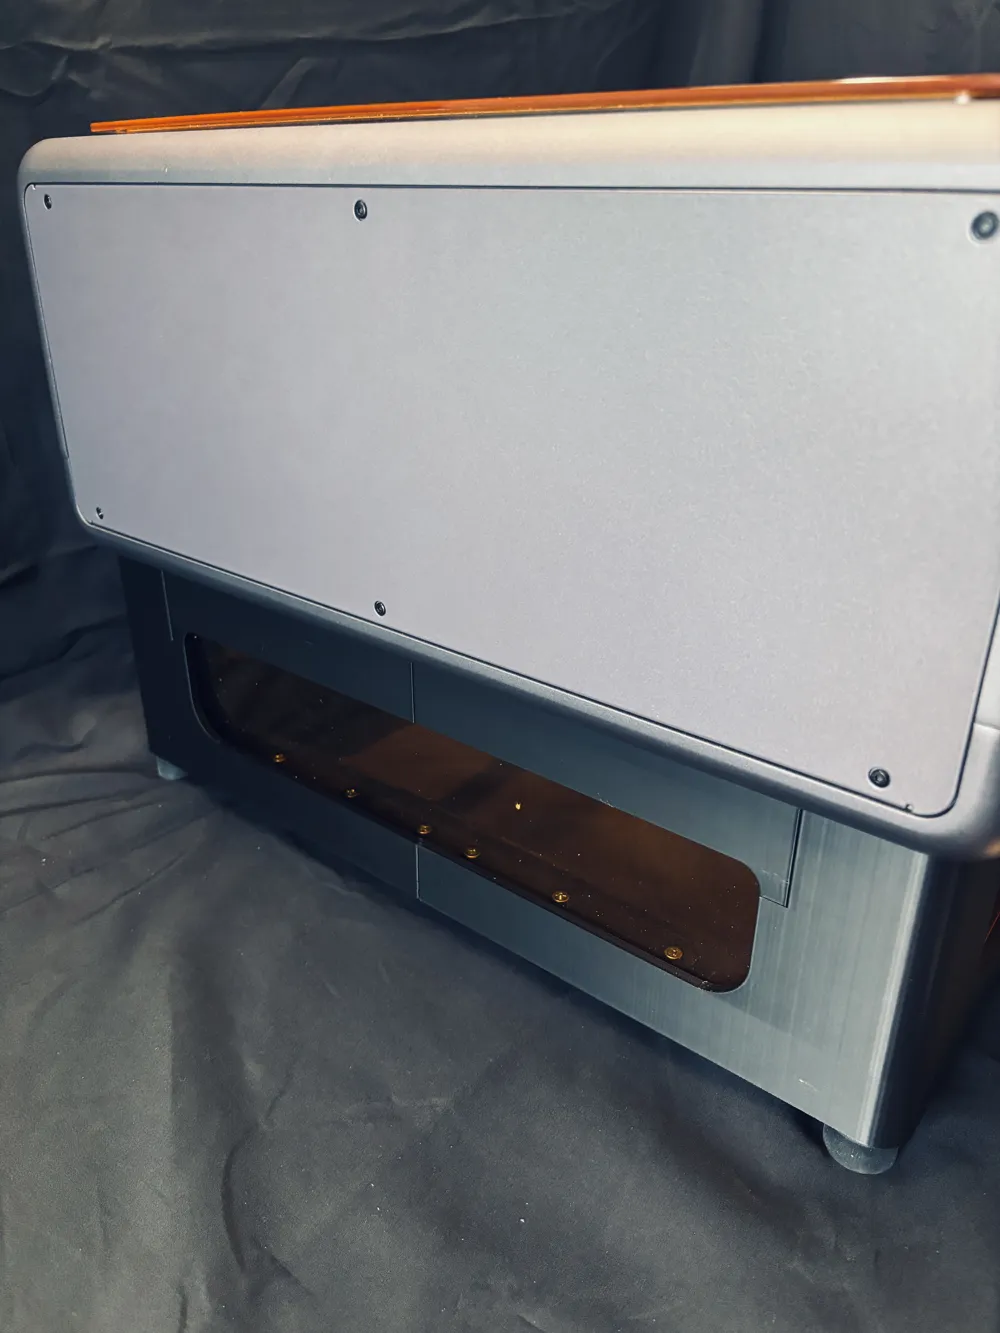
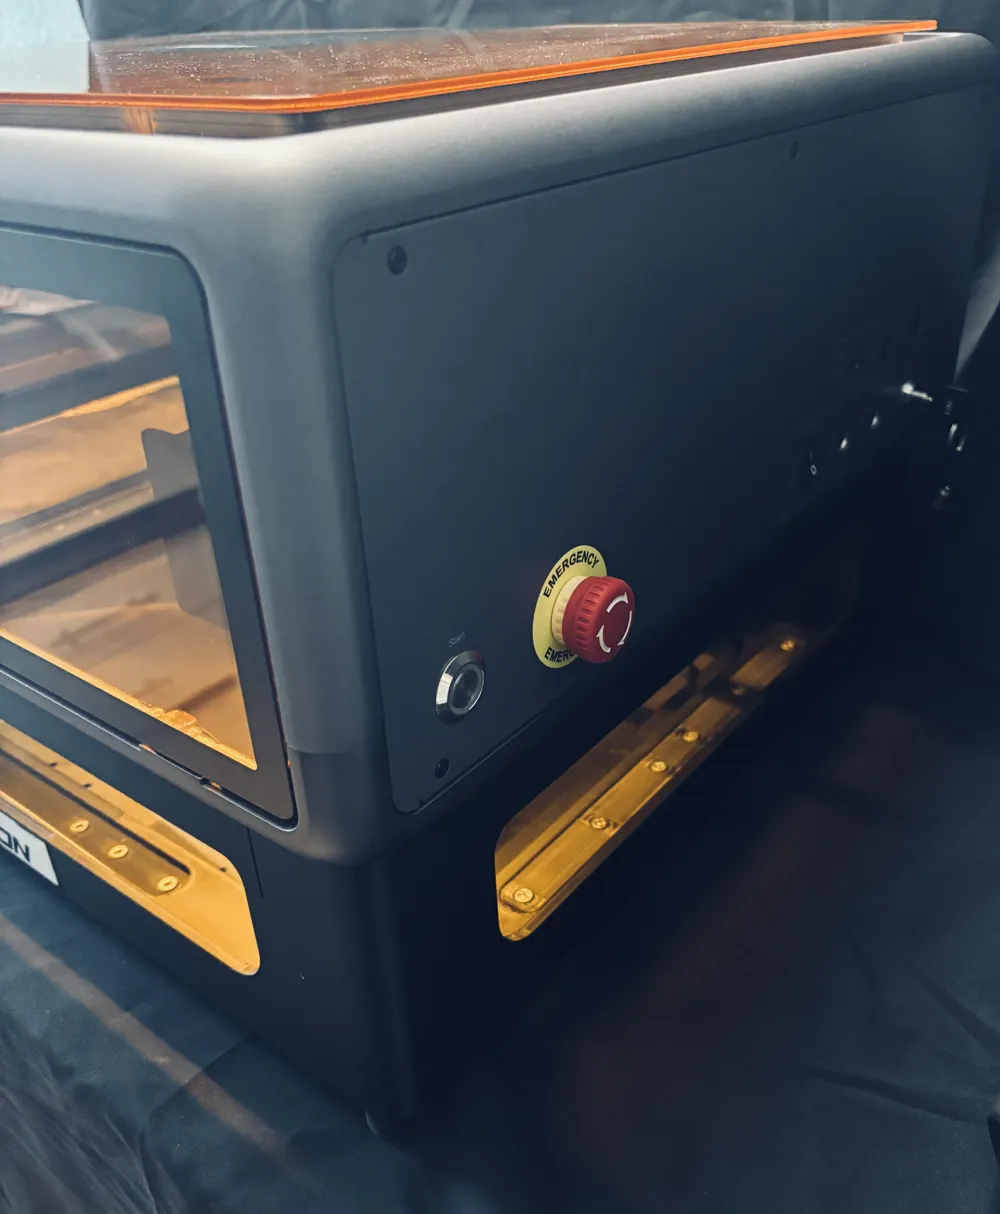
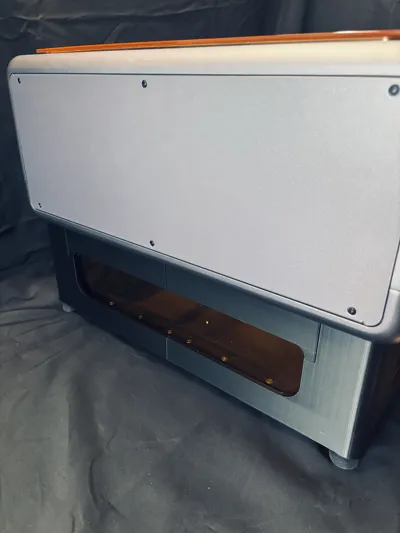
What particularly bothered me was that the laser was completely open downwards. This was problematic not only because of reflections, but also due to the smell and smoke generated when processing round objects made of cardboard or wood.
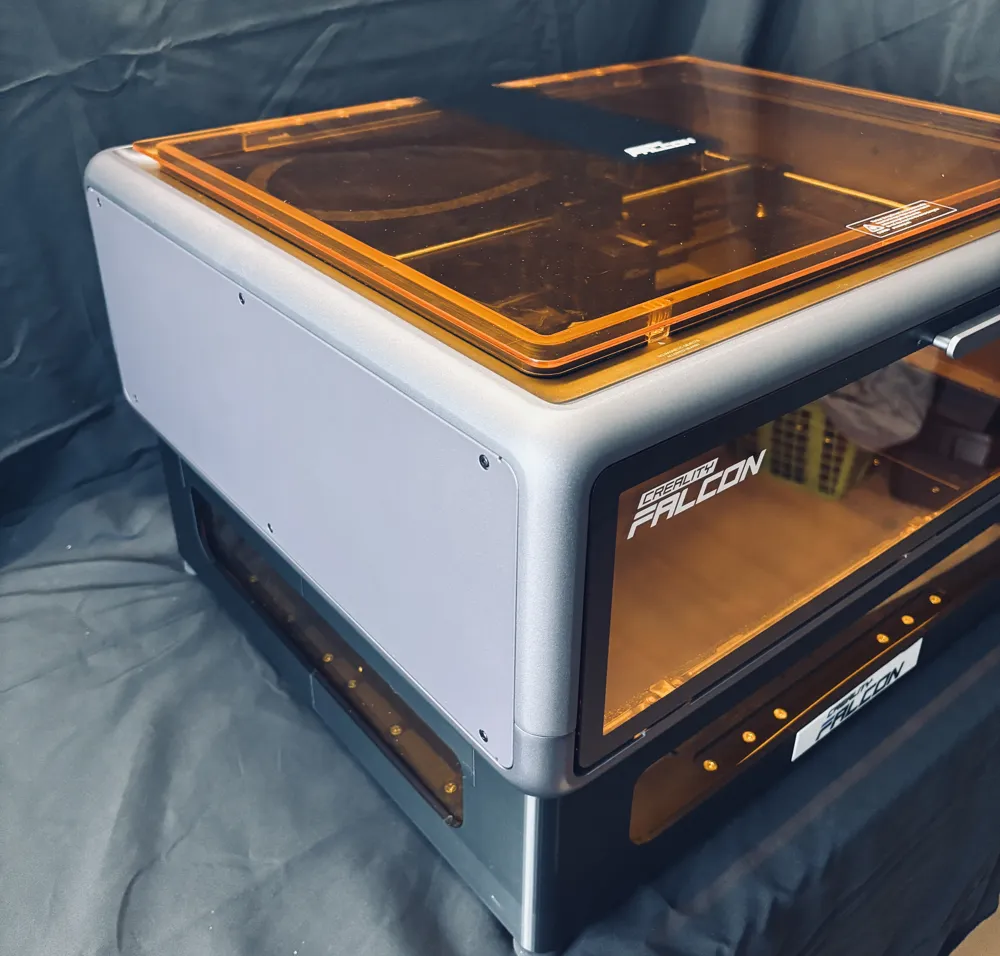
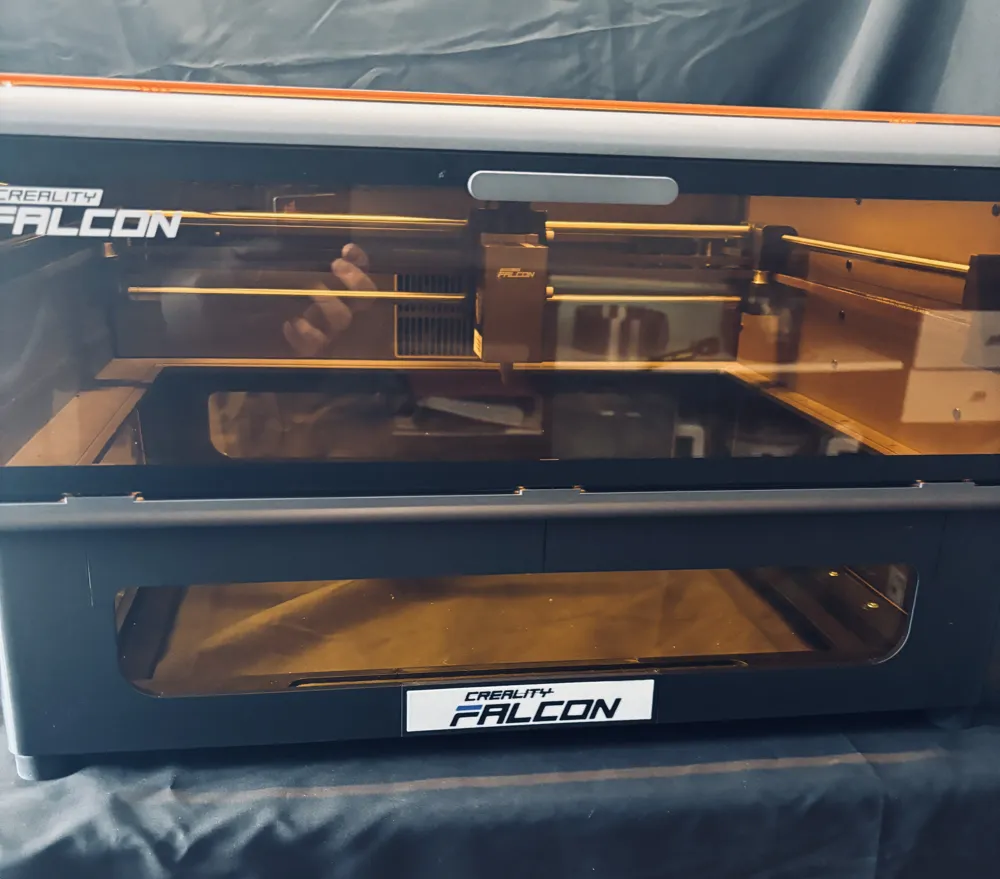
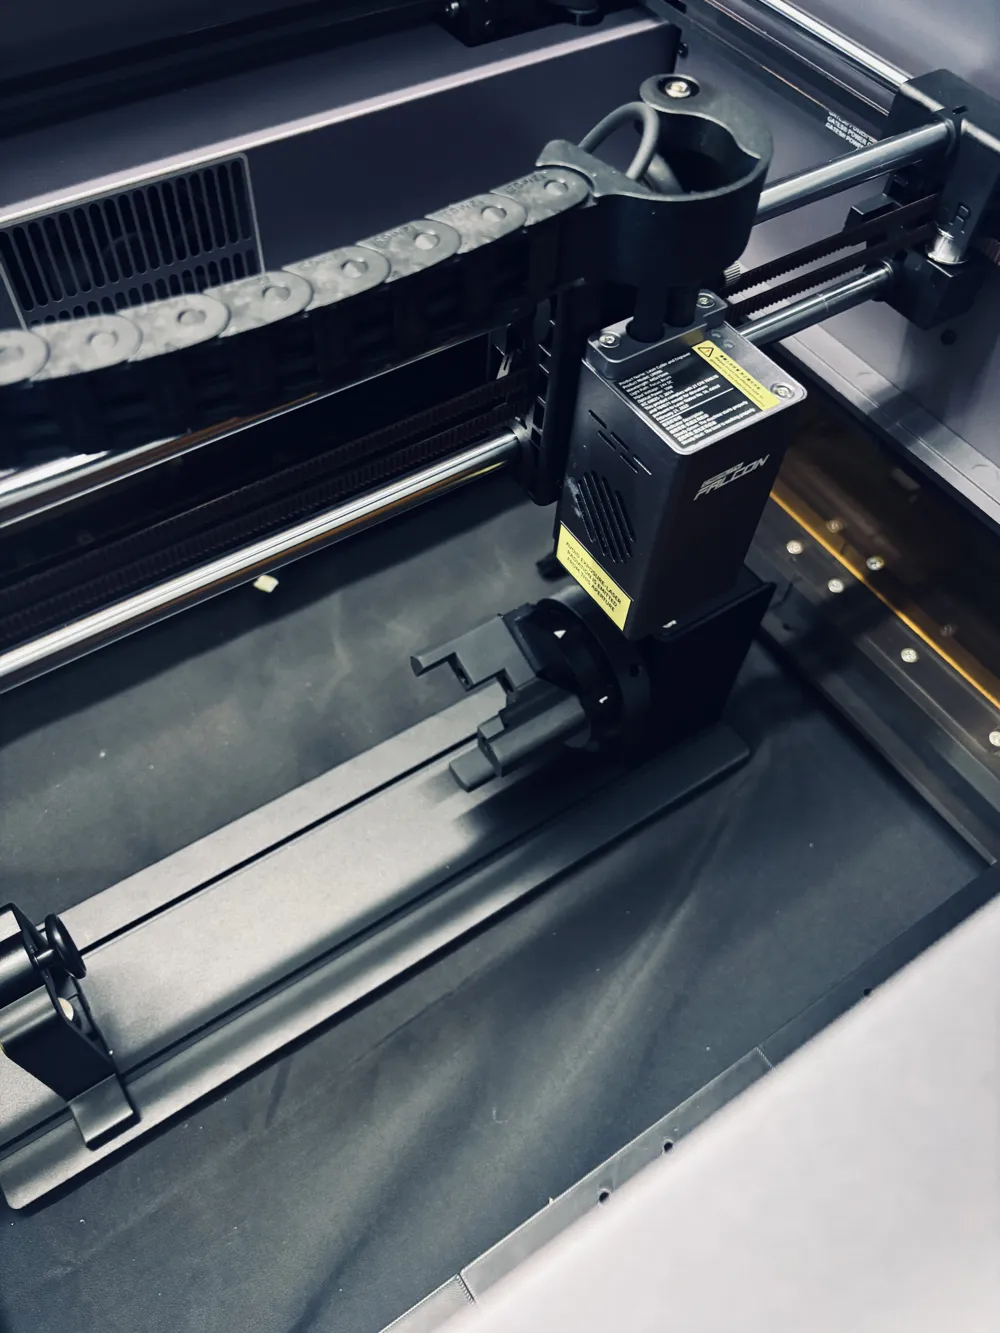
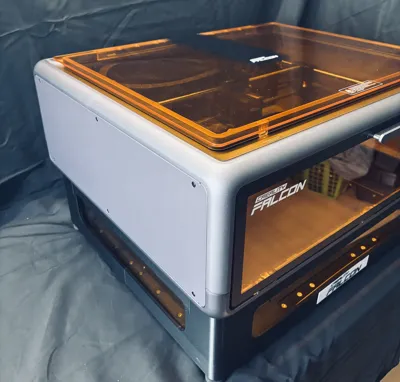
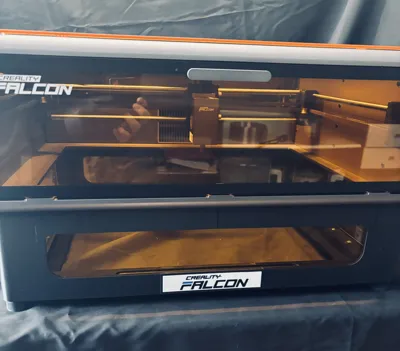
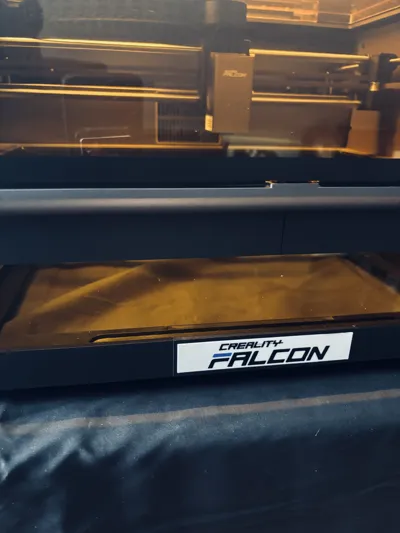
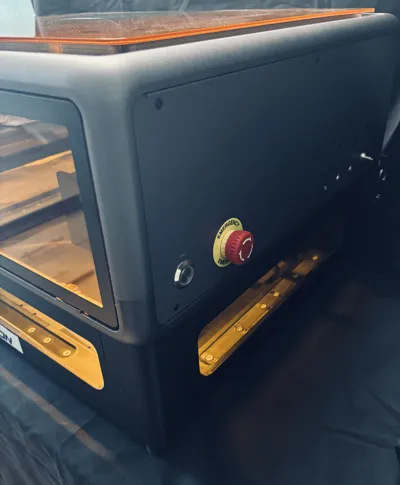
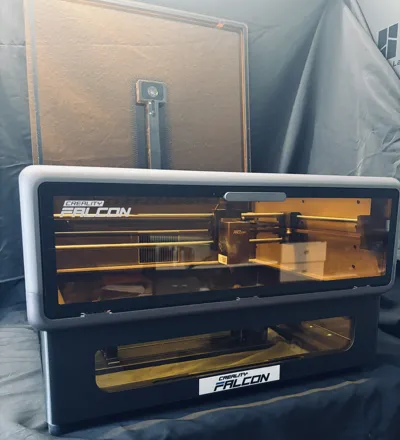
That's why I designed my own model to raise the laser for the rotary axis.
With my model, the whole setup is safer and produces less odor than with the original risers – and it looks good too!
But see for yourselves – I'm sure you'll love the model! 😊
UPDATE 23.11.2025
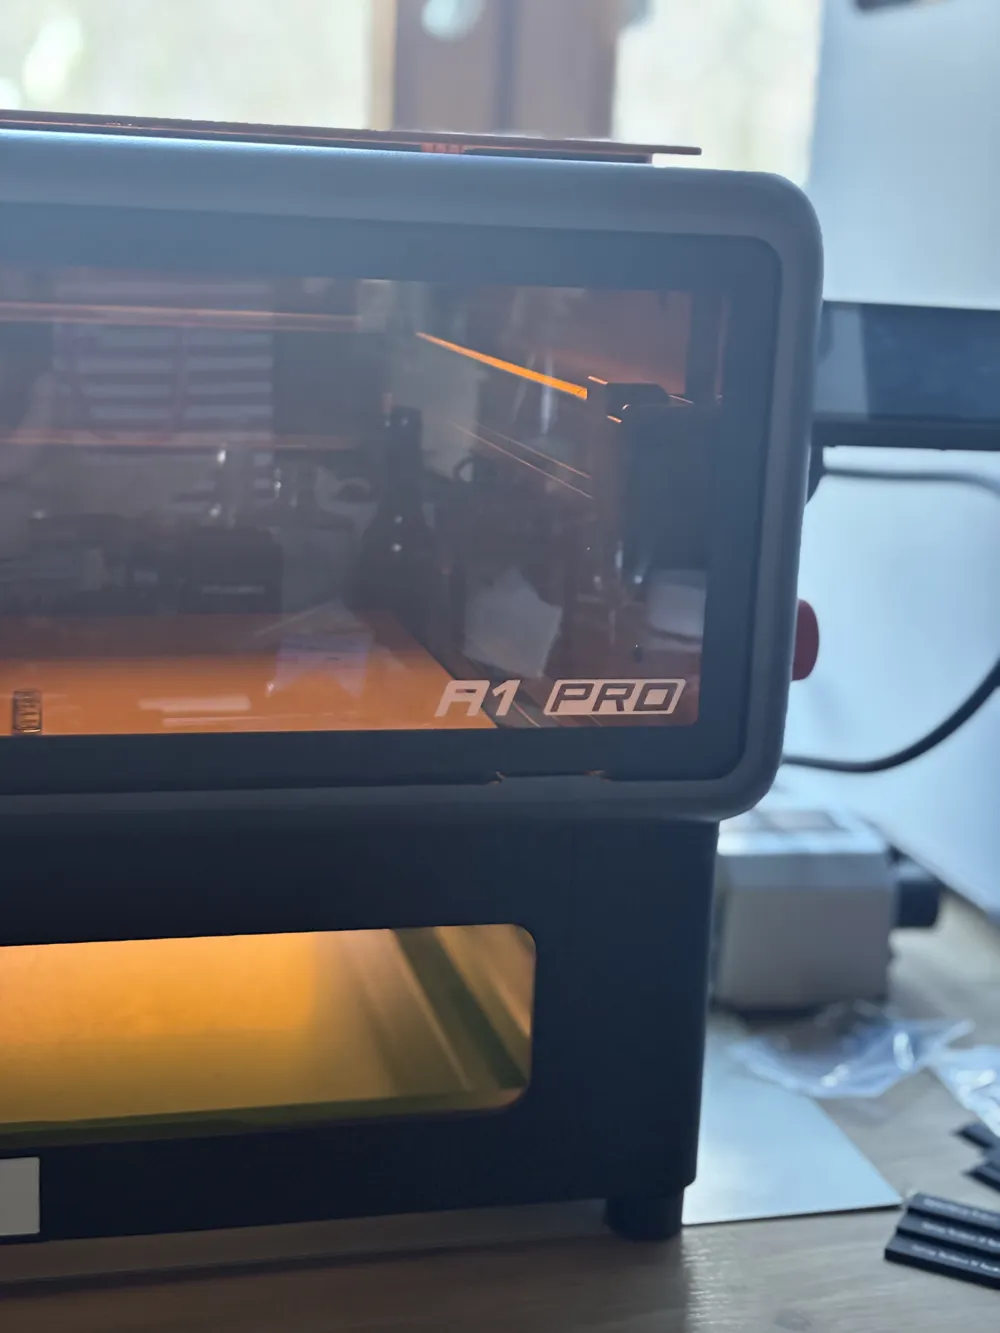
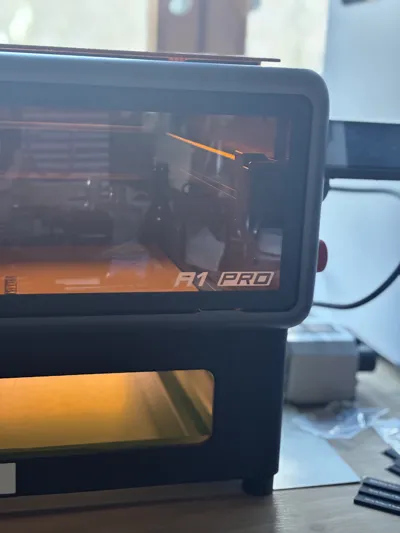
I have added an extension for the A1 Pro.
Essentially, the two models only differ in the front strut.
- If you own the A1 (Standard), print all plates and plate 8, which is labeled A1.
- If you own the A1 Pro, print all plates as well as plate 9, which is labeled A1 Pro.
The following parts are required for this model:
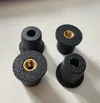
- M6 heat-set inserts – 4 pieces
- M4 heat-set inserts – 40 pieces
- M6 x 16 mm cylinder head screws – 4 pieces
- M4 x 12 mm countersunk screws – 40 pieces
Additionally, plexiglass strips are needed – I used orange-colored ones – in the following sizes:
- 2 pieces: 80 mm x 438 mm
- 2 pieces: 80 mm x 338 mm
The thickness of the plexiglass sheets can be freely chosen, with 3 mm to 10 mm recommended.
Additionally, a wooden base plate of 458mm x 358mm is needed – also with a freely selectable thickness of 3 mm to 10 mm.
The following parts are required for this model:
- M6 heat-set inserts – 4 pieces
- M4 heat-set inserts – 40 pieces
- M6 x 16 mm Zylinder head srews – 4 pieces
- M4 x 12 mm countersunk screws – 40 pieces
You will also need plexiglass strips – I used orange-colored ones – in the following sizes:
- 2 pieces: 80 mm x 438 mm
- 2 pieces: 80 mm x 338 mm
The thickness of the plexiglass can be chosen freely – between 3 mm and 10 mm is recommended.
Additionally, you’ll need a wooden base plate 458mm x 358mm, also with a freely selectable thickness between 3 mm and 10 mm.
Heat-set inserts
Countersunk screws
Cylinder head screw
Assembly
Insert the heat-set insert as shown in the picture!
Insert the heat-set insert as shown in the picture!
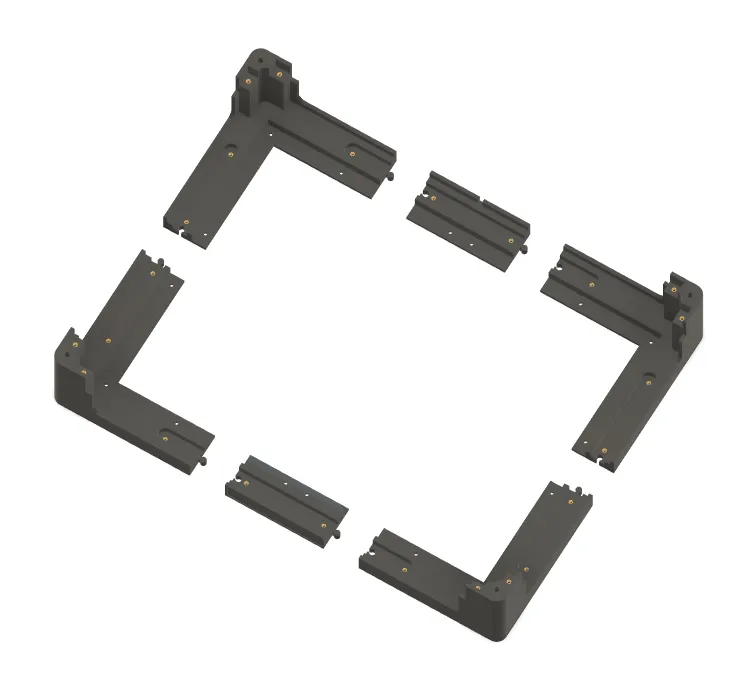
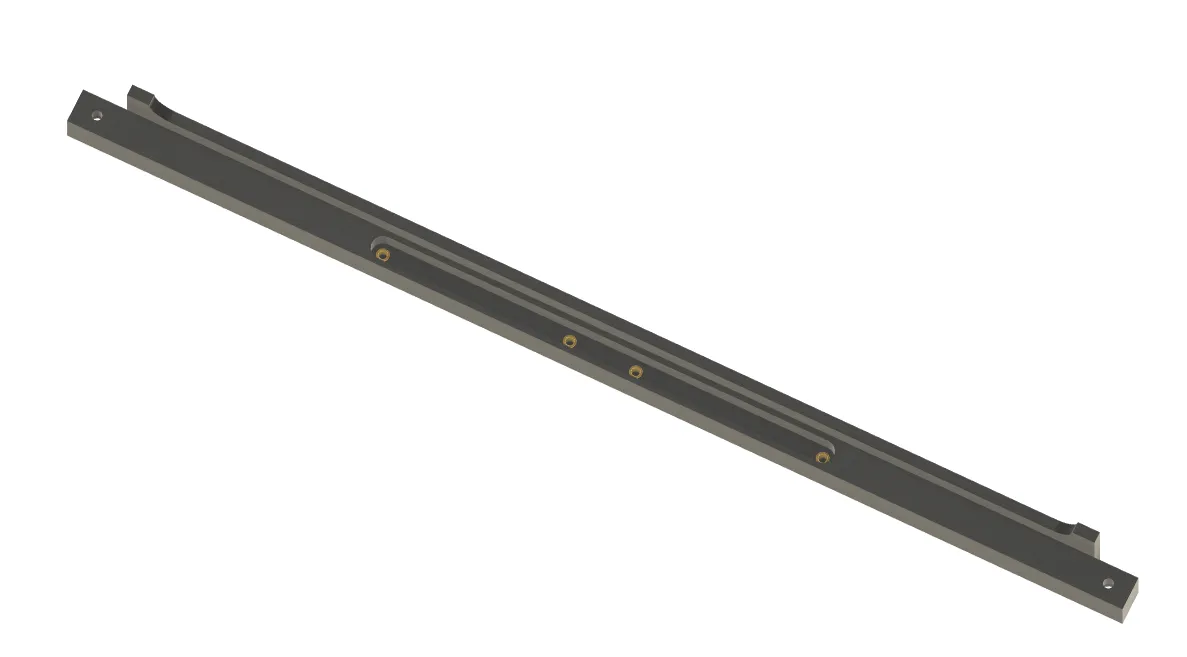
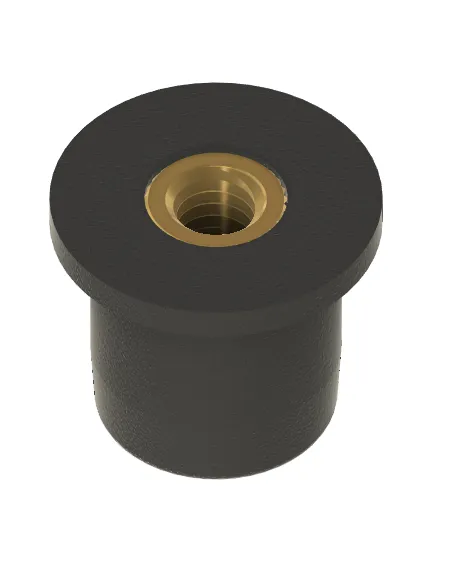
Screw on the connectors as shown in the picture
Screw in the connectors as shown in the picture.
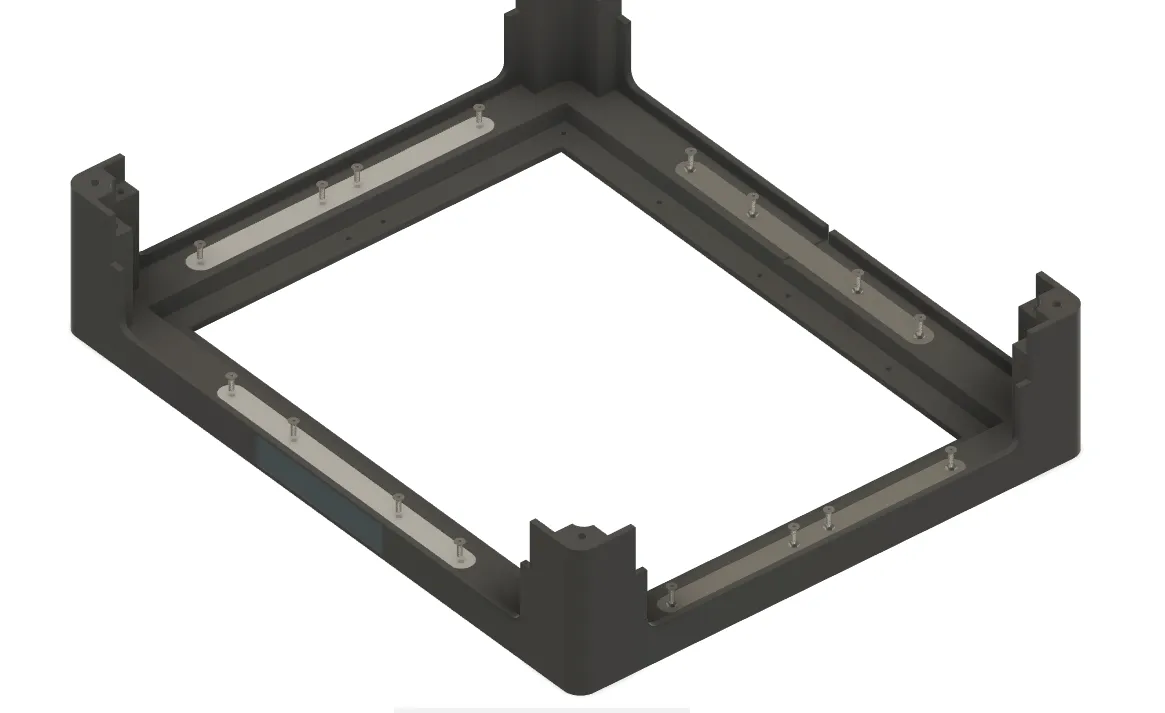
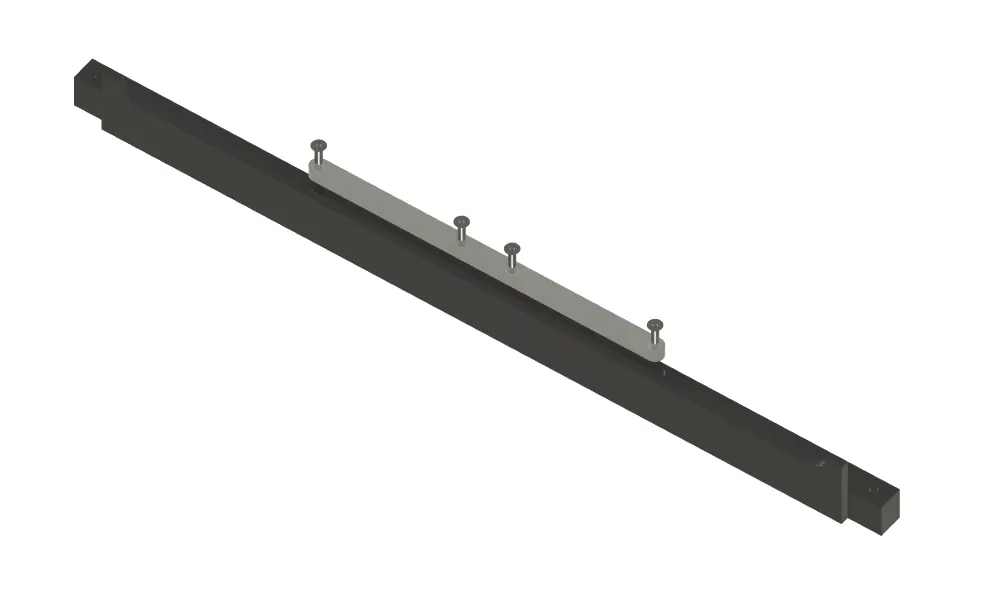
Attach and screw in the upper struts as shown in the picture !!
Attach the upper braces as shown in the picture and screw them in!
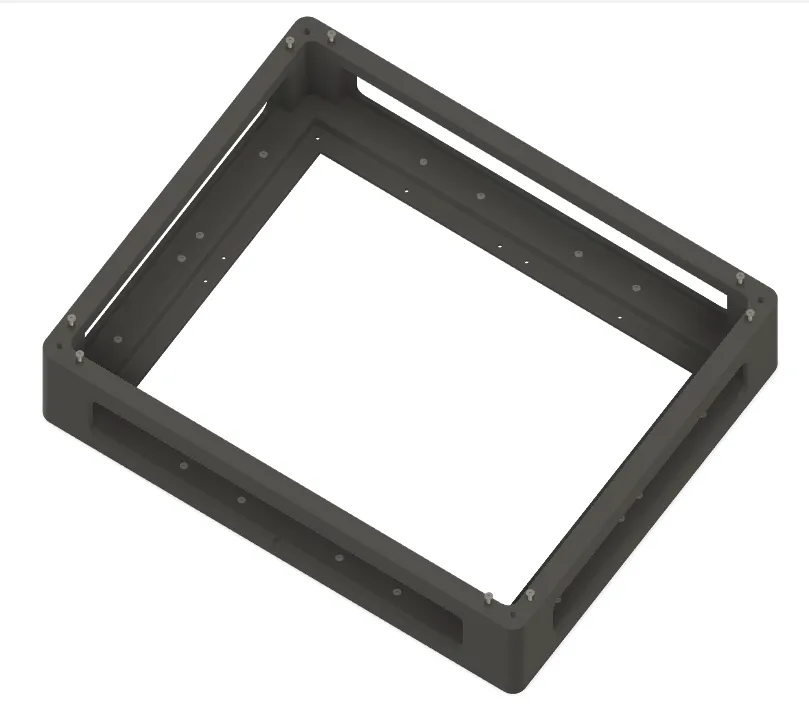
Now place the cable in the rear groove for the rotary axis, then glue in the disks and mount the front shield!!
Now place the cable into the rear groove for the rotary axis, then glue in the discs and mount the front plate!
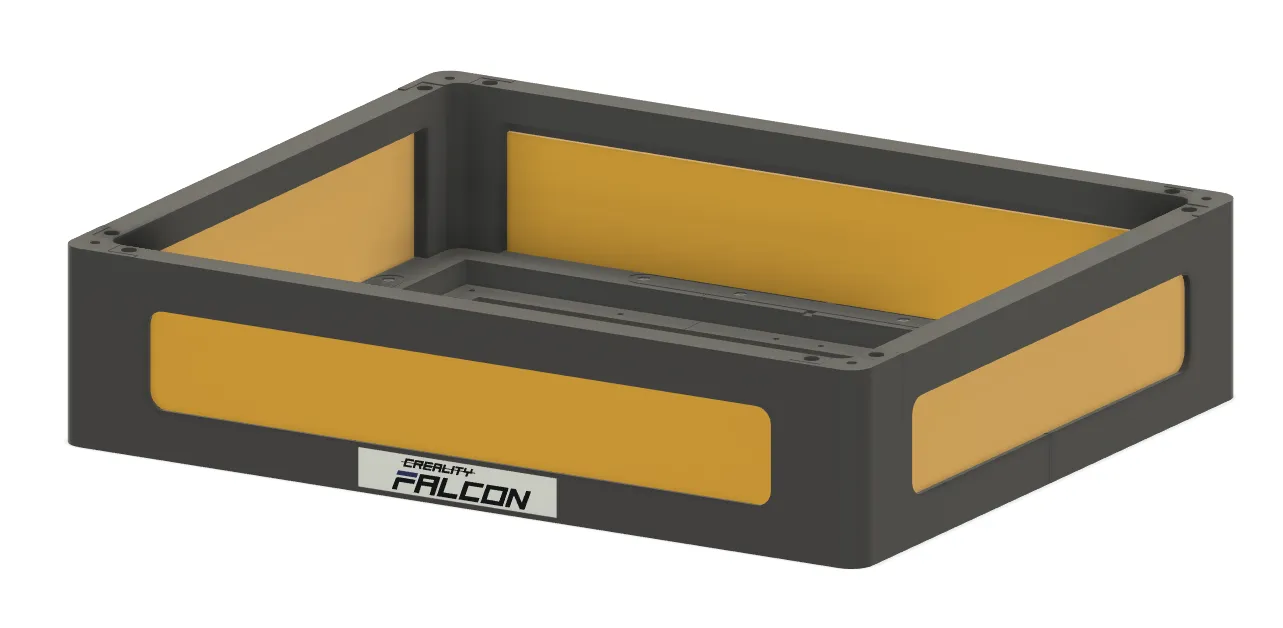
Now you can insert the base plate!
Now you can insert the base plate!
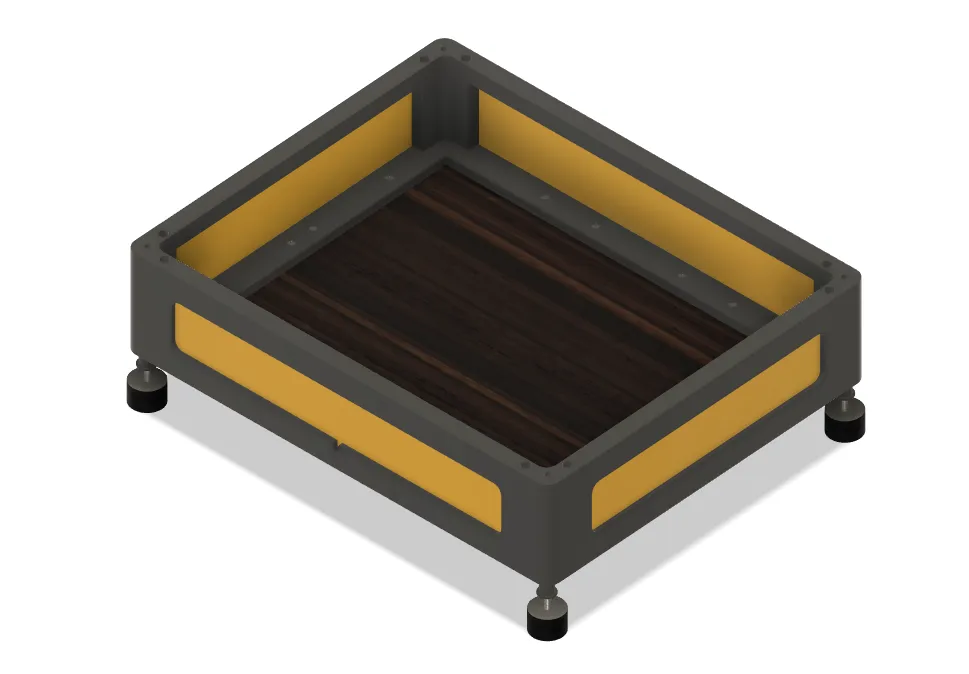
Before you continue, you need to screw the frame onto the laser in the same place where the original feet are screwed on!!!
Before you continue, you need to screw the frame onto the laser – in the same place where the original feet are mounted!
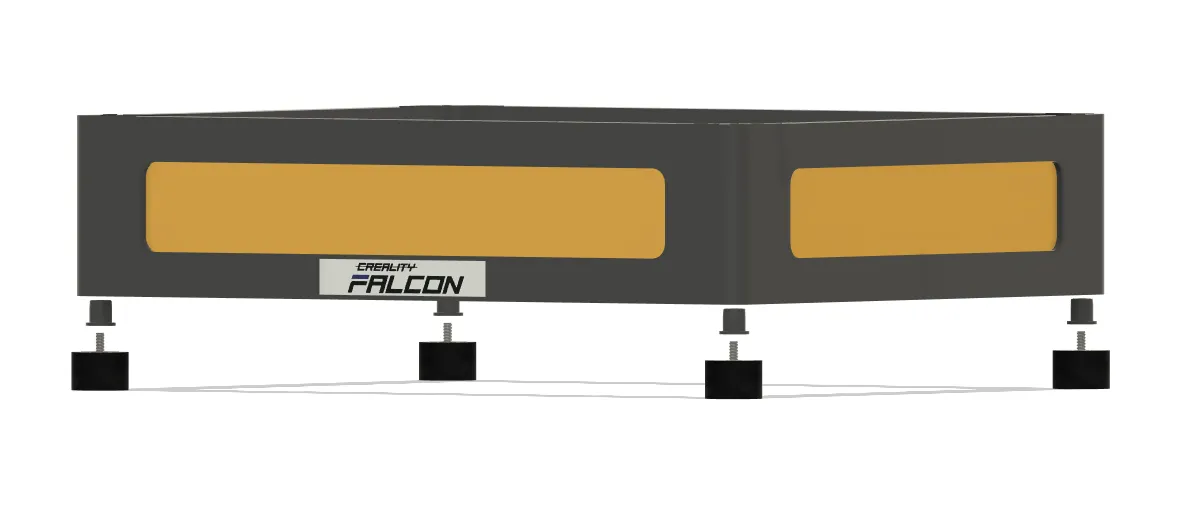
Now you can screw the original feet into the mounts and insert them into the designated holes!!!!
Now you can screw the original feet into the mounts and insert them into the designated holes!
As always: If you have any questions, just write to me! :-)
If you like the model, I'd be happy about a Like and a Subscription – and of course a Boost too! :-)
As always, if you have any questions, feel free to message me! :-)
If you like the model, I’d really appreciate a like and a follow – and of course, a boost would mean a lot too! :-)
https://vm.tiktok.com/ZNdhTngNN/
https://www.instagram.com/reel/DIoLv6OtYwi/?igsh=dTFmd3Yxbjc5NmVo
Boost Me (for free)
I exclusively develop unique models that I print and optimize multiple times until they fit perfectly and meet my quality standards one hundred percent. I invest many hours of work and a lot of filament to provide you with the best quality models. With a boost, you appreciate my work and give me the opportunity to earn points to finance my future projects.
License

You shall not share, sub-license, sell, rent, host, transfer, or distribute in any way the digital or 3D printed versions of this object, nor any other derivative work of this object in its digital or physical format (including - but not limited to - remixes of this object, and hosting on other digital platforms). The objects may not be used without permission in any way whatsoever in which you charge money, or collect fees.


Comment & Rating (132)