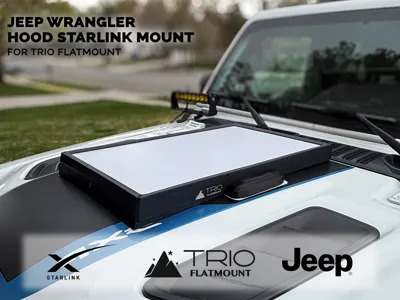
Jeep Wrangler Hood Starlink Mount


Print Profile(1)

Description
Is the Starlink mounted to your roof rack getting in the way?
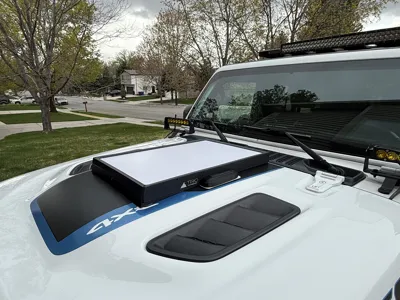
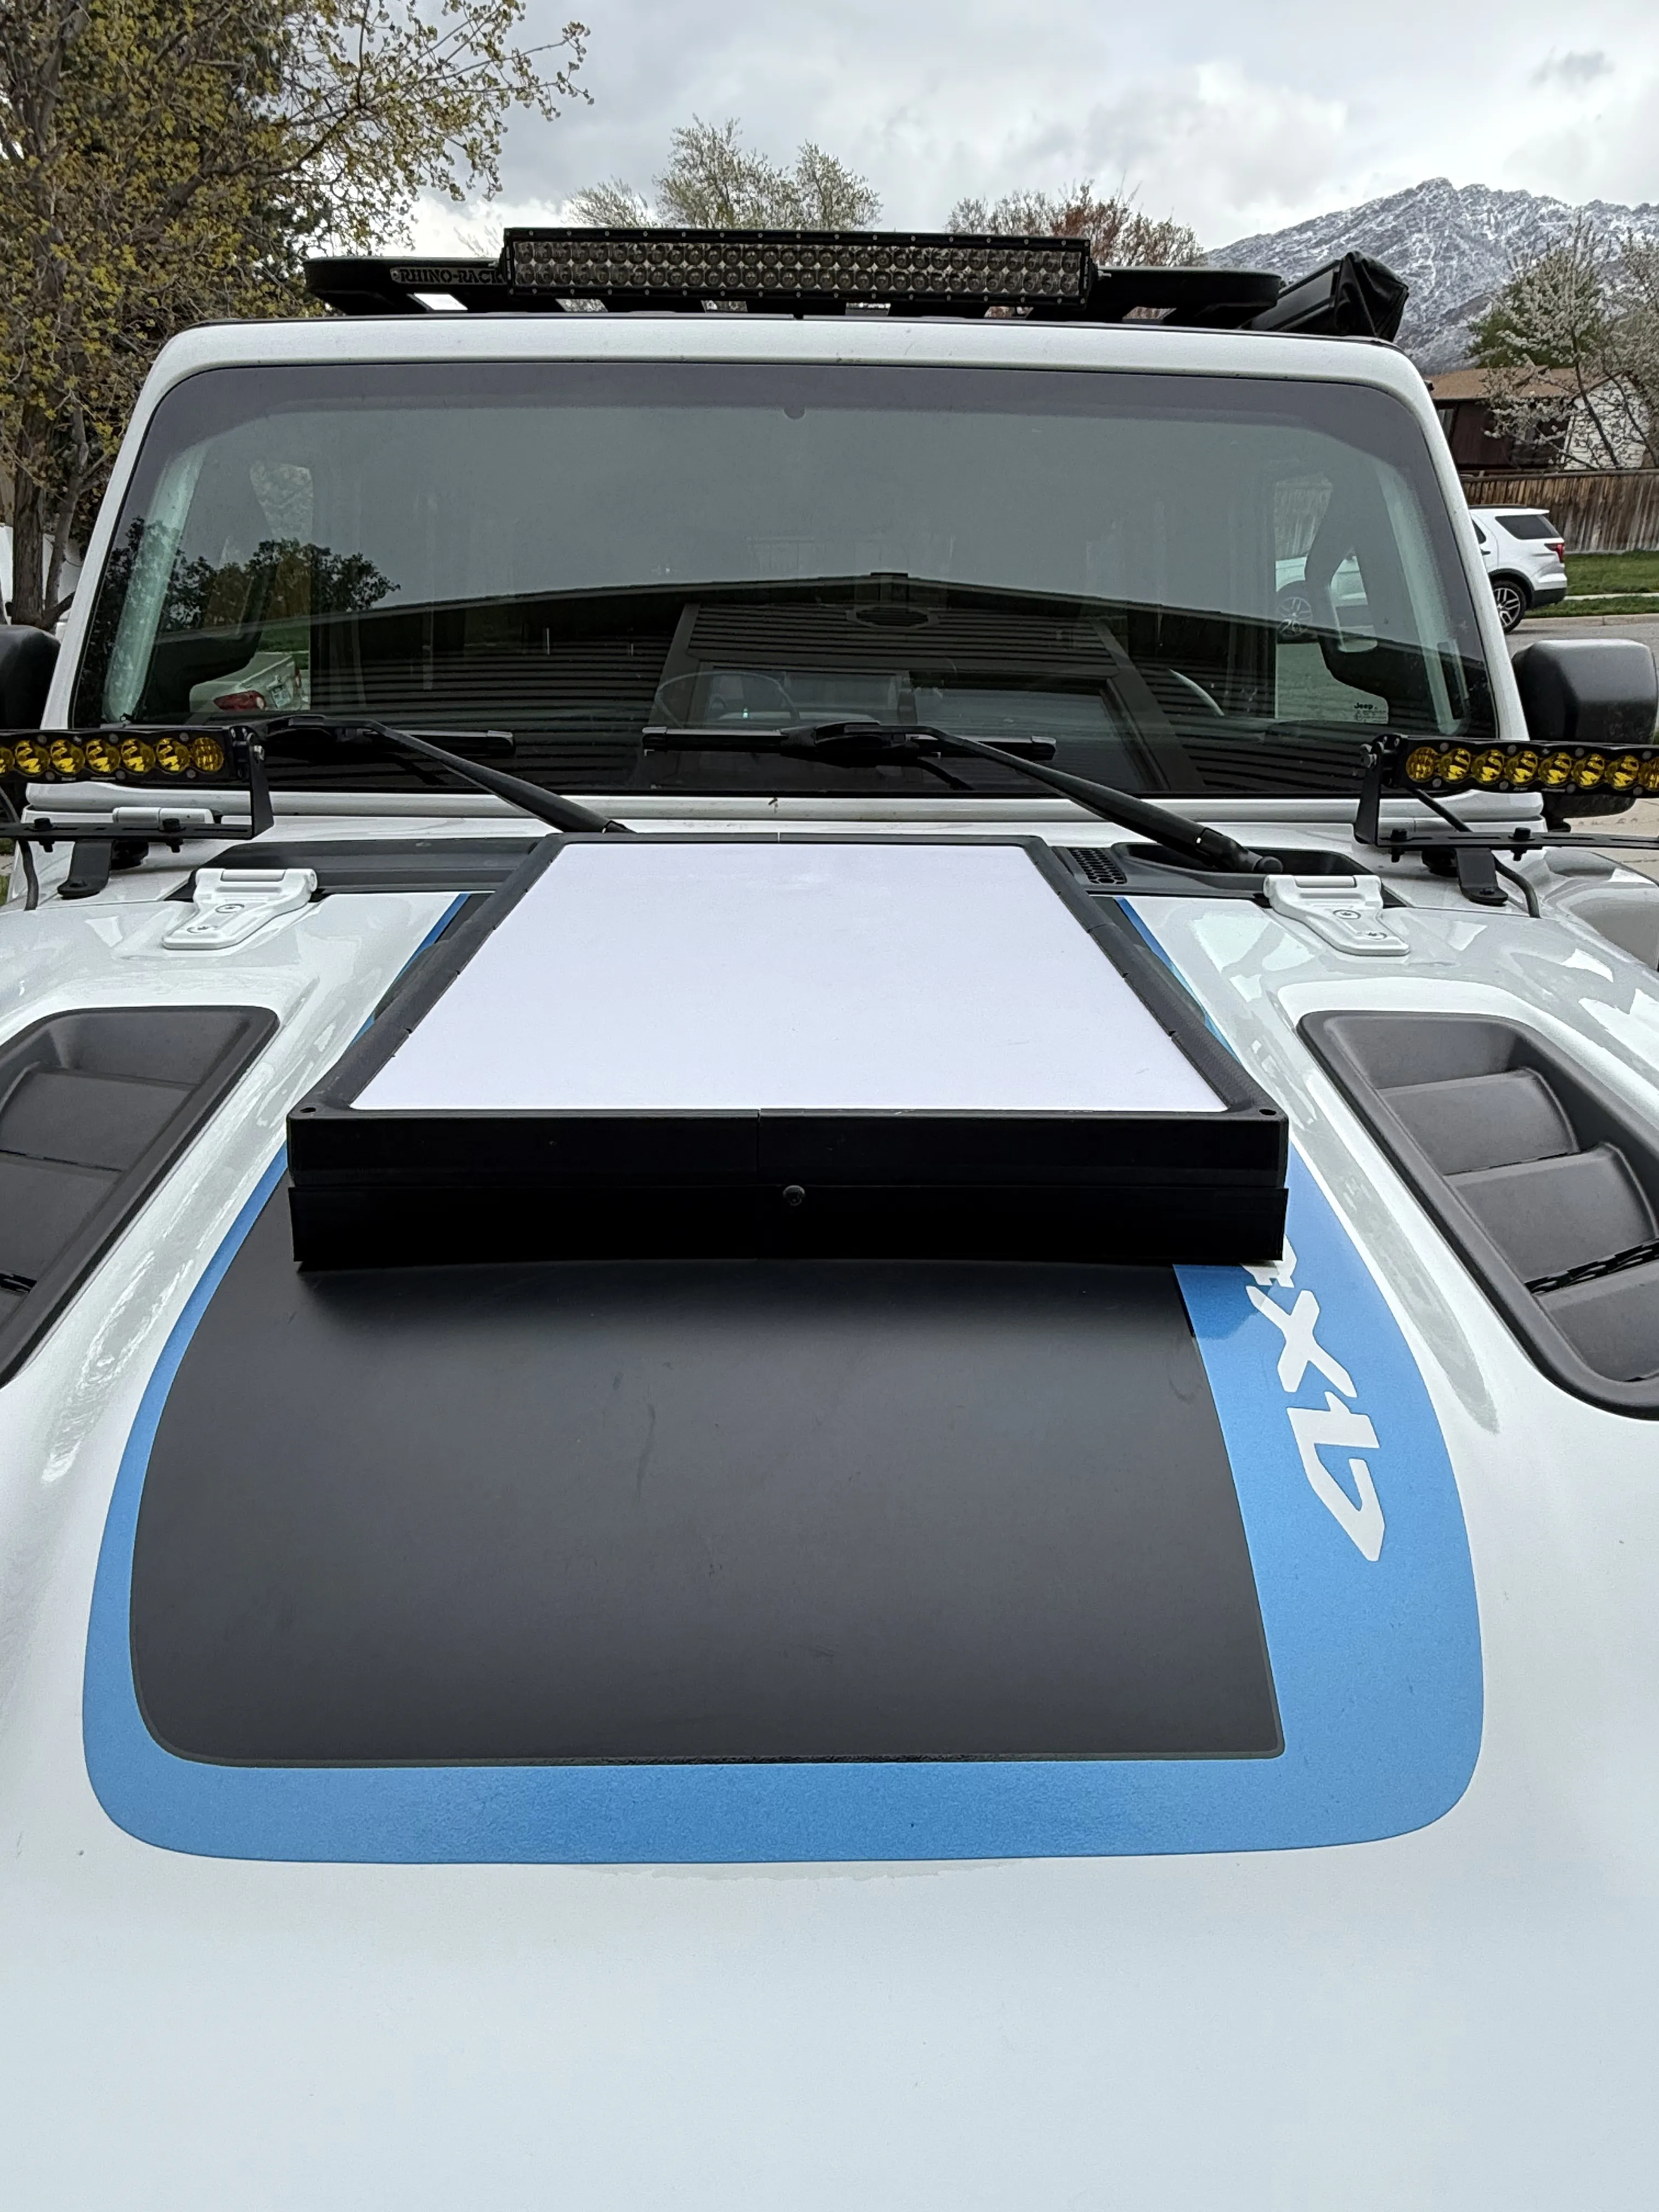
This mounting solution adapts the popular Trio Flatmount Starlink Speedmount for secure use on the hood of a Jeep Wrangler JL. Designed for adventurers and digital nomads alike, it allows you to run your Starlink system right from front of your Jeep — with no drilling or permanent modifications. I designed this adapter so that I could permanently mount my Starlink to my Jeep without having to relocate it when using our rooftop tent. I consistently clock speeds over 300mbps while stationary and around 150-200mbps while in motion.
Key Features:
- Designed for Jeep Wrangler JL hoods (2018+)
- Reversible, non-permanent install — no drilling required
- Includes wind-blocking air dam for reduced drag and better highway stability
- Doesn't block windshield wiper fluid dispenser
- Sleek, low-profile fit — looks OEM
- Prints on 1 plate (250mm cubed and larger beds)
Notes:
- Trio Flatmount Starlink Speedmount required
- ABS or PETG recommended for best durability in outdoor conditions
- While designed specifically for the JL hood, it may also fit JK models — we’ll update this listing as community feedback rolls in.
Extra Materials Needed:
- 4 Bolts (various sizes will work)
- 4 Nuts
- 4 Washers
- 4 Rubber Gaskets
- 2 Cabinet Door Bumpers
- 3M VHB double sided tape
- ABS-Compatible Glue (or PETG if using that material)
Instructions:
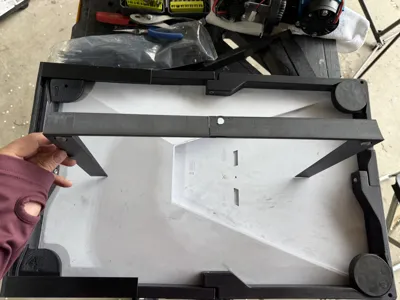
Print your materials in ABS (recommended) or PETG. Take your time removing the supports. Go ahead and stick two cabinet door bumpers into the recessed holes.

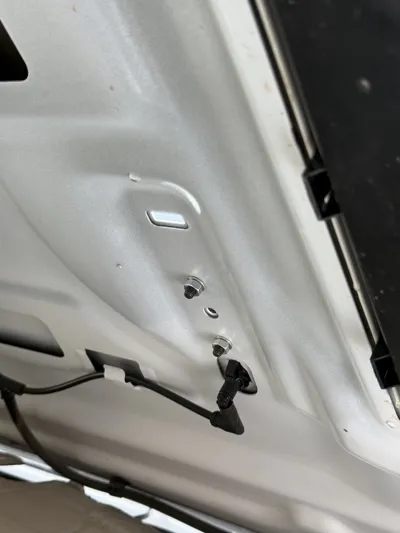
Remove the hood bumpers on your Jeep. Under the hood, peel back the heat shielding (held by plastic clips) and unscrew the two nuts that hold down each bumper. After removed, simply pop the bumpers upward to remove. Remove the gasket as well.


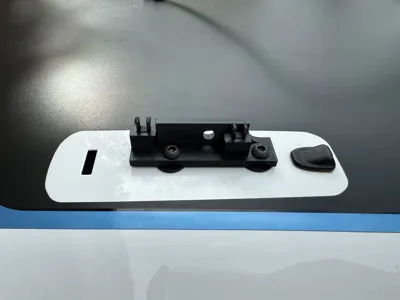
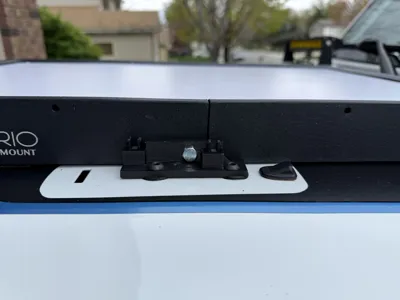
Take your hardware and gaskets and attach the brackets with the sloped side facing the front windshield. Fasten the rubber gasket between the hood and the mount with the washer and nut underneath the hood. See the photo below for a visual orientation.


Use glue and a clamp to attach the two sides of the air dam together. If you somehow have a printer large enough, these two pieces can be combined.

Add VHB tape to the air dam as shown in the photo below.

Remove the two feet (if applicable) on the front of the Trio mount (the ethernet cable cutout and ethernet port should be facing the front windshield). Remove the tape backing from the air dam and attach it to the underside of the Trio mount like shown below. Thread the existing Trio bolt through the air dam's bolt hole and tighten. The seam between the air dam should align with the seam of the Trio mount.
I left the magnetic feet on the rear of the Trio mount to provide a softer resting surface at the rear. This of course is optional if you do not have the magnetic feet. If you do not own them, feel free to add more cabinet door bumpers to the rear of the Trio mount to provide a softer contact surface and provide a tighter fit to the hood.

Thread your ethernet cable under the hood and connect it to the Starlink. Place the Starlink between the two sets of mounting brackets you have already installed.

Thread the side bolts of the Trio mount through the mounting brackets and tighten to the Trio mount. Attach four clips in the slots on the mounting brackets. If you have issues inserting the clips, ensure you have removed all support from the openings.

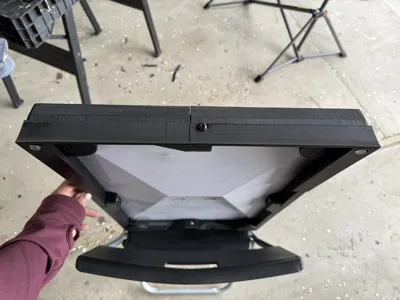
Attach the cover to the mounting hardware using the clips. Ensure the cut out of the cover is facing the front windshield.
If you snap a clip - no worries! I have included spare clips in the design just in case! I wanted these covers to be easily removable in case you needed to remove the Starlink from your Jeep quickly. This also prevents you from having to reprint the entire cover if a clip snaps.


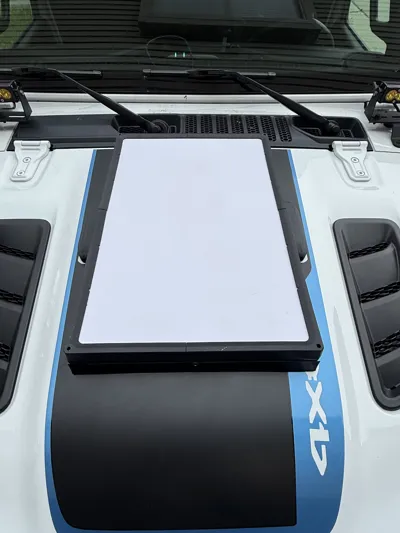
Installation is complete! Sit back, have a drink, and stare at it - you earned it.

License
You shall not share, sub-license, sell, rent, host, transfer, or distribute in any way the digital or 3D printed versions of this object, nor any other derivative work of this object in its digital or physical format (including - but not limited to - remixes of this object, and hosting on other digital platforms). The objects may not be used without permission in any way whatsoever in which you charge money, or collect fees.
Comment & Rating (2)