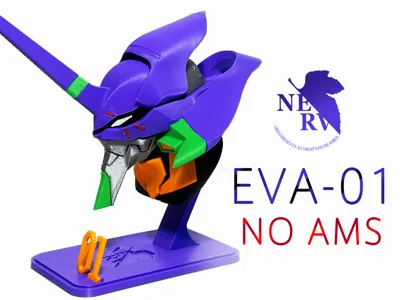
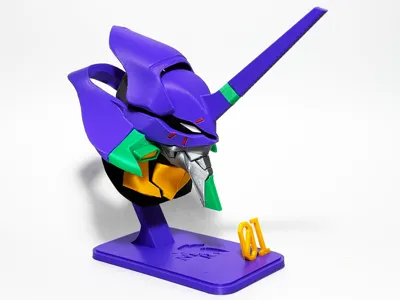
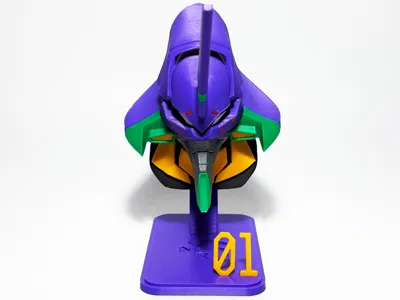
EVA01 Head Bust - No AMS Required


Print Profile(2)


Bill of Materials


Description
EVA Unit-01 Head Bust – No AMS Required!
Modeled completely from scratch—hope you like it!
Important Notes:
- On Plate 2, I've positioned two large parts vertically to help reduce the need for supports. I'm printing on a smooth PEI plate, and it works well for me.
If your build plate isn’t particularly sticky, you might want to lay these parts more horizontally to ensure better adhesion. - This model is smaller by default compared to my previous Unit-02 head bust. I chose this size because it fits my desk better.
If you'd prefer a similar scale to the Unit-02 model, simply scale this one up by 140%.
Assembly and demo video below. I videoed the steps and some tricks on how to assemble it.
If you cannot open the youtube video, please use the following animation for assembly instruction. Sorry for the low image quality. The tricky part is to glue the red lines, due to the tiny size. You may need a tweezer.

Step 1: glue neck pieces

2. Step 2: Attach jaw and middle pieces

3. Step 3: glue eyes to face

4. Step 4: Stack top pieces

5. Glue the red line pieces carefully.
This step can be tricky due to the tiny size of the red lines. Use the animation below to help identify the correct orientation and how each red line fits into the grooves.- The shortest red piece goes into the upper groove.
- The longest red piece fits at the front bottom.
- Pay attention to the small markers on each red piece—they’re there to guide you with the correct orientation.

6. Install the front pieces

7. base

License
You shall not share, sub-license, sell, rent, host, transfer, or distribute in any way the digital or 3D printed versions of this object, nor any other derivative work of this object in its digital or physical format (including - but not limited to - remixes of this object, and hosting on other digital platforms). The objects may not be used without permission in any way whatsoever in which you charge money, or collect fees.
Comment & Rating (150)