
Fisherman's KitCard - Full set Birthday card

Print Profile(2)


Description
Membership
Print & sell my models with this small monthly membership payment.
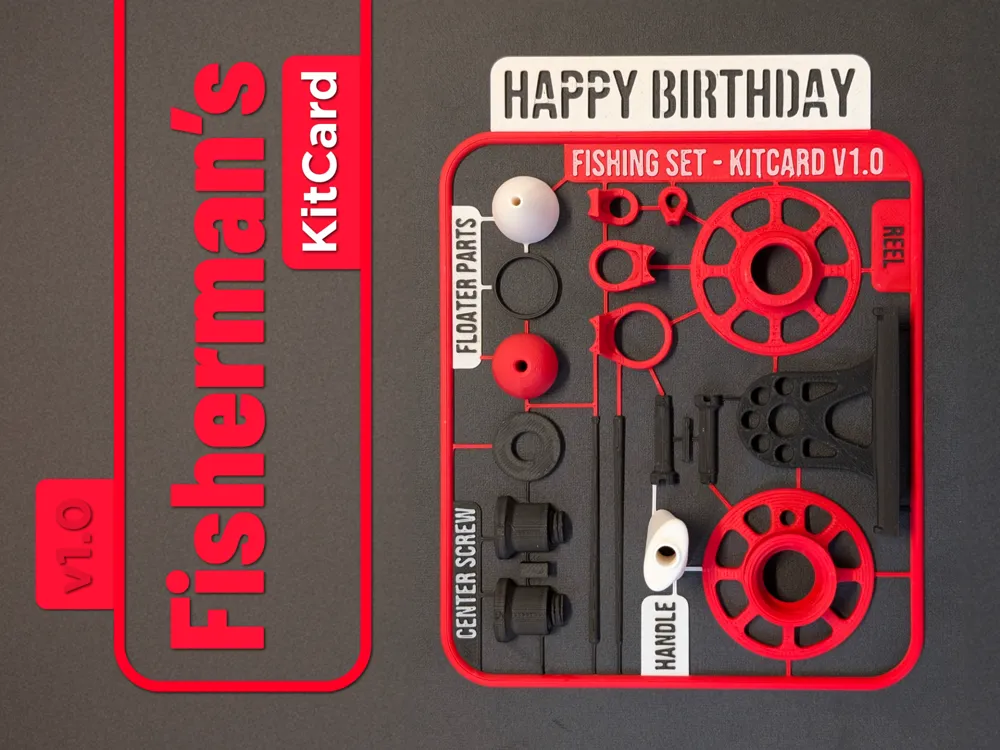
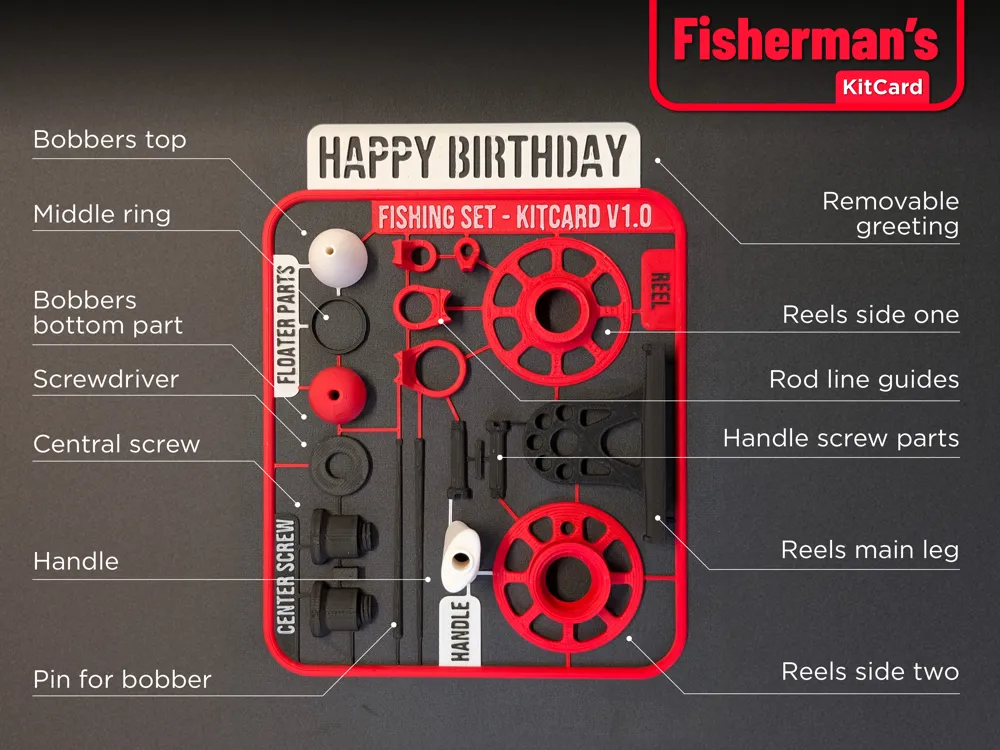
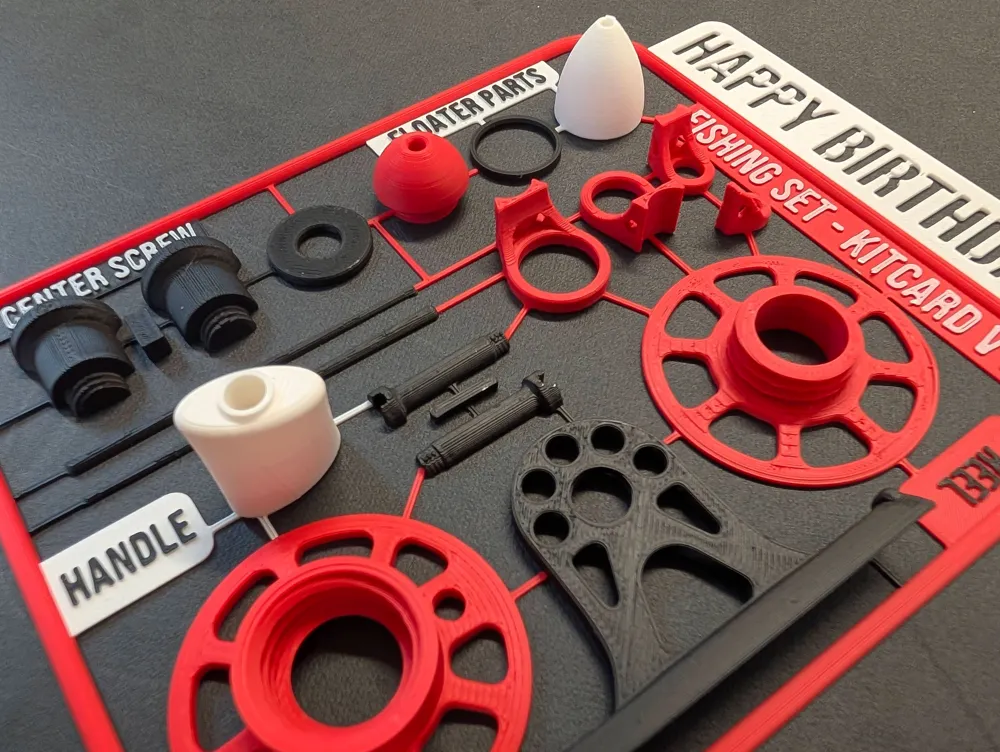
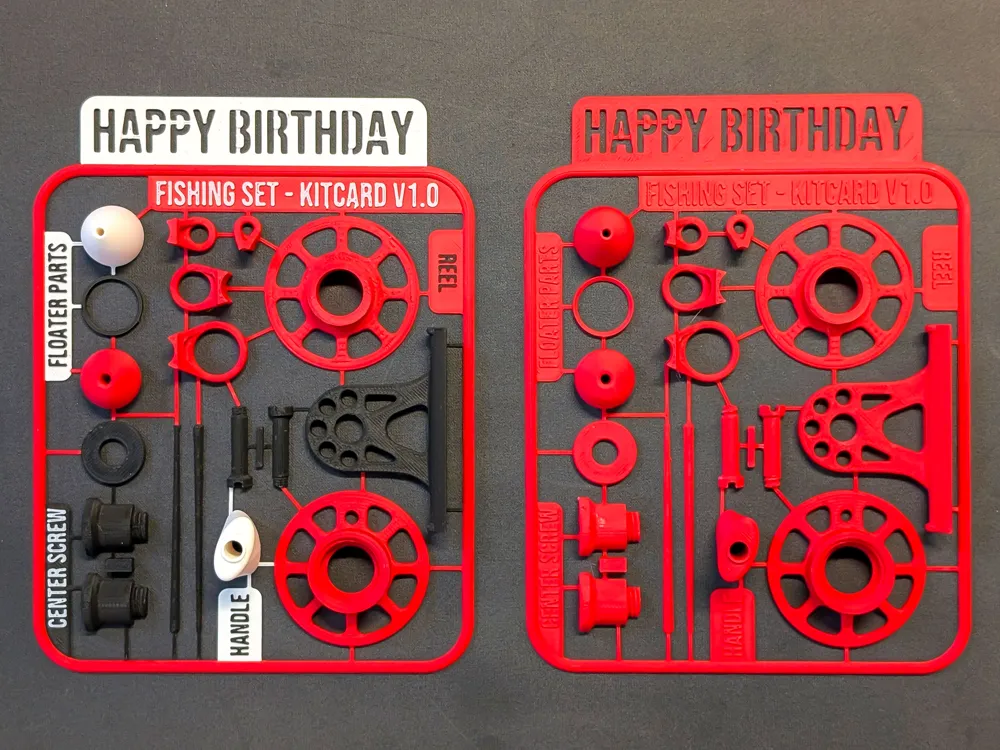
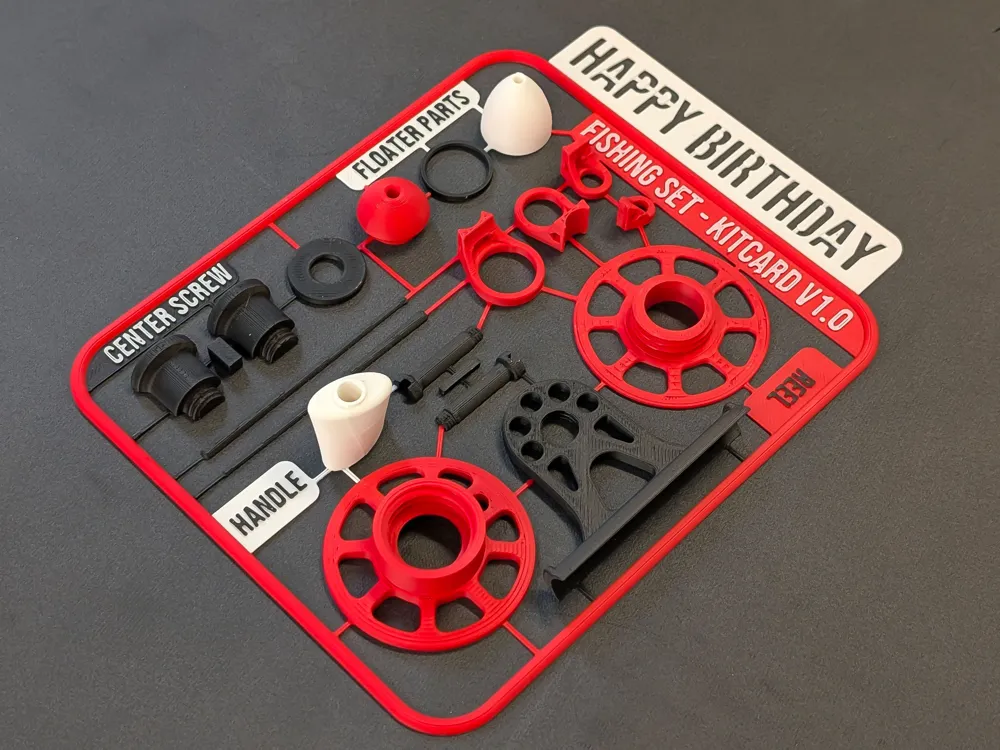
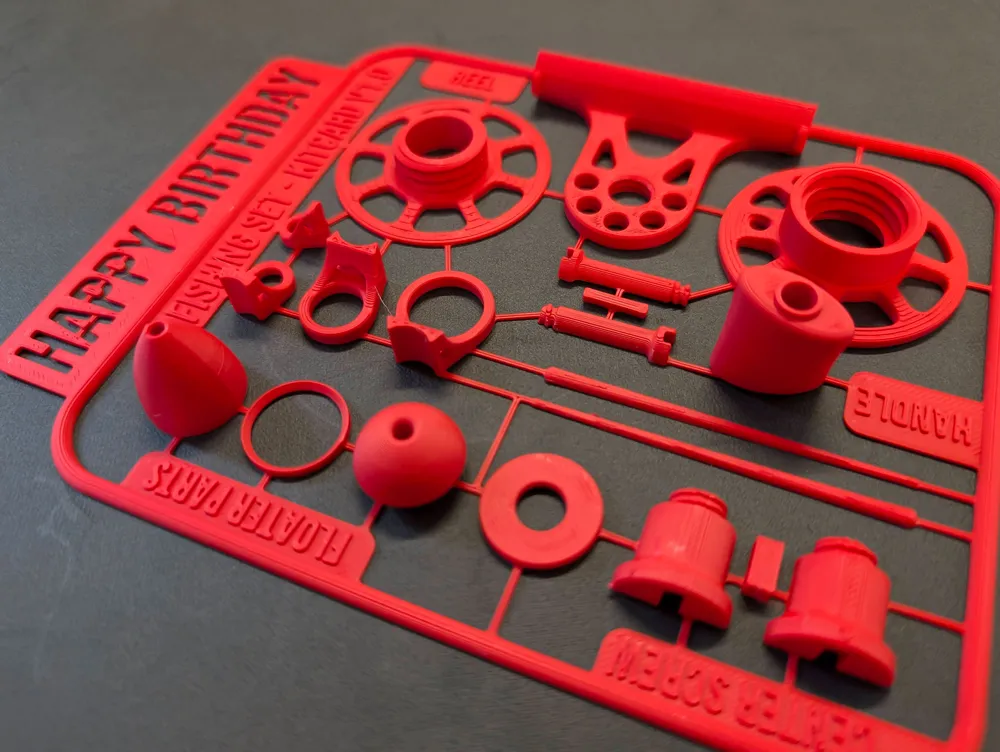
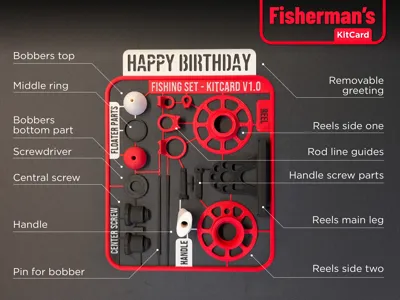
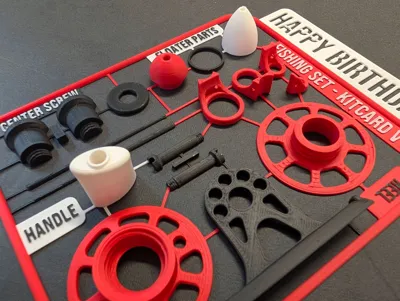
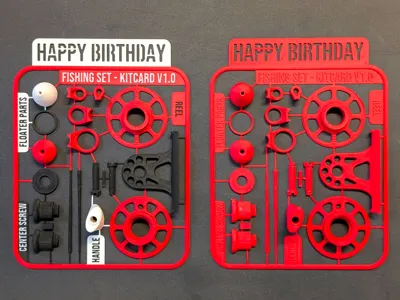
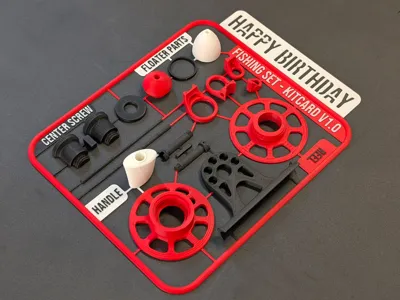
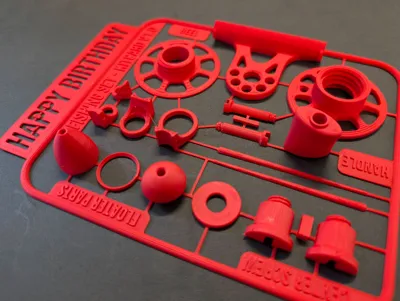
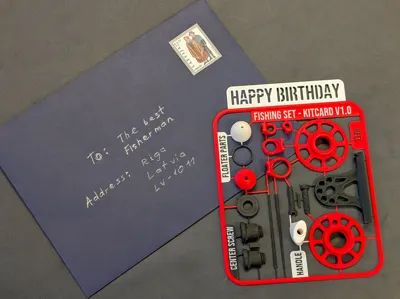
A clever, print-in-place 3D model that transforms into a functional fishing kit! Includes a reel, bobber, and rod rings – everything you need to assemble a real fishing rod and catch an actual fish.
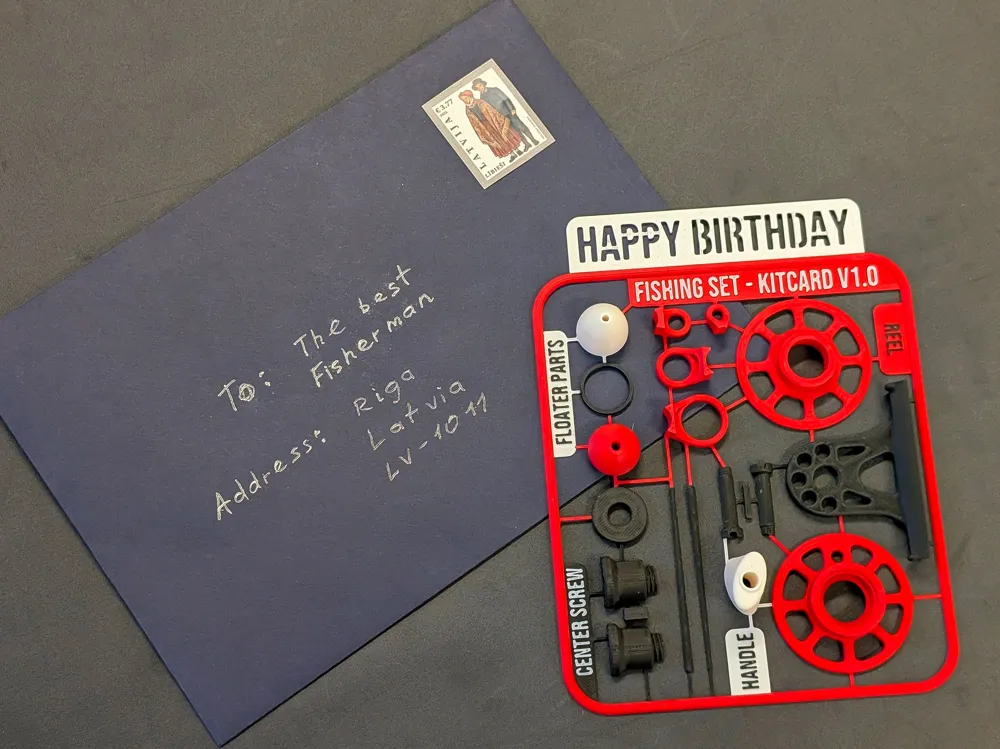
Designed to fit in an A5 envelope, it doubles as a fun and unique birthday card for any fishing enthusiast. Print it flat, snap it together, and head to the water – adventure awaits!
To complete the setup, you will need:
• A fishing hook (approximately 10mm in size)
• A weight (0.6g - 0.8g)
• Fishing line 5-10m (any size)
• 6x zip ties (2.5mm x 100mm)
• A tree branch (between 0.5m - 1.5m in length and 10mm - 25mm in diameter)
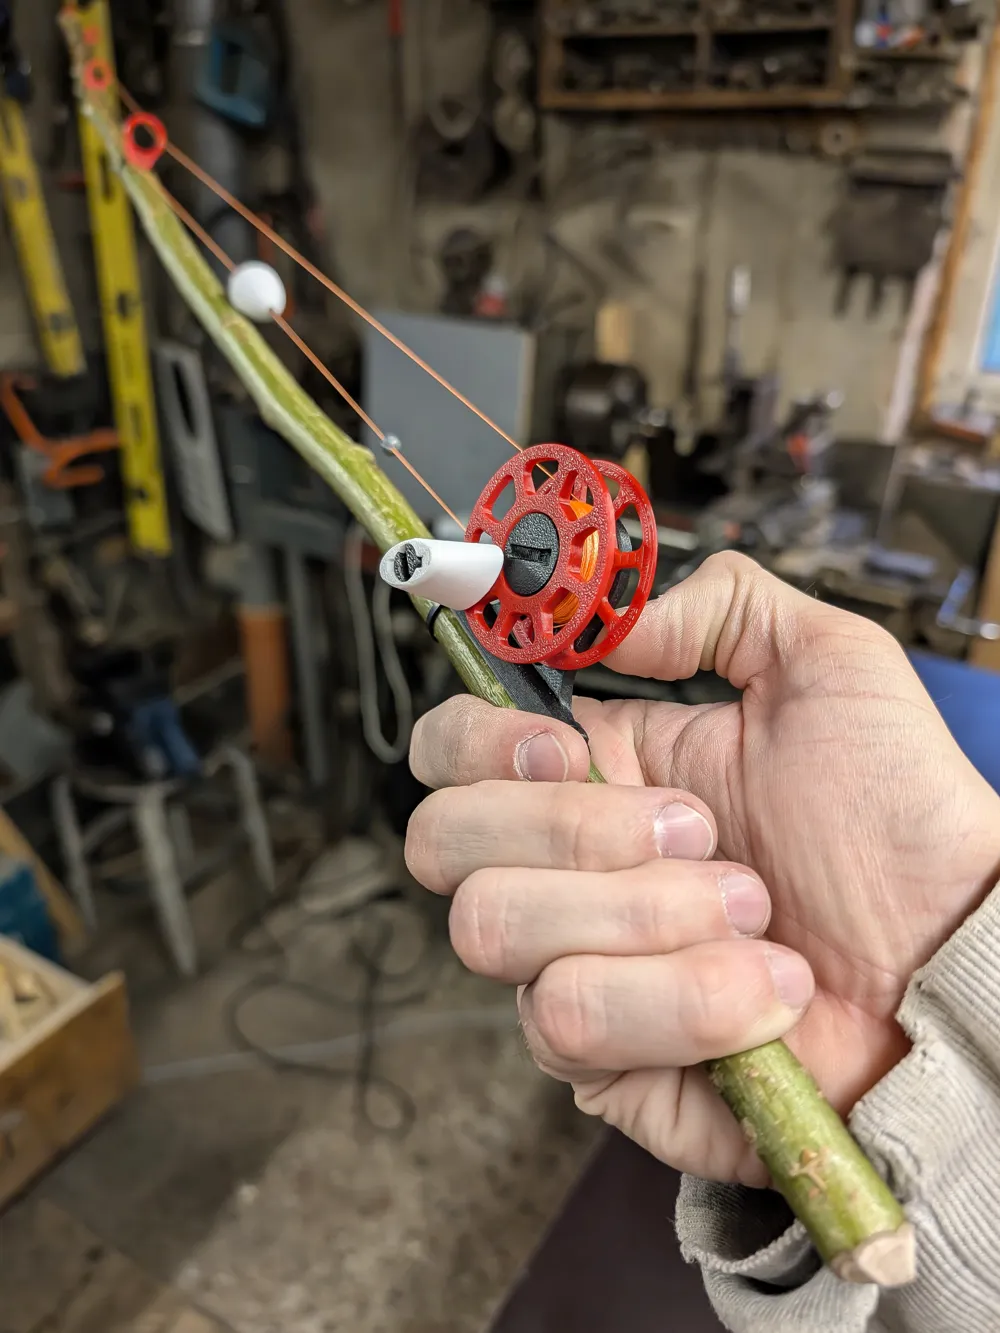
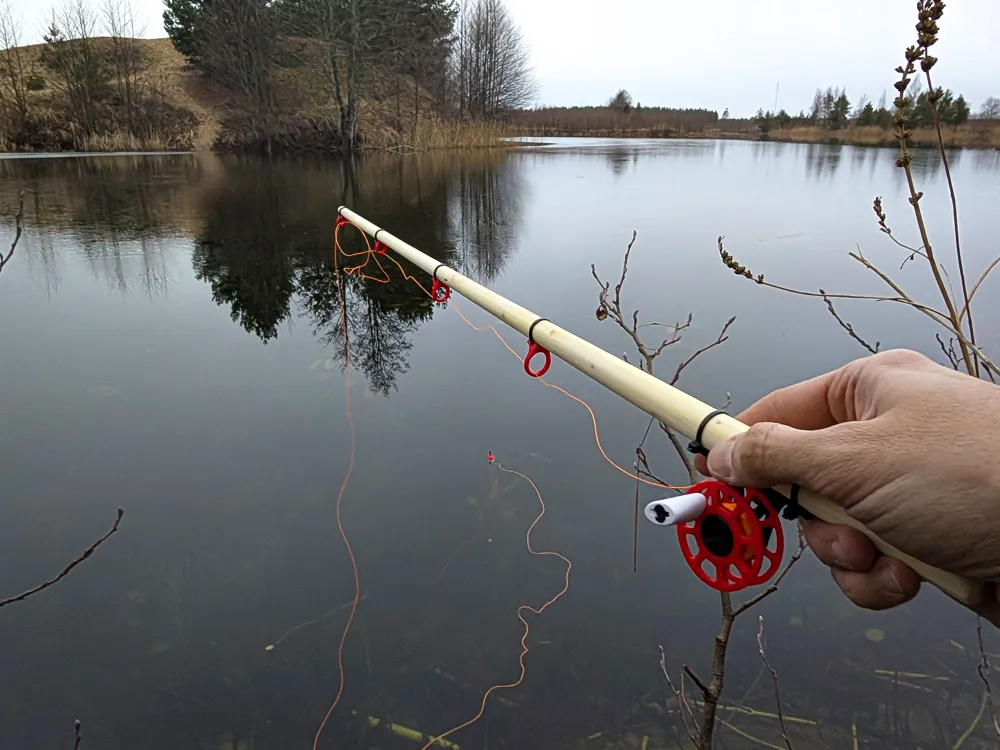
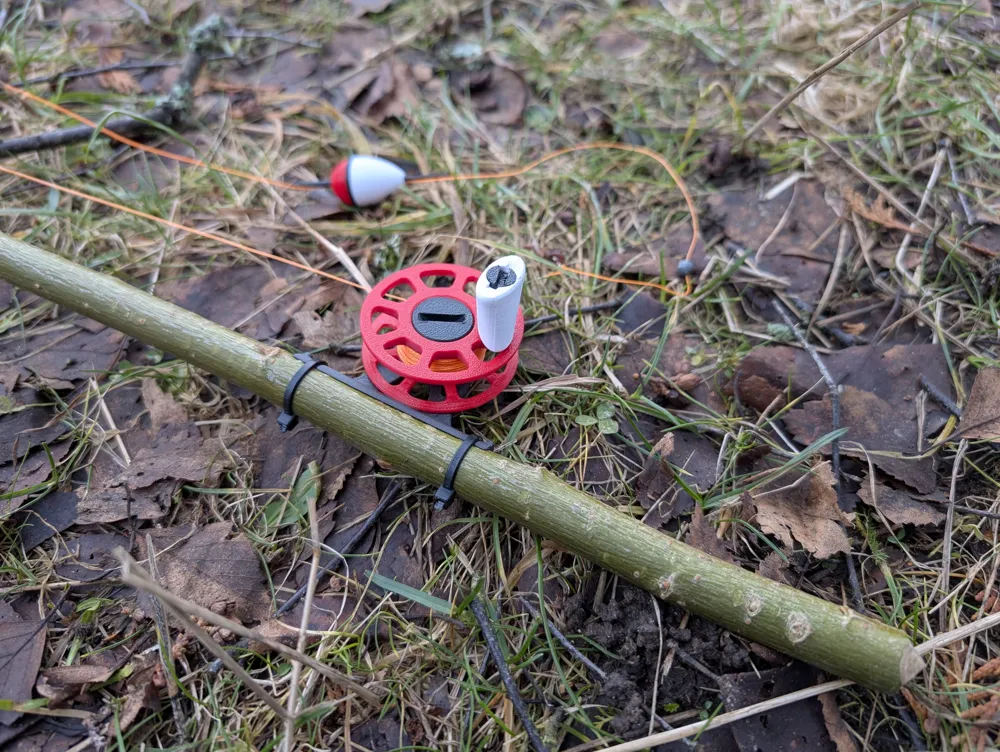
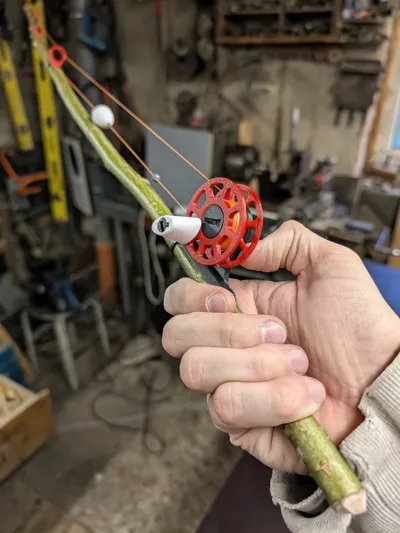
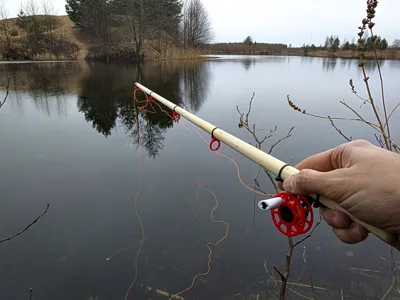
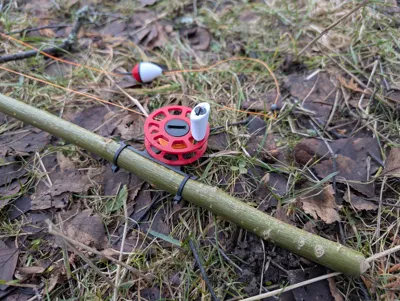
With this one you will be able to make fully functional fishing set like this:
Printing Recommendations:
This set must be printed in PETG. You can use PETG-CF or other strong materials, but the main components need to be durable. If you use it only as birthday card, PLA is a nice material for it. But if you want to catch some fish all parts must be from stronger material than PLA.
I have tested PETG, and I believe it is the best choice. All parts should be printed at a 0.16mm layer height due to the threaded components.
There are ~0.1 - 0.15mm spaces between threads, if your filament flow is calibrated, than everything should screw together nicely. 1st time it can be harder to screw in everything, but it should be ok after few rotations.
After printing take it off the plate very carefully, because those small bridges holding all together can brake.
You can also print zip ties, they will not be as strong as real ones, but they work if you don't have other choice. I tested all printable zip ties from MakerWorld, and i think those are the best (smallest ones from that model): https://makerworld.com/en/models/912513#profileId-873684
Assembly is easy, but here are few recommendations and walkthrough.
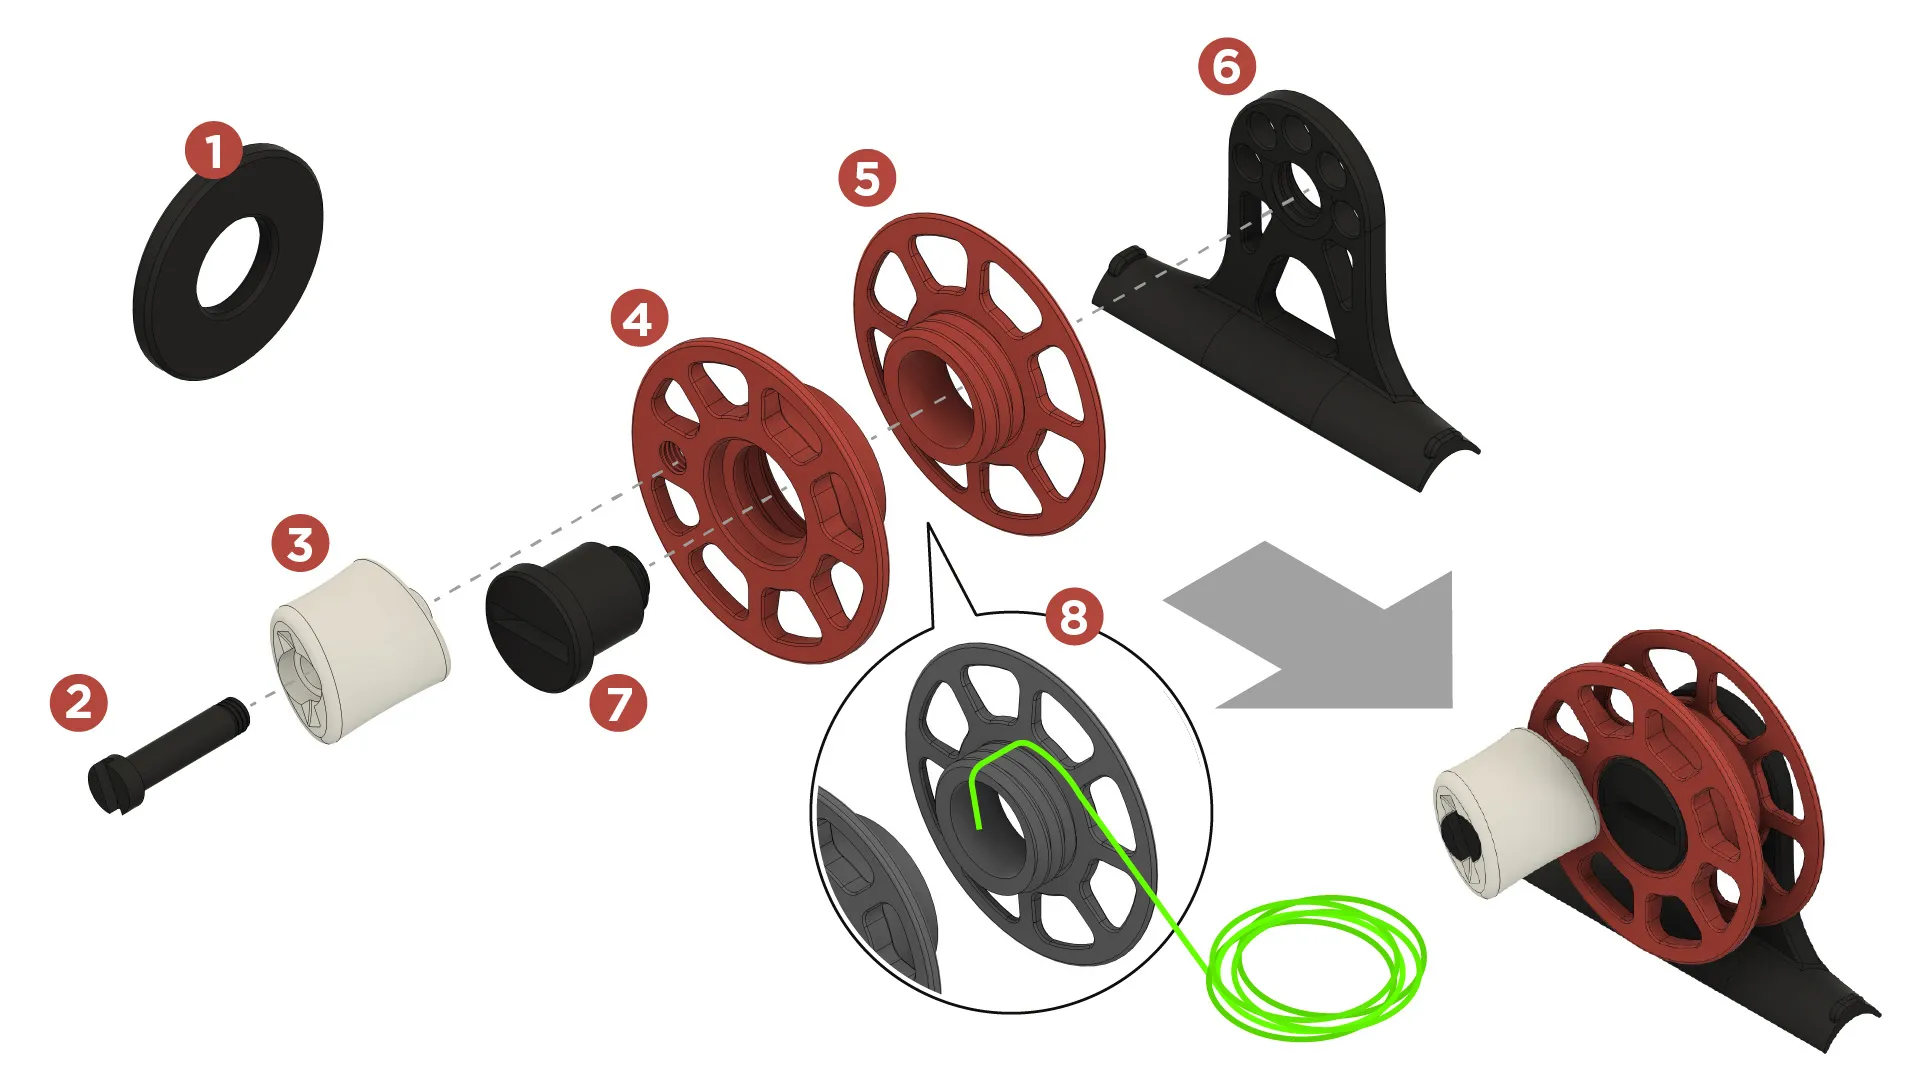
How to put reel together:
A - Take both sides of reel spool (4 and 5) and screw them together.
B - To make it easier to wind up fishing line, you can place end of fishing line on the thread (8) and screw it in the spool, and test it for strength, if it doesn't come out, than wind up some 5-10m of the line on the spool.
C - Put together both parts of central screw (7), and put it through the spool (4,5) and screw it into main body (6). Use screwdriver (1).
Before assembly screw it IN and OUT few times to make thread work better.
Adjust strength of central screw so that spool doesn't rotate freely, but with small force.
D - Take handle (3) and place together both handle screw parts and (2) attach it to the spool. Use screwdriver (1). And also screw it IN and OUT without handle few times to make thread work better. Adjust screw so that handle spins freely.
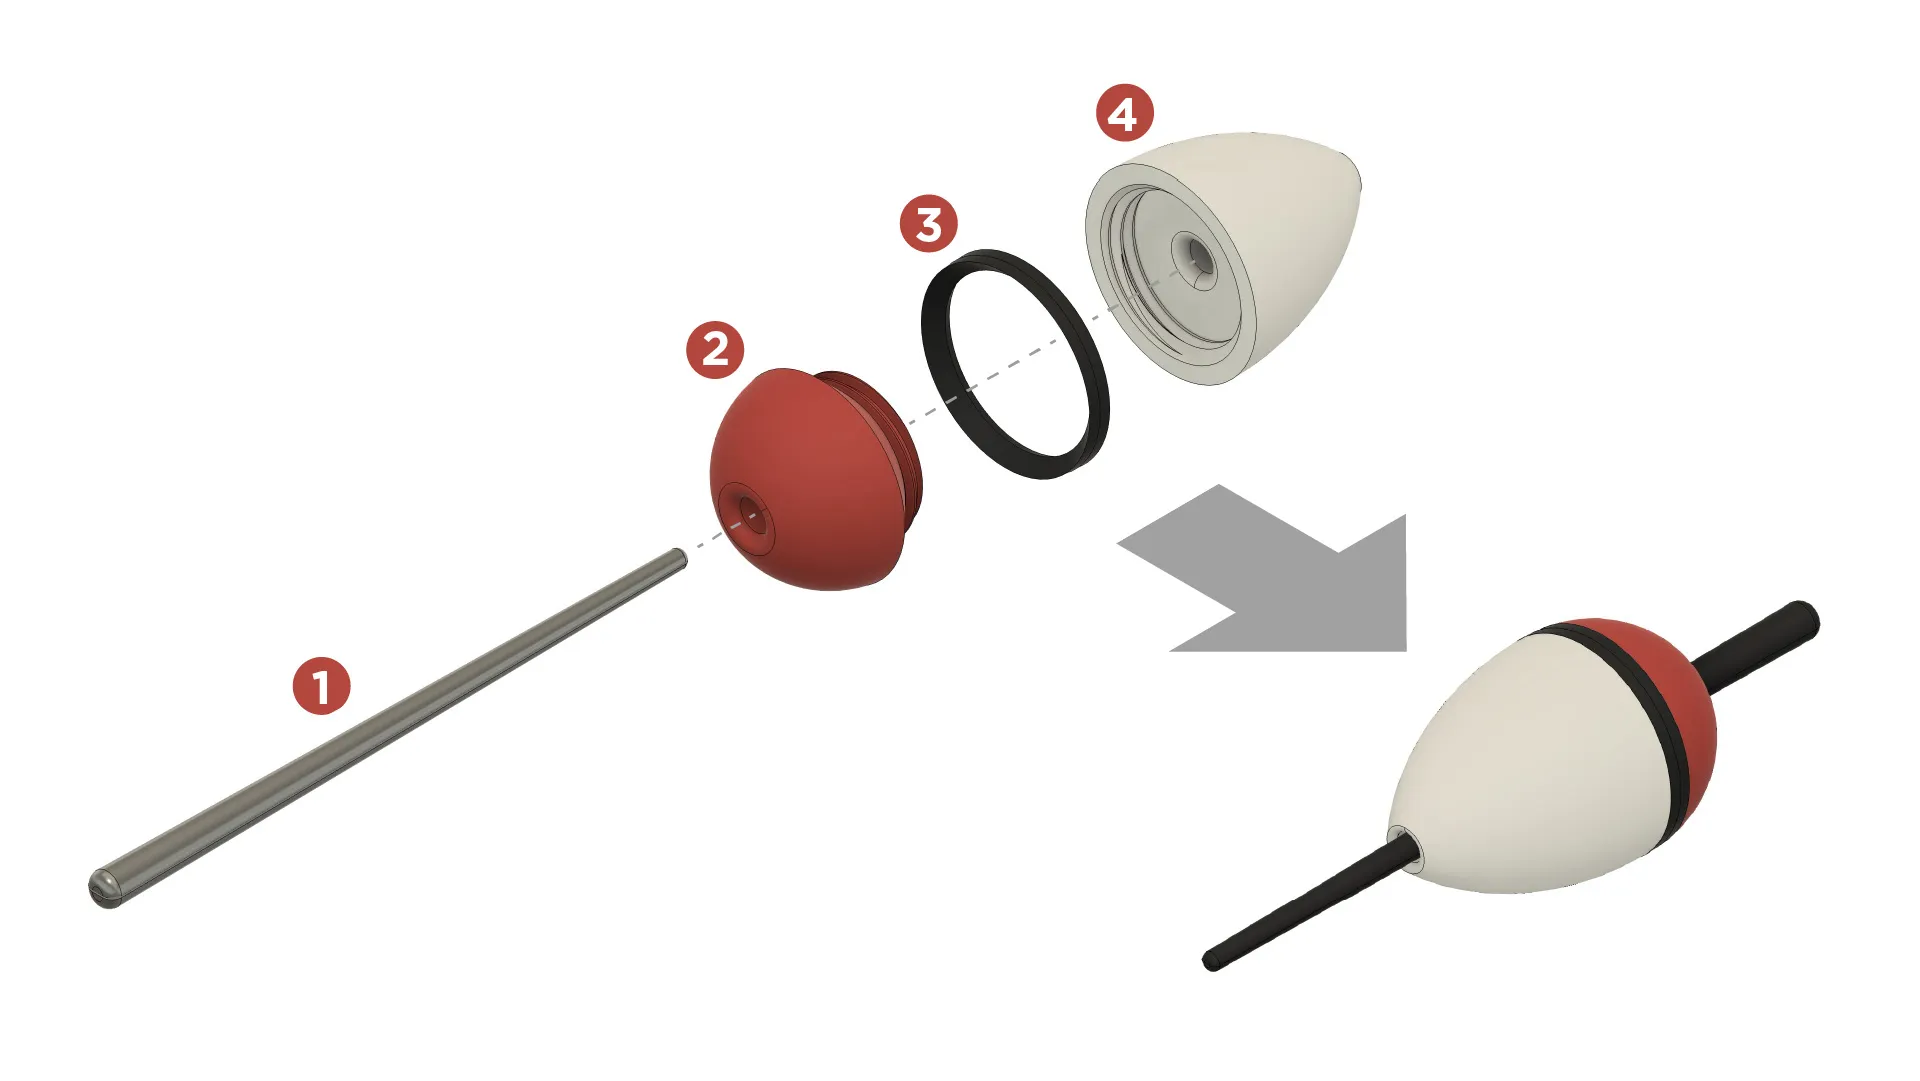
Make the bobber/float
A - take top of the float (2), put on the ring (3) and screw on bottom part (4)
B - insert pin (1) into float
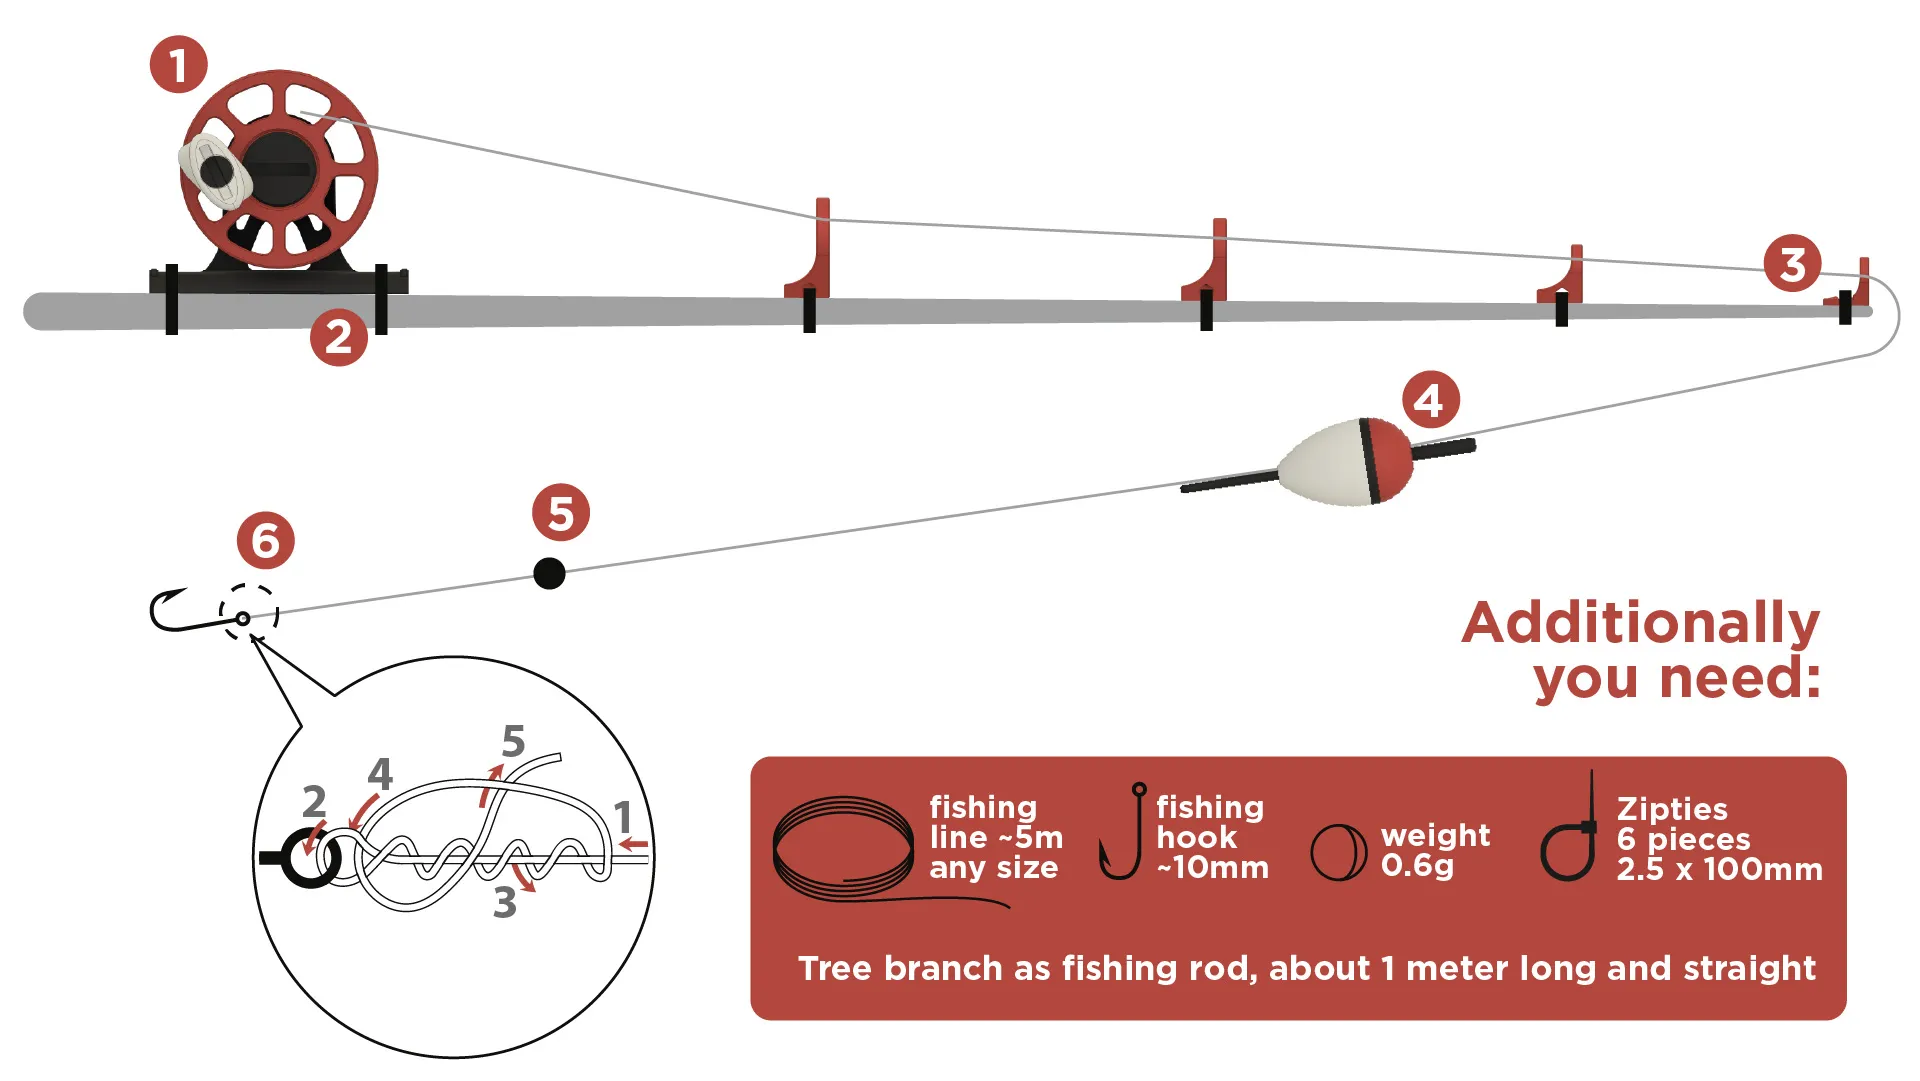
Putting all together:
A - now you need rod, you can cut it down from some bush, or take some bamboo stick, or make some nice rod from pine plank in your workshop.
B - use 2 zipties to attach fishing reel to the rod, placement is as you wish, ussually about 10-20cm from the end of rod.
C - use 4 zipties to attach all 4 line rings to the rod, smallest one at the end, biggest one some 20-30cm from reel, and aligned remaining two in the middle. (if possible use pliers to fix those zipties strongly)
D - As you already winded fishing line on the spool (1) in the beginning, take end of the line and pull it through all rings (3), put it through the float from the top (4) and fix it with the pin, attach weight (5) and hook at the end (6). You can use your own knot, just check that everything holds together.
Weight should be 5-10cm from the hook.
You can adjust floats distance from hook by taking out the pin and pulling line, and putting pin back in.
Now you can go fishing, here are few main things:
1. Check that hook is securely attached.
2. The float should be placed on the line at a distance that keeps the bait near the bottom or at the depth where you see fishes.
3. Adjust weight so that float stands up straight.
4. For bait use worms, bread or corn. You can find worms under old planks or stones in wet places.
5. Throw the hook with bait in the water, wait for float to disappear under water and then pull it out quickly but gently by turning the reel handle.
6. If you need the fish for food, than place it in a bucket of water.
7. If you releasing the fish, gently remove the hook, kiss the fish and place it back in the water, don't throw it. If you taking the photos, do it as quickly as possible, and put fish back in water.
And check out my fishing reel in a small box “Travel Pocket Fishing Set - Altoid size box insert” - perfect to take with you on those hiking trips or put in a car for “just in case”
Mini set
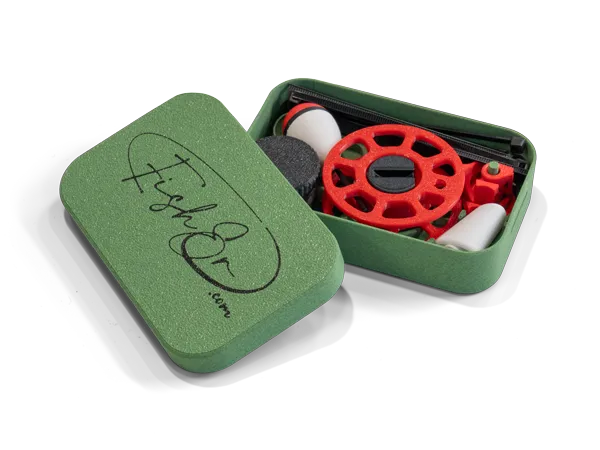
https://makerworld.com/en/models/1055293
Or here is a full set with a rod.
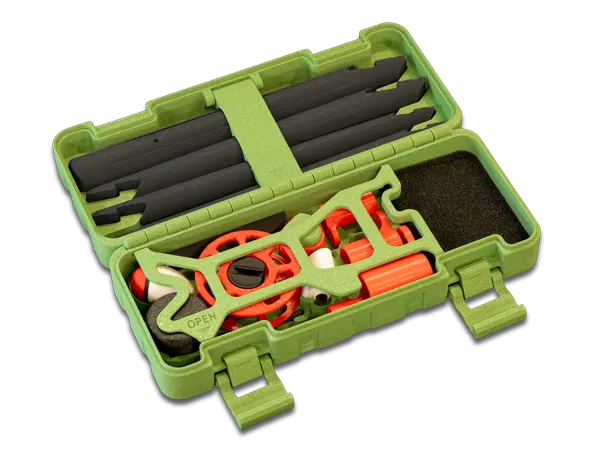
https://makerworld.com/en/models/1402284
And here you go!
Fishing is about patience and enjoying nature.
Relax, watch the float, and enjoy the experience.
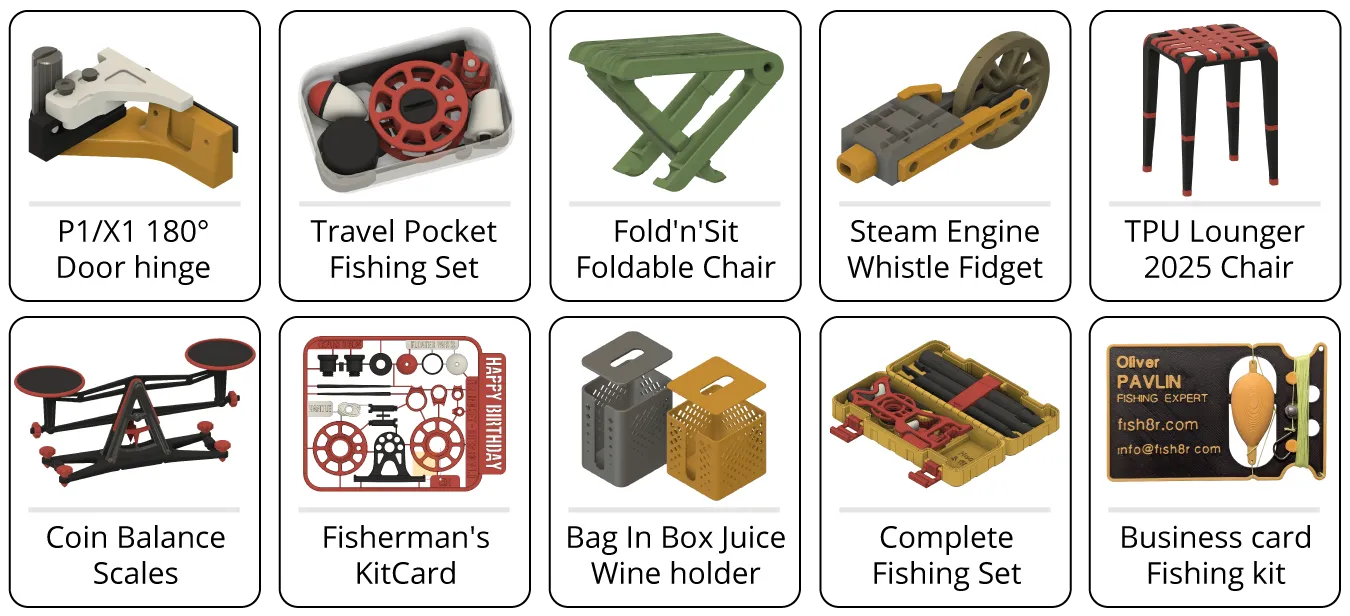
Have a look at my other models too!
License

You shall not share, sub-license, sell, rent, host, transfer, or distribute in any way the digital or 3D printed versions of this object, nor any other derivative work of this object in its digital or physical format (including - but not limited to - remixes of this object, and hosting on other digital platforms). The objects may not be used without permission in any way whatsoever in which you charge money, or collect fees.


Comment & Rating (217)