Sliding rack rails - 3U model and parametric FCStd


Print Profile(0)
Description
Summary
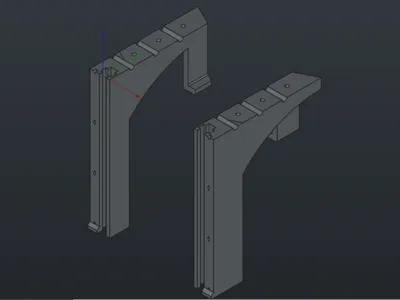
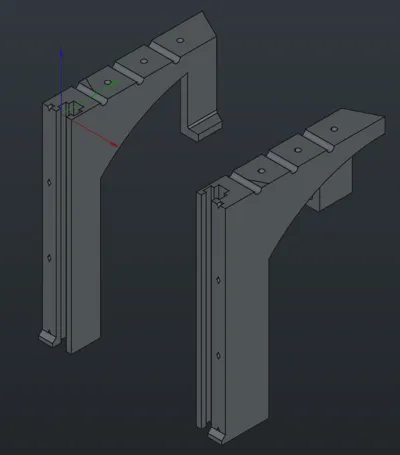
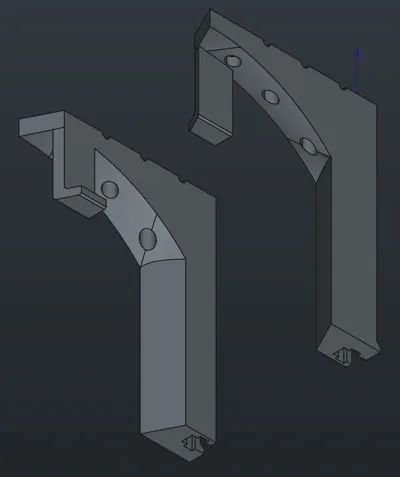
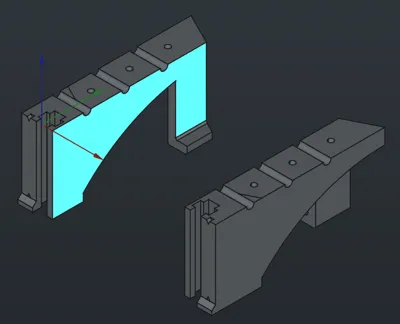
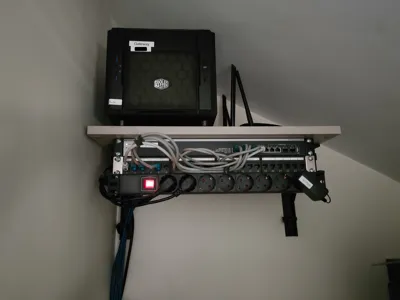
Nothing fancy about this project. It's just a pair of rack rails intended to use for overhang installations, though it can -obviously- also be used standing up. If you're gonna install something heavy, like a big switch, it should go on the topmost position; as shown in the pictures, it has a “lip” on the inside part, which might not be always necessary, but helps distribute some of the weight for the device installed on the top.
If you only need the rails, you don't need to pay any attention to “cable_management.stl” and “supports_regleta.stl”. Those are some additional models that I used to compliment the project. The former are tiny clips that I glued to the rails in order to organize cables, and the latter is a mounting adaptor for PDUs whose power cable attaches through the side, which makes it impossible to mount it on the rails conventionally.
Customization
The interesting part. I've found some modular racks, some customizable projects, but none of my liking, so I designed this puppy. To change the height of the rails, you can open the FreeCAD project (.fcstd file), choose the VarSet on the topmost level of the project, and change the 'u_height' variable to the desired units. The model should update accordingly.
The default is 3, which yields the models I've attached as STL files. I've tried going as low as 1, but upwards… you can go as far as you feel comfortable. Though, let me say I doubt this design is the appropriate for a 10u rack.
Printing
- Profiles: no special profiles, I've just used the default ‘Strong’ profile with 0.2mm layer height and a 0.4mm nozzle in my A1 printer. Tune it according to how much equipment you'll be installing.
- Position: print it upside down. It has some ridges to avoid warping on the base.
- Supports: you might get good results depending on your printer, but for me, I just used a small support for the ‘lip’ in the topmost U.
Disclaimer
Sorry for the lack of detailed photos of the built model: I've already installed it at the time of the post, and I cannot take any good pictures with all the equipment, cables and the dark corner I've put it in. On the bright side, you can clearly see it's working properly ;)
Comment & Rating (0)