
Laser sight, laser aimer, red dot sight




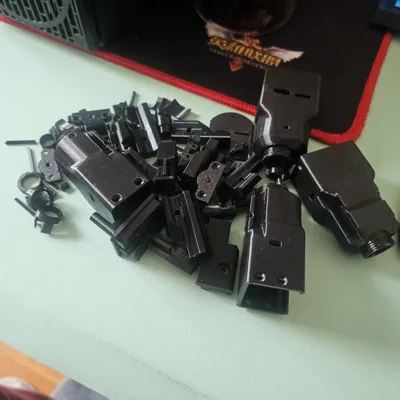
Print Profile(1)

Description
Please read carefully
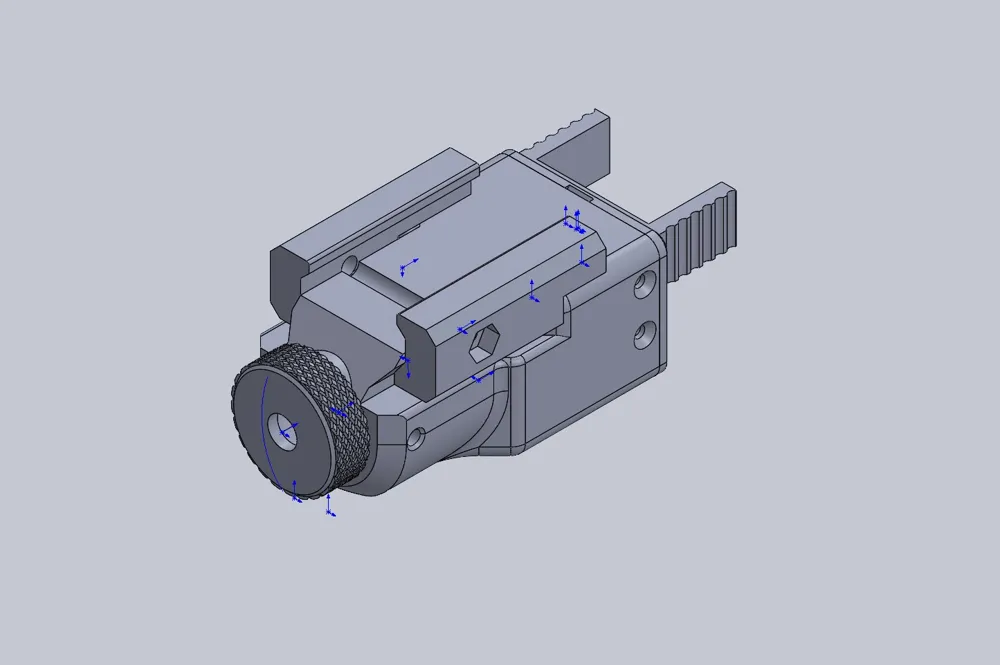
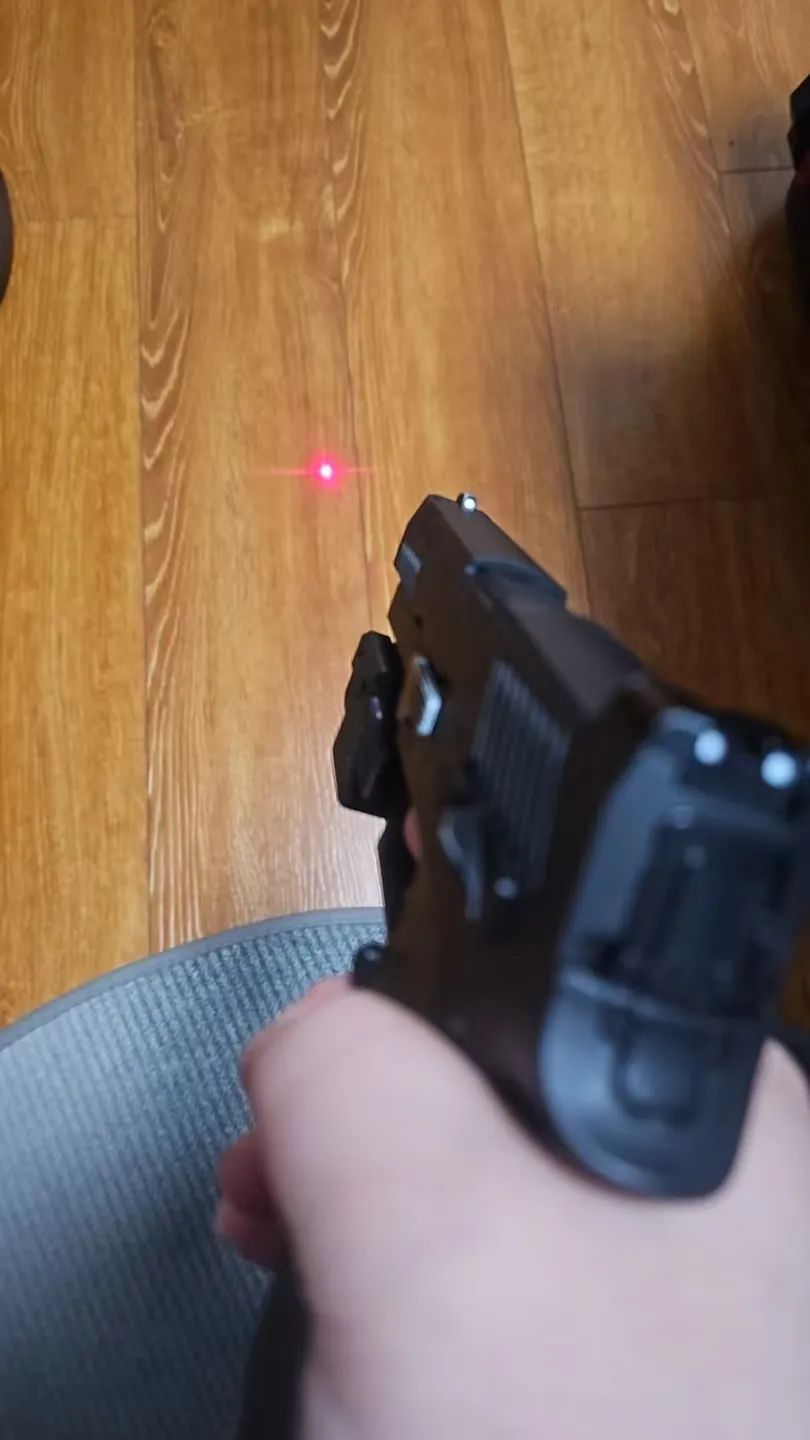
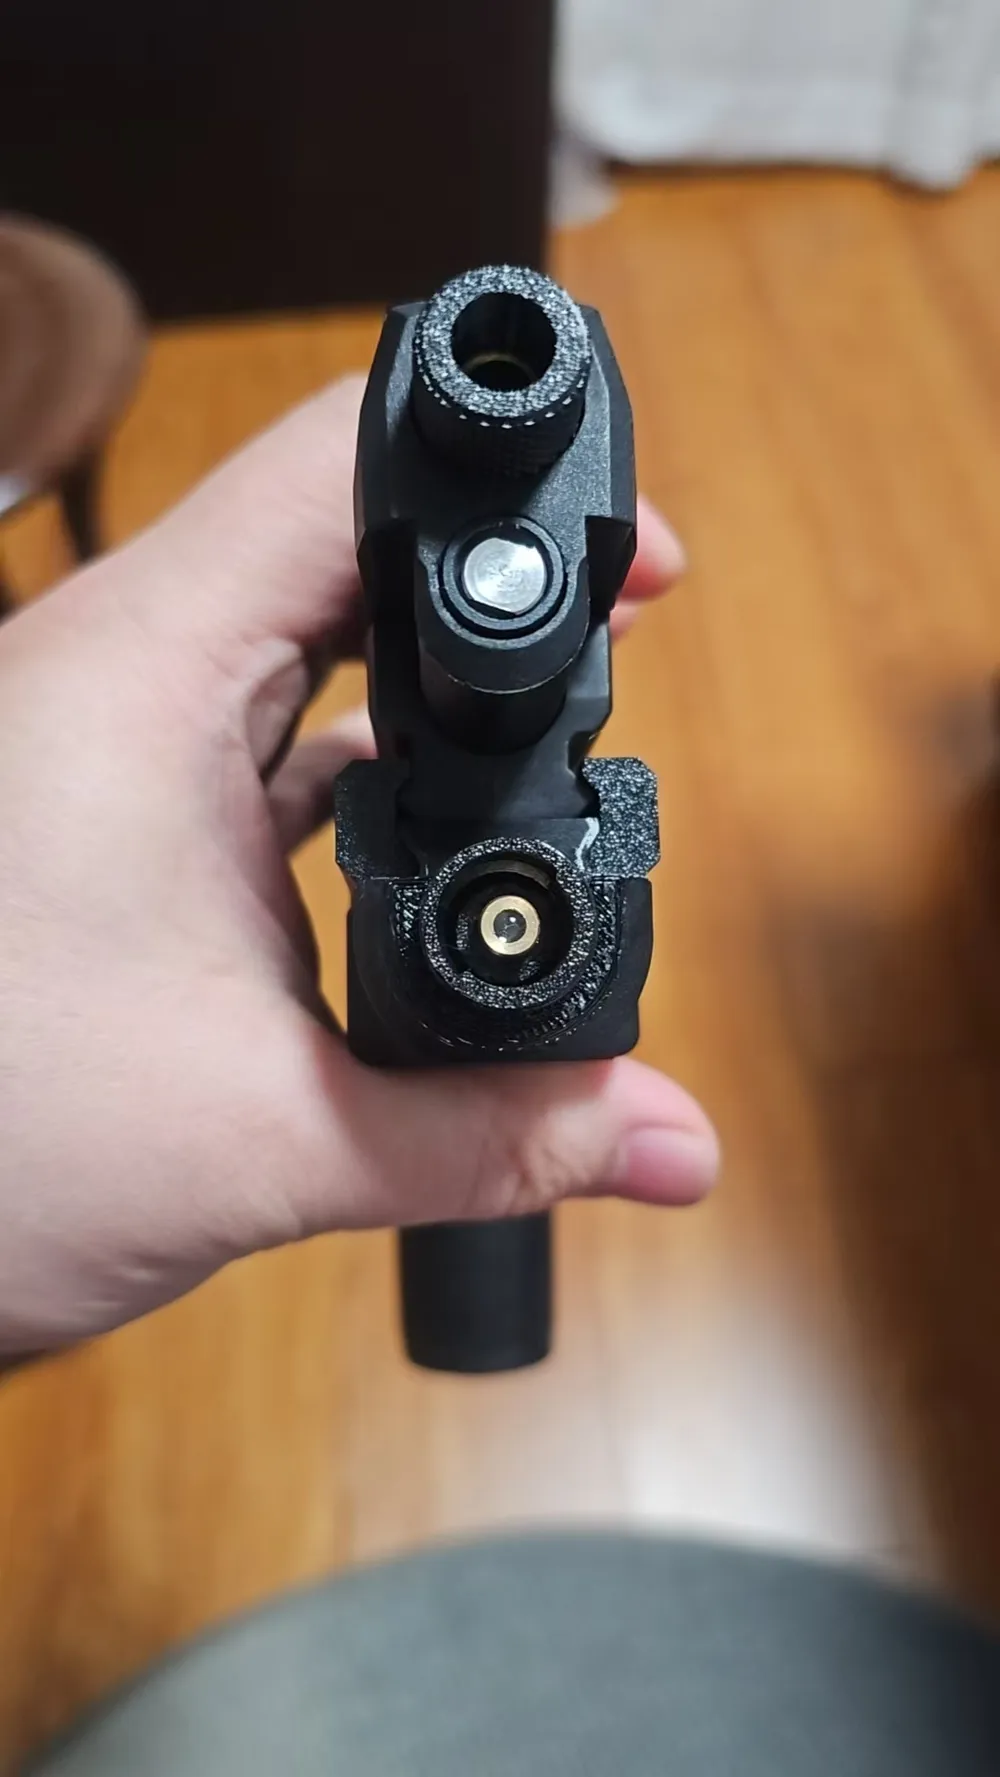
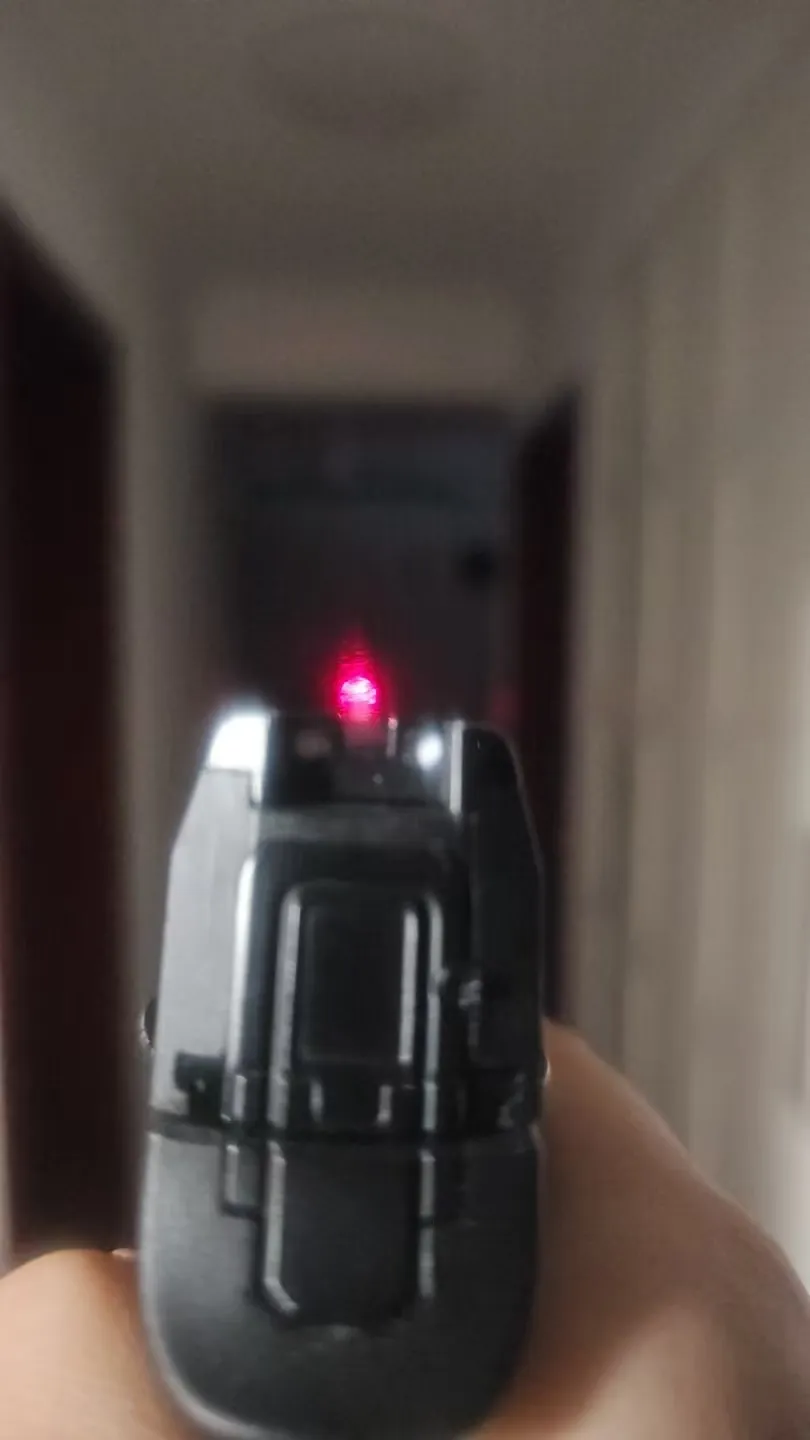
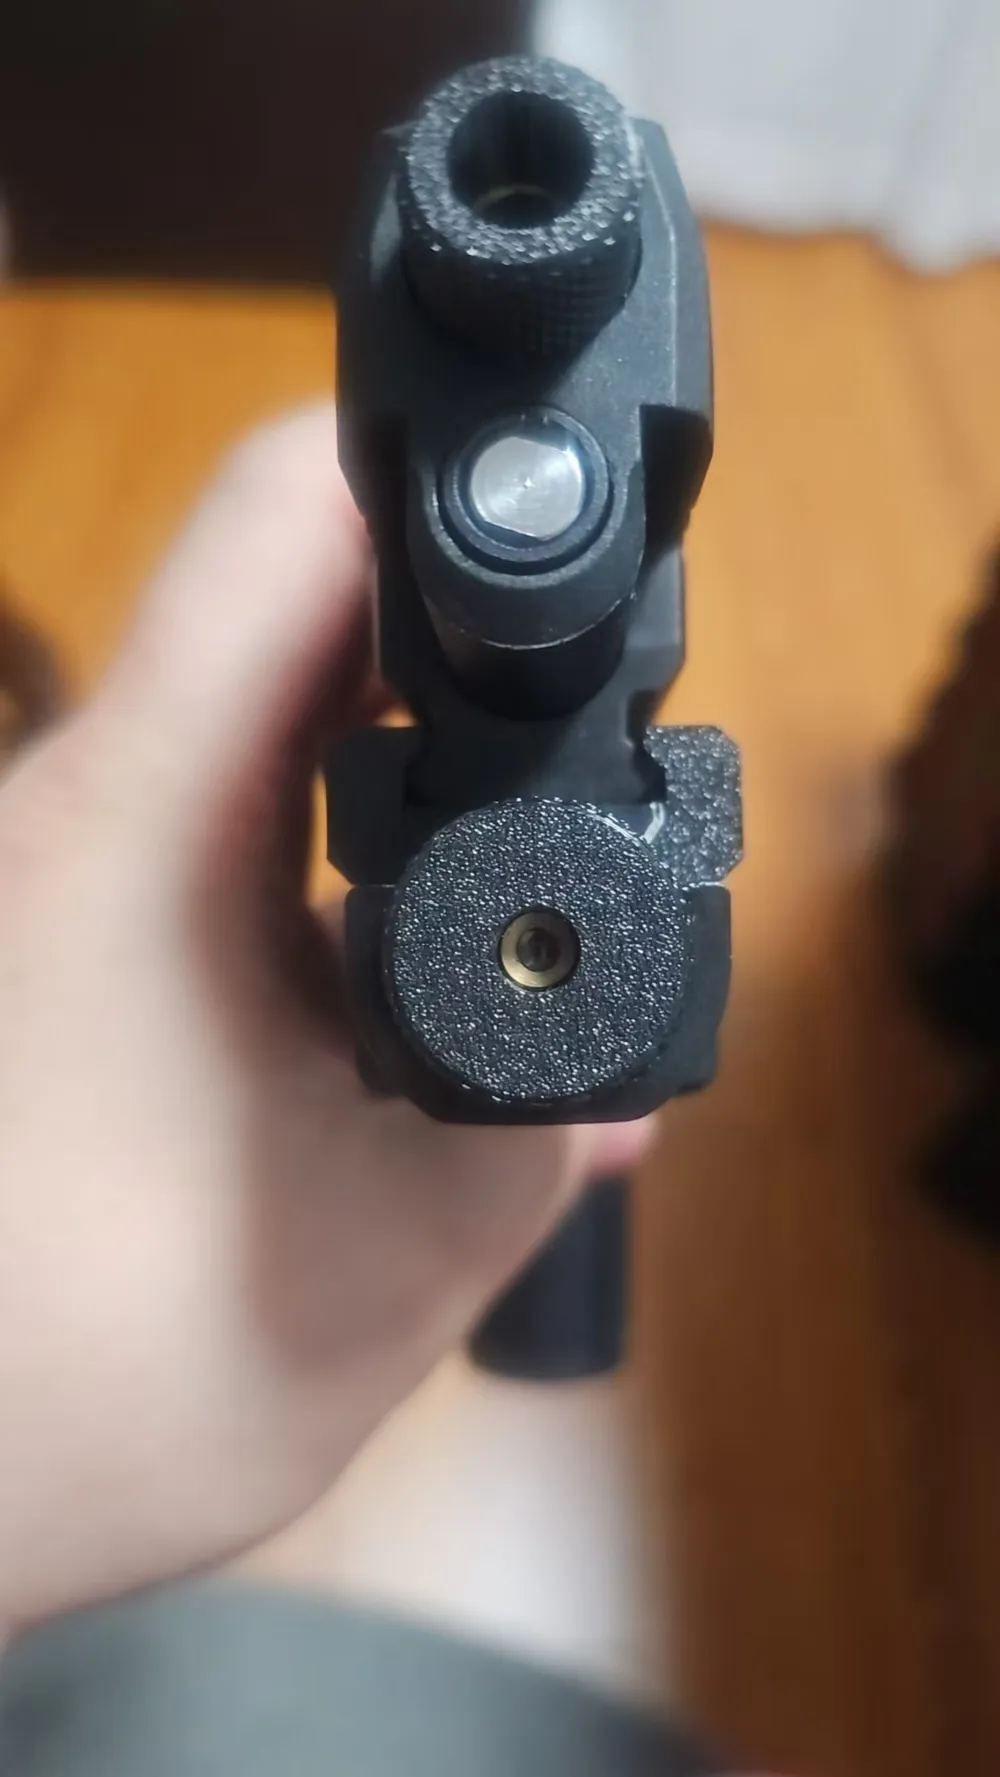
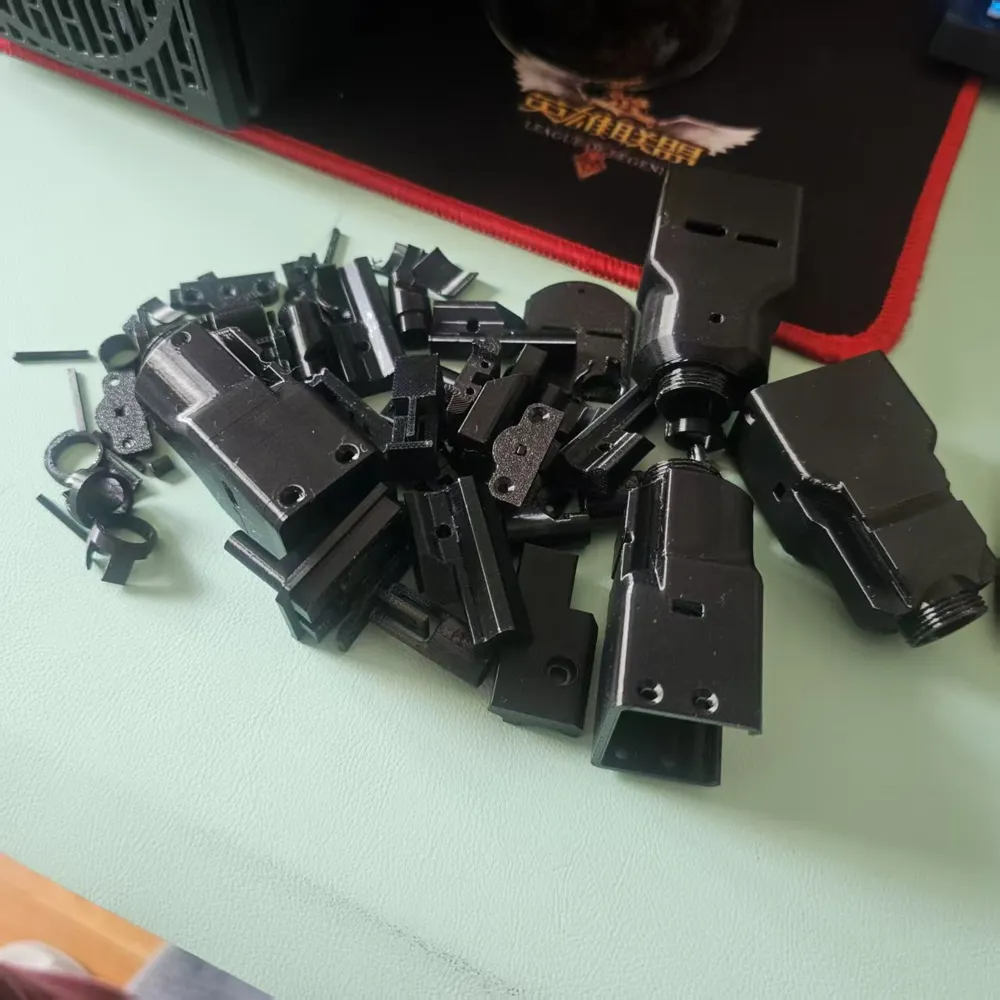
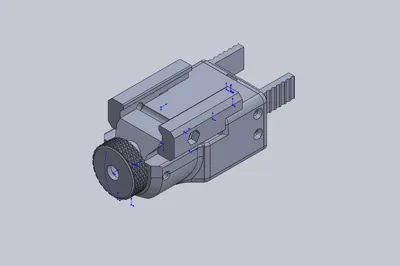
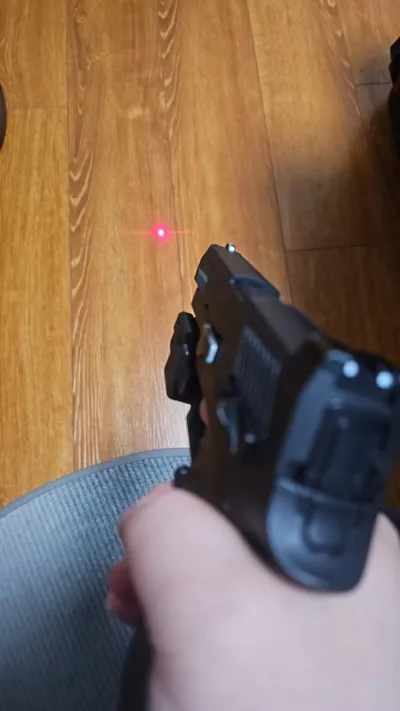
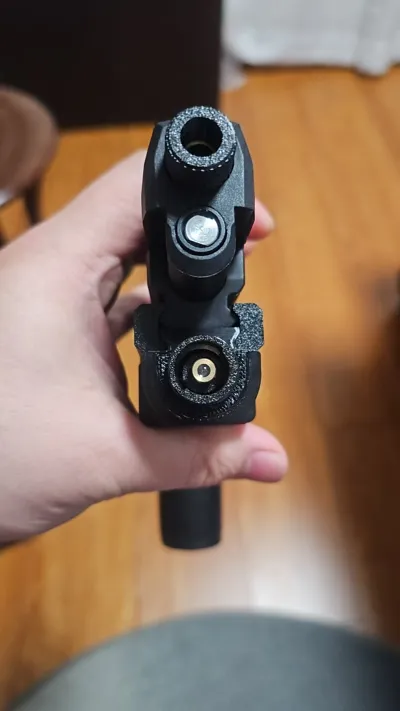
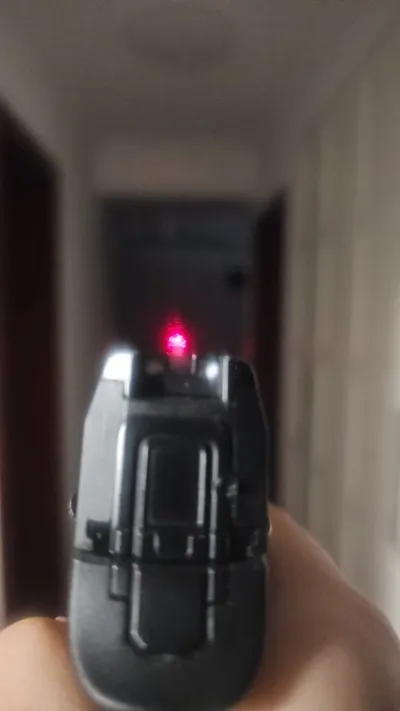
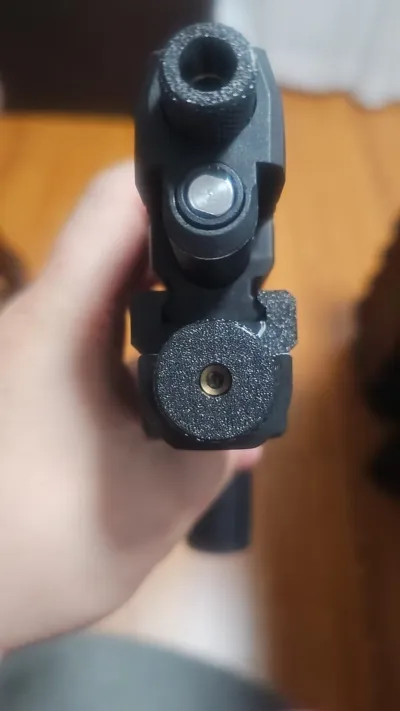
Due to a lack of satisfactory laser sights, I designed my own. The process spanned two weeks, encompassing the creation and testing of five to six prototypes. My aim was to minimize the number of purchased components. The laser head alone required several days of deliberation, resulting in four design iterations before settling on the simplest, most economical solution. Instead of a spring, I cleverly utilized the elasticity of PETG, achieving five degrees of adjustment in all directions—up, down, left, and right.
The final cost totaled 25 yuan. If you are an 88 member, congratulations—it will only cost you 14 yuan, using your daily 2 yuan discount coupon.
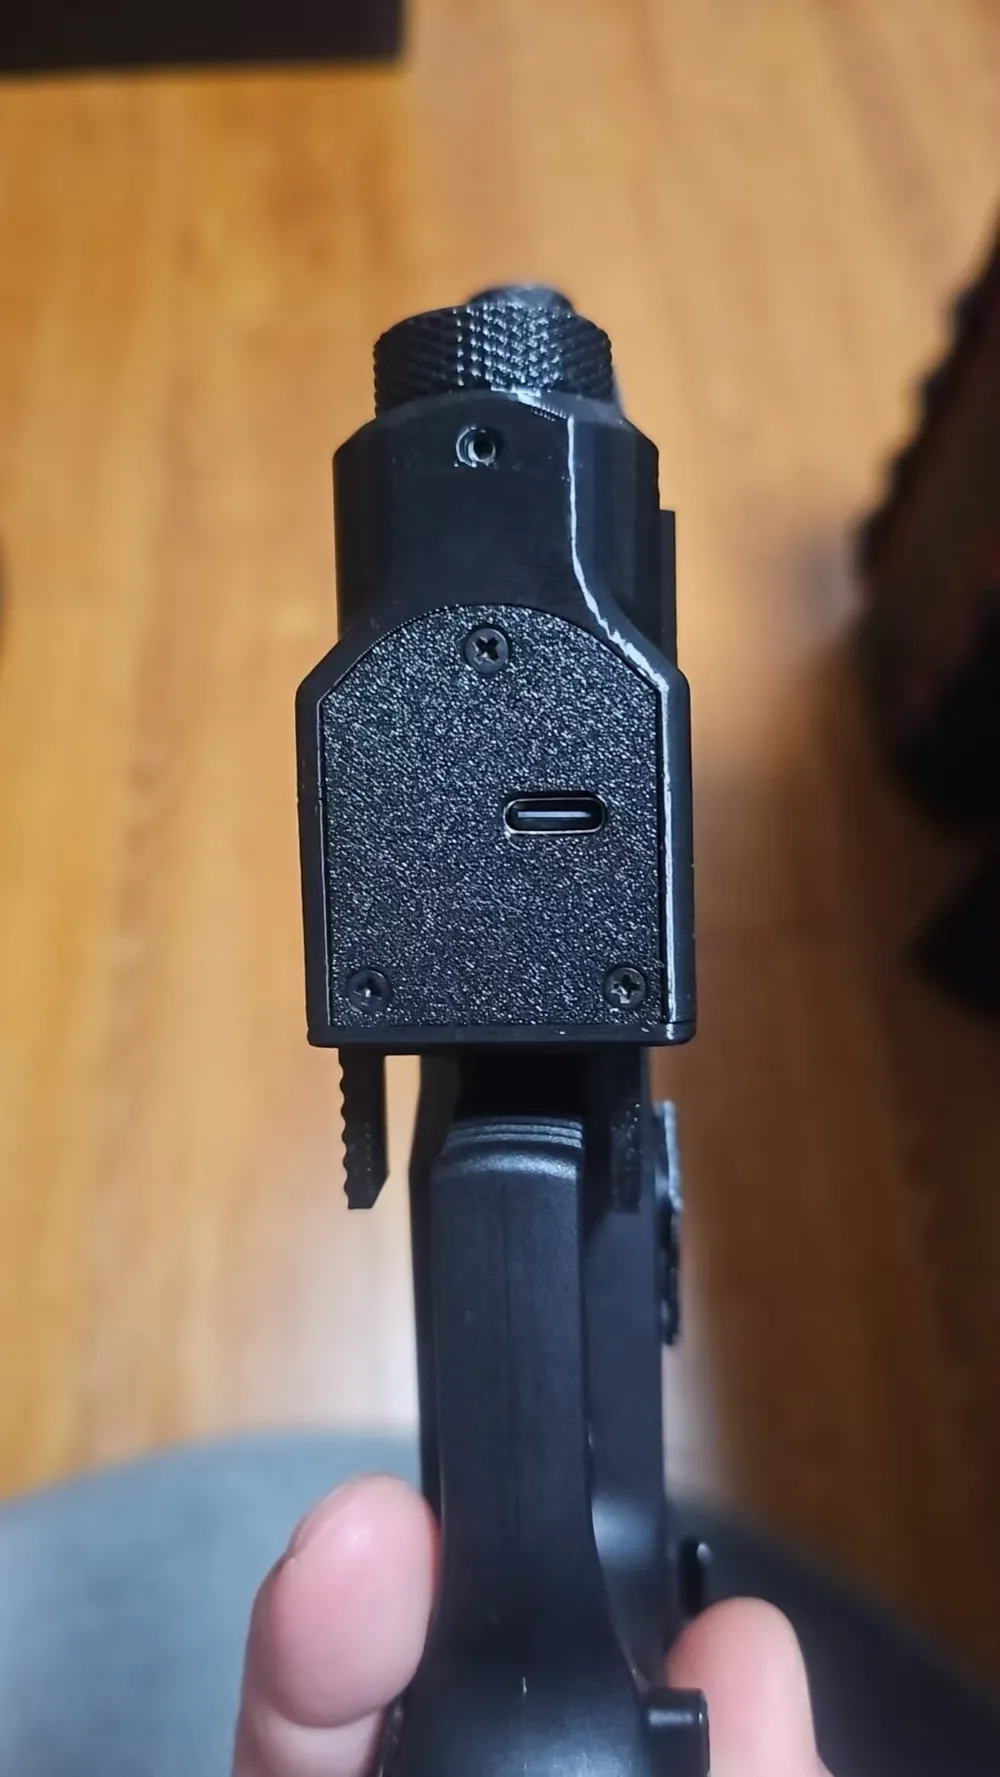
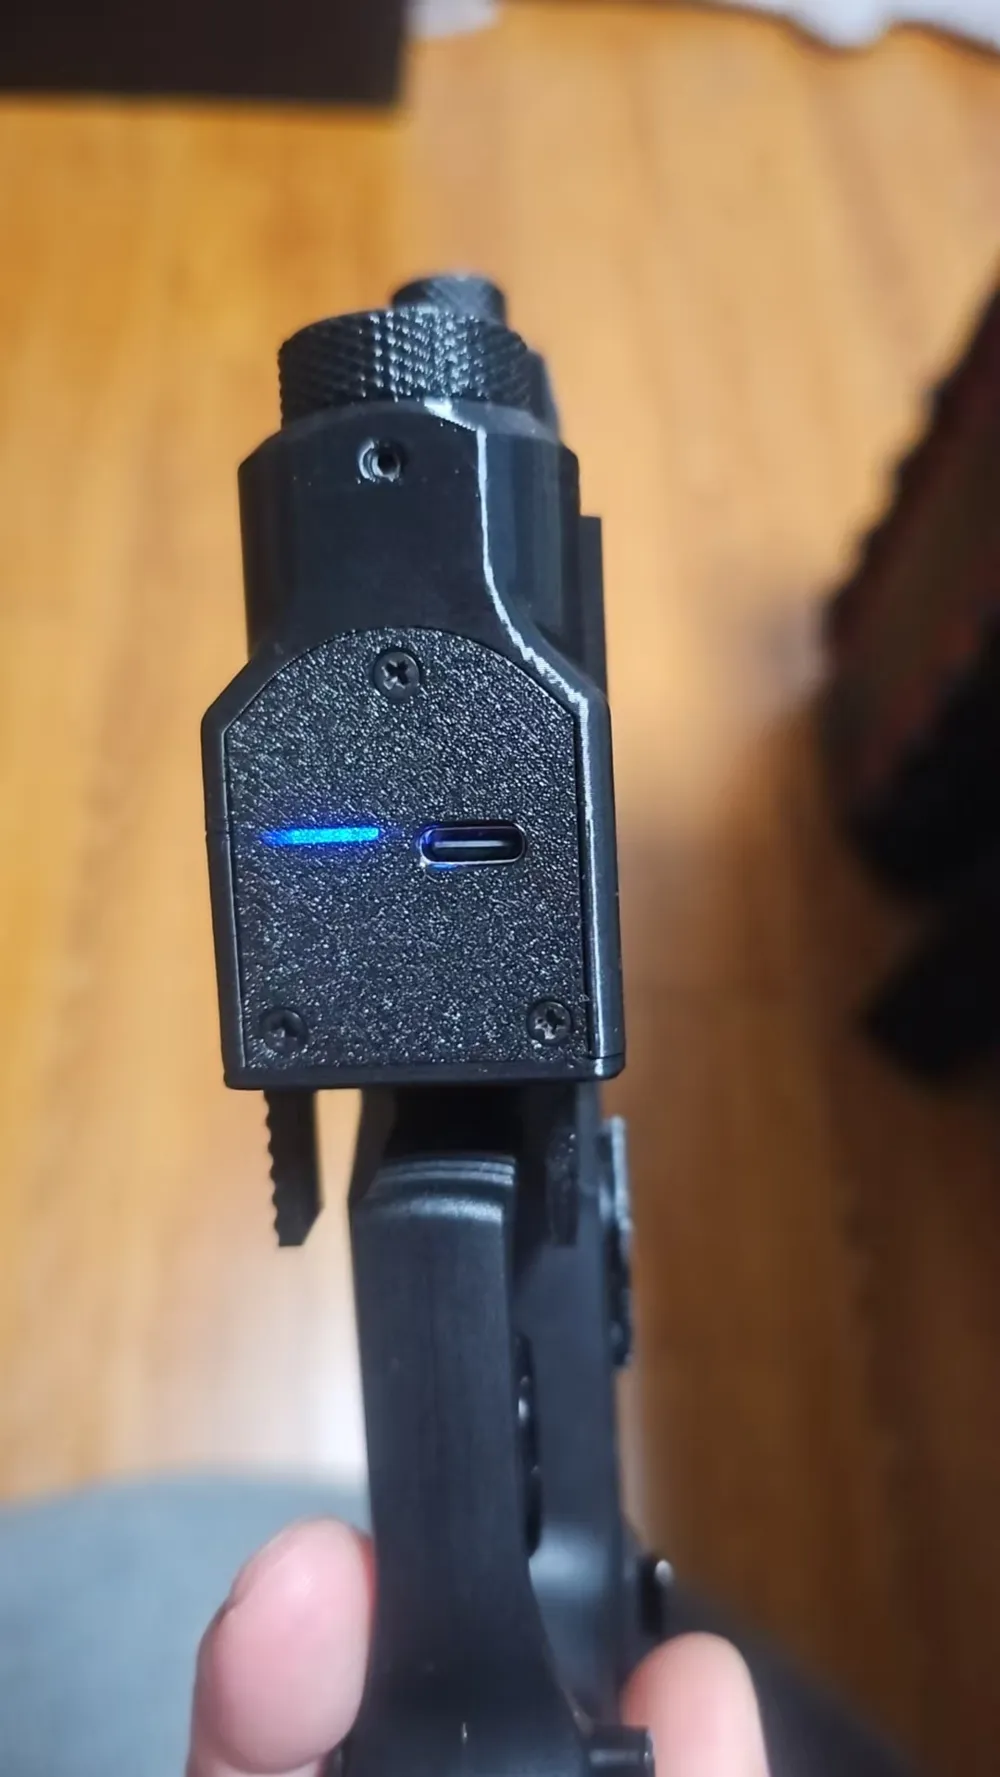
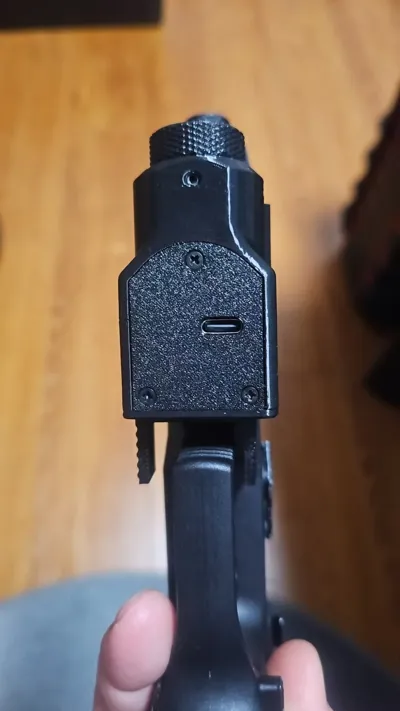
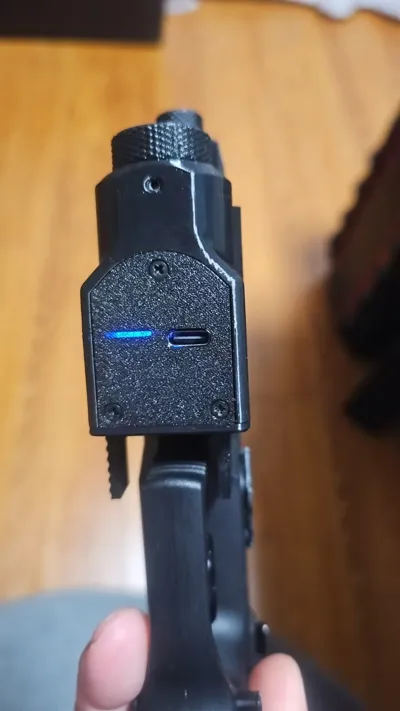
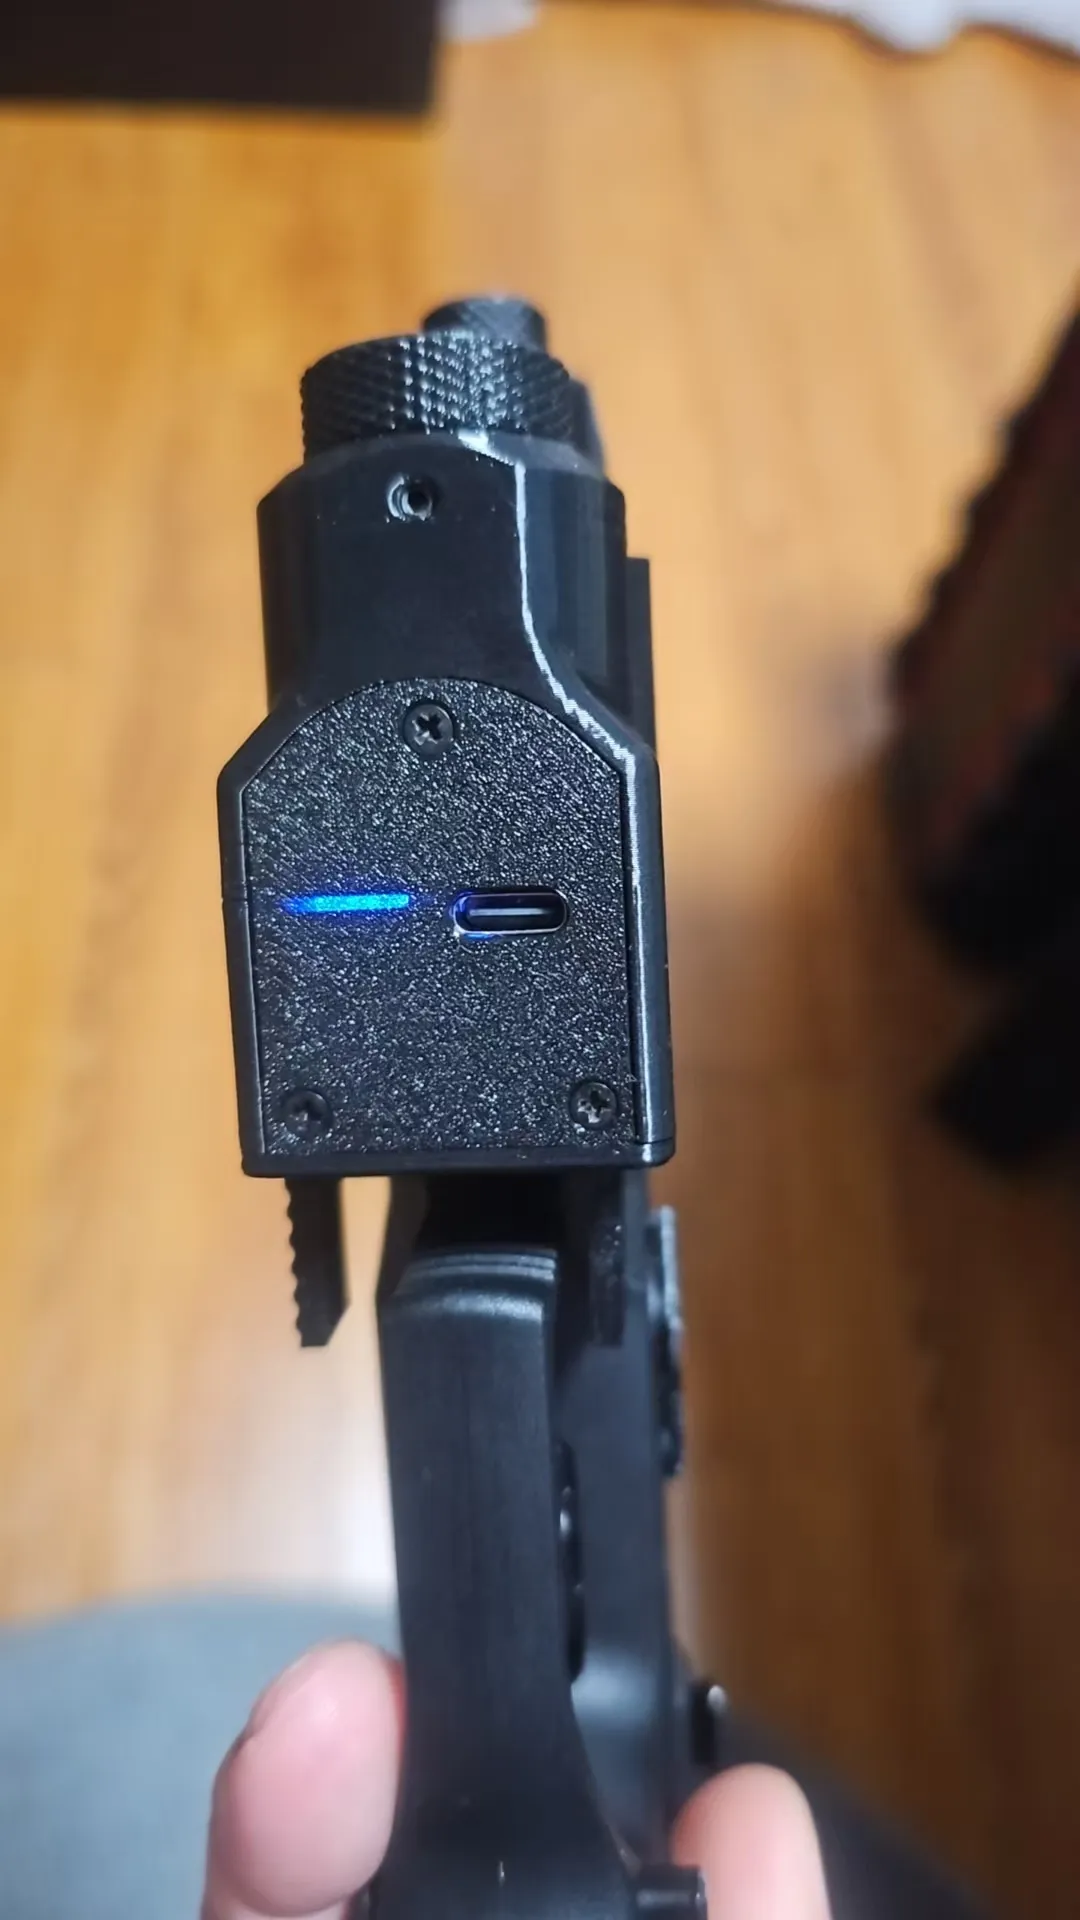
A type-C charging and discharging module was incorporated, featuring four LEDs for battery level indication, artfully concealed for enhanced aesthetics. A high-capacity 350mAh battery eliminates the frustration of low power and missing batteries.
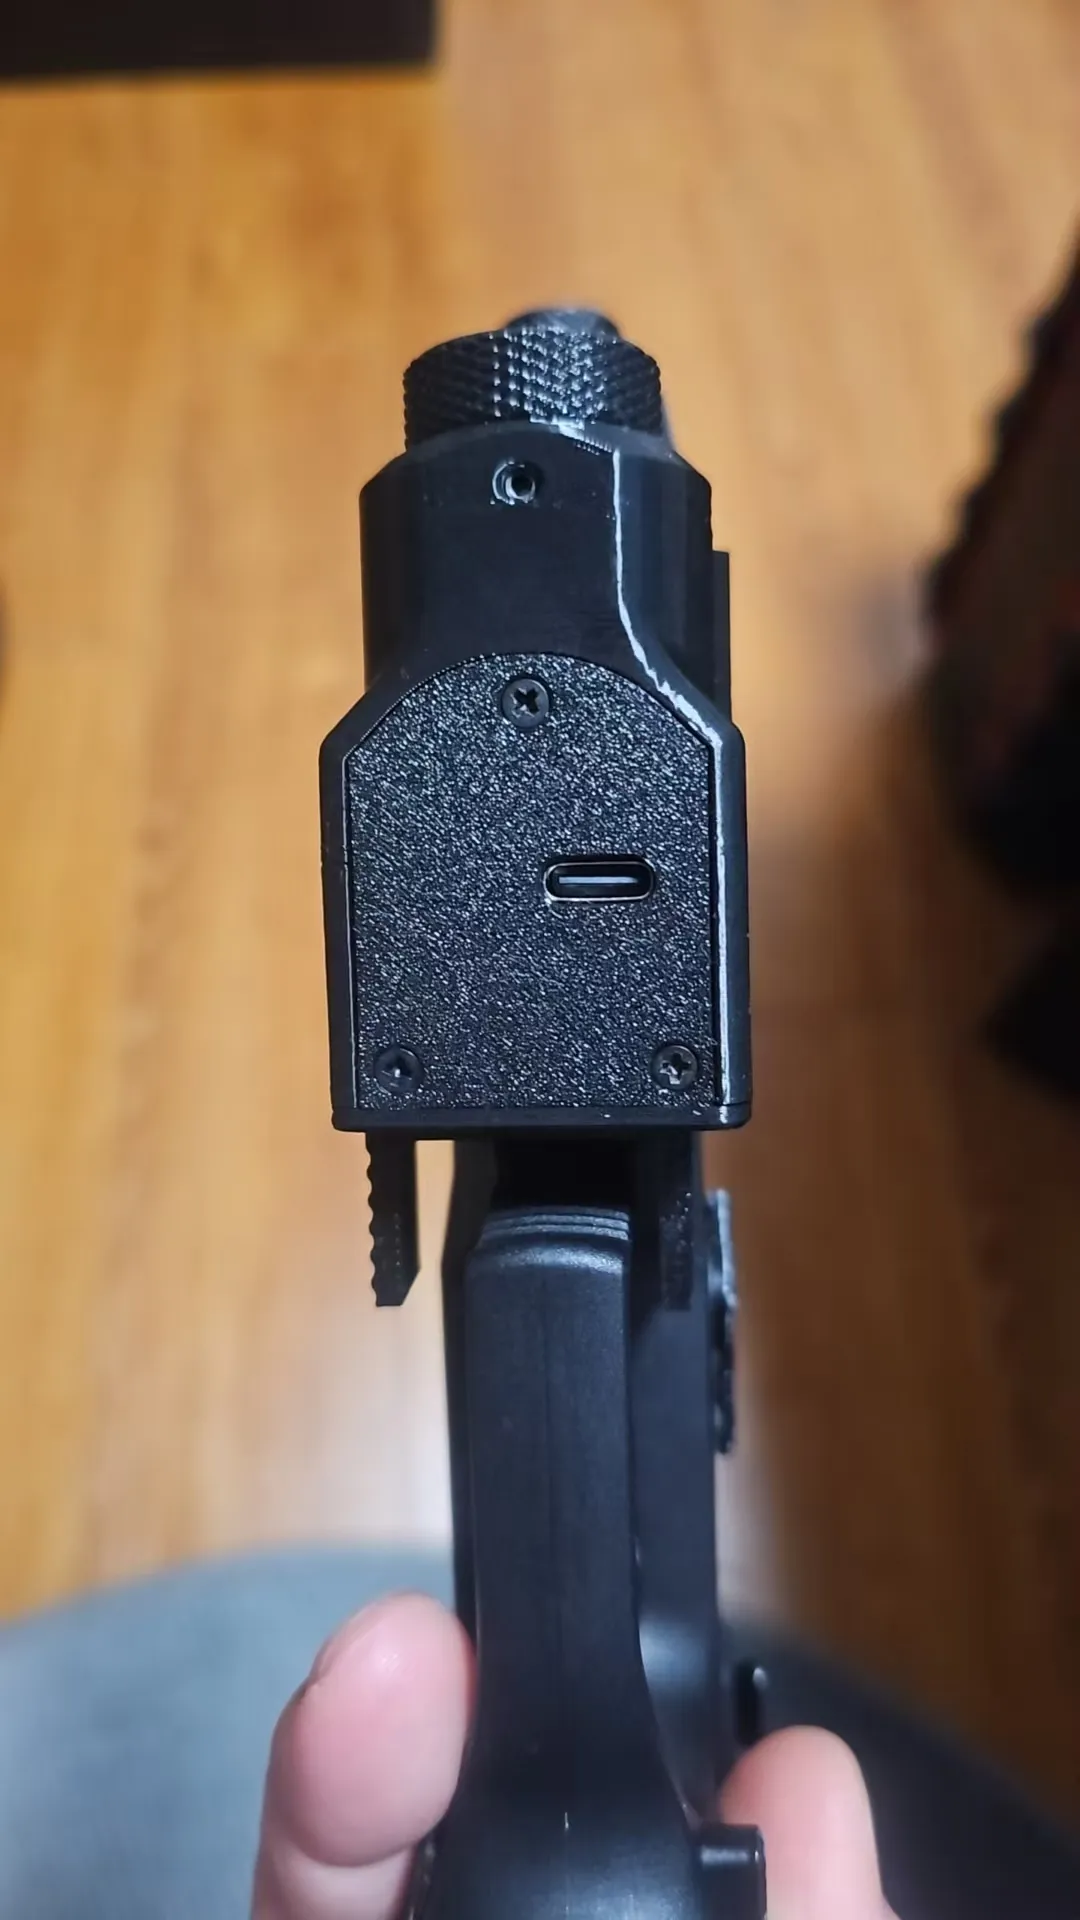
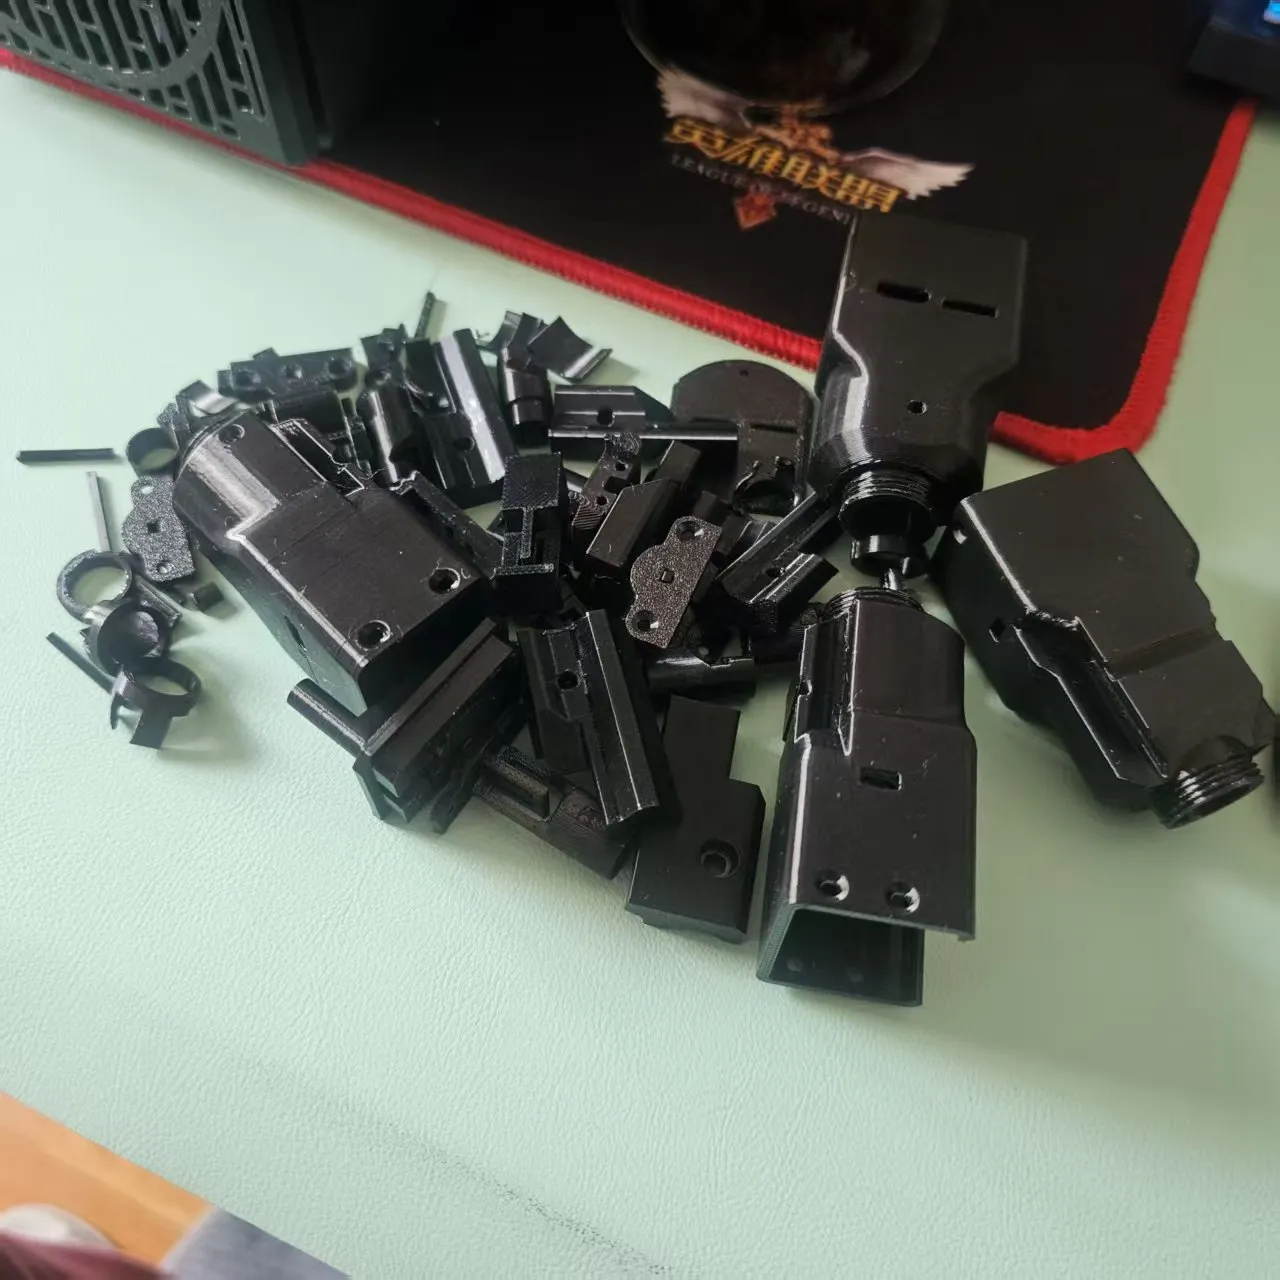
Subsequently, time was dedicated to chamfering and refining the aesthetic appeal, alongside adjustments to optimize printability.
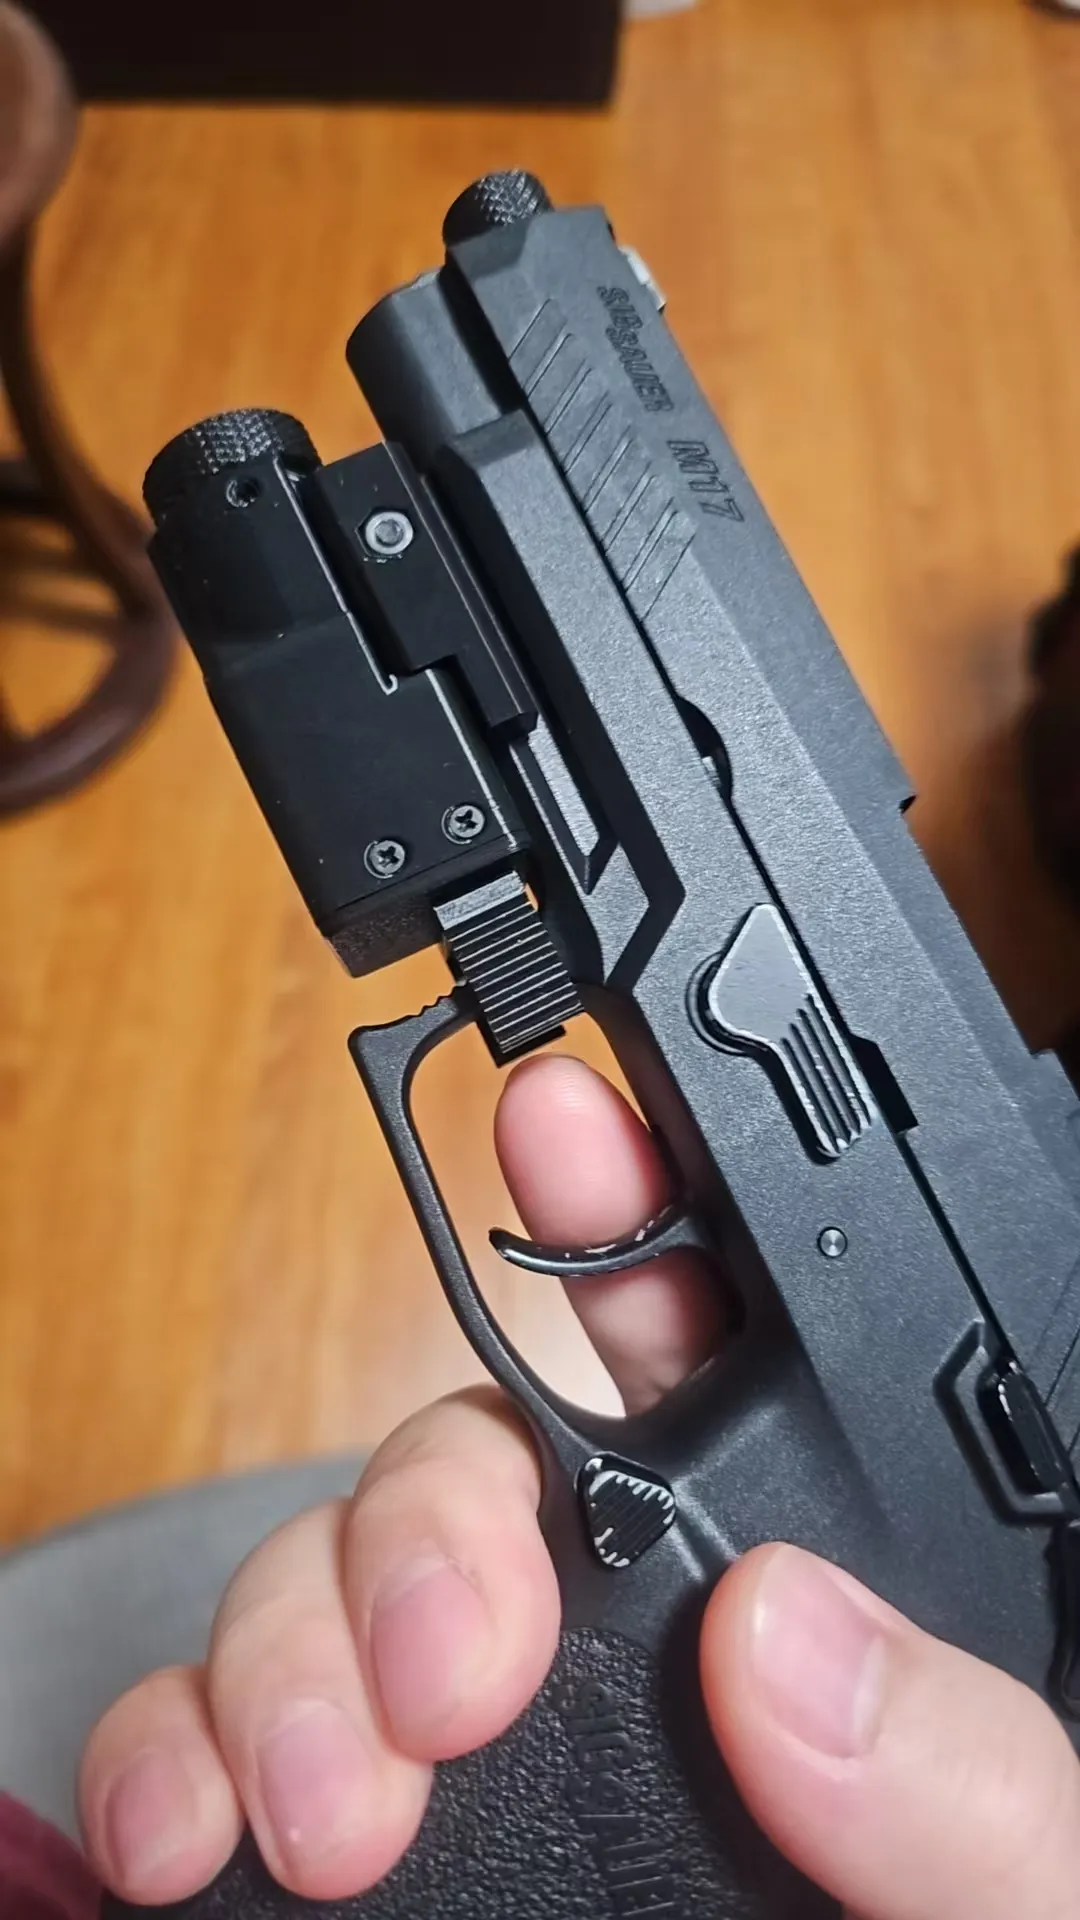
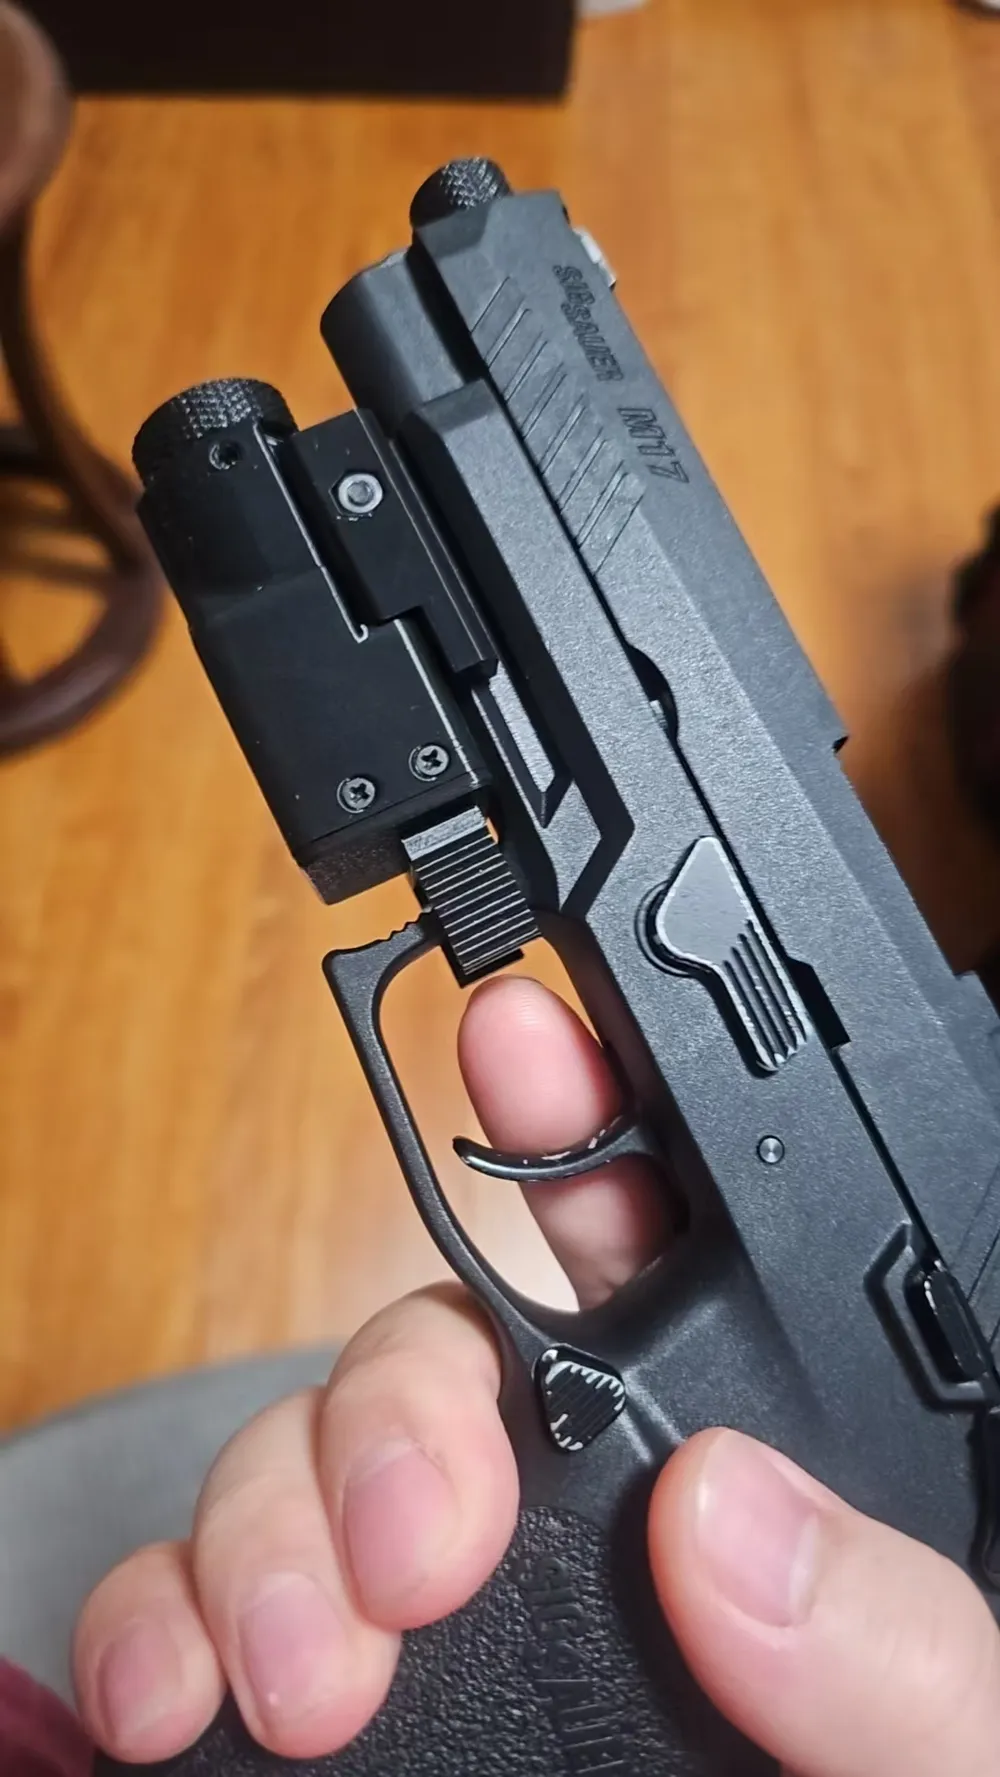
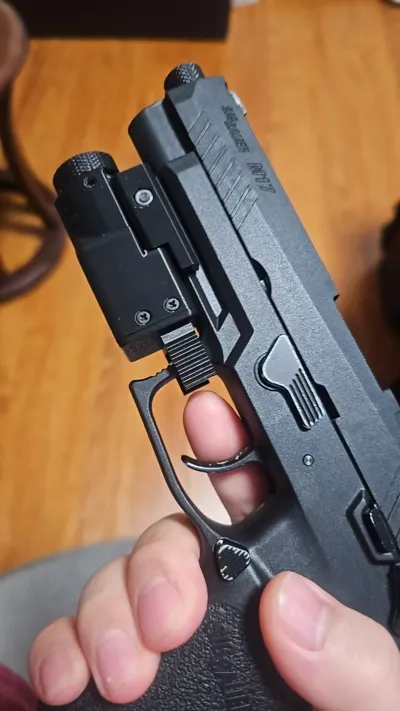
Initially, the guide rail was developed using my P320 as a prototype. However, inconsistencies with Glock pistols emerged, preventing seamless compatibility. Through iterative refinements, it now accommodates most toy models.
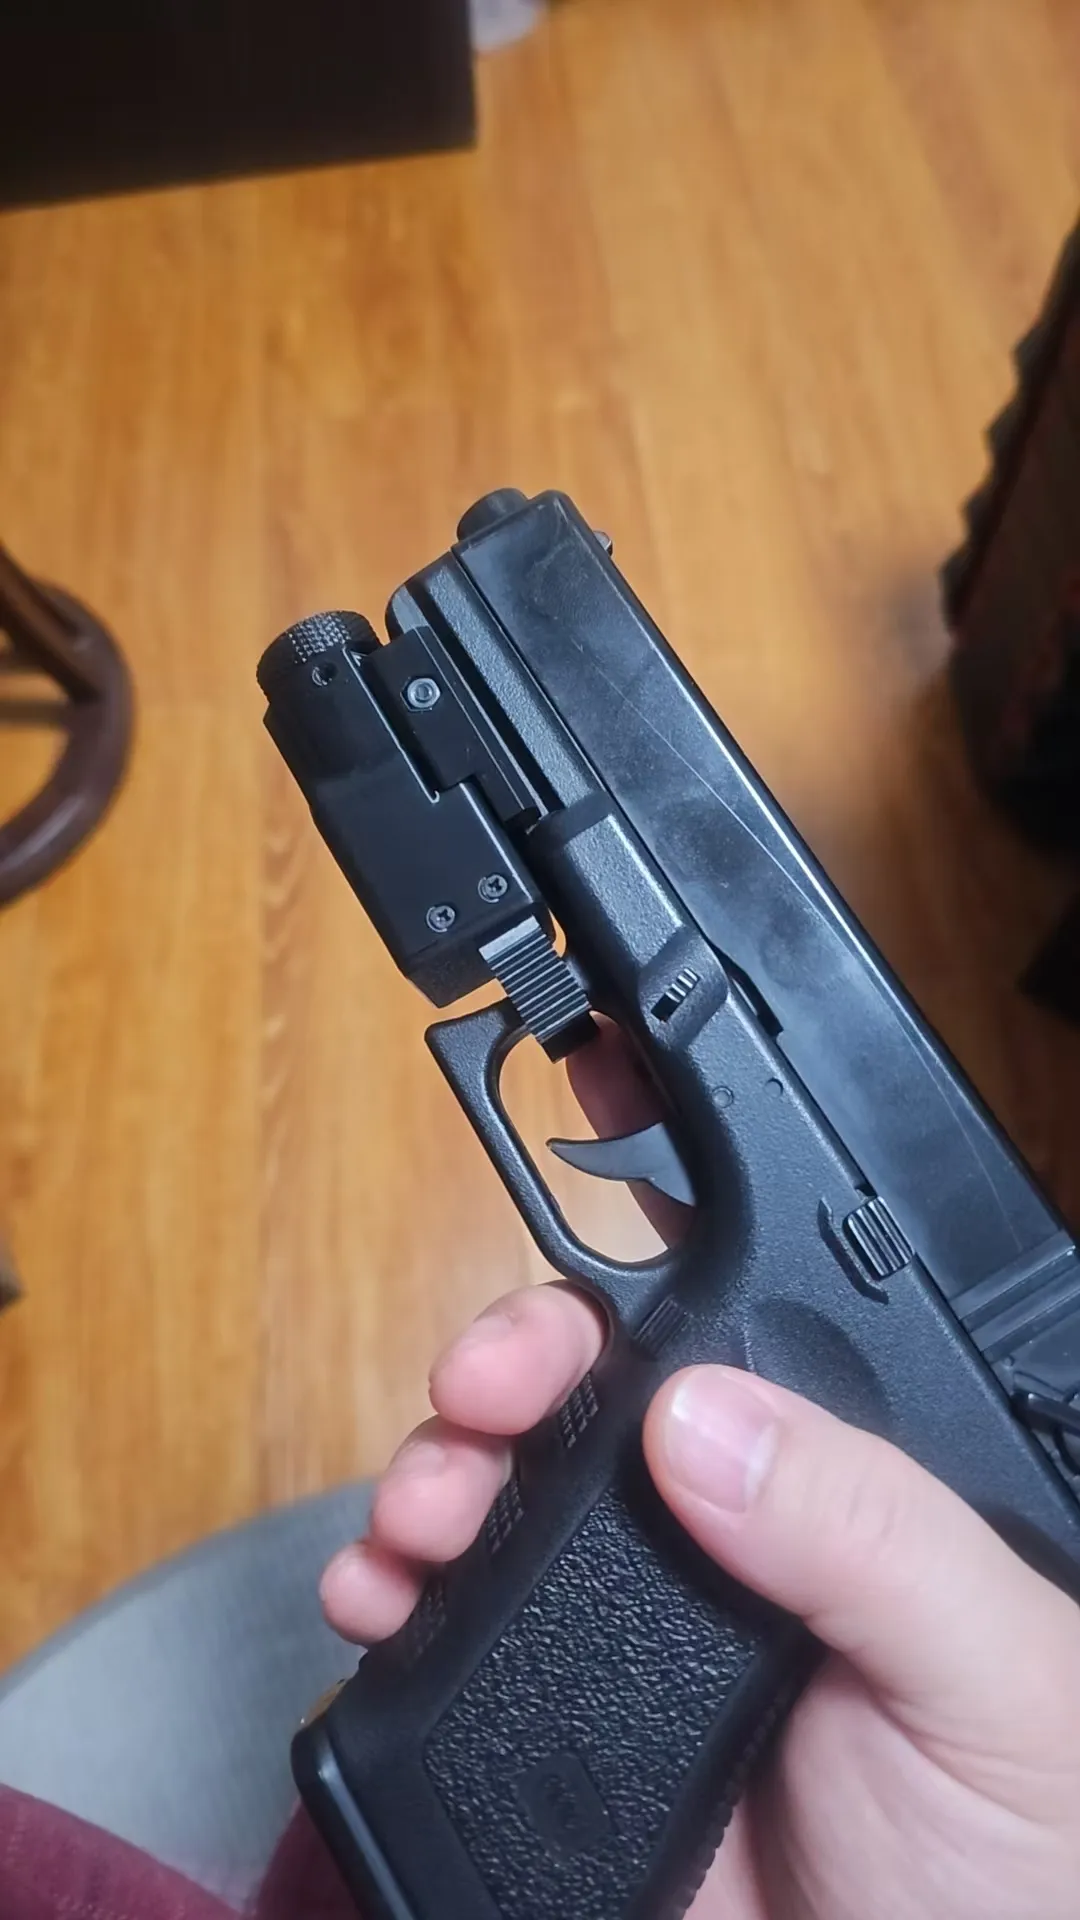

A push-button design facilitates one-handed operation for both left- and right-handed users. Internally, a long-lever micro-switch is employed, coupled with a spring clip, resulting in a precise, satisfying tactile response—a design element I found particularly rewarding to perfect.
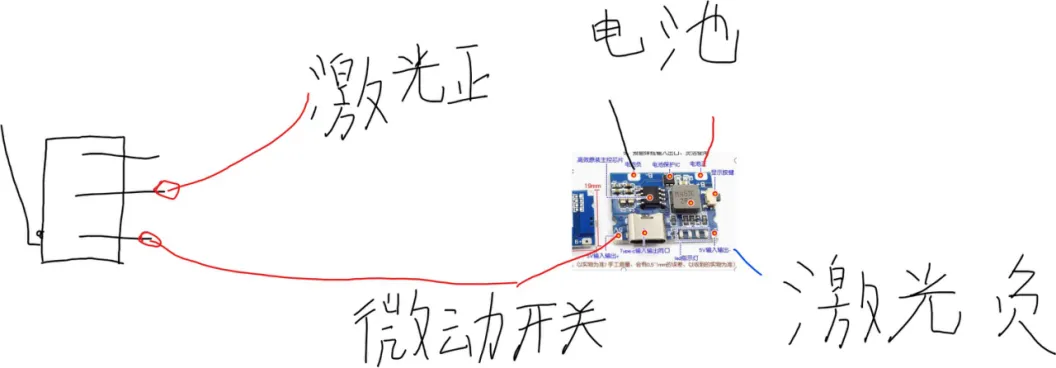
The circuitry is straightforward, easily understandable, but necessitates some hands-on soldering experience.
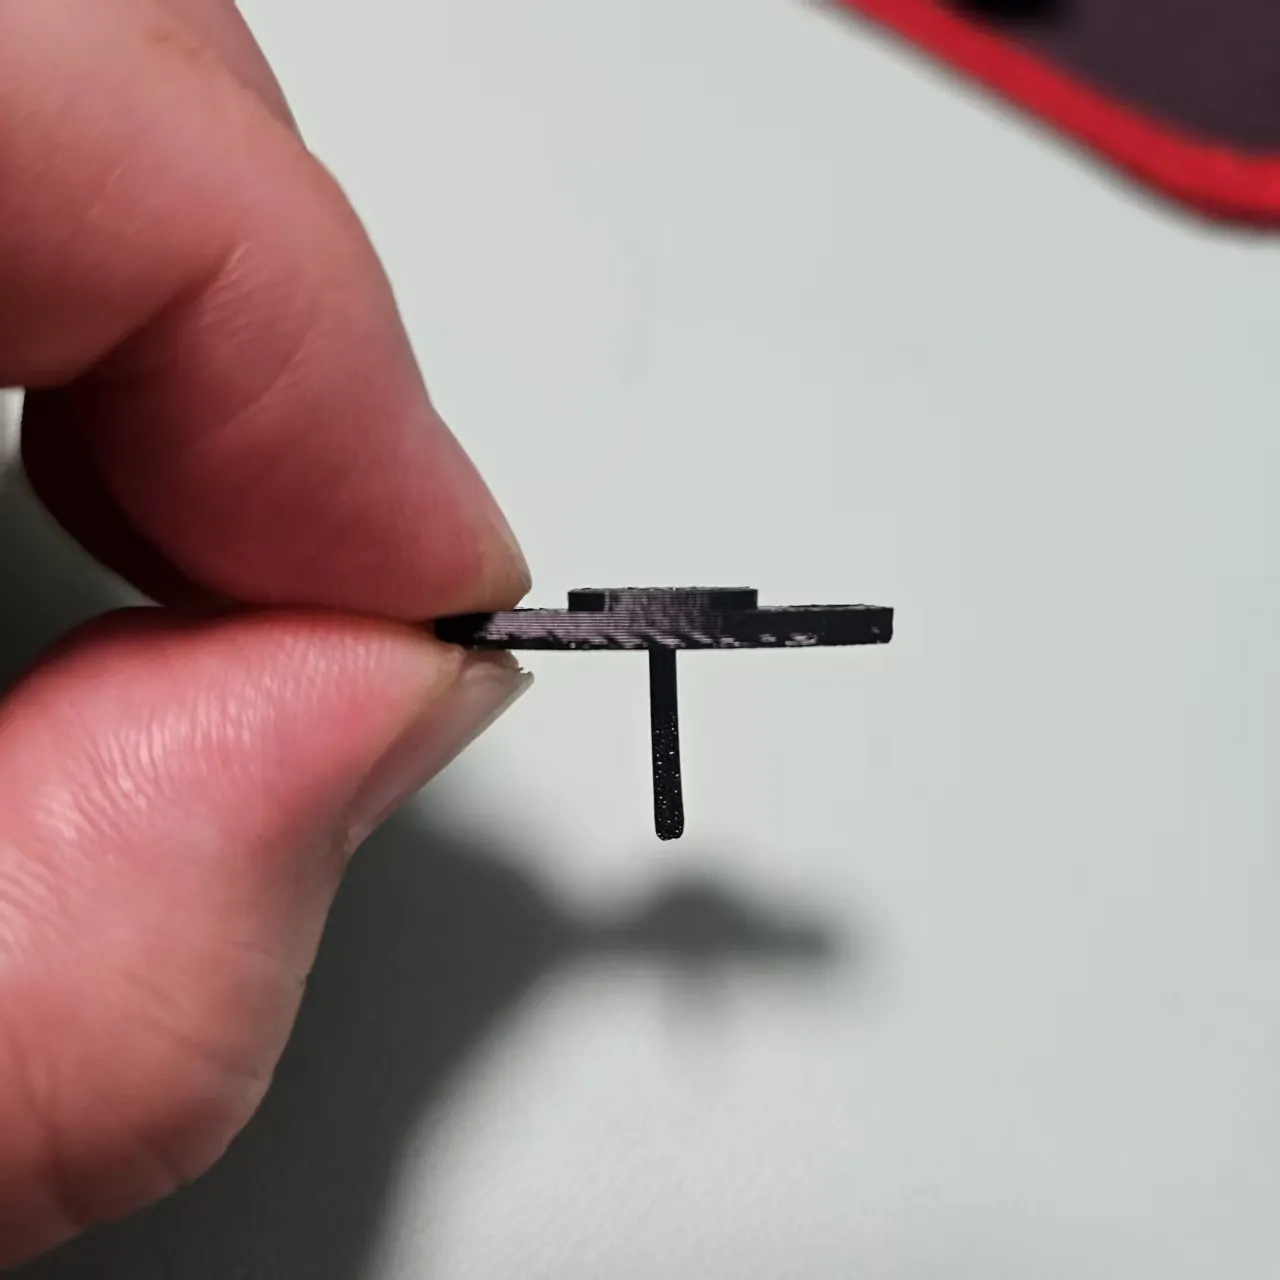
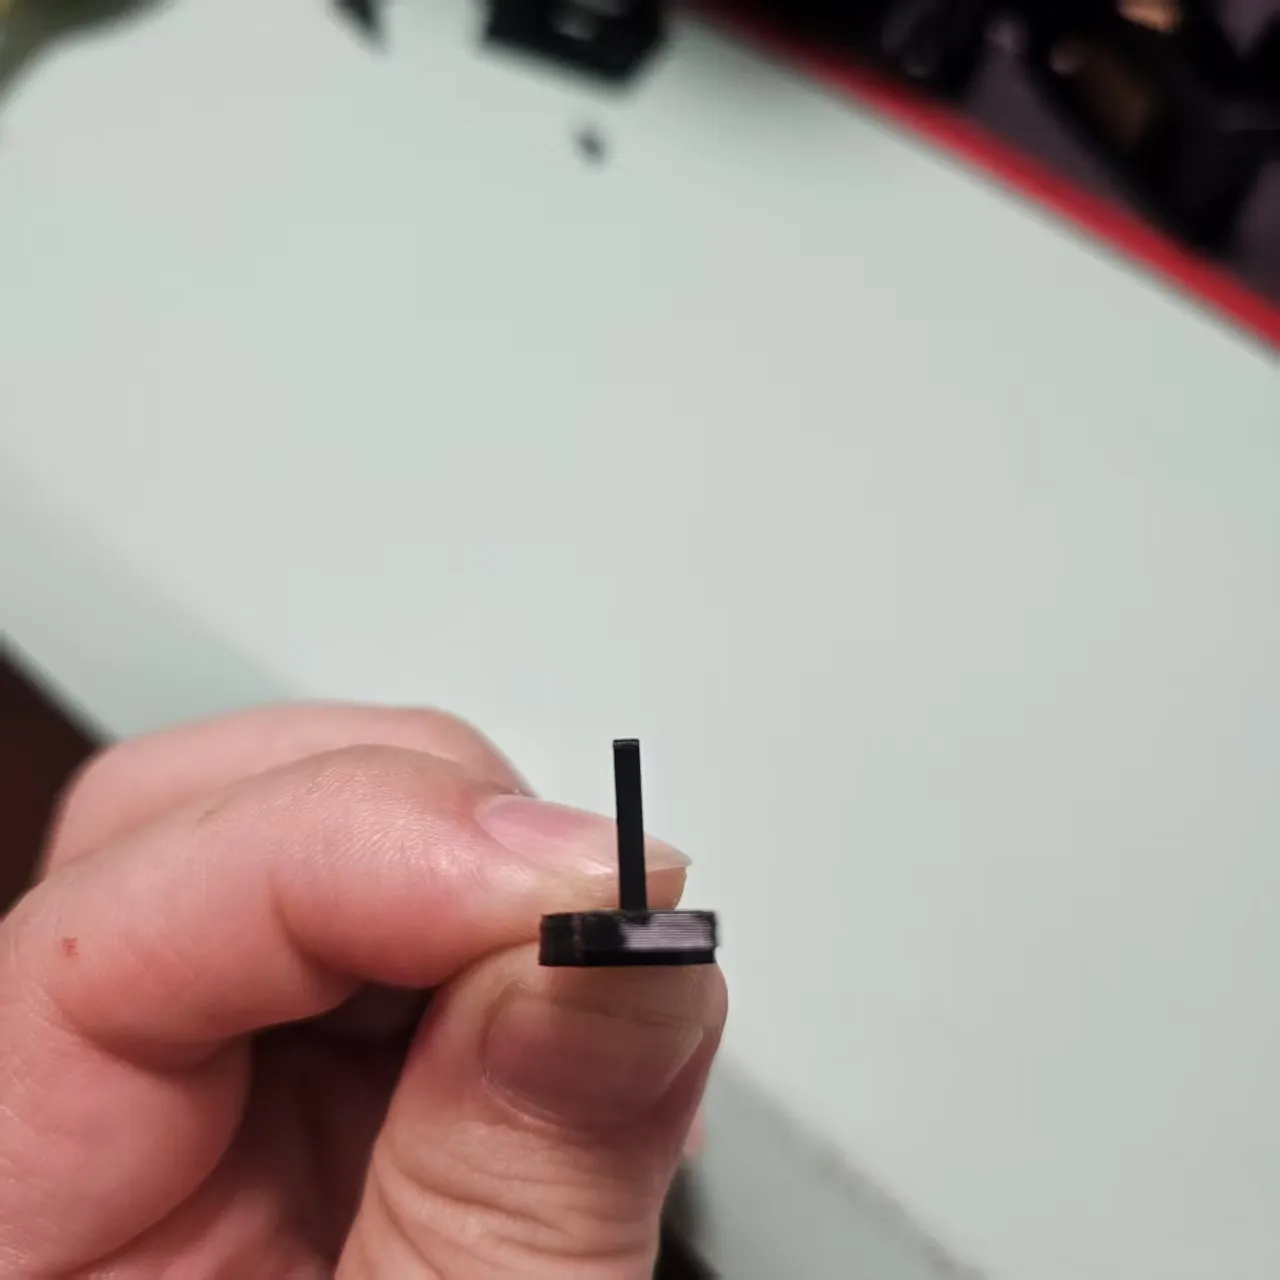
Begin by installing the laser head mounting bracket. Note that the square column features a curved surface; orient the curve to the right, and ensure the bracket's curve faces downward. This is the correct installation; it is not broken.
This arrangement, utilizing the interaction of these two components, eliminates the need for a spring while generating a downward force. The printed auxiliary mounting bracket then secures the square column.
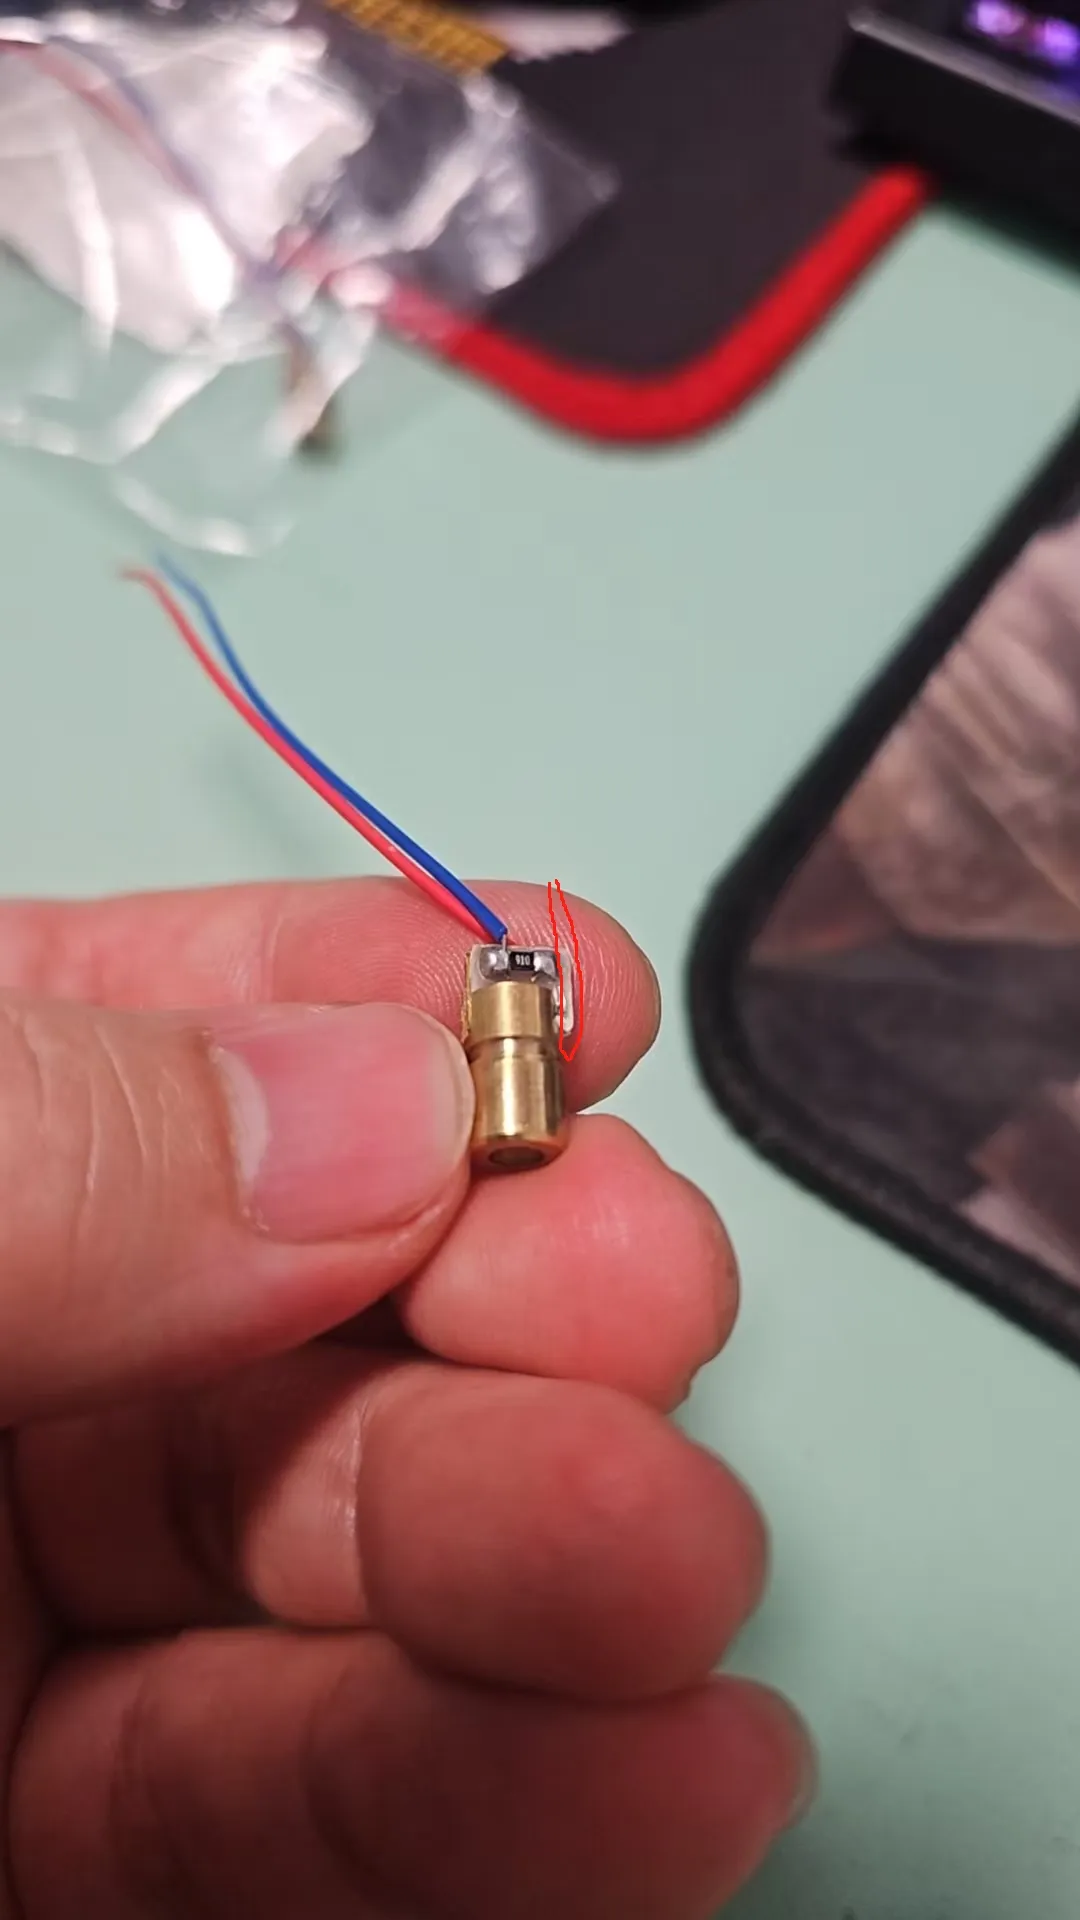
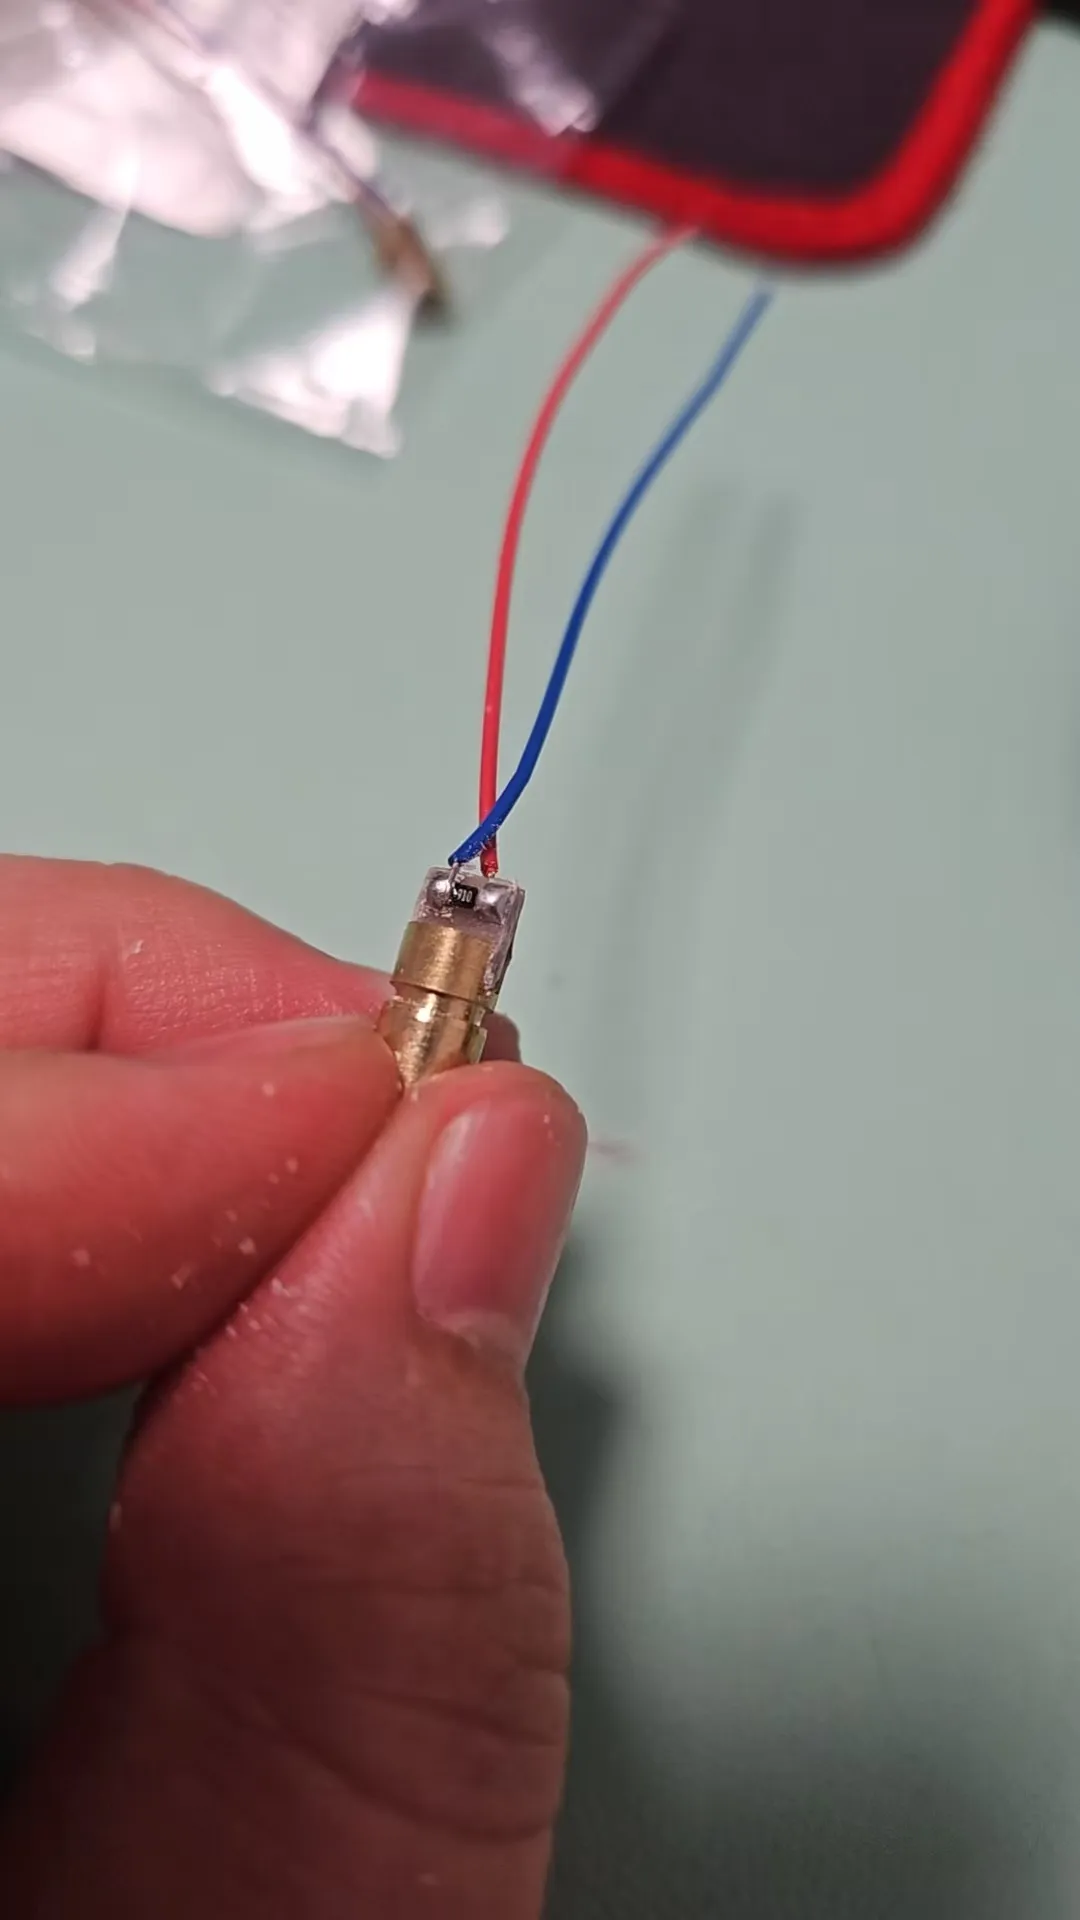
Address any imperfections on the laser head. My first purchase required no adjustment, but subsequent acquisitions exhibited uneven surfaces, as illustrated below. Use a small knife to carefully smooth the circled area.
After smoothing
Proceed to install the laser head's front end, positioning the base below and the auxiliary bracket above the laser head. Ensure the square column does not extend beyond the mounting bracket—this ensures proper alignment based on the column's curvature and length.
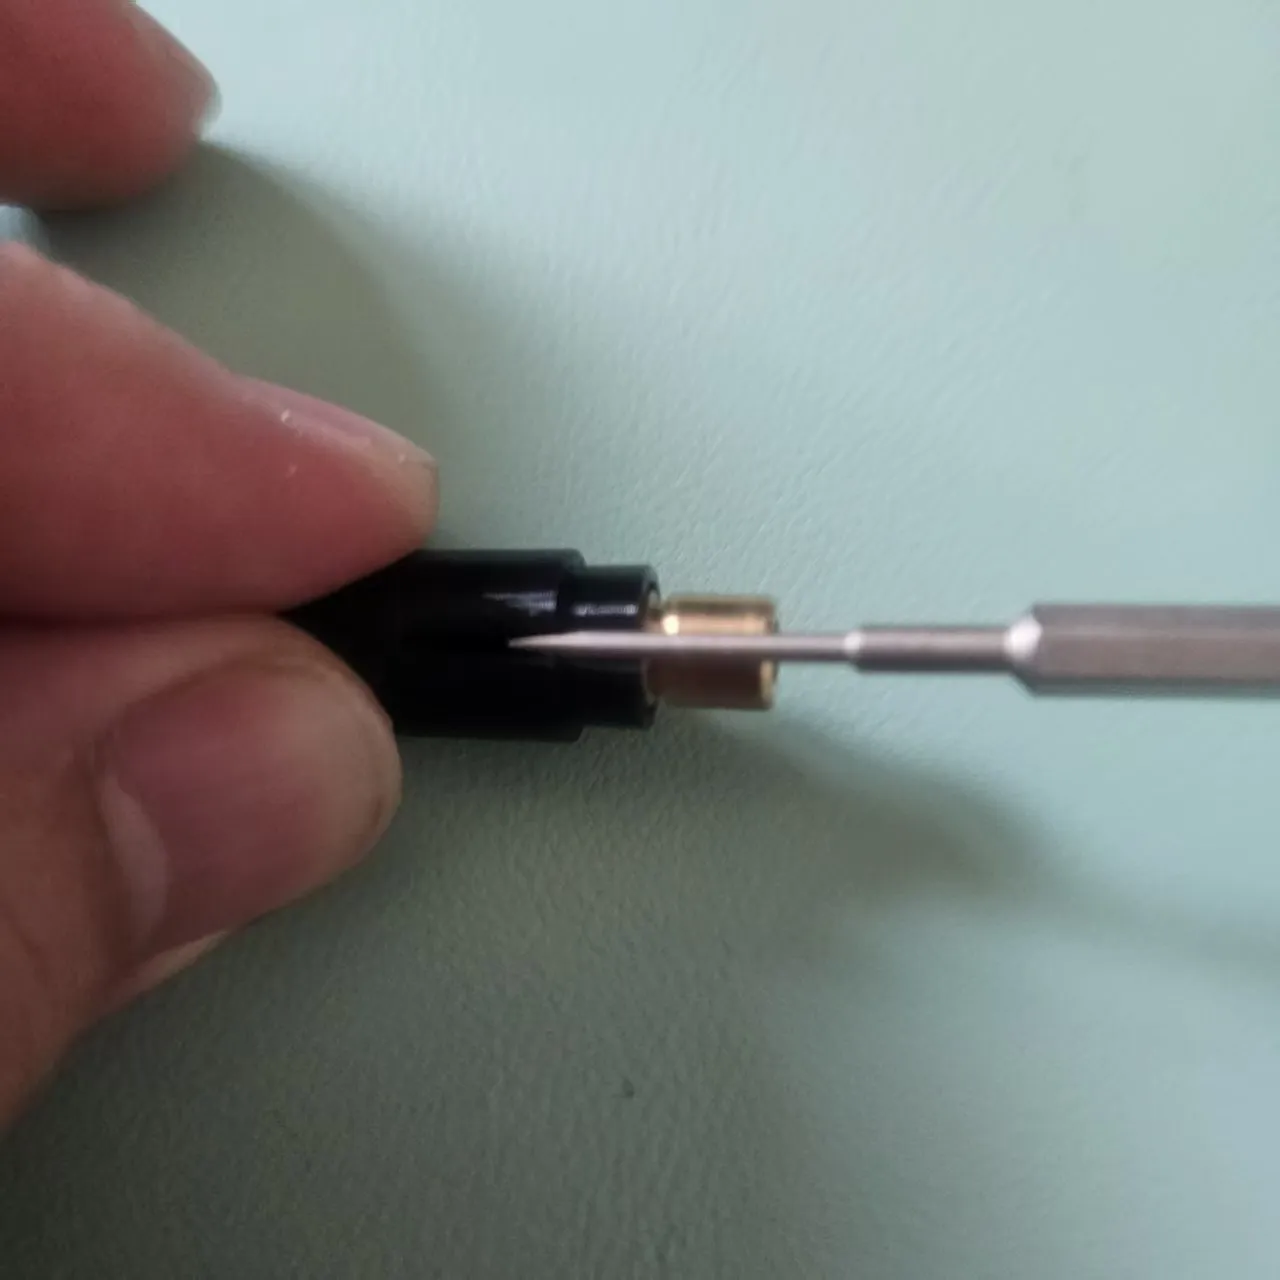
Using a flathead screwdriver, gently pry open the front end, threading the wires through the hole. Carefully insert and align the laser head. The rear plate of the laser head may extend 6mm beyond the laser head itself; consequently, the internal cavity is not perfectly circular. Secure the brass rear end of the laser head, ensuring the focus adjustment mechanism remains unobstructed. Then, fit the circular retaining ring and firmly press it into place.
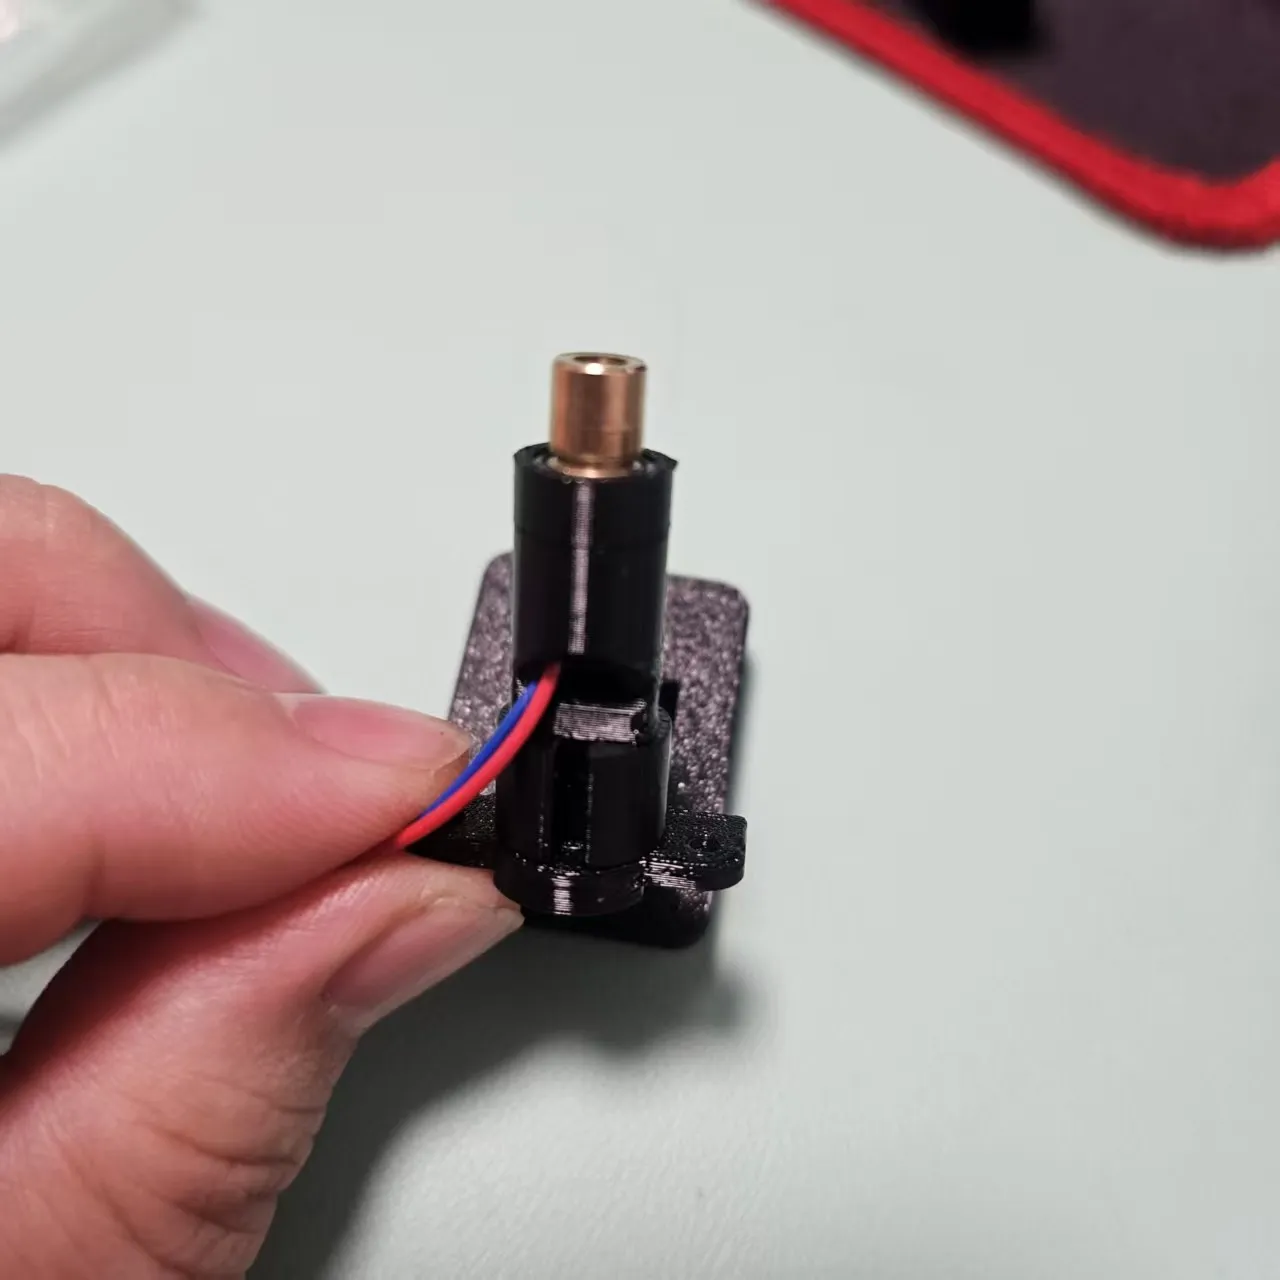
Completed installation
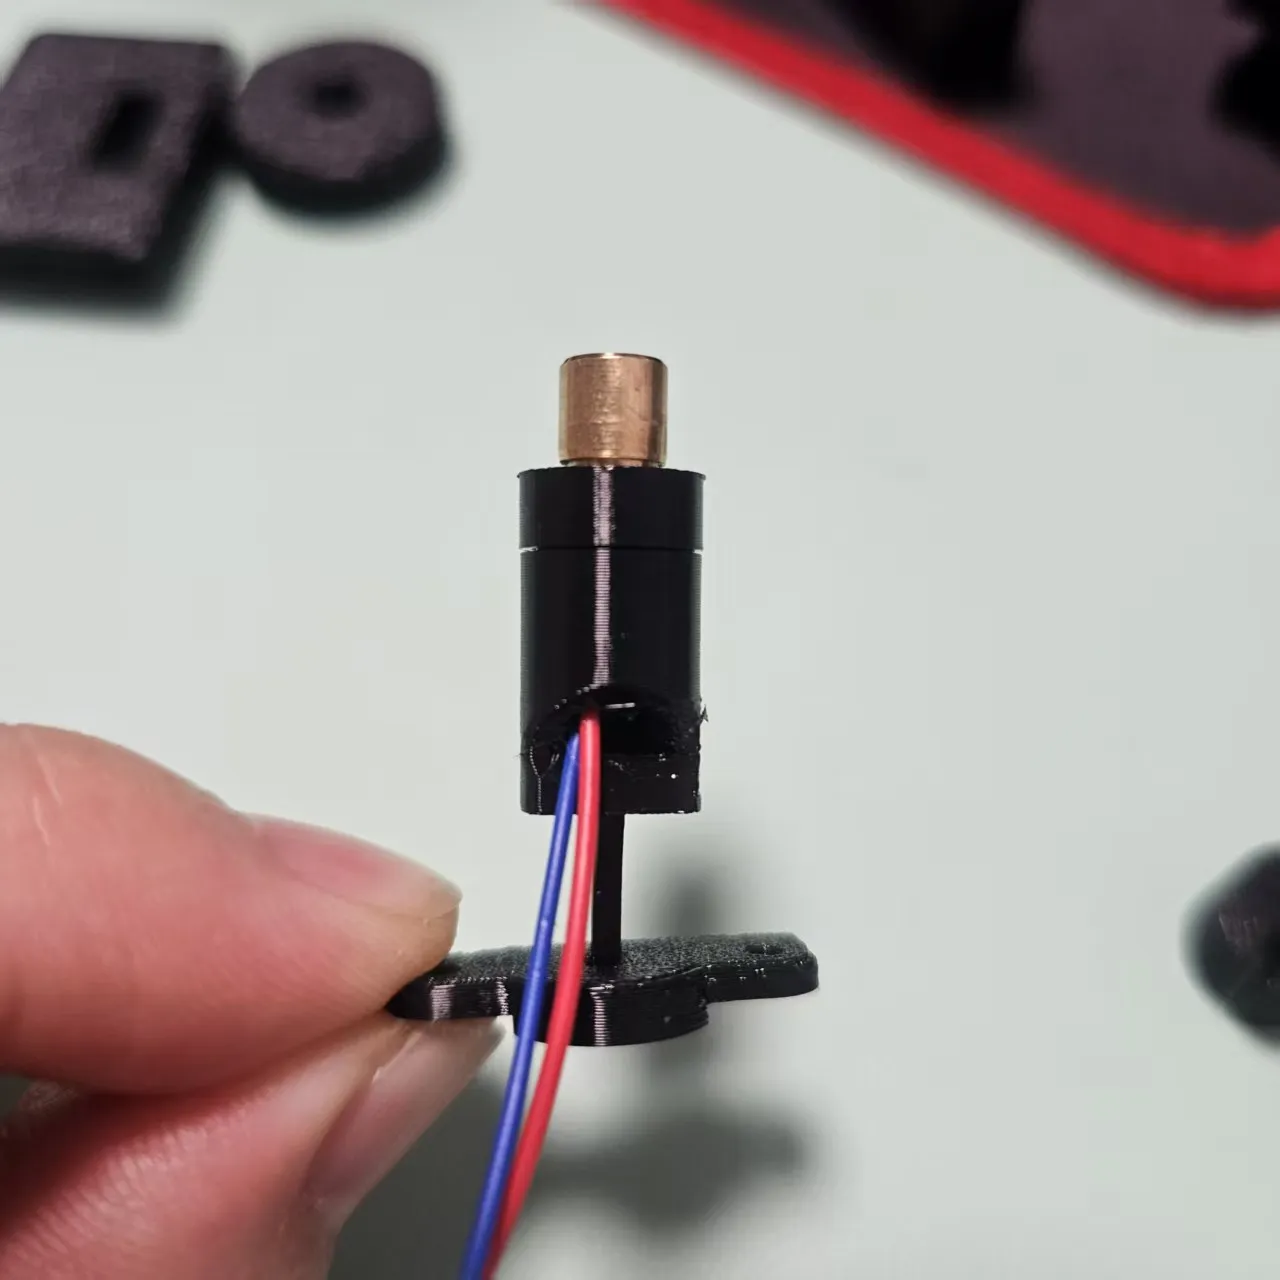
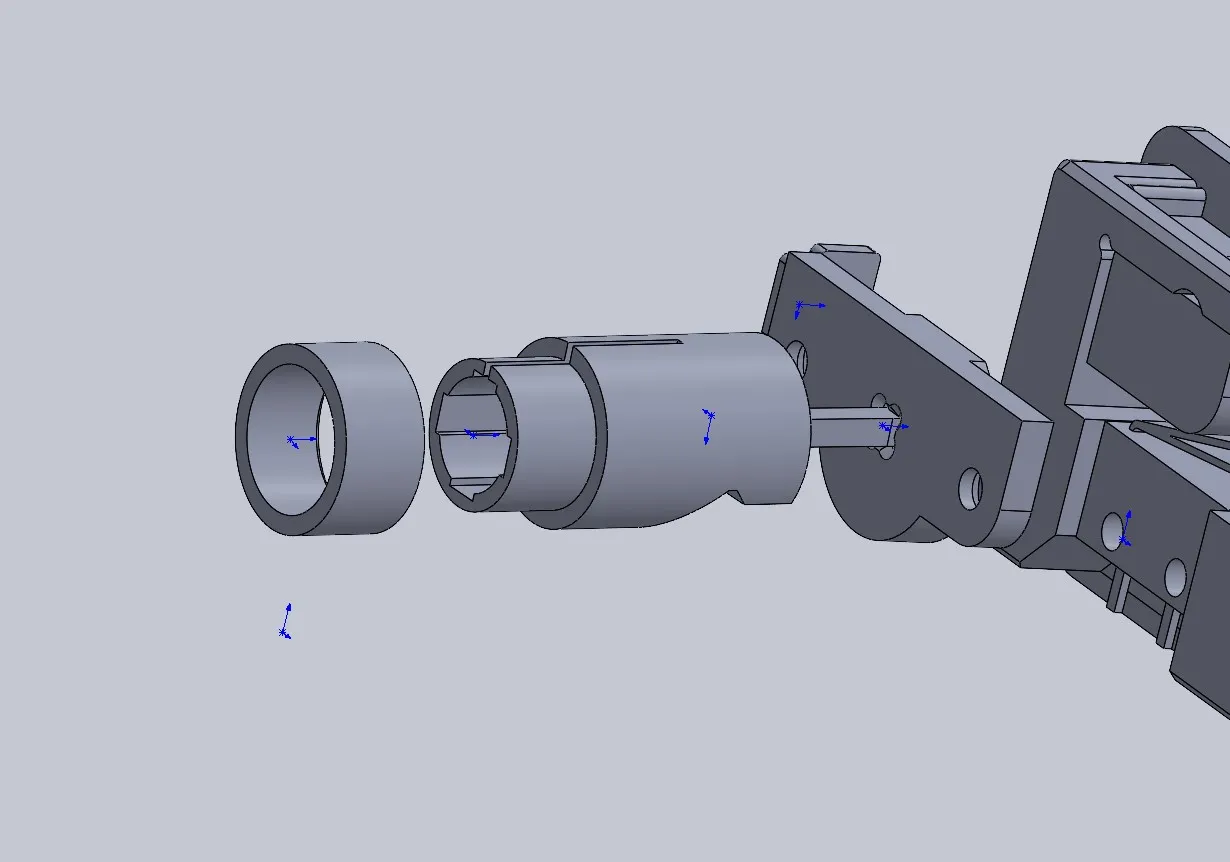
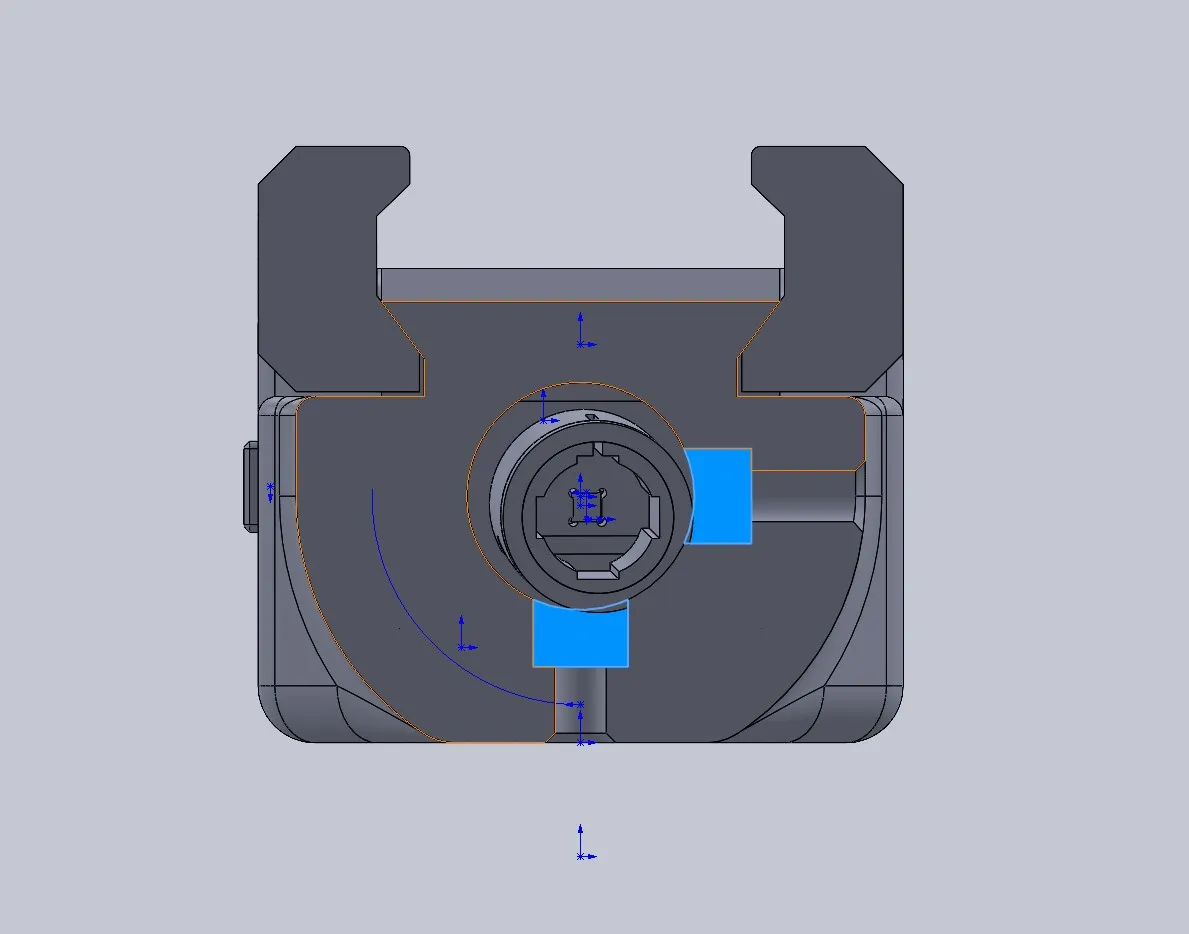
Install the laser head locating pin. Given the greater hardness of the machine screw compared to PETG, direct contact would cause binding, hindering the laser head's return. A small locating pin is substituted to interface with the laser head.
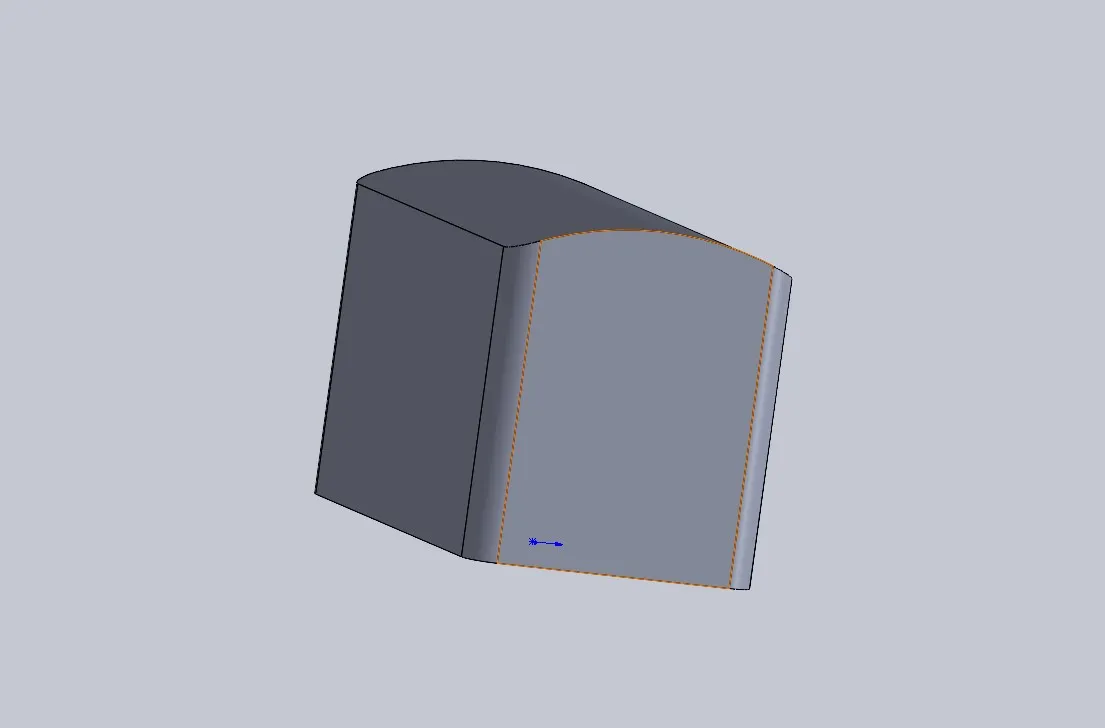
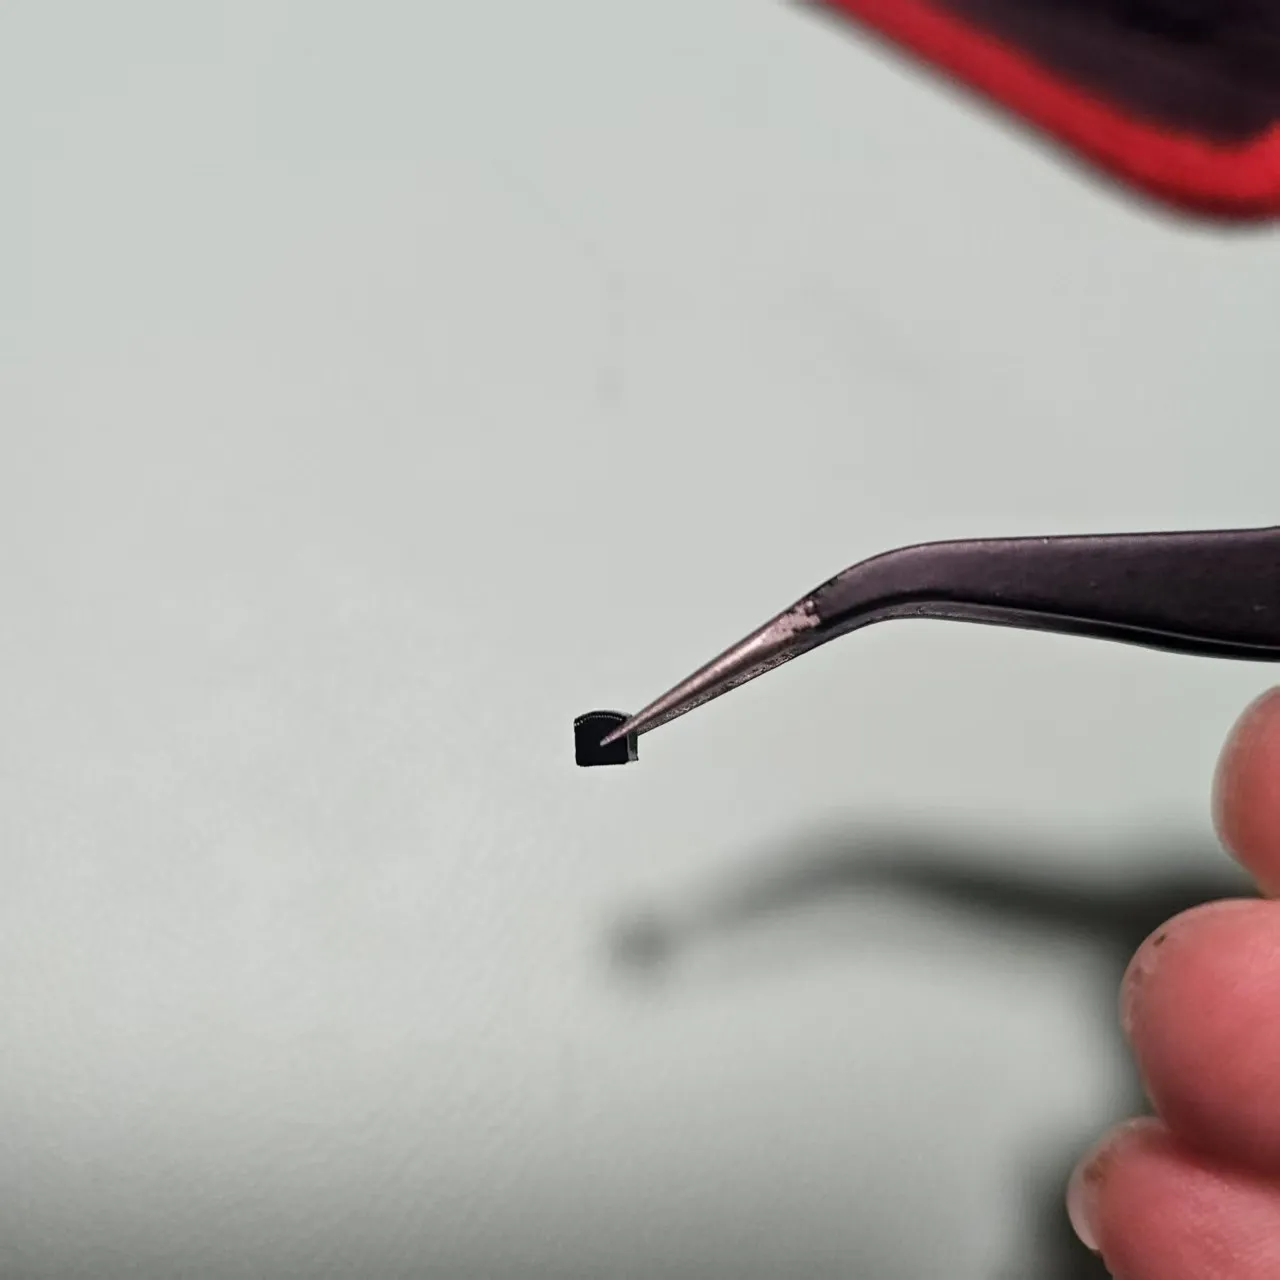
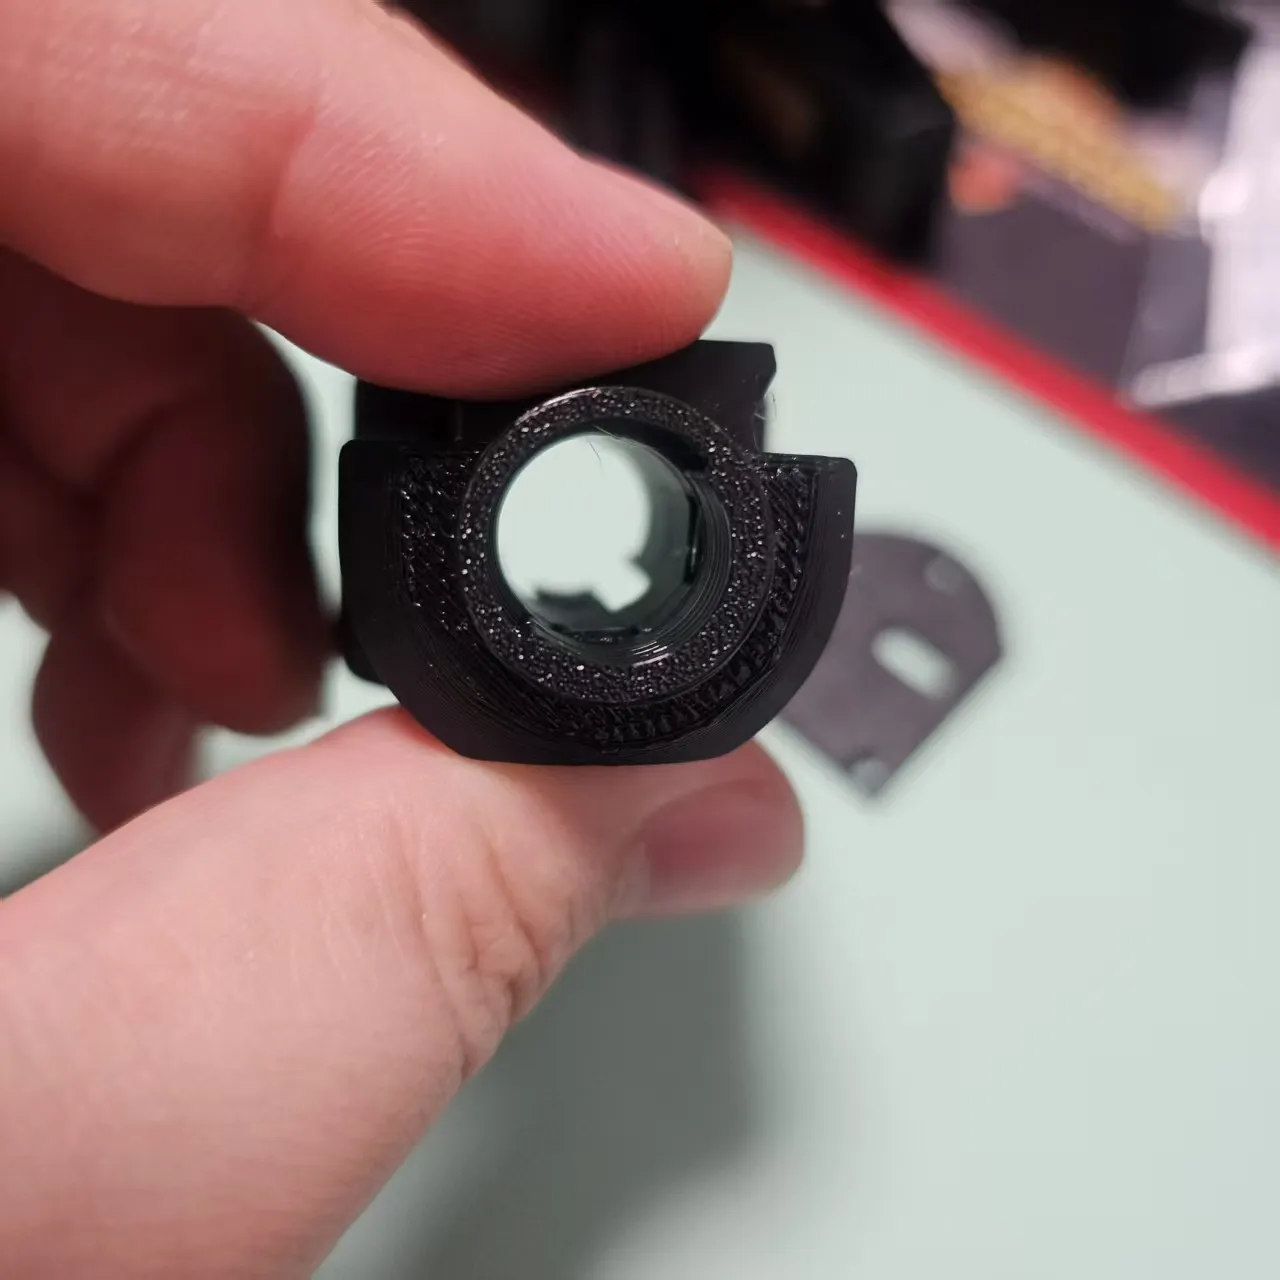
Observe that the locating pin is curved; orient the curved side toward the laser head. Tweezers are recommended for insertion.
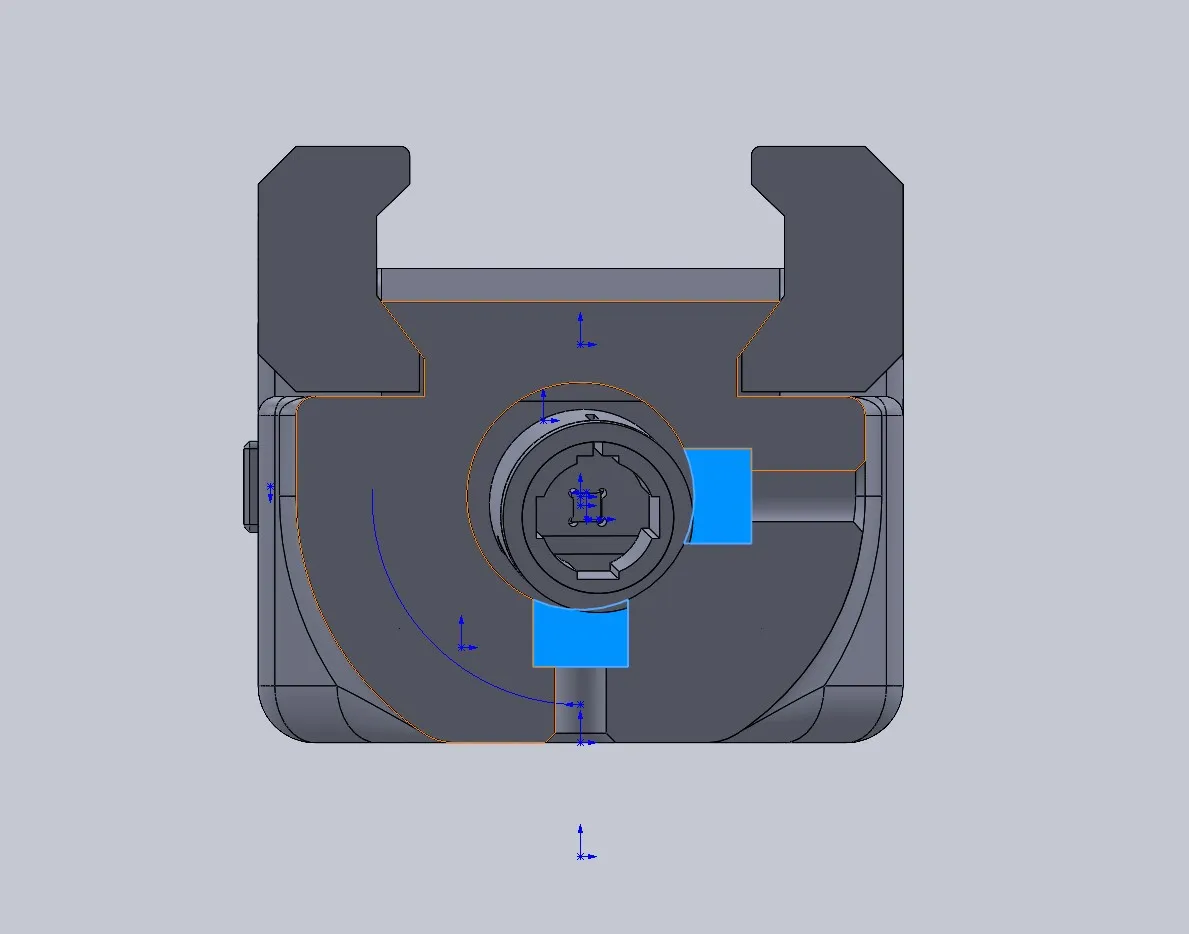
Position one pin at the bottom and one on the right side. Install within the housing, with the positive terminal on the left and the negative terminal on the right (refer to the diagram). Secure using M2 countersunk screws. Install the M3 machine screws after inserting the laser head.
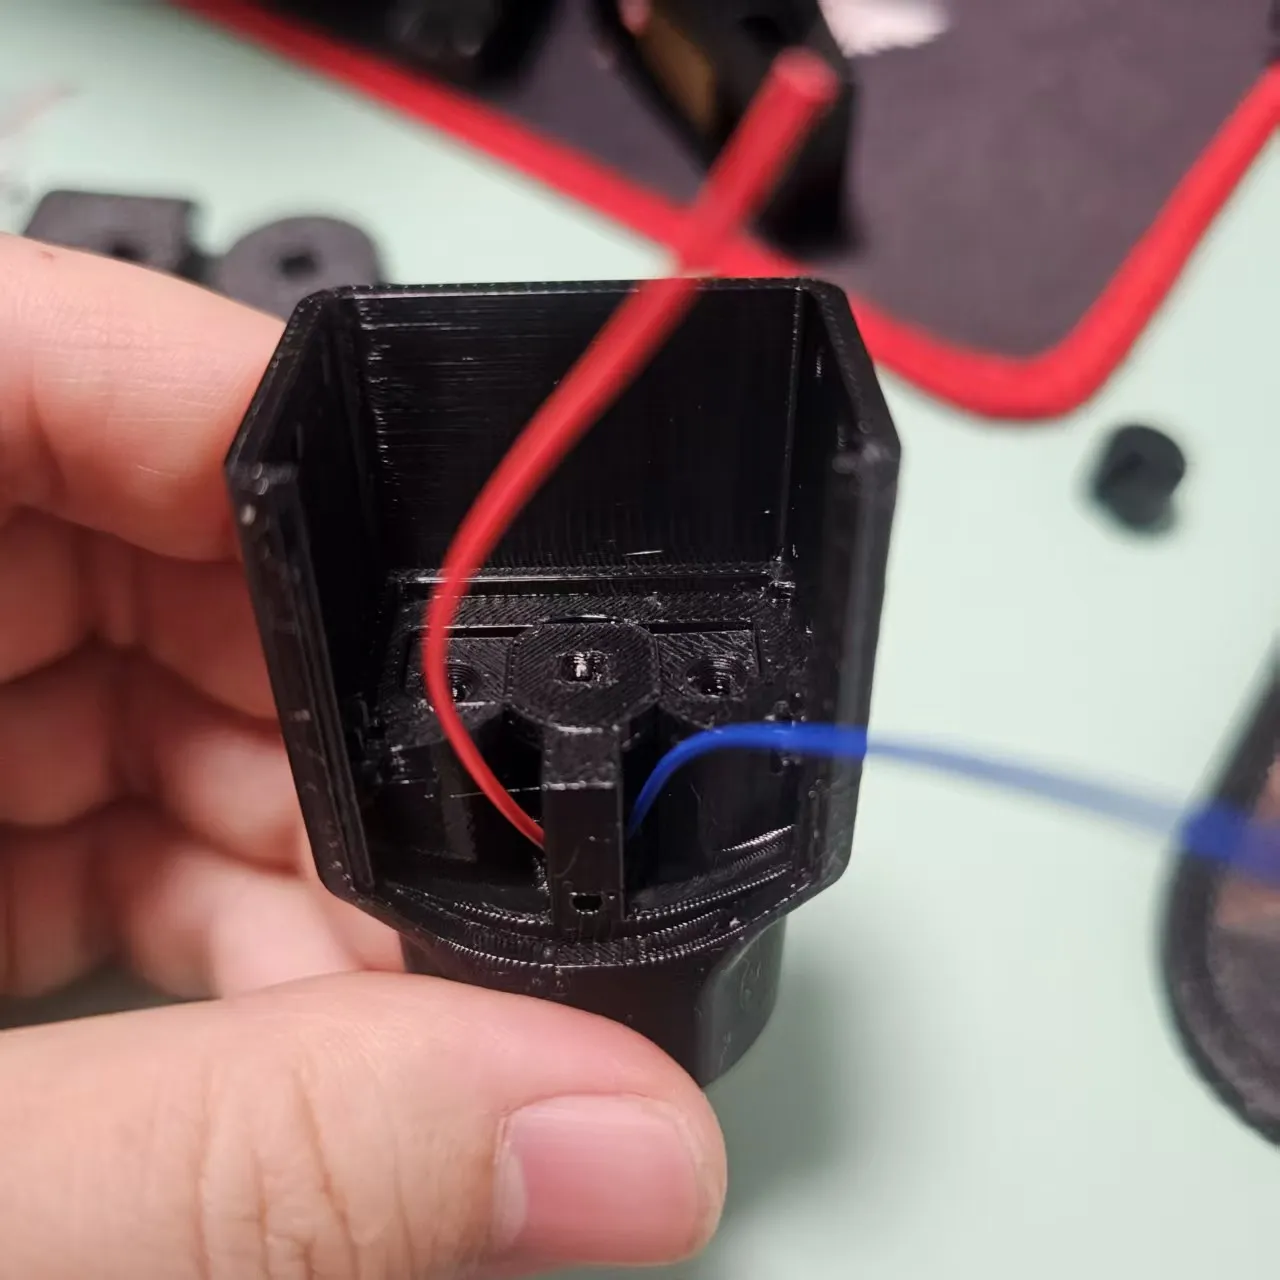
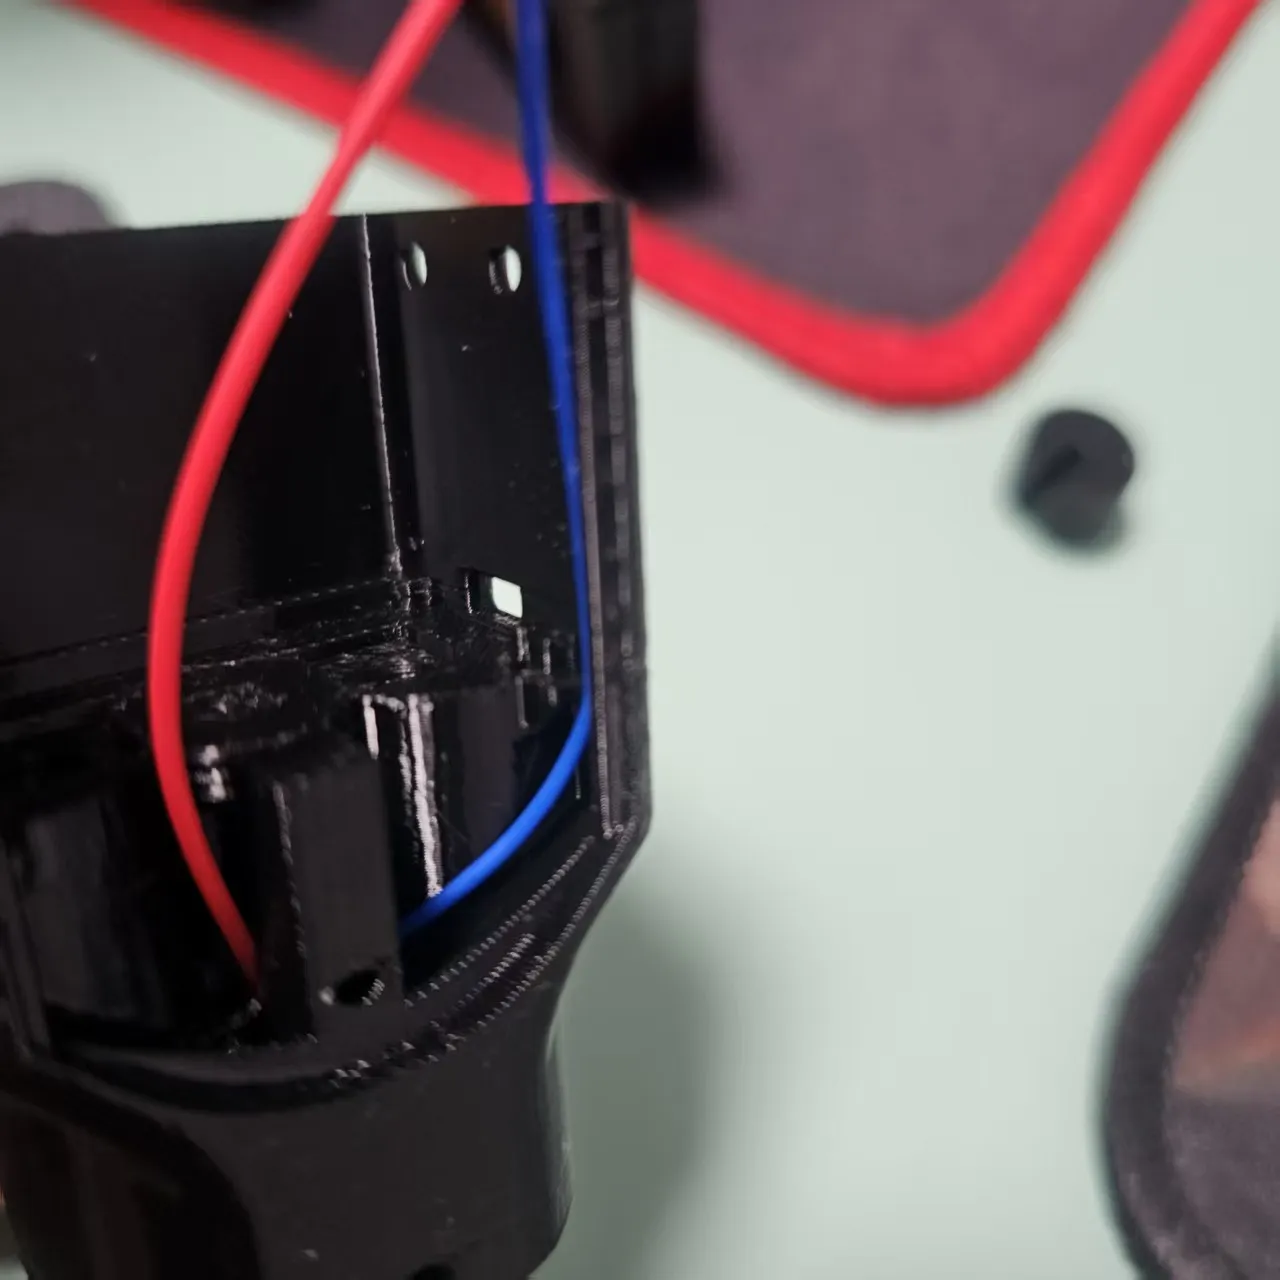
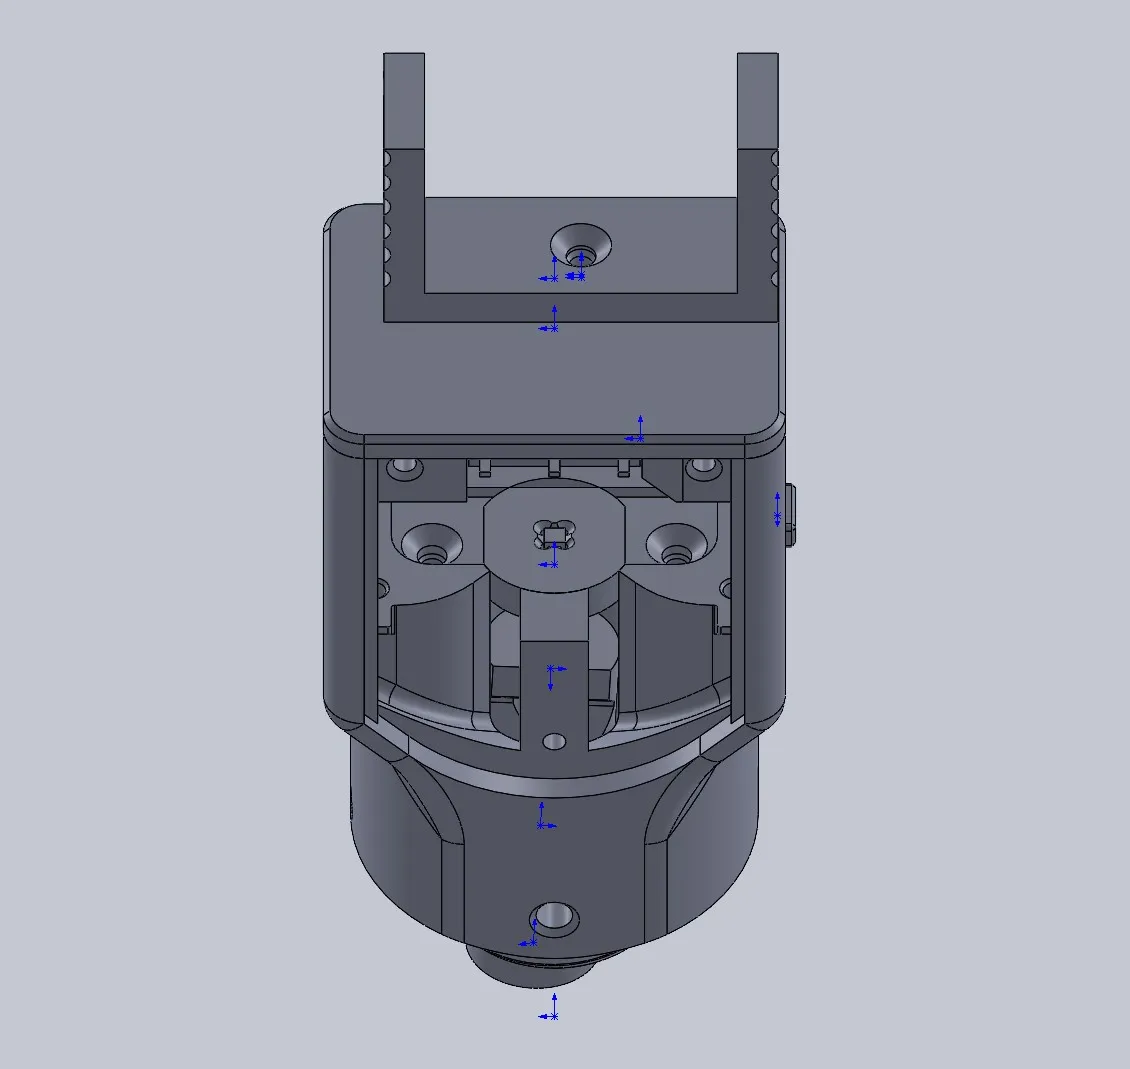
Position the negative terminal in the right slot and the positive terminal in the left slot. Solder the battery, charging module, and laser head's negative terminal. A separate wire must be soldered from the charging module's positive terminal to the micro-switch.
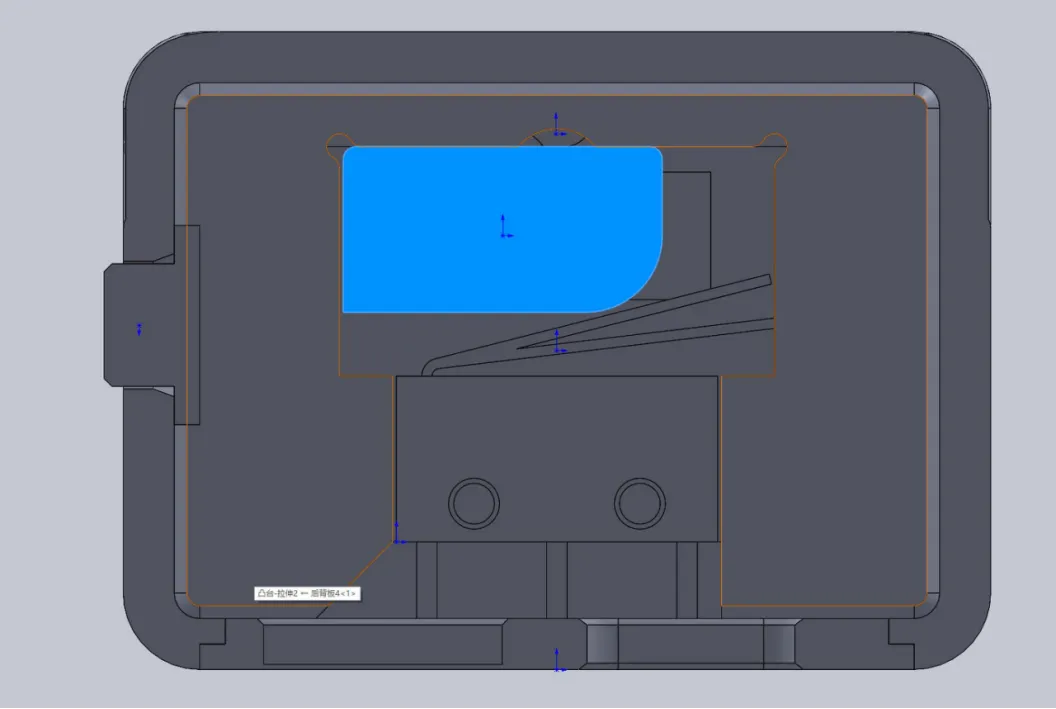
Secure the battery level indicator.
Install the charging module screws.
Assemble the rear panel as shown.
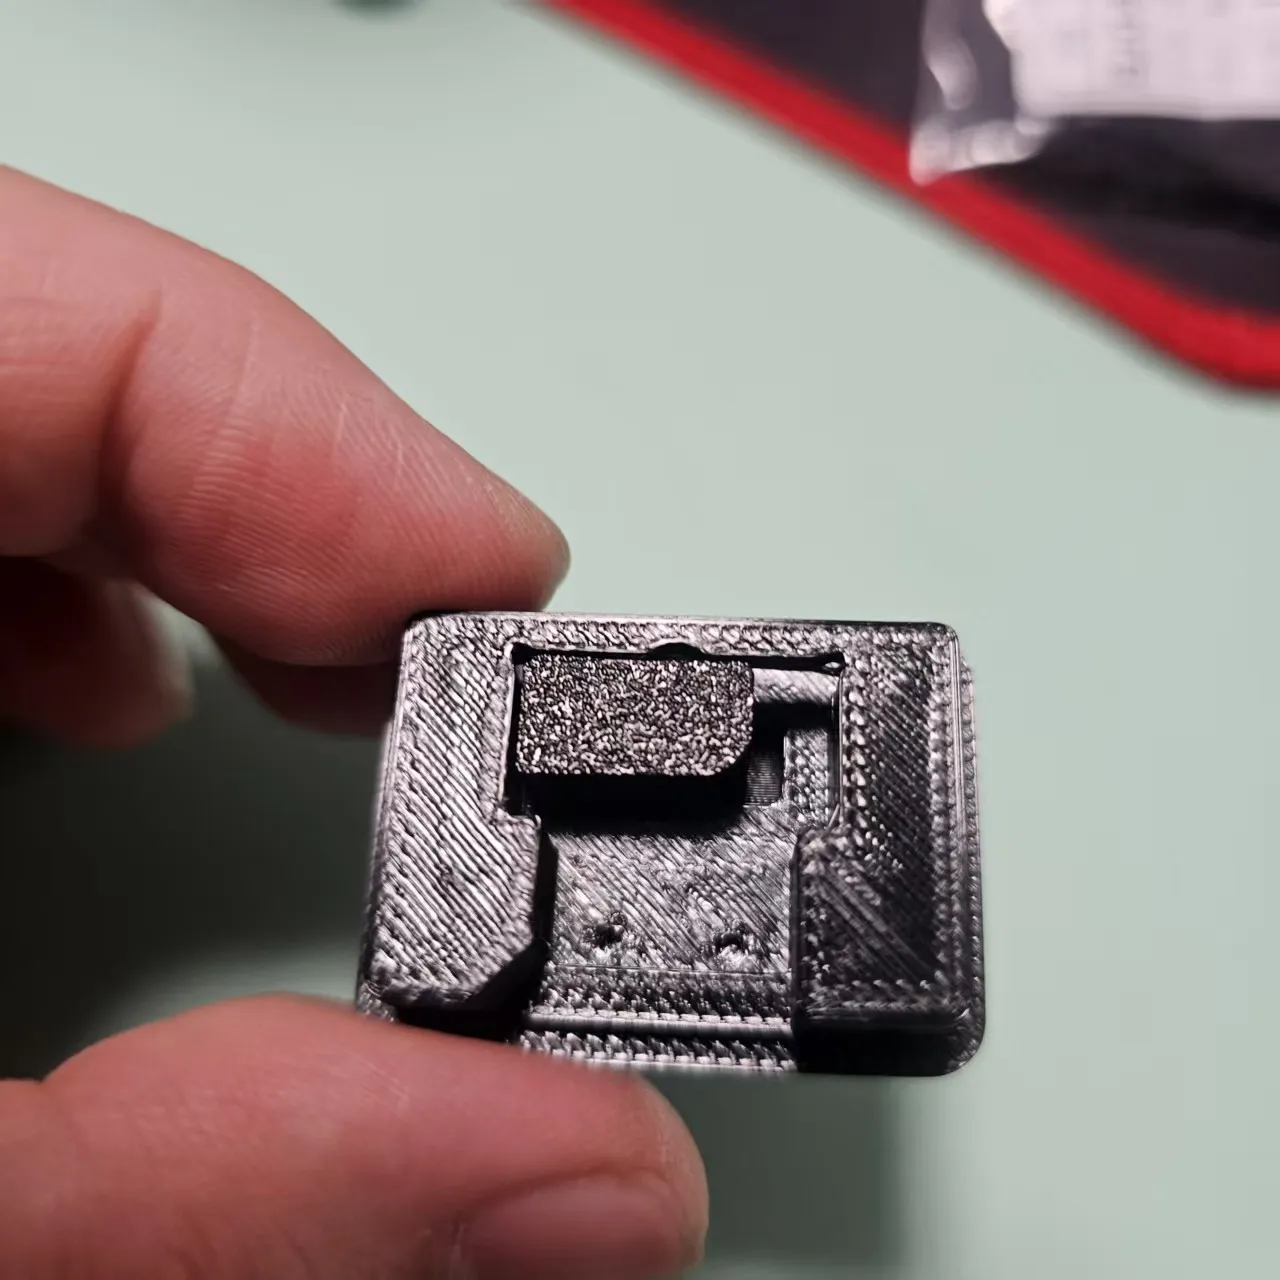
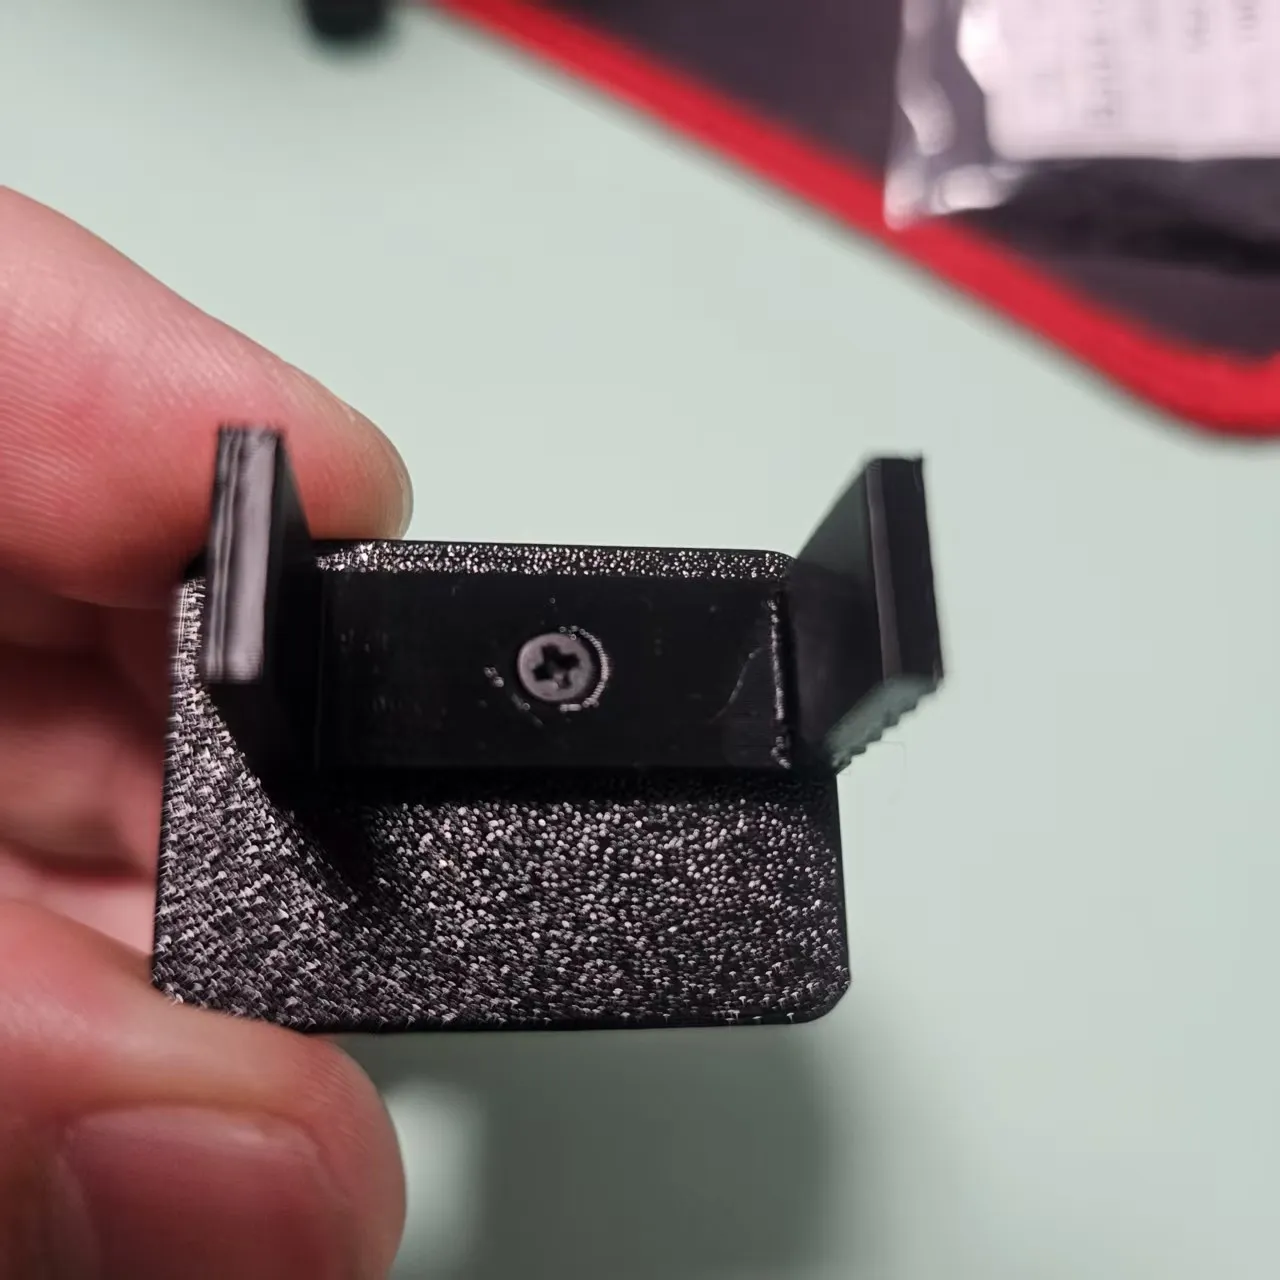
Secure the micro-switch using M2x8 screws. Two screws are recommended, or a single screw on the right side.
Following the circuit diagram, solder the laser head's positive terminal, charging board, and output positive terminal to the micro-switch.
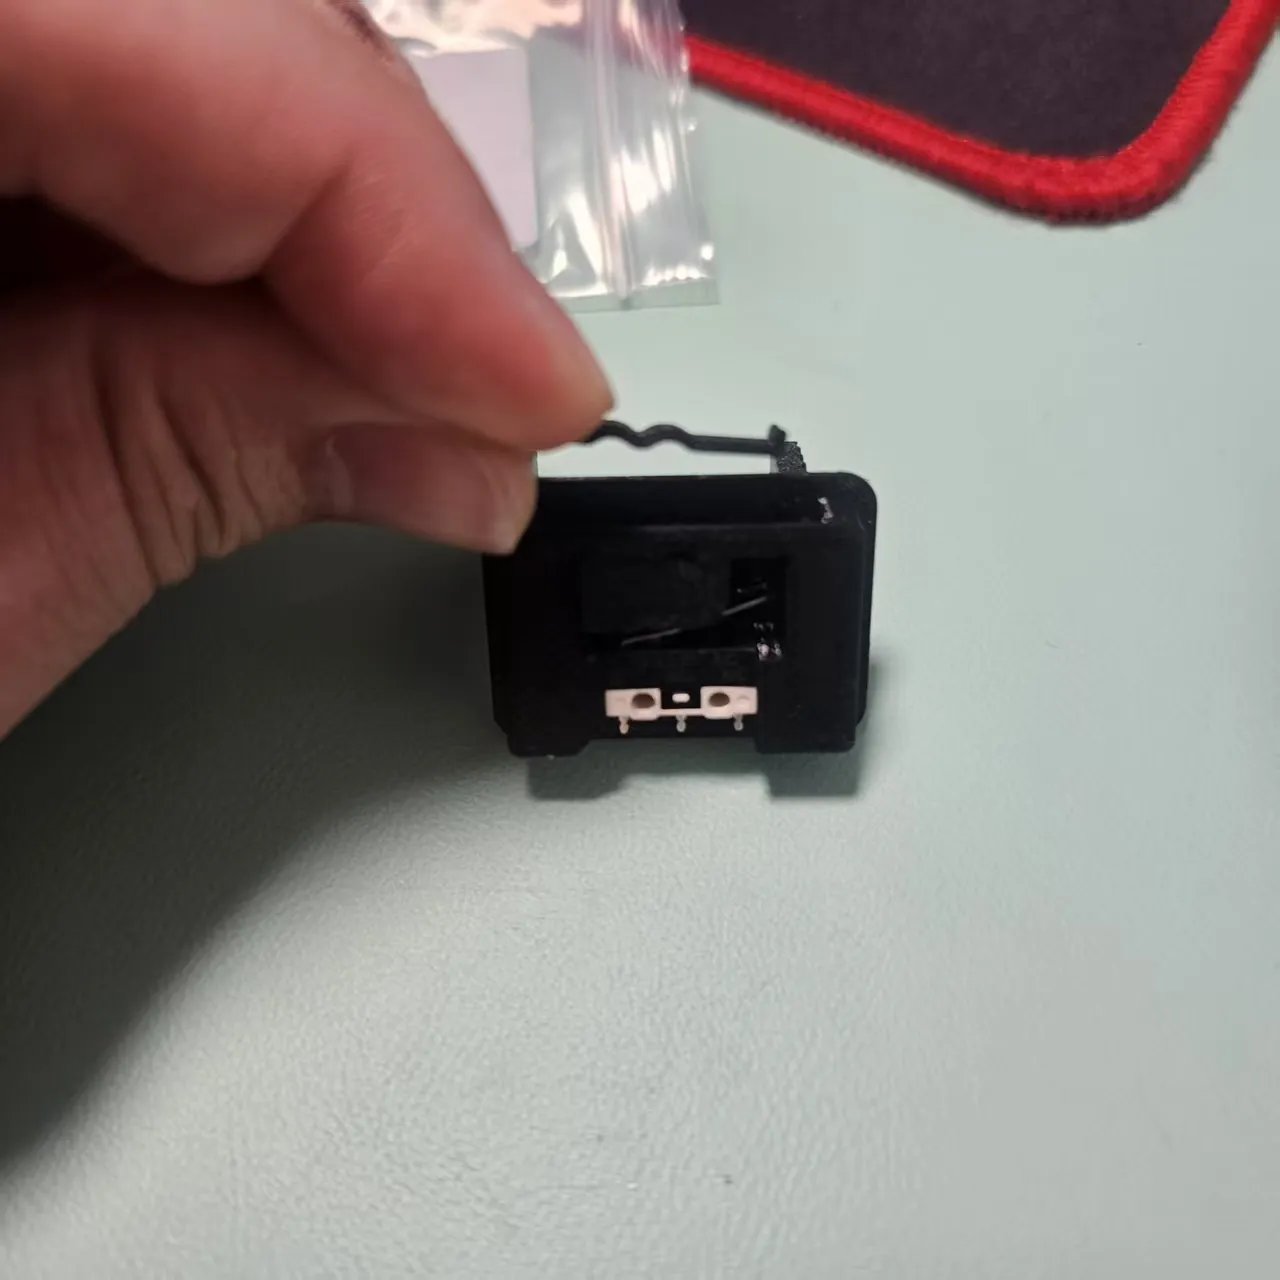
Position the spring leaf on the upper portion of the back panel. Secure the top cover with screws, then attach the top panel.
The assembly is now complete.
A final, crucial reminder: Do not aim at the eyes of people or animals. Do not aim at the eyes of people or animals. Do not aim at the eyes of people or animals.
This is critically important—I cannot stress this enough.
Commercial use prohibited.
Boost Me (for free)
Thank you for your support. After two weeks of design, I deeply appreciate the dedication and pursuit of perfection behind every project. It was certainly a brain-intensive endeavor. Therefore, I sincerely hope you will generously support this project; your encouragement fuels the creation of more exceptional designs.
After prolonged use, I discovered that PETG exhibited fatigue. While initially functioning perfectly, the mechanism eventually failed to fully return to its original position. Therefore, I've modified the original design to incorporate a 0.3 x 2 x 10 mm small spring in the opposing opening. These springs are inexpensive, costing just 1 yuan for ten.
The assembly process remains unchanged. After completing the assembly, insert the springs in the opposing openings and secure them using short M3 machine screws. Alternatively, for simplicity, M3x4 screws can also be used.
For those who already own this item, simply replace the housing
Documentation (1)
License

You shall not share, sub-license, sell, rent, host, transfer, or distribute in any way the digital or 3D printed versions of this object, nor any other derivative work of this object in its digital or physical format (including - but not limited to - remixes of this object, and hosting on other digital platforms). The objects may not be used without permission in any way whatsoever in which you charge money, or collect fees.


Comment & Rating (3)