Search models, users, collections, and posts

Clicky Rotate Counter
IP Report


Print Profile(8)

3 colours, 1 plate, 3 filament swaps only

59 min
1 plate
![[2 Plate for low waste]: 0.2mm layer, 2 walls, 15% infill](https://makerworld.bblmw.com/makerworld/model/US342d50fd95fc12/440282044/instance/2024-01-09_07e873e2e7de1.jpg?x-oss-process=image%2Fresize%2Cw_100%2Fformat%2Cwebp)
[2 Plate for low waste]: 0.2mm layer, 2 walls, 15% infill

59 min
2 plates

75% size, low waste 2 plate version

41 min
2 plates

Two Colour Body, 0.2mm layer, 2 walls, 15% infill

1 h
2 plates
Click to see more
Open in Bambu Studio
Boost
1206
3555
708
435
5 k
4.3 k
Released
Description
This 2-digit counter boasts a stylish design! It features a wheel with a satisfying click. Each number comes to a stop with a click. and easy snap on assembly.
Assembly:
0. print a total of 5 parts: ‘Case_M’, ‘Case_F’, ‘Spring’, ‘Wheel_A’, and ‘Wheel_B’. Choose either the Standard or Reversed case, and select either Normal or Soft for the spring.
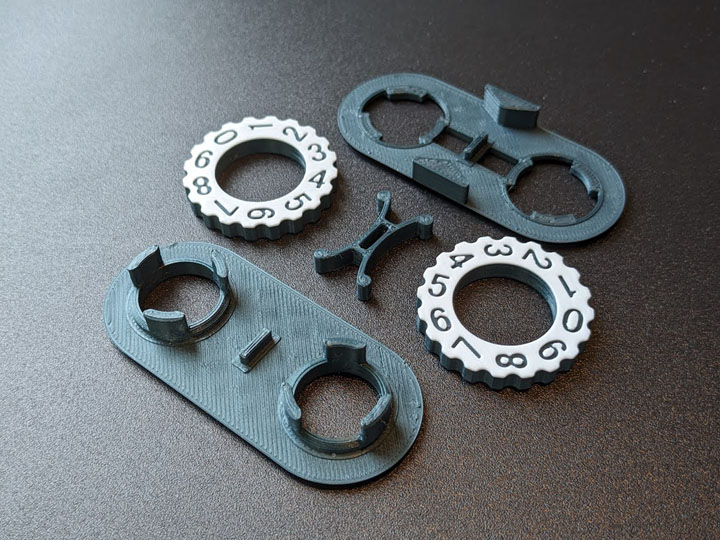
1. Put the wheel onto the 'case_M' part and check its rotation. If it feels stiff, use sandpaper or apply a small amount of grease to the inside of the wheel. (When you choose the reversed design case the wheel numbers must be placed downward.)
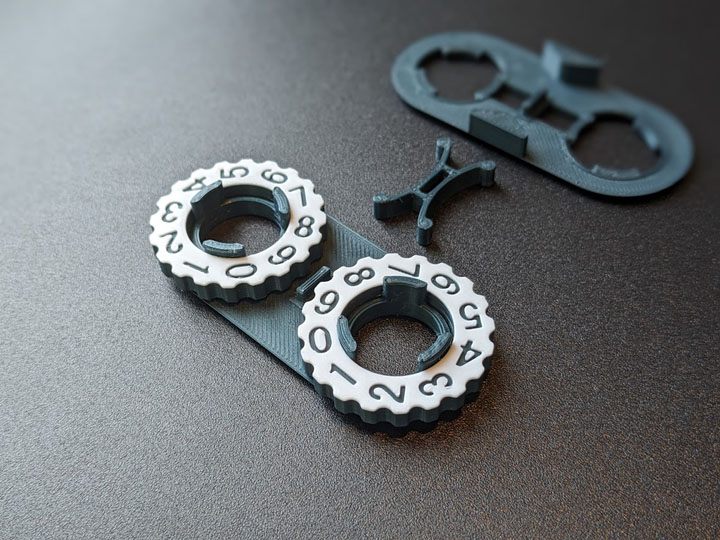
2. Put the spring onto the ‘case_M’ part.
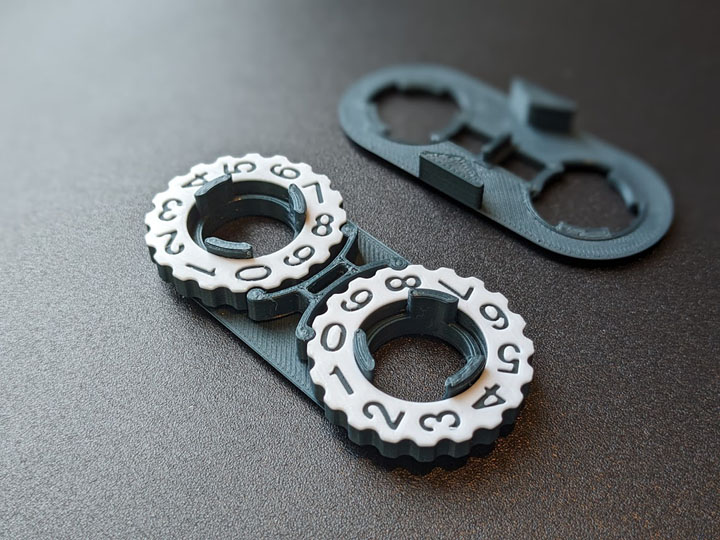
3. Snap-on the opposite side of the case.

Notes:
- Recommended layer height: 0.15 - 0.20mm, In my case with slicer, layer heights above 0.28mm, the spring, wheel clearance lost are do not function.
- Do not use Matte PLA, Silk PLA, as they have weak layer adhesion and can break with snap-on.
License

This user content is licensed under a
Creative Commons Attribution-Share AlikeRemixes (6)


Click to see more


Comment & Rating (708)