
SL Rim Box Sturmkind Drift
Print Profile(1)

Bill of Materials






- Sekundenkleber x 1:
Description
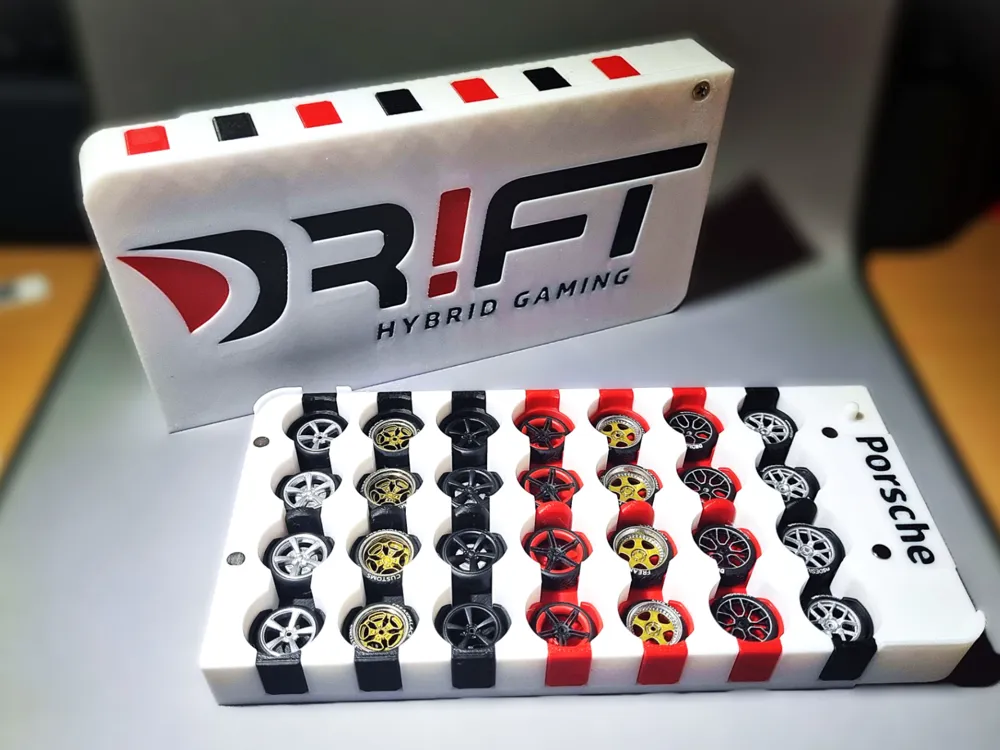
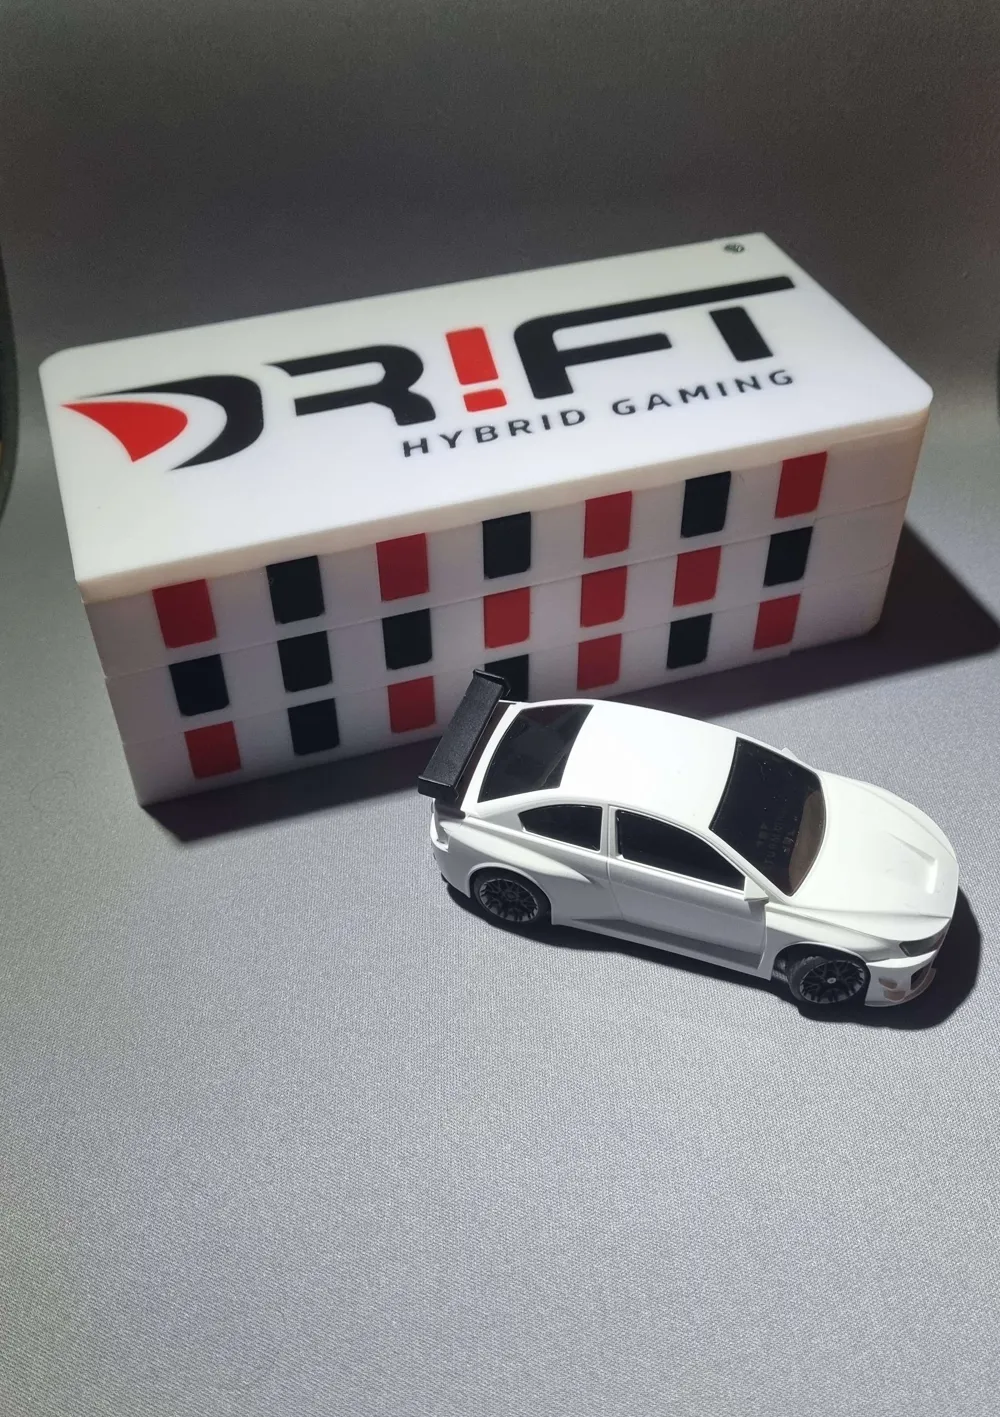
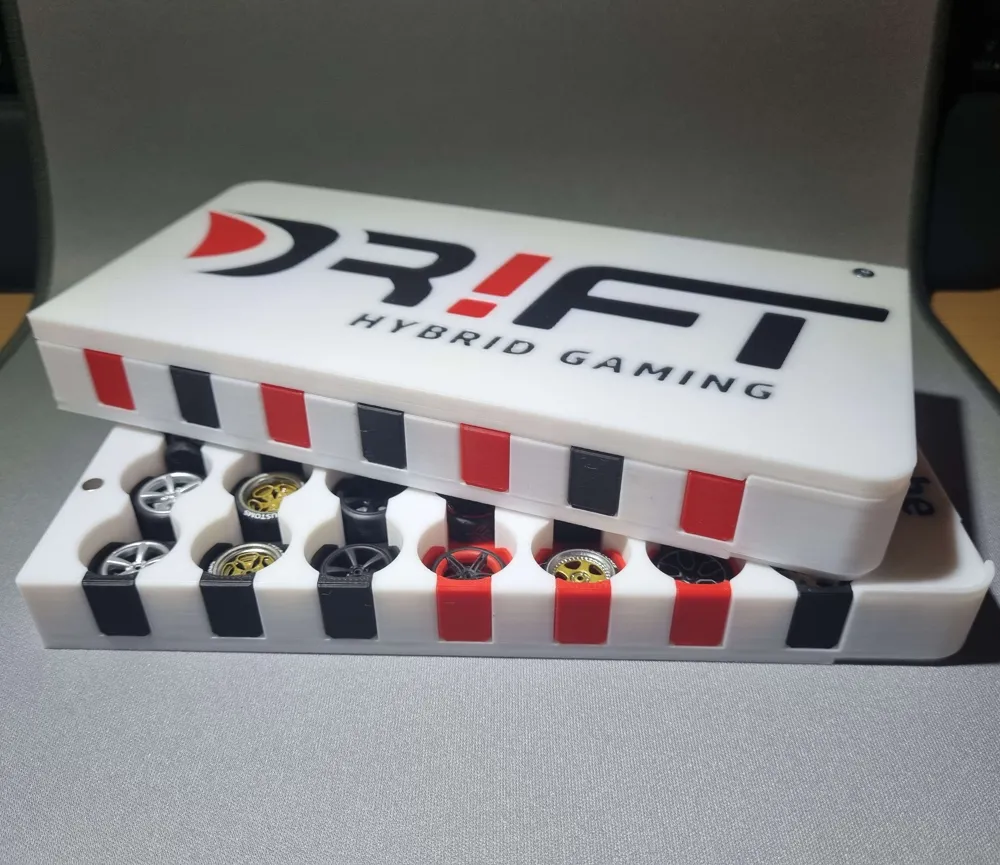
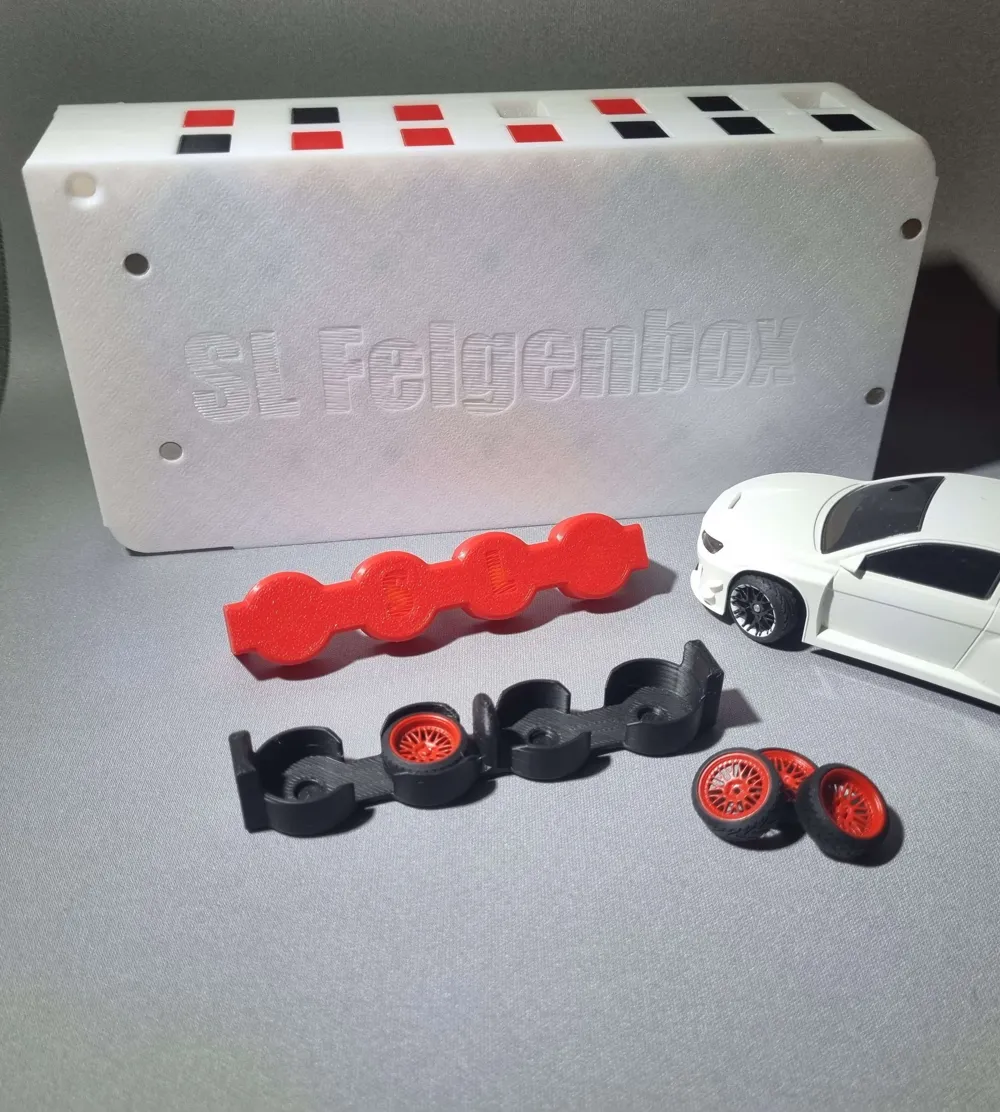
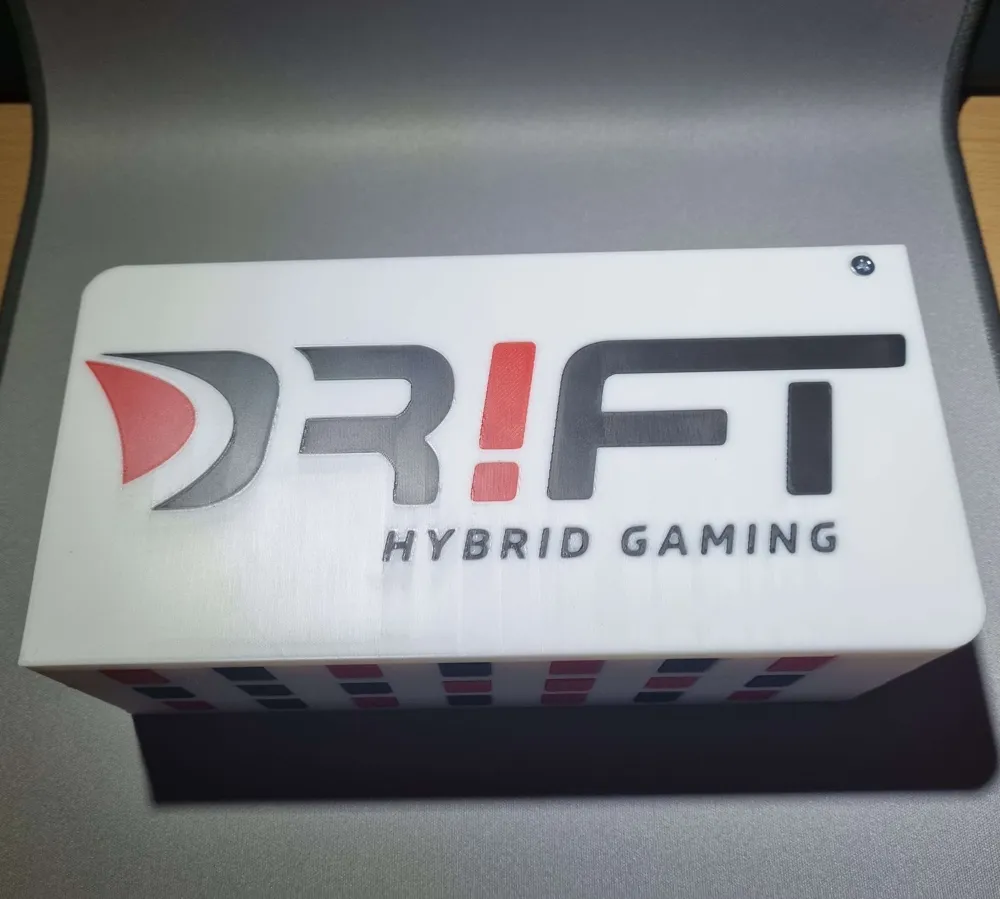
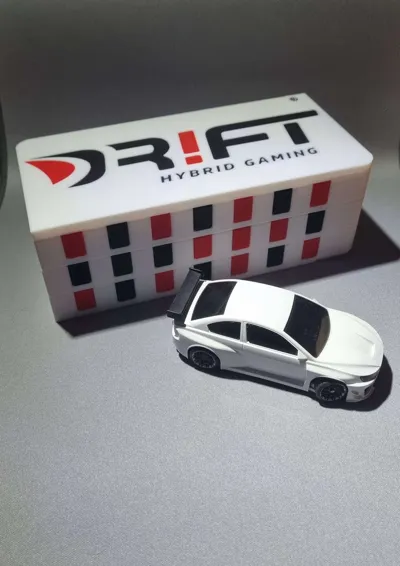
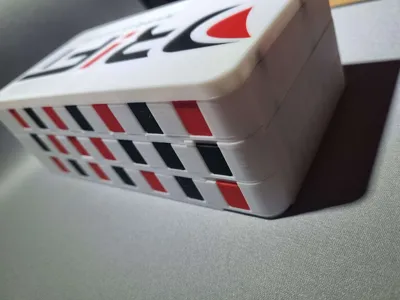
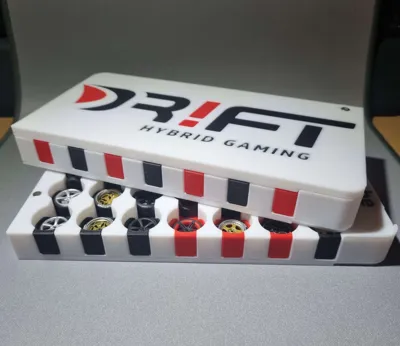
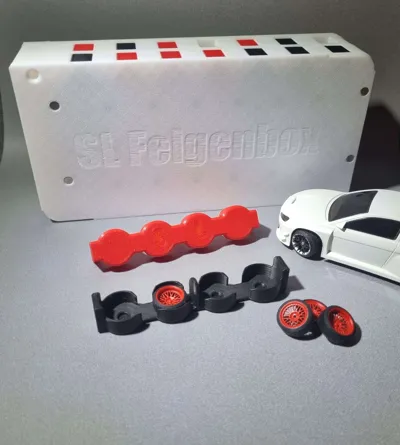
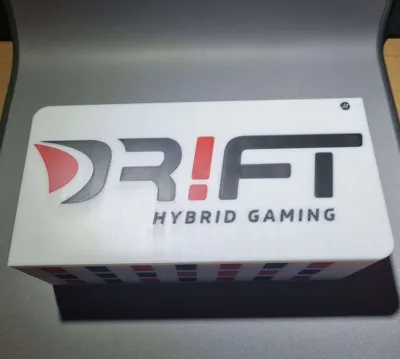
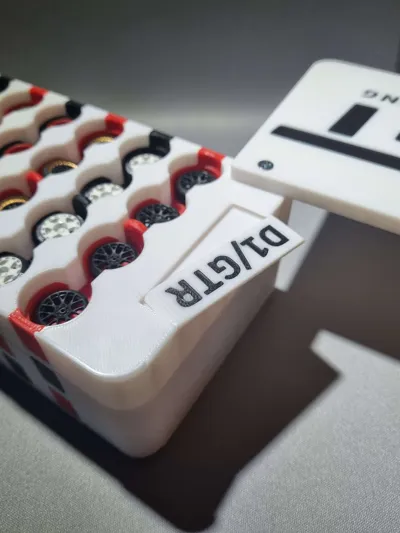
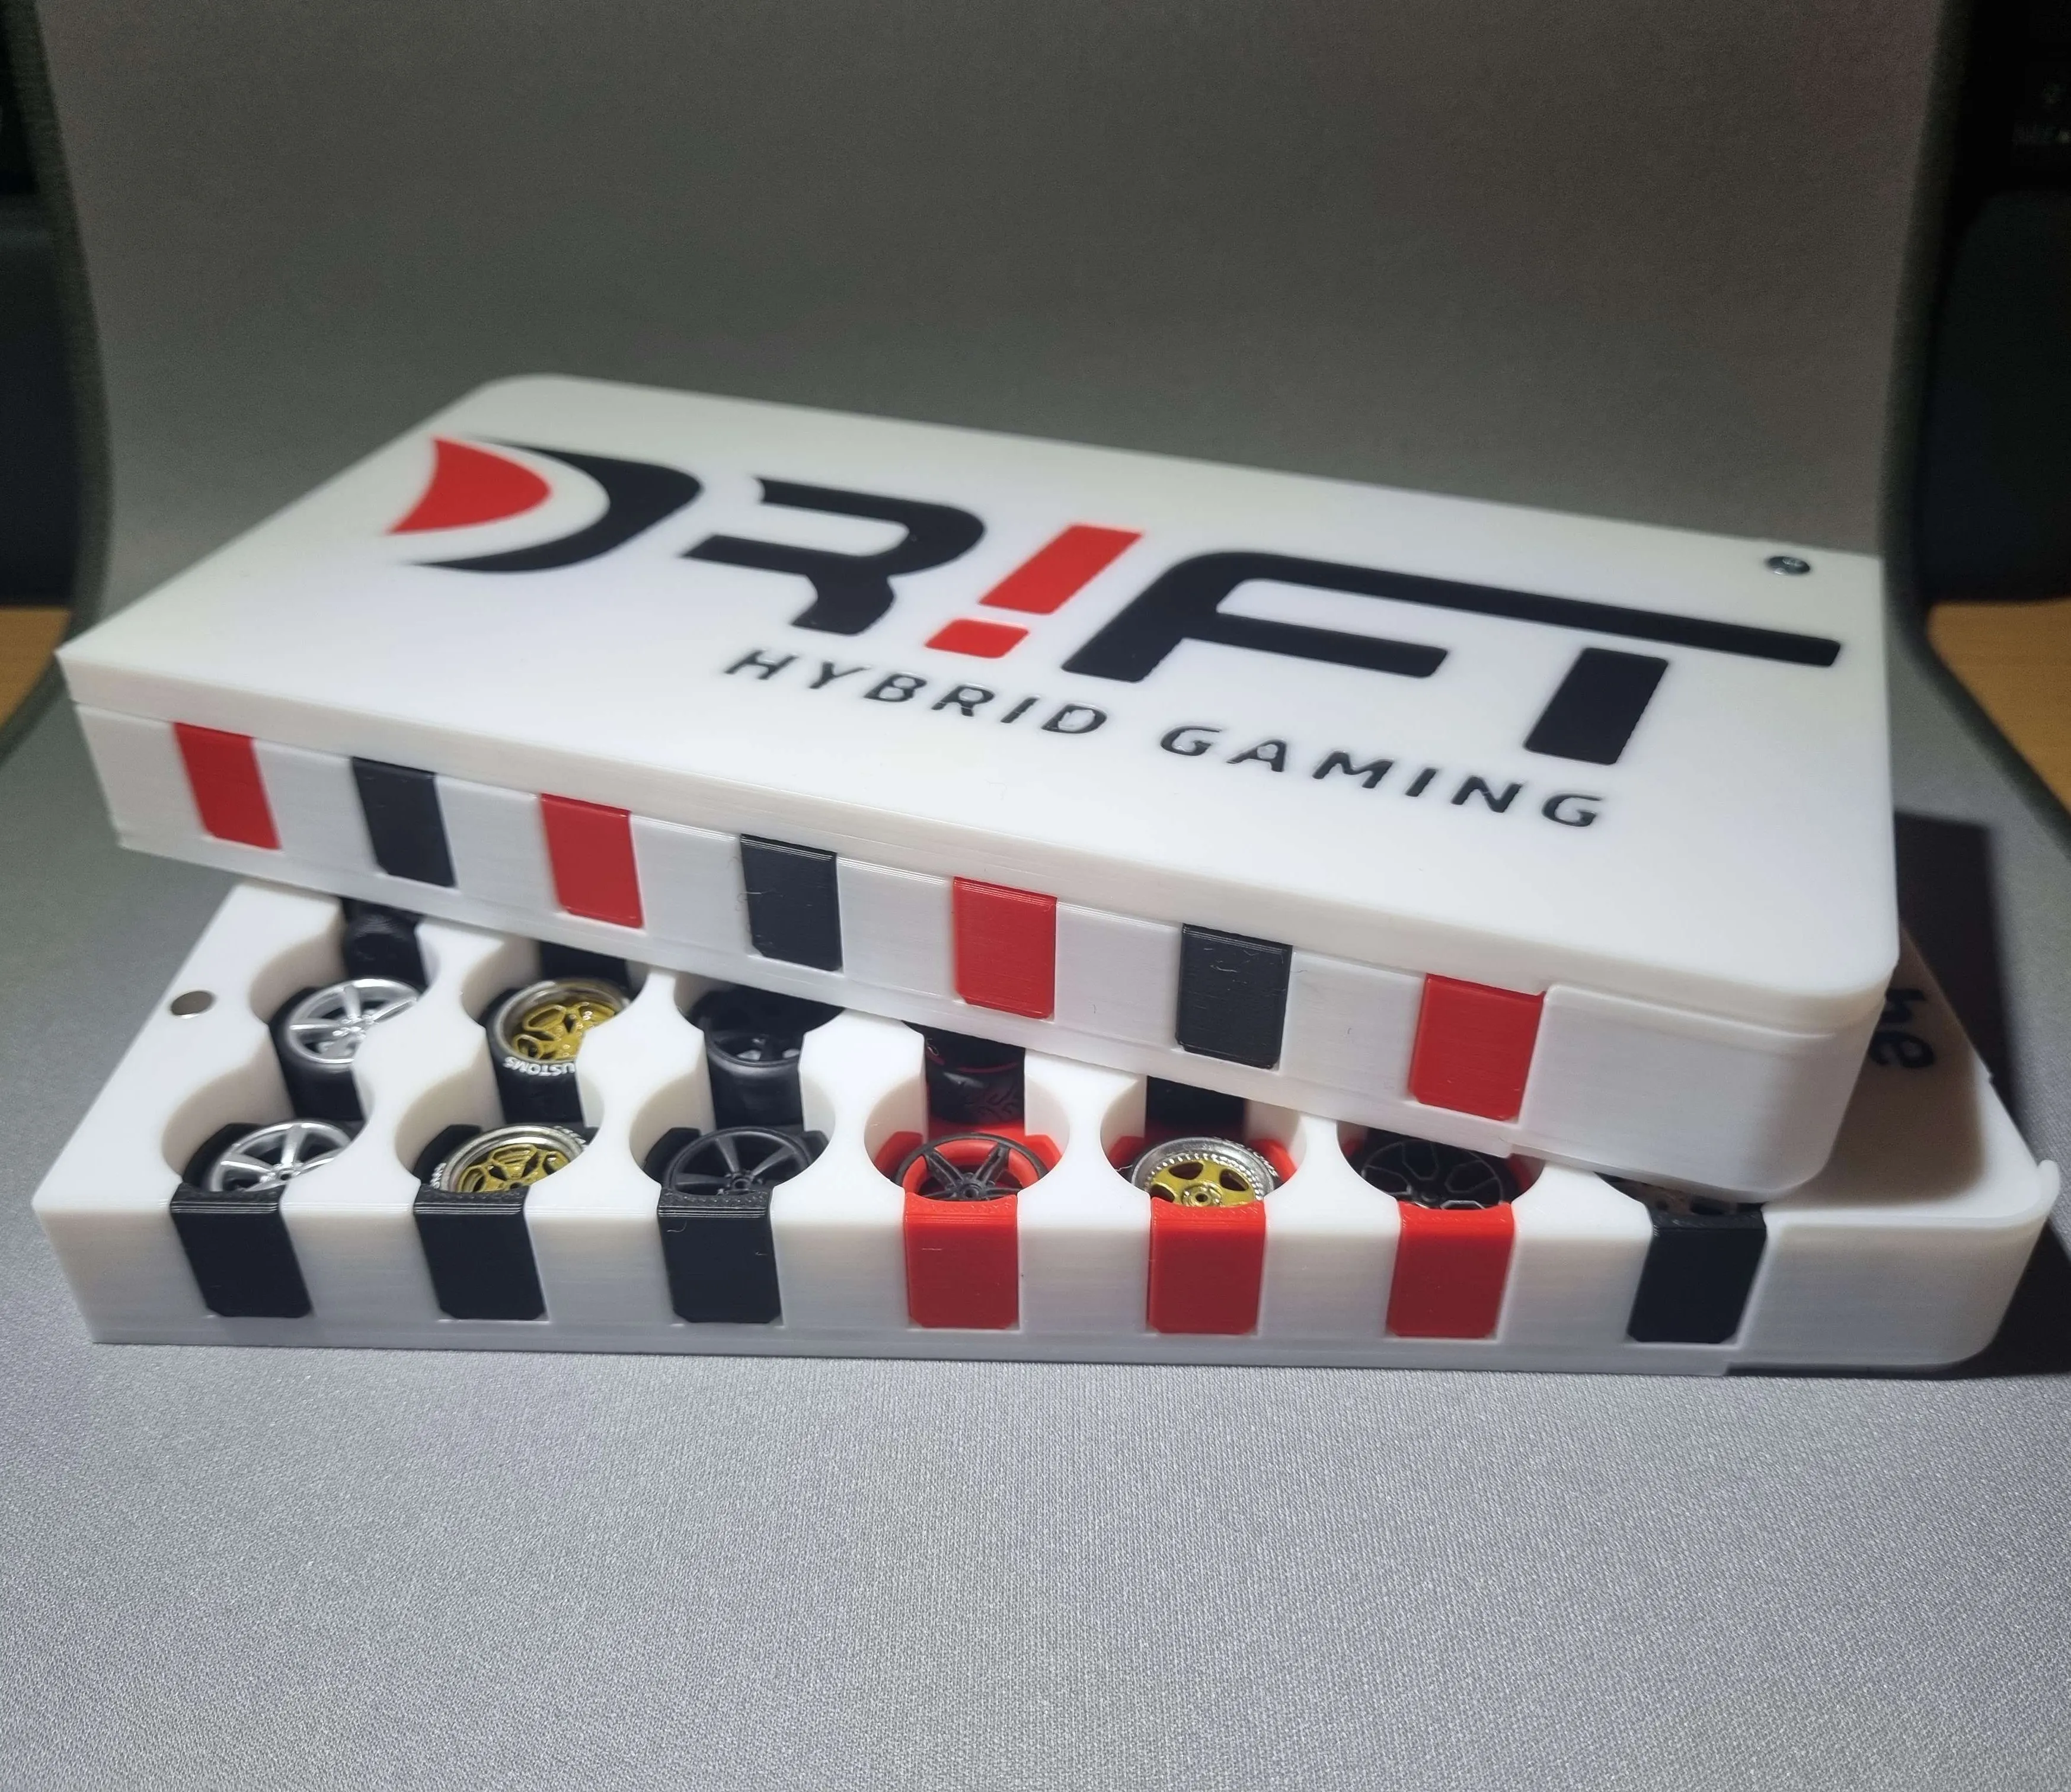
SL Rim Box
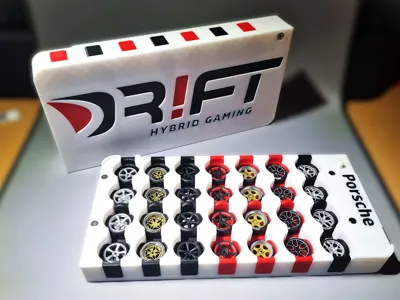
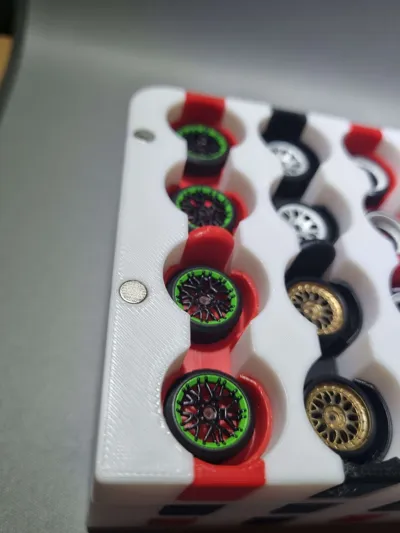
The storage solution for your DR!FT rims
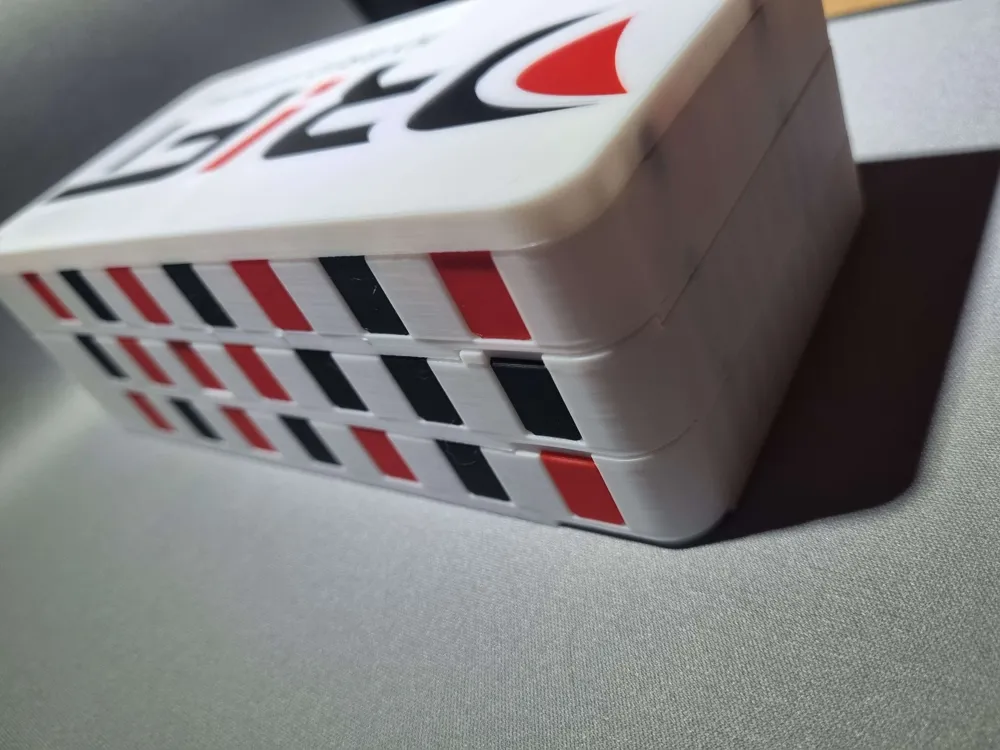

- Infinitely expandable
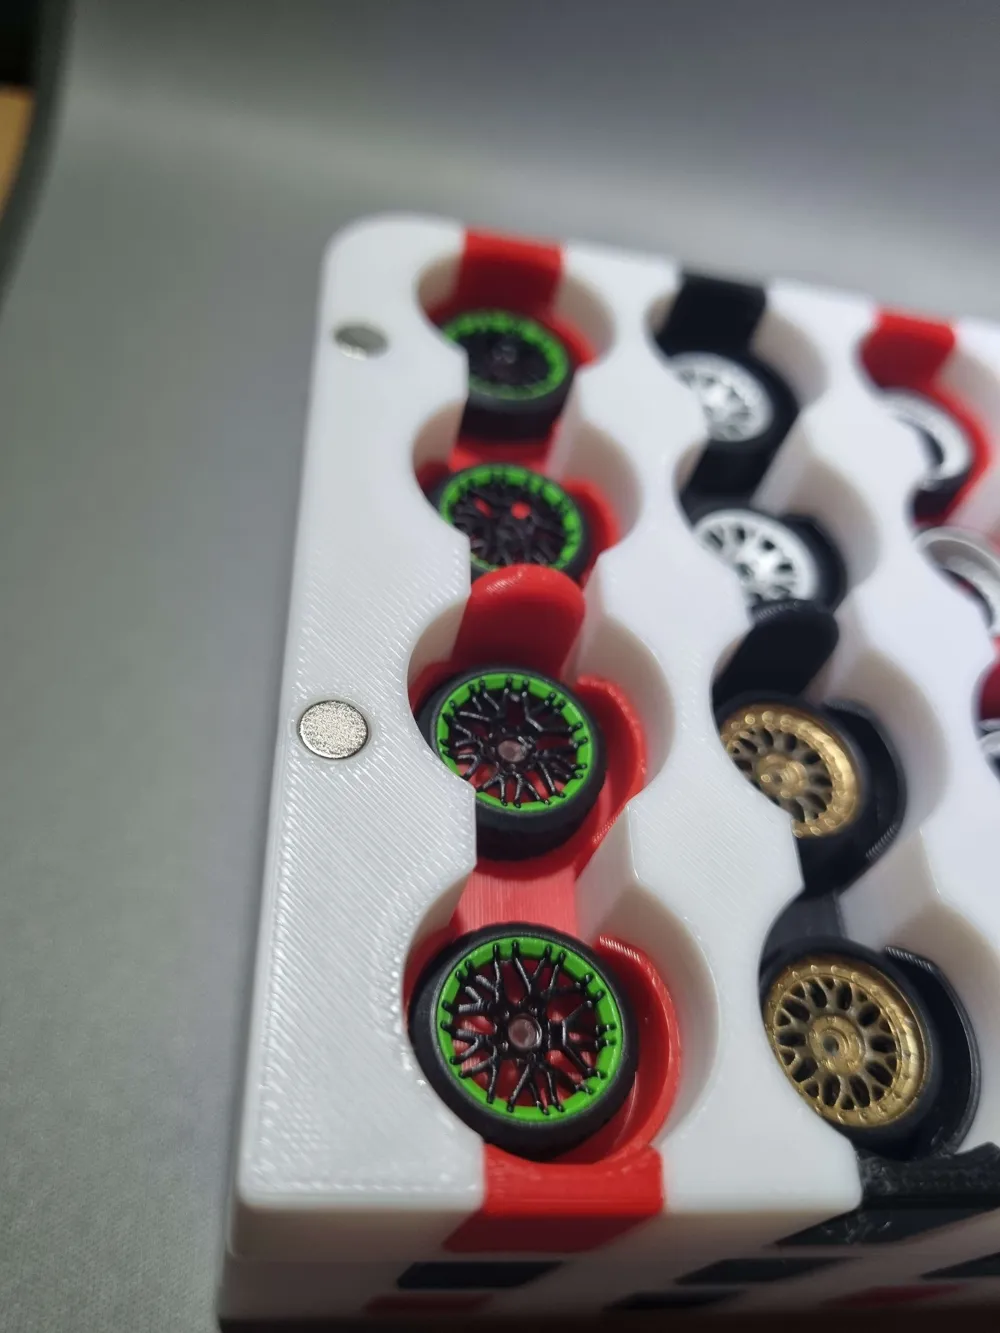
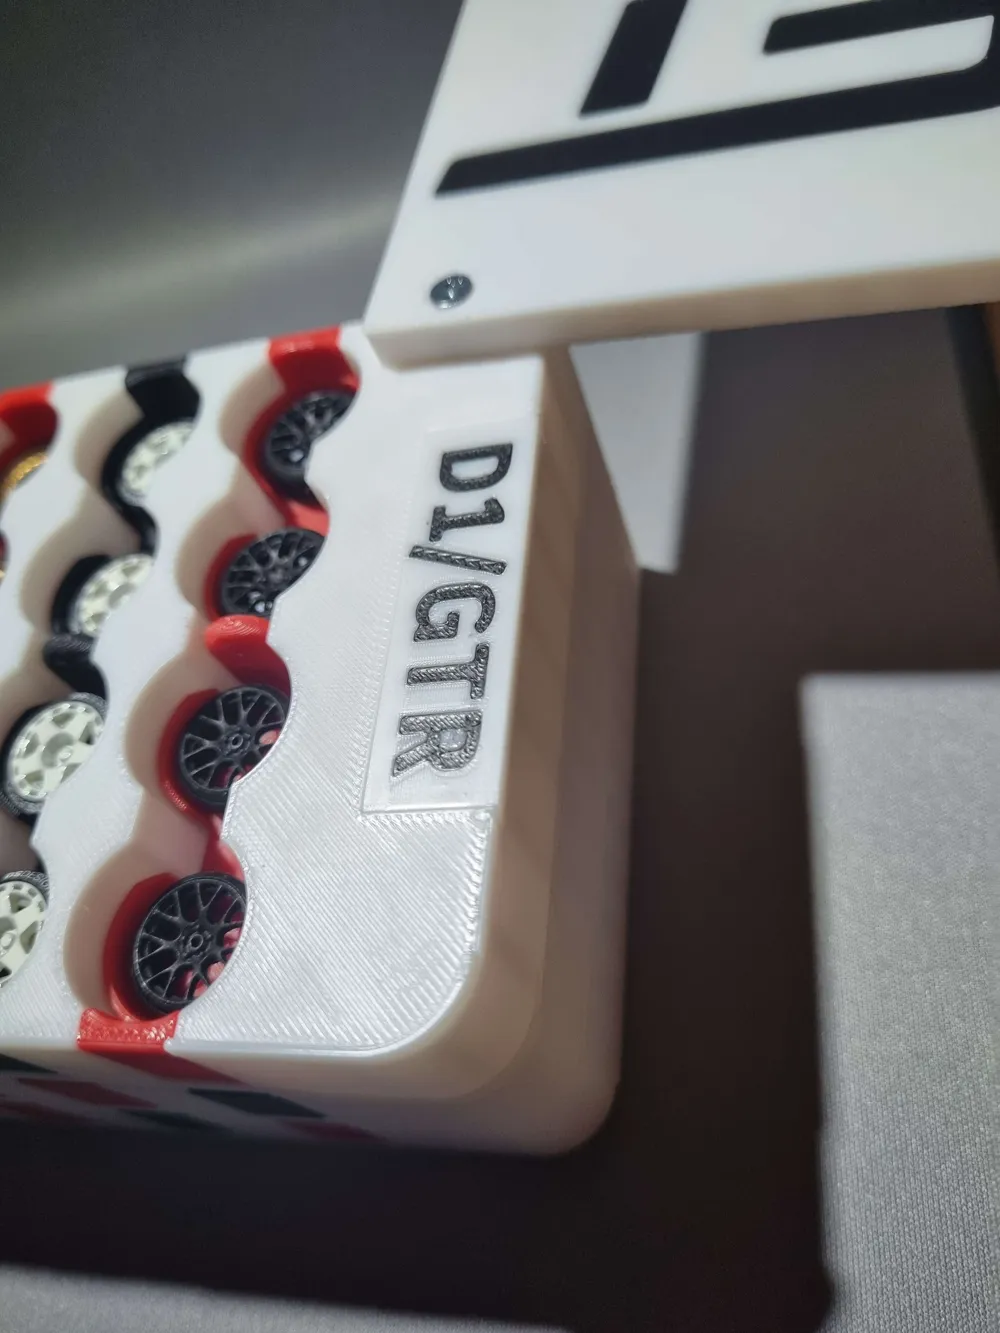
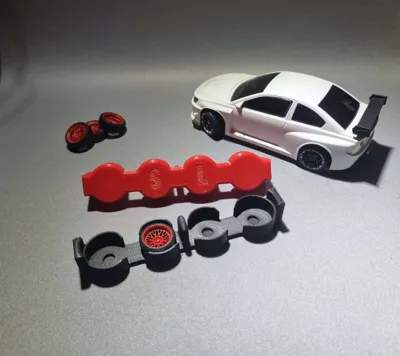
- 7 sets of rims per level

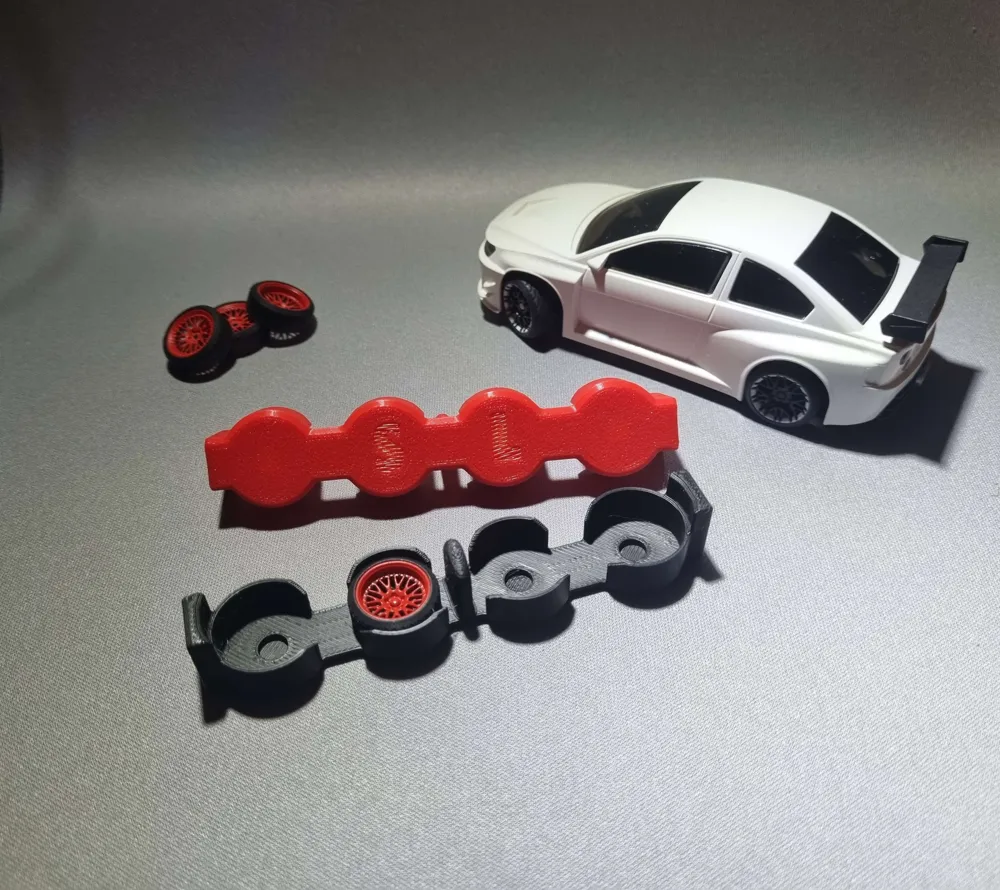

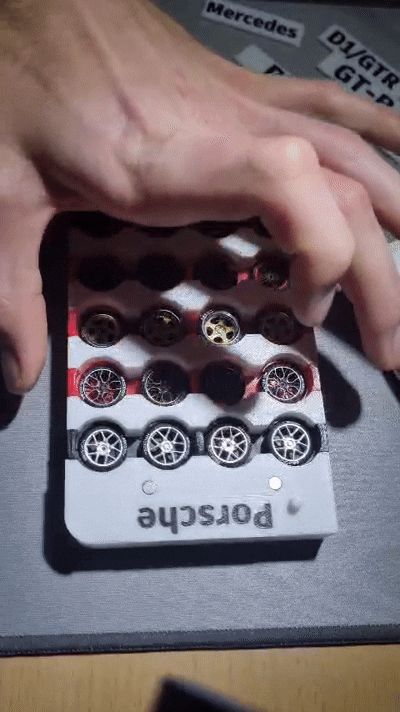
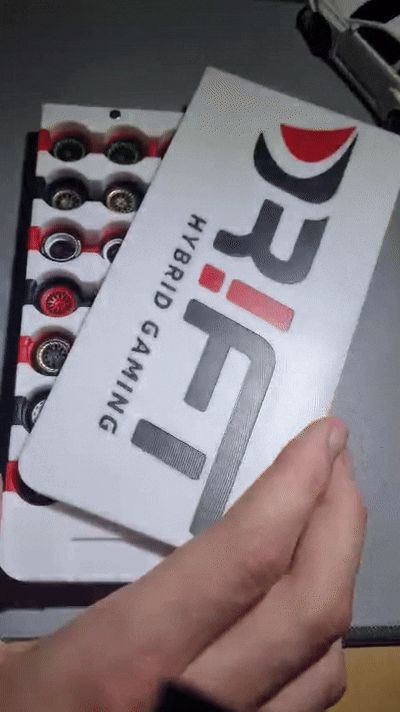
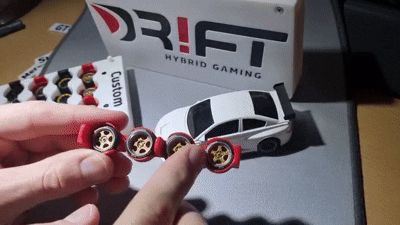
- Each rim set easily and practically removable
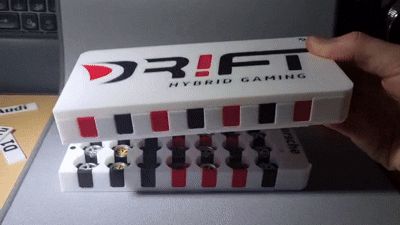
- Magnetic closure
- Cool design
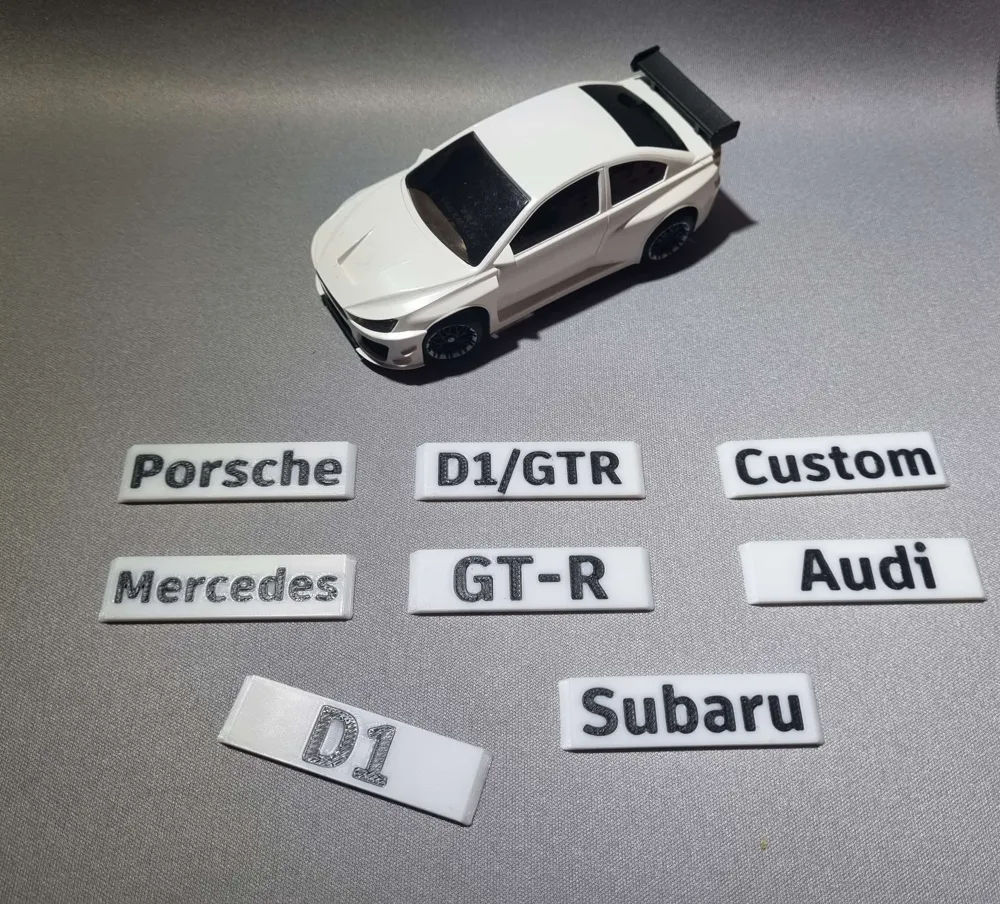
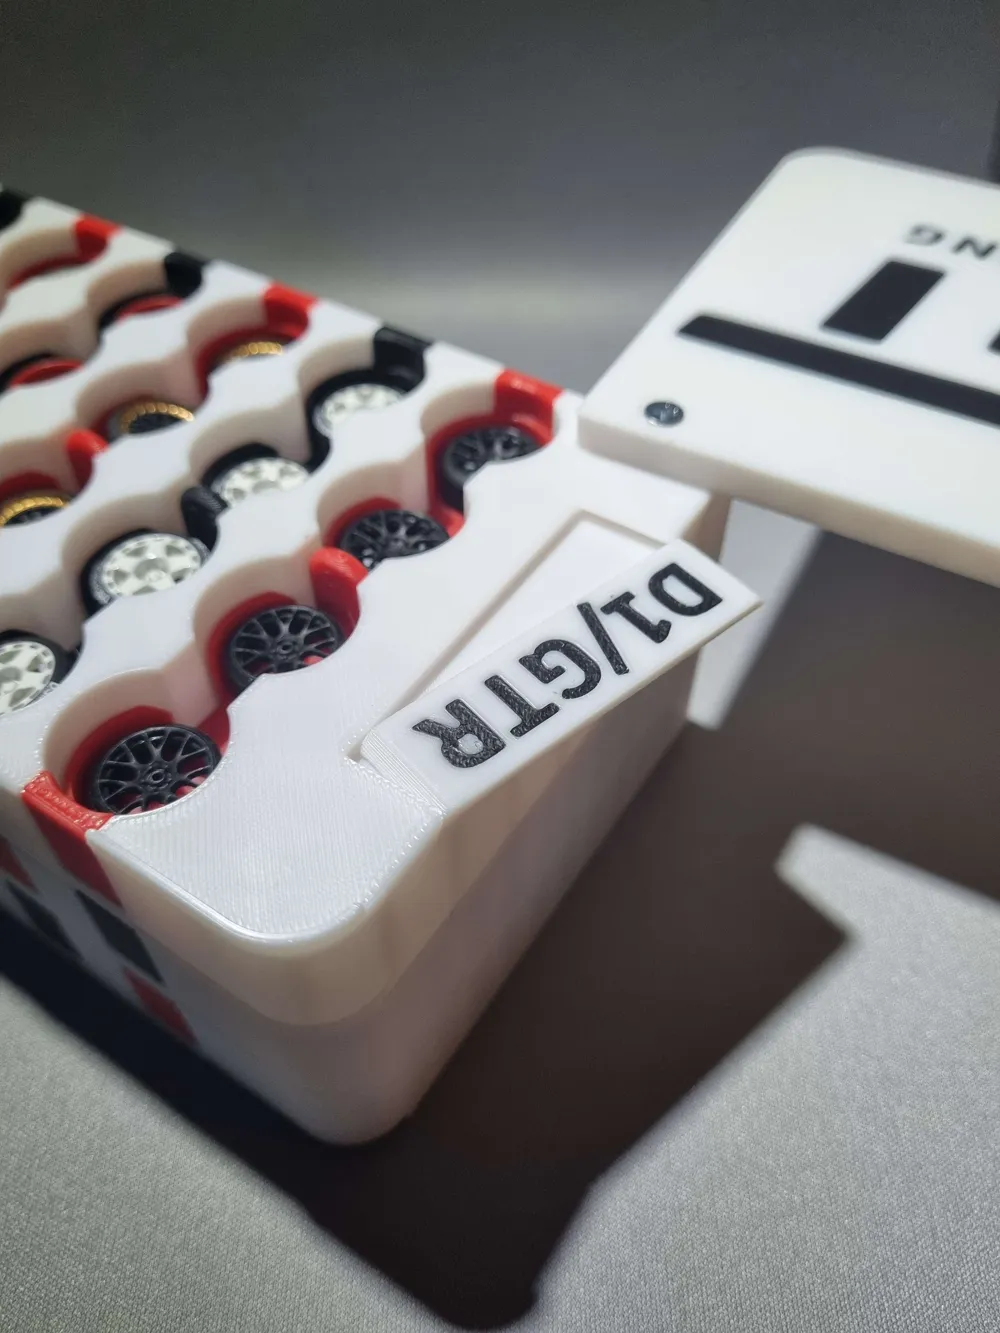

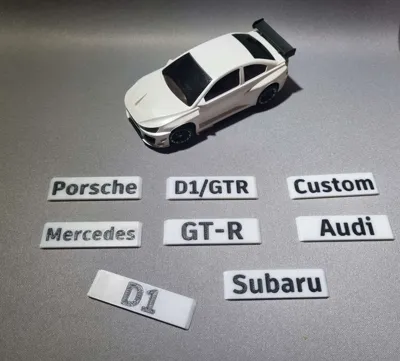
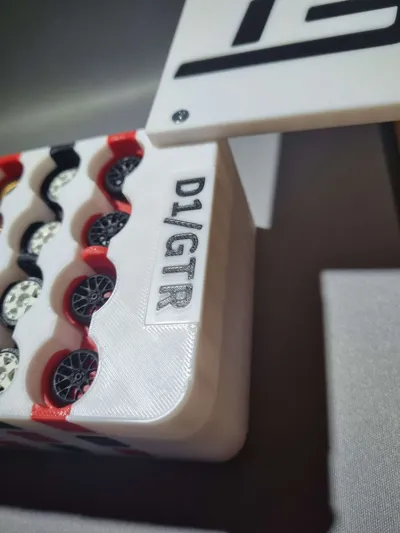
Labeled compartments
Print your SL Rim Box now…..
Boost Me (for free)
If you like the SL Rim Box and therefore my work, you can support me with a boost. Boosting is free but not "for nothing" for me. It enables updates and improvements to the files
Instructions for assembling the SL Rim Box
Print:
Rim Box Configurations:
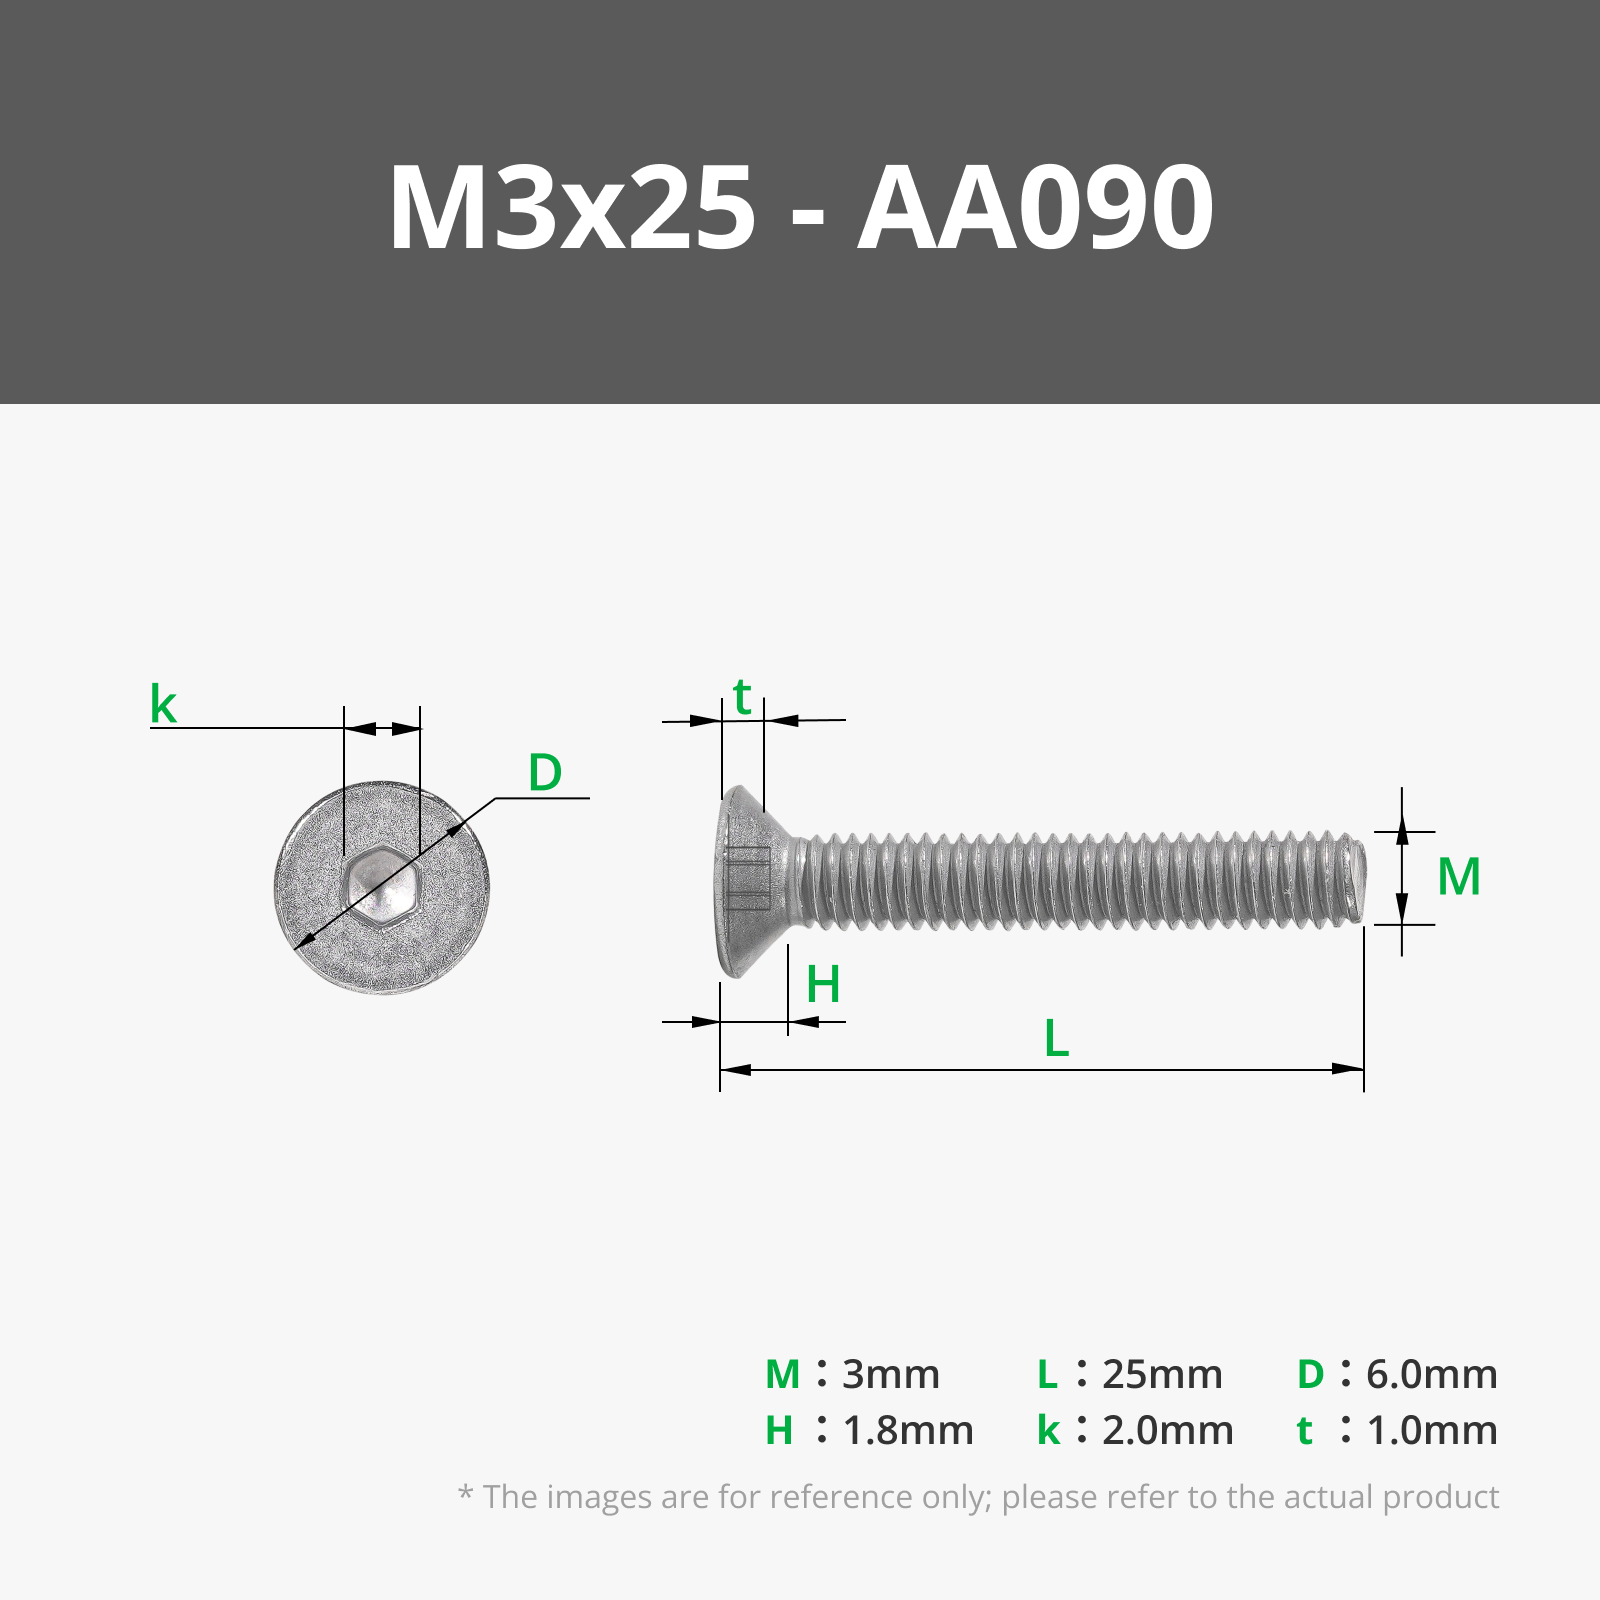
- Base Box: 1x Lid, 1x Base, 7x Holders + 1x M3 screw (25mm), 1x M3 nut, 4x 5x3mm magnets- Dual Box: 1x Lid, 1x Base, 1x Extension_1, 14x Holders + 1x M3 screw (25mm), 1x M3 nut, 12x 5x3mm magnets
- Triple Box: 1x Lid, 1x Base, 1x Extension_1, 1x Extension_2, 21x Holders + 1x M3 screw (25mm), 1x M3 nut, 20x 5x3mm magnets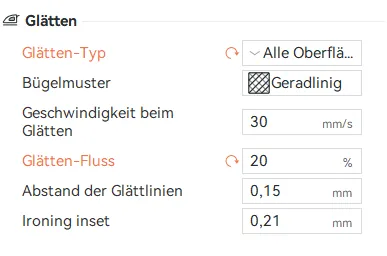
- …..Box: 4,5,6…extensions can also be stacked on top of each other, for this, print the Triple Box and add further Extension_2
Printer settings:
- The following parts require Support(Tree): Base, Extension_1, Extension_2
- Print lid for a smooth finish with Smooth function. To do this, activate smoothing under Quality and select 20% flow
Edit / Assemble:
- Remove support from the holes under the rim box
- First, screw the M3 (25mm) screw with a screwdriver through the lid and into the base to fasten it
- Insert the nut from below and carefully tighten the lid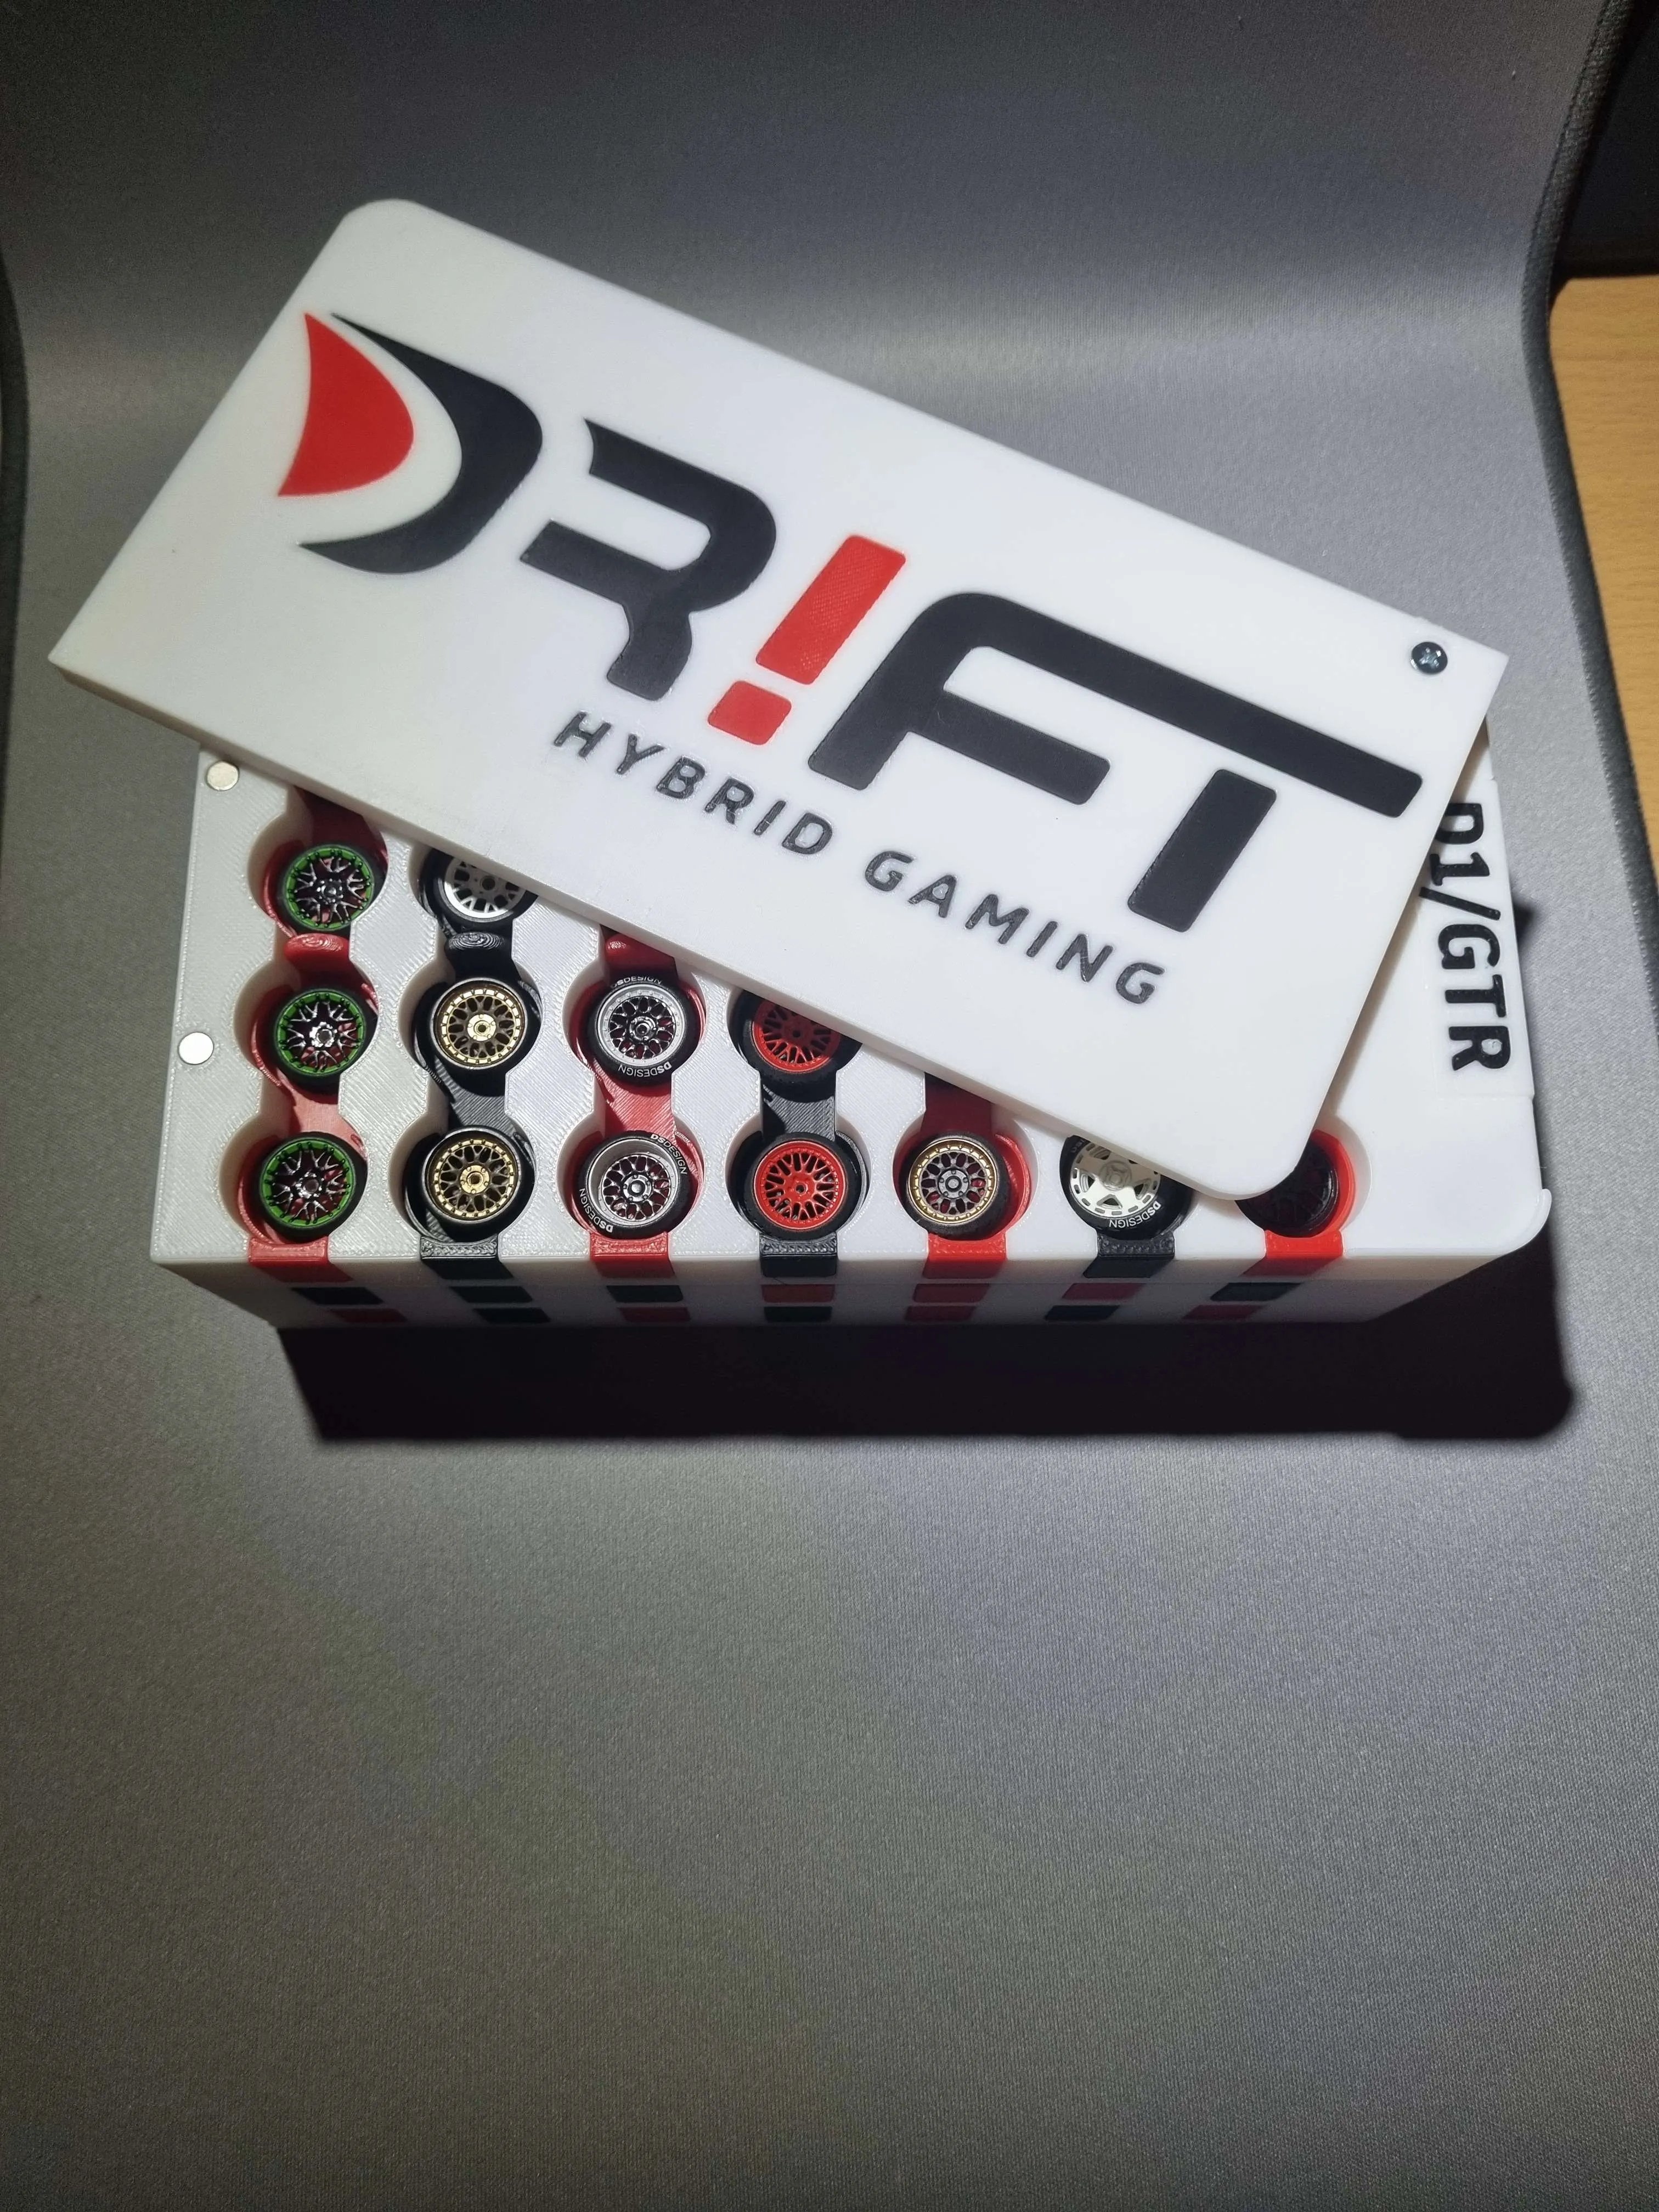
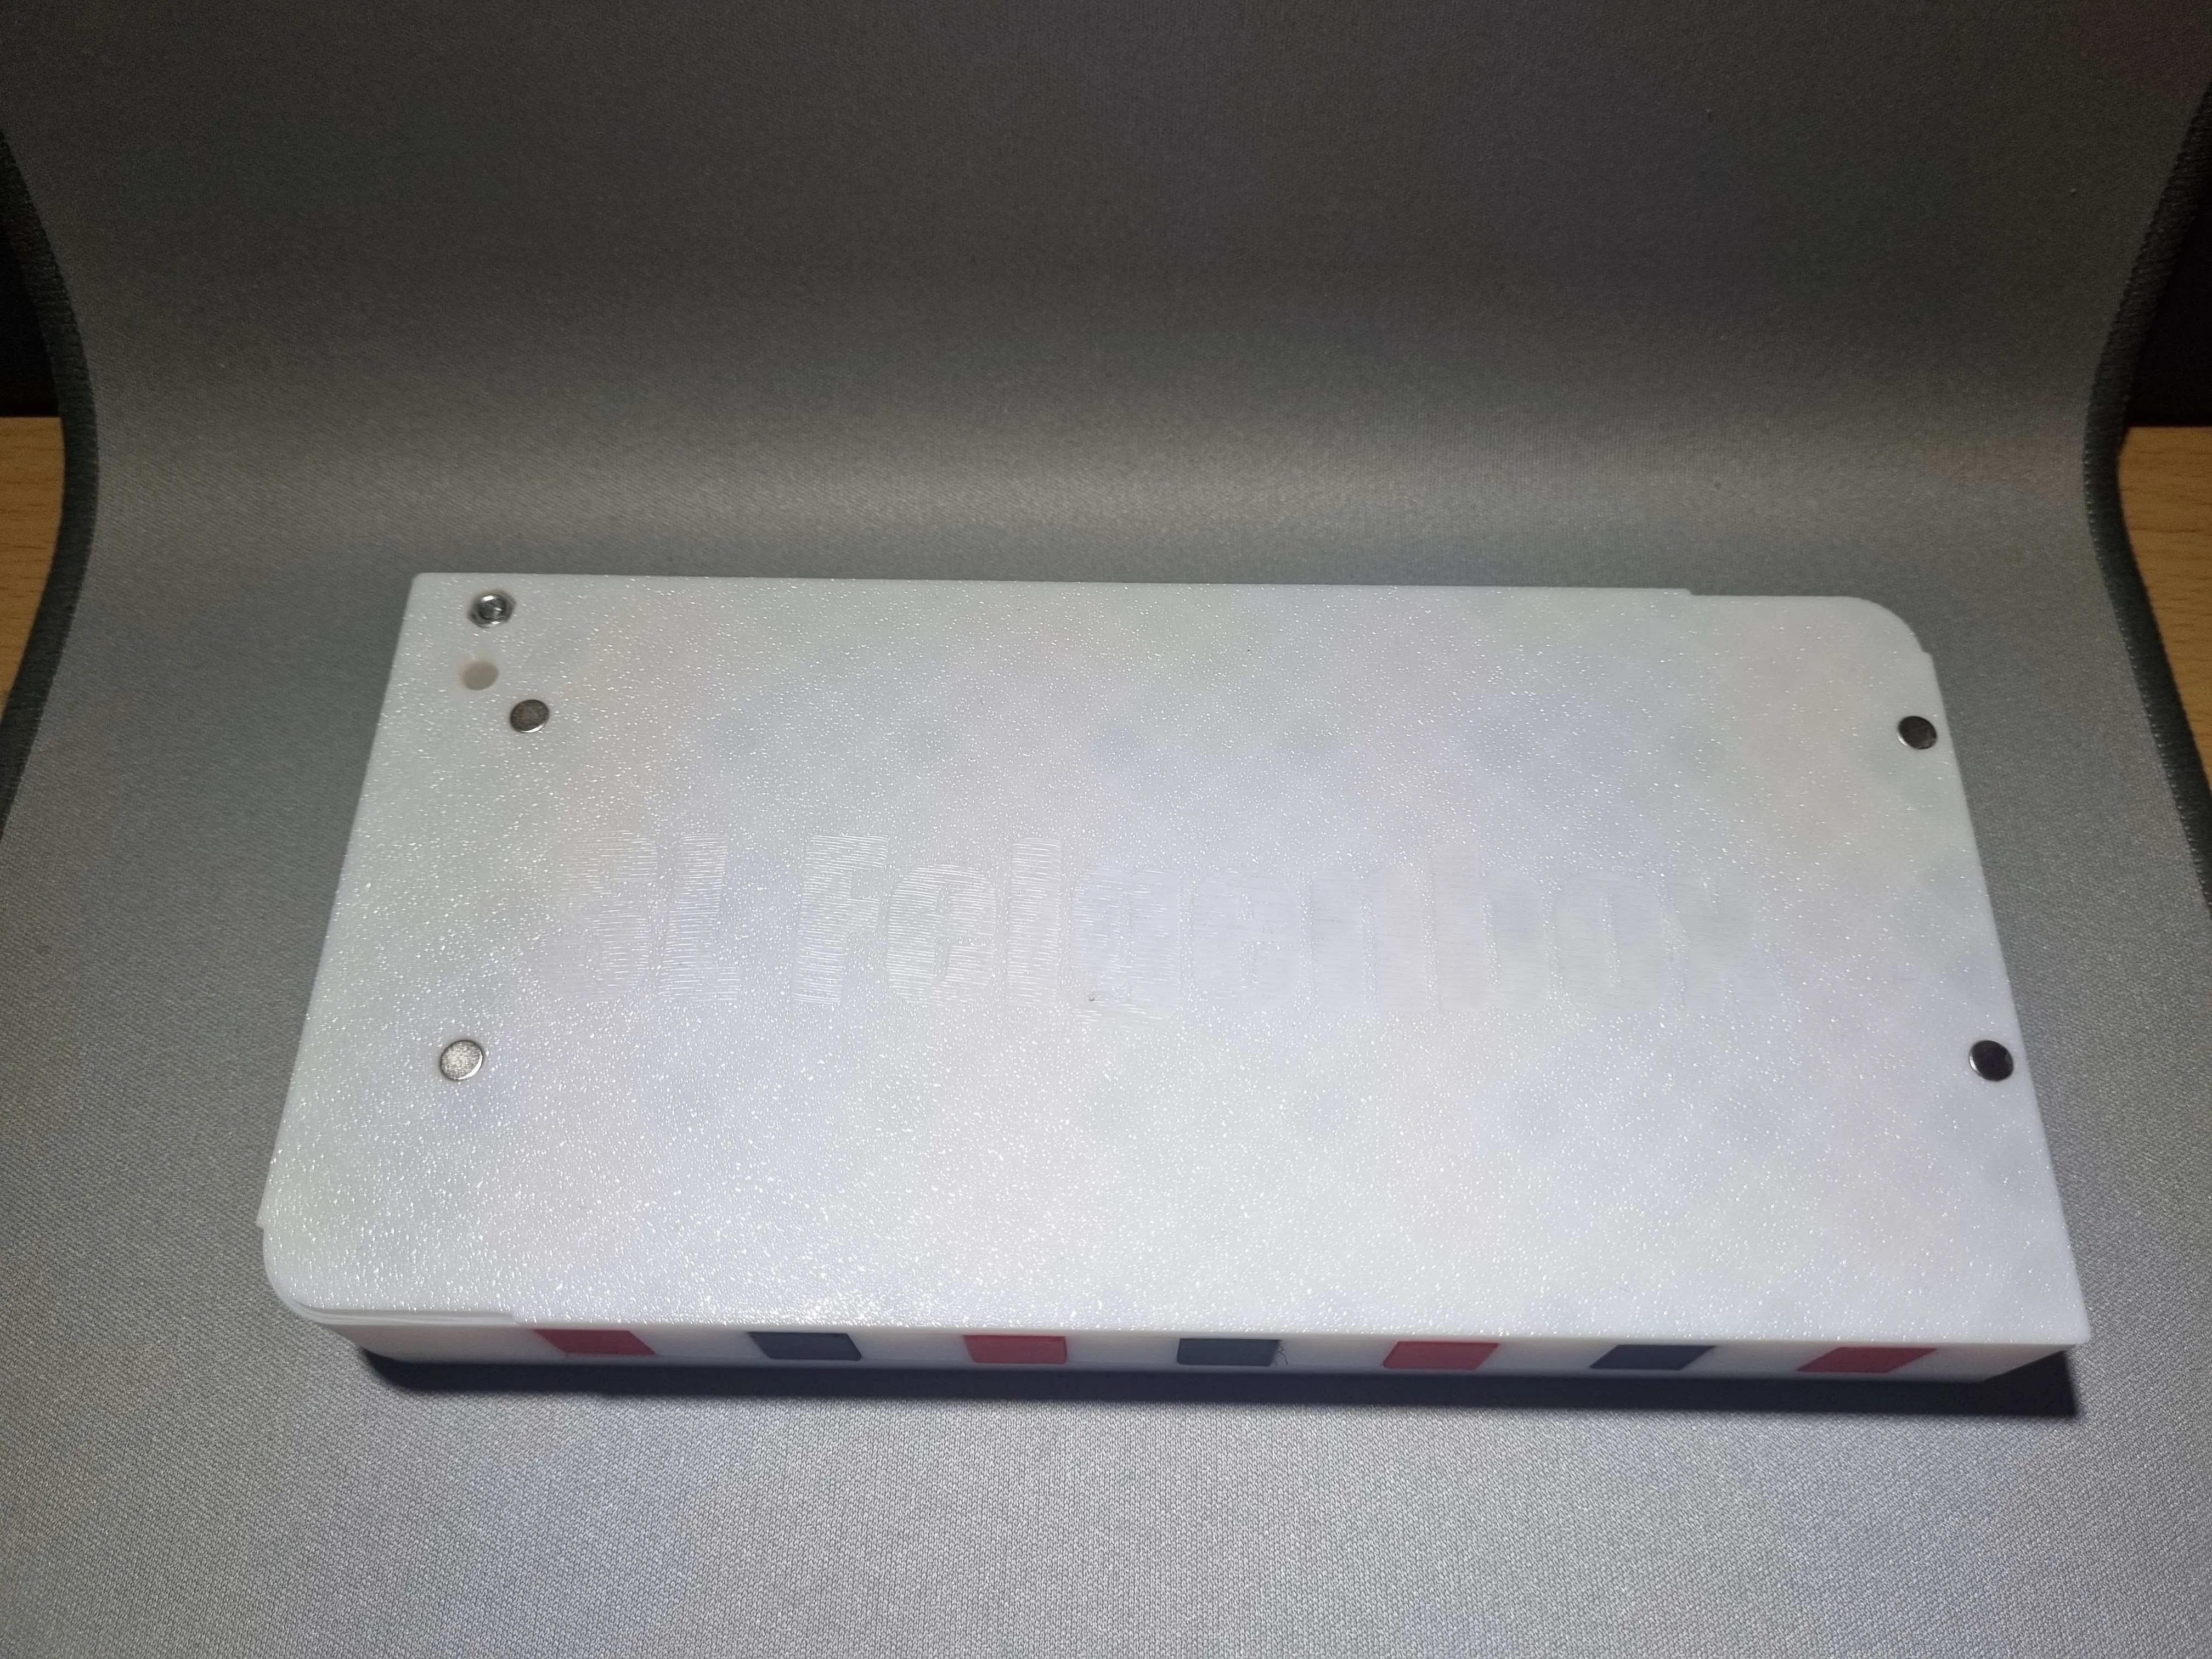
- This step is only required if more than one box is printed and used

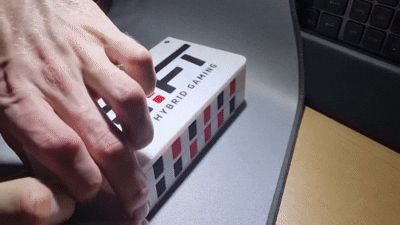
- Place the base on Extension_1 and press firmly on the right corner to fix the box
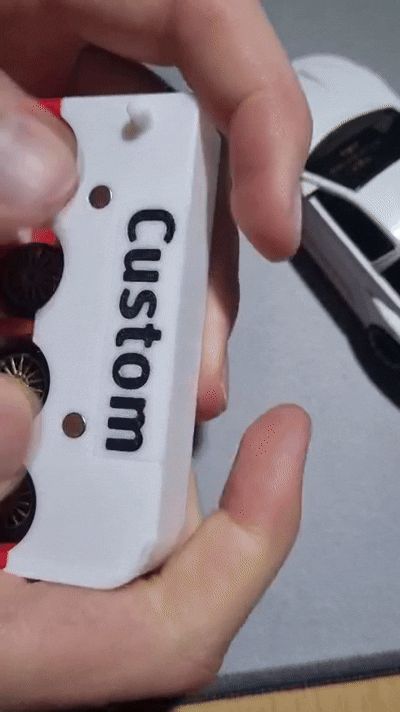
- Then, as shown in the video, slightly lift the left side and turn it sideways to remove it. This step can be difficult at first. Therefore, this lifting and turning should be repeated several times to make it easier
- Also perform this for Extension_2
- For the next step, super glue is needed
- Magnets are now glued into the holes in the base. Absolutely pay attention to the polarity here!! To simplify this, simply place two magnets on top of each other and then, for example, place the lid on top and press down
- Magnets are glued into all holes
-Finally, you can now label your individual boxes using the signs. If additional ones are needed that are not found in the print files, please contact us in the comments. When inserting for the first time, slide it in and out several times to allow for easy replacement. See video below
=> Hey, your rim box is ready. Let's go and sort your rims. Feel free to post a picture of your SL Rim Box in the comments!
How the SL Rim Box works

Here you will find small videos showing how your SL Rim Box works. For questions, suggestions, or requests, such as additional labeling signs, contact us in the comments or in person




To ensure the small signs go in and out smoothly, move them back and forth several times during the first insertion


Thank you for rating and printing. Feel free to share the file link and leave a boost, thank you very much!
#SL_RimBox
Boost Me (for free)
If you like the SL Rim Box and therefore my work, you can support me with a boost. Boosting is free but not "for nothing" for me. It enables updates and improvements to the files
Note:
This model is an unofficial fan project and is not affiliated with the Carrera brand or its owners
The term „Carrera“ is used solely to describe compatibility or intended use
All brands and logos are property of their respective owners
Not an official Carrera product
All used brand names, logos, and product designations (such as Carrera, Ford, or others) are the property of their respective owners and are used exclusively for describing, better assignment, and indicating compatibility of the products. There is no connection to the respective companies, and the mention does not constitute an endorsement, partnership, or sponsored connection
This 3D-printed product is not an original part from the manufacturers Carrera, Sturmkind, or other mentioned brands. It is a compatible accessory/replacement part or an extension from an independent provider/manufacturer and was developed independently. Use is at your own risk
License

You shall not share, sub-license, sell, rent, host, transfer, or distribute in any way the digital or 3D printed versions of this object, nor any other derivative work of this object in its digital or physical format (including - but not limited to - remixes of this object, and hosting on other digital platforms). The objects may not be used without permission in any way whatsoever in which you charge money, or collect fees.


Comment & Rating (21)