
Monster Hunter Slicer Dual Blade
Print Profile(1)

Description
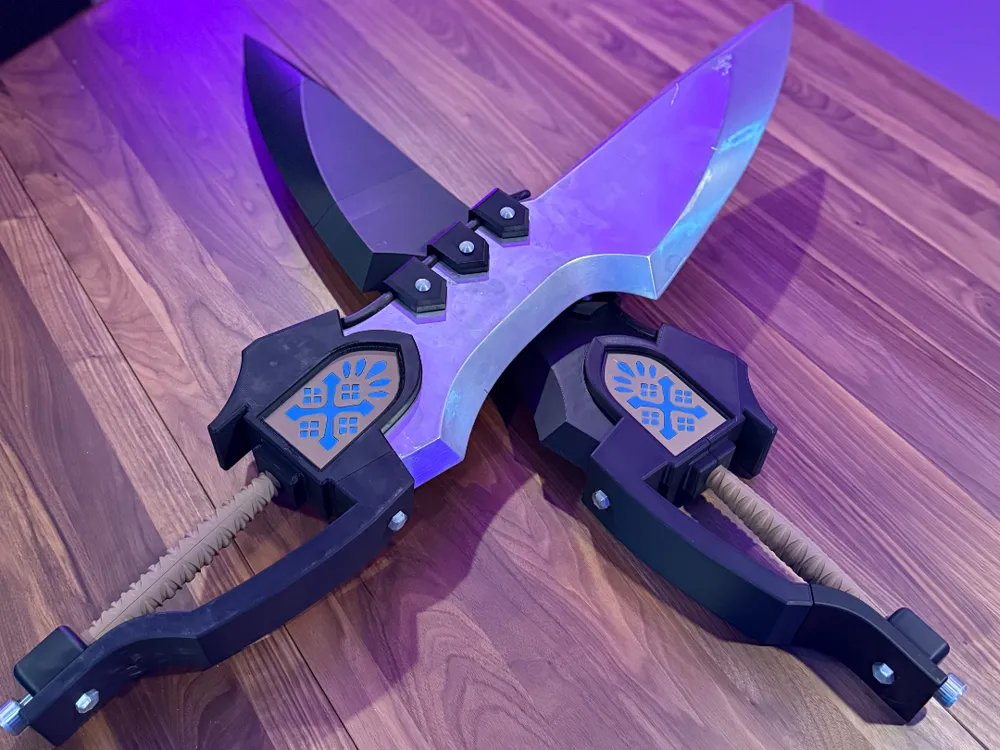
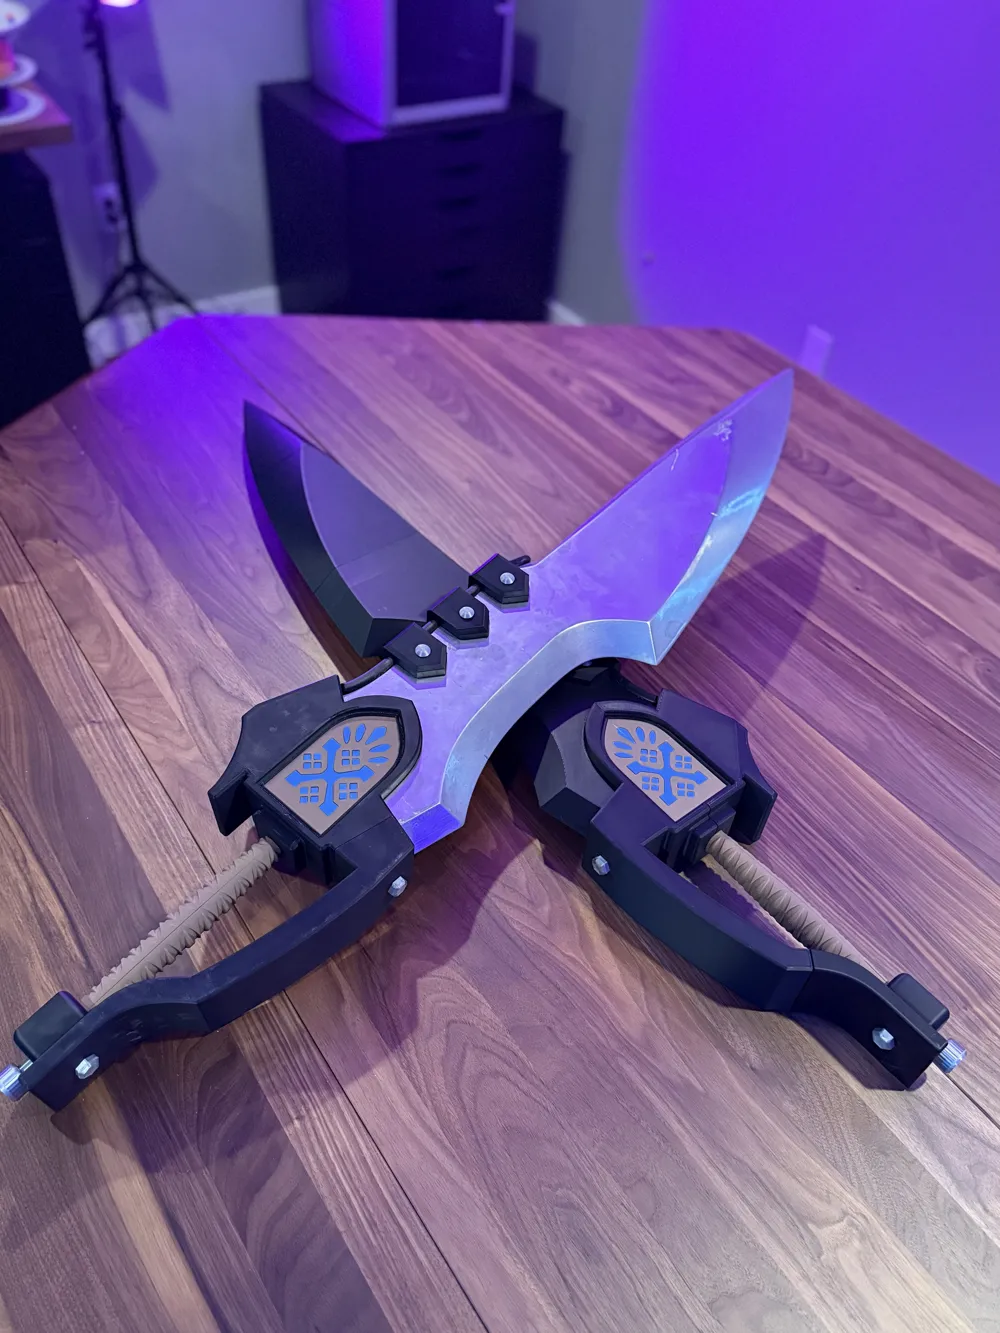
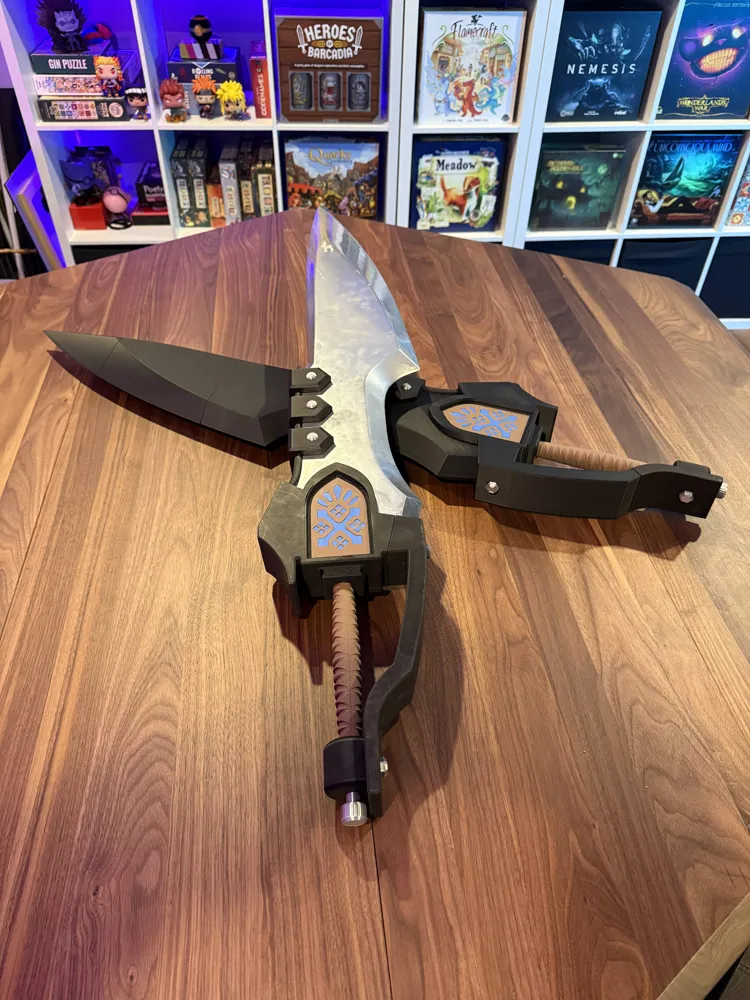
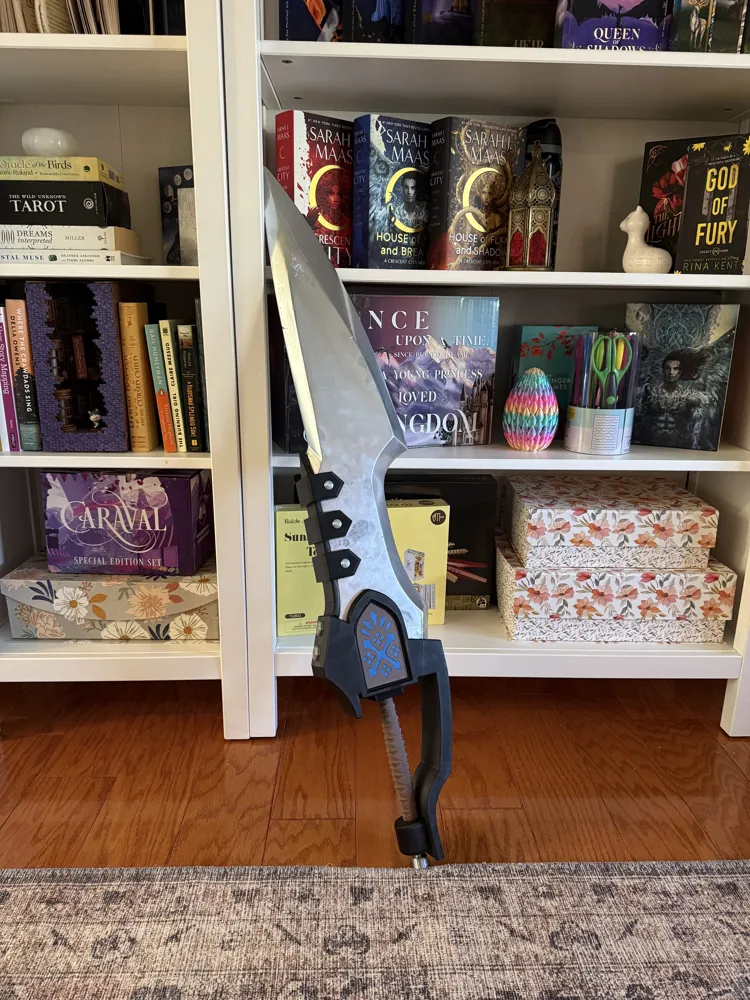
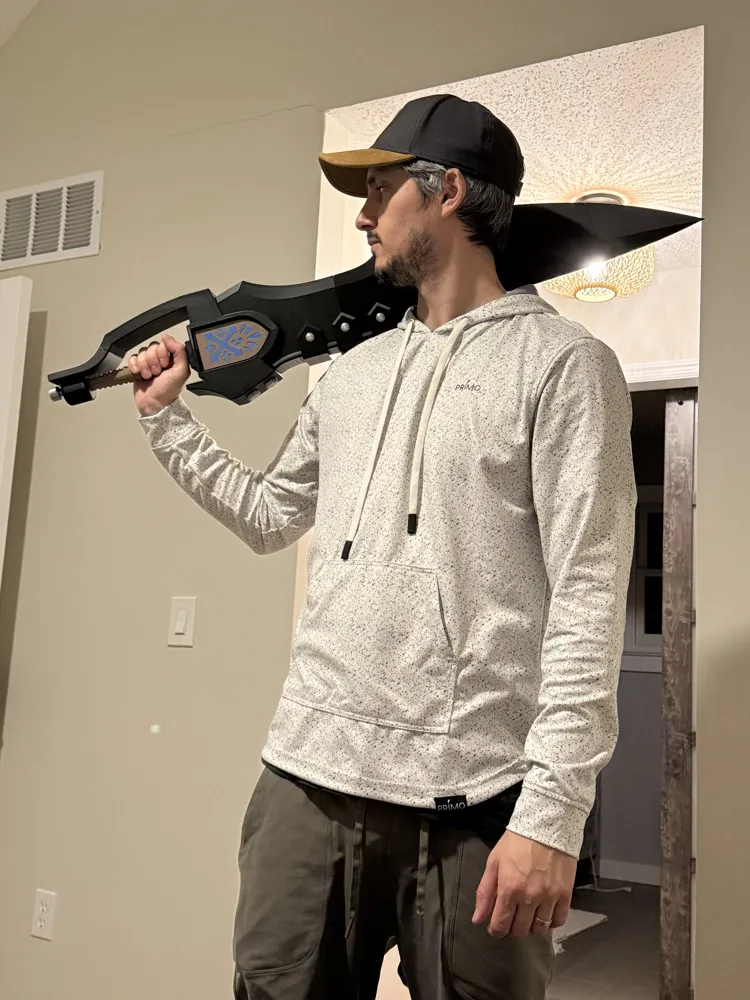
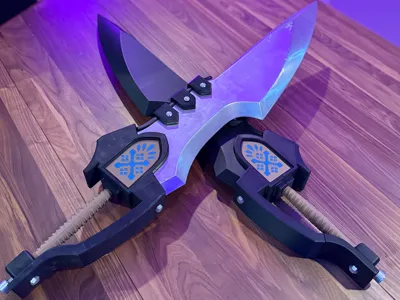
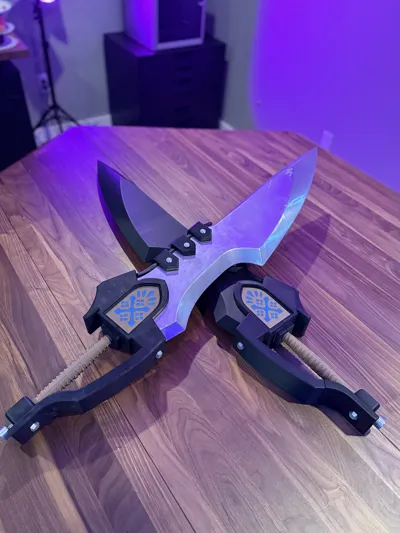
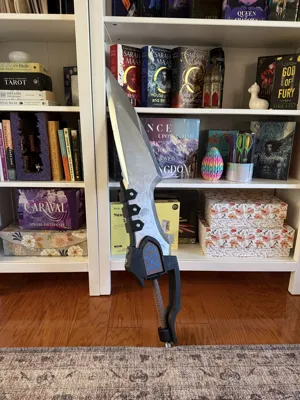
Please dont roast my painting, im trying to make it look weathered and its not done yet!
INFIL RECCOMENDATIONS ---- PLEASE READ
When printing the 4 blade pieces, I reccomend using 5% infil - use whatever pattern you like. For the guard pieces - or majority of the black pieces, you can use 8-15% infil. For the Screws and handle, I reccomend using a minimum of 15% infil all the way up to 50% - I used 50% for these and they are nice and strong, I font feel like the will easily break.
Prototype Image
Please see this protype image for the sword ! I printed it all in black just to see – I am working on new image after I post process the second sword! – The blue pieces in the insignia here are too short, hence the uneven surfaces, but they are the correct height in the downloadble file!
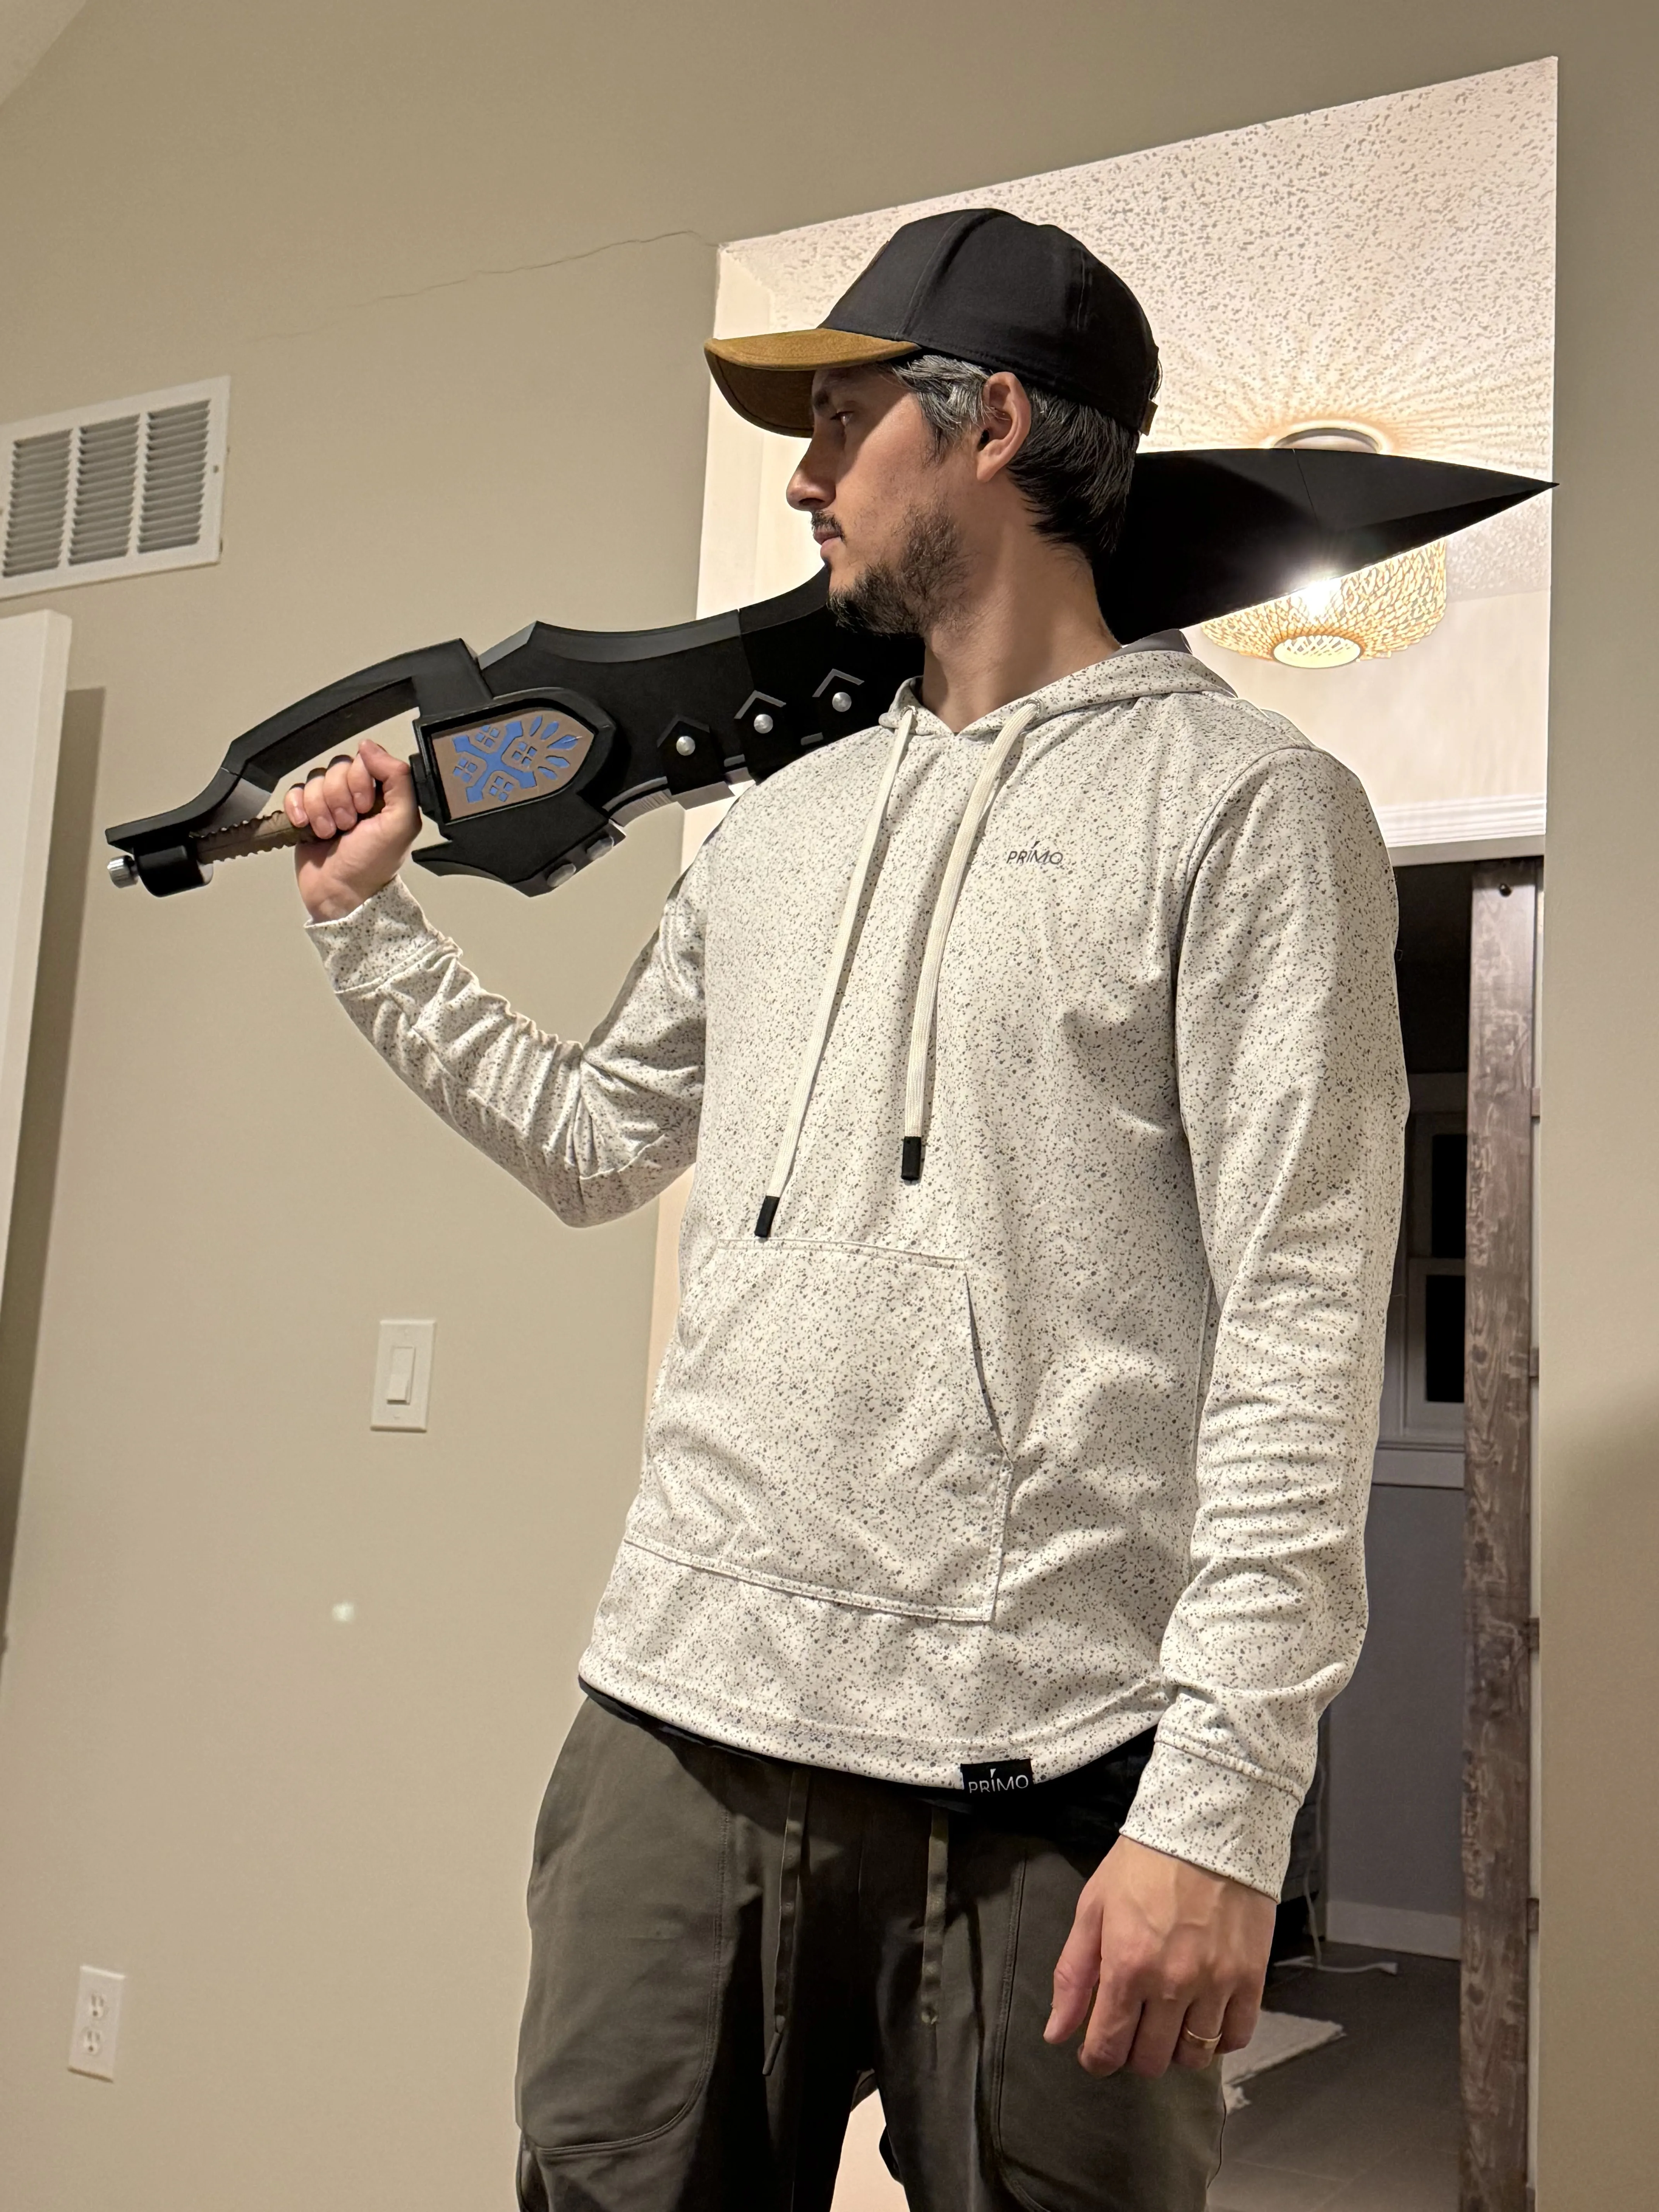
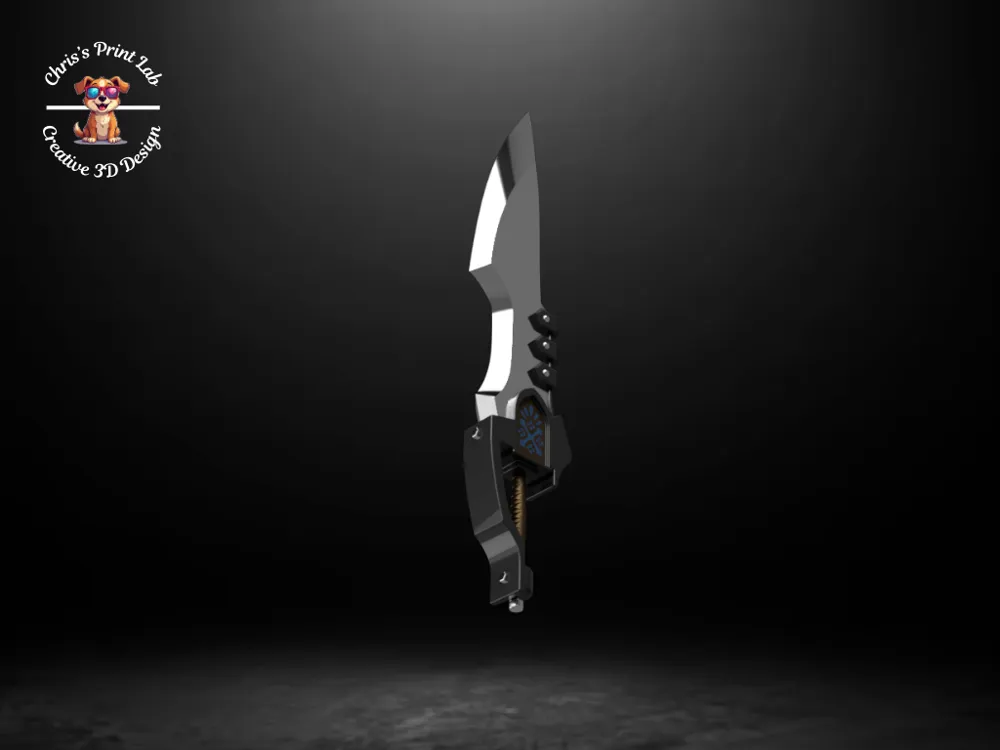
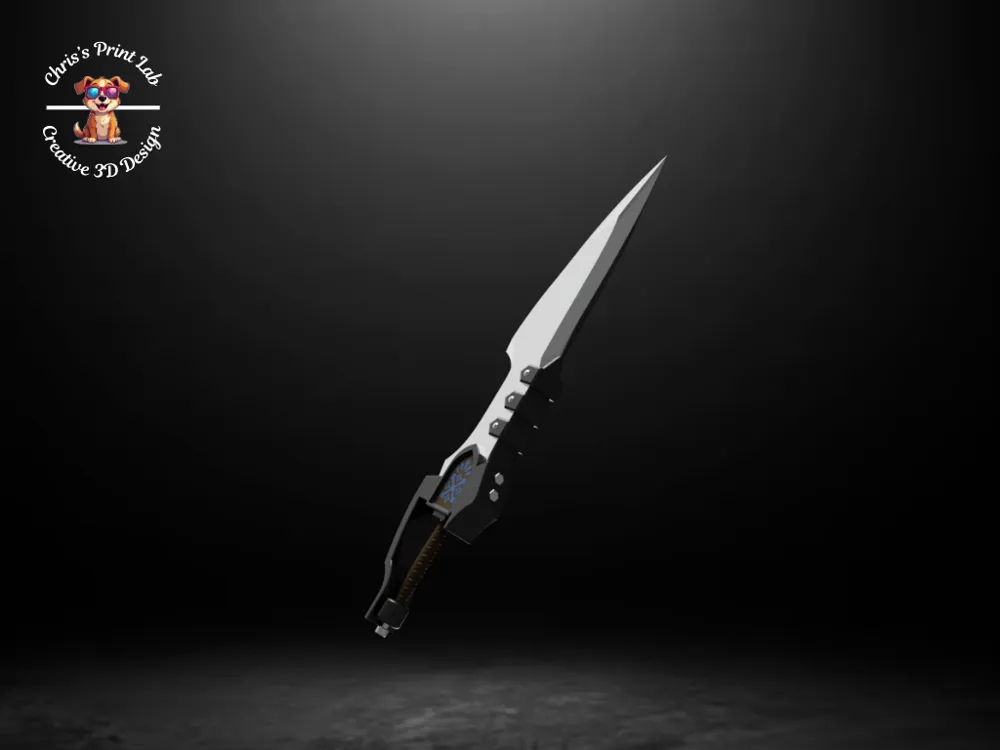
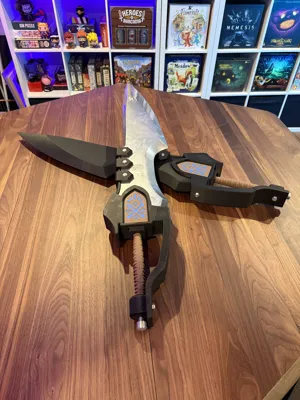
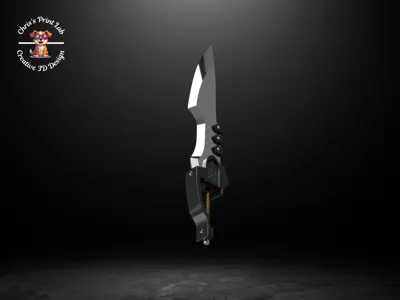
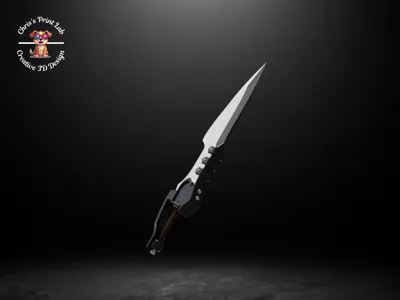
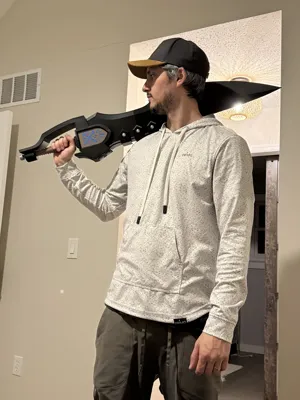
Monster Hunter Series Dual Slicers Sword
The desire to try and build a weapon always intrigued me, and with the new Monster Hunter Series game I decided to try and build one of the earlier weapons in the game, the Dual Slicers Sword.
Modular Design
This design is entirely modular, wich means you will have to assemble all of the different components. There are various screws, inserts, and rods that will be used to secure the sword together.
AMS Multi Color Assembly
- First start by assembling the blade. This requires that you stick the rods through all of the different blade sections.
- The shortest rods start at the base of the blade
- the longest rod goes through sections 2,3,4 at the rear side of the blade
- the second longest rod goes through sections 2,3,4 at the front side of the blade
- Next Attach the brace to the blade via the 3 buckes, and pins. Once the pins are in place through the blade and buckles, glue on the pin caps!
- Attach the assembled blade to the handle and screw in the back of the blade to the back of the handle. Once the screws are in place, glue on the screw heads!
- Attach the hand guard to the front of the center guard and screw it in. Glue on the screw cap once done!
- Next, assembly the blade insignia. This requires that you use some glue to lock in all of the pieces
- Lastly, take the 2 halves of the handle )the dowel rods might be too big, you dont need them, but if you want them you might have to trim them a bit). Glue the two haves together, or dont, and screw it into the center guard.
- Attach the handle end cap, and screw in the final two screws.
- You have now assembled the sword!
Post processing assembly
- First start by assembling the blade. This requires that you stick the rods through all of the different blade sections.
- The shortest rods start at the base of the blade
- the longest rod goes through sections 2,3,4 at the rear side of the blade
- the second longest rod goes through sections 2,3,4 at the front side of the blade
- Sample fit the blade into the center guard and tape off areas that will be inserted into the blade. We dont want to add any extra width to these sections with paint
- Next Attach the brace to the blade via the 3 buckes, and pins. Tape off areas that these buckles and braces slide into, and remove the braces and buckles before painting.
- Paint the blade!
- Paint the various pieces!
- Follow the AMS Multi Color Assembly instructions from section 2 onward!
Caution!
This has been tested and printed twice now, with parts being printed across 5 X1Cs for efficiency. That being said, all X1Cs were using Bambu Labs PLA matte for all parts that were not screws. All screws were made with Bambu Labs PLA Silver silk+.
All tolerences have been tested and confirmed good! I can not guarantee they will be the same with other brands of PLA. For example, I once accidentally printed the blade middle section with Silk instead of Ash Matte Gray… and the rods were a little snug. Stick to the reccomended PLA Matte and PLA Silk+ for threads.
Happy hunting!
Boost Me (for free)
If you like the models please leave a boost! Boosting a model goes a long way and keeps creating possible! Thank you!
Check my website to see my designs!
License

You shall not share, sub-license, sell, rent, host, transfer, or distribute in any way the digital or 3D printed versions of this object, nor any other derivative work of this object in its digital or physical format (including - but not limited to - remixes of this object, and hosting on other digital platforms). The objects may not be used without permission in any way whatsoever in which you charge money, or collect fees.


Comment & Rating (27)