
Print Profile(8)



Bill of Materials





Description
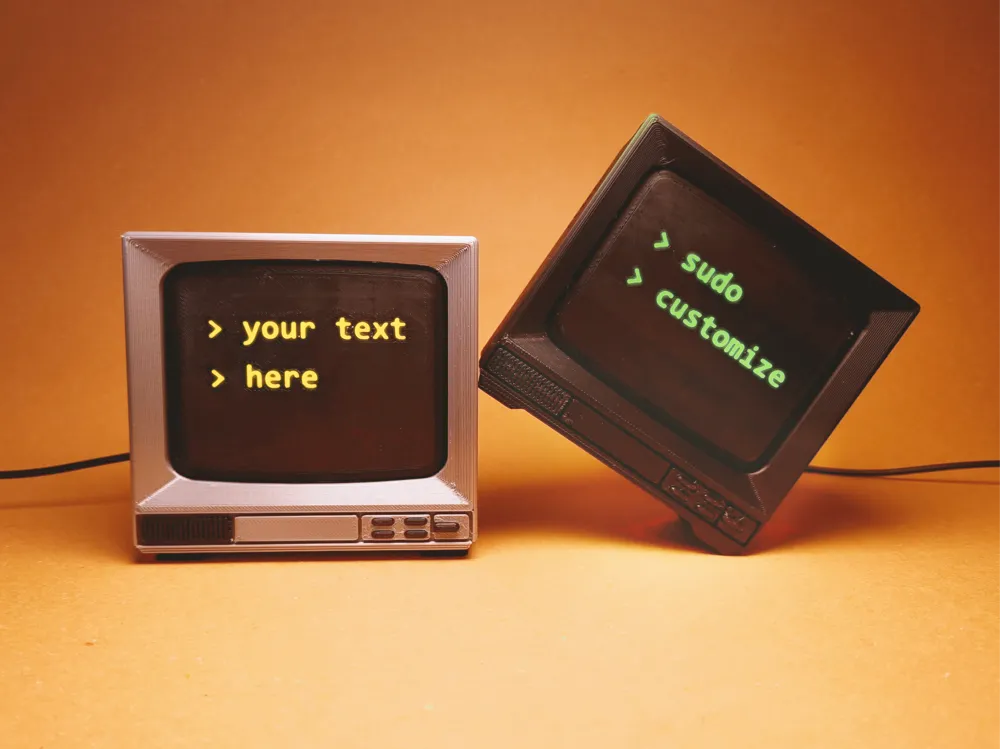
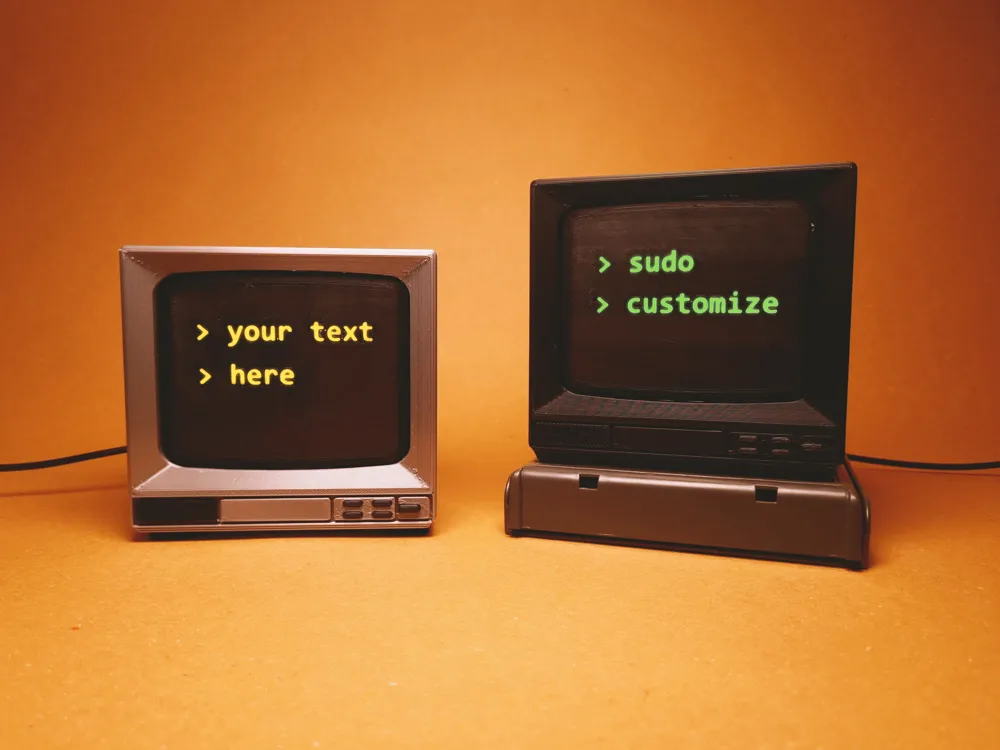
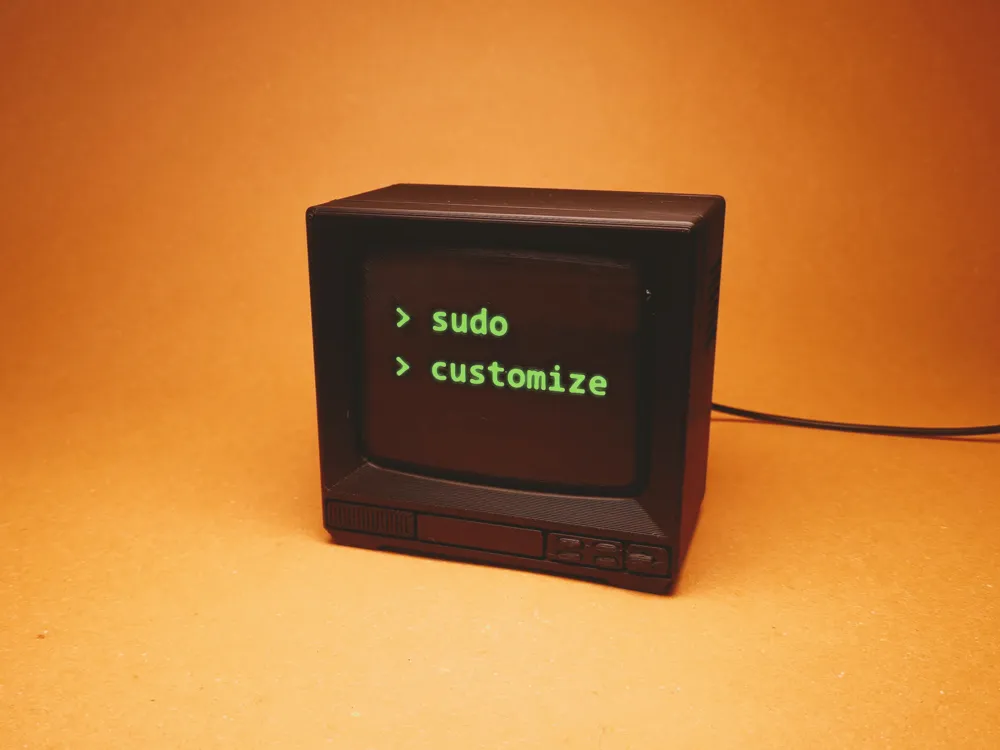
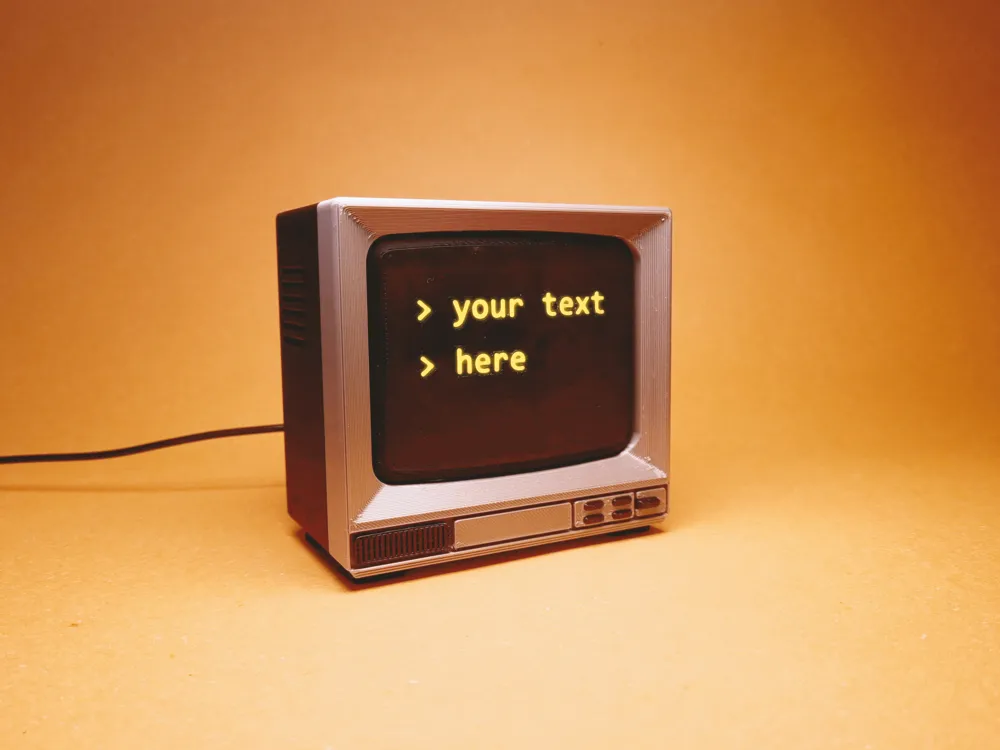
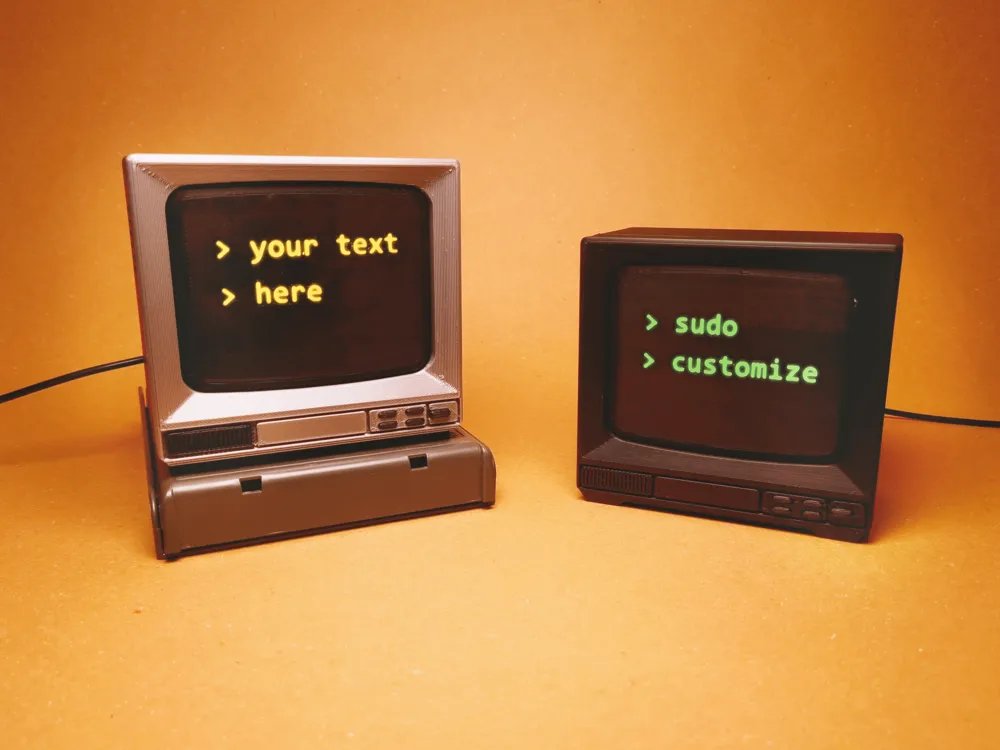
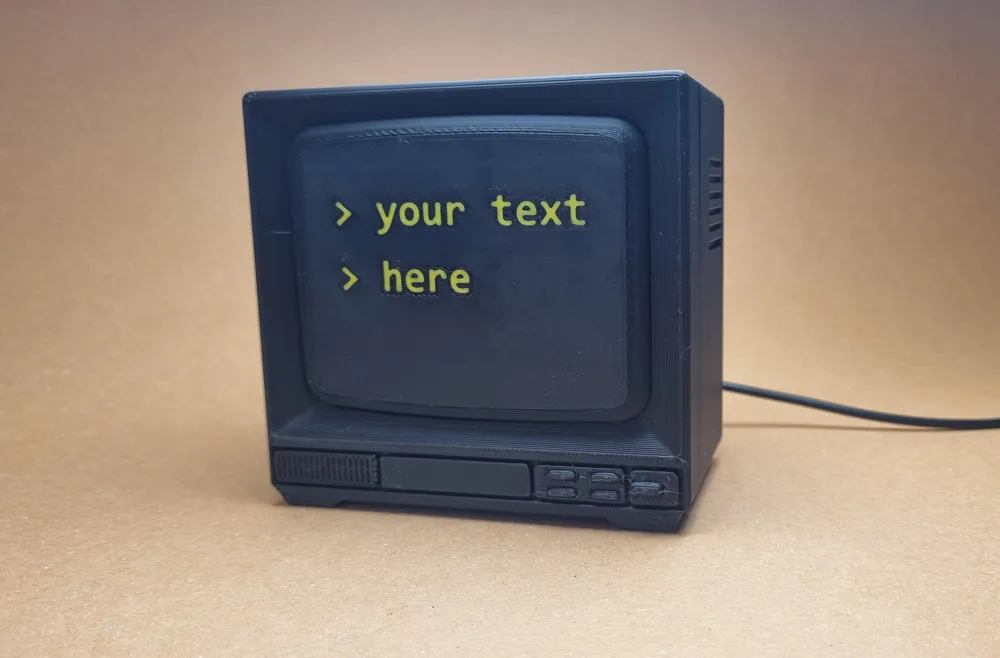
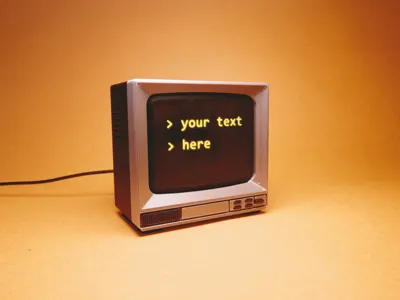
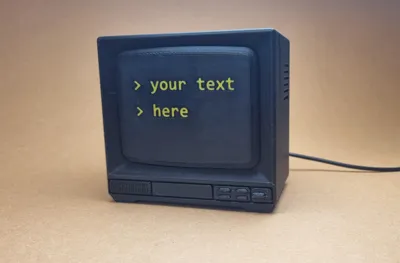
🖥️ TerminalMood - A Desktop Lamp for Dev Feelings
A retro-style CRT lamp that glows like your inner monologue.
TerminalMood is a 3D-printed desk companion for tech lovers who enjoy a bit of sarcasm with their syntax.
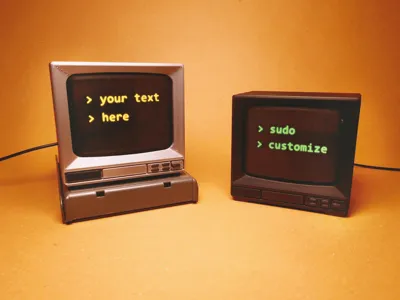
Customize the screen text, light it up, and let your lamp do the talking.
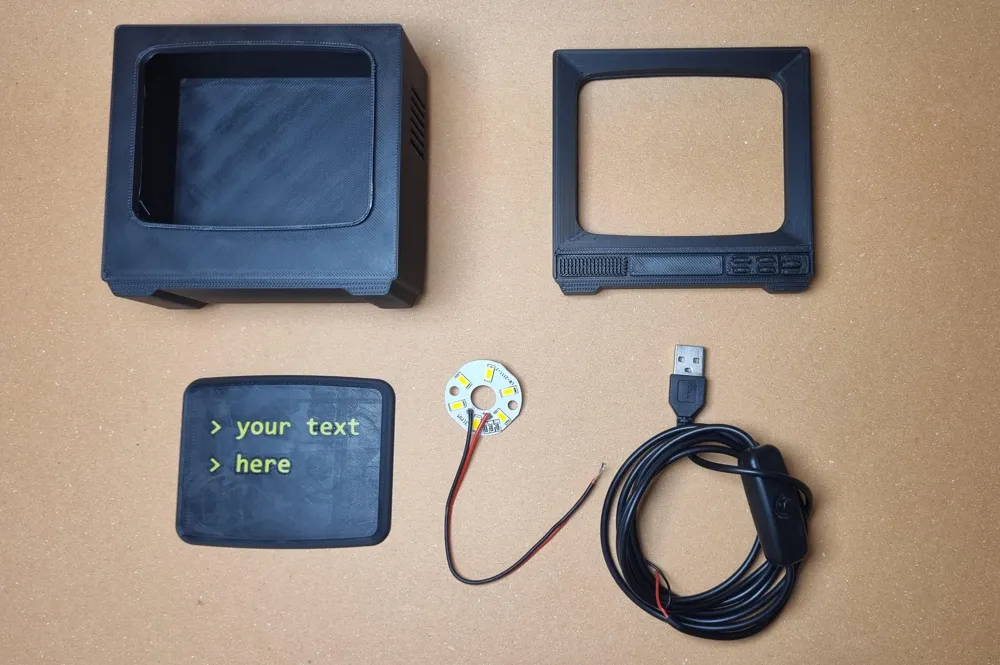
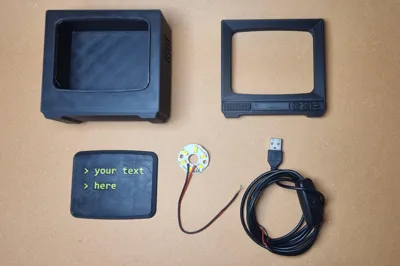
🧩 Parts
- Back shell – houses the LED
- Front shell – iconic CRT shape with speaker plate + buttons
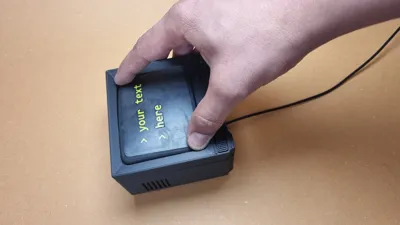
- Screen plate – customizable display text (via Bambu Studio)
💡 Features
- Retro CRT monitor aesthetic
- Screen text customizable directly in Bambu Studio
- Includes 5 pre-built screen profiles with iconic sarcastic code lines
- Modular design — easy to print, easy to assemble
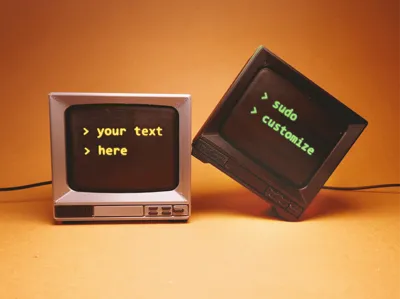
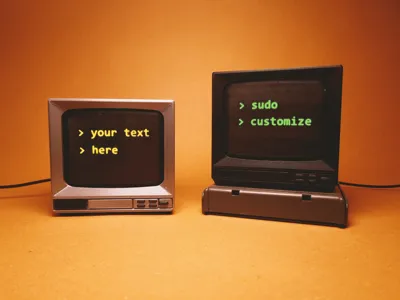
- Optional multi-color profile: silver body with black buttons + speaker plate
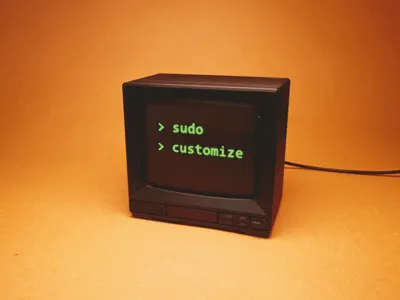
- Also available in single-color version
🖨️ Print Settings
- Material: PLA recommended
- Layer Height: 0.2 mm
- Supports: For back and front shell only (minor overhangs)
- Screen Text: Fully editable inside Bambu Studio
- Font used: Consolas, for a clean terminal feel
- Multicolor: Front plate buttons and speaker in black, body in silver
🔧 Assembly Instructions
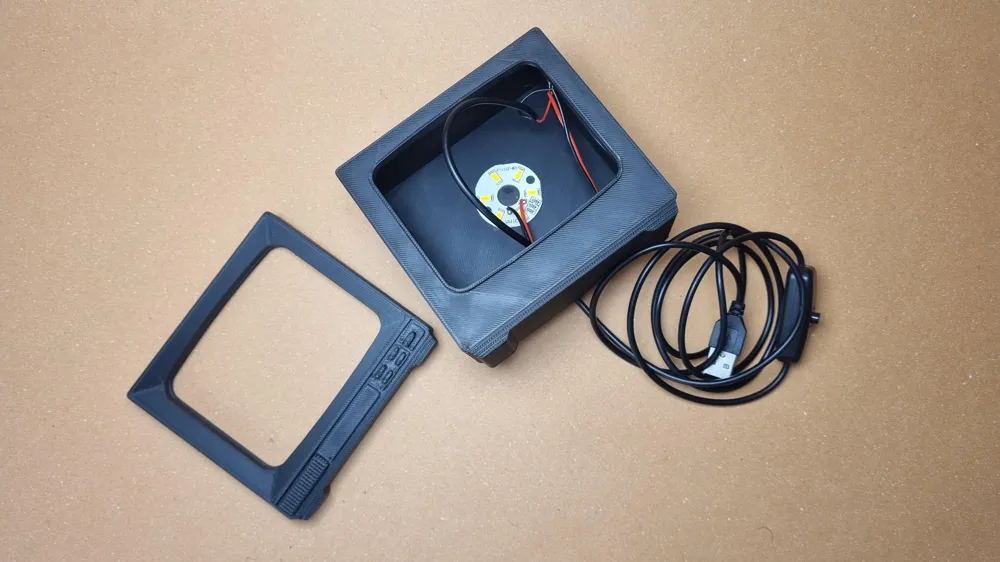
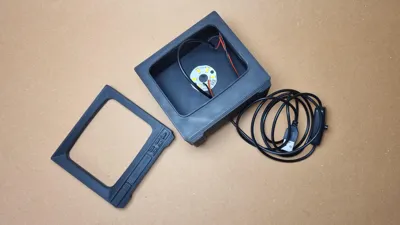
- Stick your LED (USB puck or strip) to the inner flat area of the back shell
- Thread the power wire through the cable hole in the back
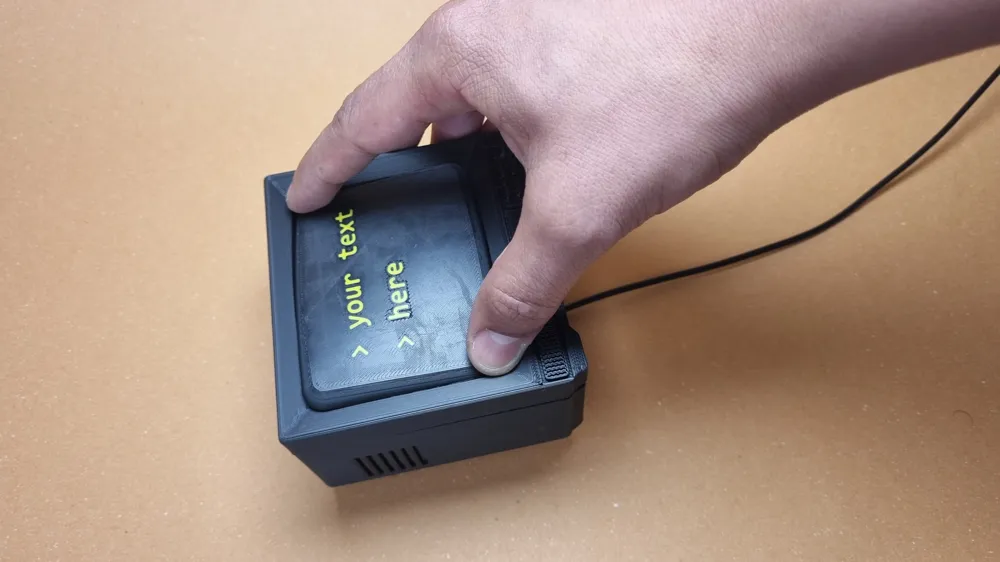
- Gently push in the screen plate from its corners to create a subtle dome shape
- Snap the front and back shells together — done!
🖥️ Pre-Installed Screen Text Profiles
> sudo pursue(dreams)
> permission denied: root required
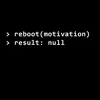
> reboot(motivation)
> result: null
> compile(plan)
> deploy(chaos)
> ping("purpose")
> no response
> sudo fix(life)
> command not found
(You can also replace the text with anything you'd like!)
Boost Me (for free)
Support the Innovation!
Membership
Start Selling This Design
------------------------------------------------------------------------------------------------------
Every model is originally designed from scratch, rigorously 3D printed, and thoroughly tested to perfection by Omri Hillel. All rights reserved. Unauthorized duplication, modification, or commercial distribution without a proper license is strictly prohibited.
License

You shall not share, sub-license, sell, rent, host, transfer, or distribute in any way the digital or 3D printed versions of this object, nor any other derivative work of this object in its digital or physical format (including - but not limited to - remixes of this object, and hosting on other digital platforms). The objects may not be used without permission in any way whatsoever in which you charge money, or collect fees.


Comment & Rating (34)