
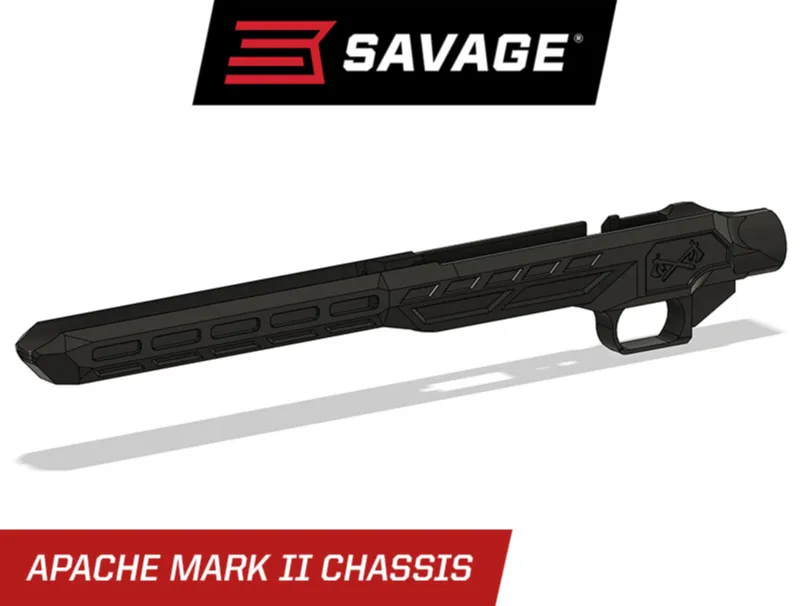
Apache MKII 22LR Chassis
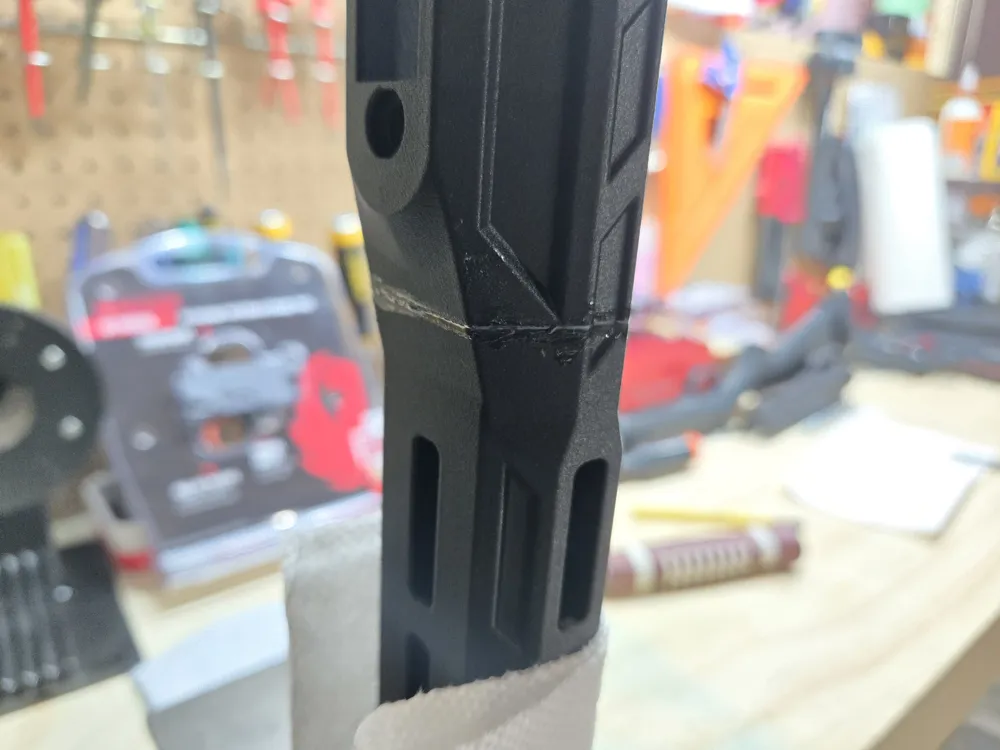
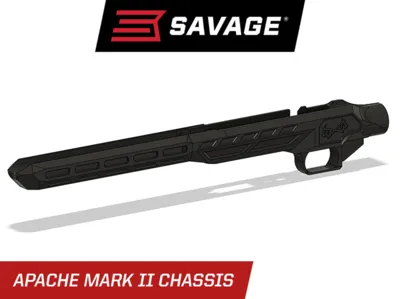
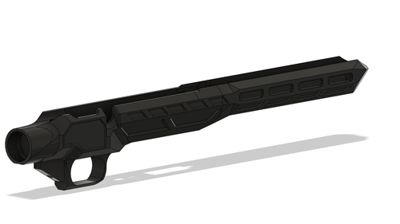
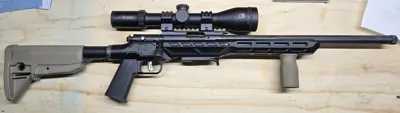
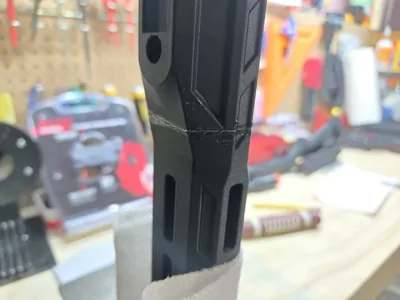
Print Profile(2)


Description

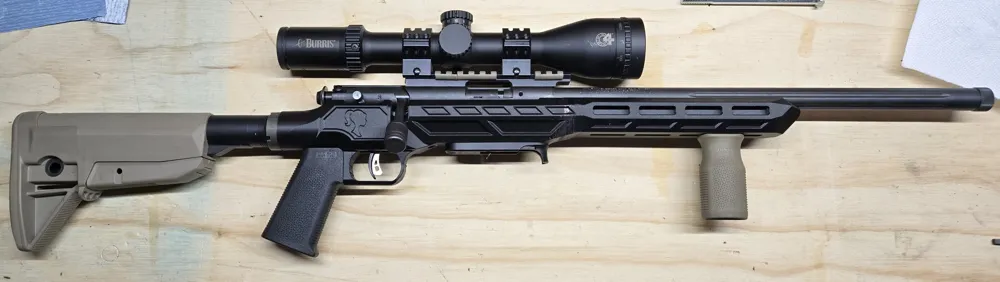
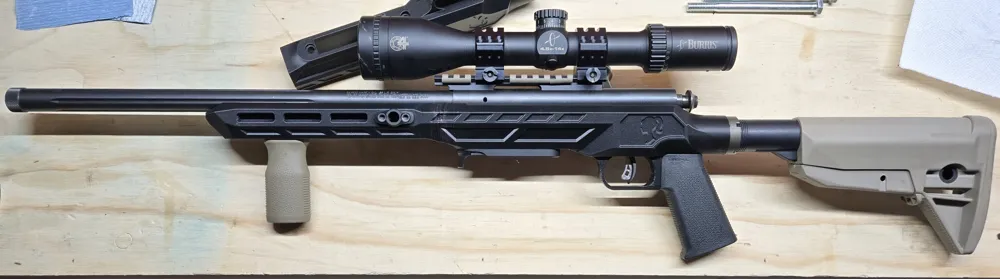
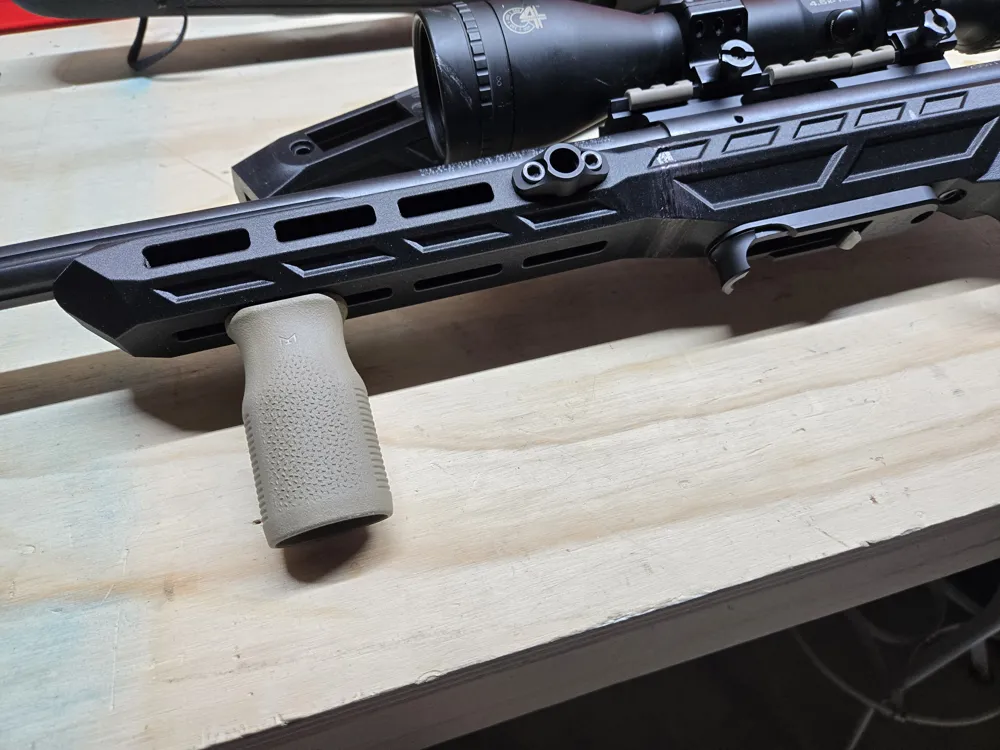
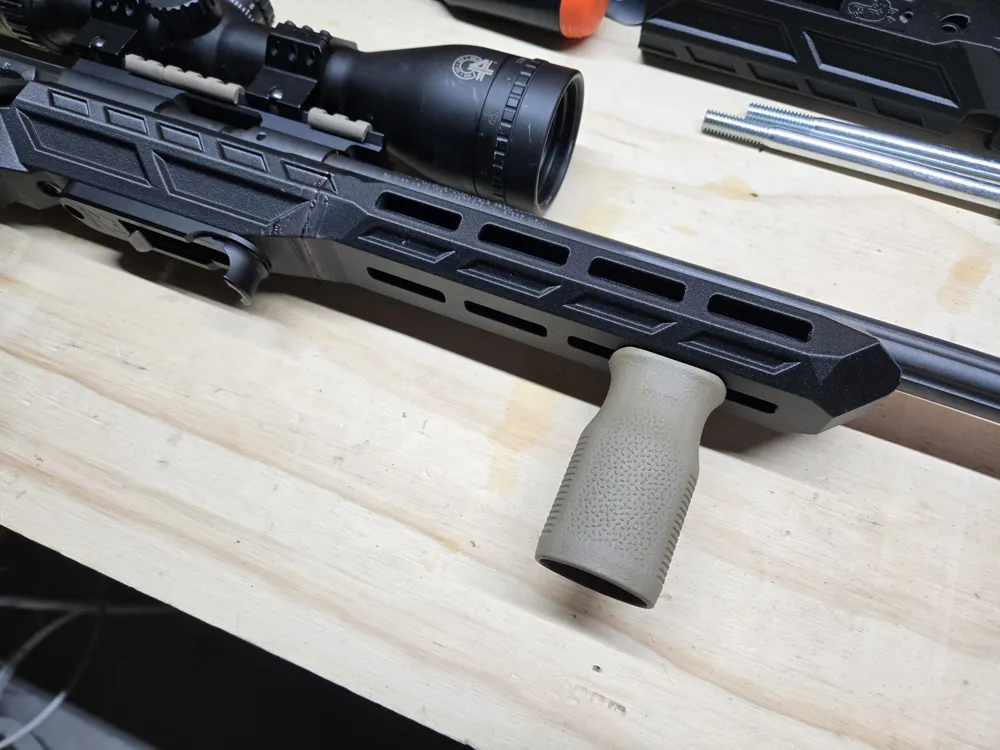
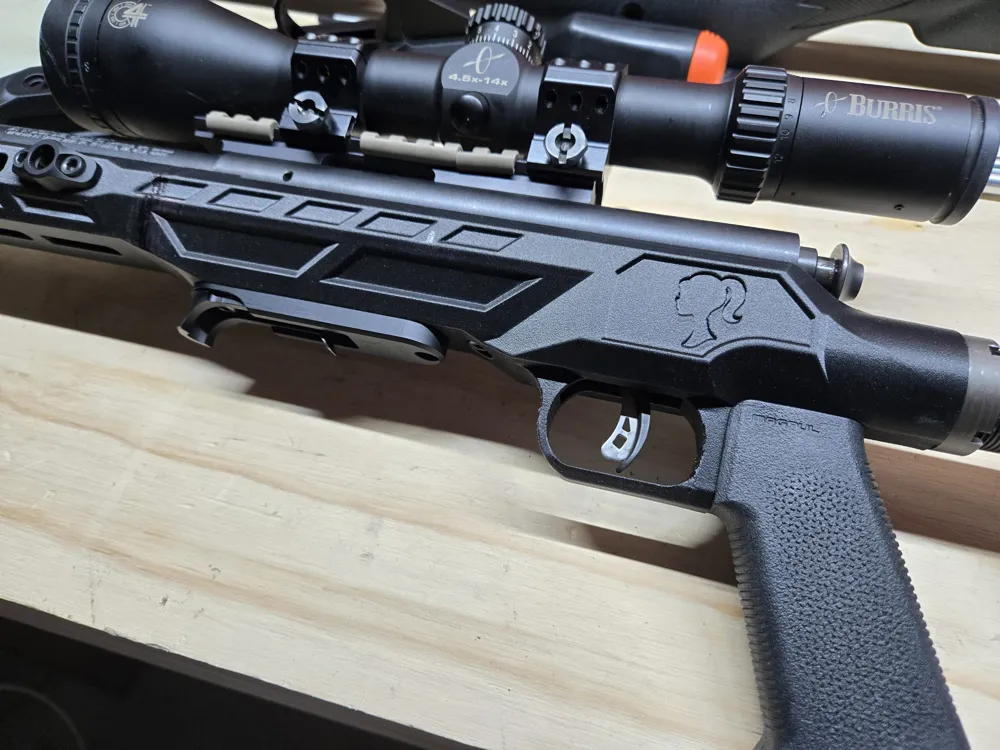
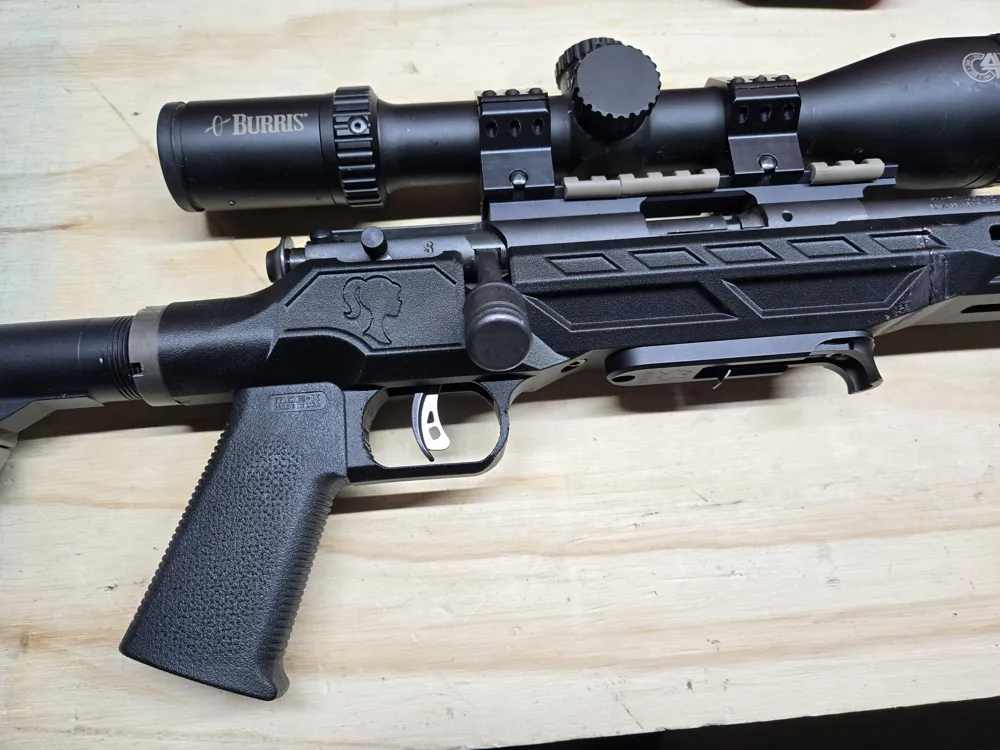
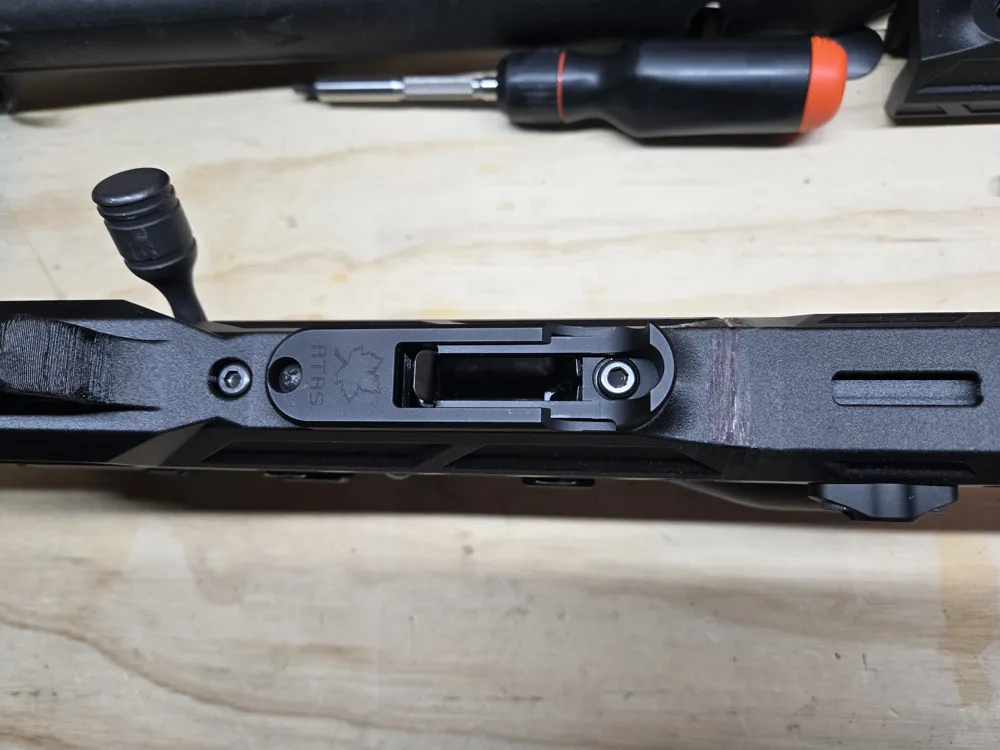
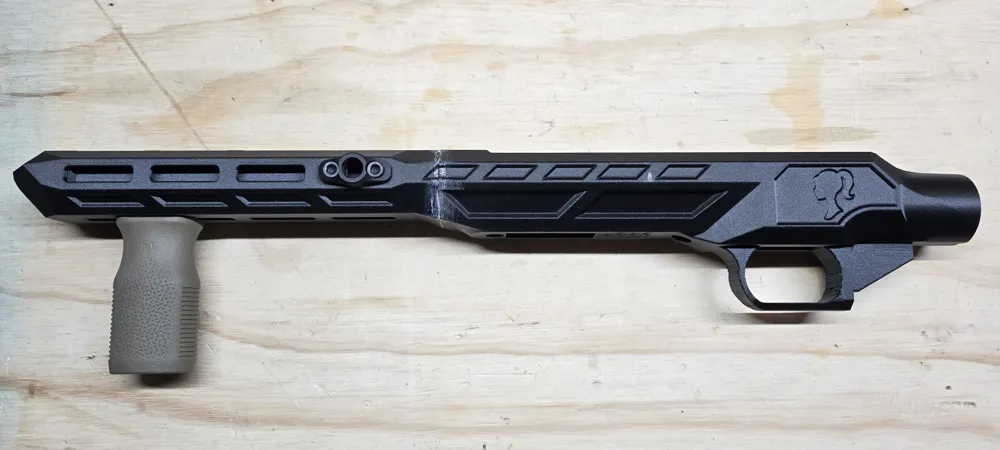
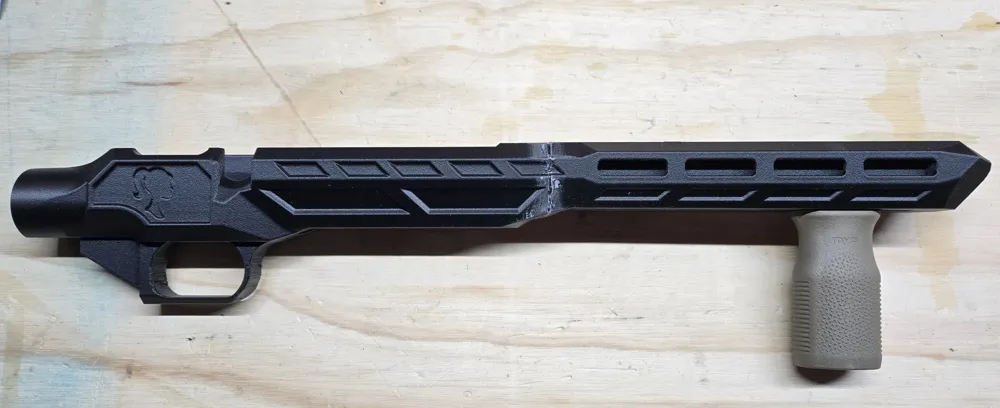
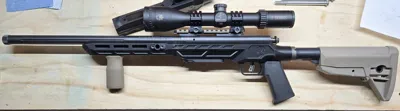
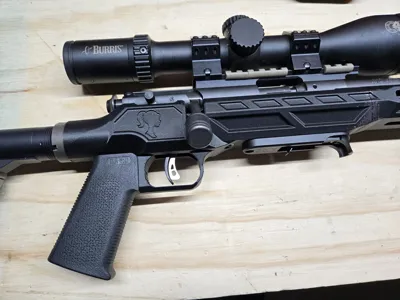
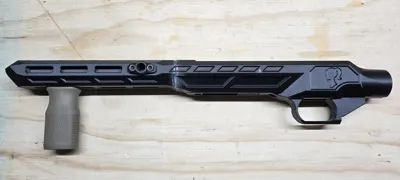
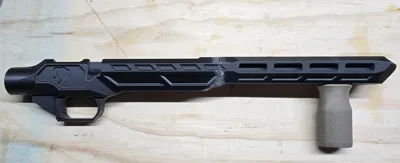
This is a remix of Bigbore729's MCS chassis and Apache chassis models. The original Apache chassis needed some updating but the original CAD files were lost. I worked backwards from the MCS chassis to arrive at this. Main changes:
- Removed MCS top picatinny rail
- Removed MCS AR handguard adapter
- Restored Apache geometry to allow for use with apache type forends
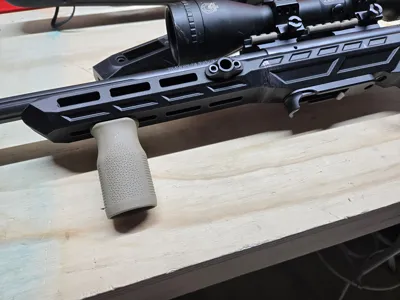
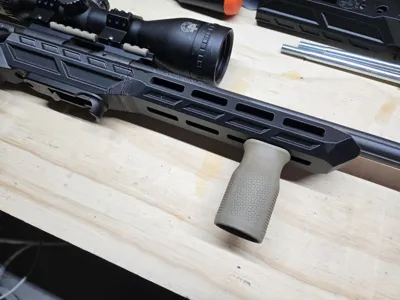
- Added MLOK to the rail-less forend
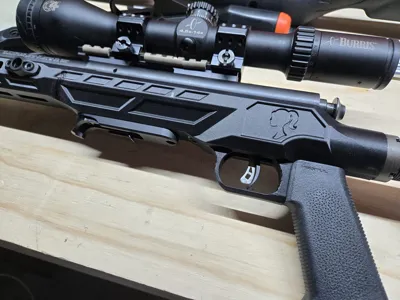
- Restored apache artwork in place of MCS logo
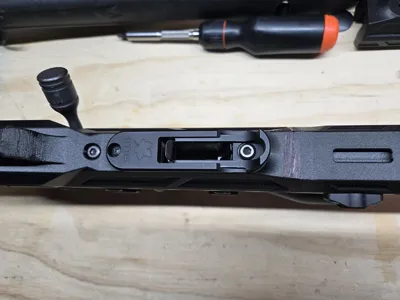
- Geometry modifications around bottom of body and magwell to allow better use of an ATRS Enhanced Magazine Release (EMR)
- Geometry modifications for aesthetics and cleanup of some errors
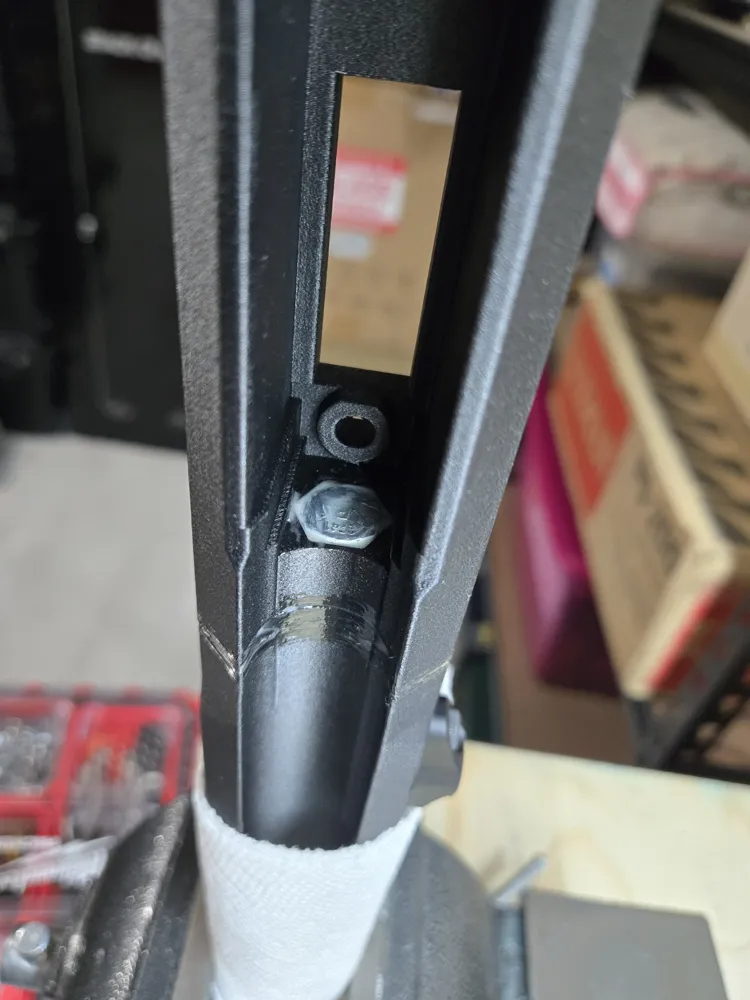
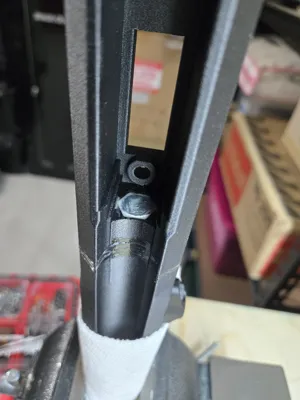
- IMPORTANT - 3/8 Bolt hole has been fixed and relocated to accommodate MLOK. (This makes it incompatible with original Apache forends)

Below is the original information provided by Bigbore729 about the Apache Chassis:
Instructions
Disclaimer
It is crucial that you have your print settings dialed in before attempting to print this.
Follow state and local laws in regards to pistol grips and collapsing stocks as this may be illegal in your state or region. Ensure the firearm is safe and clear before installation!!
Materials list
Materials needed:
-One 3/8"x5" bolt (optional)
-Two 1/4-28 x 1" bolts
-AR15 flat top pistol grip
-AR15 buffer tube assembly and compatible stock
-AR15 Castle nut
-Weldon #3
-Savage MKII action and action screws.
Post processing
After the print is complete and supports are removed, test fit parts to ensure they fit correctly. If the buffer threads do not print cleanly, thread the buffer tube in and back it off every 1/4 turn to clean threads. The grip and buffer mount do not have threads and will be tight initially. Thread the grip and rail screws in backing off every 1/4 to 1/2 turn, when you notice the screws stop, do not attempt to tighten any further or you can crack the chassis. After test fitment is complete, attach the forend and buffer mount to the chassis body. The buffer mount will be secured using a 1/4-28 x 1" bolt, the same as the grip. You can now apply Weldon #3 to the seams. The Weldon will dissolve the plastic and fuse it together, once cured it will not be able to be removed, so make sure parts are aligned properly! The Weldon will set within a few minutes but will not reach full strength for 24-48 hours. Optionally, a 3/8"x5" bolt can be inserted into the chassis and fore-end and epoxied in place for extra rigidity. After the chassis, fore-end, and buffer mount are connected you can now sand, fill any gaps, and paint.
Installing parts to the chassis
Put the grip screw into the hole of the flat top grip. Slide the grip into place and tighten the grip screw until the grip is secure to the chassis, do not over-tighten.
Thread the buffer tube into the chassis. When you cannot thread the buffer tube in any further, back it off and align the keyway in the threads with the mark on the chassis. Thread down the castle nut and tighten it to the chassis to ensure the buffer tube will not loosen. You can now install the stock of your choosing
Installing the action
With the firearm safe, clear, and pointed in a safe direction, remove the two action screws from the bottom of the factory stock. These screws may be tight to remove from the stock. If they give you trouble during removal, use a punch to drive out the screws. The metal surrounding the magazine hole is not required and it can be stored with the factory stock. Place the action into the chassis and reinstall the factory action screws. Tighten to manufacturer torque specs of 15-inch pounds.
Safety check
Grab the top of the action and ensure the action is not loose by wiggling side to side. If the action moves, check the torque of action screws.
Lift bolt and verify nothing obstructs its movement.
Engage and disengage the safety to ensure it travels unobstructed.
With the firearm clear, pointed in a safe direction, and the safety engaged, insure the trigger cannot be pulled. If the safety performs as intended, disengage the safety and perform a dry fire.
After the firearm is fired, operate the bolt to ensure the trigger and striker reset.
After the firearm is deemed safe in the chassis, it is now ready to fire.
This remix is based on

License



Comment & Rating (63)