BACrouter Startup Tool


Print Profile(1)

Description
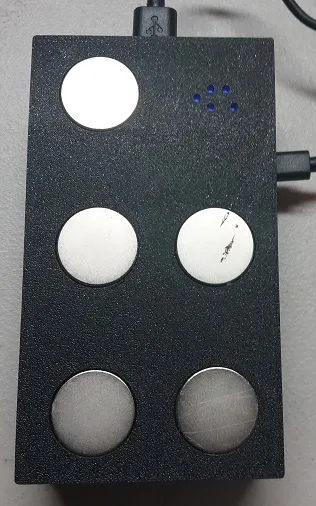
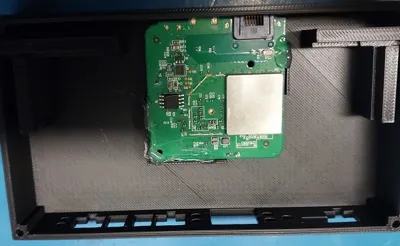
Enclosure for the BACrouter that includes a USB power bank and wireless AP. Magnets on the bottom allow this to be stuck on a control panel. Battery bank will power this for a few days.
Power bank
https://www.amazon.com/dp/B07CZDXDG8?ref_=ppx_hzsearch_conn_dt_b_fed_asin_title_8&th=1
WiFi AP
https://www.amazon.com/dp/B01N5RCZQH?ref_=ppx_hzsearch_conn_dt_b_fed_asin_title_15
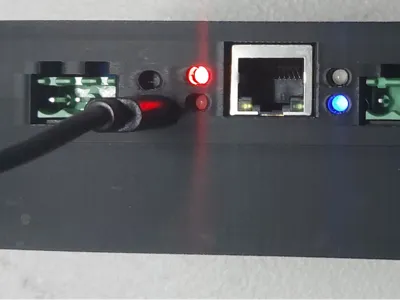
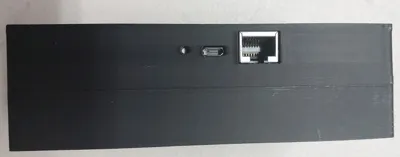
MS/TP Router (this is for the dual port version and not v1 hardware that does not support ARCnet)
https://www.hvacrcontrol.com/bacnet-router/
Misc Bits
4x 30x2.5mm hex head screws from this kit
https://www.amazon.com/dp/B07J58257F?ref_=ppx_hzsearch_conn_dt_b_fed_asin_title_10
5x 20x2mm Magnets
Build Directions
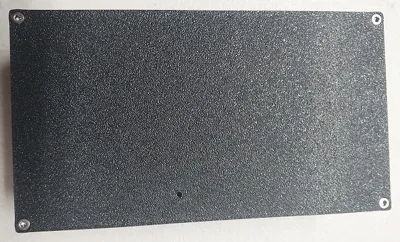
Remove the BACrouter and Wireless AP from their cases. The AP its best to use a small screwdriver on the opposite side of the Ethernet port. Its clipped in well but a bit of effort will free it from the case. Drop the battery in as is and use a little hot glue in the corners to secure it. Top side, just slide both PCBs into their places. More hot glue on the supports to secure both in place. Screw both side together and use superglue to attach the magnets. Printed with standard PLA and its solid enough to get kicked around in the field.
Comment & Rating (0)