
IKEA KALLAX Cabinet doors

Print Profile(19)


Bill of Materials







Description
Boost Me (for free)
Thanks for checking my print out! Step files and Fusion 360 file also available under downloads! Cheers!
For Commercial License or just to support my work, please visit my Patreon! Thanks!
IMPORTANT
- Some people have reported of the handles breaking. I'm still learning how to make snap fits 😓 If anyone has any suggestions or can upload a better handle print profile that would be amazing!
- SOLUTION: @Cozypupp has had success printing the handles on its side with support. Thanks for this great suggestion which changes the orientation of the layer lines!!!
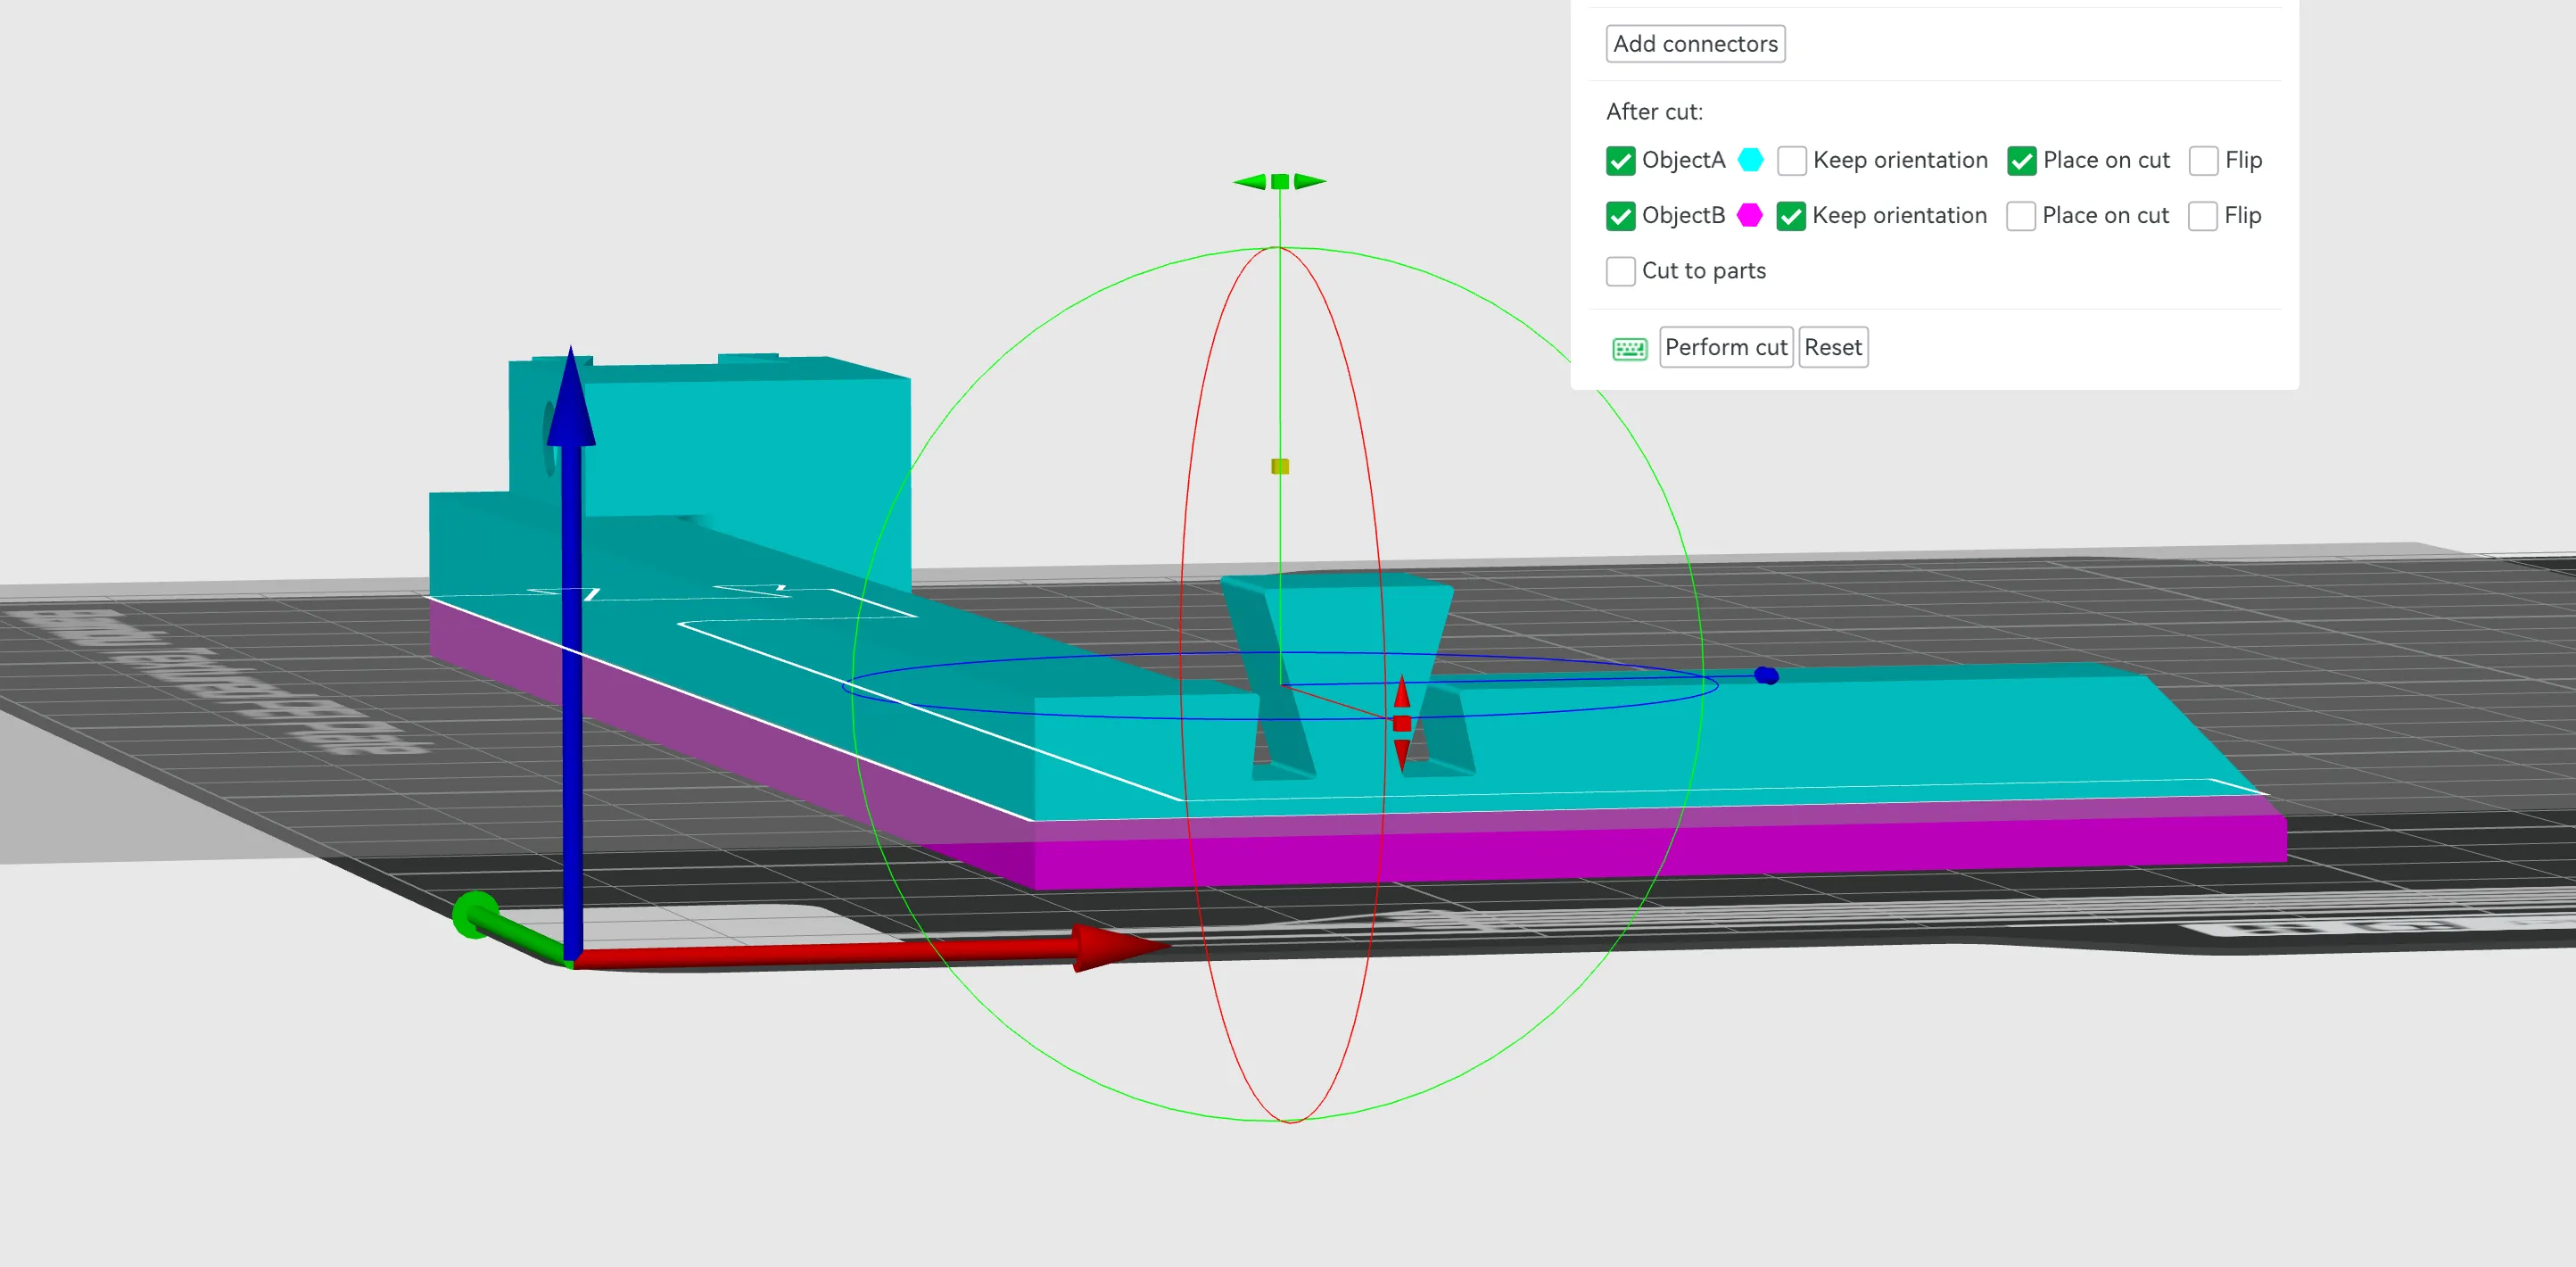
- Kallax shelves are inconsistent in sizes. If it is too tight of a fit height wise - you can try slicing off a little on the top and bottom beams to help it fit better
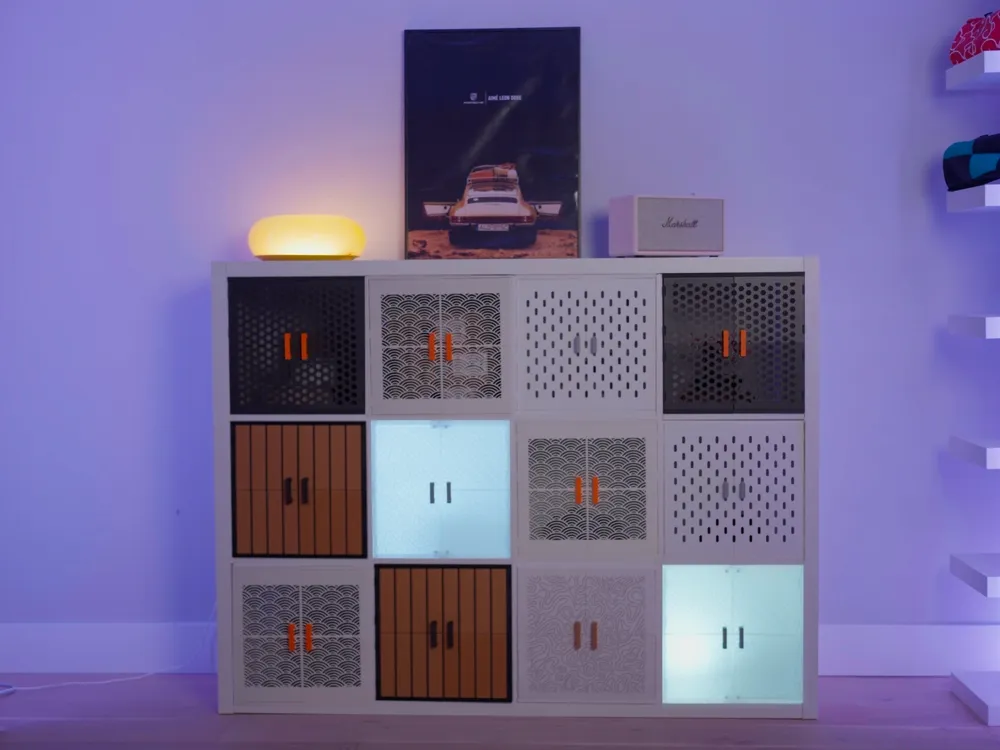
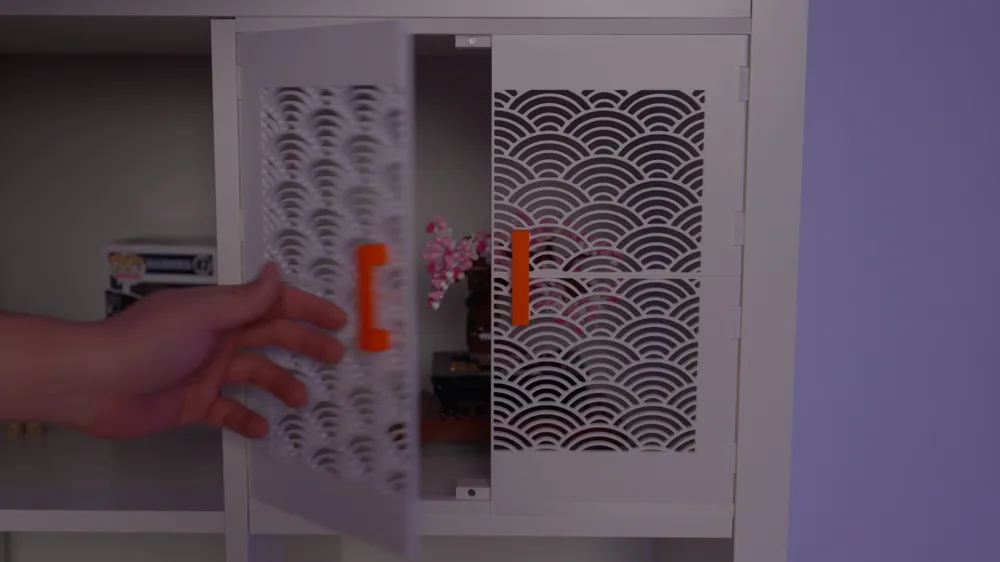
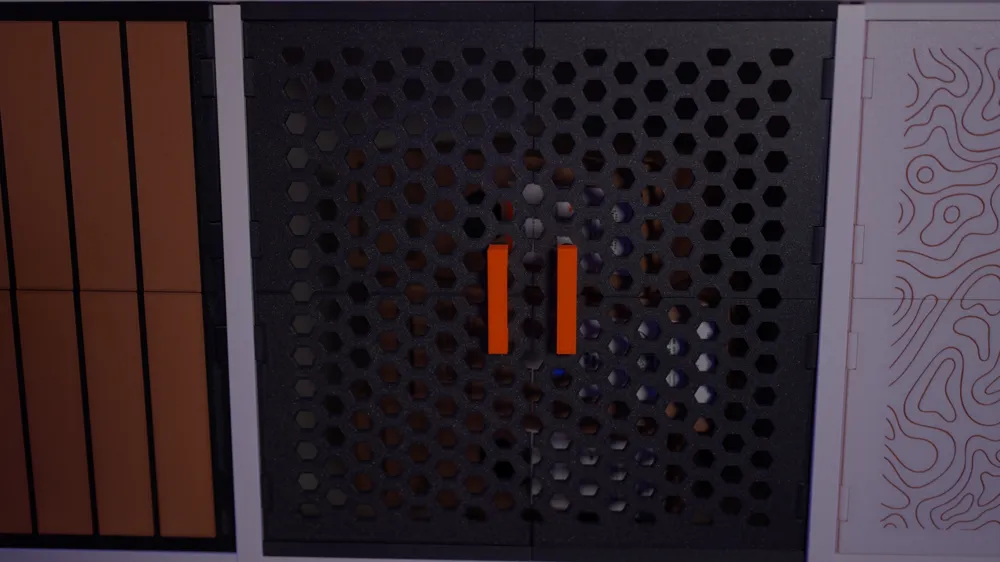
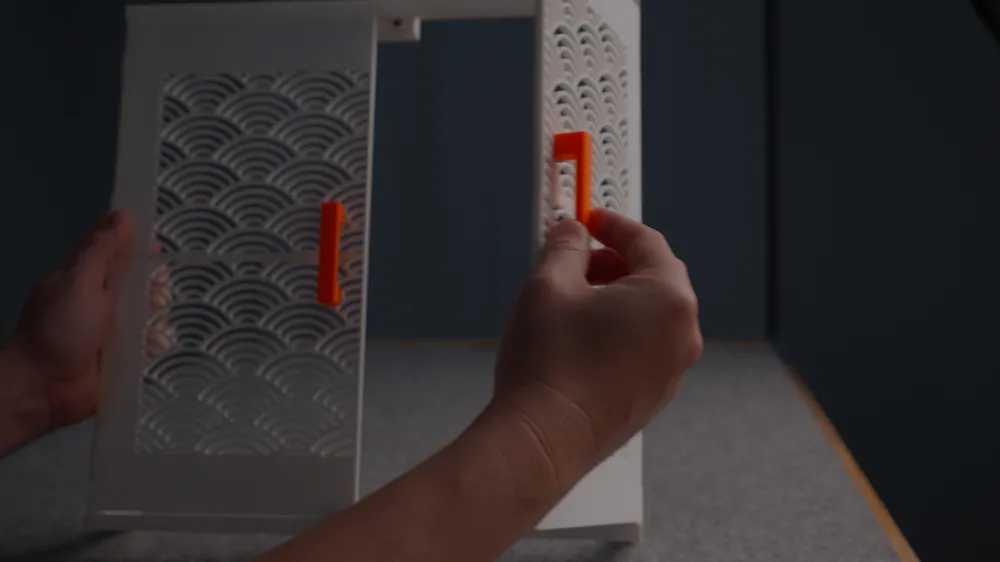
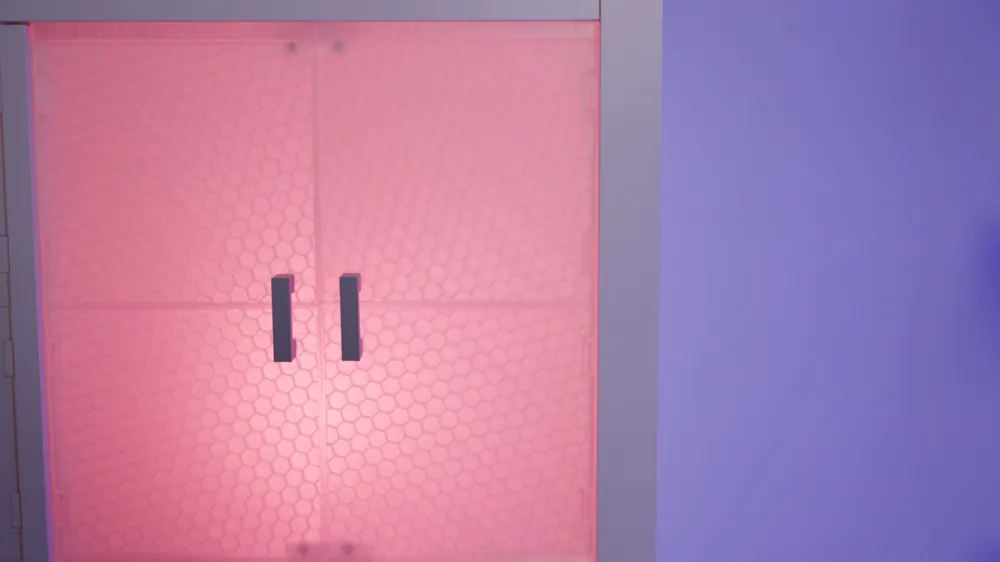
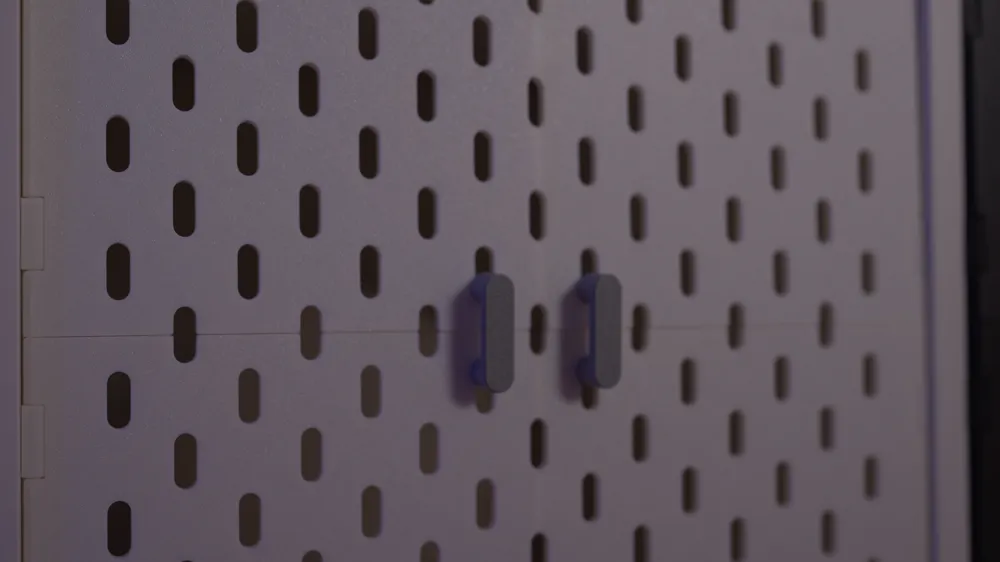
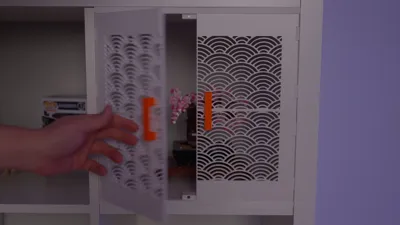
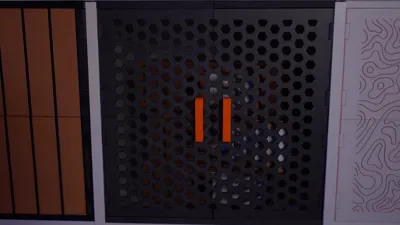
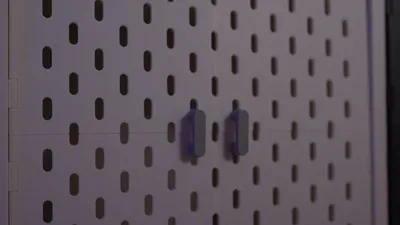
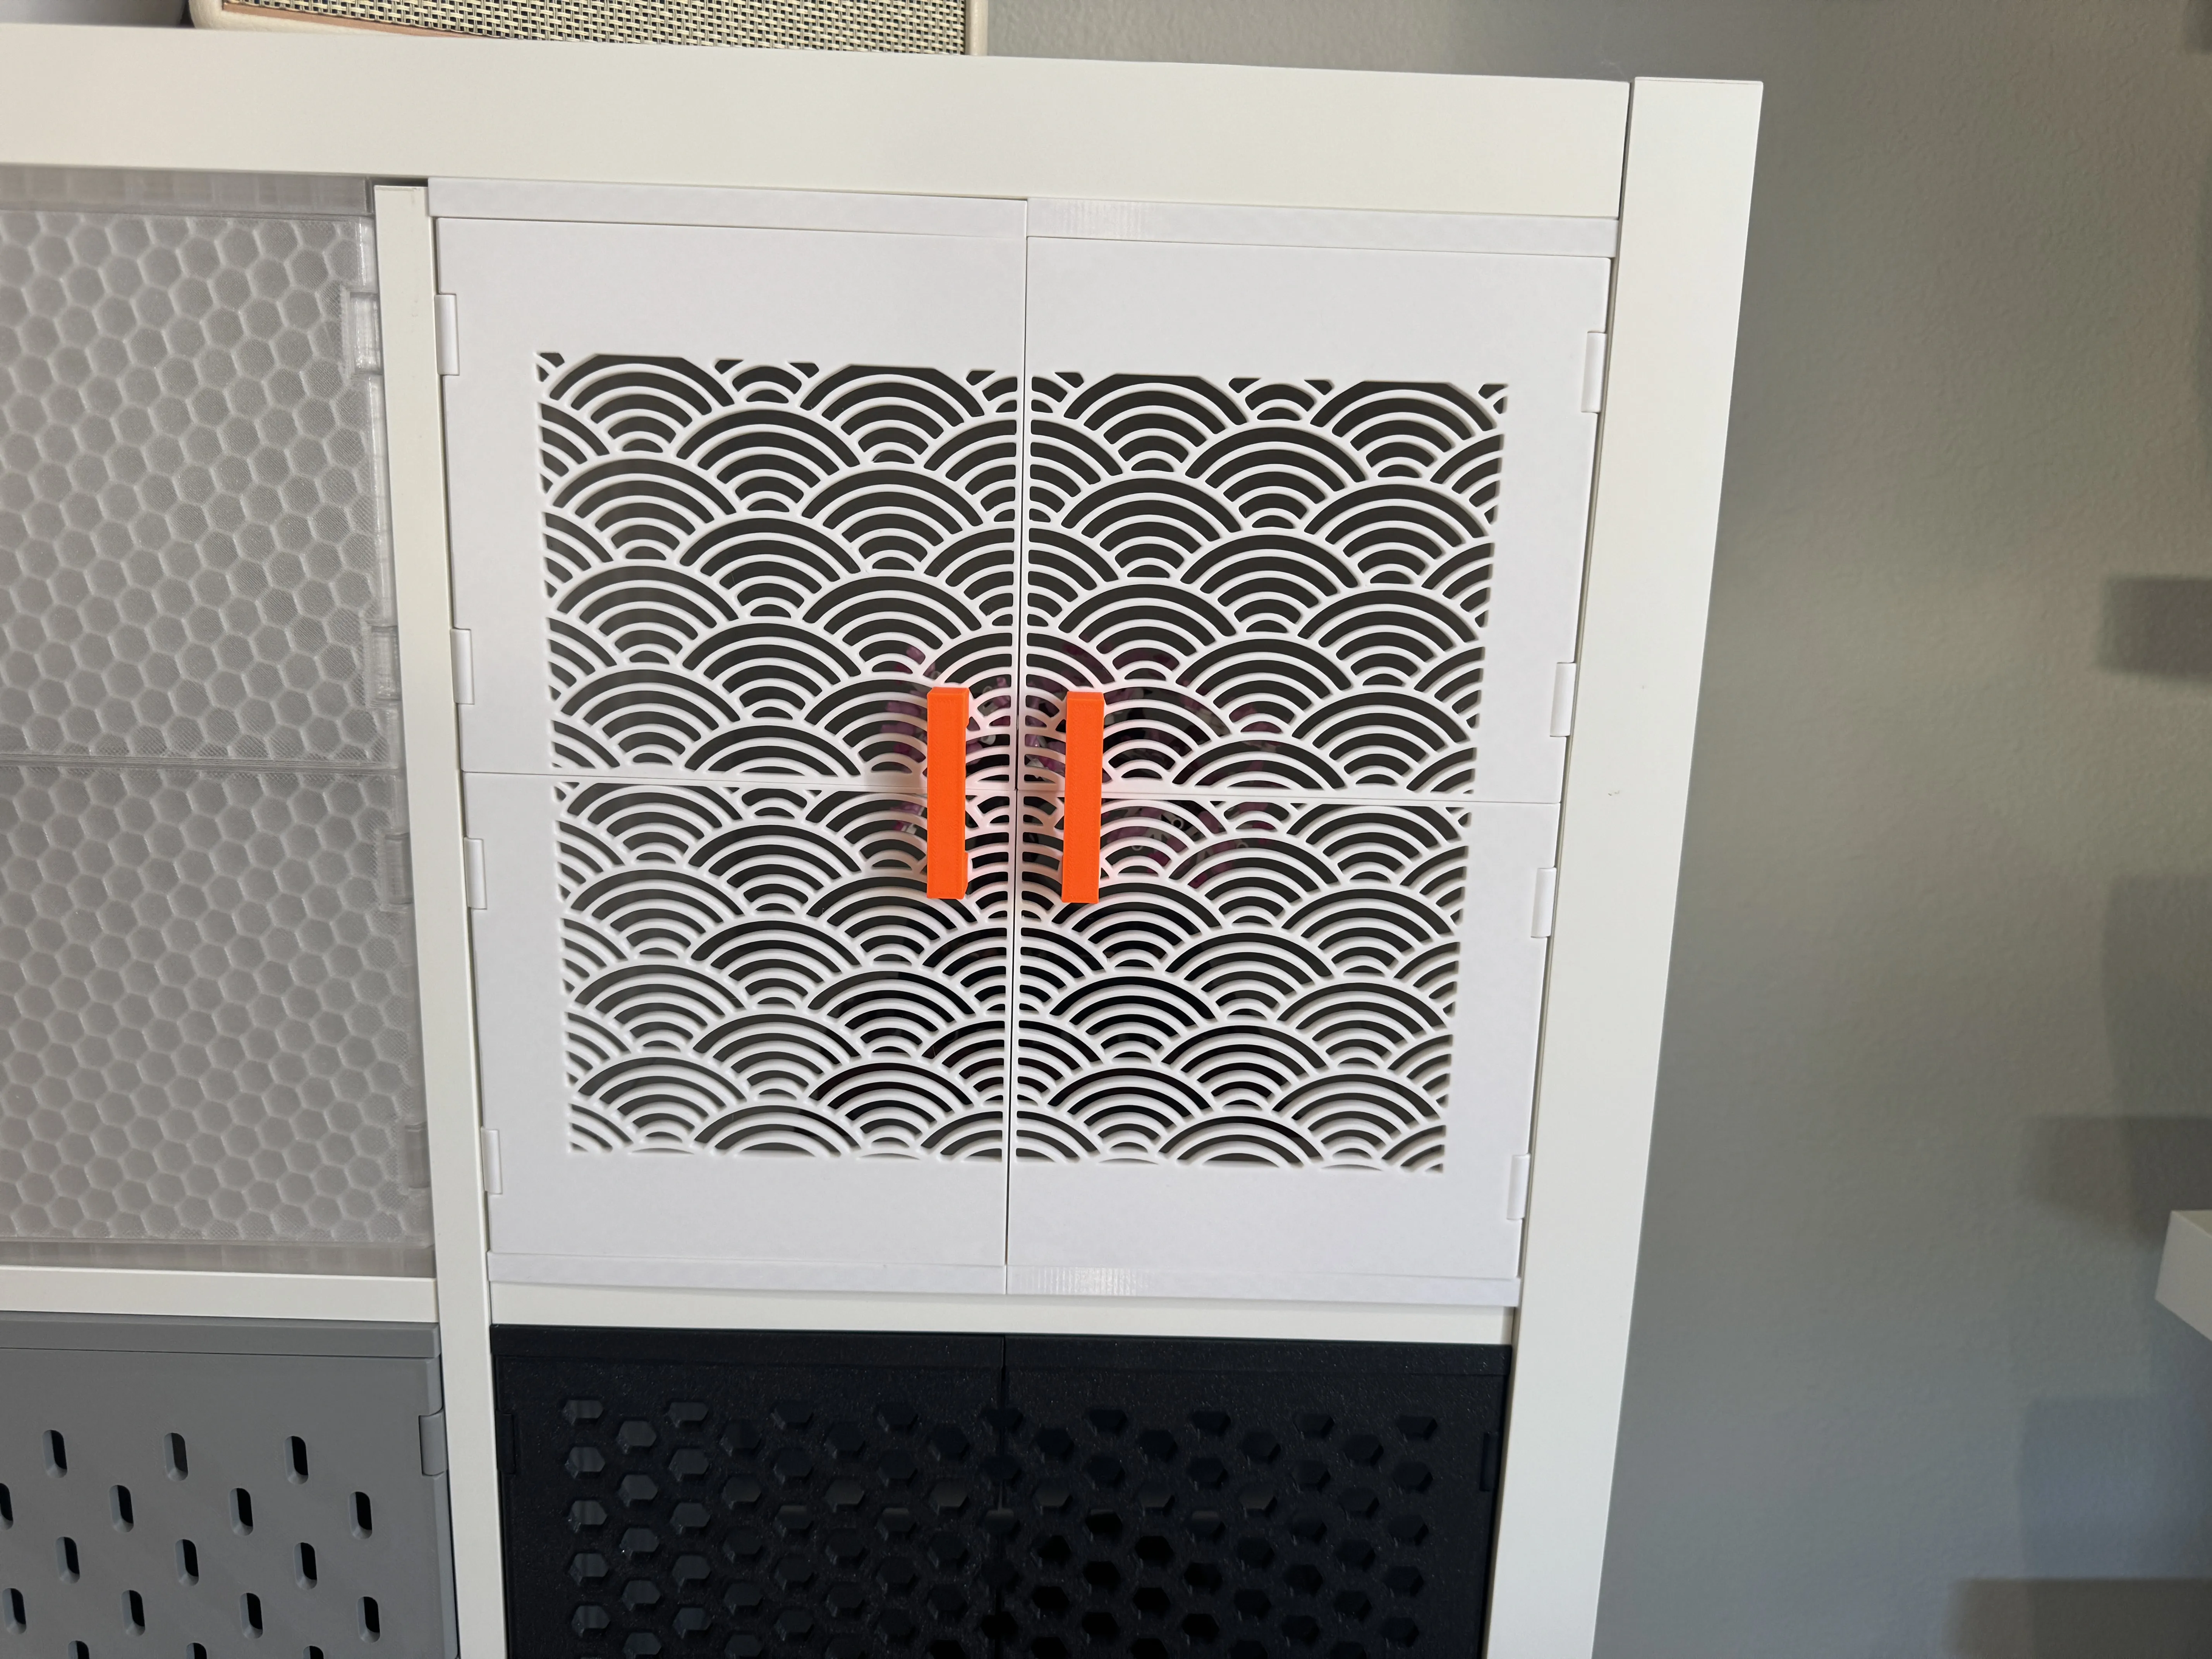
I designed and 3D printed cabinet doors for IKEA shelves. They don't require any screws, utilize print in place hinges, and have a magnetic closure. A great IKEA hack and fun way to personalize your IKEA KALLAX shelves.
Magnets used were 6x3mm
The exact ones I used were: https://amzn.to/4jvDL14 (affiliate link)
Bambu also sells the same sized magnet which can be found below
For the slat doors, it is using Bambu's Wood PLA Clay Brown.
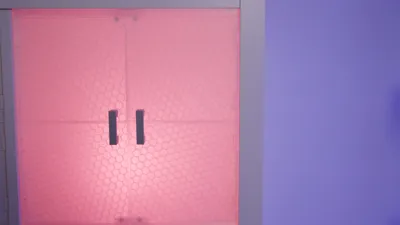
For the translucent doors, it is using Bambu's Translucent PETG.
Both are linked below.
A1 Mini version available!! It utilizes a snap in hinge instead of print in place. This allows the doors to be printed separately and the door will fit on the build plate!
CREATE YOUR OWN DESIGNS
I've uploaded the Fusion 360 file to help you make your own designs or doors to fit your shelves!
I'm still new to cad design so please don't judge me too hard on file structure or constraints and I apologize in advanced for if anything breaks while updating parameters 🙈
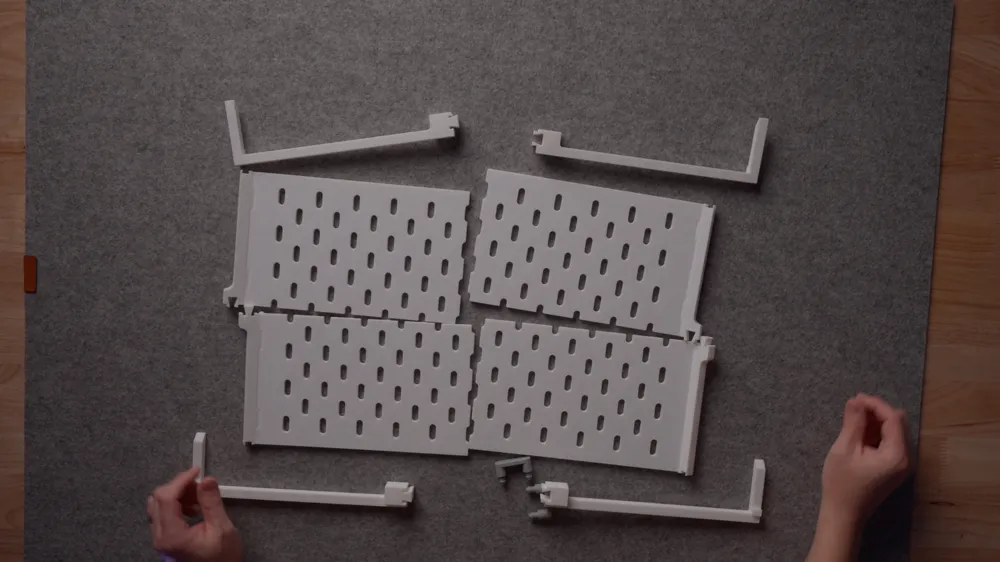
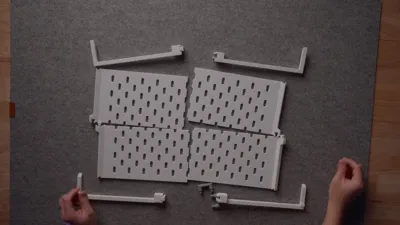
The components that make up a cabinet are:
- 4 Beams
- 4 panels that make 2 doors
- 4 hinges (These hinges should be exported with it's corresponding panel to be printed in place)
I will use the Kallax shelf as an example for each of these parameters you can modify.
The Kallax shelf dimension is 13.25" x 13.25" (336.55mm x 336.55mm)
h = height of shelf dimension, w = width of shelf dimension
panelHeight
This will be the size of each panel height and you have to take the thickness of the beam (10mm) into consideration when calculating:
(h/2) - 10
Kallax example: (336.55/2) - 10 = 158.275mm
panelWidth
This will be the size of each panel width:
w/2
Kallax example: 336.55/2 = 168.28mm
dovetailTol
The tolerance between the dovetail joints.
I found that 0.05mm worked best for my Bambu X1C and Prusa Core One but it may be different for yours.
Tip: Best way to test the fit is to print just the beams and hinges (without the door panels)
There are other parameters in the file but I would not advise using them as I may have abandoned using them midway.
I hope this all makes sense lol.
Please tag me in your creations on socials, I'd love to see them!! @joshmakeshift
ASSEMBLY
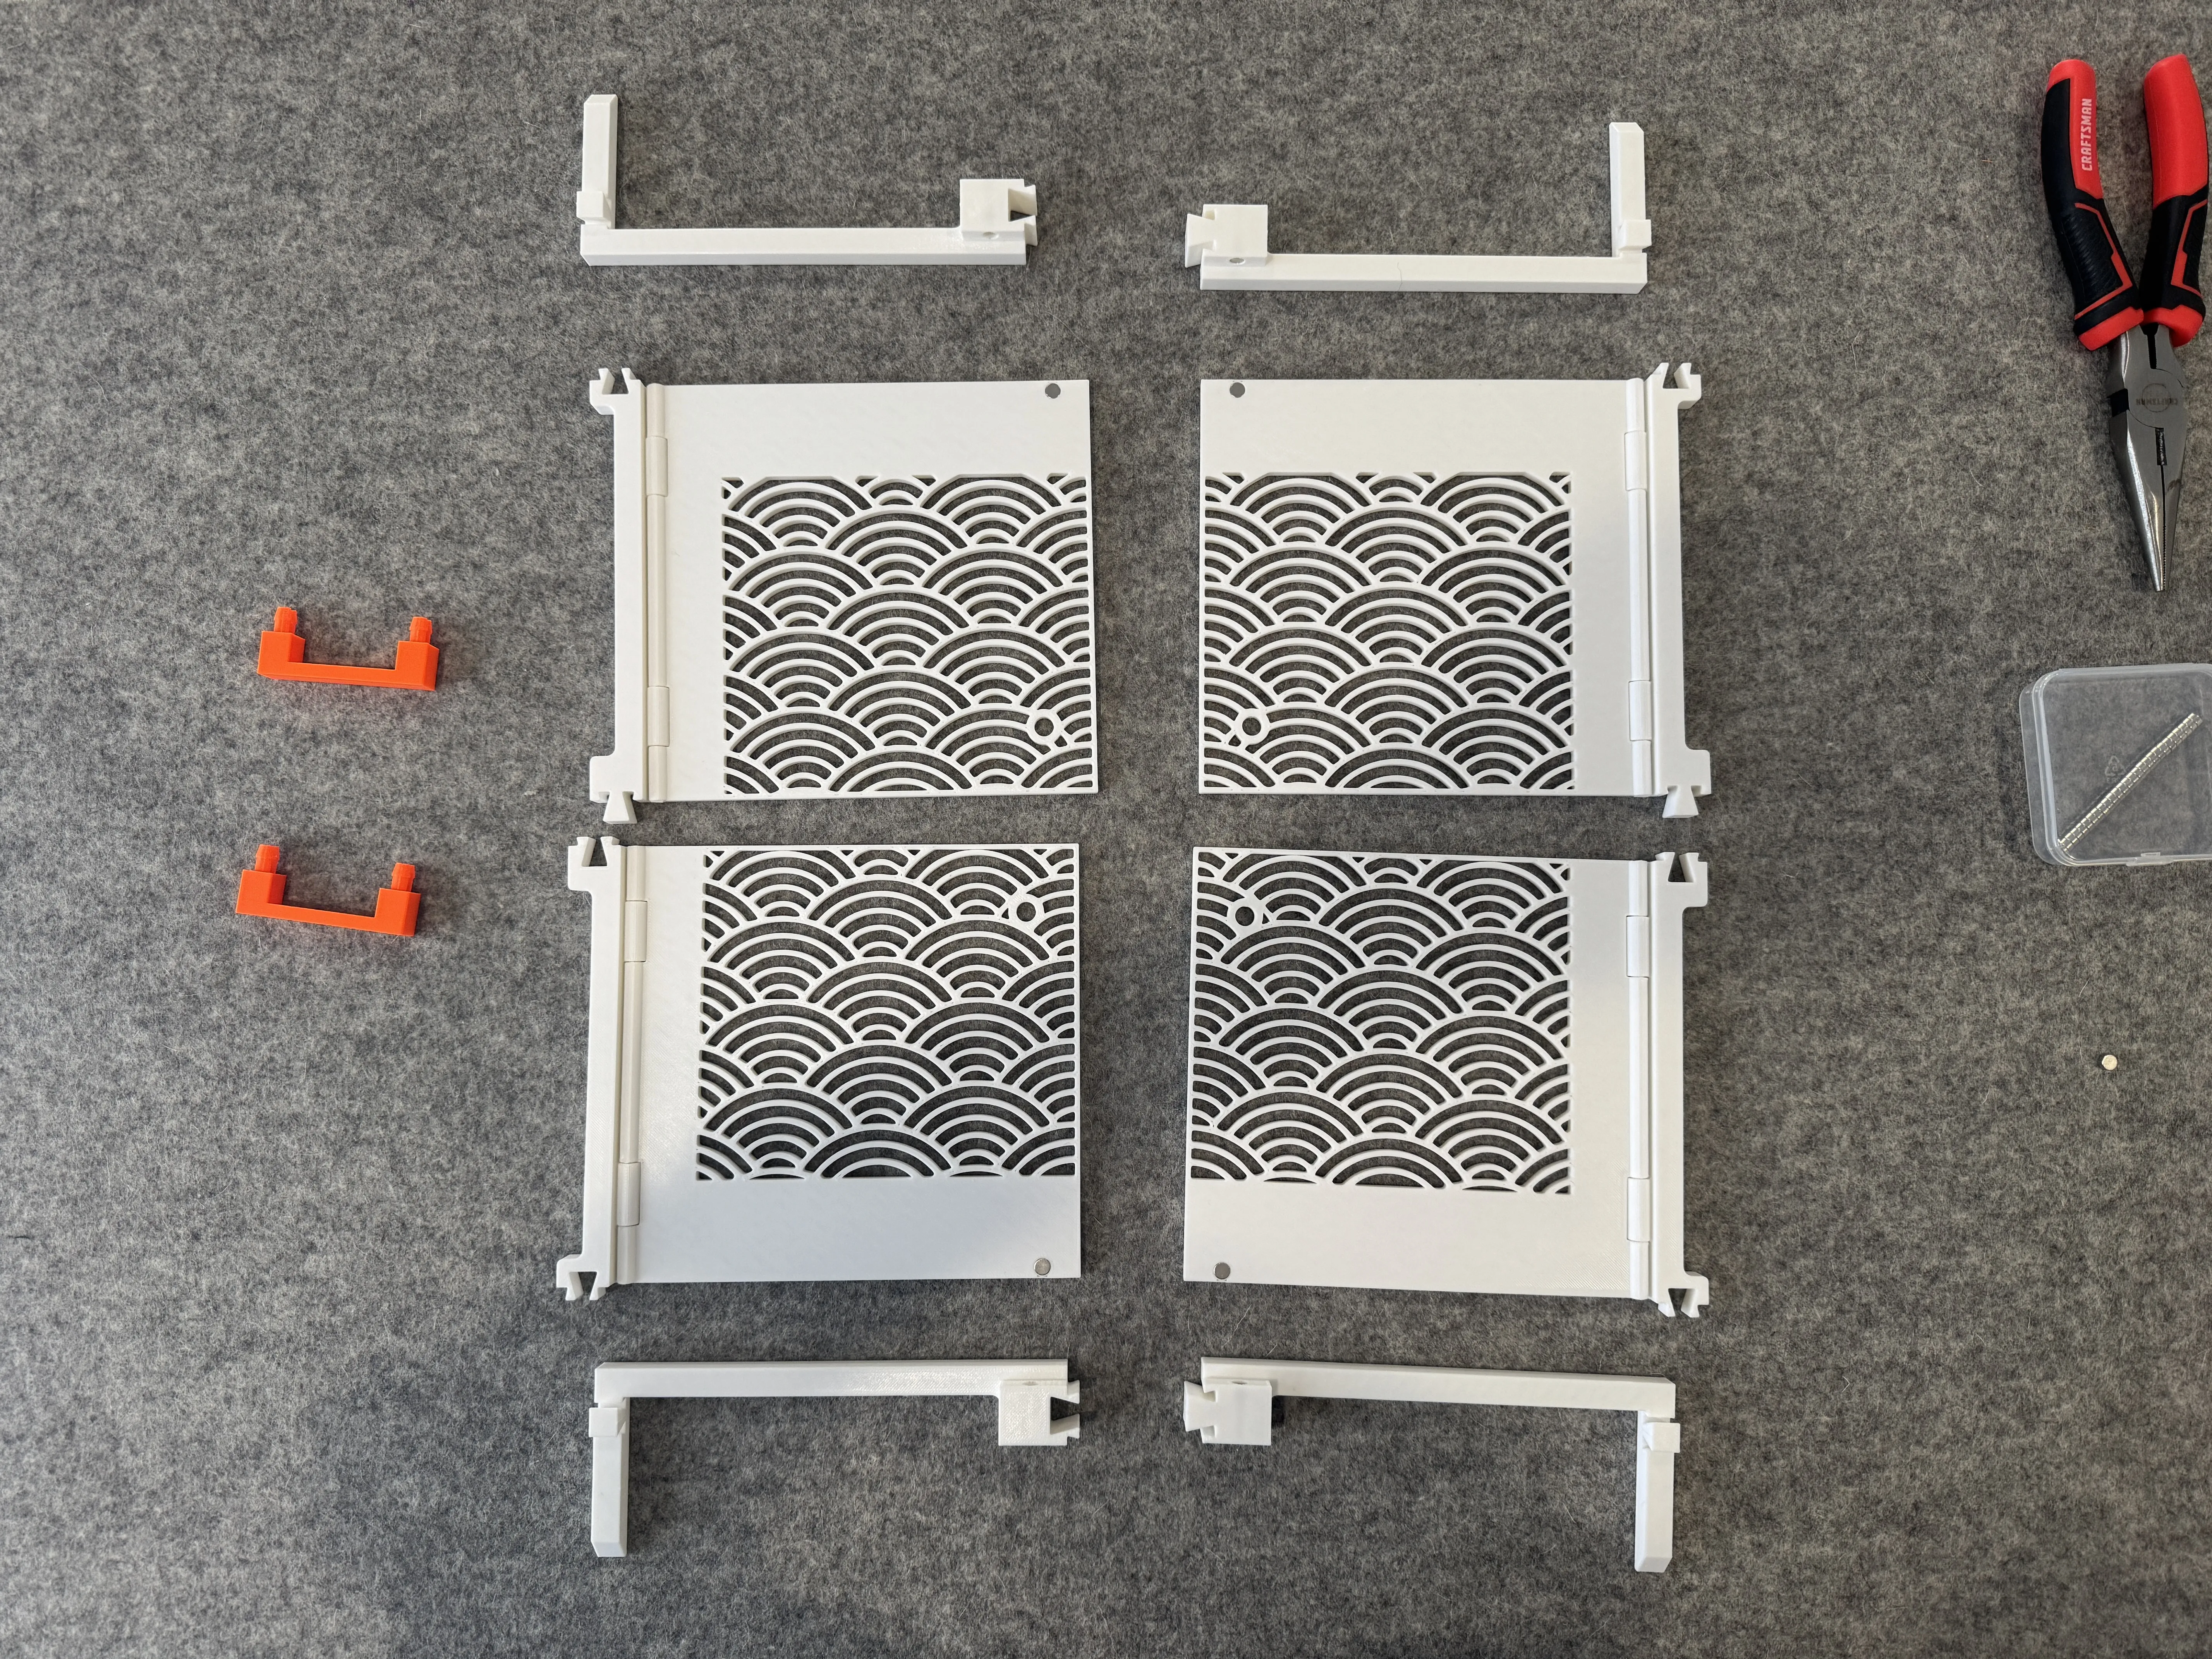
- Arrange pieces like image below. Notice the placement of where the magnet holes, the direction of the dovetails, and the indentation of the center beams where the magnets attach.
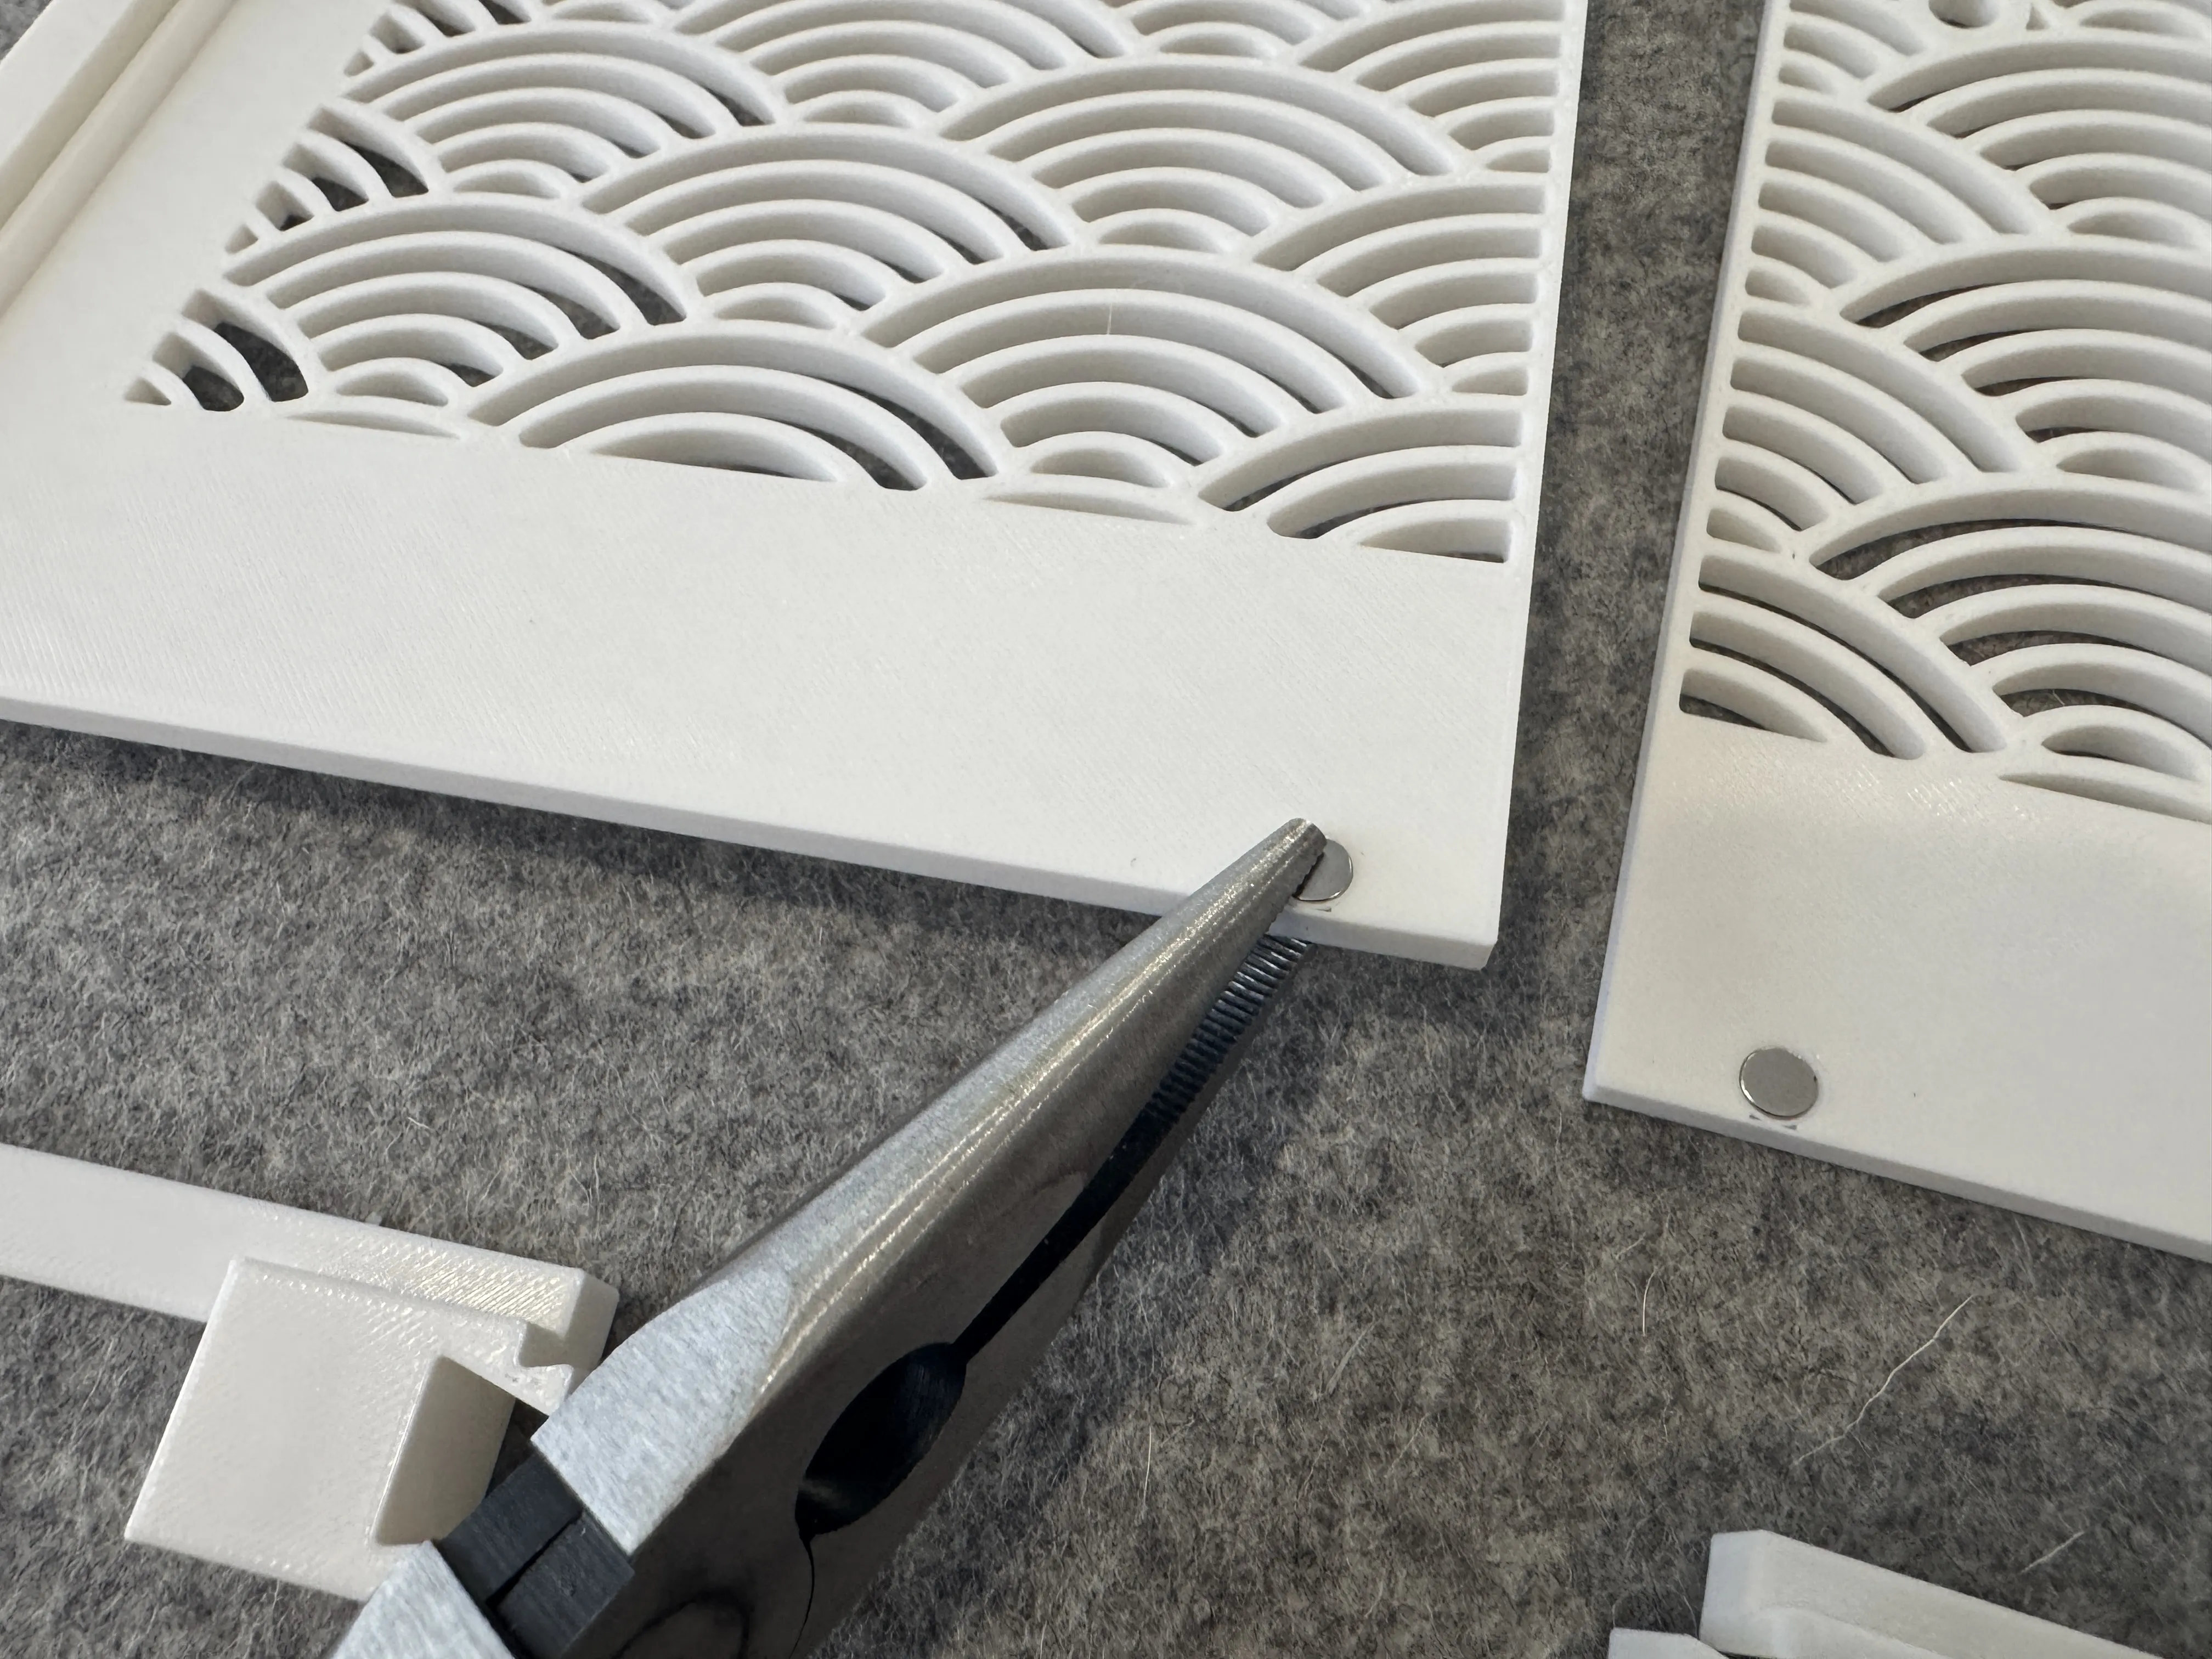
2. Insert magnet into the doors. The direction of the polarity will not matter. The fit is pretty tight. It may help to use pliers and gently use them until they fit. Fit is tight in order to avoid using glue. (Magnets are 6x3mm and linked below)
3. Next we will insert magnets into the beams. We want to first check the polarity of the magnet by placing it on top of the magnet on the door.
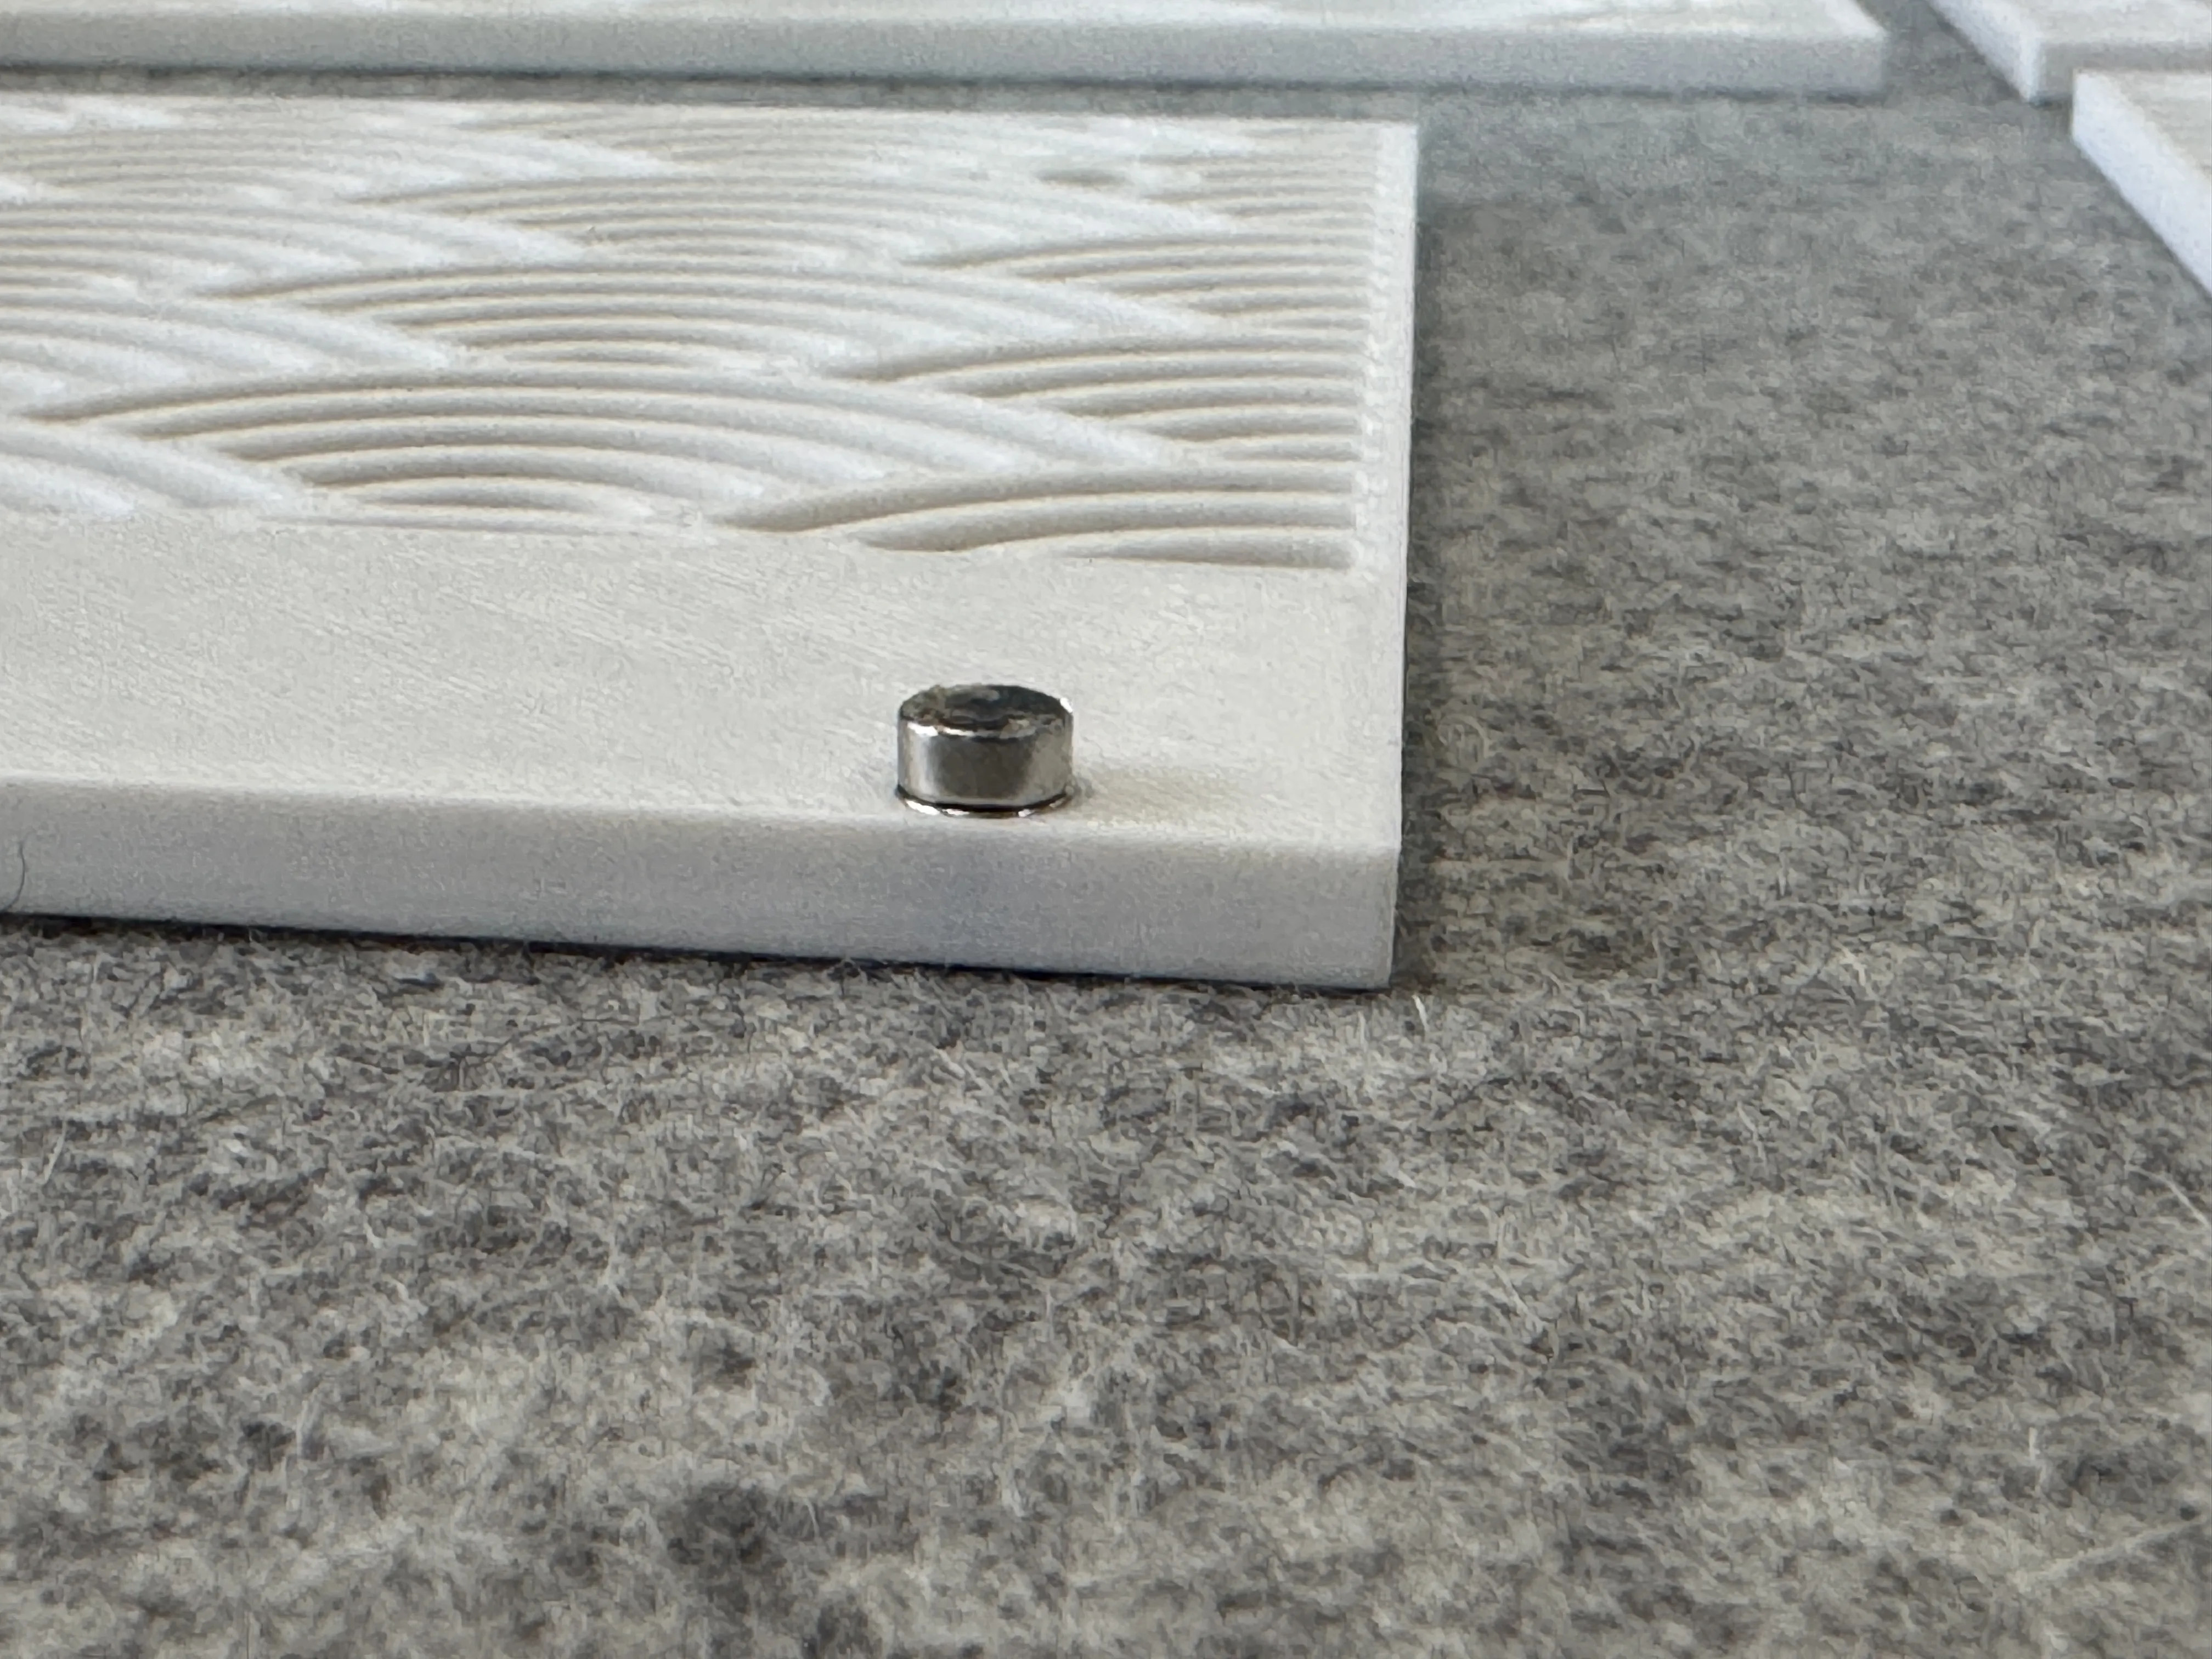
4. Then insert the magnet into the beam. It will be inserted on the side without the indentation. There is a 45 degree chamfer on the side facing the door magnet so the magnet will not fall out. You may need to poke it through using some tool.
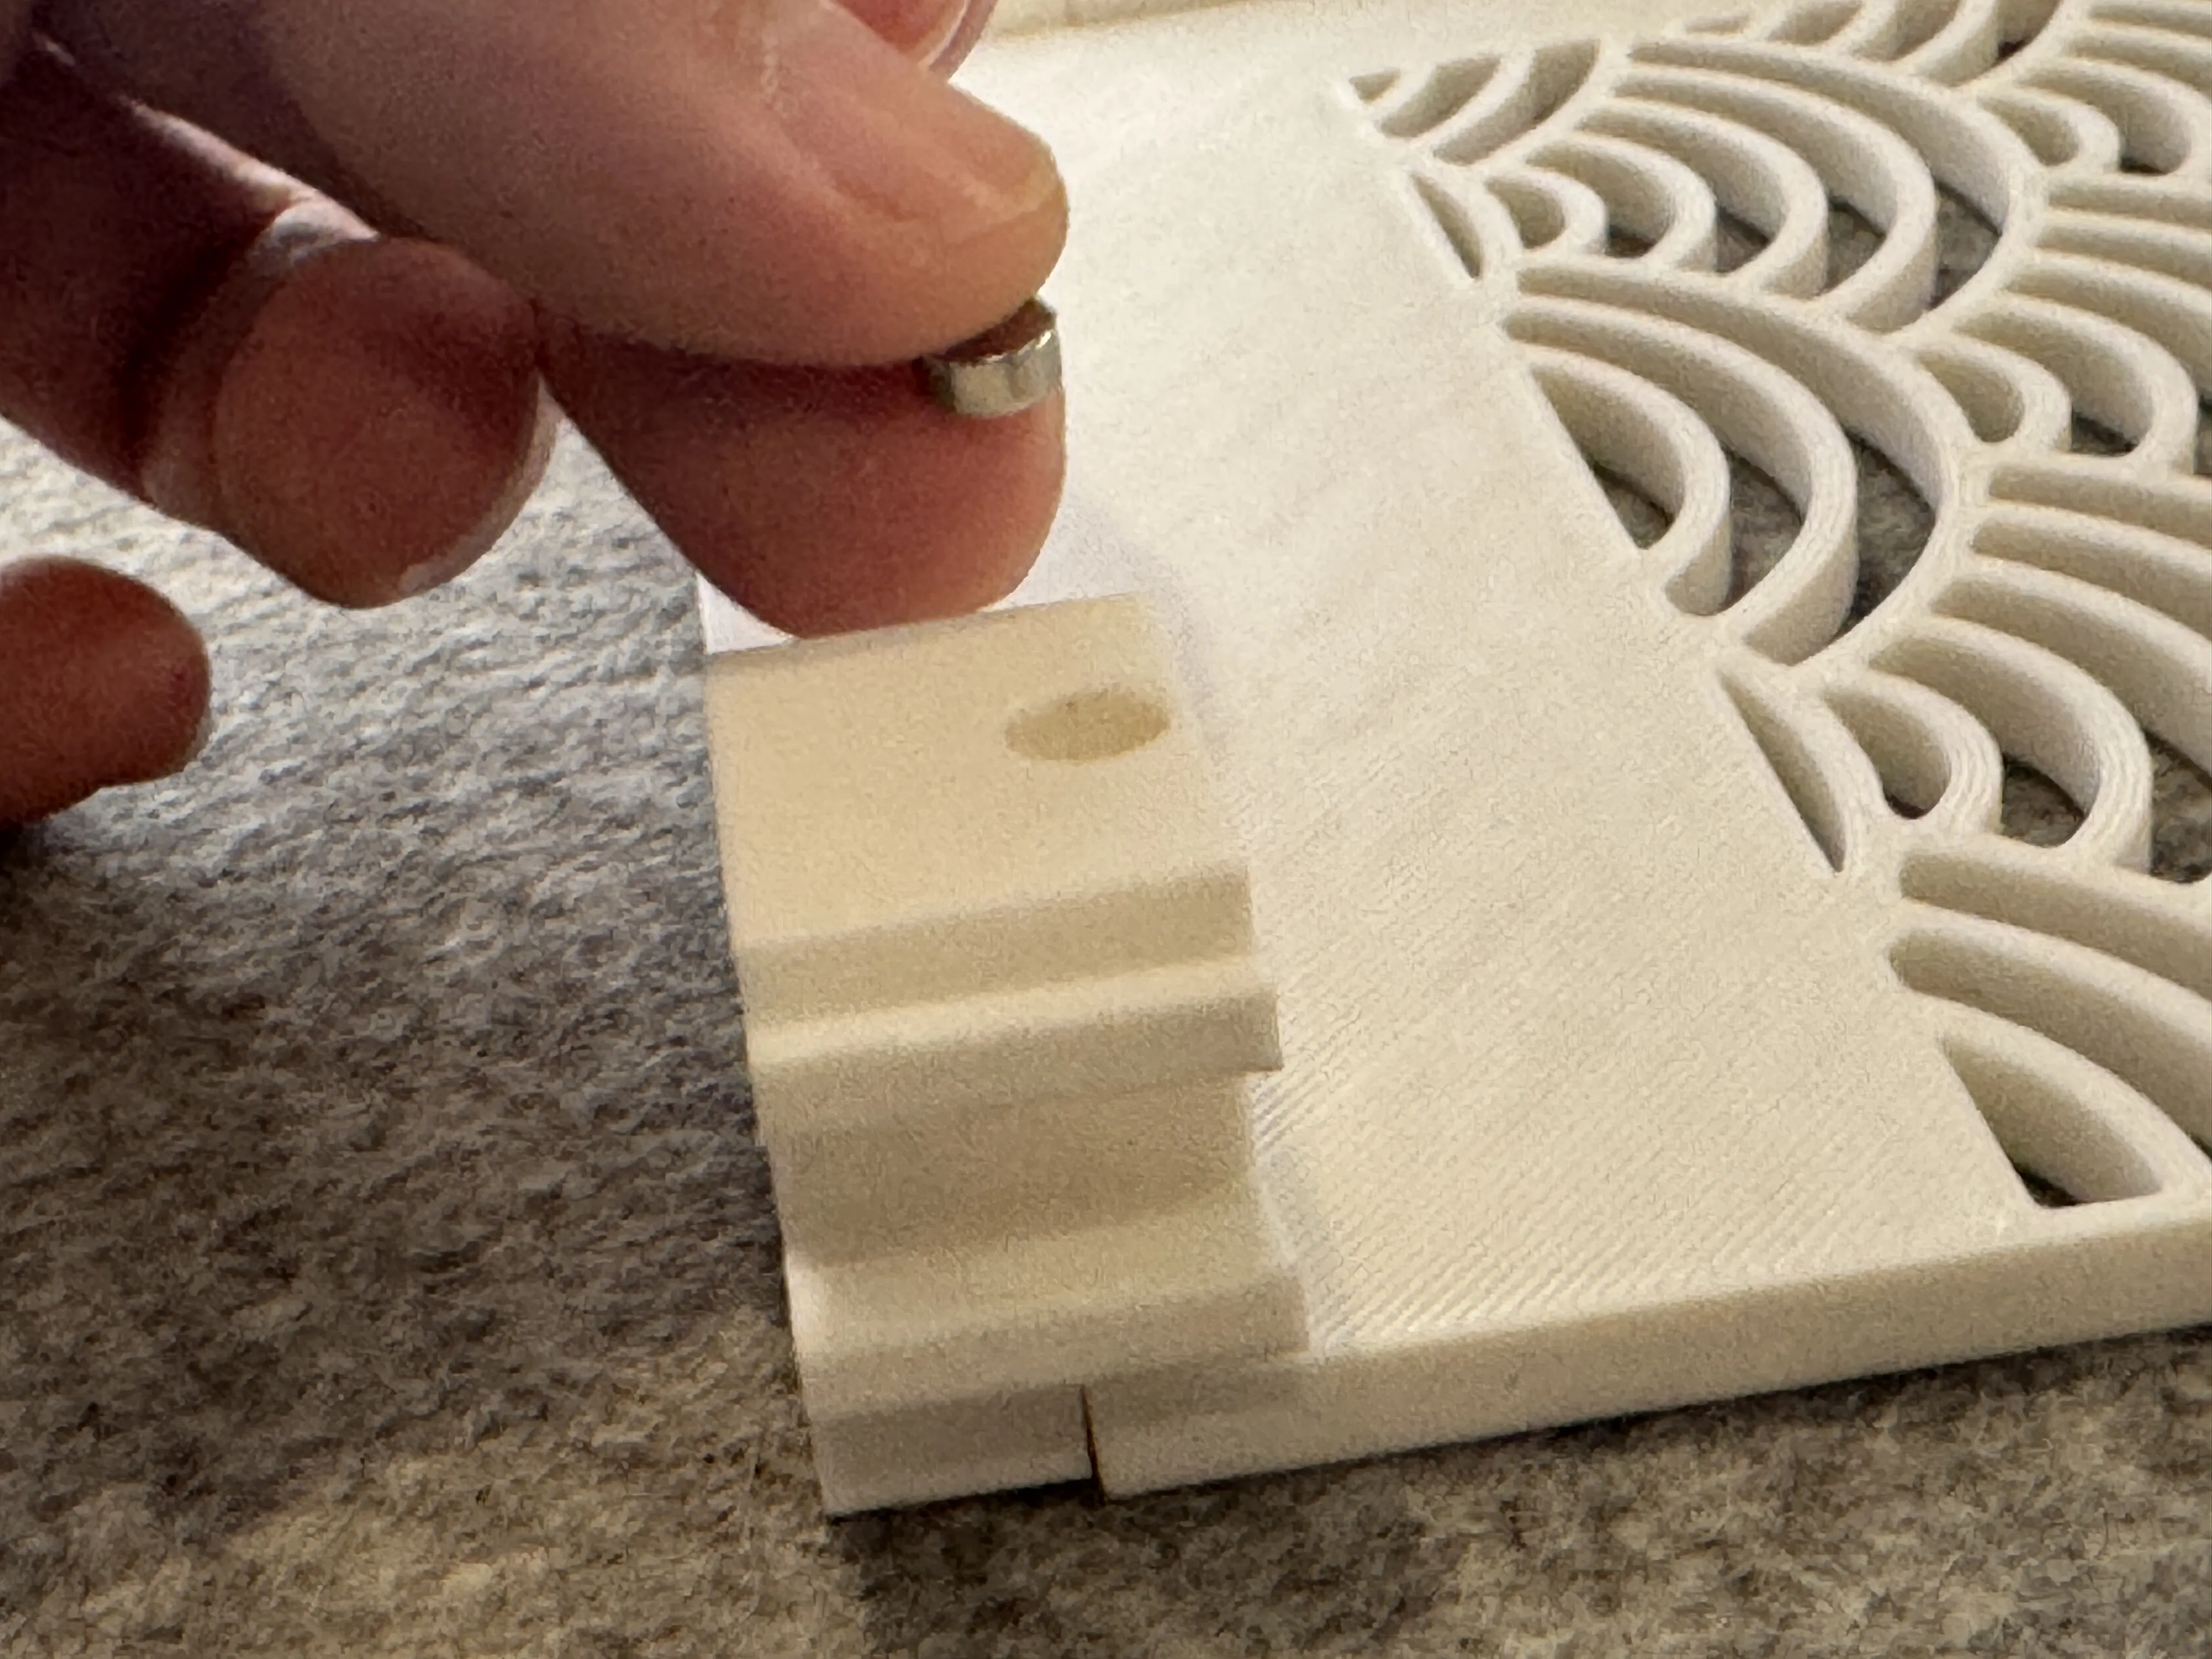
5. If you get the polarity wrong, you can just poke it out through the other side.
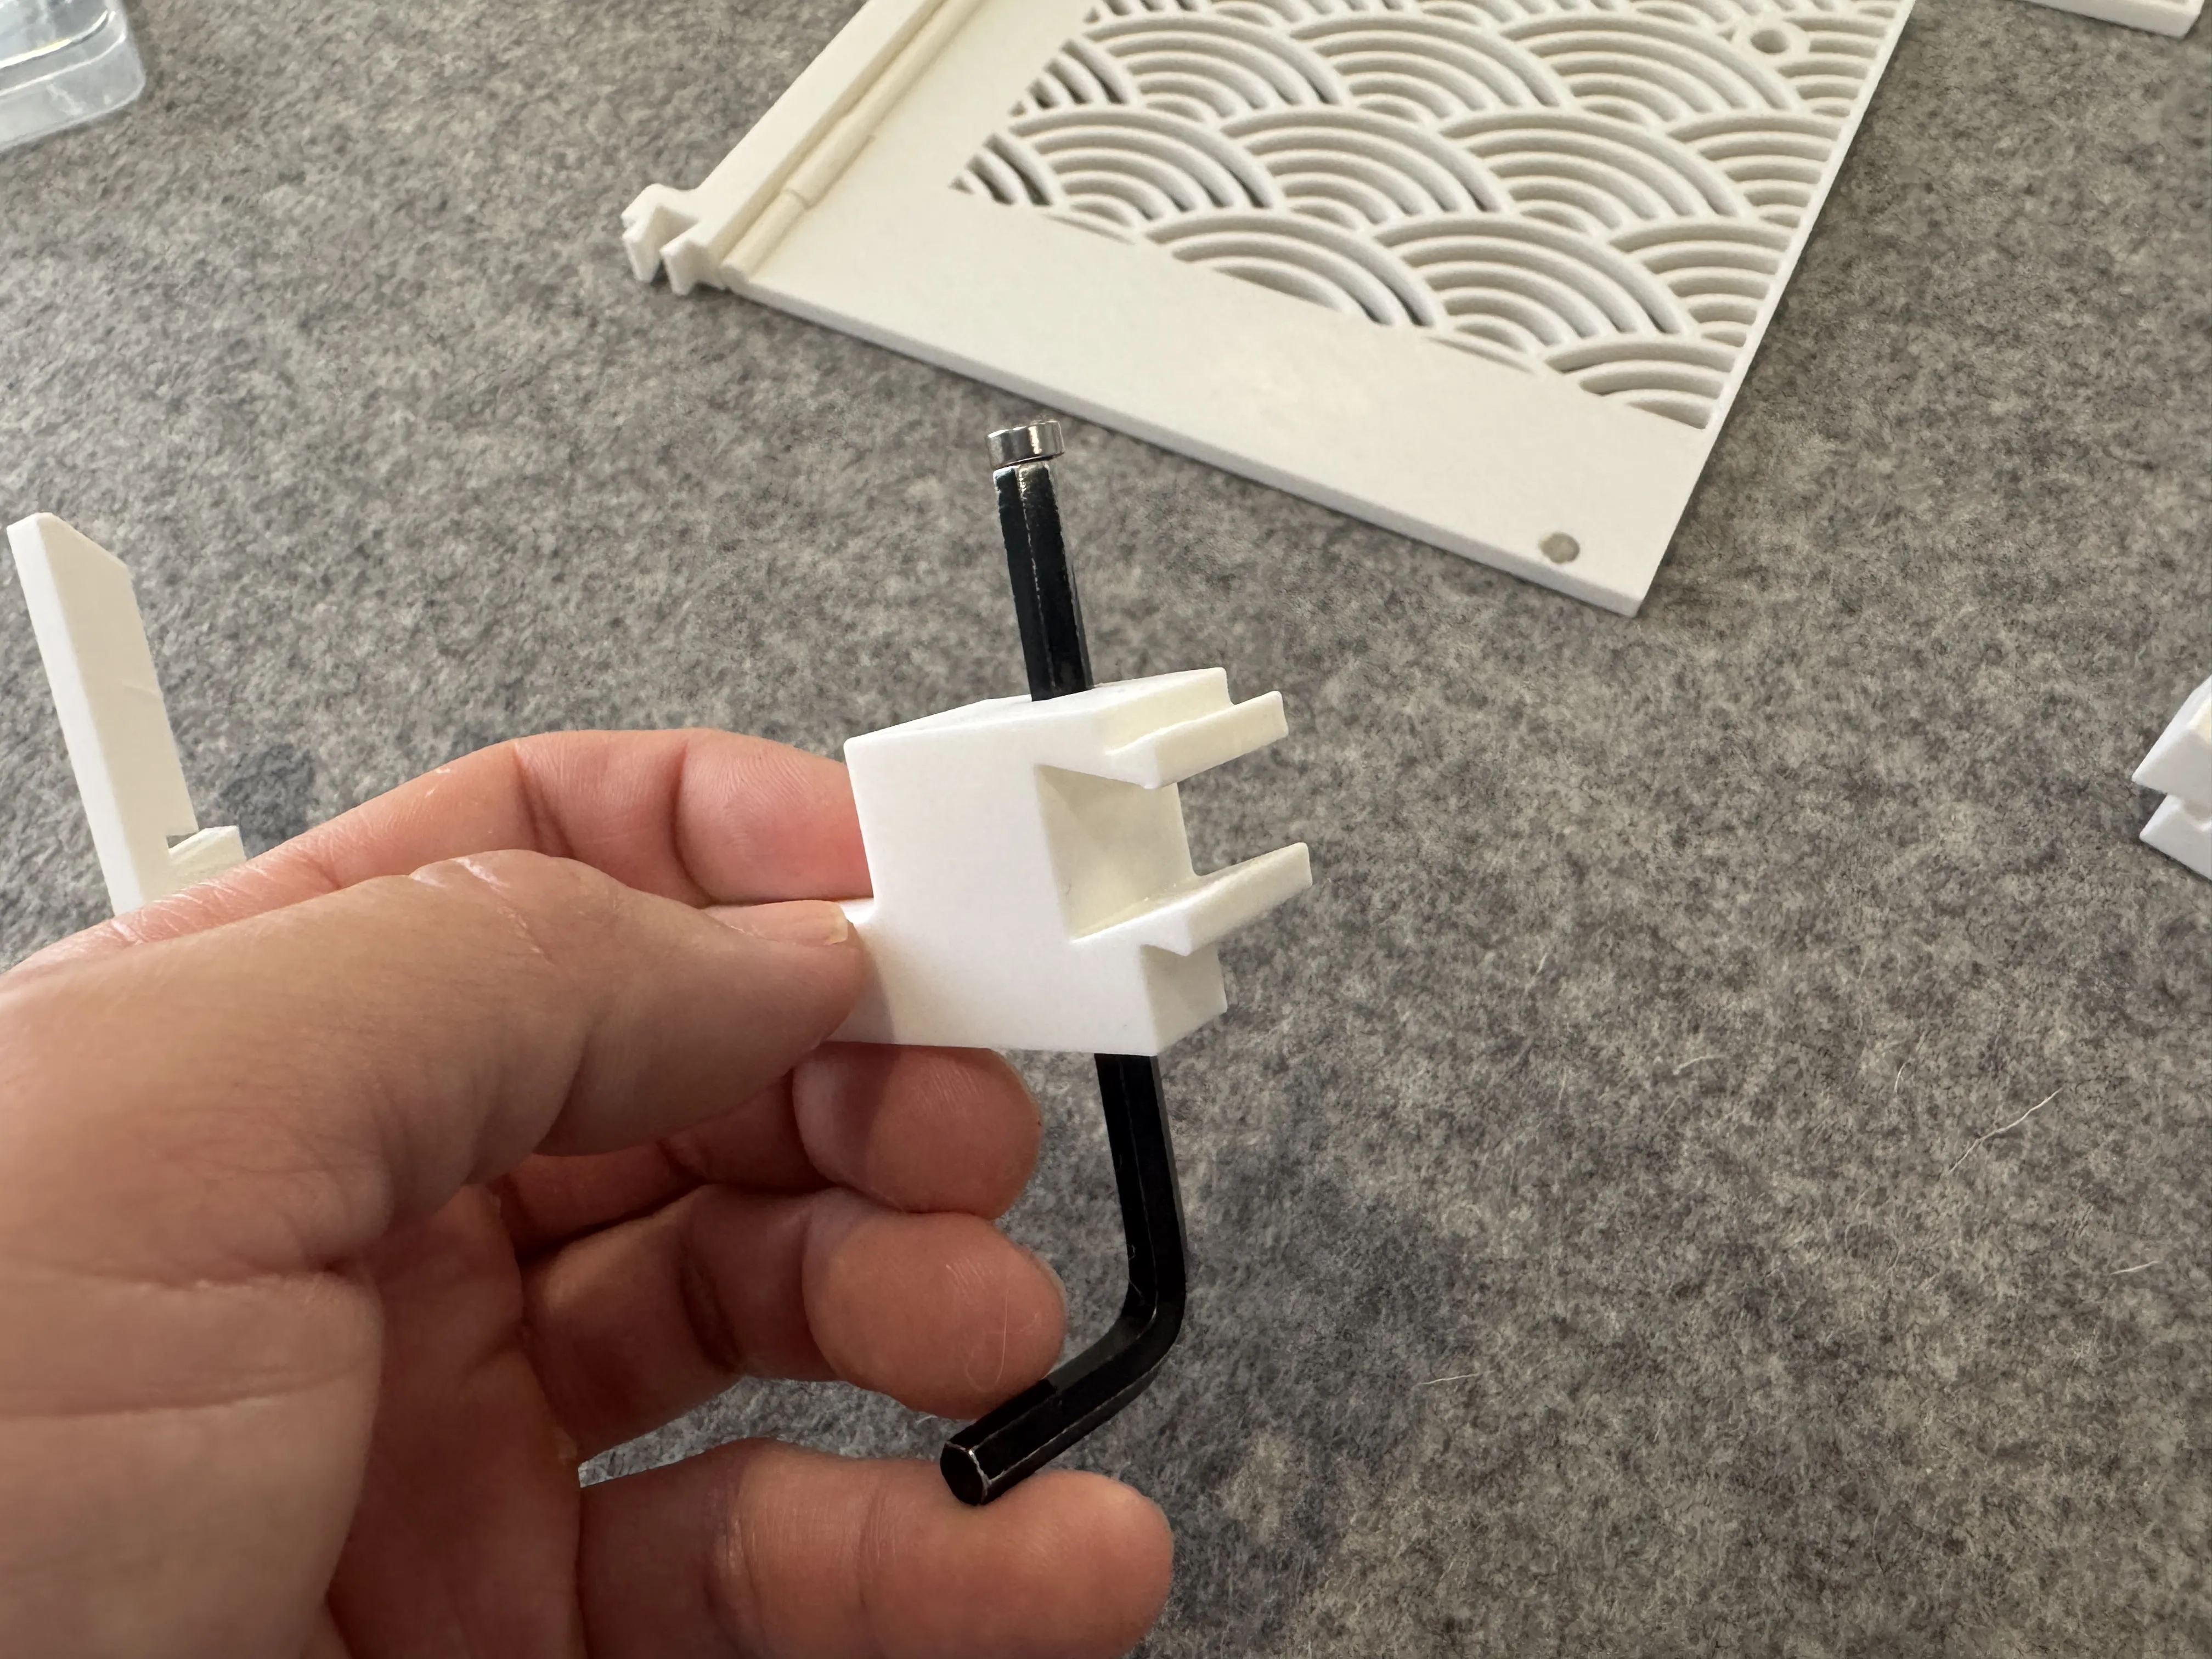
6. Connect the center beams. Tolerance may be tight. It's hard for me to accomodate all printers and it was better to error on the tighter side so they don't fall apart. If it's too tight, you can gently hammer it down.
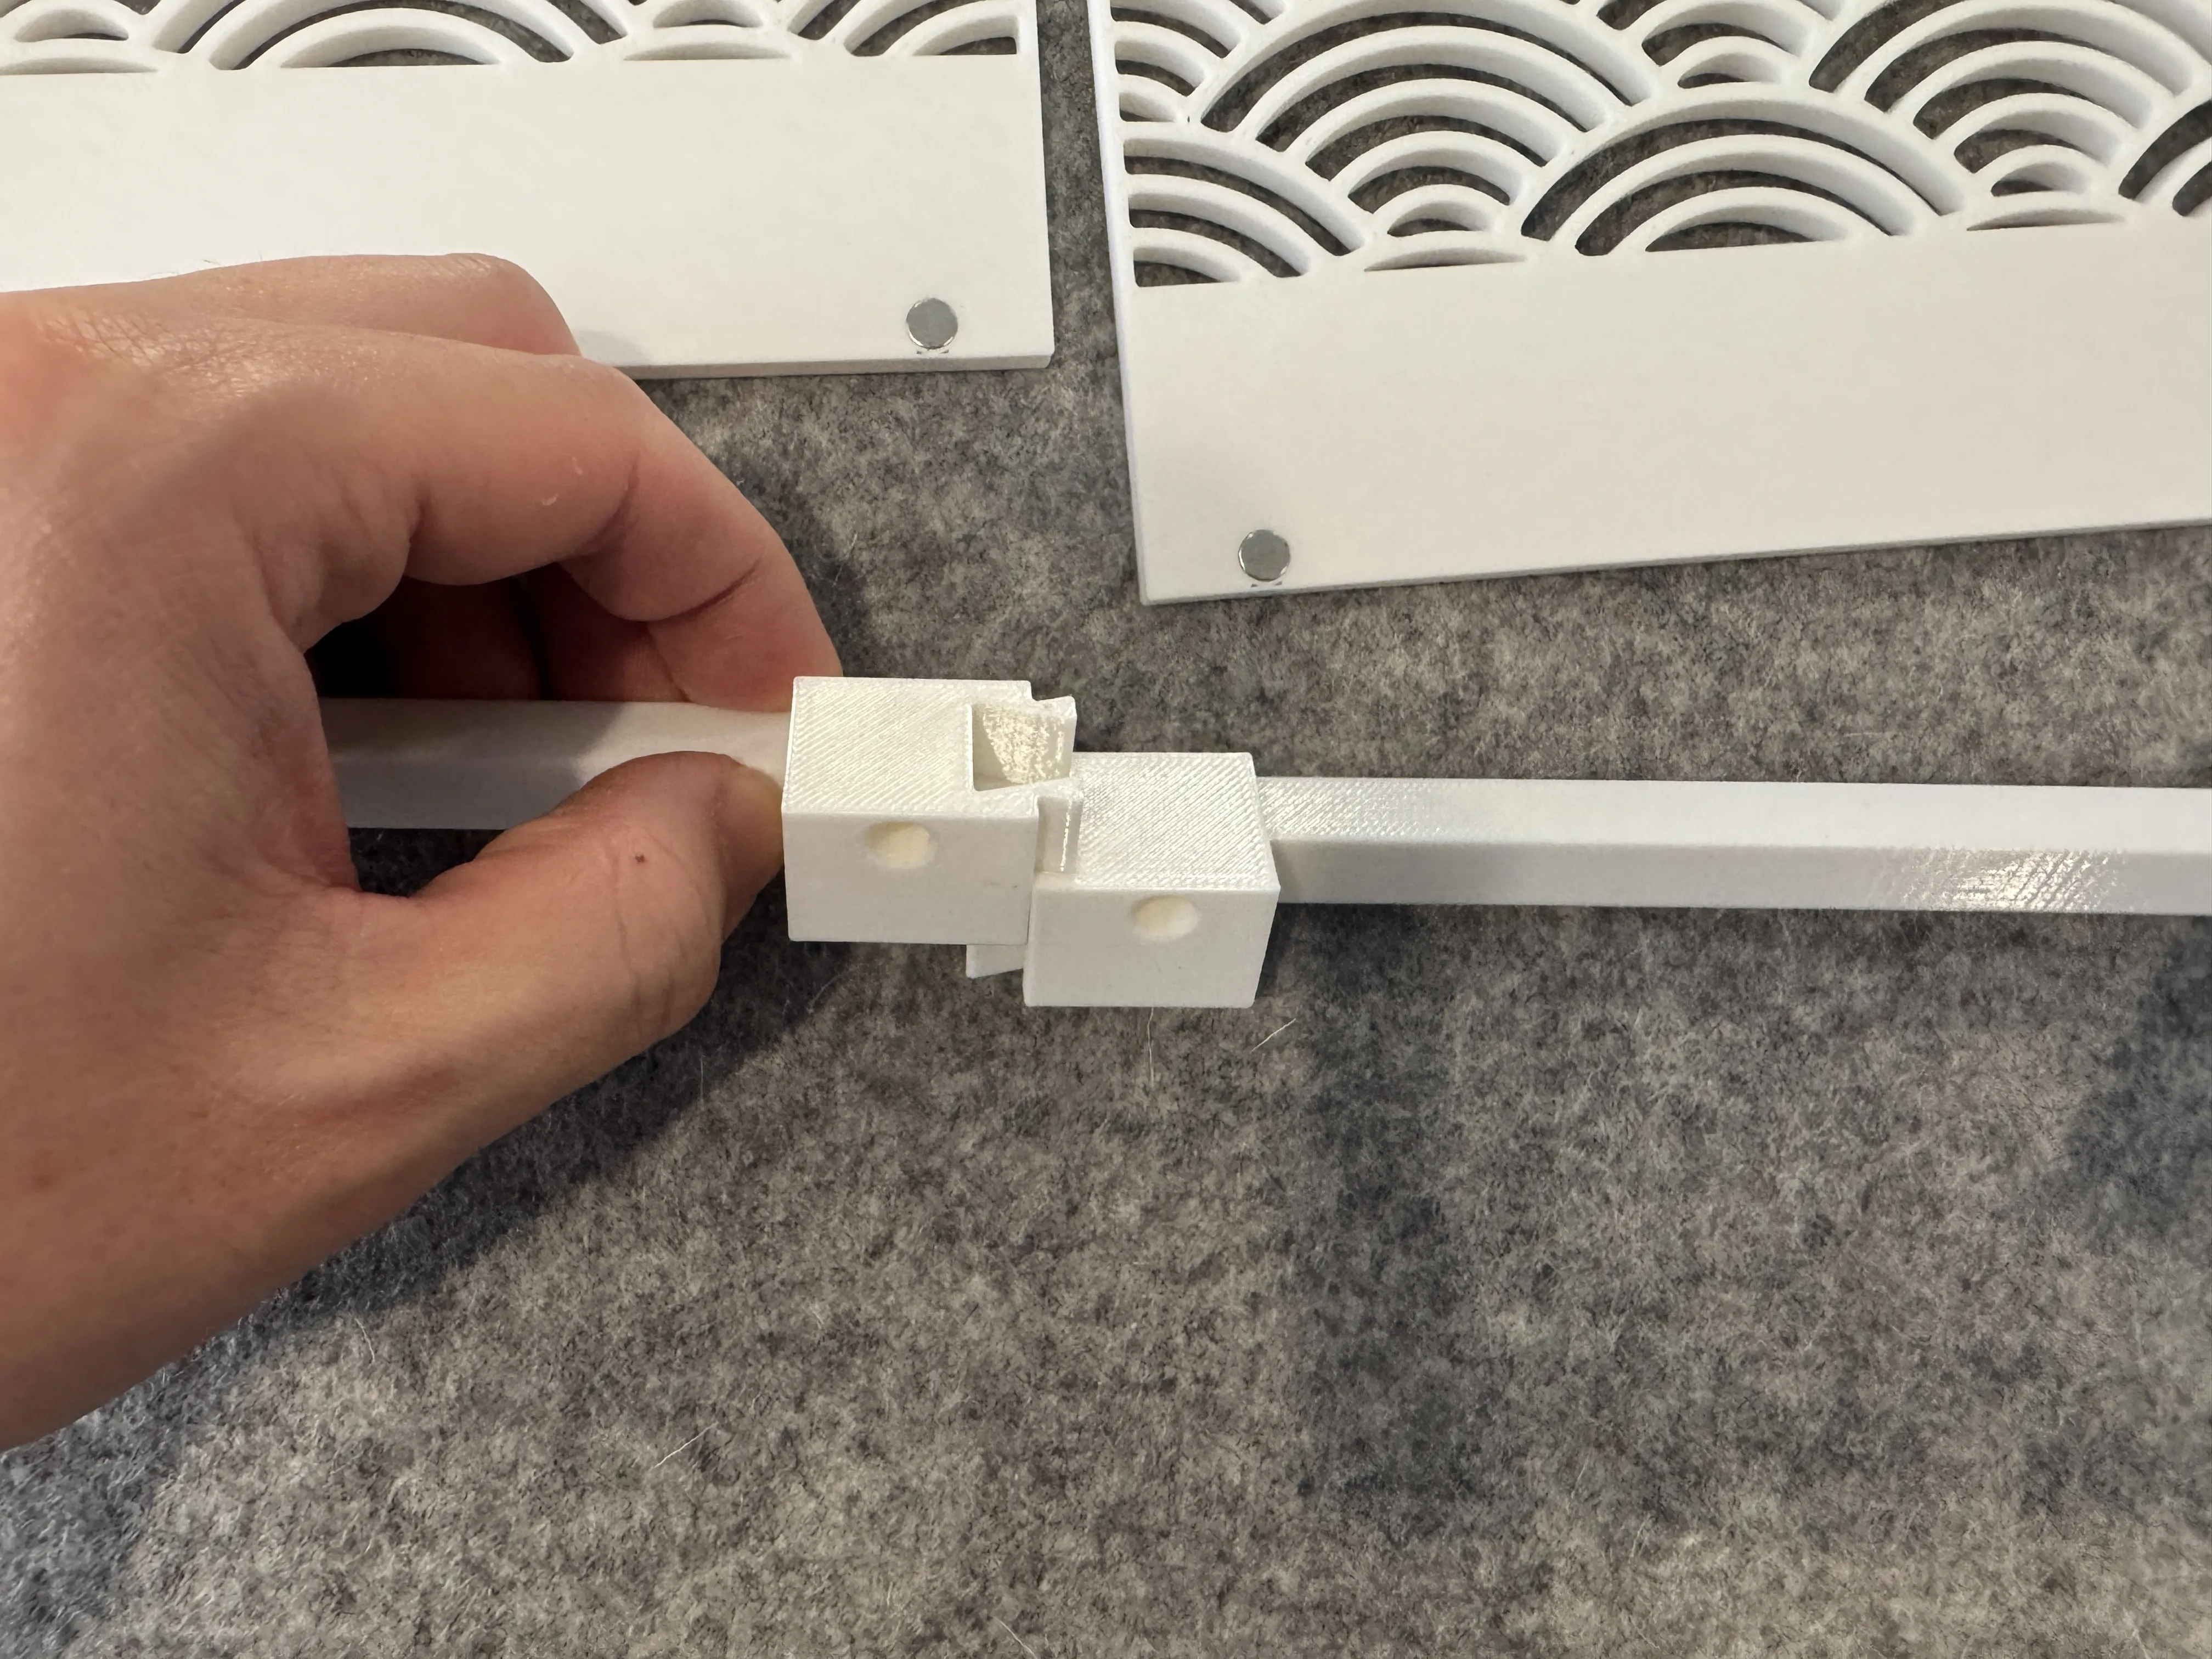
7. Connect the top and bottom doors.
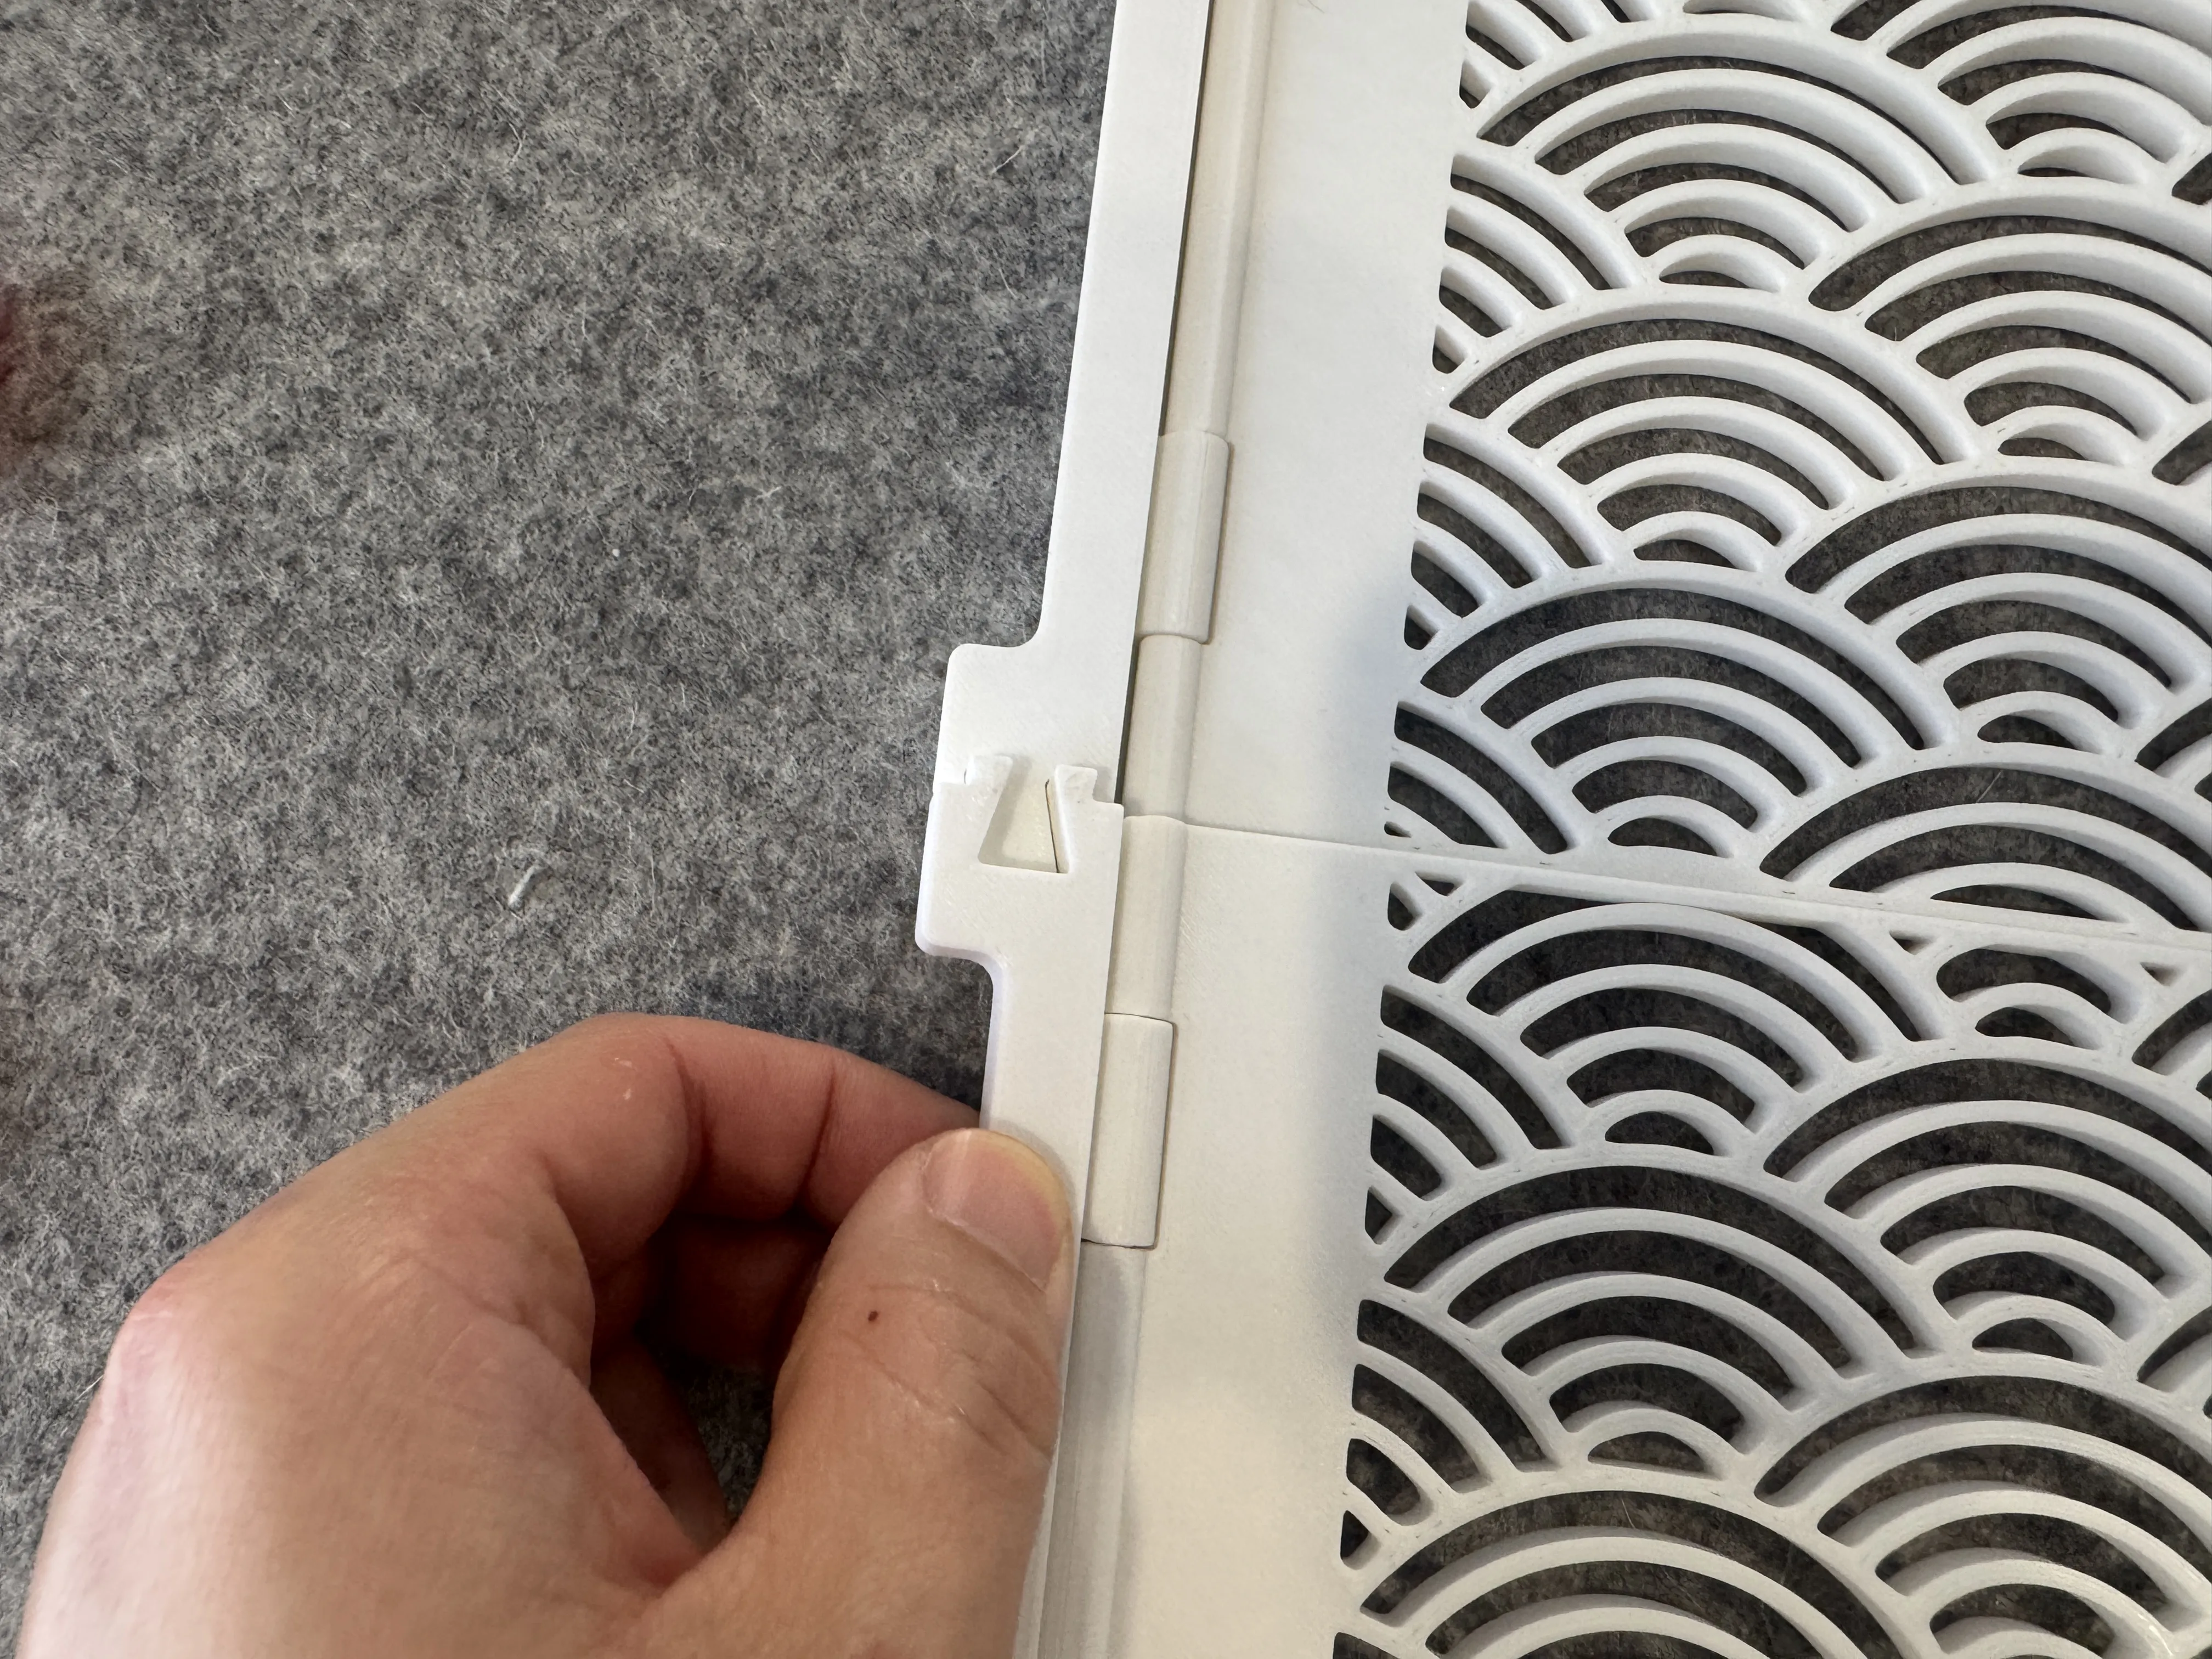
8. Connect the doors to the beams.
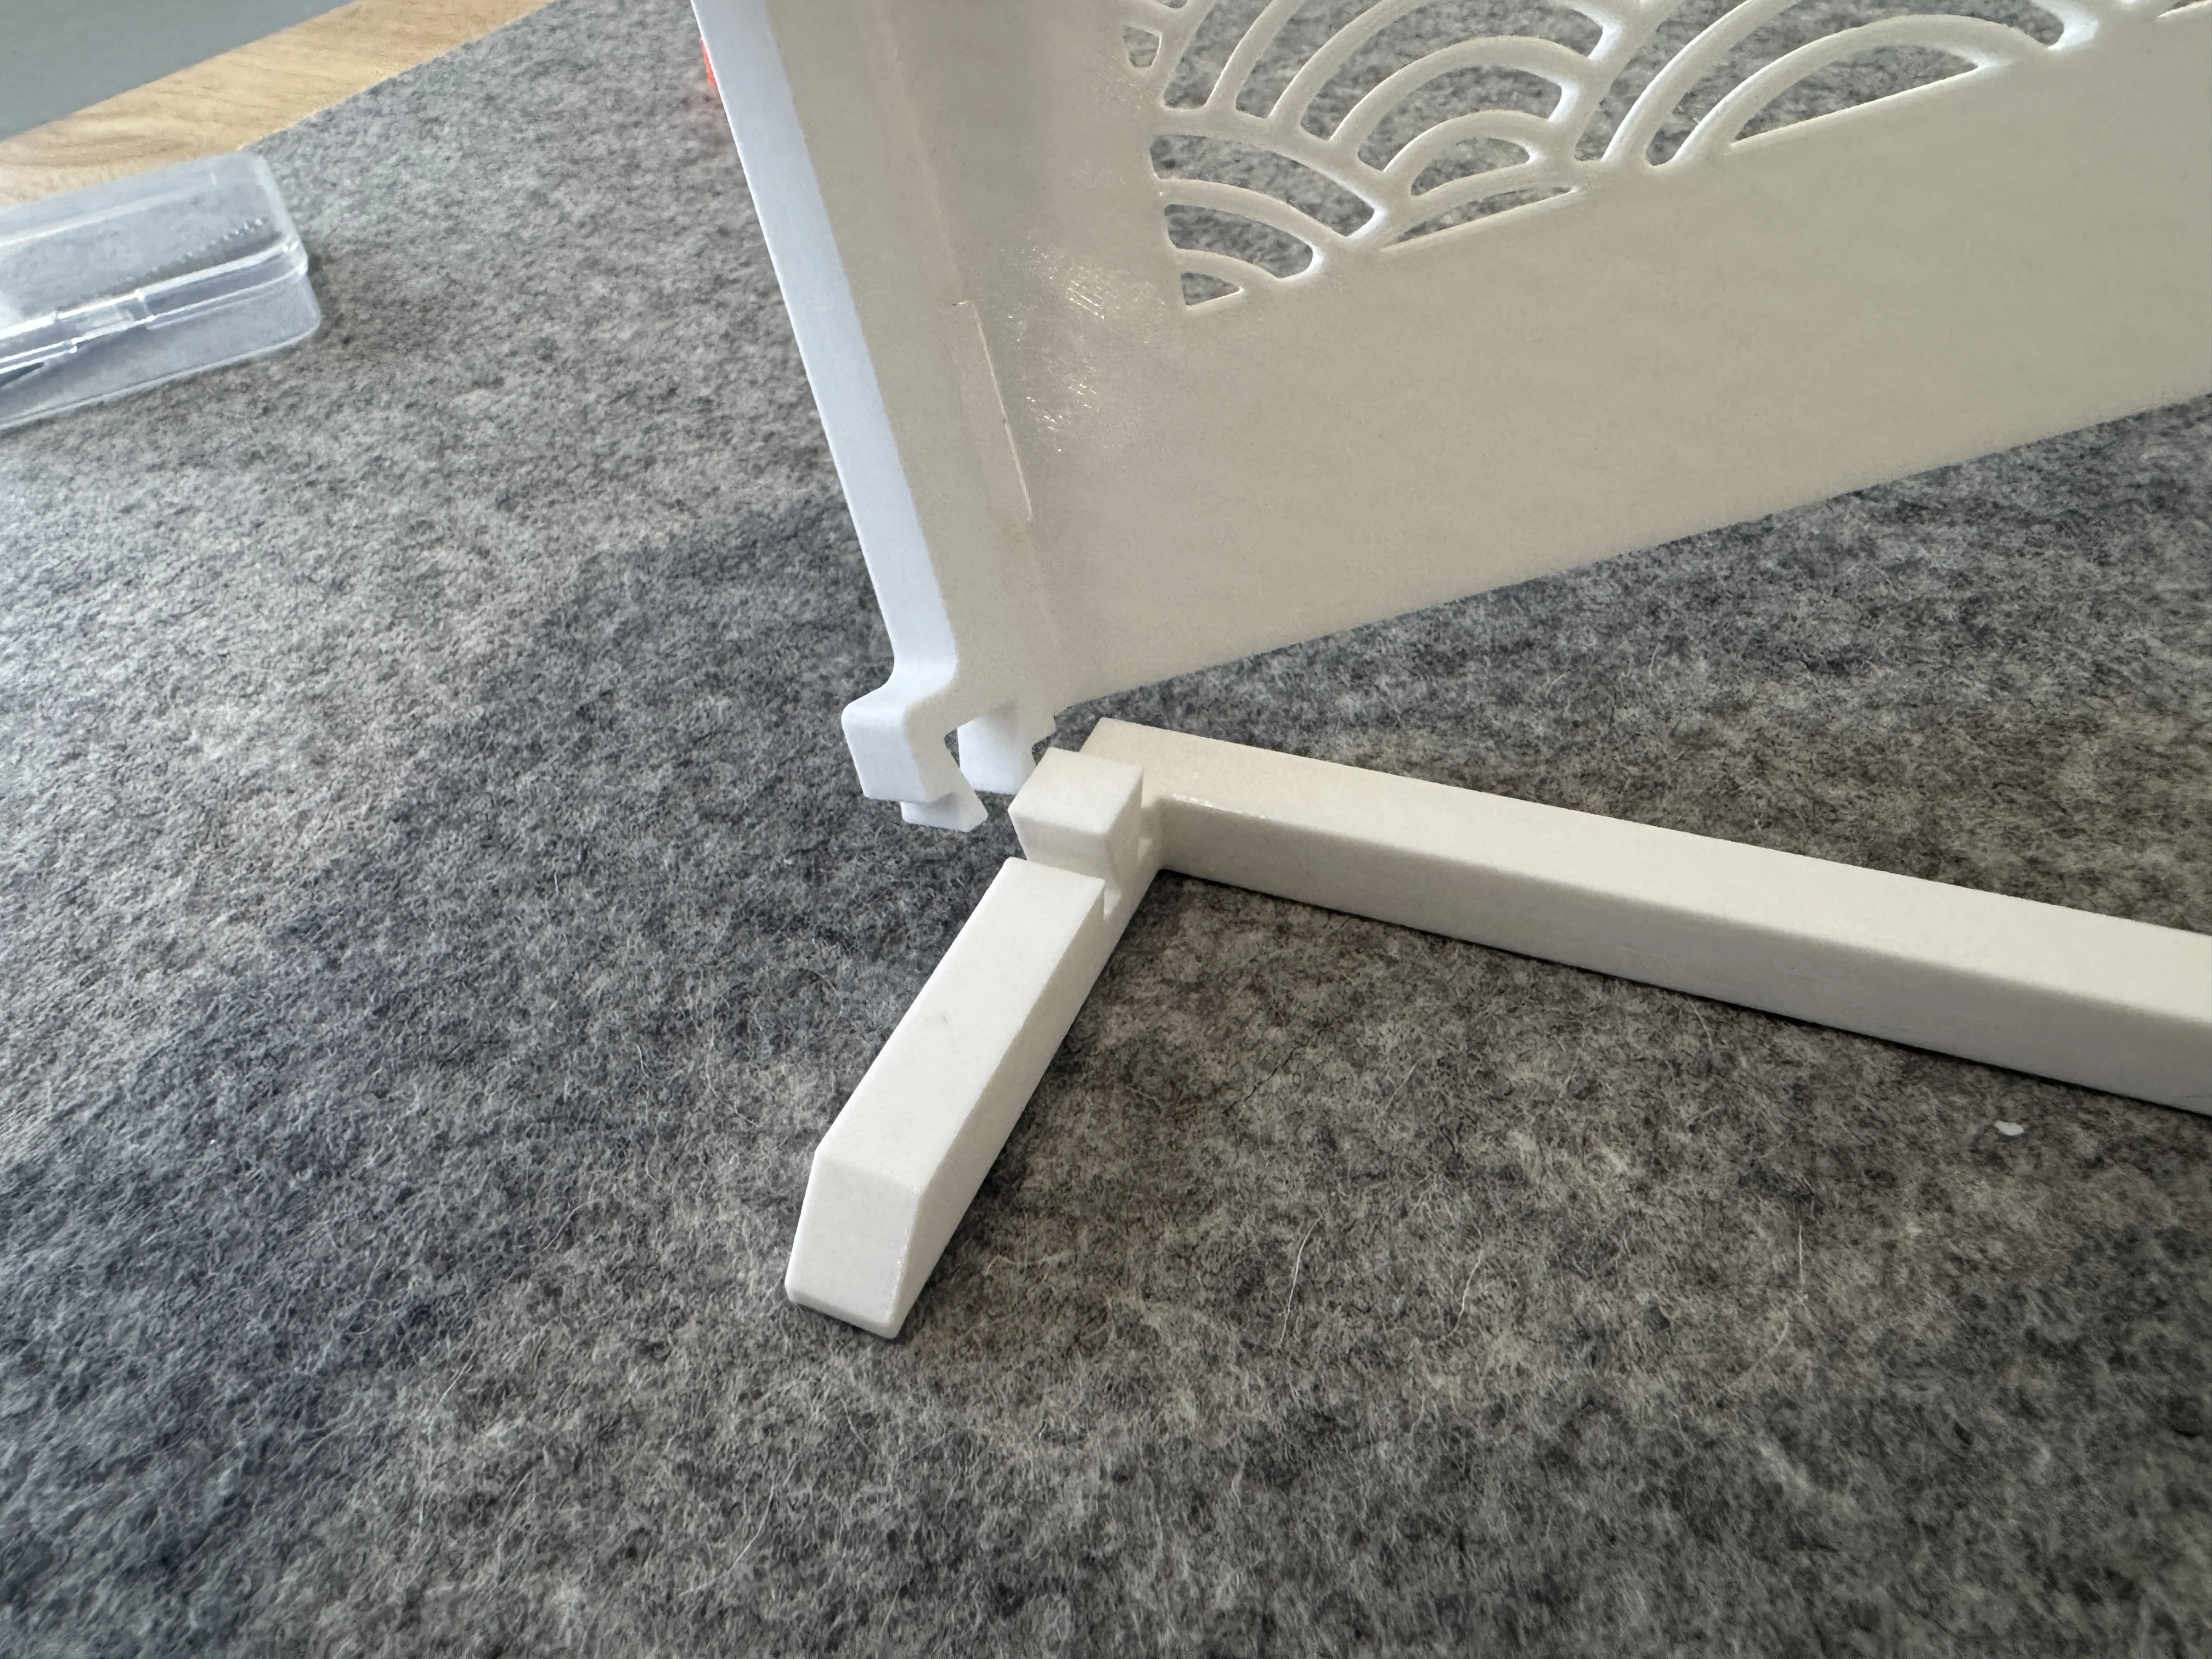
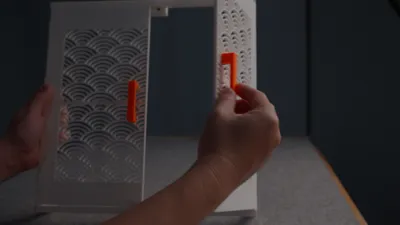
9. Hold the door frame vertically and insert the handles while bracing the back side
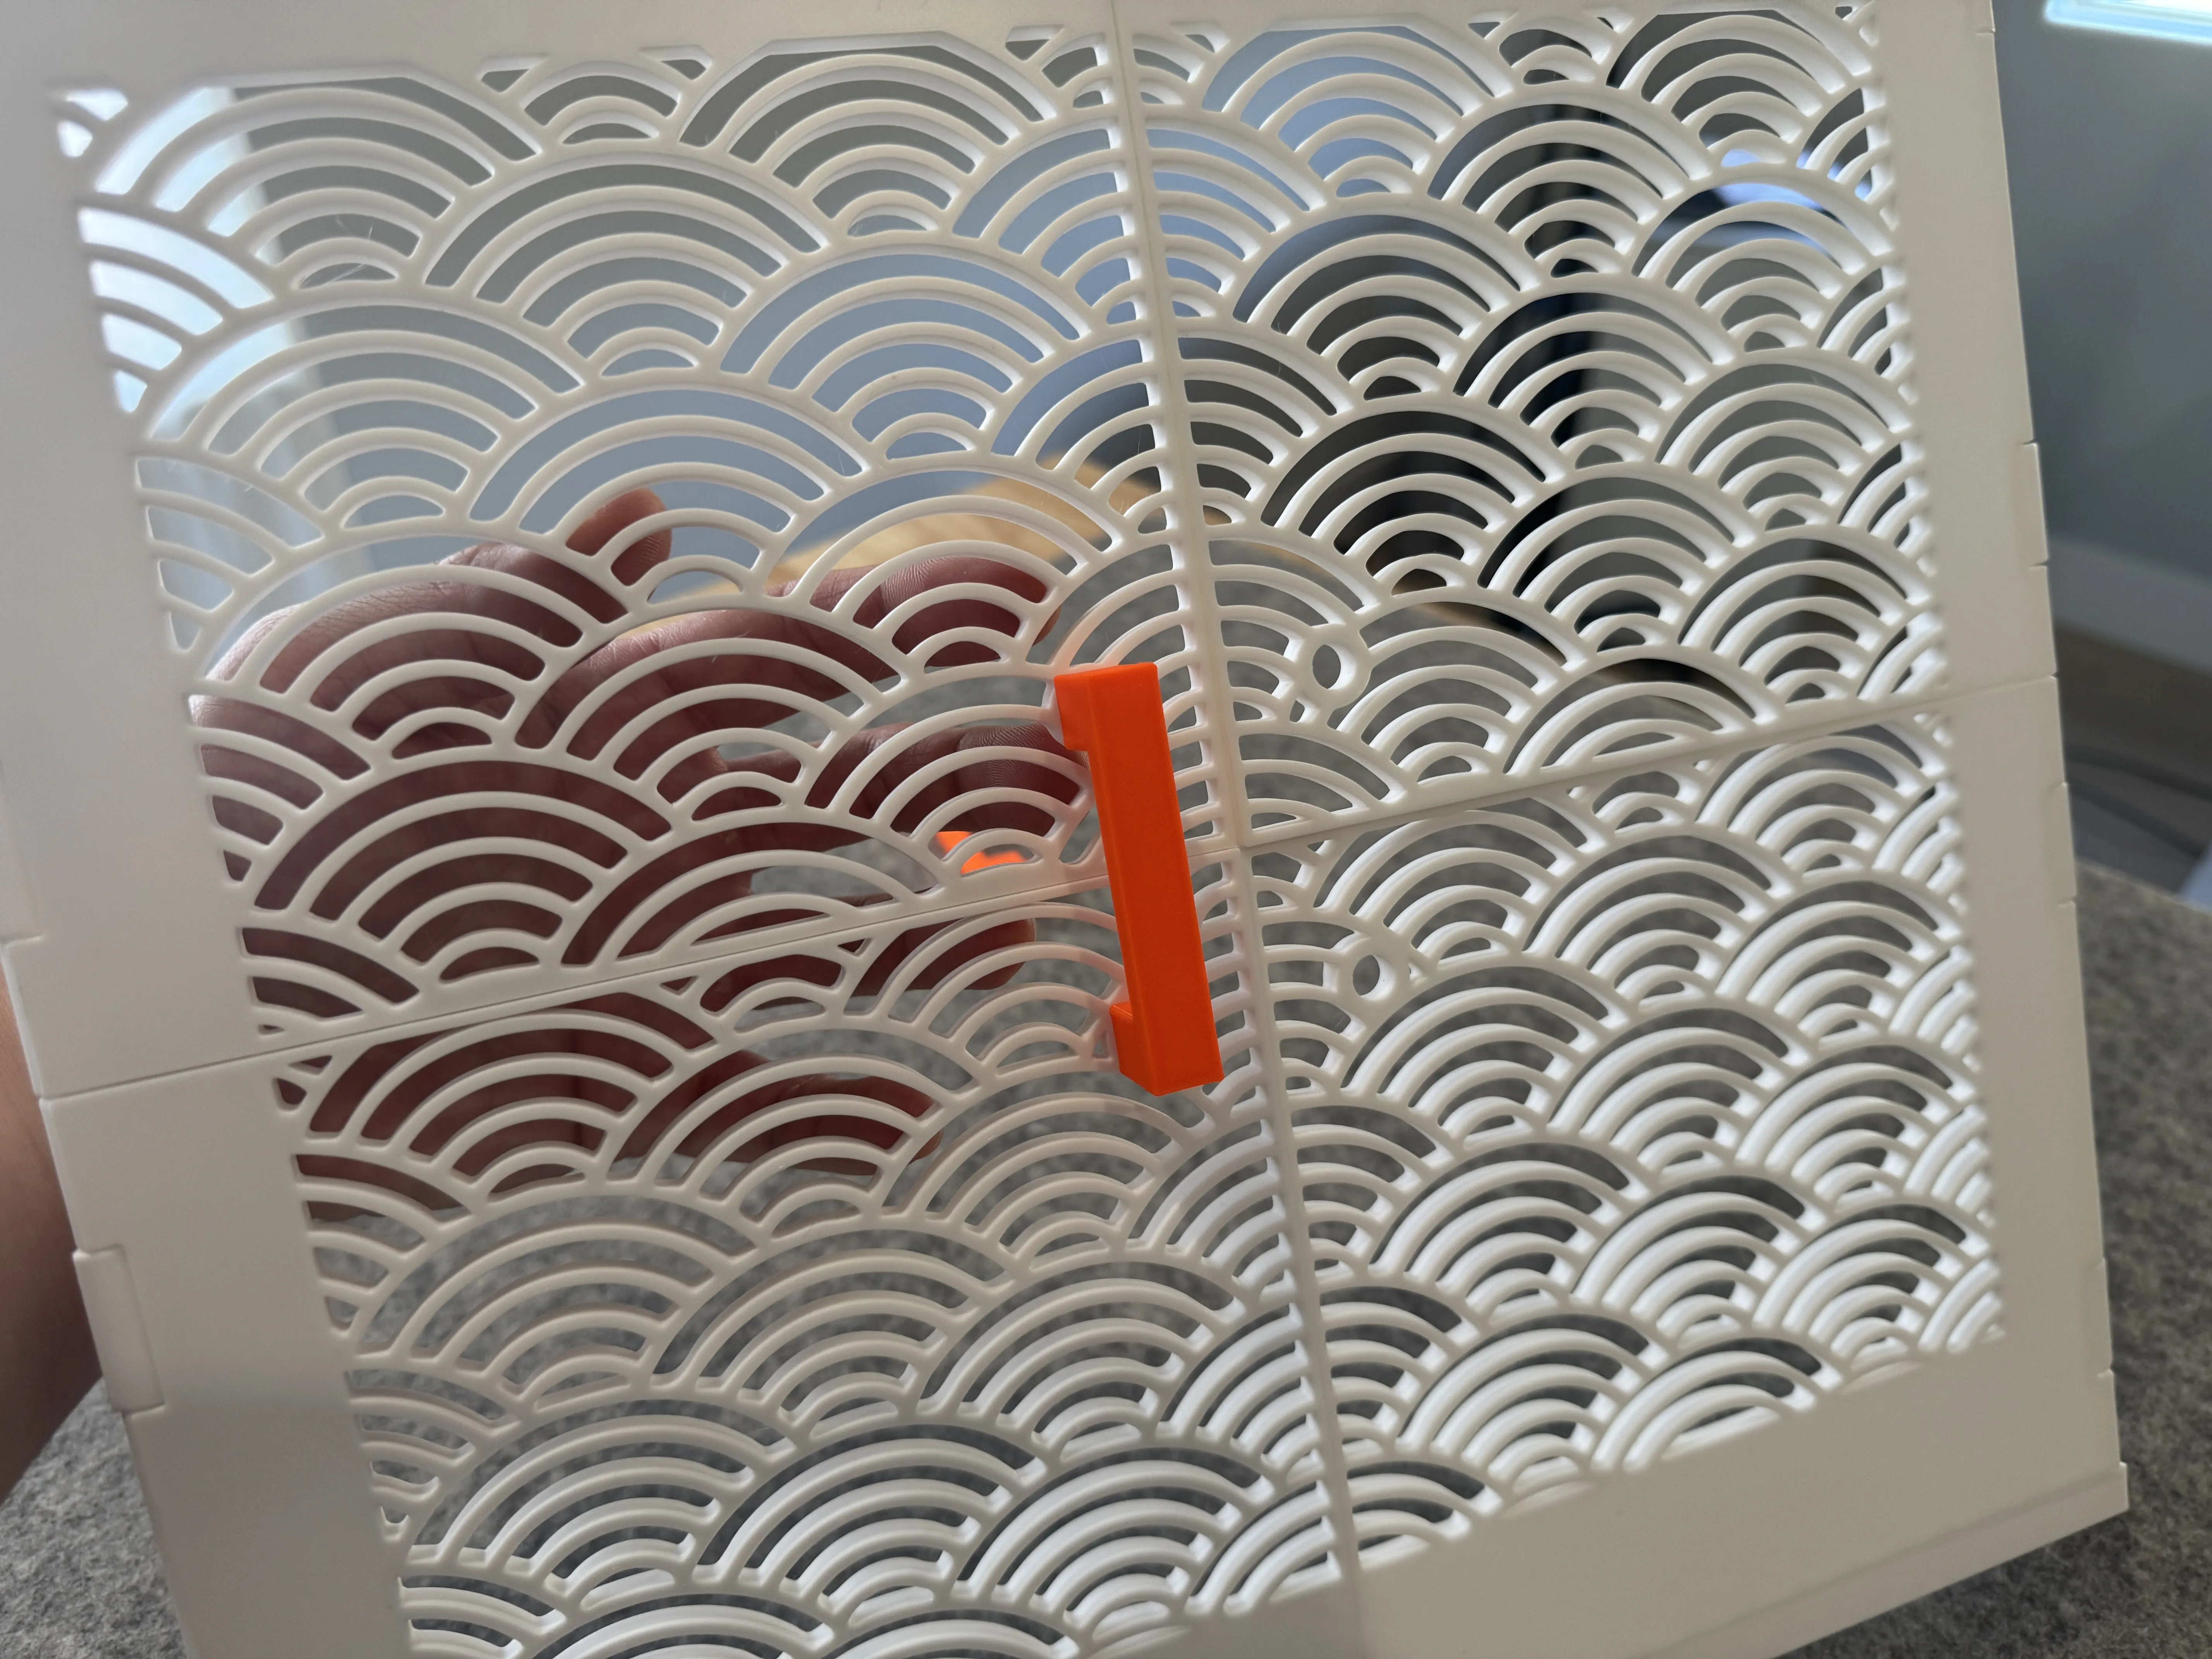
10. Wedge the cabinet frame in, it could help by starting the bottom slightly in then wedging the top.
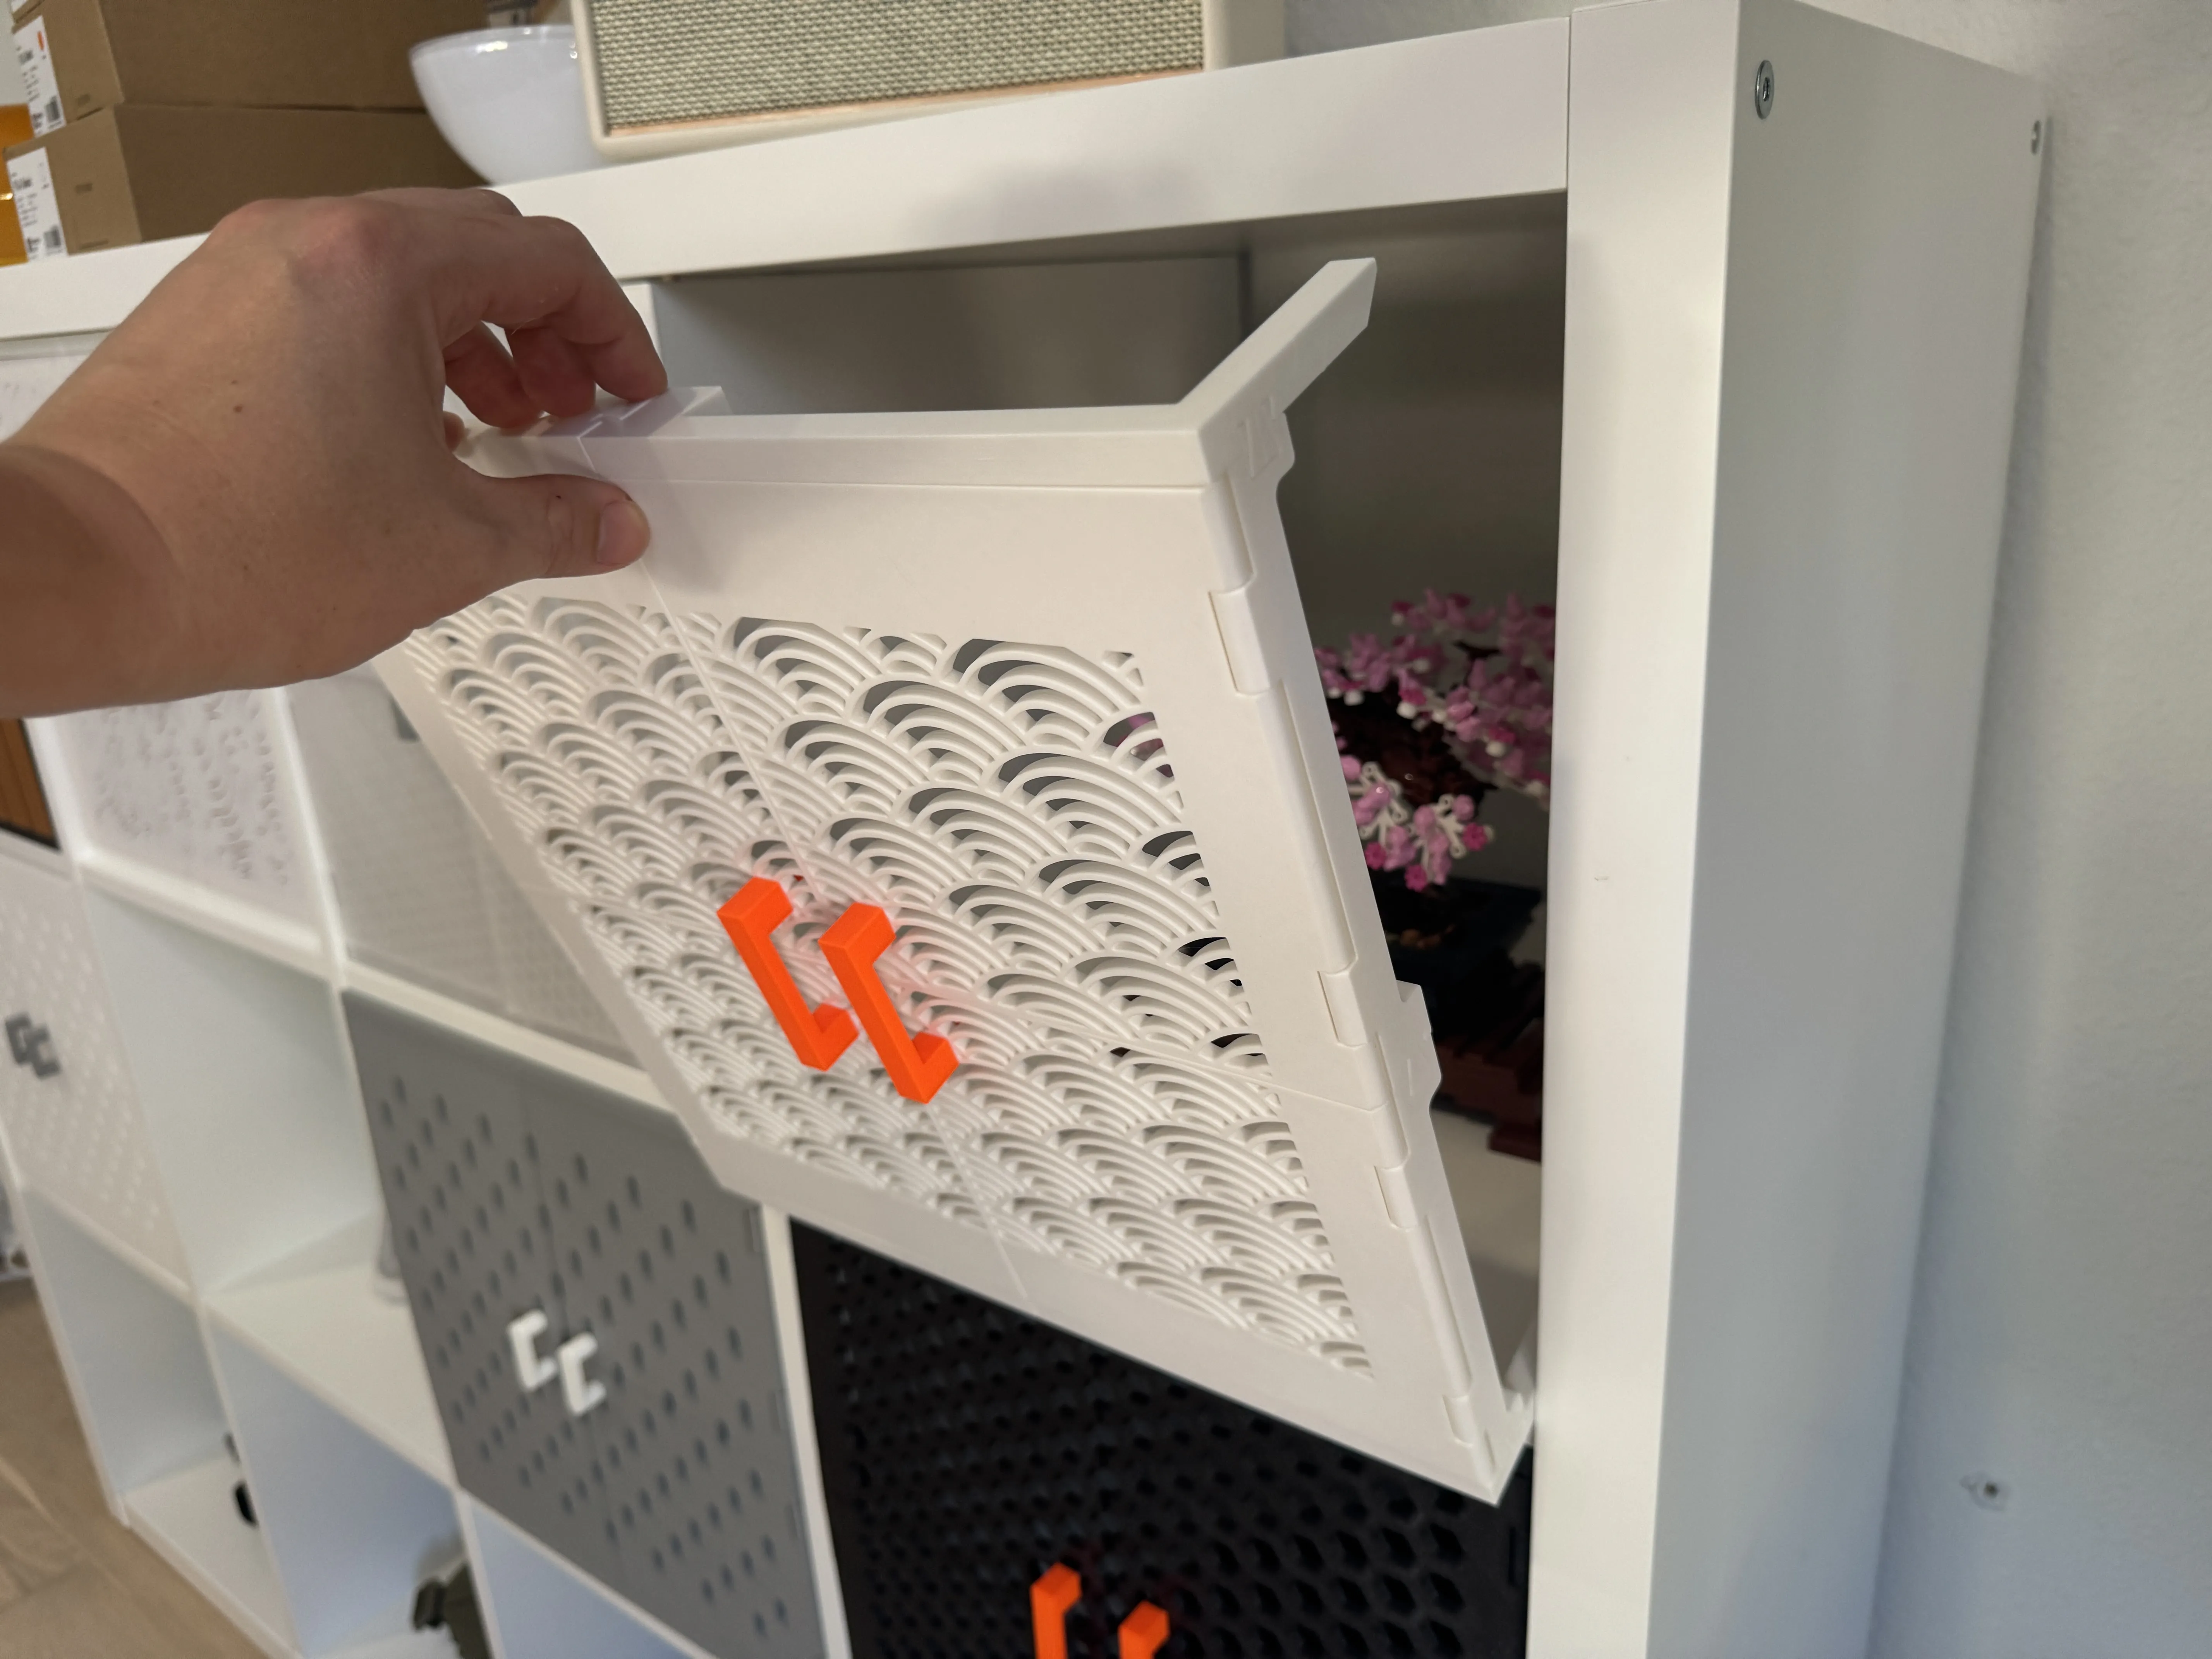
11. Gently push the frame in until it matches the front of the bookcase.
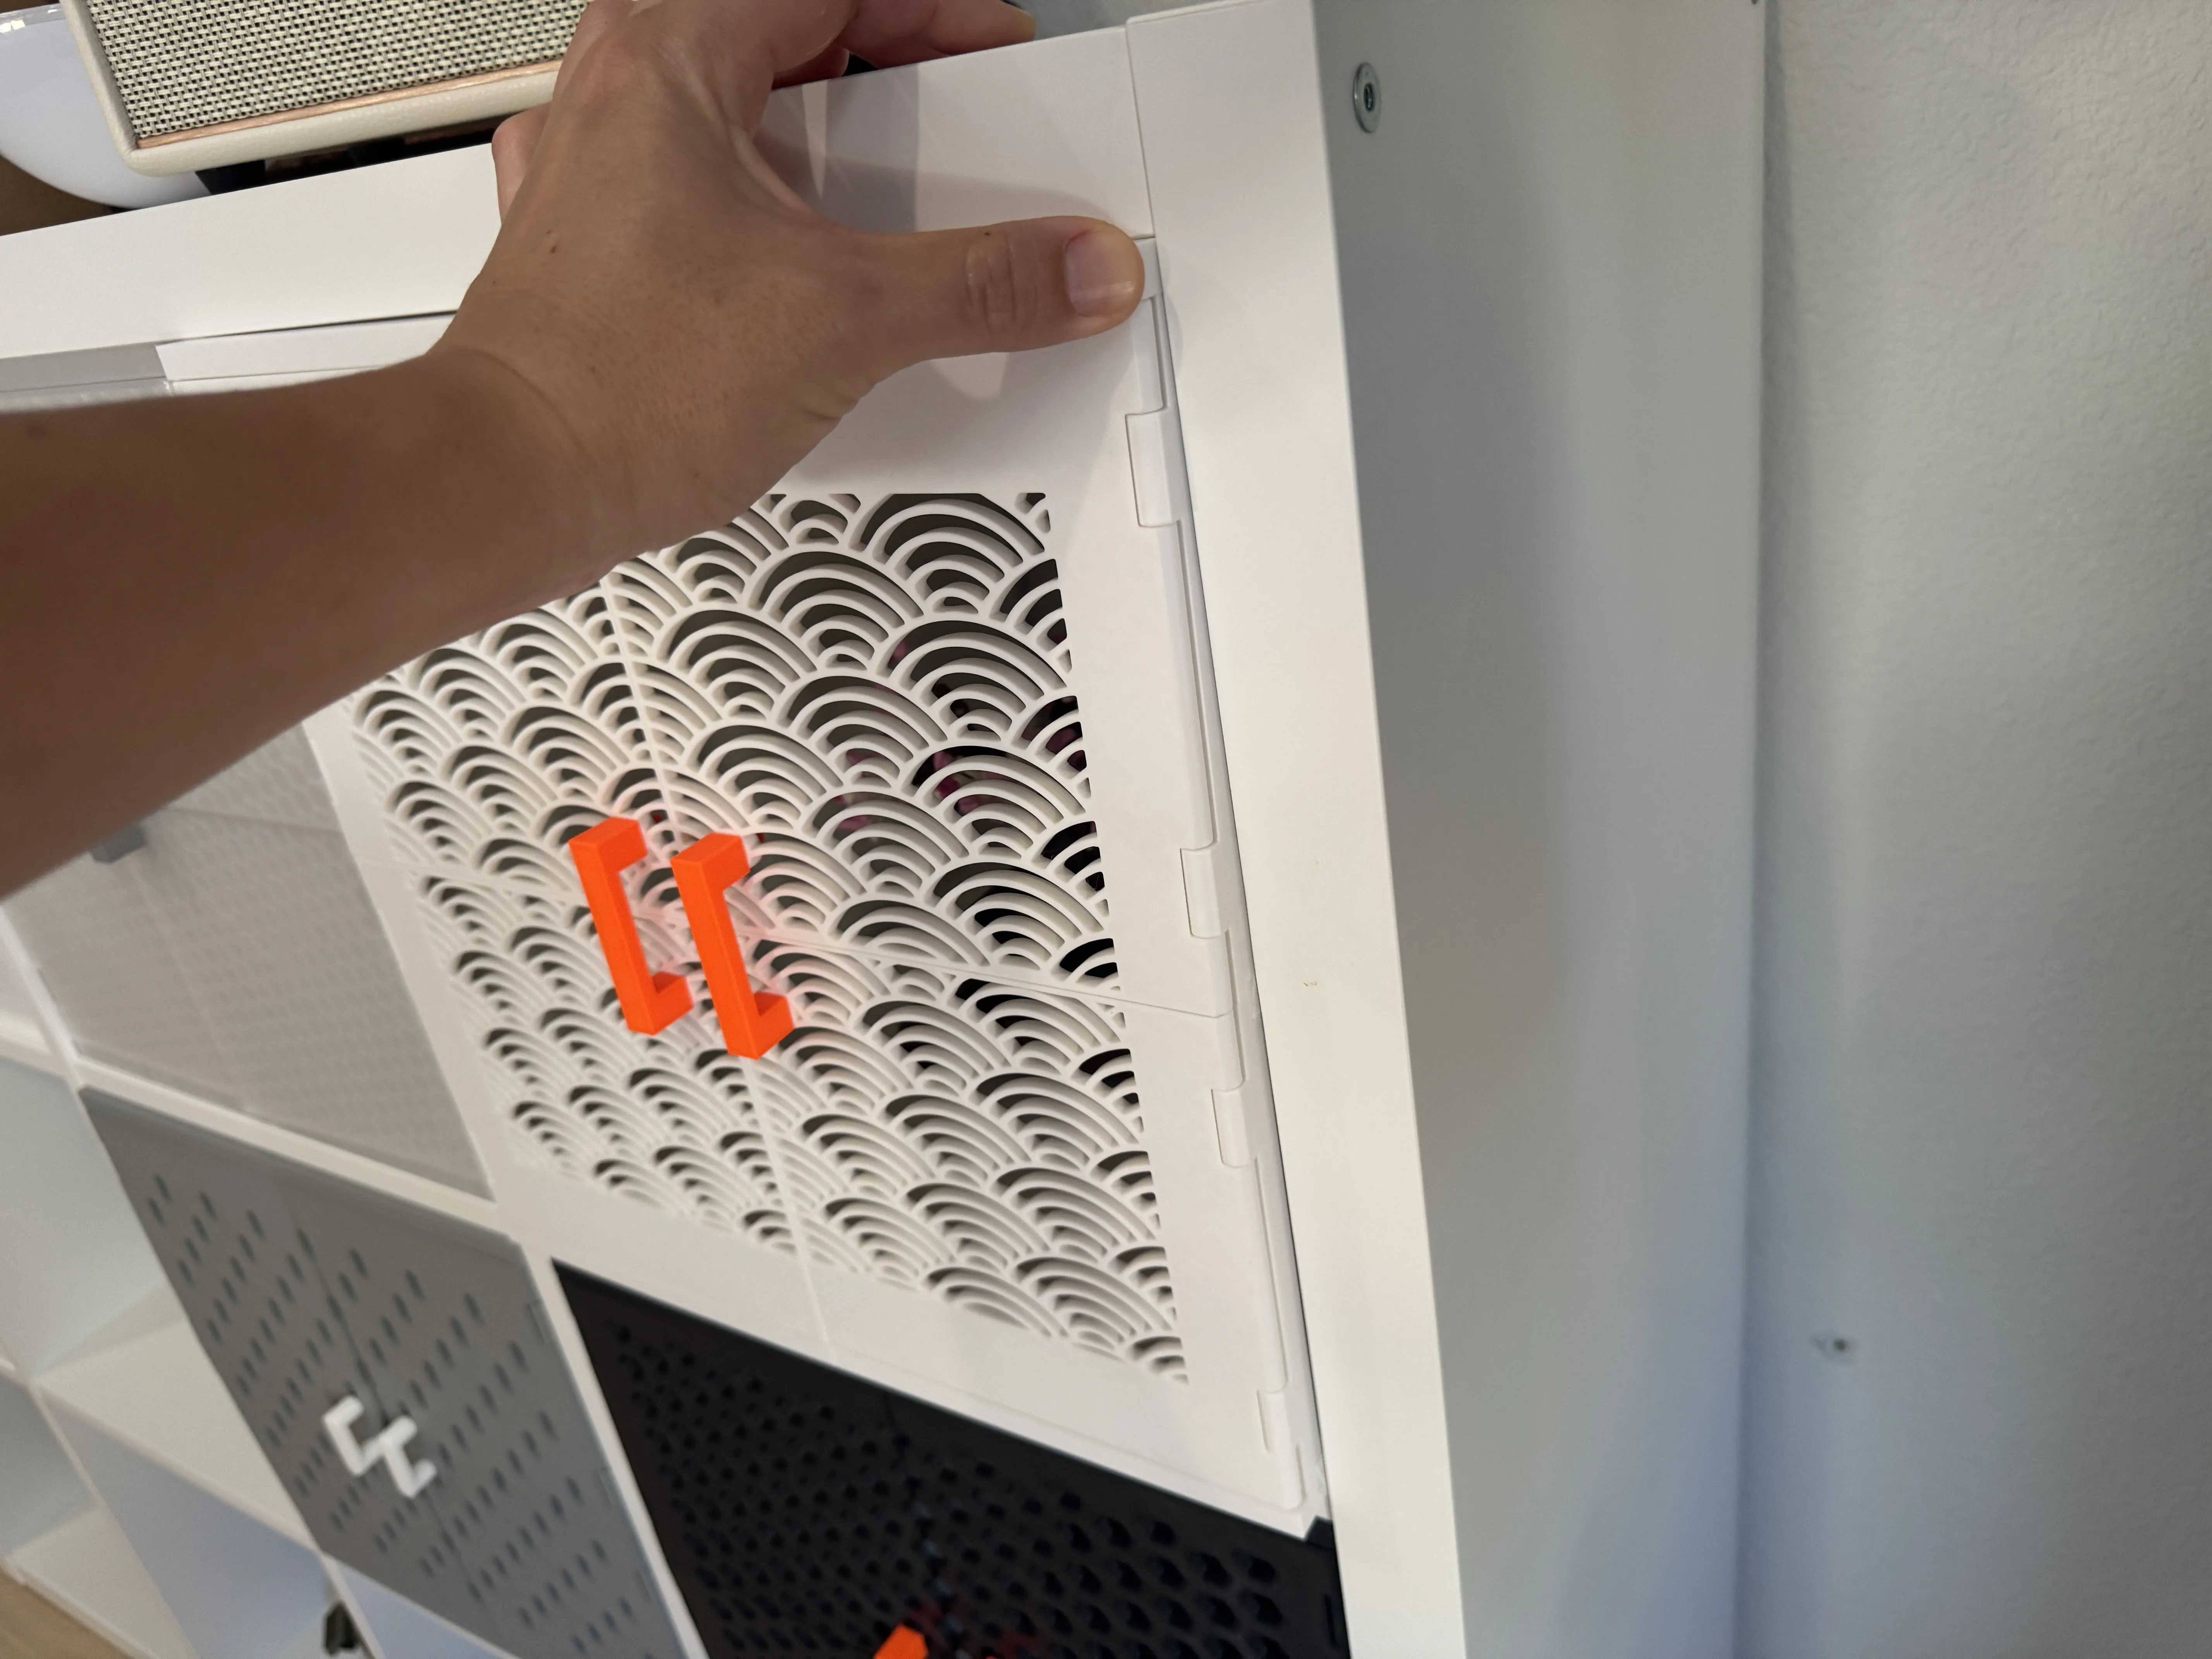
12. Enjoy your new IKEA cabinet doors! Hope this helped!!
License



Comment & Rating (1702)