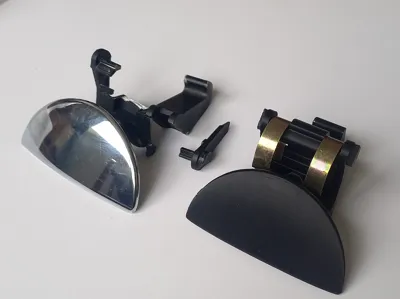
Mini R50/R52/R53 Glove box handle


Print Profile(1)

Description
READ THE WHOLE DESCRIPTION BEFORE ATTEMPTING A REPAIR
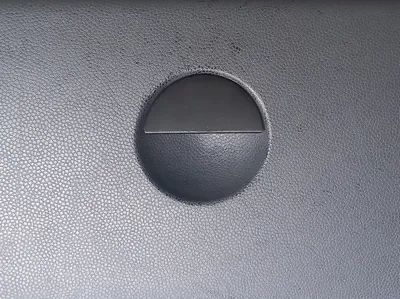
This handle is prone to breaking, due to being weak by design and plastic aging making it brittle.
Unfortunately, the handle is not sold separately, the whole glove box is a single Mini part number.
This replacement model is more sturdy while still fitting in the original glove box with no modification.
Print orientation matters because of layer adhesion: do NOT try to print it with the flat part of the handle on the print bed, as that’ll weaken the weakest spot of the handle.
Should be printed in PETG or better. PETG seems to hold just fine and shouldn’t have any strength or temperature deformation issues, apart from a very hot climate. I do not recommend PLA for any car interior parts.
To replace a broken handle, you need to:
- unscrew the glove box from the car. There are 5 screws holding it
- disconnect the light.
- tug the glove box out of the car. An AC duct will fall, keep it to re-install it afterwards
- unscrew the gear on the left side to free the door
- remove the door hinge, by removing a clip on either side then hammering the hinge out
- split the door in half. The 2 sides are welded together with 36 subsonic plastic welds that need to be broken. This is time-consuming and scary, you’ve been warned. You’ll need to glue it back together afterwards
- transfer the 2 metal springs and 2 rubber stops to the printed part (or print replacement parts, see below)
- (optional) reinforce the handle hinge (see below)
- reverse those steps for re-installation
- don’t forget to adjust the catch for a nicer fitment
Optional parts that do not need to be printed if you have them / don’t need them, each on a separate plate:
- hinge reinforcement: I highly recommend installing it, as some people have had broken hinges. Just glue it on the back of your existing hinge. Alternatively if your hinge is broken, cut and clean it and glue that one instead where it used to be.
- metal spring replacement: I highly recommend using the factory metal one, but you can try to use it if you lost it already. Print it in a stiff material like ABS or ASA. I only printed a PETG one, it fits, won’t break, but it’s barely stiff enough. If you do not add any spring, the handle will be floppy when the door is opened
- rubber stop replacement: again I recommend using the factory rubber one. Print it in the most flexible TPU you can get your hands on and adjust print settings accordingly. I printed a test piece in TPU for AMS, it’s way too stiff to even fit in the handle. If you do not add any stop, the handle will stop the movement by itself
Boost Me (for free)
Feel free to boost if you repaired your glovebox ;)
Want to see the design process? I made a video out of it! (French audio, you can select auto-generated english audio or use subtitles) :
Comment & Rating (13)