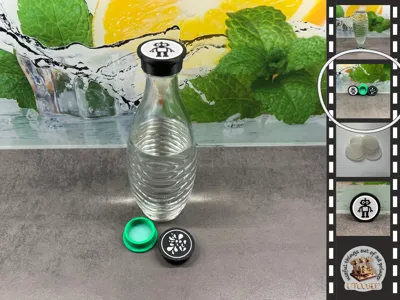
Customizable replacement caps for SodaStream glass carafes


Print Profile(5)


Bill of Materials
- Silikondichtungen (38x2 mm) x 1: https://www.ebay.de/itm/386267659228?var=653810347427
Description
Boost Me (for free)
Customizable Replacement Caps for SodaStream Glass Carafes
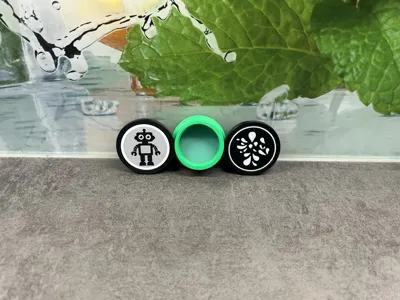
The caps feature three distinct print profiles:
- monochromatic (AMS not required)
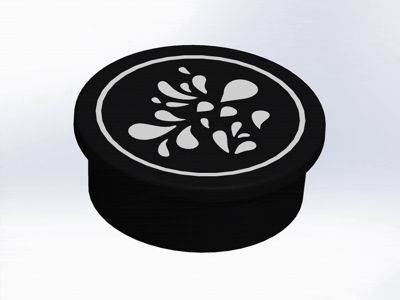
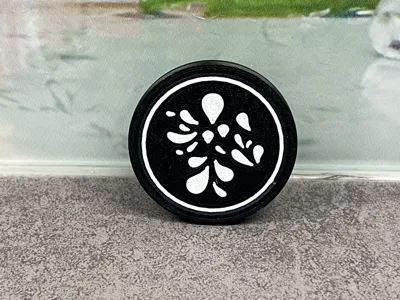
- with the water droplet motif (AMS required)
- adaptable ("Make My Sign", video forthcoming…)
- without a sealing ring (naturally not watertight ;-) )
I fabricate these caps using **PETG**, a material that endures machine washing and is more health-conscious than ABS
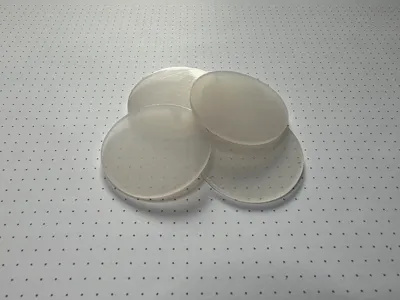
For sealing purposes, I employ these silicone seals (38x2 mm), which are incorporated into the caps during printing. **A requisite pause is pre-programmed within the print profiles**
**Guidance for Personalization…**
… within MakeMySign:
Preferably utilize a circular Base Plate with a diameter of **40 mm**

Upon completion of your design, it is imperative to enable the Facedown-Mode beneath the **Thickness** setting

When performing the **Download**, maintain the default configurations and download the 3MF file

… within Bambu Studio:
Within the customizable print template, the **cap** and the **design** must initially be disjoined
This is accomplished by right-clicking the cap and selecting Split→ To Objects
Subsequently, disengage the selection (by simply clicking adjacent to the cap); you should then be able to temporarily relocate it to the side

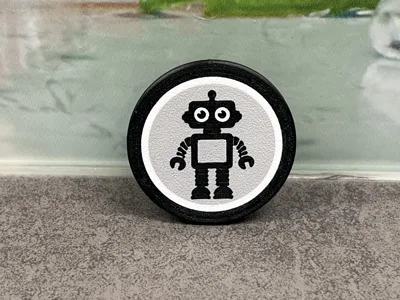
The pre-existing design (the diminutive robot) must now be expunged
This is optimally performed by selecting all components within the Object Explorer on the left panel (click the initial component, then the final component while depressing the Shift key) and subsequently pressing the **Delete key**. However, ensure that the cap (*Customizable_bottle_cap*) persists
Thereafter, import your bespoke design

It is now imperative to assign the filaments (colors) to their respective objects
To accomplish this, it is optimal to initially invert the design, a process most expediently performed using the Lay on Face [F] function
Progress is efficiently made by first consolidating the unwanted colors with the desired ones. For this purpose, select the pertinent commands within the Filament List, accessible via the three-dot menu . Should further refinements be requisite, they are best executed through the Object Explorer
Yellow and black are being consolidated here Upon accurate assignment of the filaments, the two components (cap and design) must be reassembled
The design must once again be inverted; the Lay on Face [F] function may be employed for this purpose. The cap and design should now be repositioned to the center of the printing plate (right-click and select Center)
It is now advisable to select both components within the Object Explorer (maintain depression of the Ctrl key) and subsequently right-click the cap to choose Merge
Both components are selected, and the cap is right-clicked, followed by the selection of “Merge”
Prepared for Slicing and Fabrication!
License
You shall not share, sub-license, sell, rent, host, transfer, or distribute in any way the digital or 3D printed versions of this object, nor any other derivative work of this object in its digital or physical format (including - but not limited to - remixes of this object, and hosting on other digital platforms). The objects may not be used without permission in any way whatsoever in which you charge money, or collect fees.
Comment & Rating (36)