
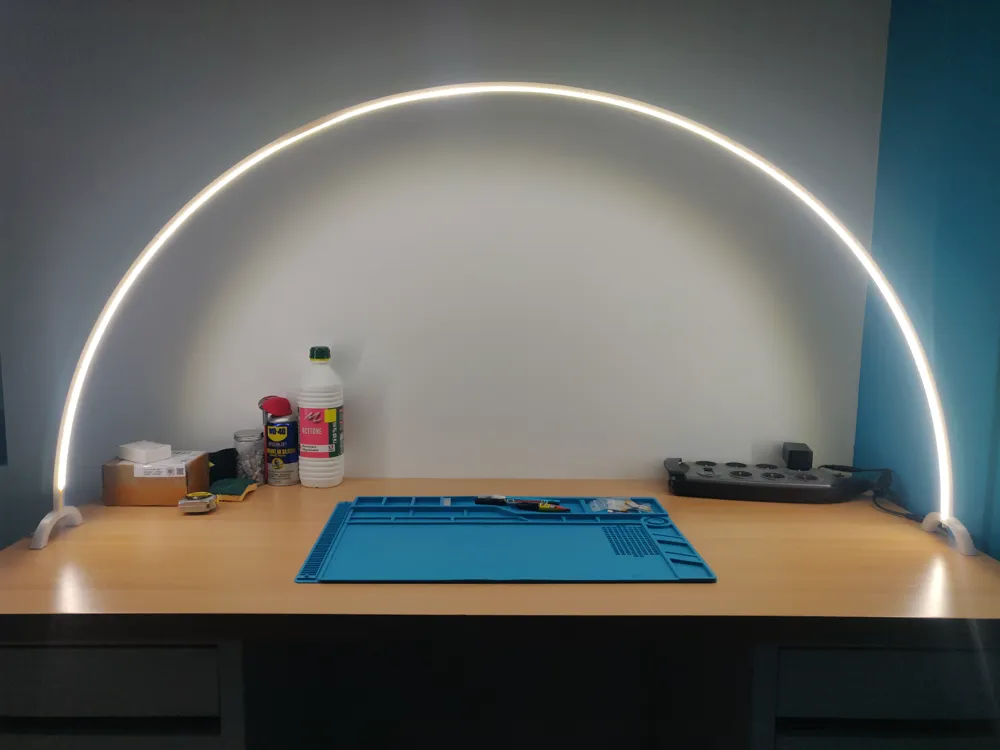
LED Arch (140/200cm): very light, no screw no glue
Print Profile(3)


Bill of Materials
- Anti-sleep feets x 4: Any model smaller than 15mm*15mm
- 140cm arch: 2m*0.8mm LED strip x 1: COB is better
- 200cm arch: 3m*0.8mm LED strip x 1: COB is better
Description
Changelog:
- 04/05/2025: Updated the model so that tolerances are 0.2mm in XY (unchanged), and 0.4mm in Z (instead of 0.2mm). This allows a perfect fit with 0.2mm layer height, without sanding
- 04/05/2025: Added a 190cm variant, which requires a 3m led strips
Core features
- Extremely lightweight: less than 160g of filament for the whole 140cm thing (less than 300g for the 200cm version)
- Simple assembly: no screw, no glue, just plug parts
- Minimal design: This bridge is thin enough to blend easily in your environment
Introduction
If, like me, you were fed up with the lack of light when working in the evenings or on gloomy days, this project is for you!
I first saw this kind of incredible LED arch on Thingiverse by Oppossums, and instantly knew I needed one like this. Still, I wanted mine to be thinner/lightweight, and avoid any complex assembly (I hate when I find a nice model that requires tons of screws I don't have, or models with screw holes without thread, as it can become extremely hard to force screw into PLA for example). And well, I wanted to have fun, so decided to roll my own 😁
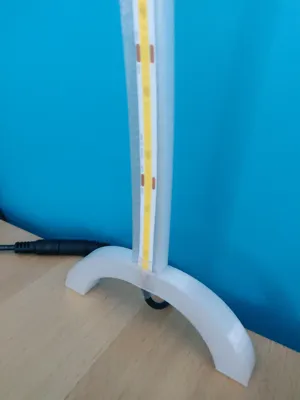
This model comes into 2 variants, 140cm wide for a 2 meters LED strip (0.8 mm width), or 200cm wide for a 3 meters LED strip (0.8 mm width). It can work basically with any 0.8 mm LED strip (all of these can be cut if longer). The one I used is a “COB” one (this model), as COB LED strips have a continuous lighting (as opposed to standard LED strips that have evenly spaced LEDs, with no light between). Also, its original version is tailored for my own desk, which is 140 cm large. I printed it with transparent PETG, but any kind of filament will do.
Specifications
- 140cm model:
- Radius of the LED strip arc: 63 cm (63*Pi ~= 197 cm, length of the strip with margin)
- Outer dimensions: 128 cm*68 cm*11.5 cm
- LED strip: 2 m*8 mm (width) * 2.5 mm (max thickness)
- Less than 160 g of filament
- 9 arc parts of 20° each
- 200cm model:
- Radius of the LED strip arc: 95cm (95*Pi ~= 298cm, length of the strip with margin)
- Outer dimensions: 190cm*100cm*15.5cm
- LED_strip: 3m*mm (width) * 3 mm (max thickness)
- Less than 300g of filament
- 12 arc parts of 20° each
Assembly
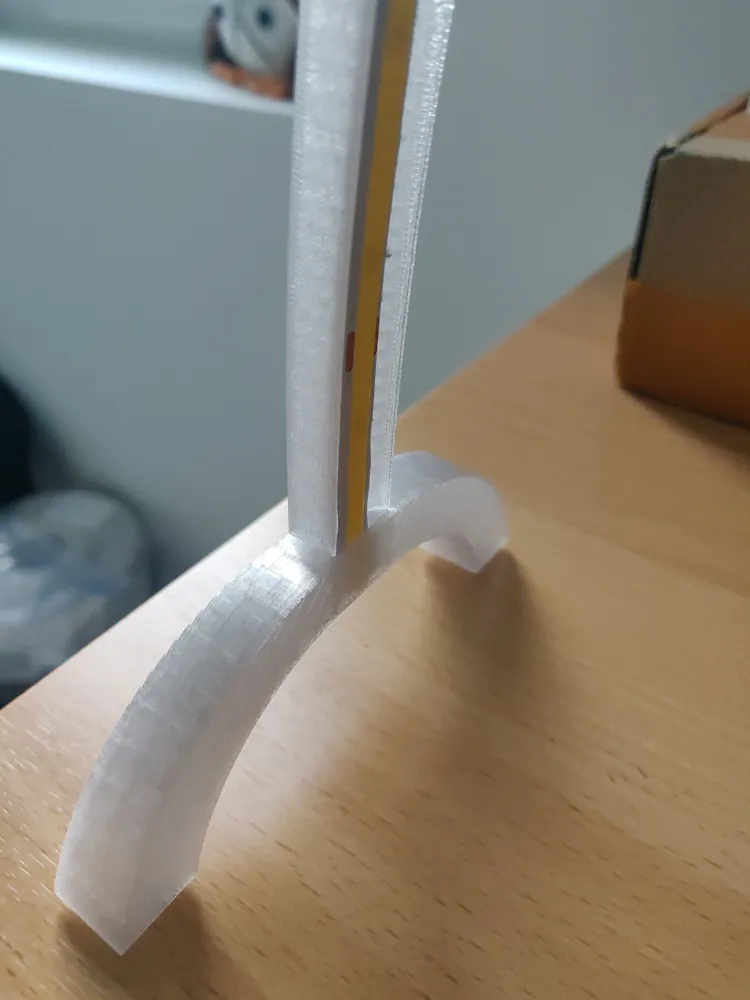
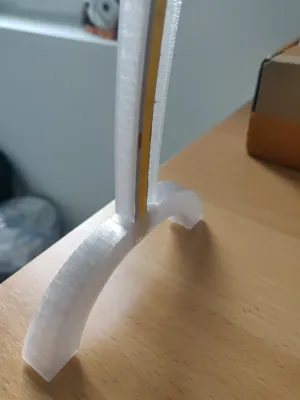
The arch is composed of two feet (one with a male plug, and the other with a female plug), and several identical arcs (140cm: 9 of 20° each, 200cm: 12 of 15° each). Assembly is pretty straightforward:
- First, print all the parts
- 🚨 IMPORTANT ! Use a cutter to remove any trace of remaining support on the male plugs. You can even cut into the plug endings to make them easier to insert. This is very important, as tolerances for the plugs are 0.2 mm in XY axis, and 0.4mm in Z axis
- (optional): Add some anti sleep feet below the 4 foot feet
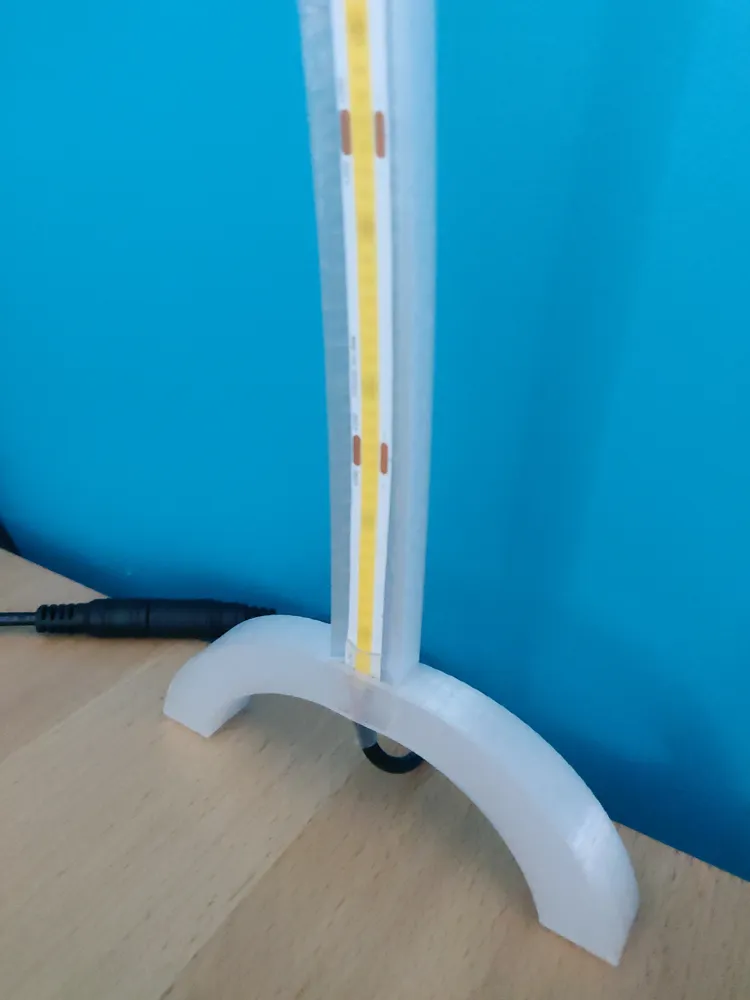
- Assemble the arch, by very gently plugging the arc parts one into the other, and ending both sides with a feet. Beware: feet have an orientation, they have a hole shaped as the LED strip groove which is meant to be turn inside the arch.
- (optional) If you want to have a perfect finish, insert the total length of your LED strip into the hole of one of the two feet
- Use the adhesive of your LED strip to glue it into the arch groove
- Plug in and enjoy
Boost Me (for free)
That's the first model I share, and I hope it well serve you well !
License

You shall not share, sub-license, sell, rent, host, transfer, or distribute in any way the digital or 3D printed versions of this object, nor any other derivative work of this object in its digital or physical format (including - but not limited to - remixes of this object, and hosting on other digital platforms). The objects may not be used without permission in any way whatsoever in which you charge money, or collect fees.


Comment & Rating (67)