The Ex4 spool holder / 4 external spool stand


Print Profile(5)


Bill of Materials


Description
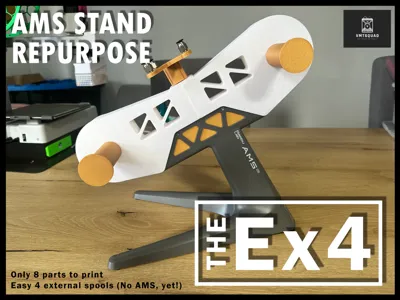
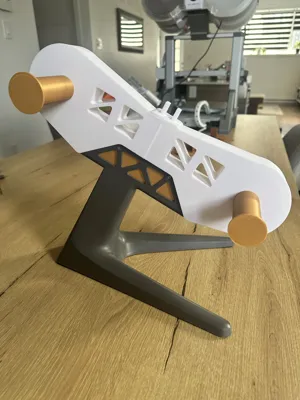
The Ex4
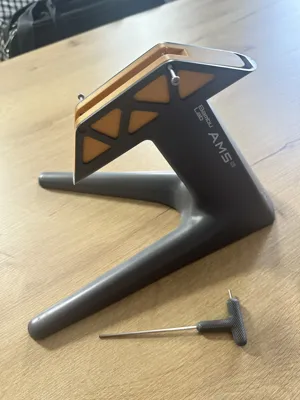
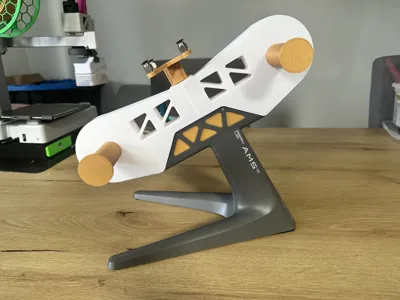
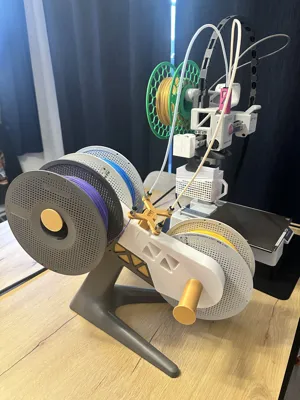
Repurpose your Bambu lab AMS lite stand into 4 external spools
Here's cool way of repurposing your AMS lite stand after moving the AMS on the wall or on top of your A1.
I'm the proud owner of a A1 combo and A1 mini. I was tired of changing spools on my A1 mini, so I designed a model that can support 4 external spools at the time. I call it “TheEx4”.
FUTURE PLANS
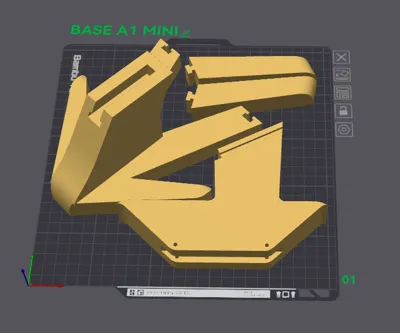
- A1 mini profile version (DONE)
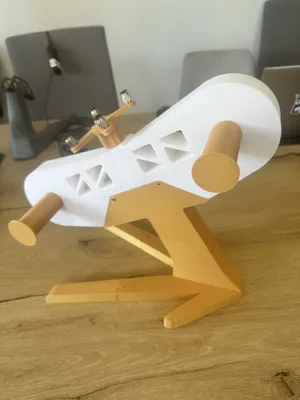
- Custom (printable) base for those who do not have the Bambu Lab AMS lite stand (DONE)
- I'm trying to use my old TEVO Tornado parts to automate the manual filament change with some motors and extruders.
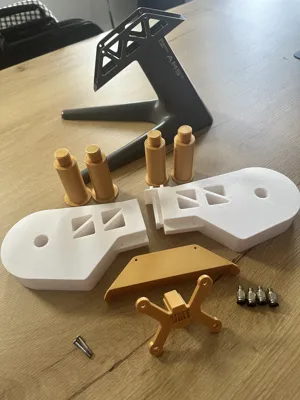
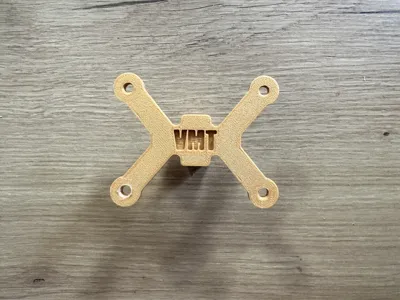
There's 8 parts to print:
- Base (fits into the AMS Lite stand)
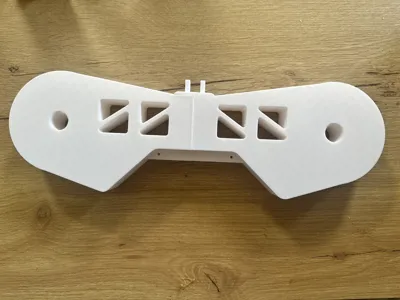
- Top Body
- Bottom Body
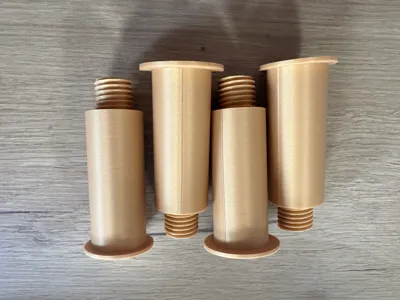
- Spool holder screw (x 4)
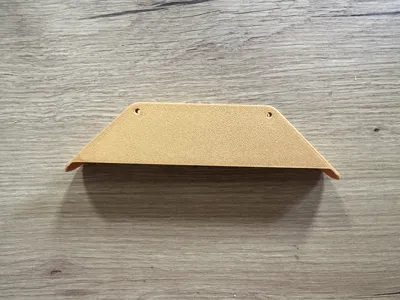
- Filament bracket
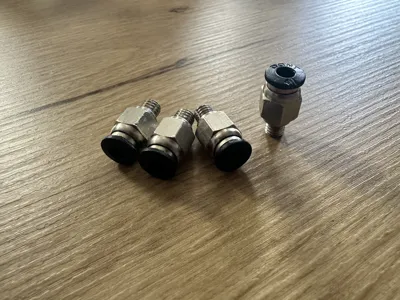
You'll need these extra parts to assemble the model:
- PC4-M6 Pneumatic Connector for PTFE Tube FC001 (4)
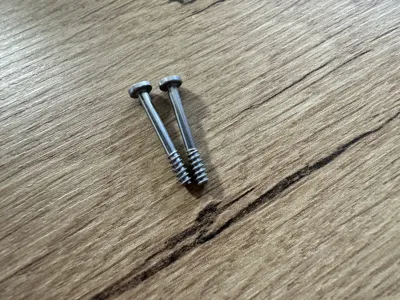
- M3 Socket Head Cap Machine Screws AA003 (2)
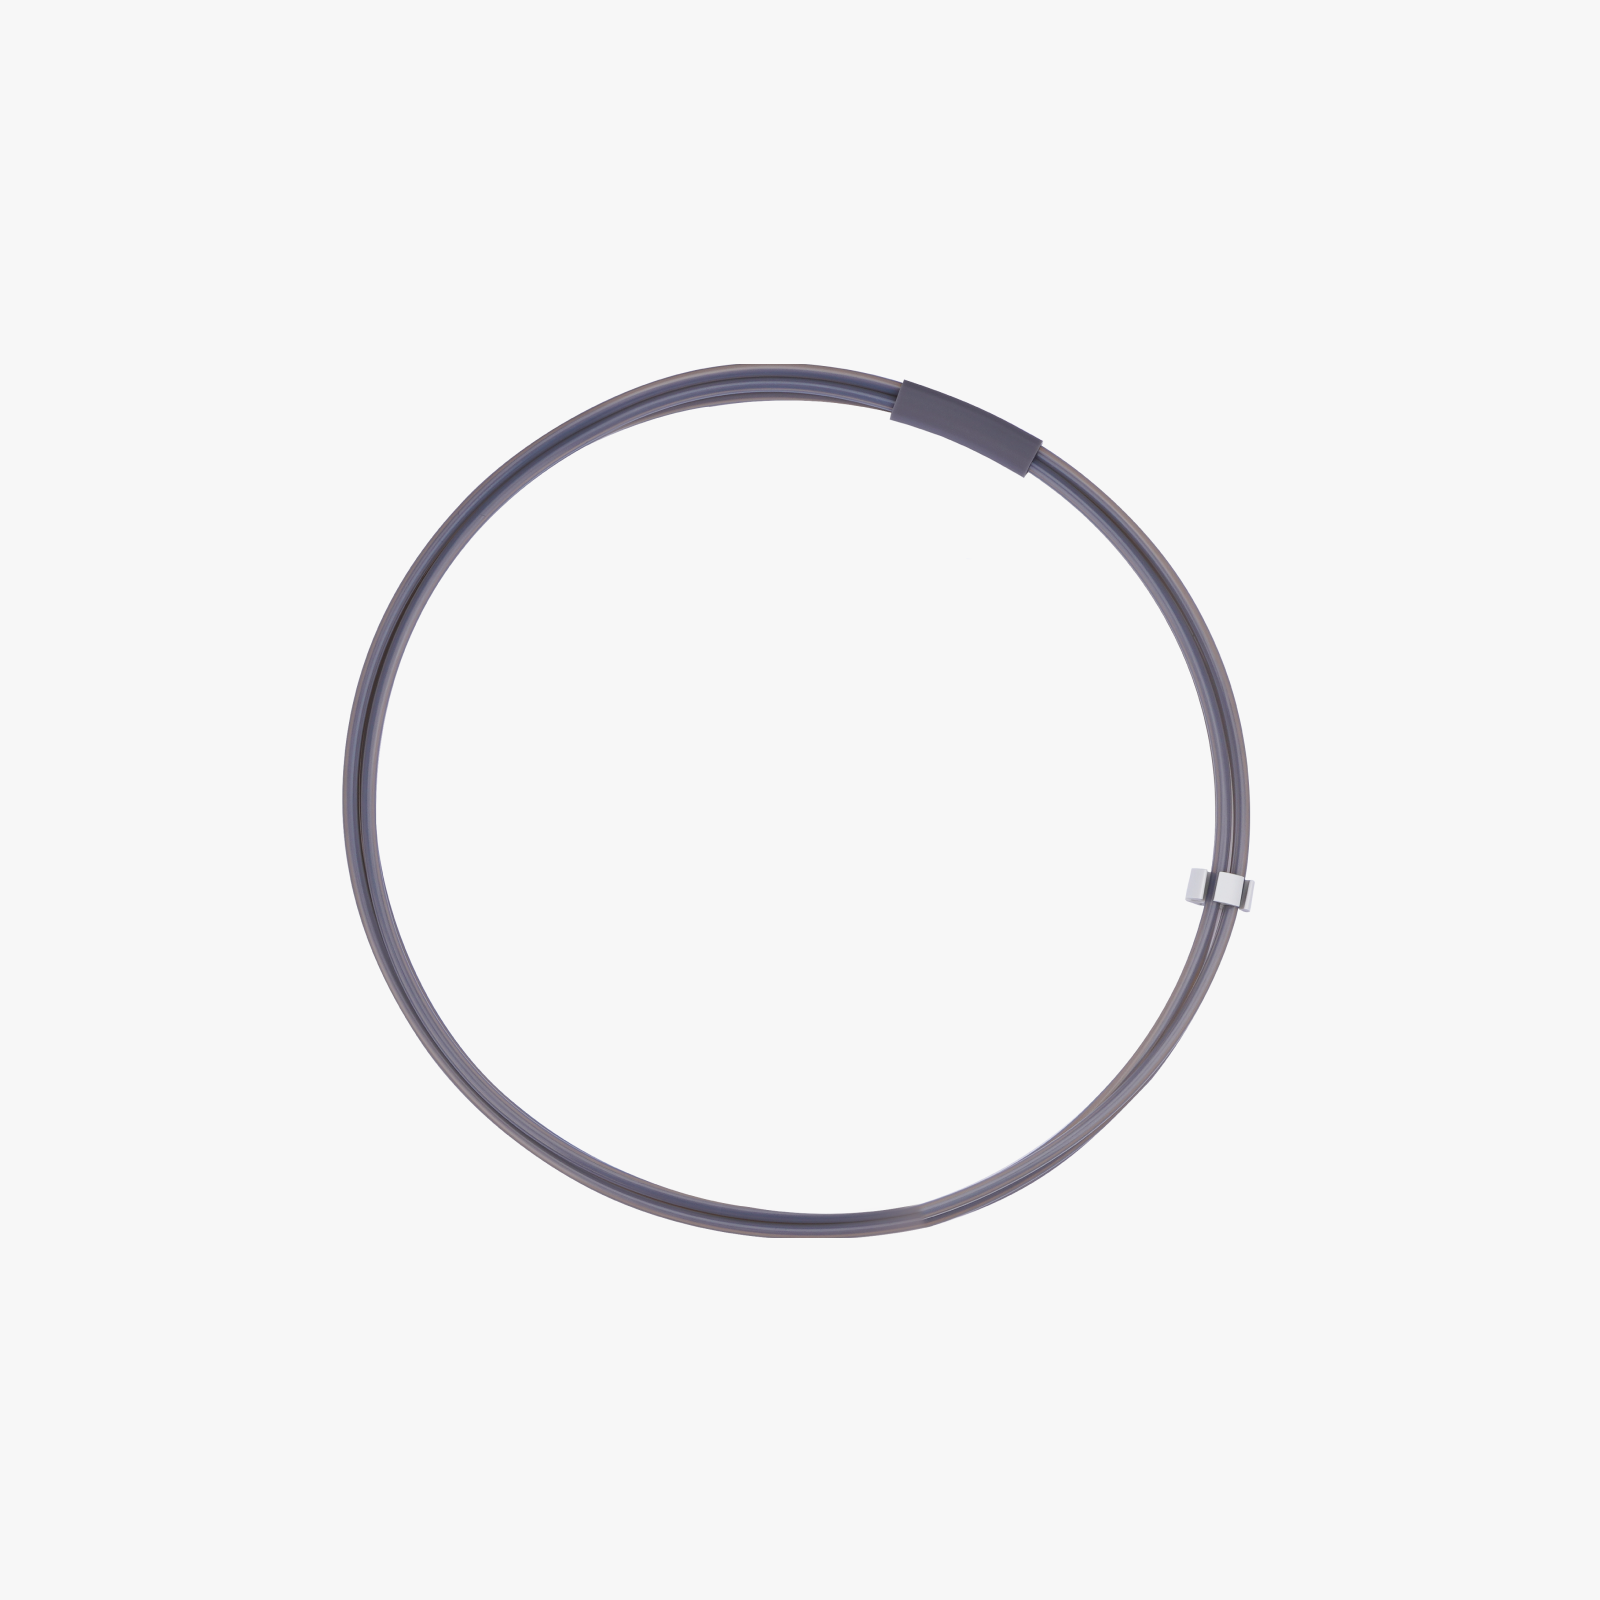
- PTFU Tubing (I recommend at least a 60cm lenght for each tubing if you plan on using it with your A1 mini, plan accordingly the lenght of each tubing based on your setup)
The screws are used to hold the base with the AMS lite stand. You could use other type of Bambulab bolts, just make sure the bolts screws into the BODY parts to hold everything together.
Assembly

- Insert the two body parts together
- Insert the base in the AMS lite stand
- Insert the body onto the base
- Insert screws to hold the model to the AMS lite Stand
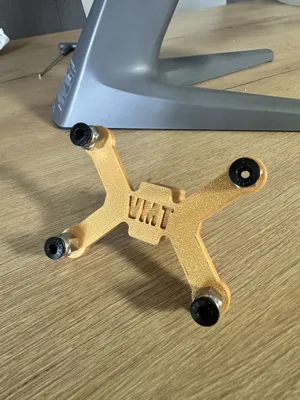
- Insert the 4 Pneumatic connectors onto the filament bracket (the filet are tight, you can you pliers to help you get them in)
- Insert the filament bracket on top of the model.
- Insert the 4 PTFU tubes into the 4 pneumatic connectors and inside the AMS lite filament hub
You can refer to the pictures if you need help, or add a comment below. I'll be glade to help!
Boost Me (for free)
Boost me, it's free and helps a lot!
Happy printing my friends!
- VmtSquad
Boost Me (for free)
Drop me a boost, it's the best way to help me!
- VMTsquad
License
You shall not share, sub-license, sell, rent, host, transfer, or distribute in any way the digital or 3D printed versions of this object, nor any other derivative work of this object in its digital or physical format (including - but not limited to - remixes of this object, and hosting on other digital platforms). The objects may not be used without permission in any way whatsoever in which you charge money, or collect fees.
Comment & Rating (46)