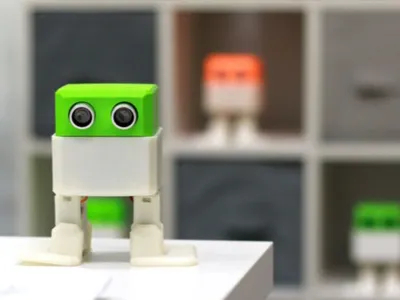
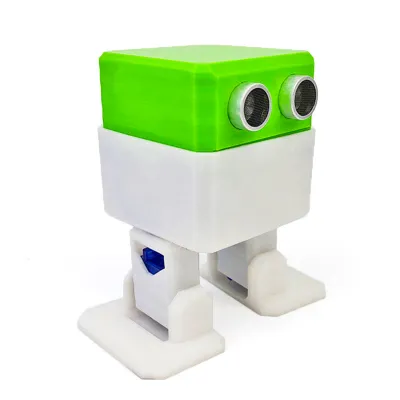
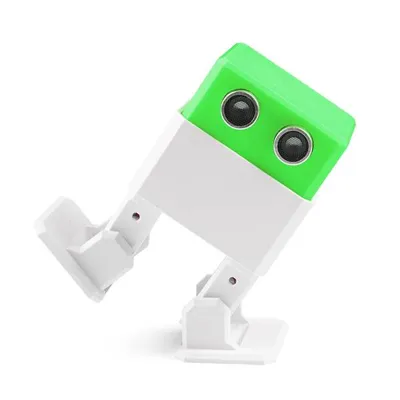
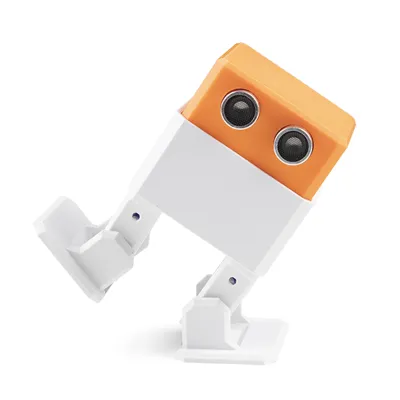
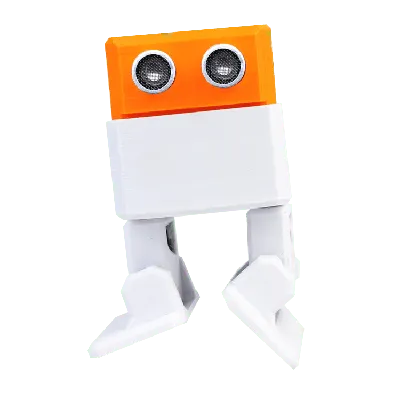
Otto DIY biped dancing robot


Print Profile(1)

Bill of Materials

- 🖥 Otto Nano Microcontroller + I/O board x 1:
- 🔌 Micro USB cable x 1: (it could be USB-C- depending on the board you get)
- 🔋 Rechargeable9V Lithium battery x 1: with usb charger integrated
- 🦇 Ultrasonic sensor x 1:
- 🔊 Buzzer passive Ø12mm x 1:
- 🌈 8x DuPont female to female jumper wires x 1:
- Phillips screwdriver magnetized x 1:
Description
An interactive robot that anyone can make, program with Arduino or Blockly software, App control and expandable.
Otto walks, dances, makes sounds, avoids obstacles, you can code by your own and even customize, It is completely open source, Arduino compatible and 3D printable. More details in https://www.ottodiy.com/
Print instructions
If you bought a Builder kit you can skip ahead but if you have the Maker kit you have to 3D print the parts but Otto is very well designed for 3D printing, so wont give you trouble if you follow this common parameters:
Recommended to use a FDM 3D printer.
No need supports or rafts.
Resolution: 0.3mm or 0.2mm for better resolution
Fill density 15%
All parts in total use 100gr aprox. equivalent to 35m of regular PLA 1.75mm thickness, it should take around 5 hours to 3D print a full set of parts for one Otto even less with optimized settings depending on your printer and slicer.
Features
- 👩💻 Simple Programming with Otto Blockly or Arduino
- 👣 Walks & dances
- 🦇 Avoids obstacles
- 🔊 Makes emotional sounds and melodies
List of £D Parts
- 3D Printed head
- 3D Printed body
- 3D Printed legs (2)
- 3D Printed feet Left
- 3D Printed feet Right
You could also remote control via our WebApp.
We invested lots of time and resources to provide open source code, software and hardware, please support this project by just giving us a ❤ Like and share and you are welcome to be a part of this friendly community of robot builders, teachers and makers.
Join today our Otto Builder community
Comment & Rating (61)