
Bambu Lab H2 Series Screen Cover
Print Profile(8)




Description
Boost Me (for free)
If you wish, you can help me by supporting my work with a Boost, don't have a Boost? You can like the project and Follow me, thanks in advance for your help!
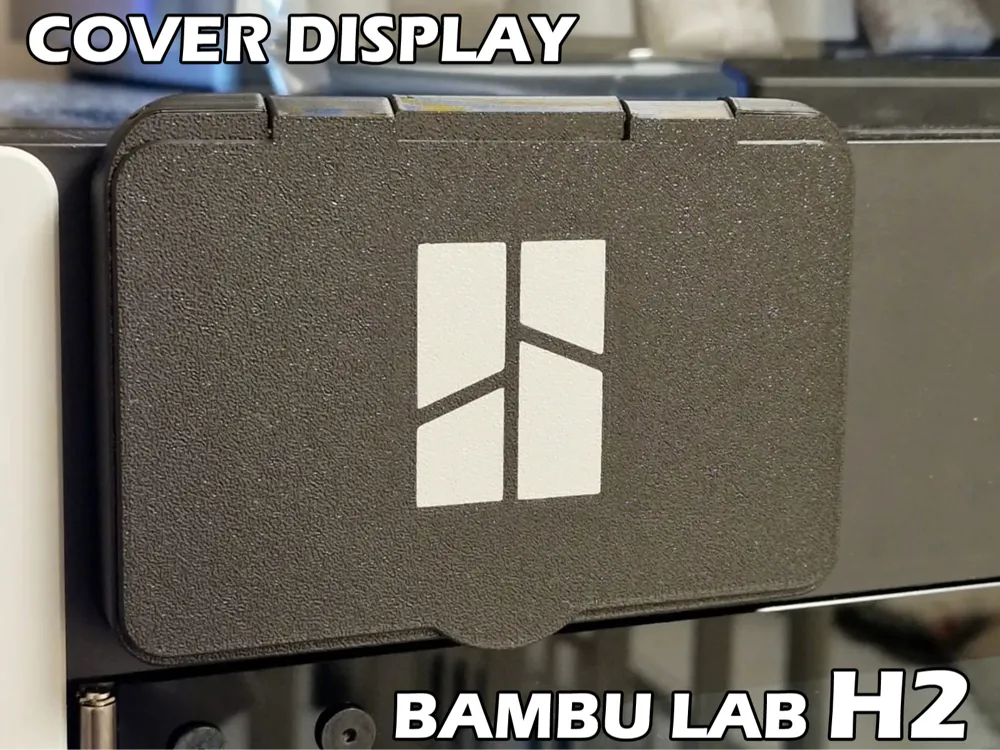
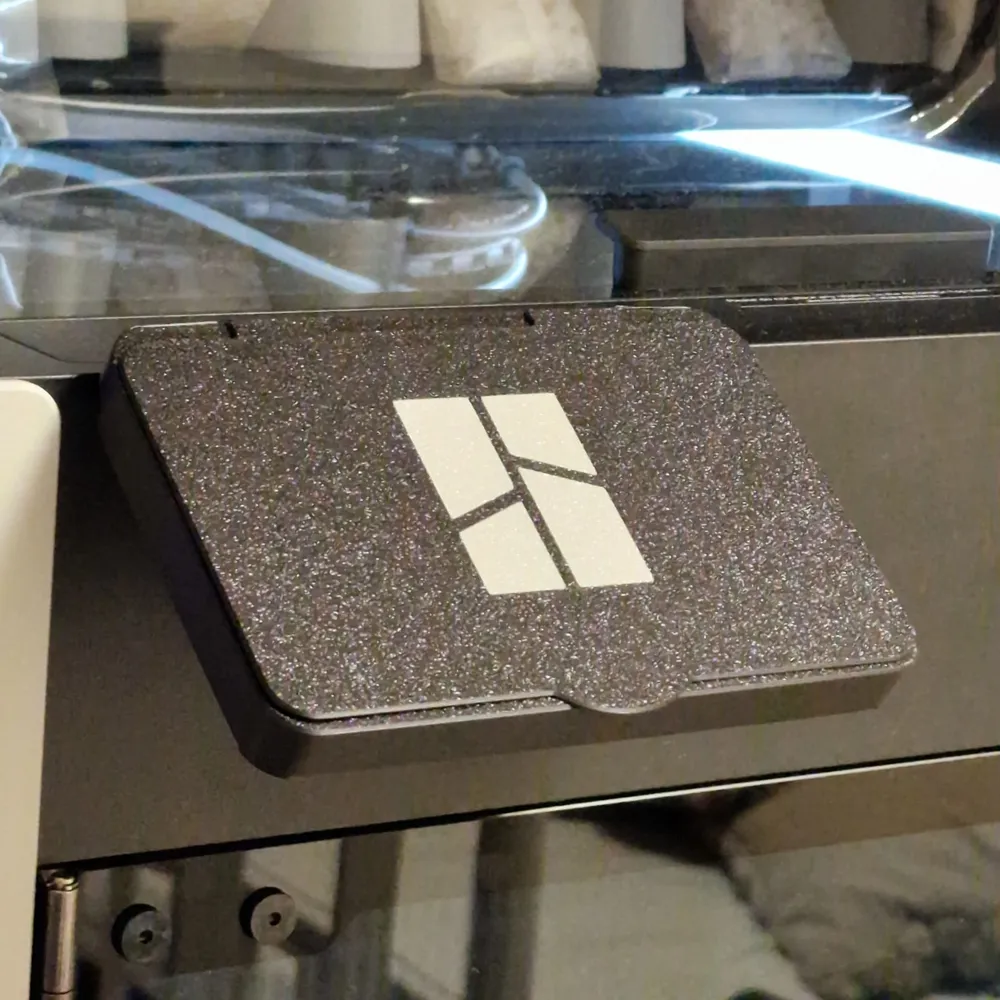
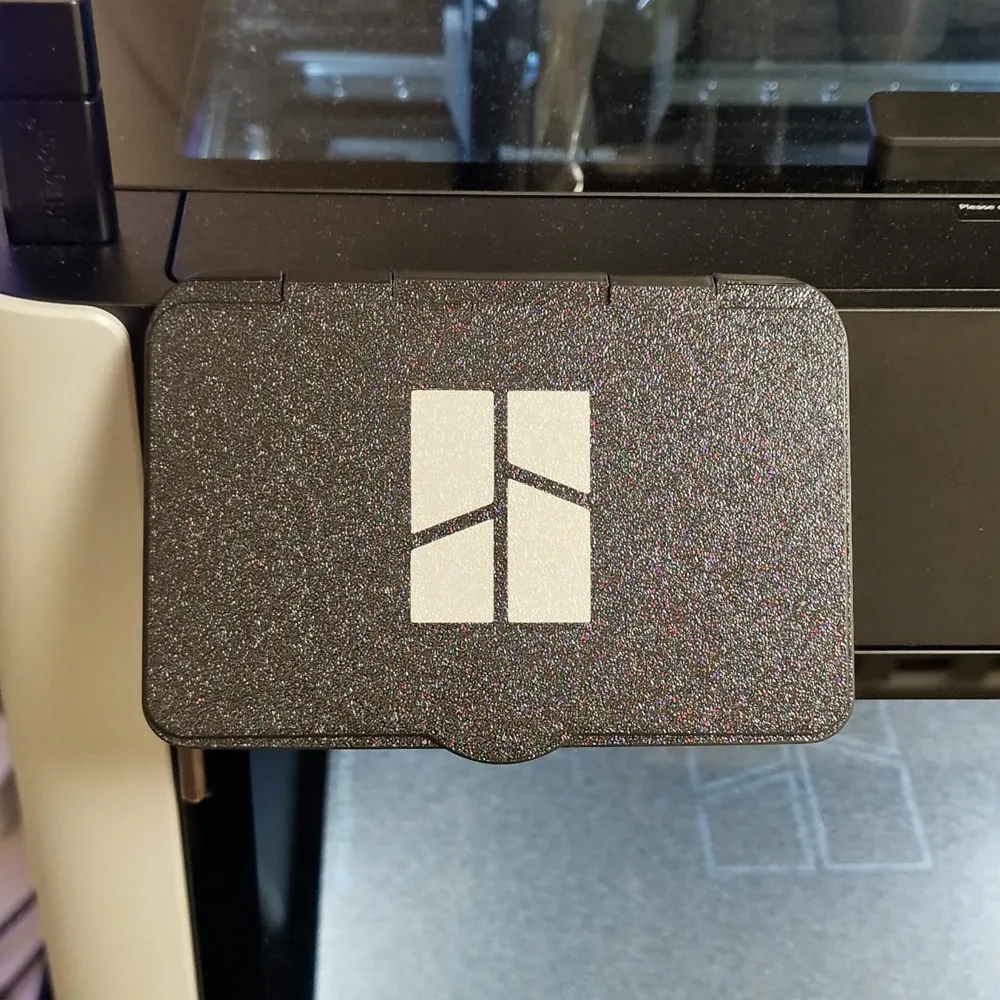
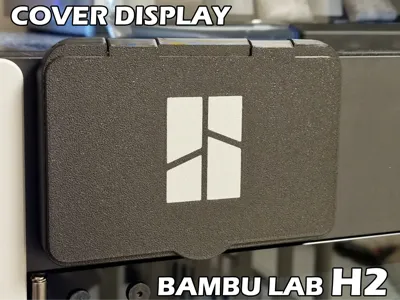
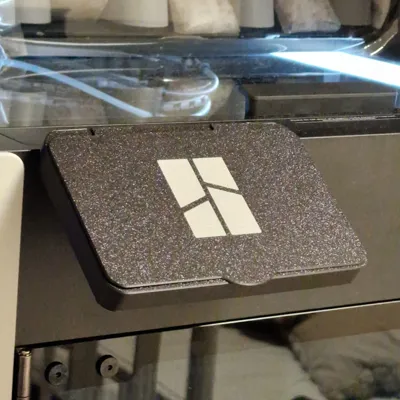
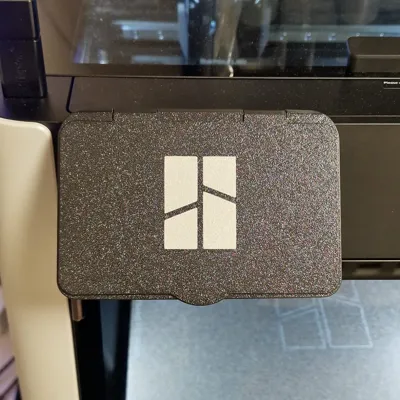
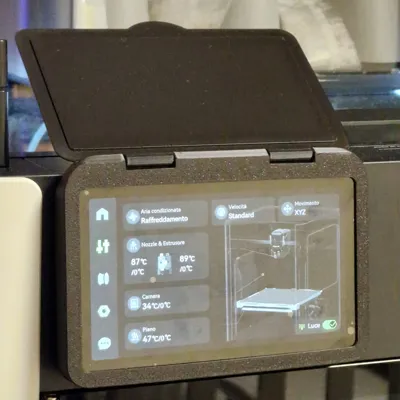
This project is a remix of the beautiful and very useful Bambu Lab X1 screen protective cover, modified to be mounted on the new Bambulab H2D, H2D Pro, H2S, and H2C printers:
- Fixed the issue with printing the logo on the lid
- Improved bed adhesion and print settings
- Resized everything to fit perfectly
- Modified the structure for better assembly
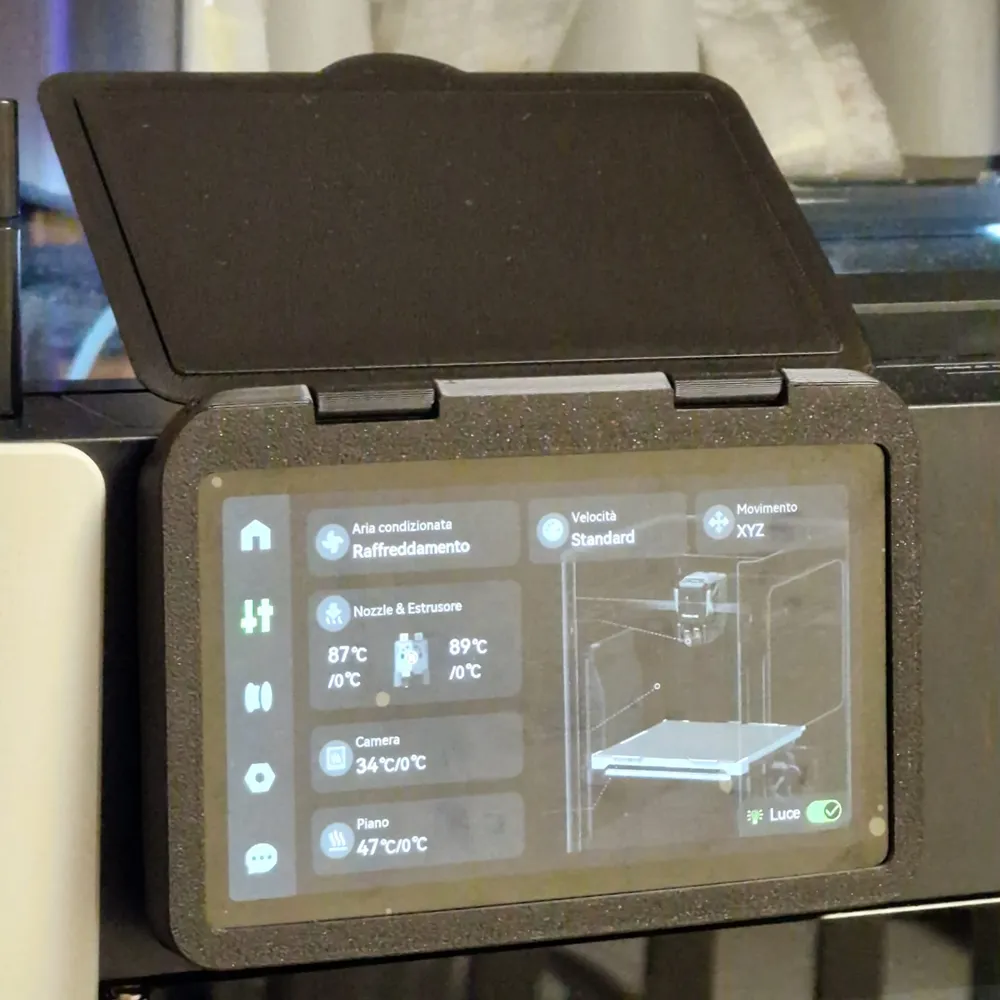
- Modified the lid structure with an opening rotation limited to 185°
WARNING: If you use the wider lid opening version and are printing at high temperatures, remember to close the lid or at least do not leave it open with the screen fully up because the lid, resting directly on the printer's top glass, being made of PLA, could slightly warp, which can be easily fixed but is better to avoid. PETG mitigates this type of situation as it is a filament that withstands high temperatures better
⚙️ ASSEMBLY:
- Insert the structure starting from the bottom, once inserted and after verifying that the 2 hooks at the back are engaged, push the top part sliding it until it stops, obviously all with delicacy and firmness, to avoid damaging the screen push it into position using only the edge of the screen
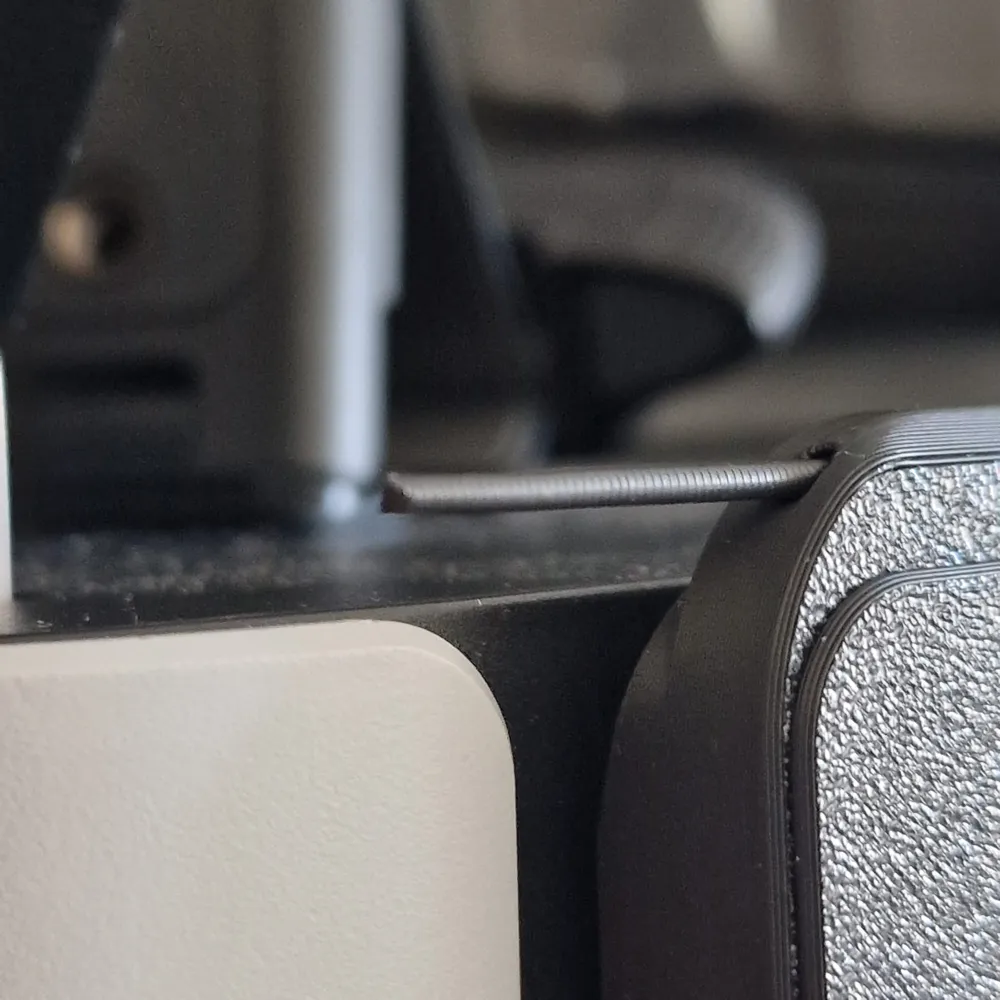
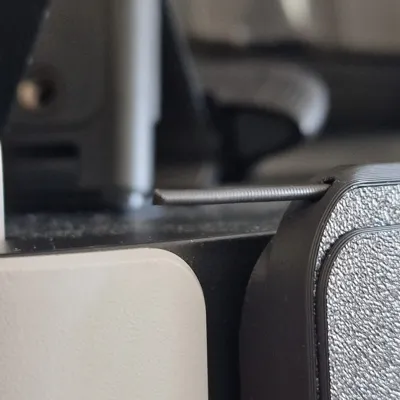
- To attach the cover hinge joining the lid and the structure, I recommend using a TPU filament of your choice with a diameter of 1.75 mm as a pin. This should provide sufficient "grip" to position the lid at any angle. If you don't have TPU, you can also use PLA, and the lid will slide more freely
- Assembly video link HERE
✨ Did you like this project?
- Check out my profile for other original models by clicking HERE!
*Photos, drawings and trademarks of manufacturers mentioned on this page are the exclusive property of their respective owners
(If you are interested in commercial use of my models, early access, exclusive designs, or if you simply like my work and want to support me, contact me privately)




Comment & Rating (632)