
Parametric Picture Frame
Print Profile(1)
Description
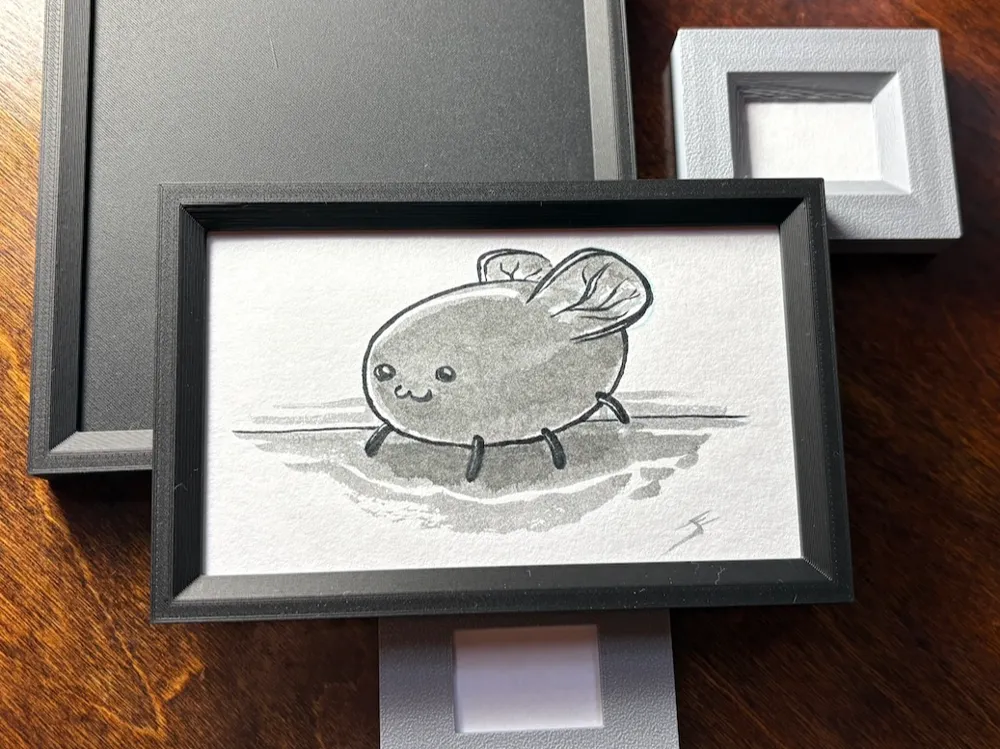
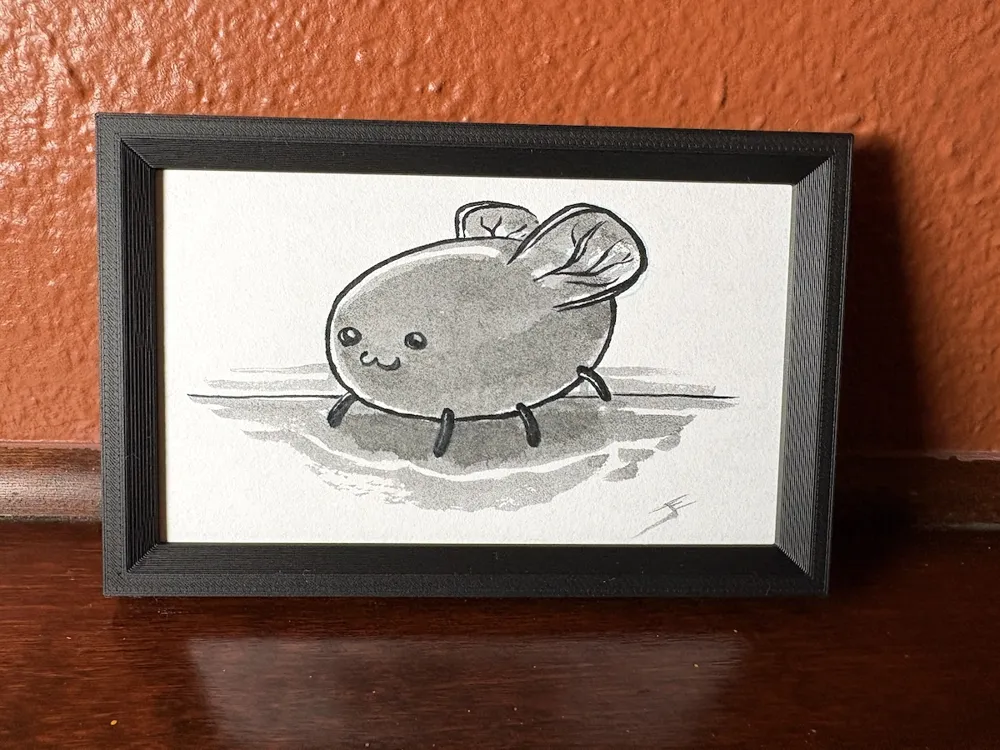
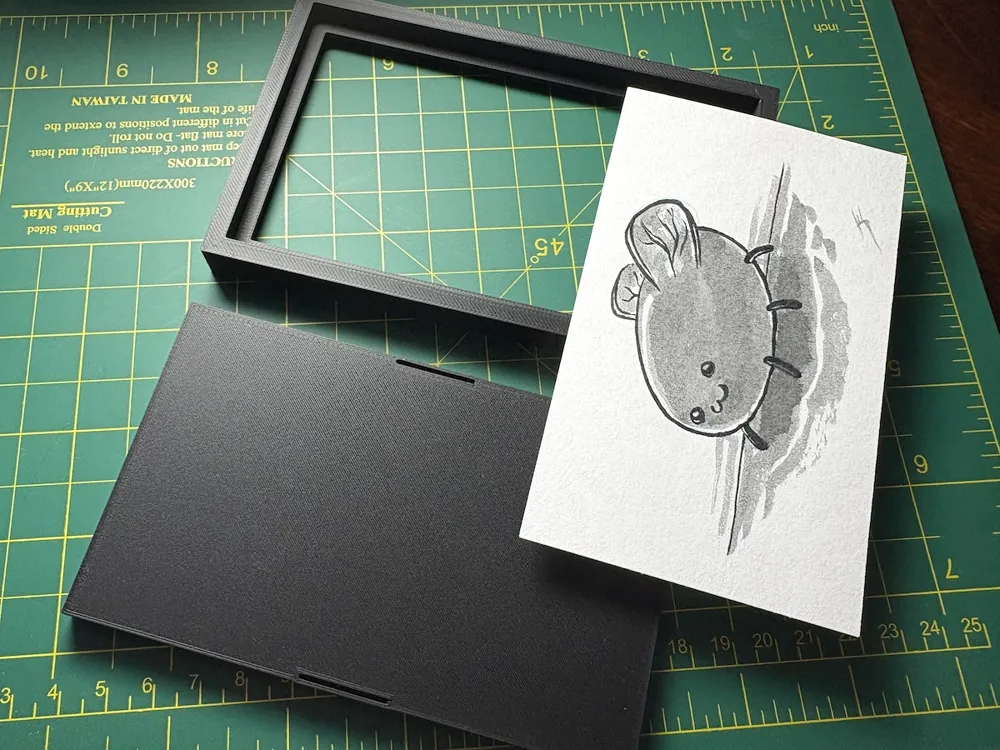
A simple customizable snap-together picture frame.
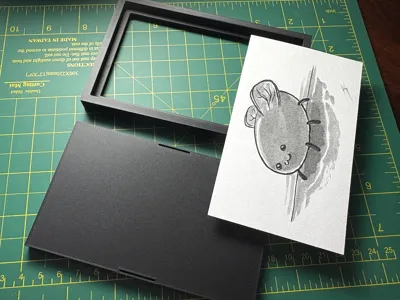
When customizing, specify a width and height that are just slightly larger than the photo or drawing you're placing in the frame. You can also specify a thickness; if you're adding a plastic or glass coversheet or a matte, include their thickness as well. The frame padding specifies how far the frame should overlap the image; the frame margin specifies how far the frame should extend beyond the borders of the image.
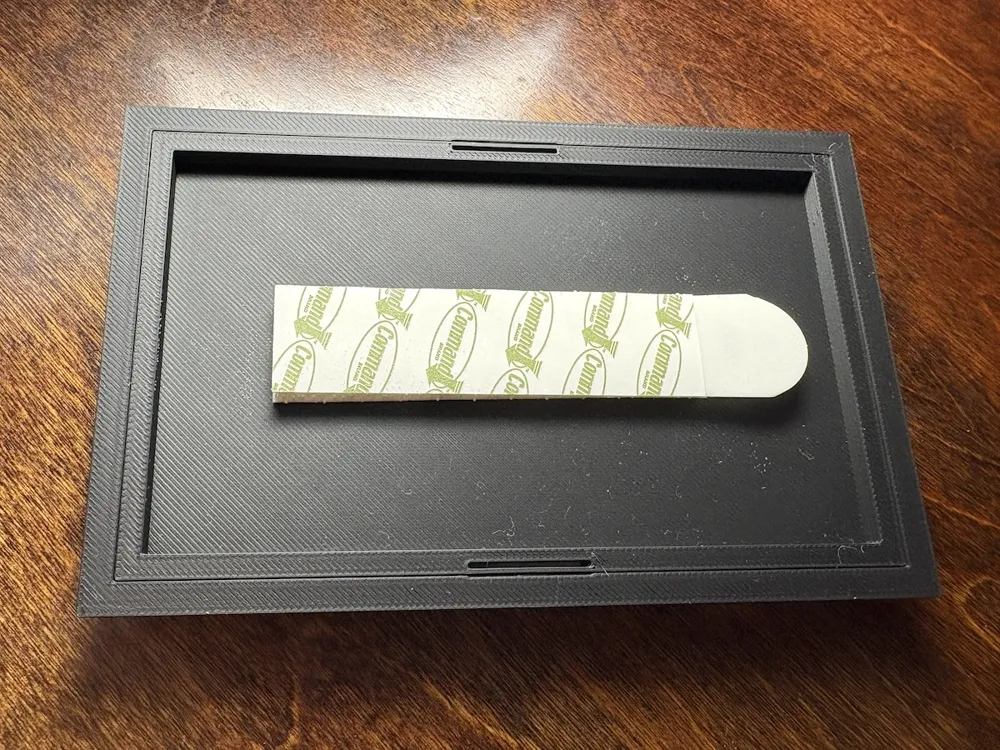
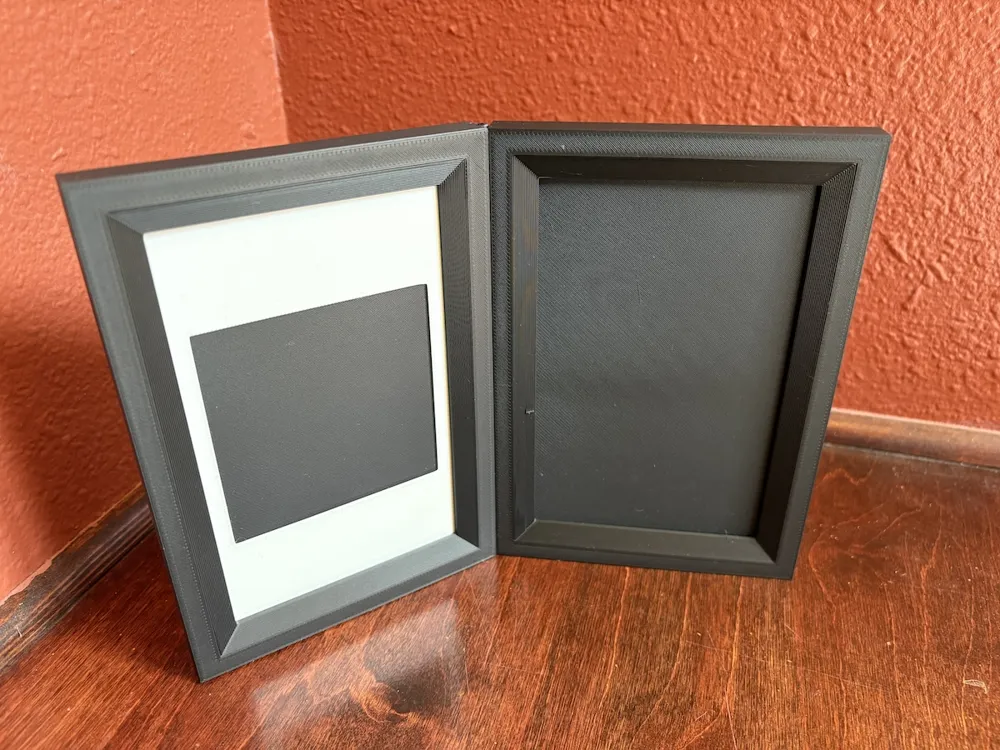
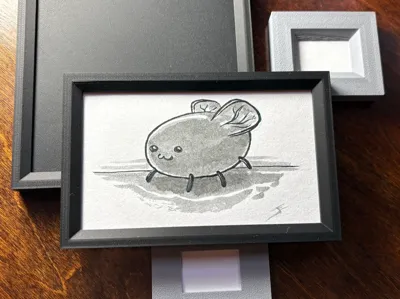
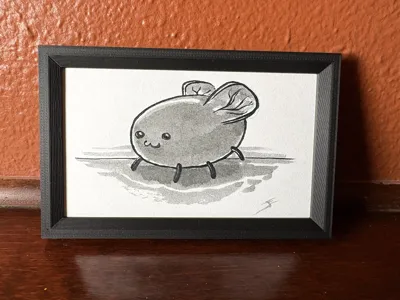
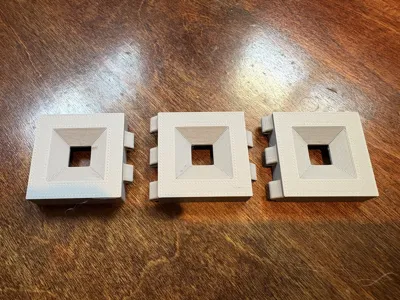
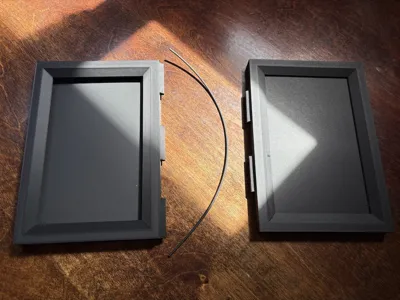
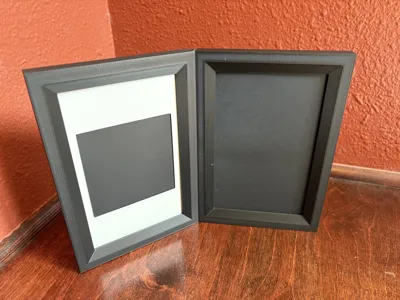
Several frame profiles and styles are available; the photos above display the "beveled" style. There are also several mounting options:
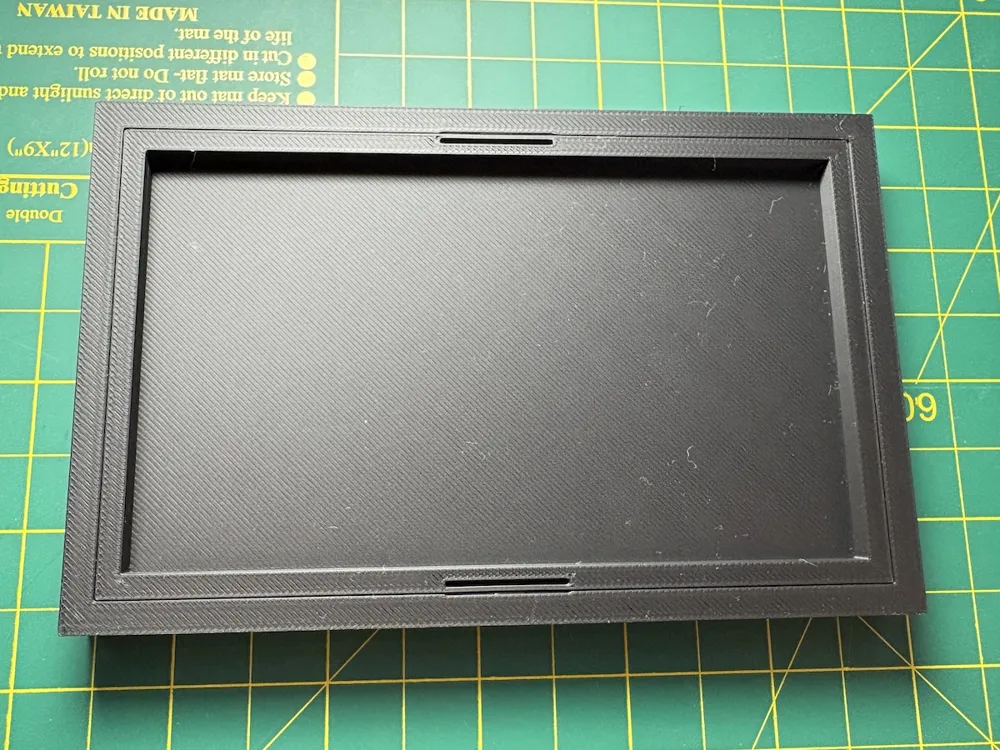
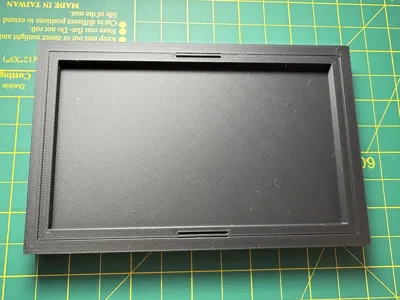
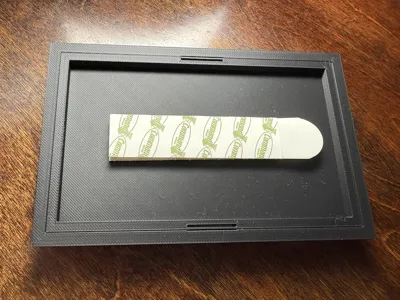
- Recess: a 4mm inset on the back of the image leaves room for mounting tape or 3M "Command" strips.
- Teeth: a ridged inset suitable for hanging the frame by a small nail or tack.
- None: a blank, flush rear surface. (You can use your slicer to subtract out holes for any size of magnet you have lying around!)
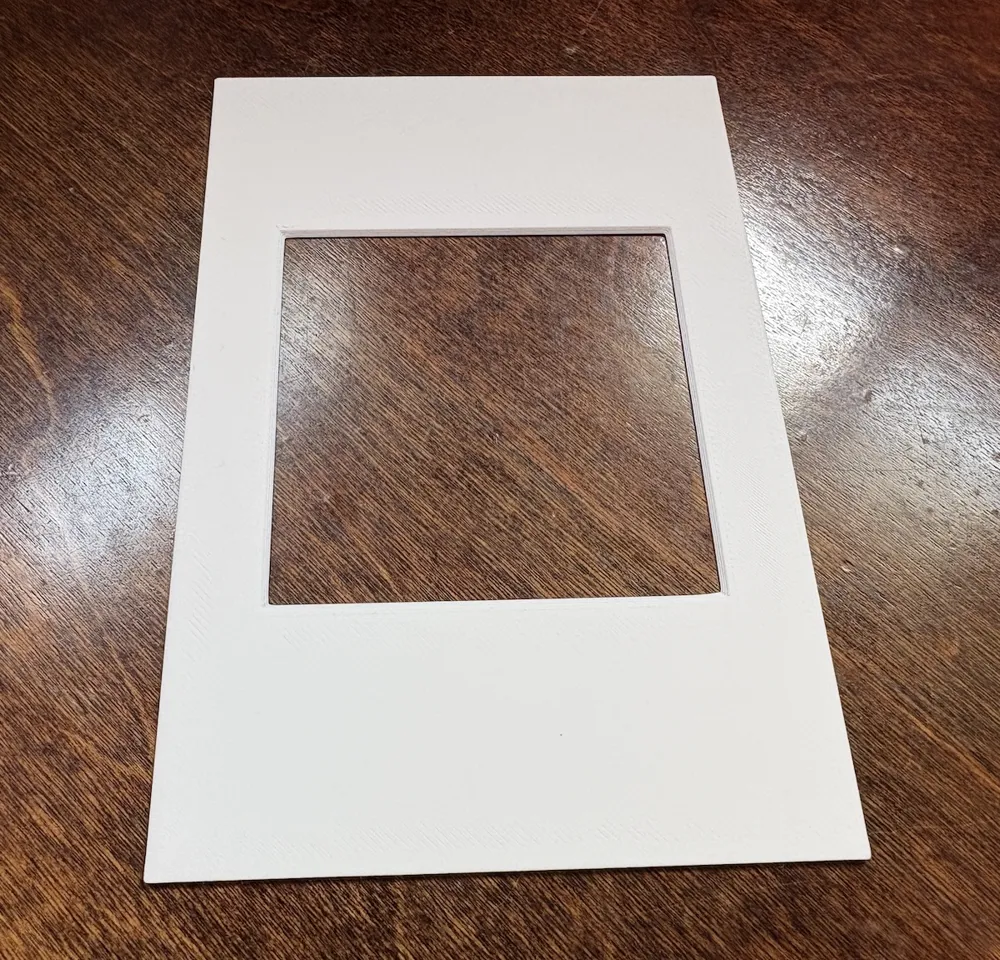
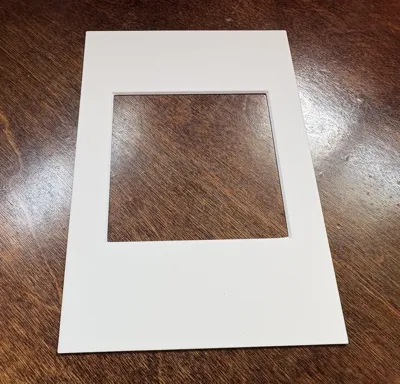
Update: Version 2 adds the ability to (optionally) generate matte plates. Just specify the size of hole, and you'll get a matte plate which matches the dimensions of the frame with a (by default) 1mm thickness and 45 degree internal bevel. Be sure to add the matte's thickness to the image thickness parameter if you're using one!
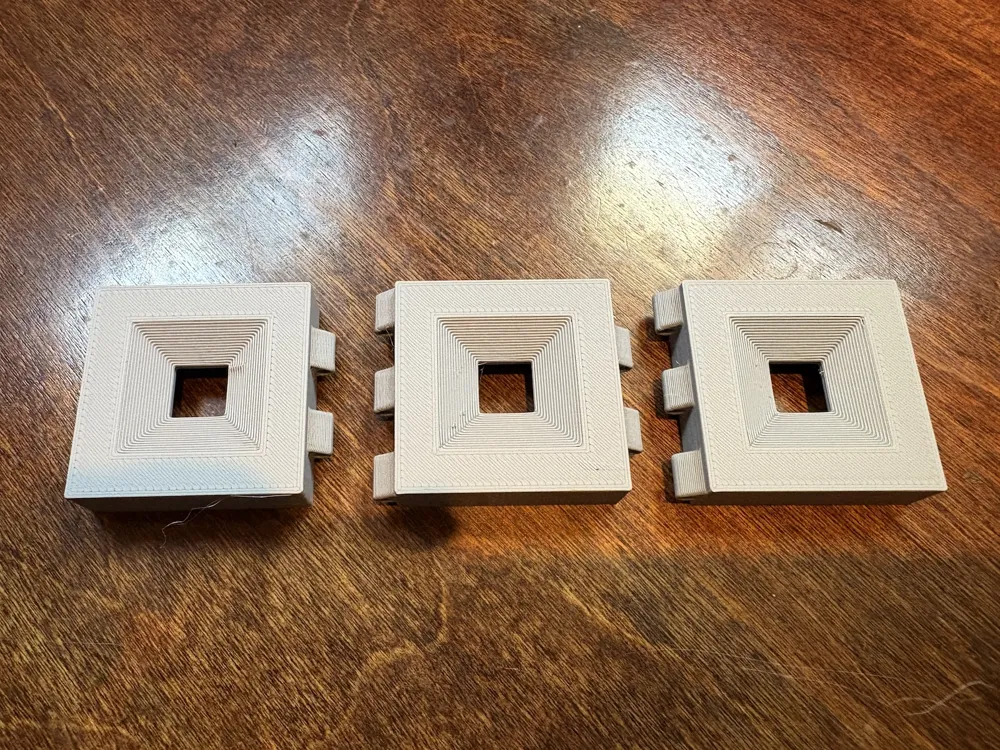
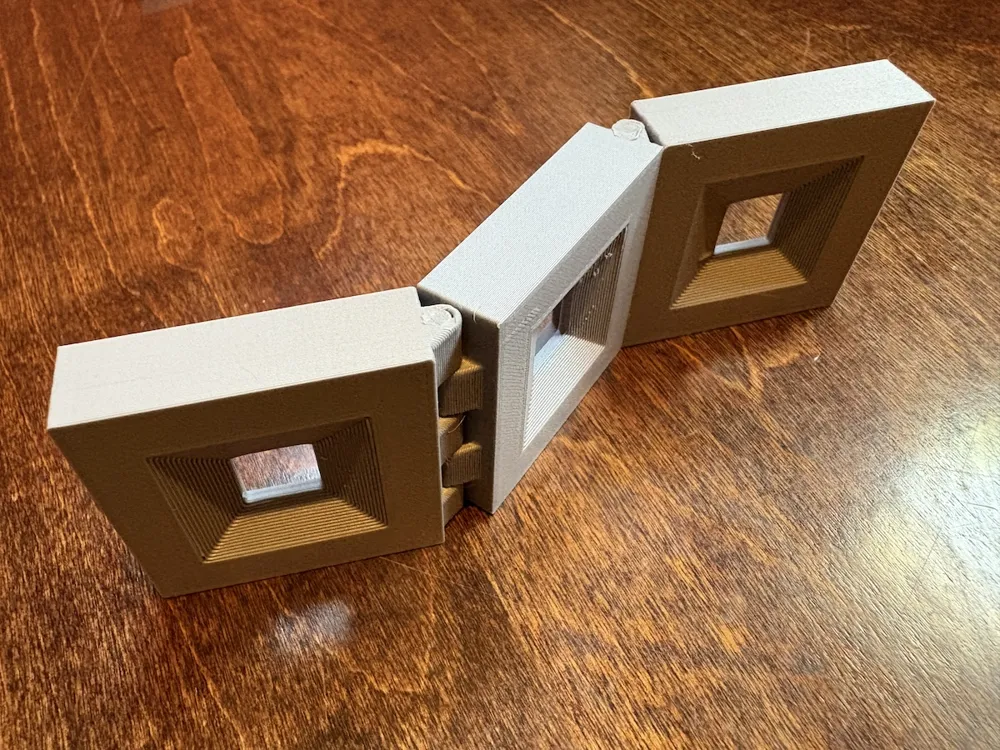
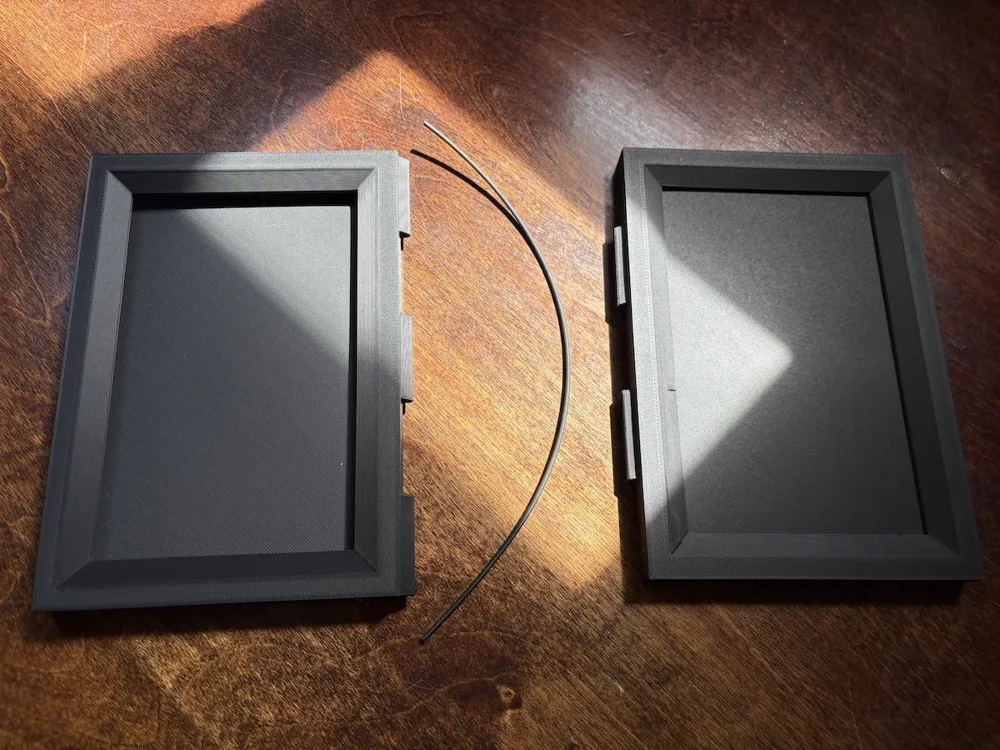
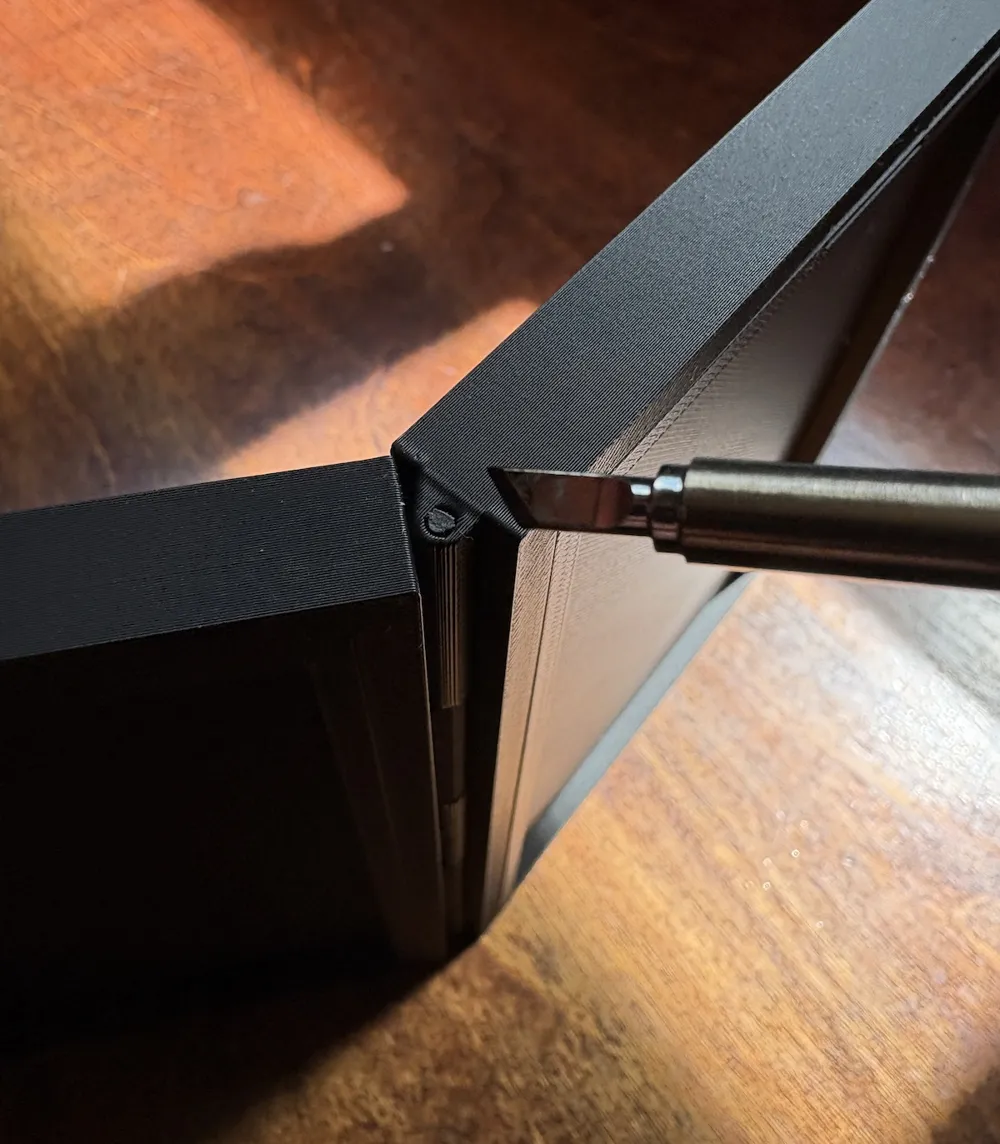
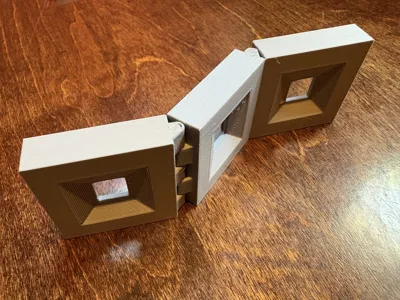
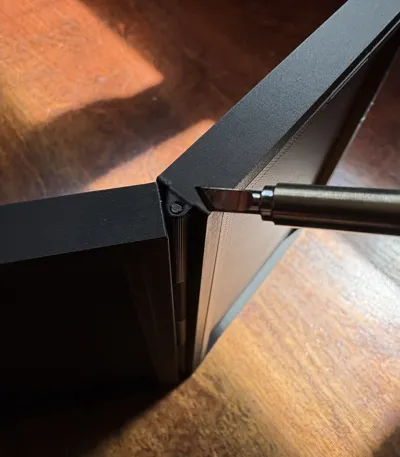
You can also optionally add hinges to the edges of the frame, allowing you create any number of attached panels; the height of each panel must match for the hinges to be compatible. Thread a length of standard printer filament through the hinges to hold them together and then add a small drop of glue or weld the ends with a soldering iron to keep the filament in place.
The included example print profile is sized for a standard 3x5 index card. 10% infill and 2 wall shells are sufficient; use your slicer to auto-orient the parts and they should print without any supports, for most settings. I recommend using a SuperTack Coolplate for the best surface finish.
Boost Me (for free)
If you find this design useful, please consider giving me a boost!
All my designs are free and open-source.
Note: the OpenSCAD file defines the parts and mockups for this design as the modules mw_plate_1, mw_plate_2, and mw_assembly_view. If you want to work on this design locally, uncomment one of the final lines of the .scad file!
License



Comment & Rating (13)