
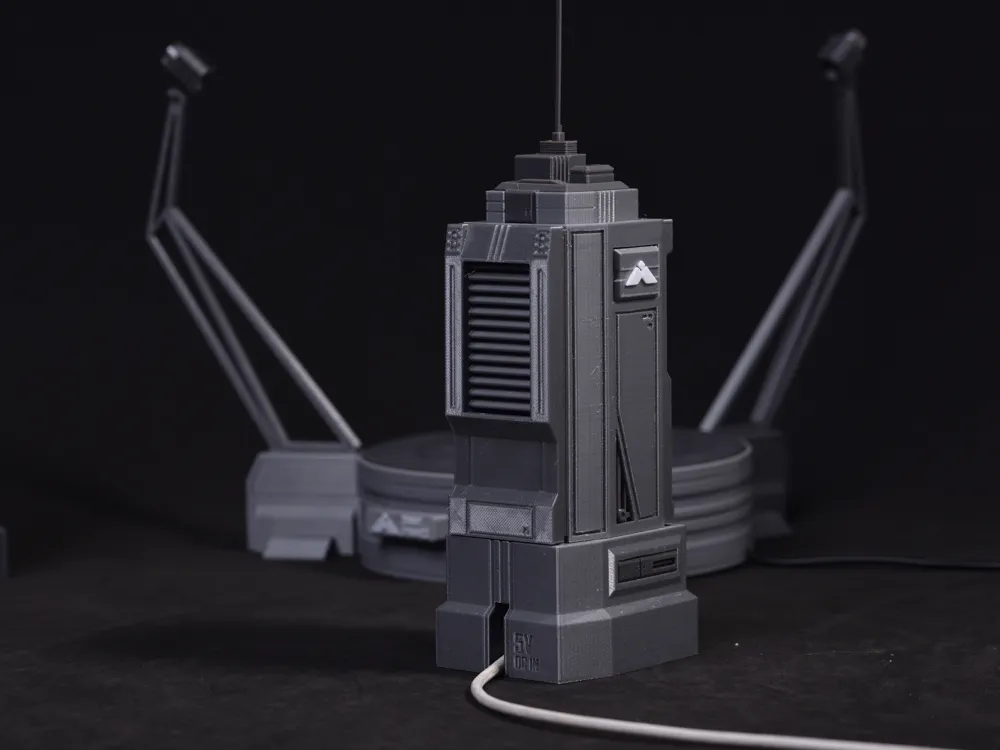
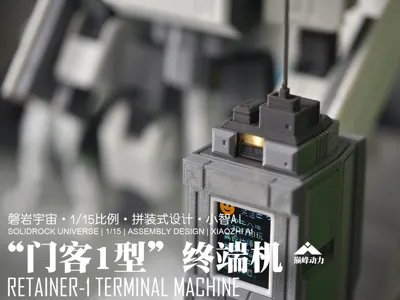
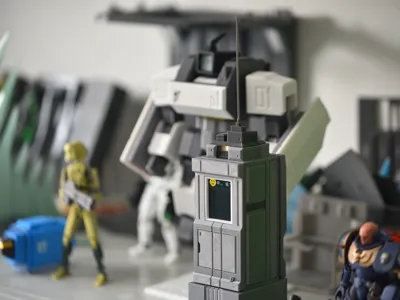
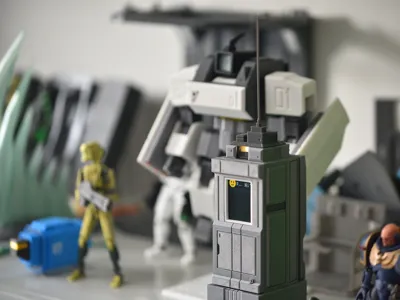
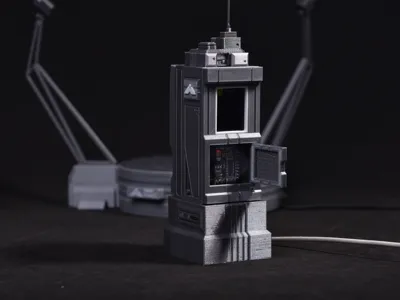
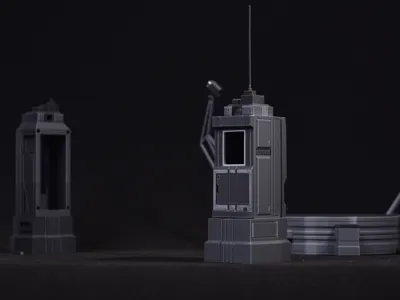
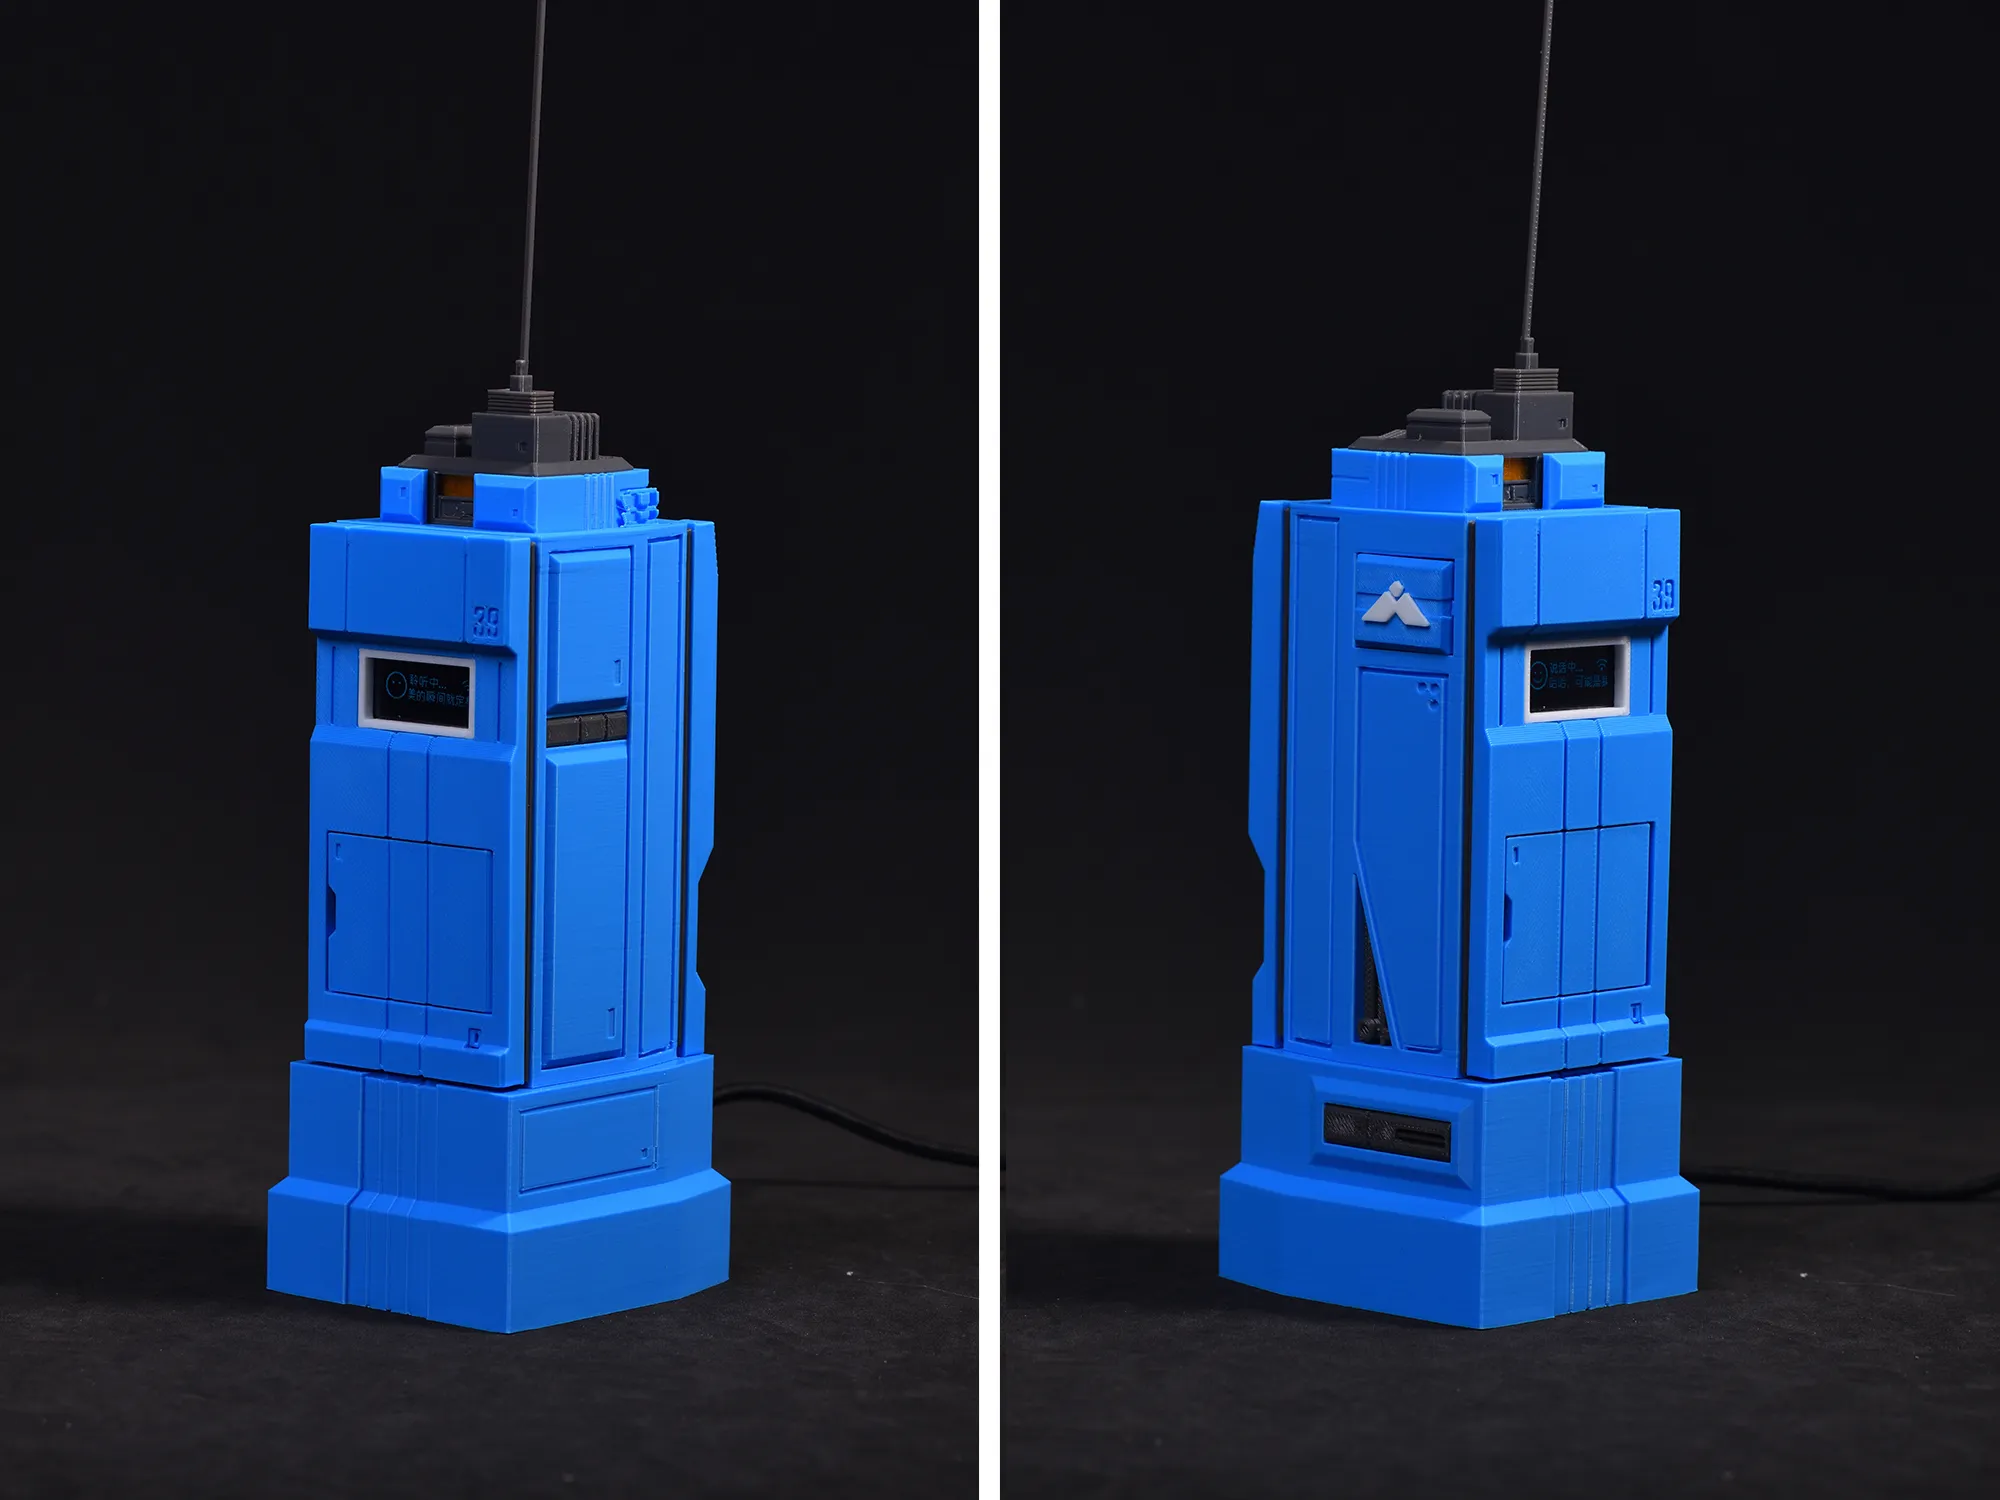
[Panrock Universe] Peak Power "Menke Type 1" Terminal (Xiaozhi AI inside)
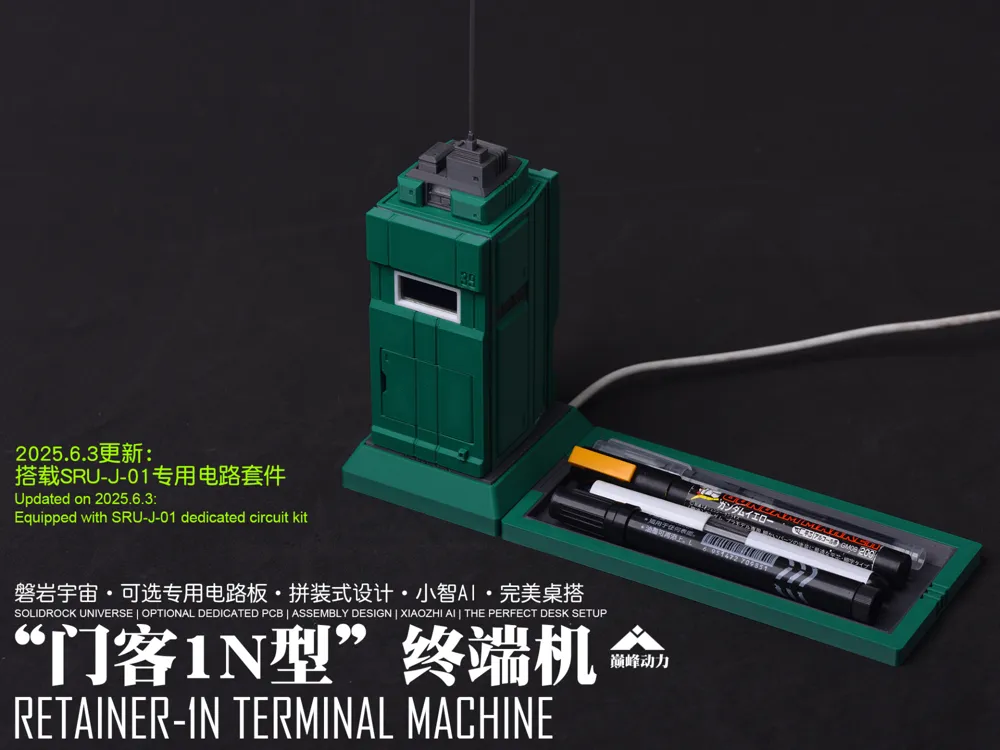
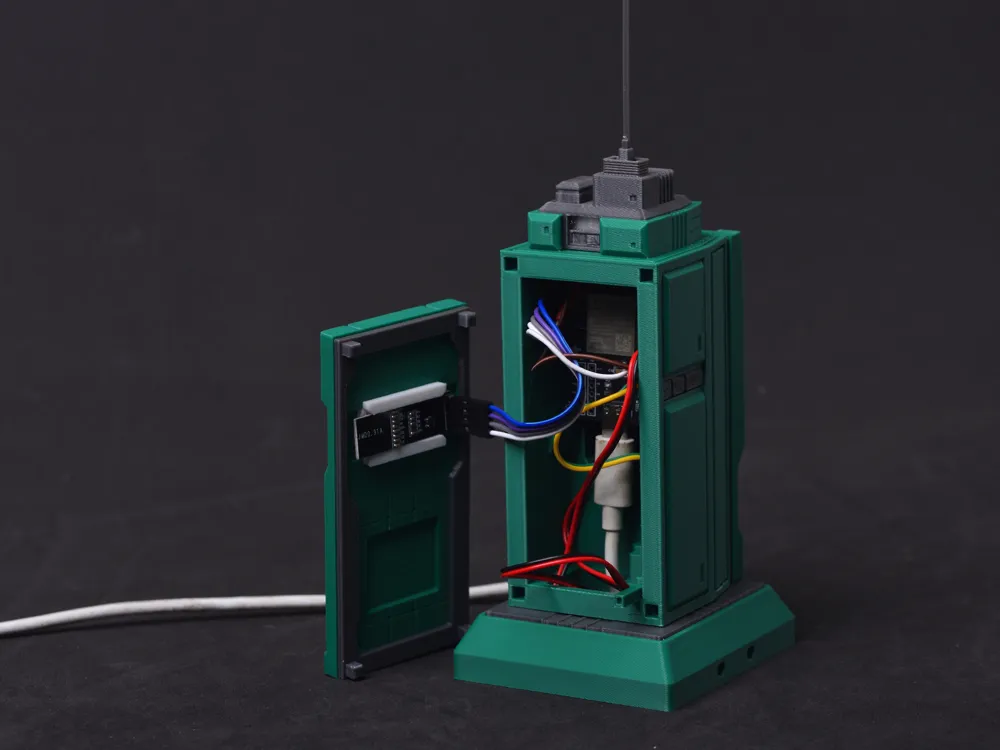
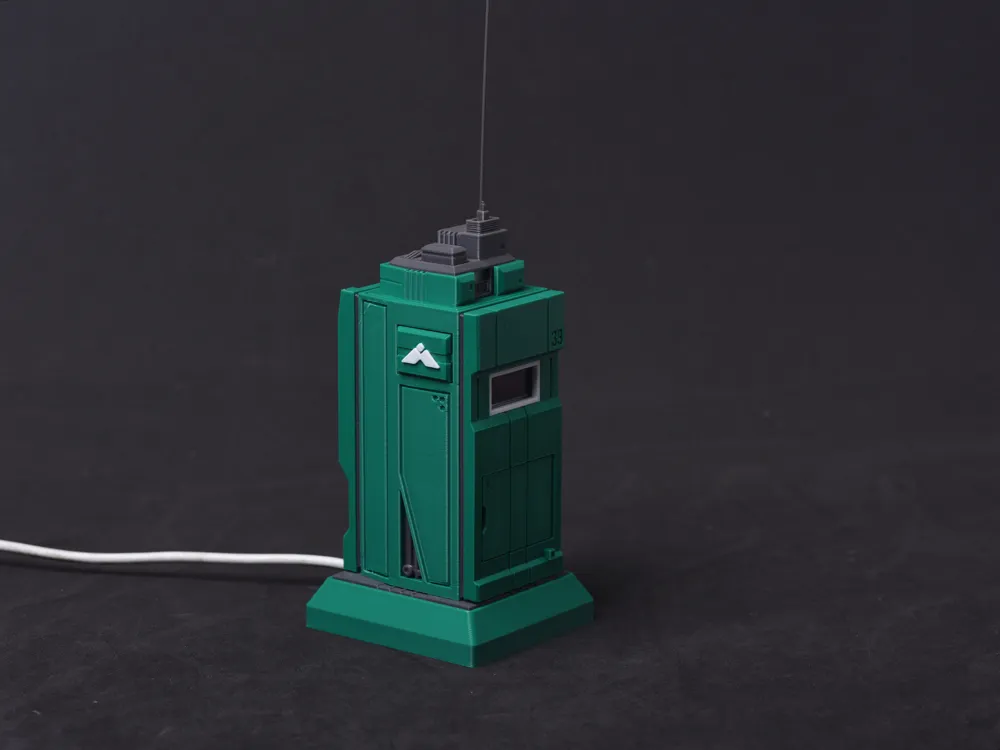
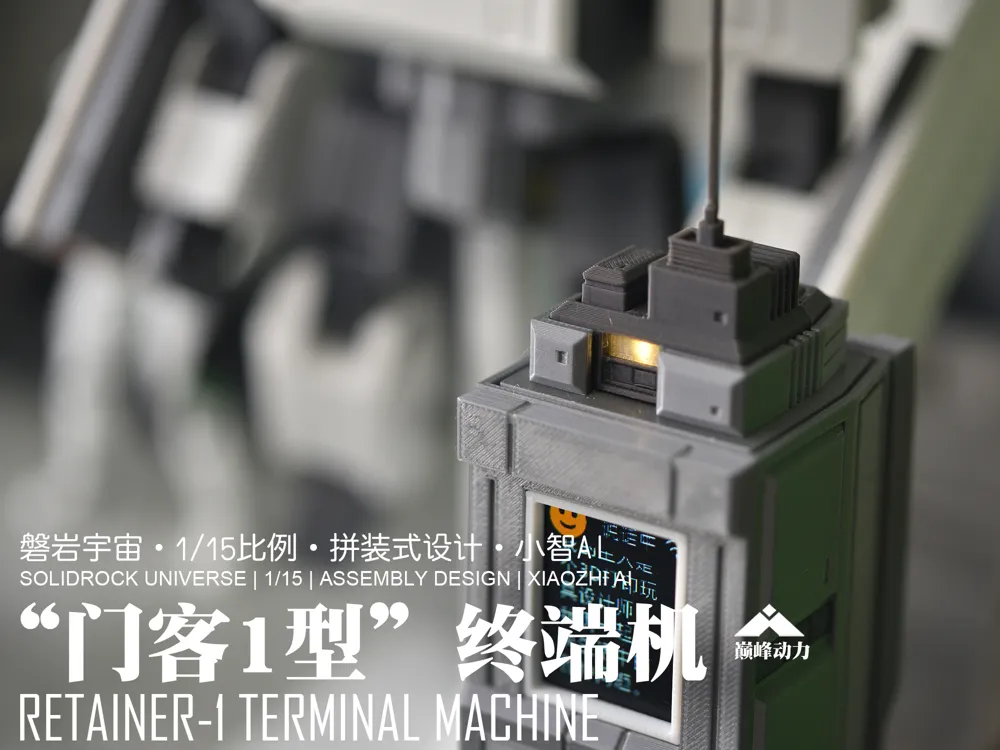
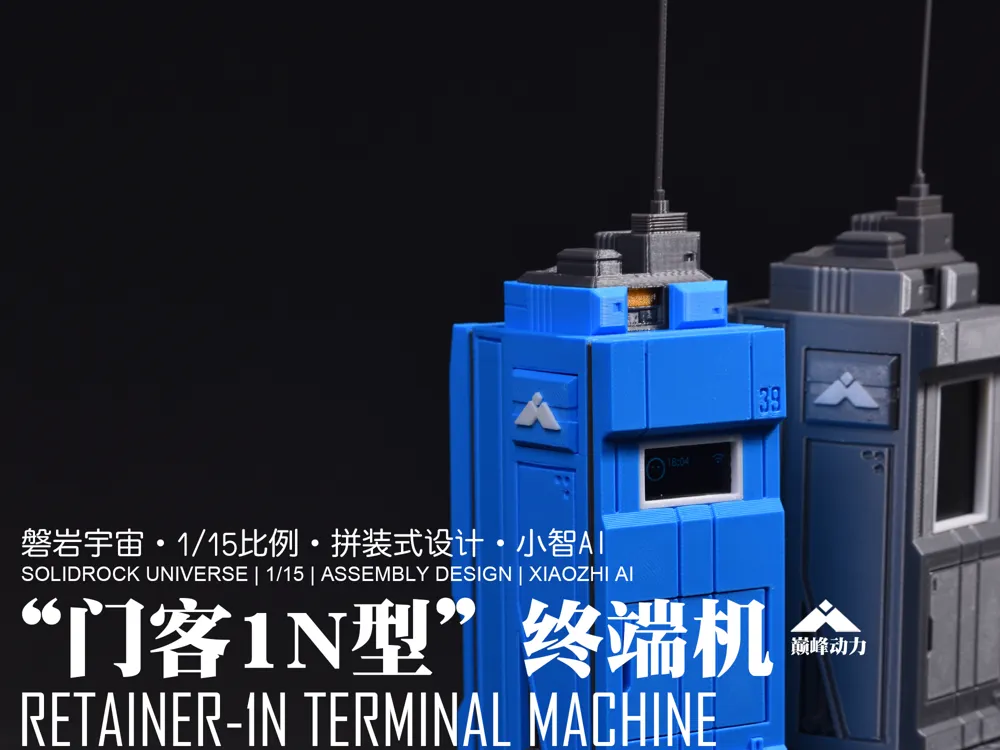
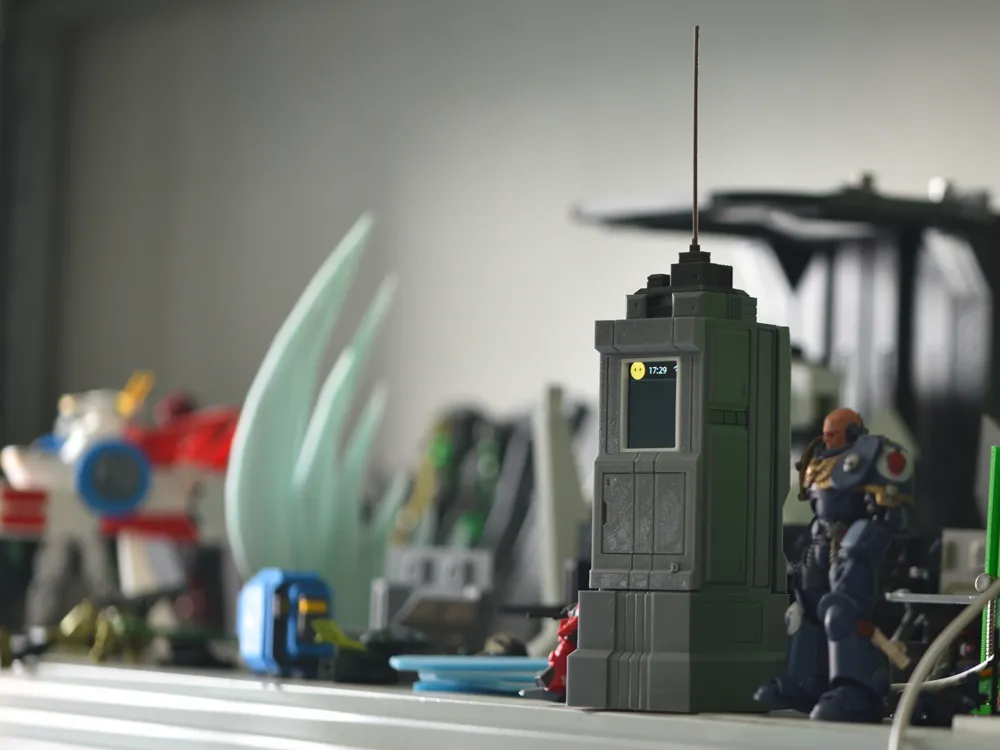
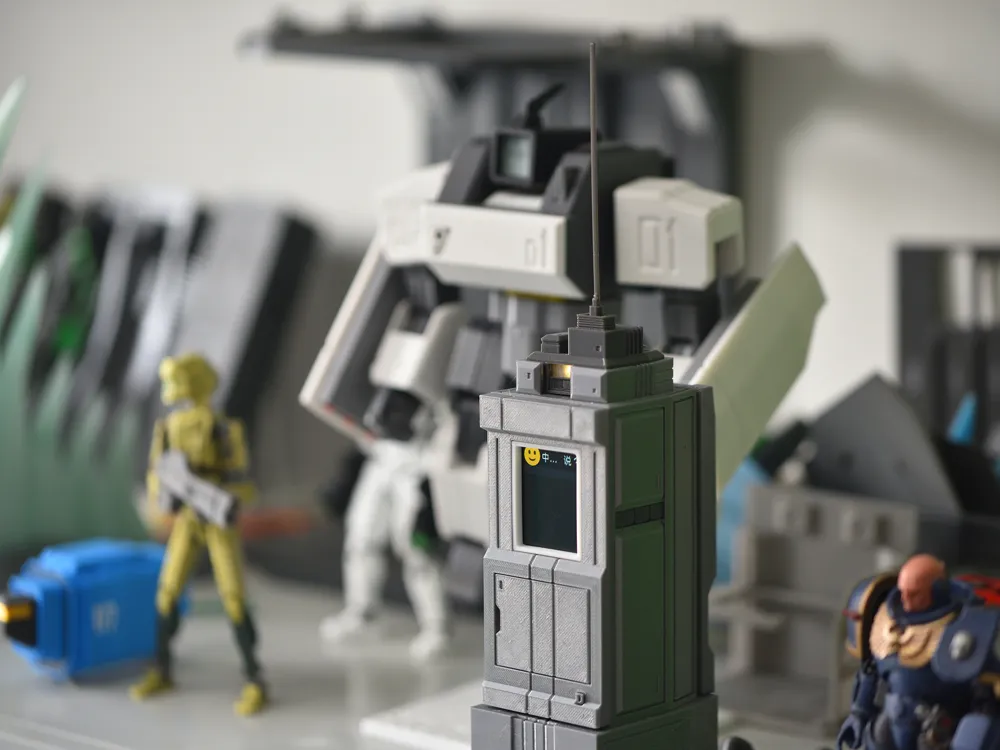
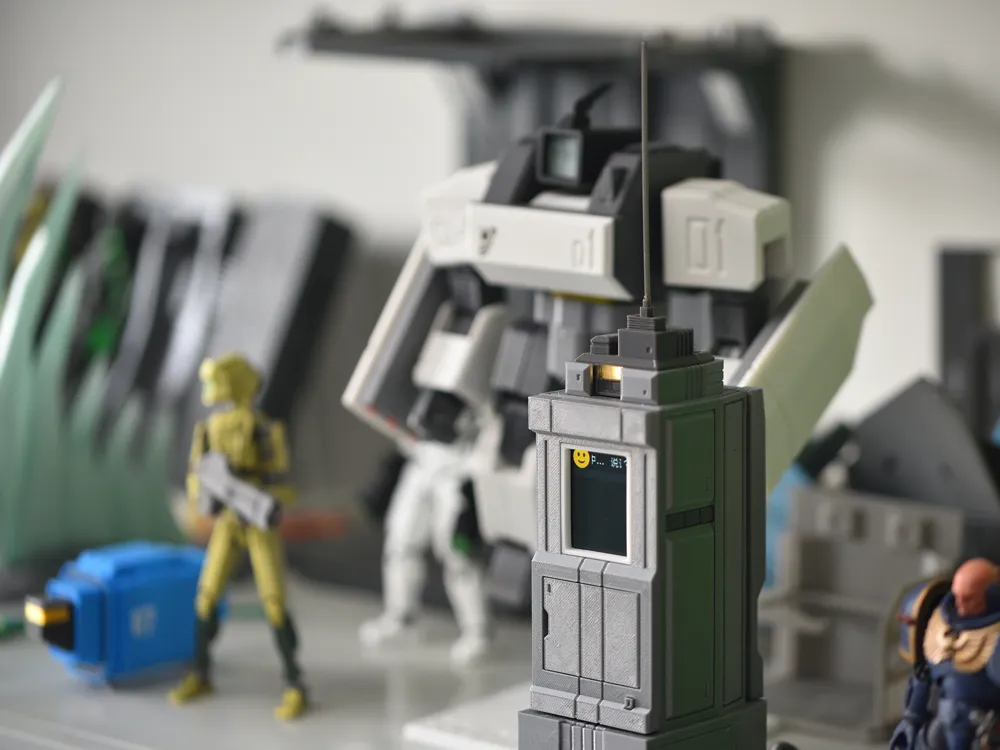
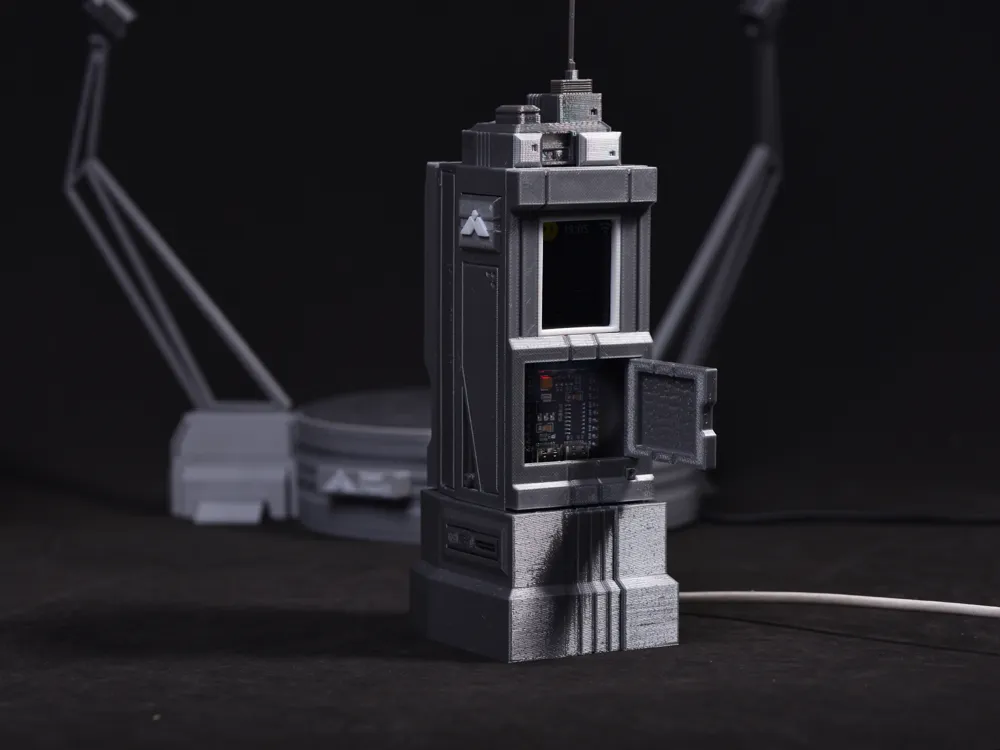
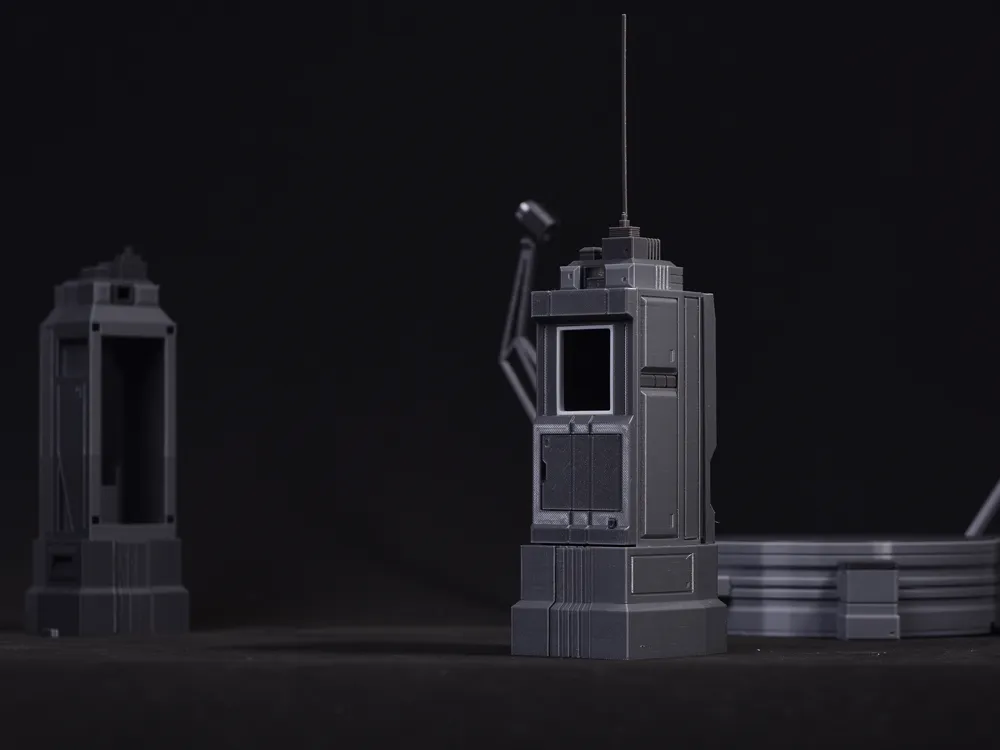
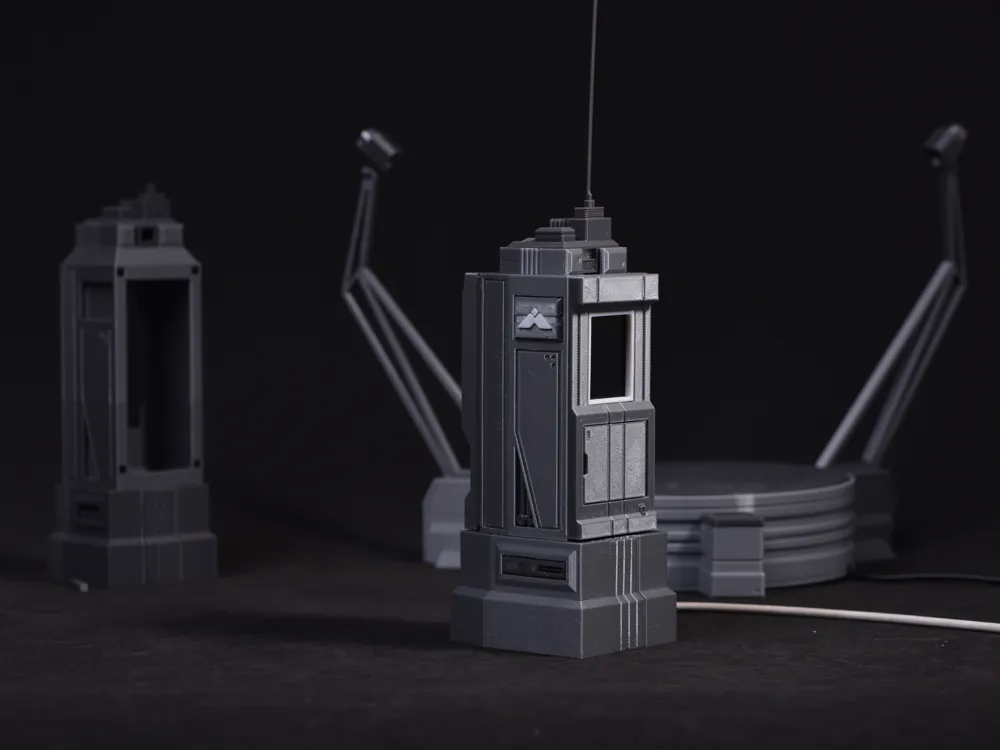
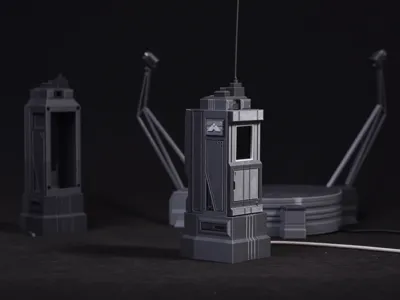
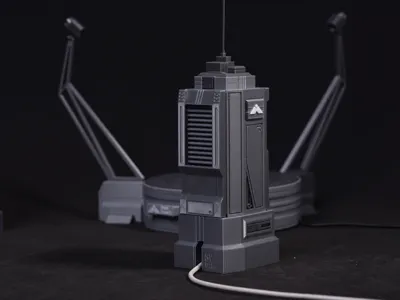
Print Profile(4)


Description
Membership
If you think my model is great and want to print it out and sell it, or if you'd like to treat me to two lattes this month, please subscribe to me!
Since acquiring a XiaoZhi AI, I’ve been engrossed in crafting its enclosure
And then it spiraled…
Purchasing wires, lights, switches, soldering irons…the acquisitions are endless, truly endless…
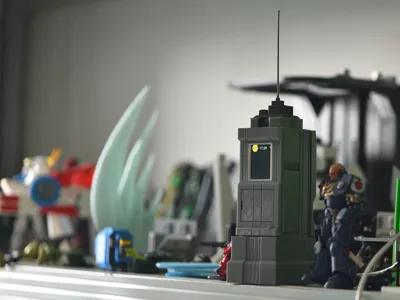
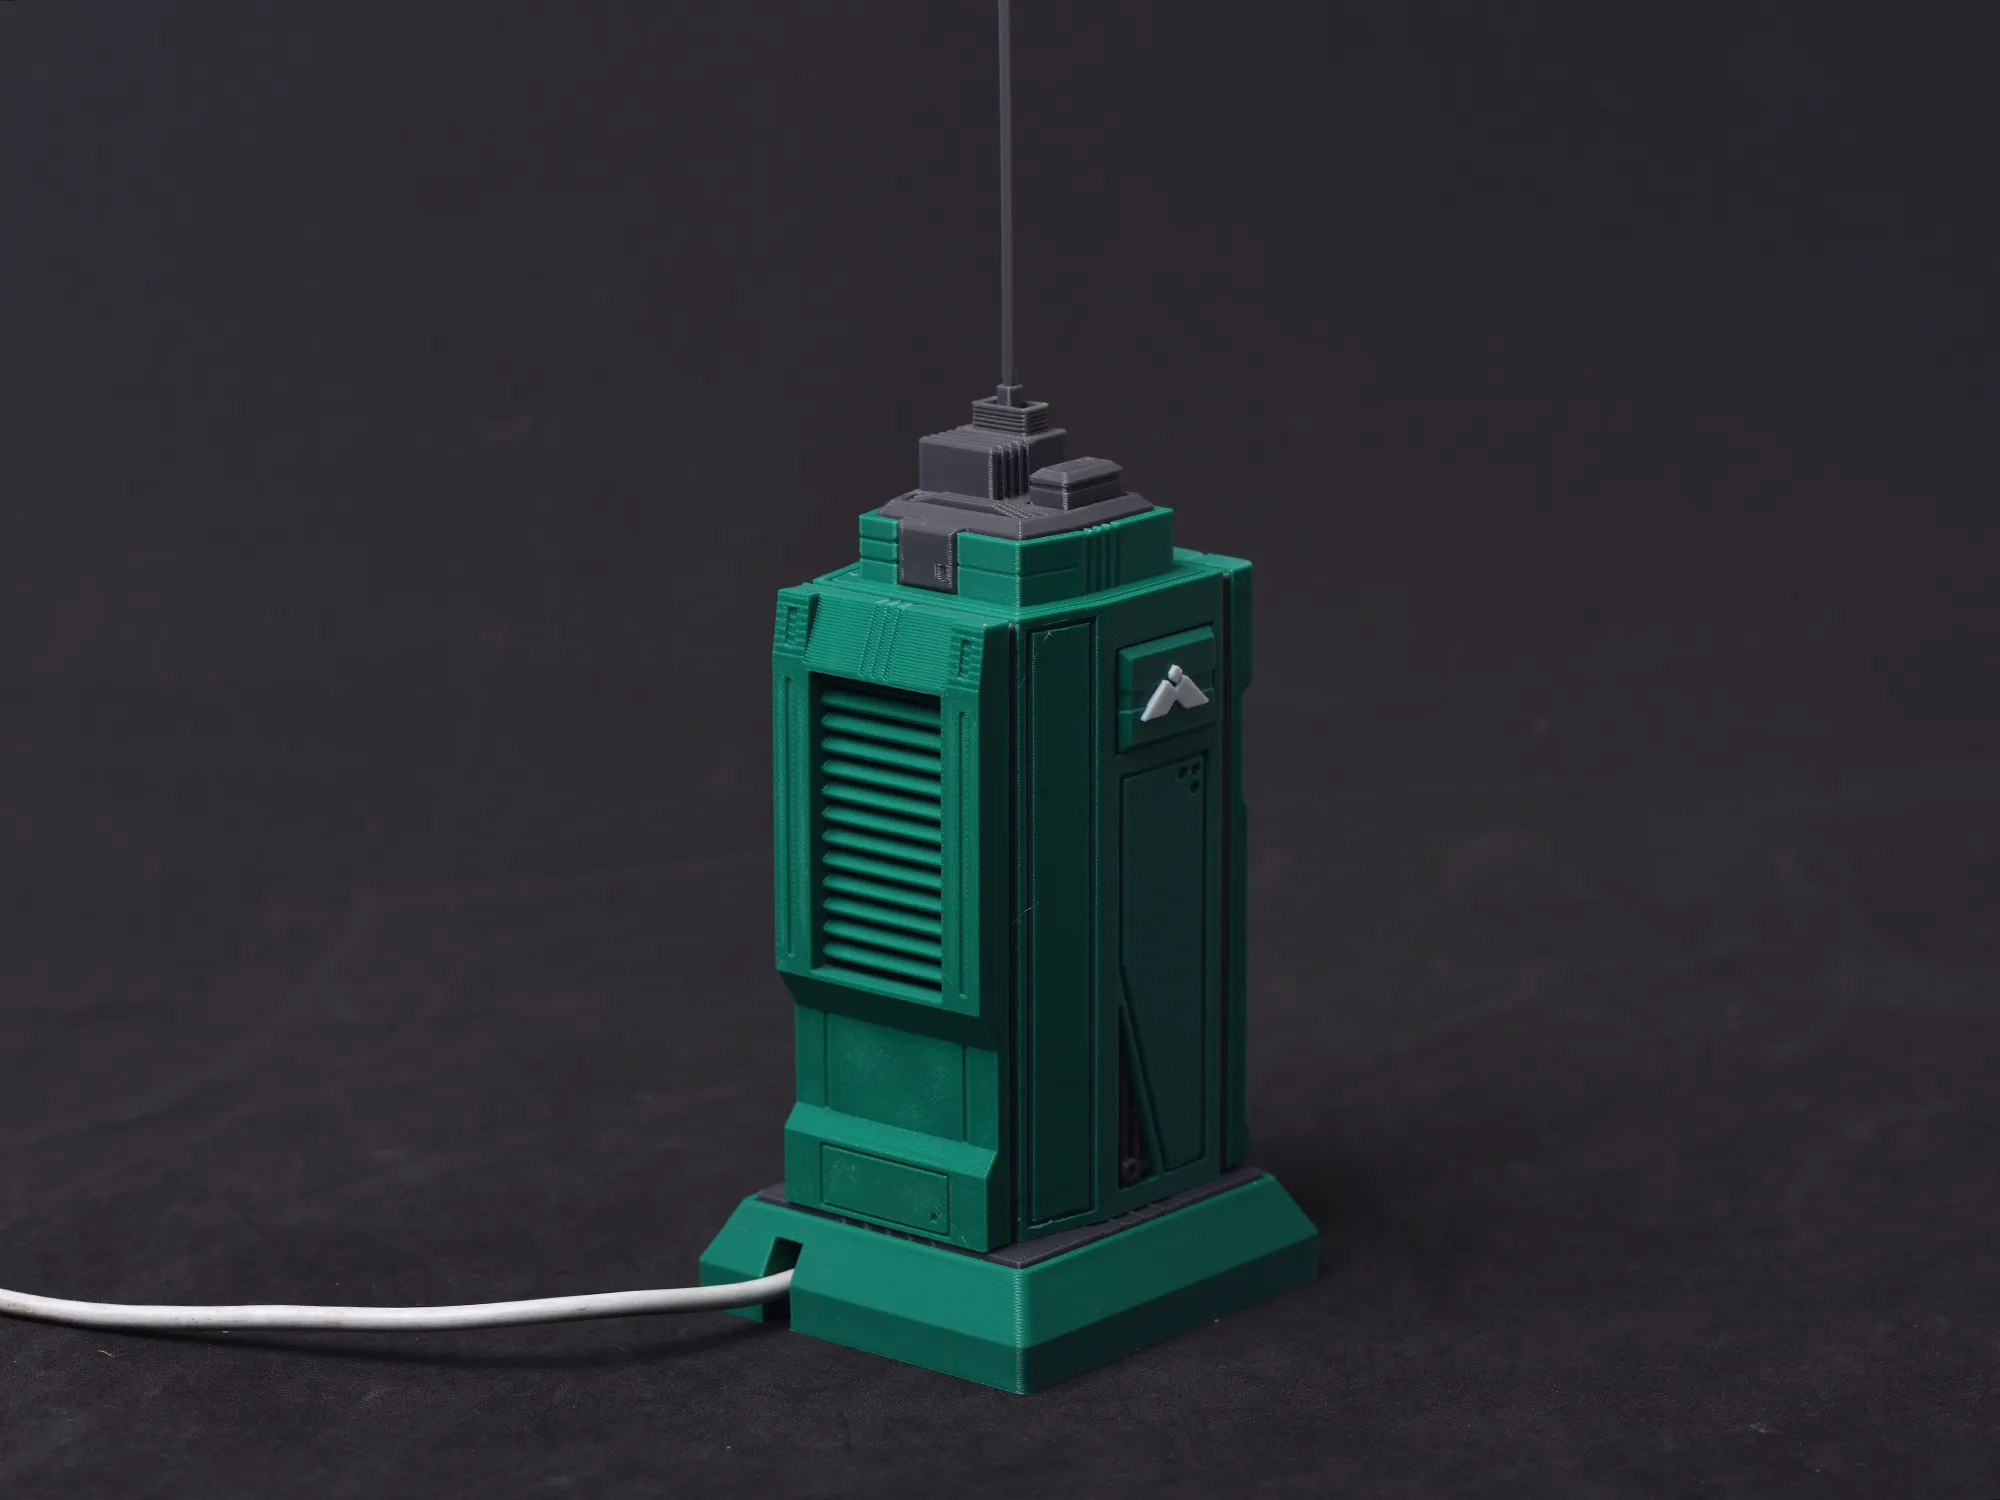
But at last, it’s complete,
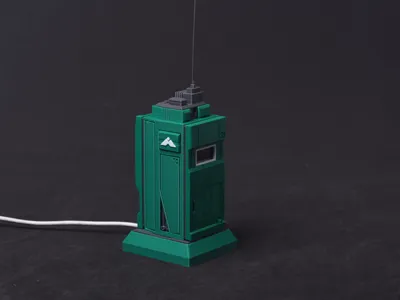
- 1/15 scale
- Panrock Universe series
- Perfectly accommodates the large-screen version of the ESP32 XiaoZhi AI
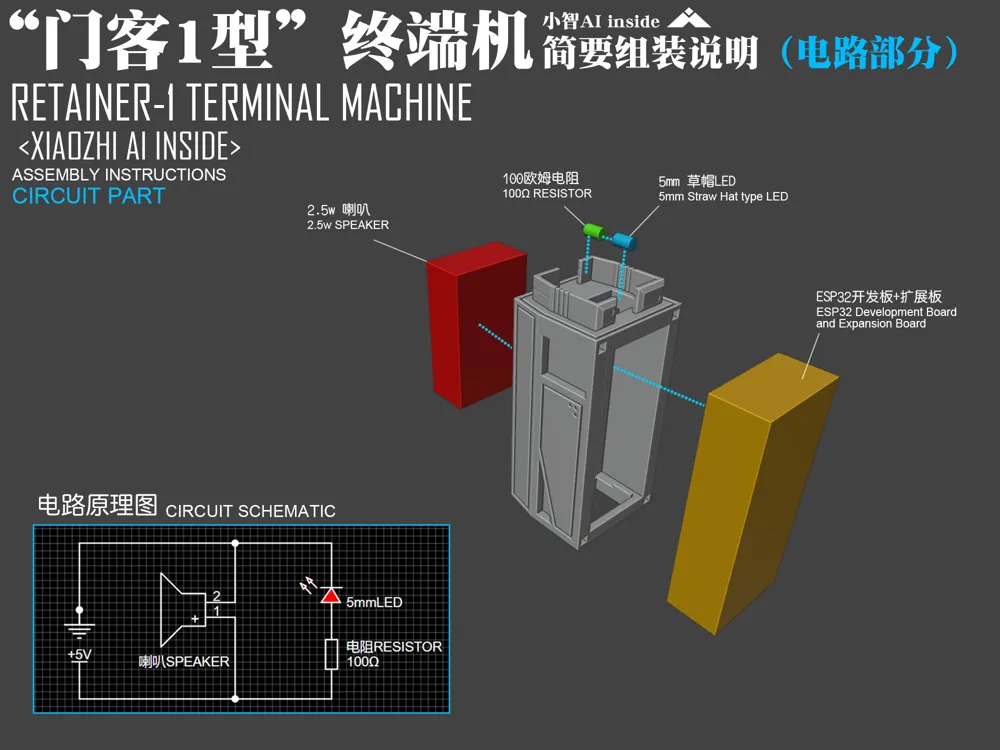
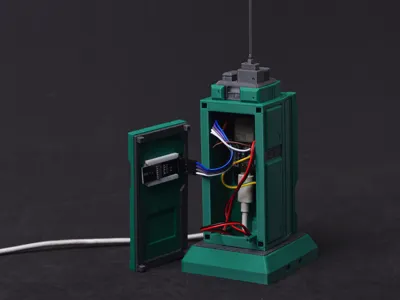
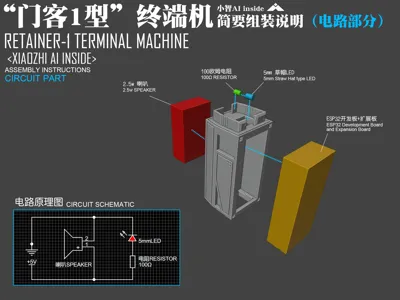
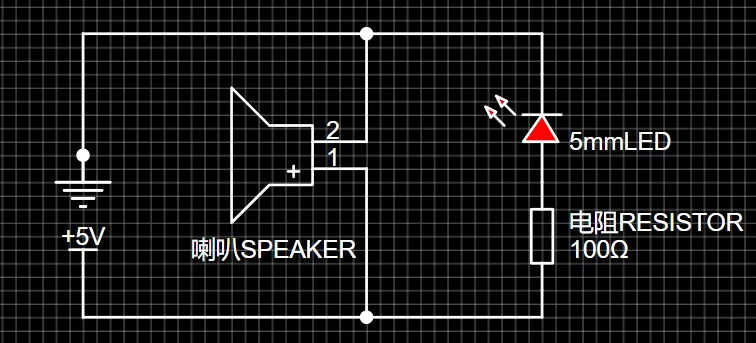
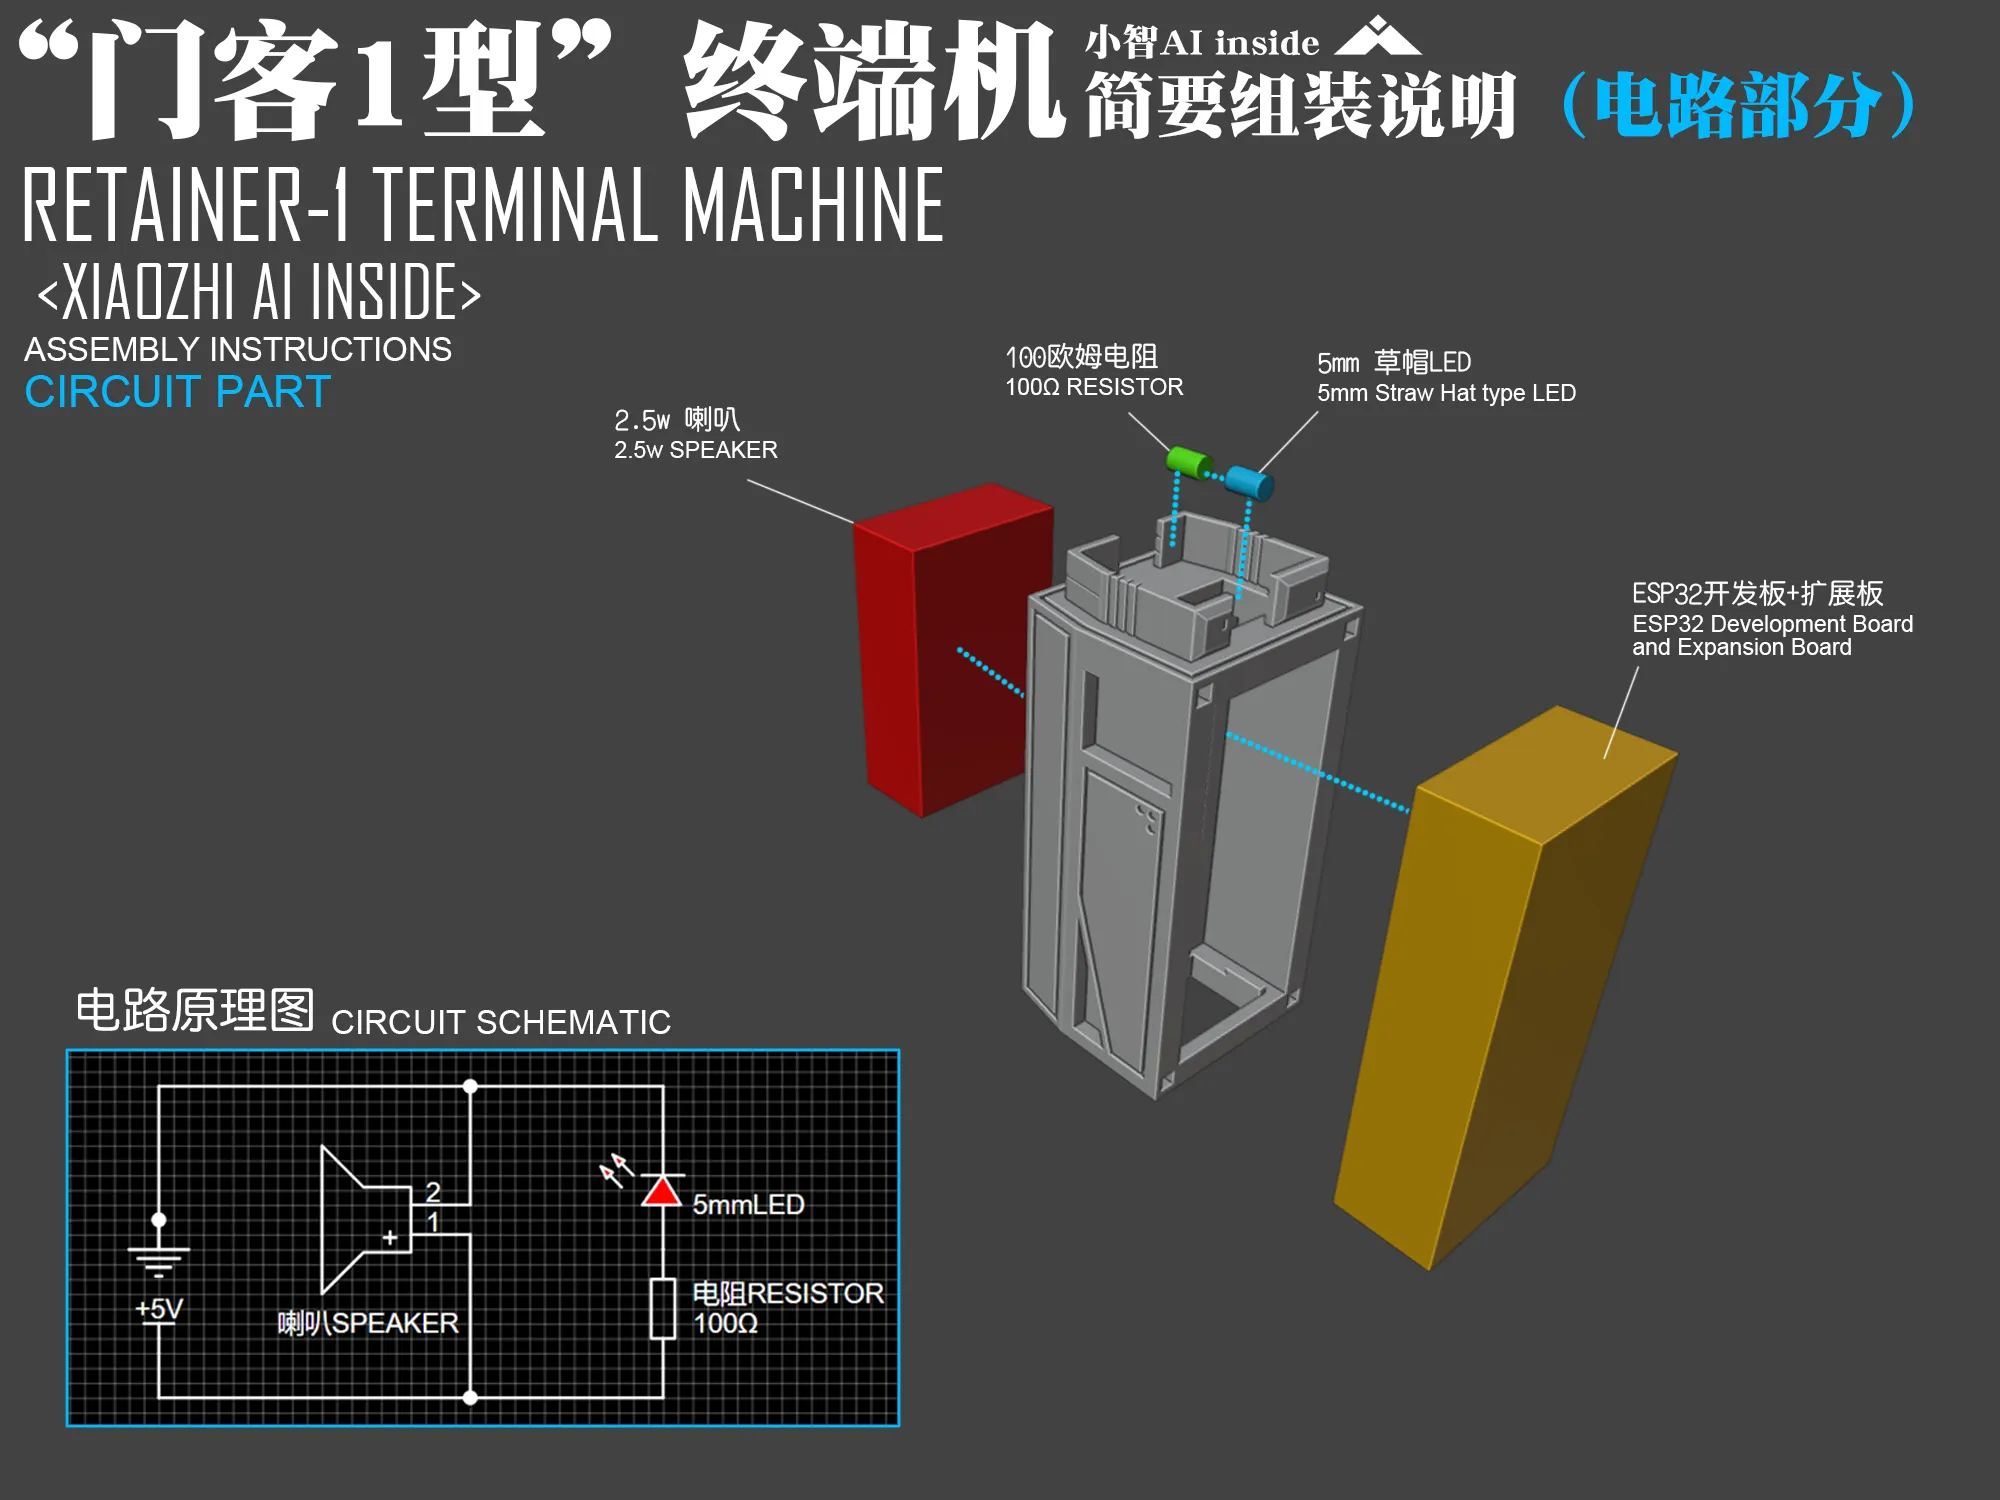
Includes a parallel LED light for a more vibrant, dynamic speaking effect, as shown:

Circuit diagram below:
- Further iterations of the base are theoretically forthcoming
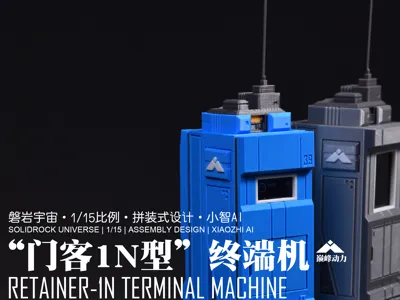
【2025.4.10 Update】Updated to accommodate the “Menke 1N” terminal with an ESP32 and 0.94-inch narrow screen (see print profile; only the front panel component is replaced)
- 【2025.4.11 Update】: Additional non-3D printed materials required
- Menke 1:
- XiaoZhi AI kit: 1.8-inch screen + ESP32S3 development board + 44-pin expansion board (without side buttons)
- USB cable
- USB power adapter
- 5mm mushroom-cap LED
- 100-ohm resistor
- Menke 1N:
- XiaoZhi AI kit: 0.91-inch screen + ESP32S3 development board + 44-pin expansion board (without side buttons)
- USB cable
- USB power adapter
- 5mm mushroom-cap LED
- 100-ohm resistor
- Four 10cm DuPont wires (male-female)
- Menke 1:
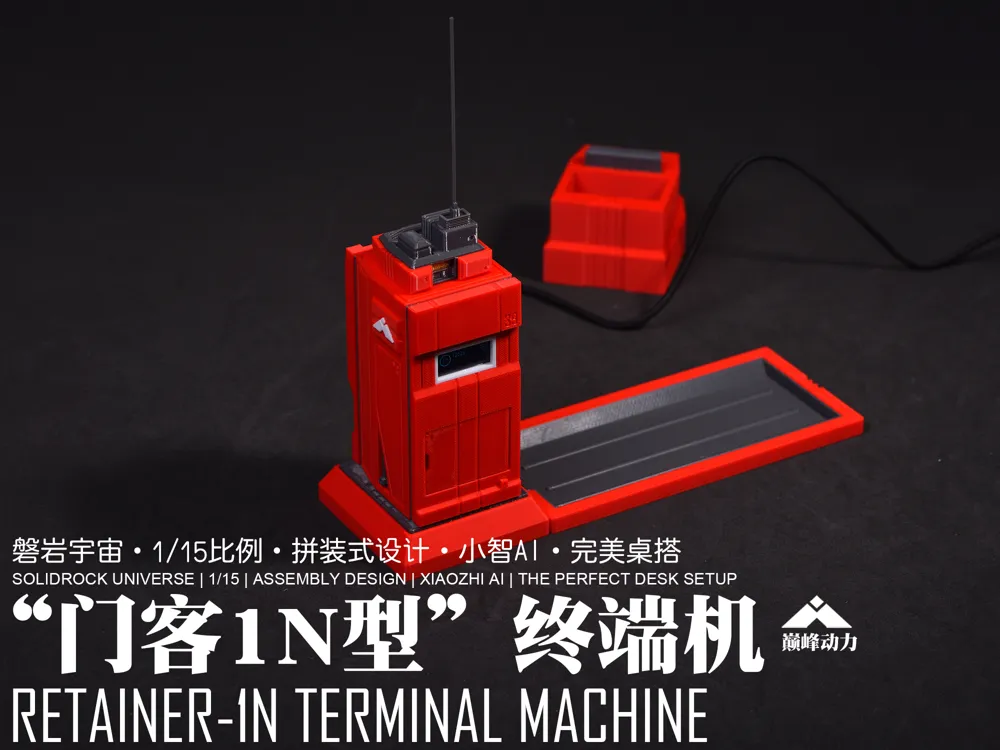
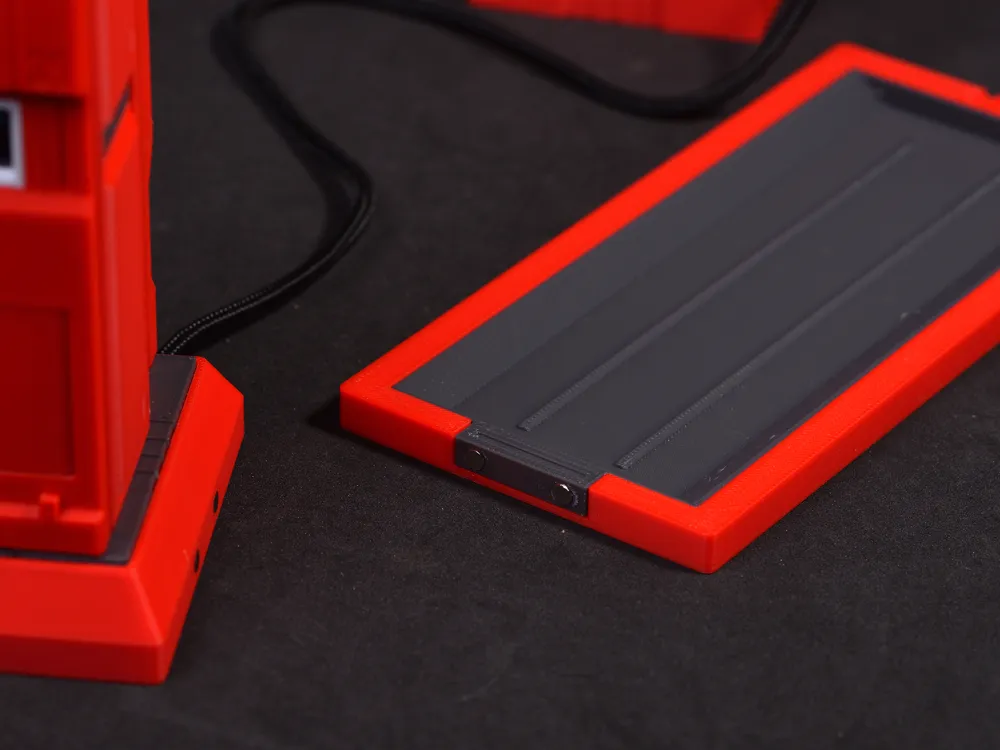
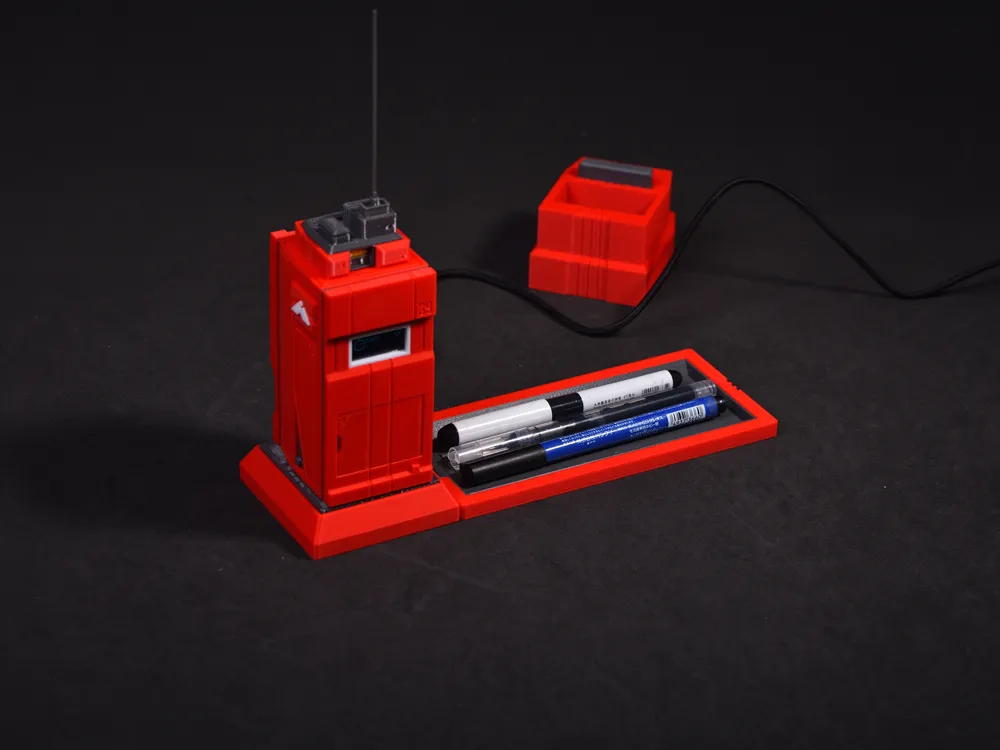
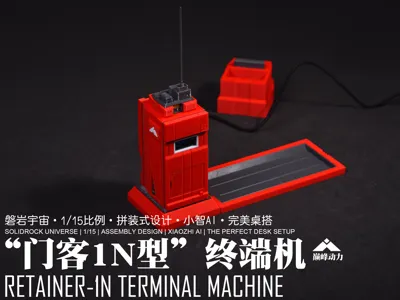
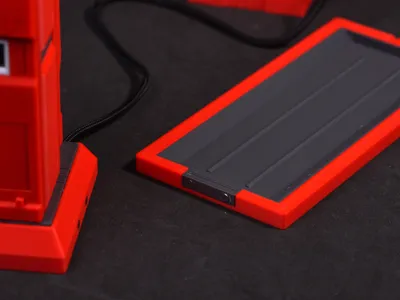
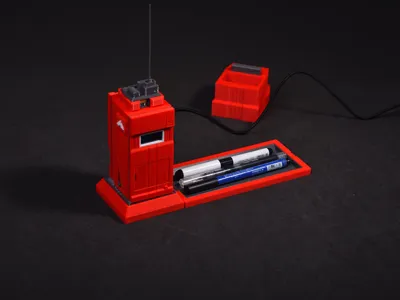
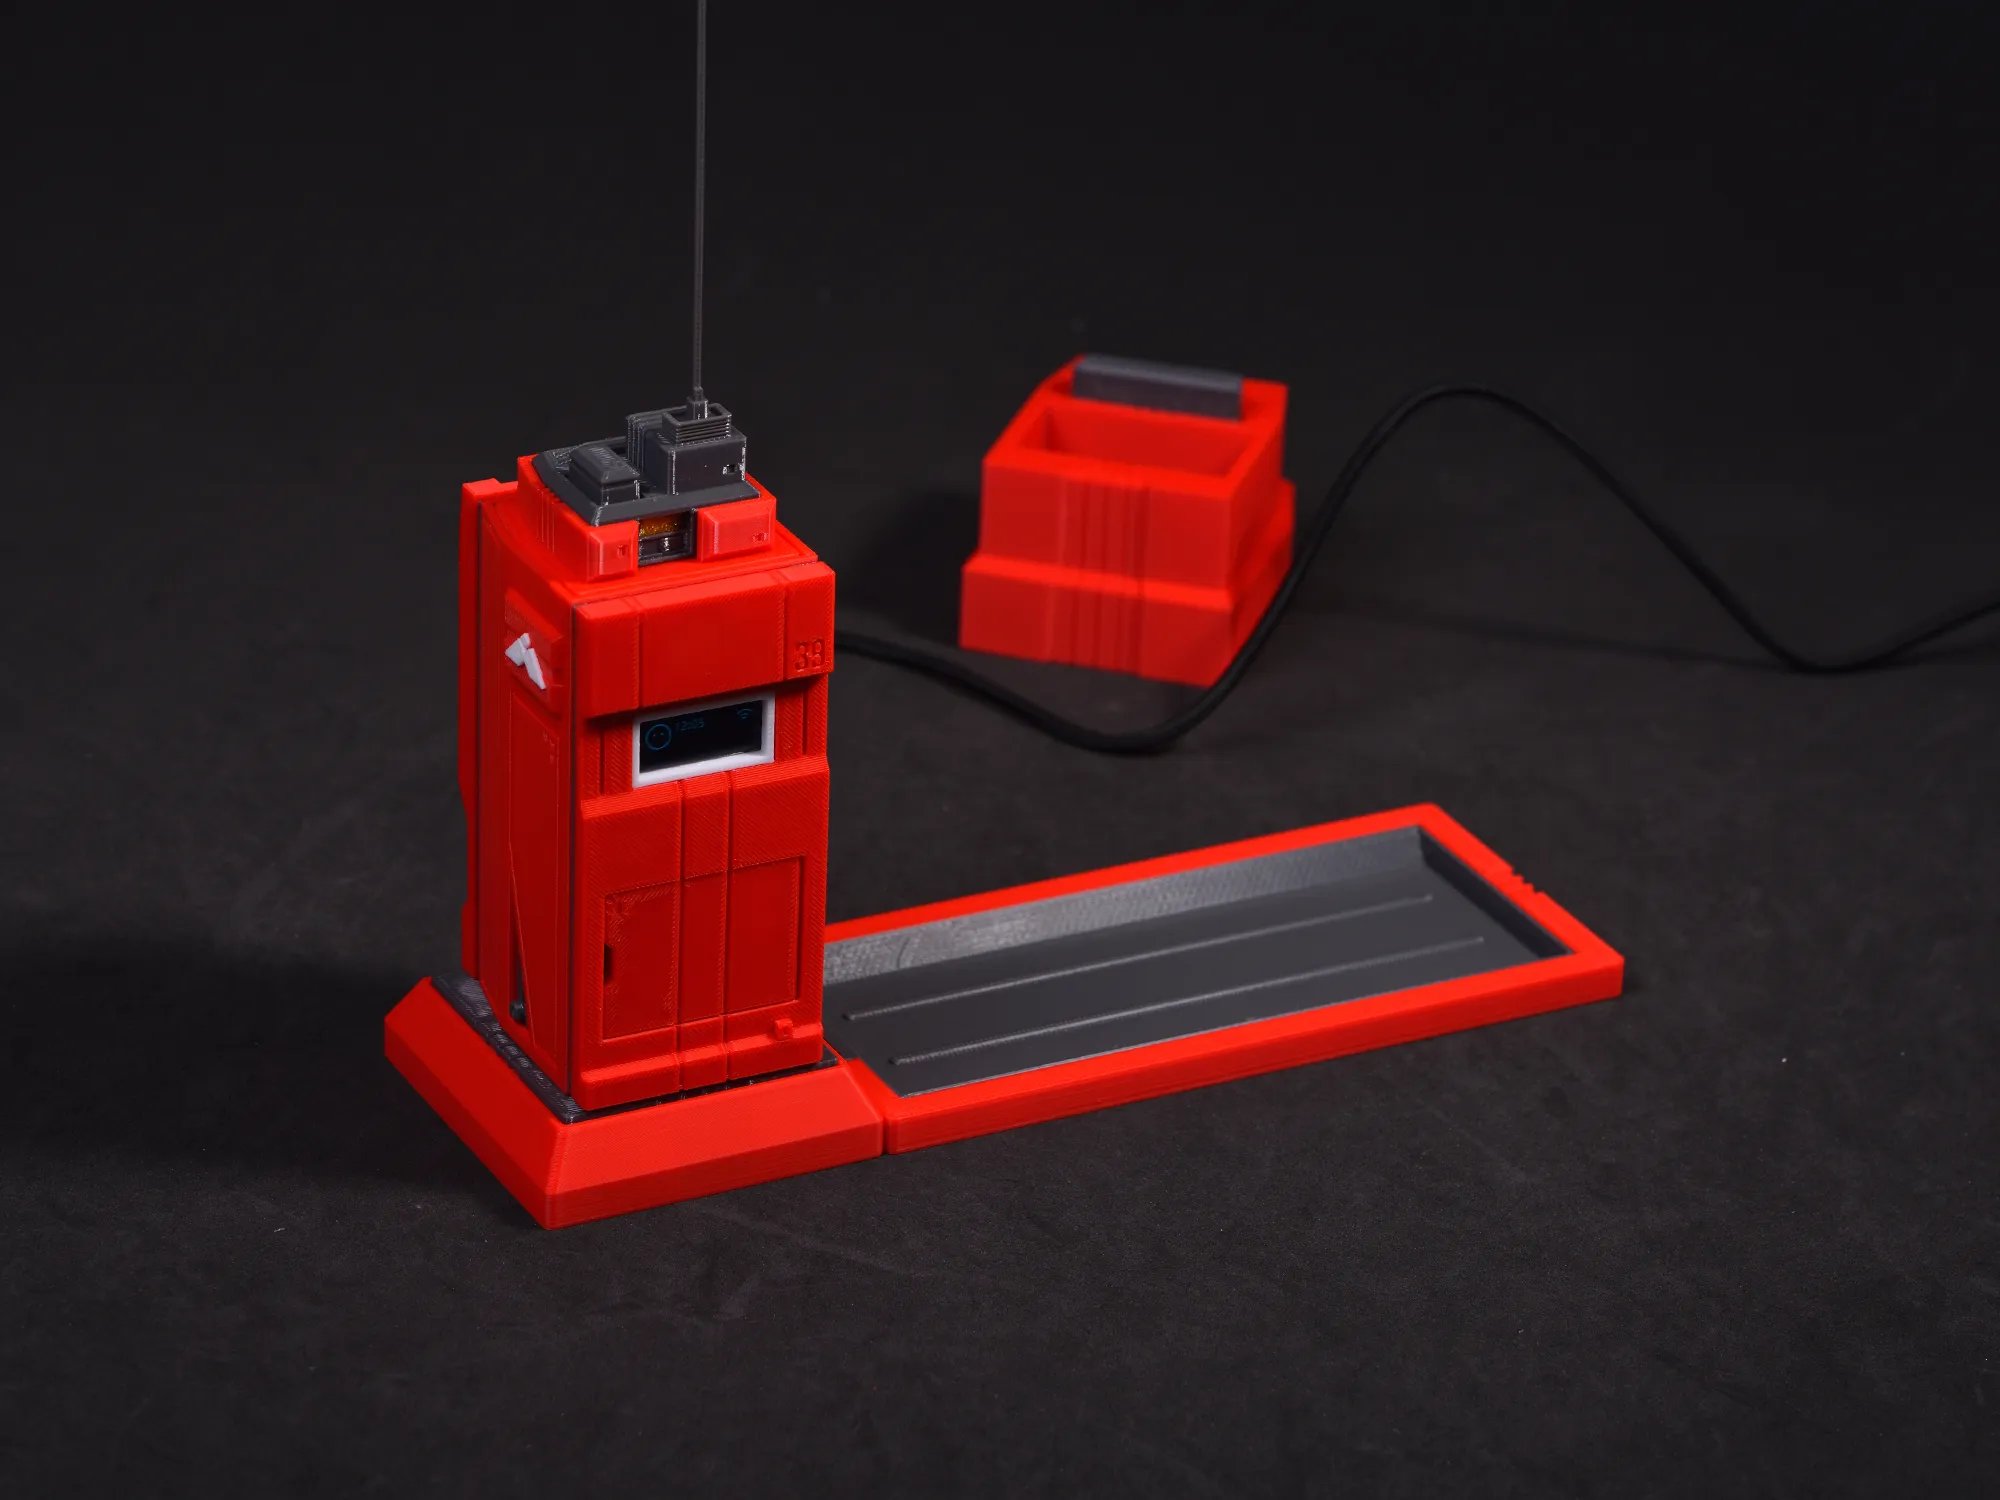
- 【2025.4.12 Update】: Added a desktop storage base
- More suitable as a gift
- Holds most pens and stationery
- Connects via four 4x2mm circular magnets
- Requires a 90-degree bent Type-C USB cable
- Pictures below:
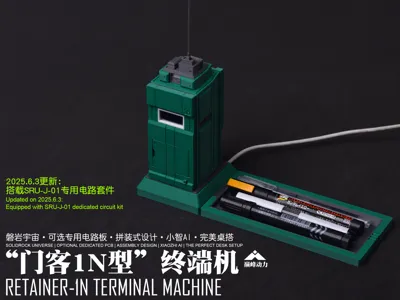
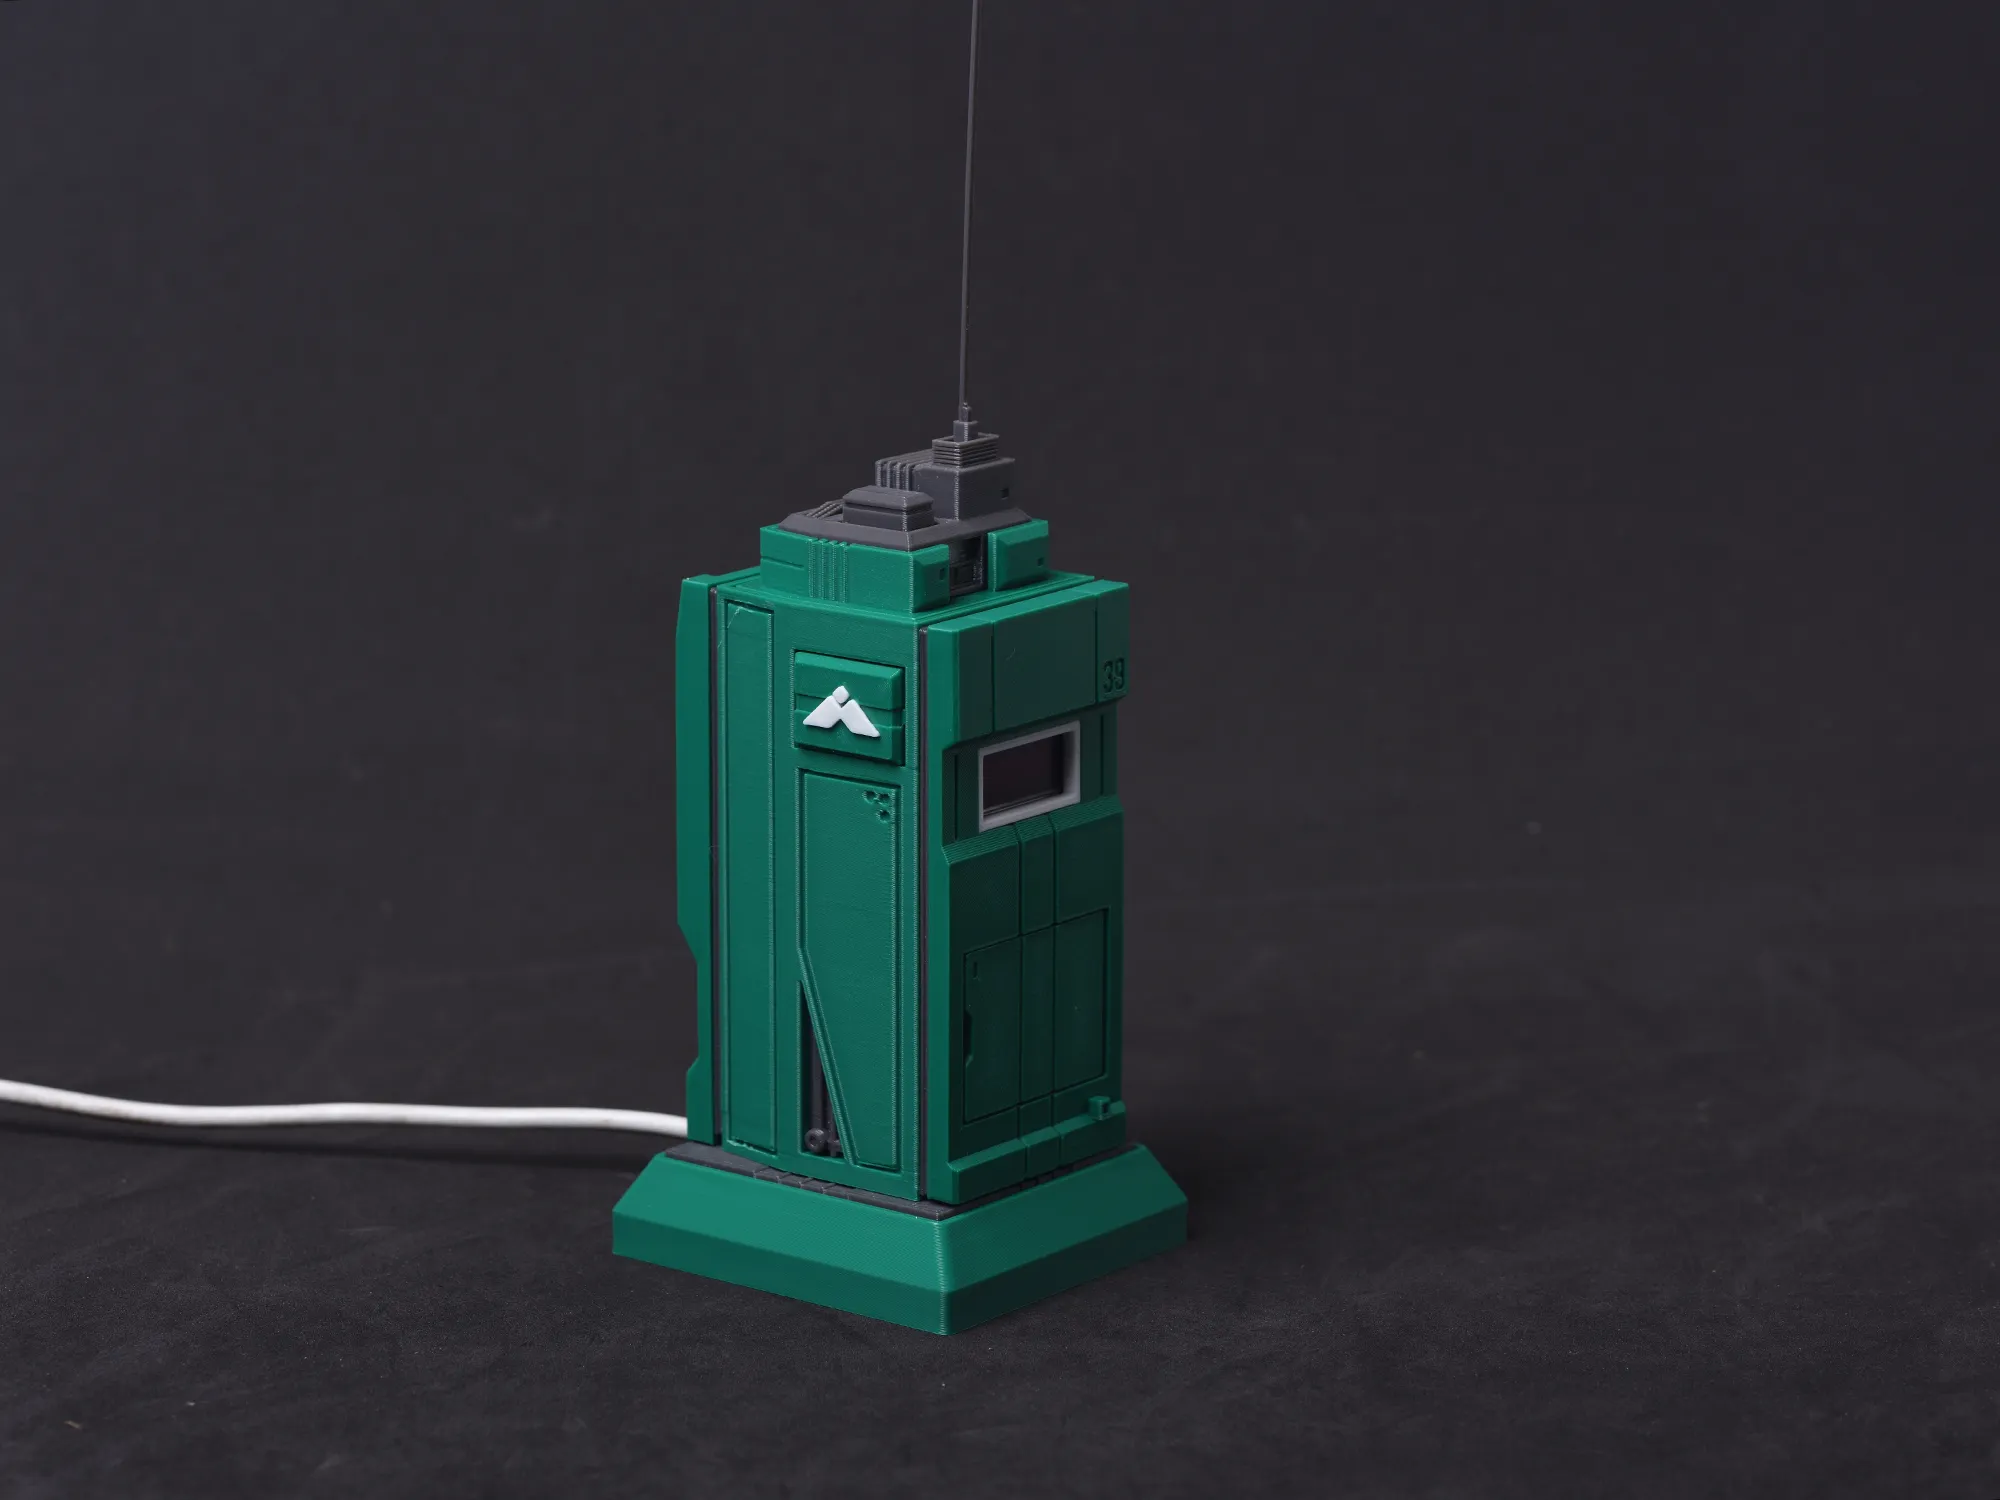
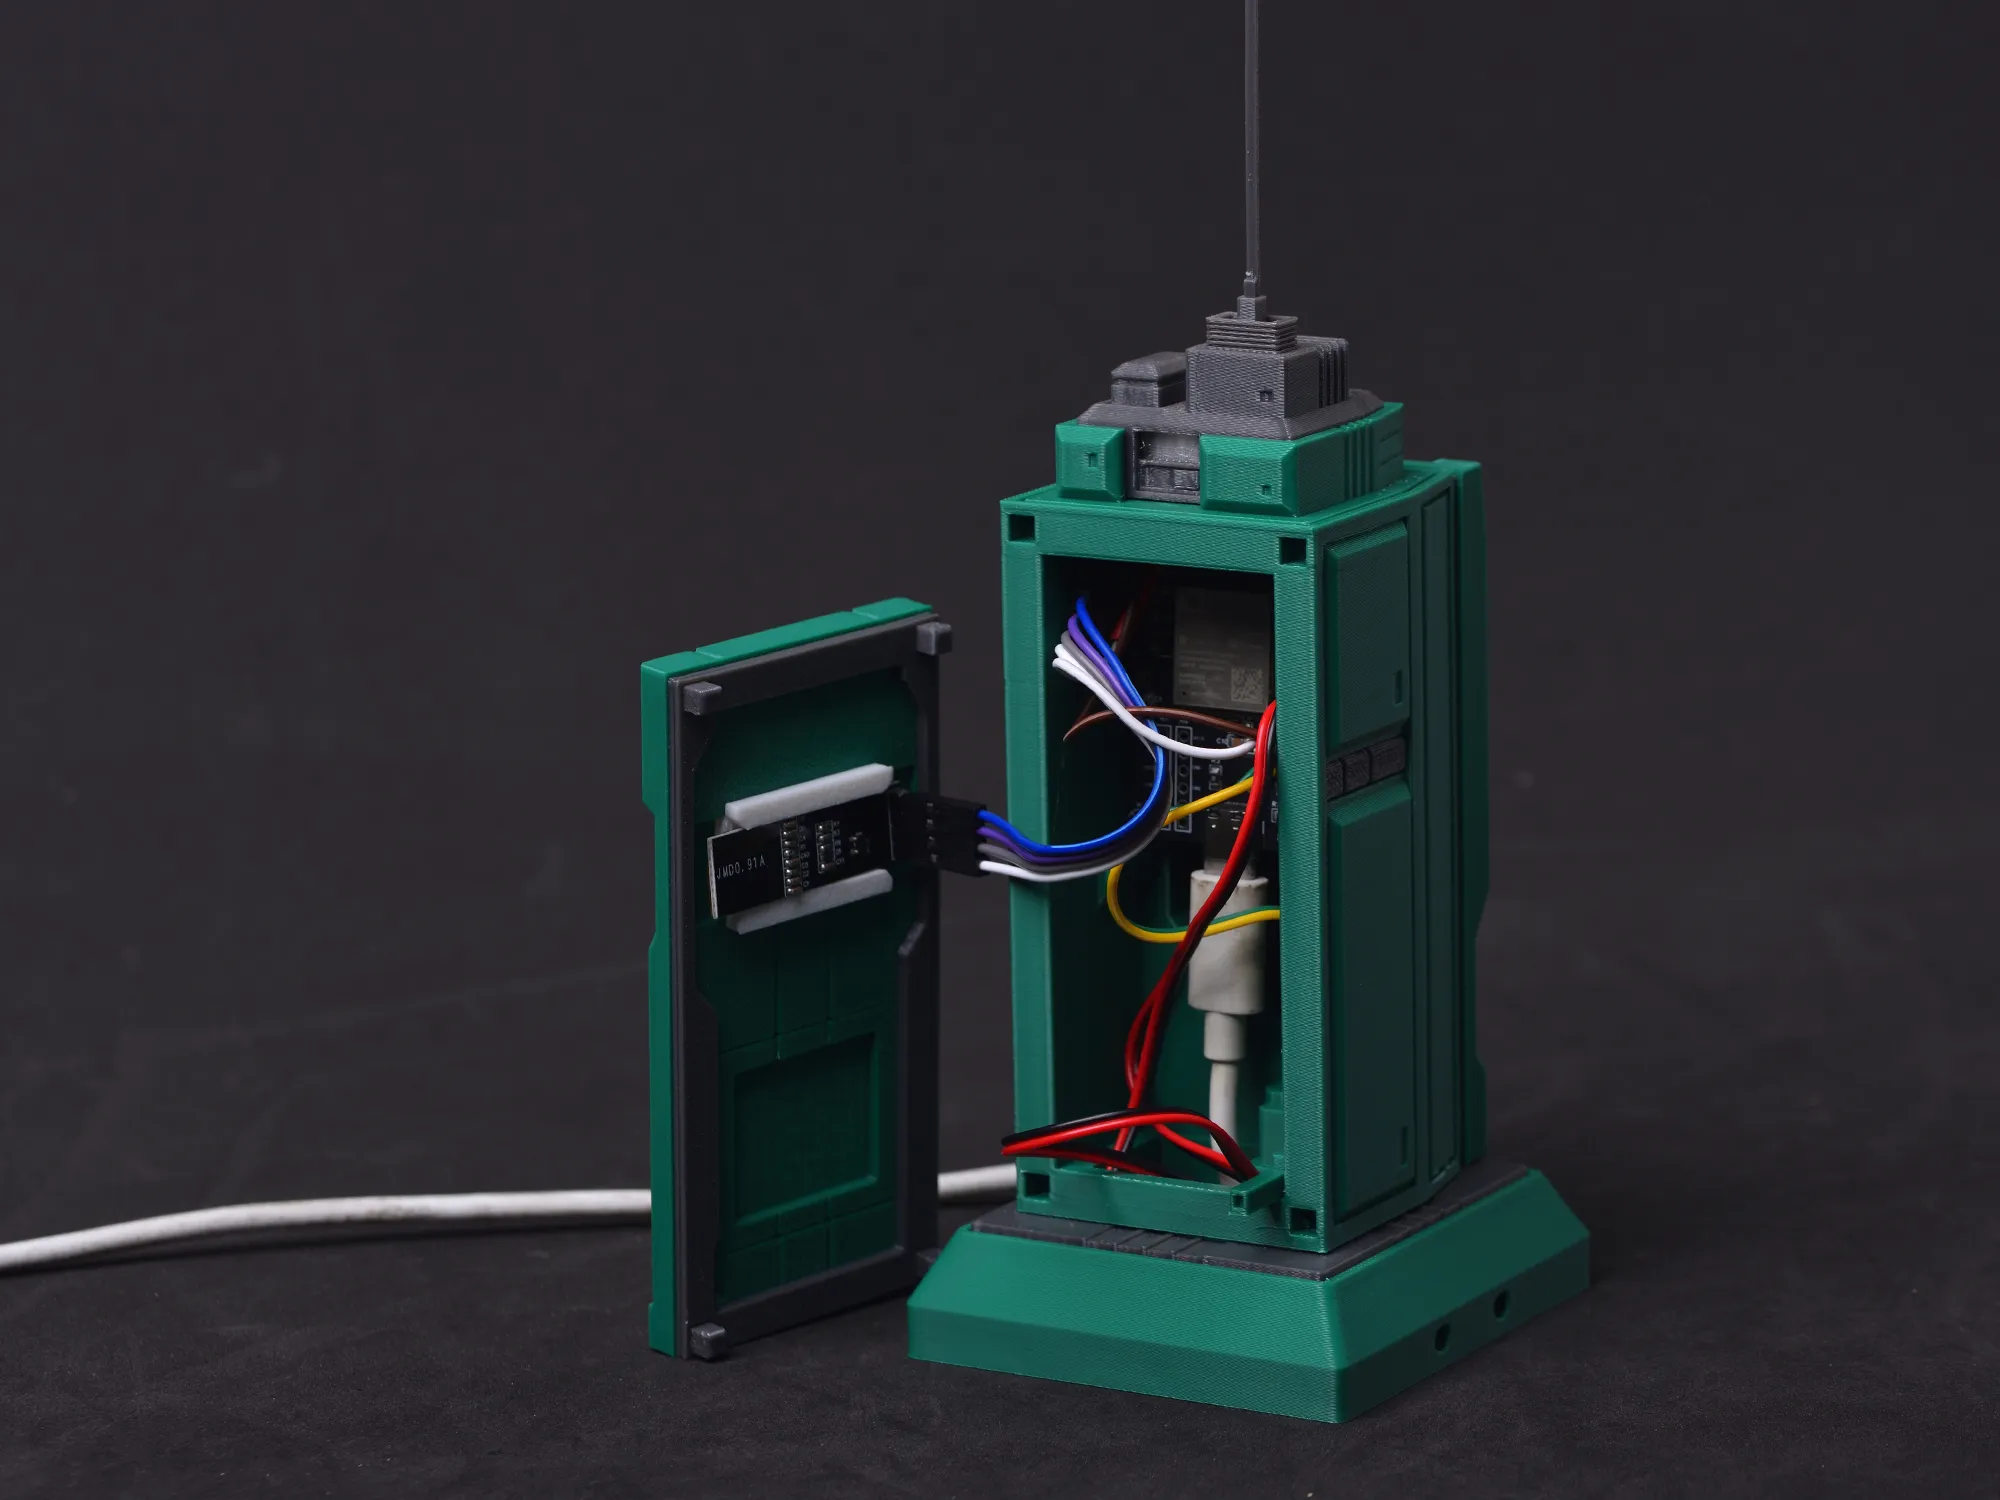
- 【2025.6.3 Update】: Due to frequent changes in circuit board layouts by vendors, in a fit of pique, I commissioned my friend Geek Trinity to design a dedicated circuit board—the SRU-J-01 board makes its grand debut! At last, some peace of mind!
- Externally identical to the 1N model
- Utilizes the SRU-J-01 circuit board specifically for the Menke terminal
- Screen, speaker, LED, and buttons are now plug-and-play, simplifying assembly
- Most importantly, no more frequent model adjustments due to vendor-side circuit board layout changes~!
Pictures below:
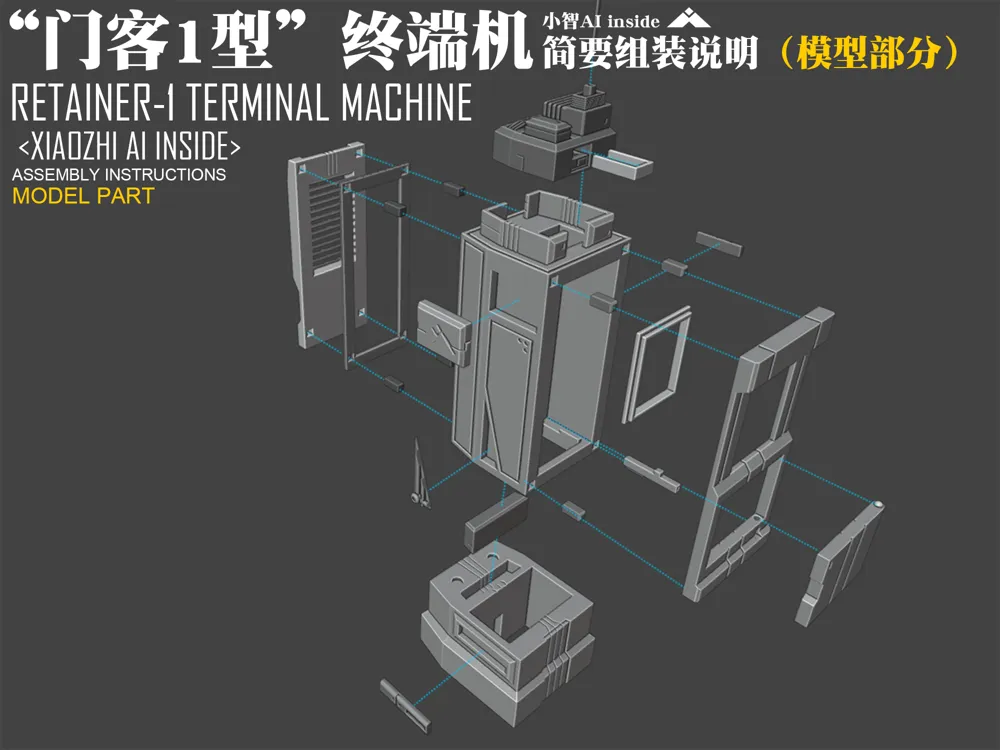
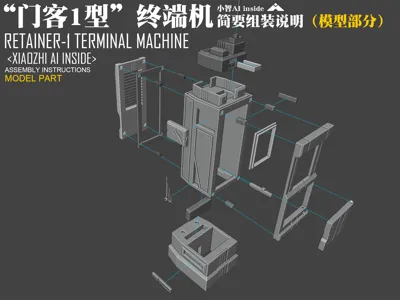
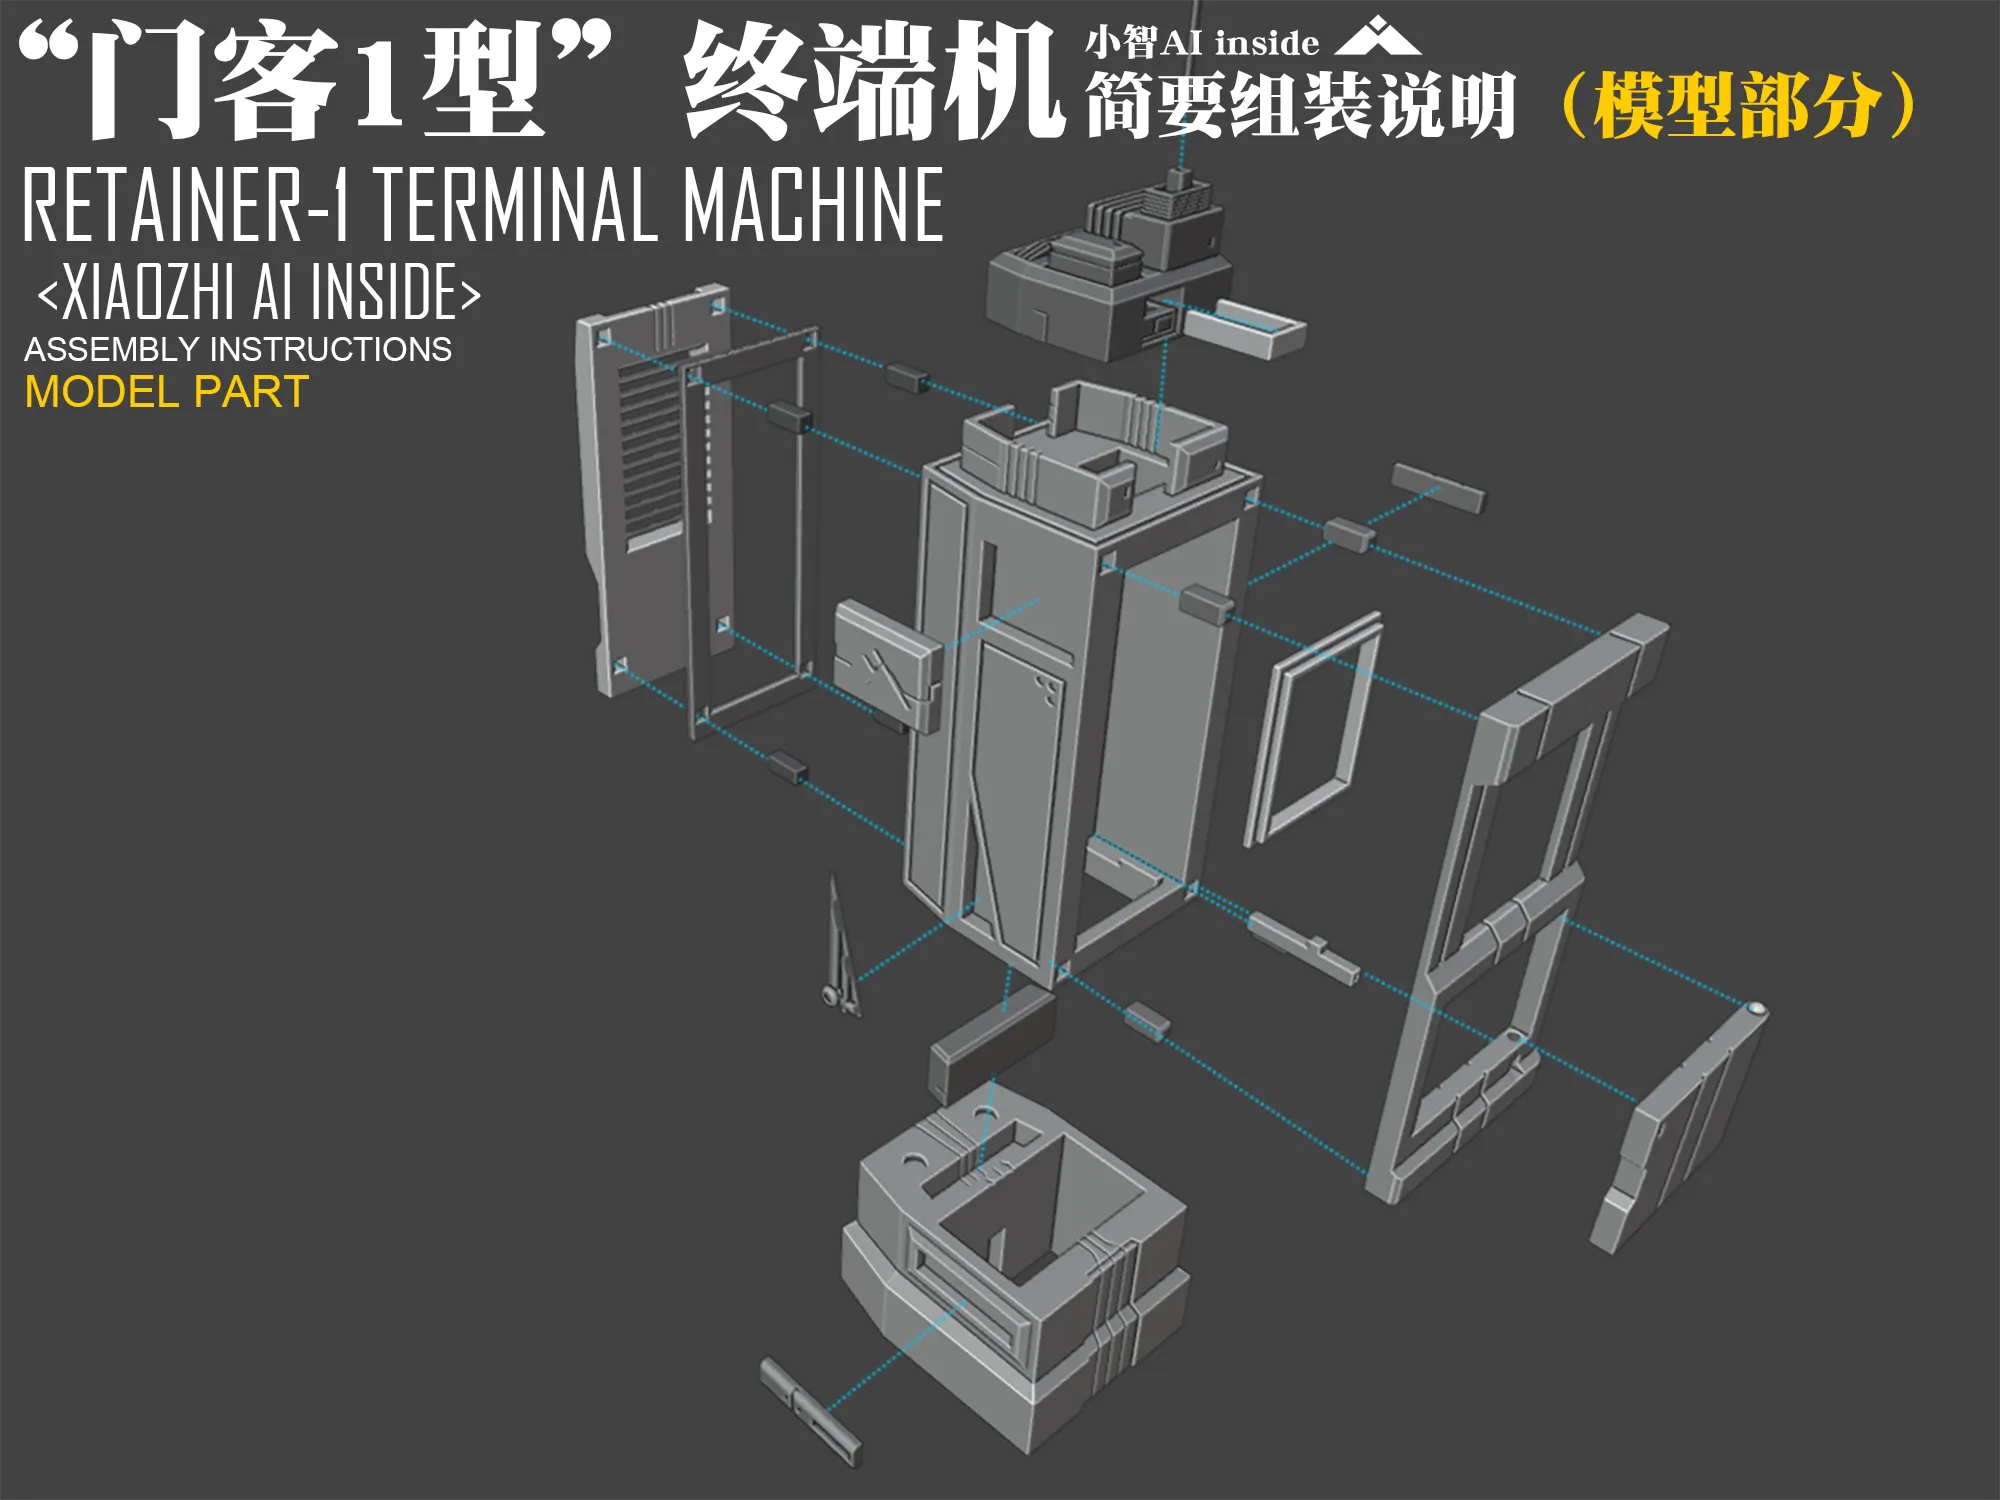
—Brief Assembly Instructions—
—Settings/Background Information—
To be added later~
Boost Me (for free)
A free show of support will greatly inspire me!
License

You shall not share, sub-license, sell, rent, host, transfer, or distribute in any way the digital or 3D printed versions of this object, nor any other derivative work of this object in its digital or physical format (including - but not limited to - remixes of this object, and hosting on other digital platforms). The objects may not be used without permission in any way whatsoever in which you charge money, or collect fees.


Comment & Rating (3)