
Harley Sportster Motorcycle Kit
Print Profile(5)






Description
About the Kit:

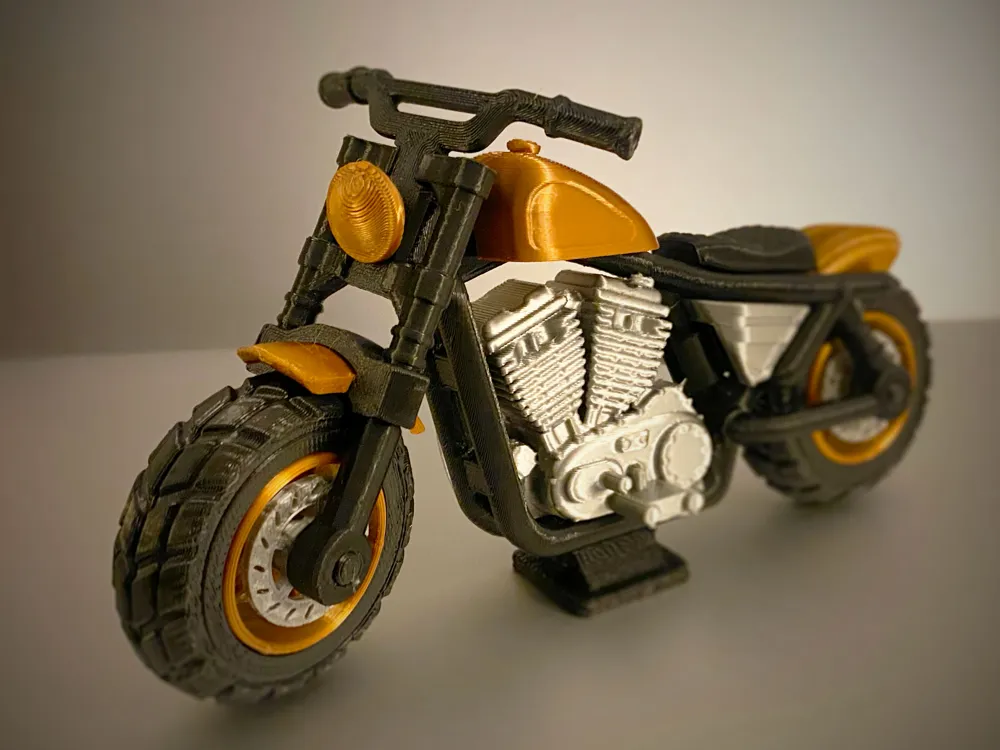
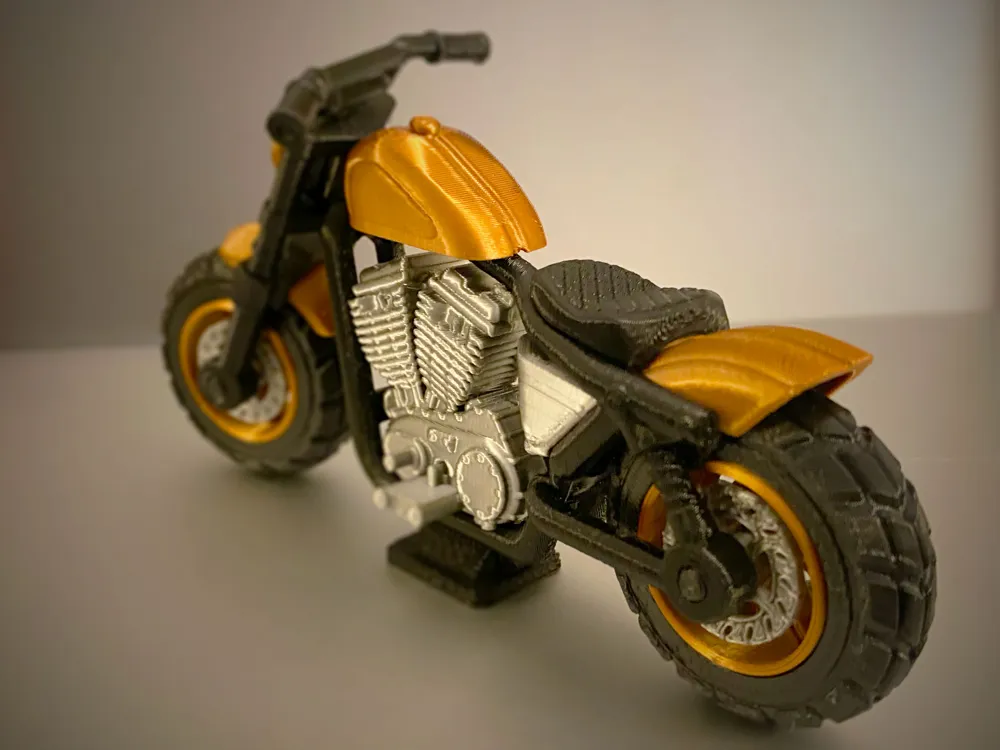
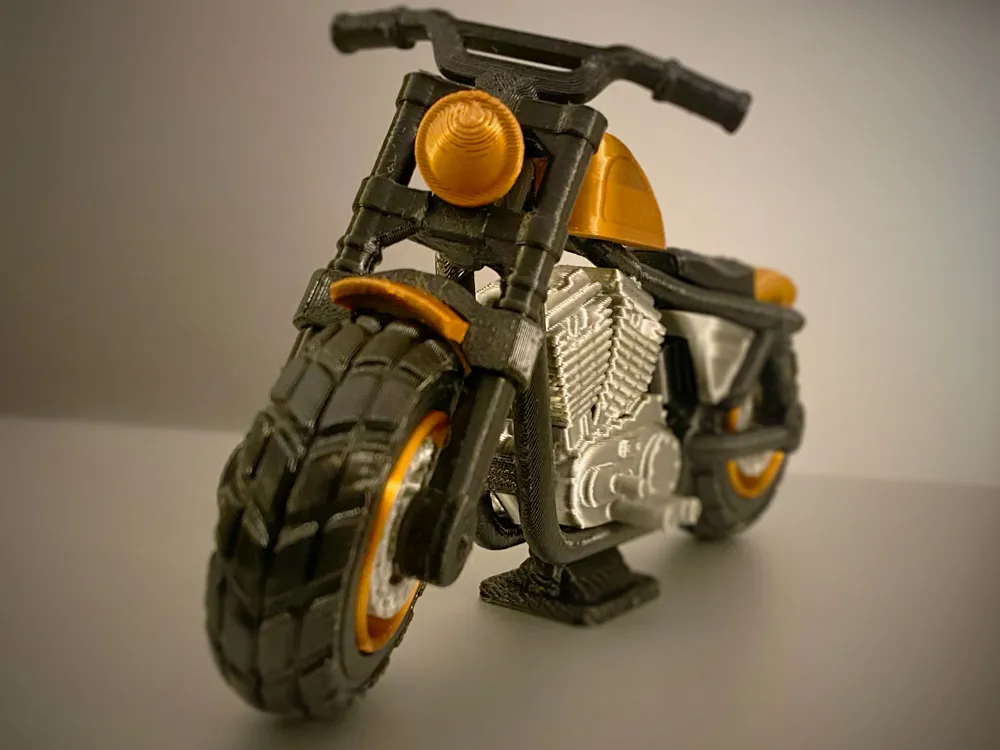
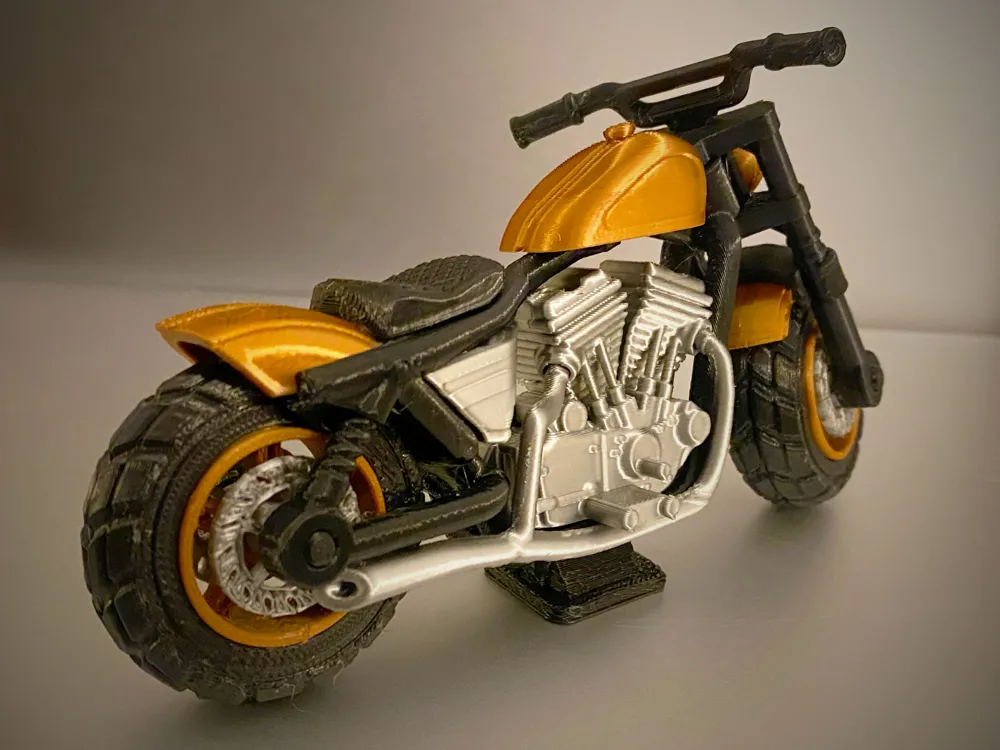
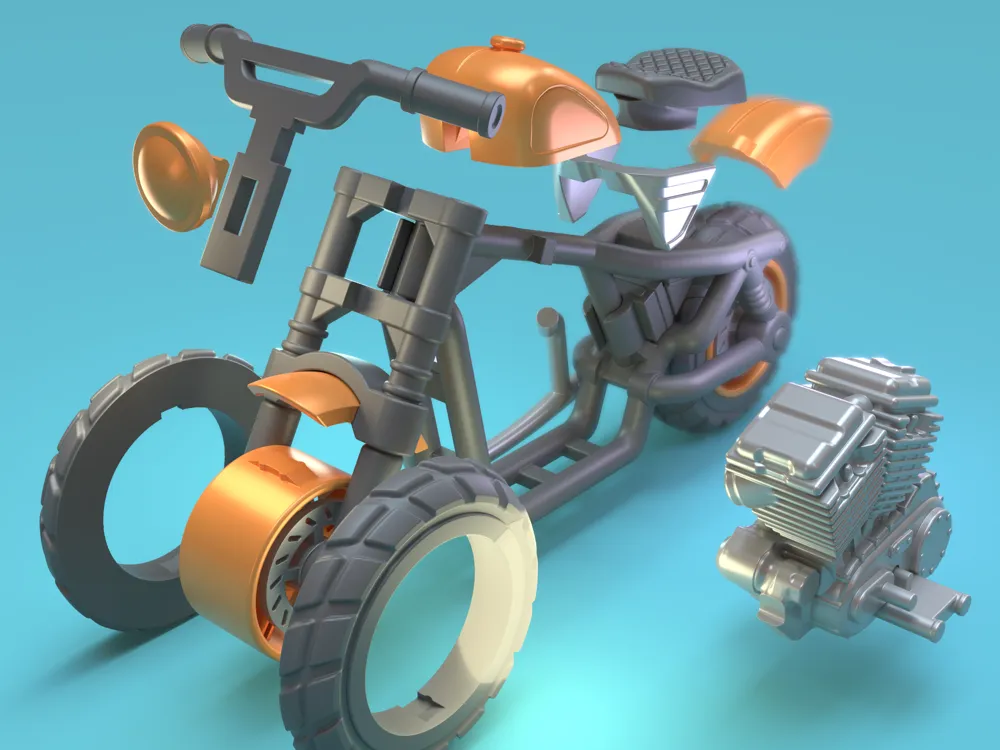
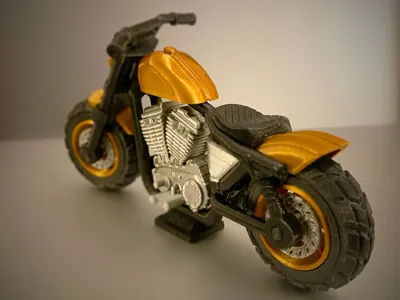
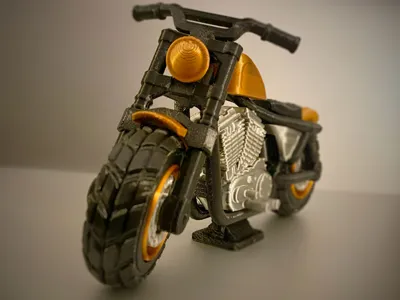
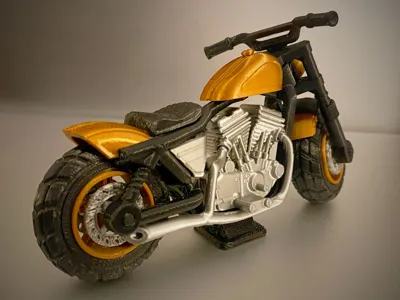
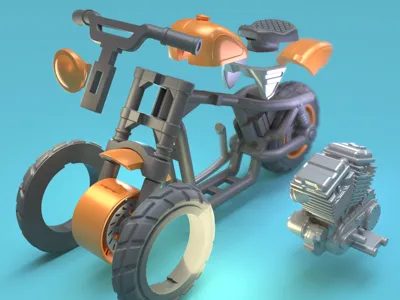
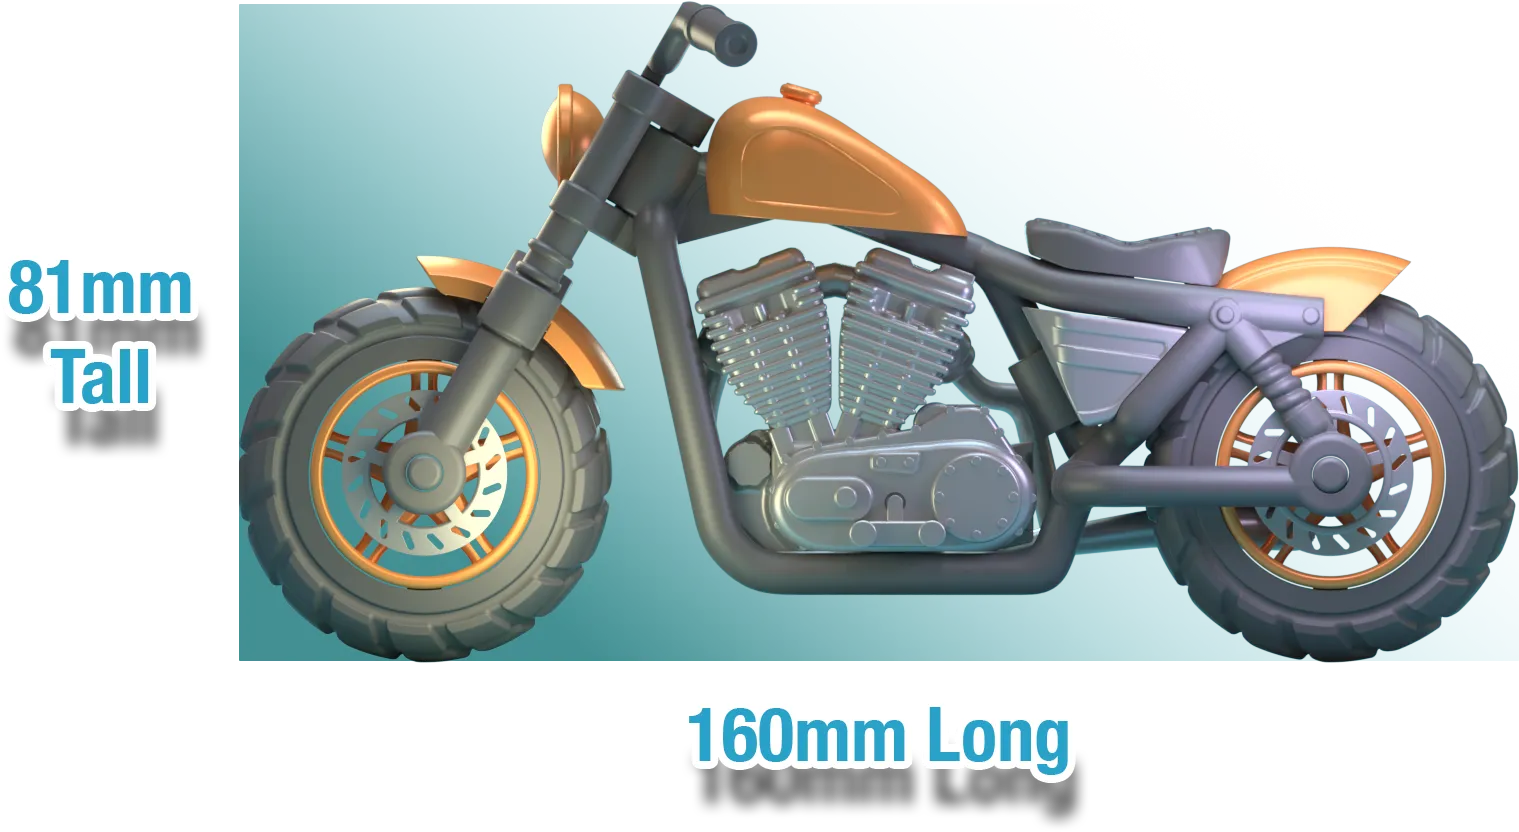
This bobber style motorcycle kit is based on the Harley Davidson Sportster bike. No AMS required and can print on even the smallest print beds (A1 mini). With separate pieces that snap together, assembly is simple and allows for unique color combinations. The 100% scale will fit in the palm of your hand but could easily be scaled up!
Size:
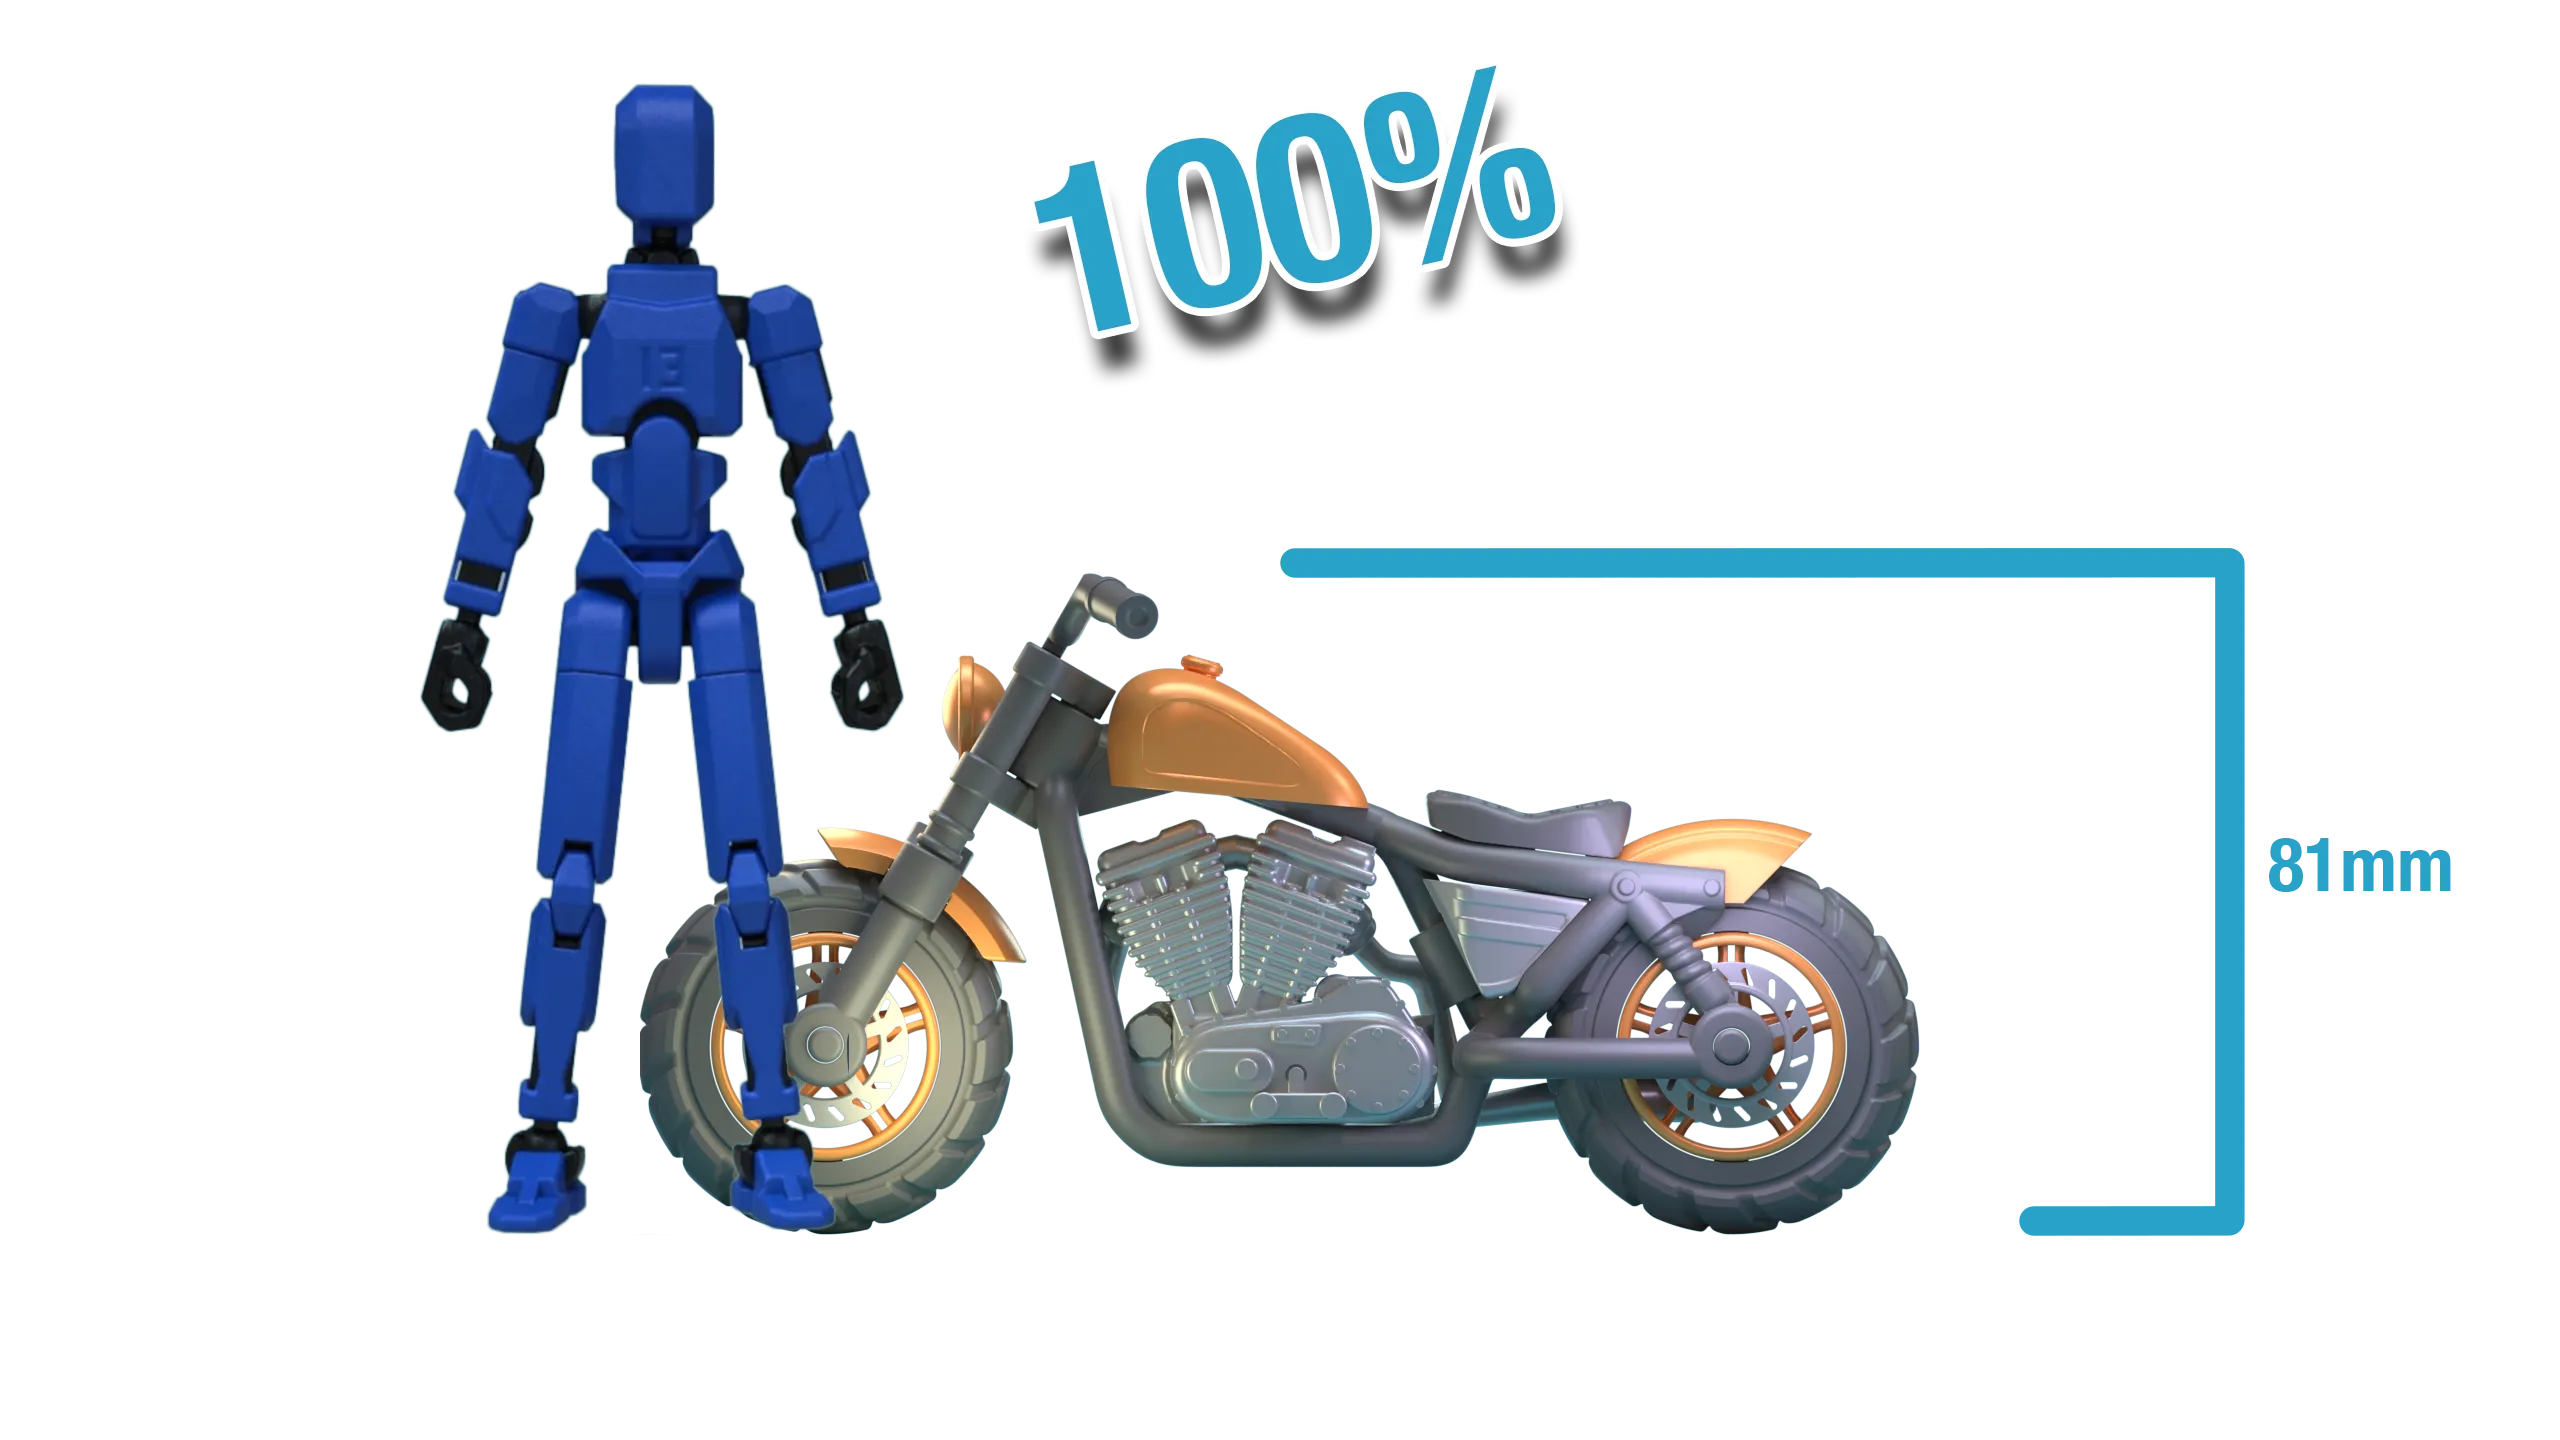
The 100% scale is approximately 81mm by 160mm long fully assembled.
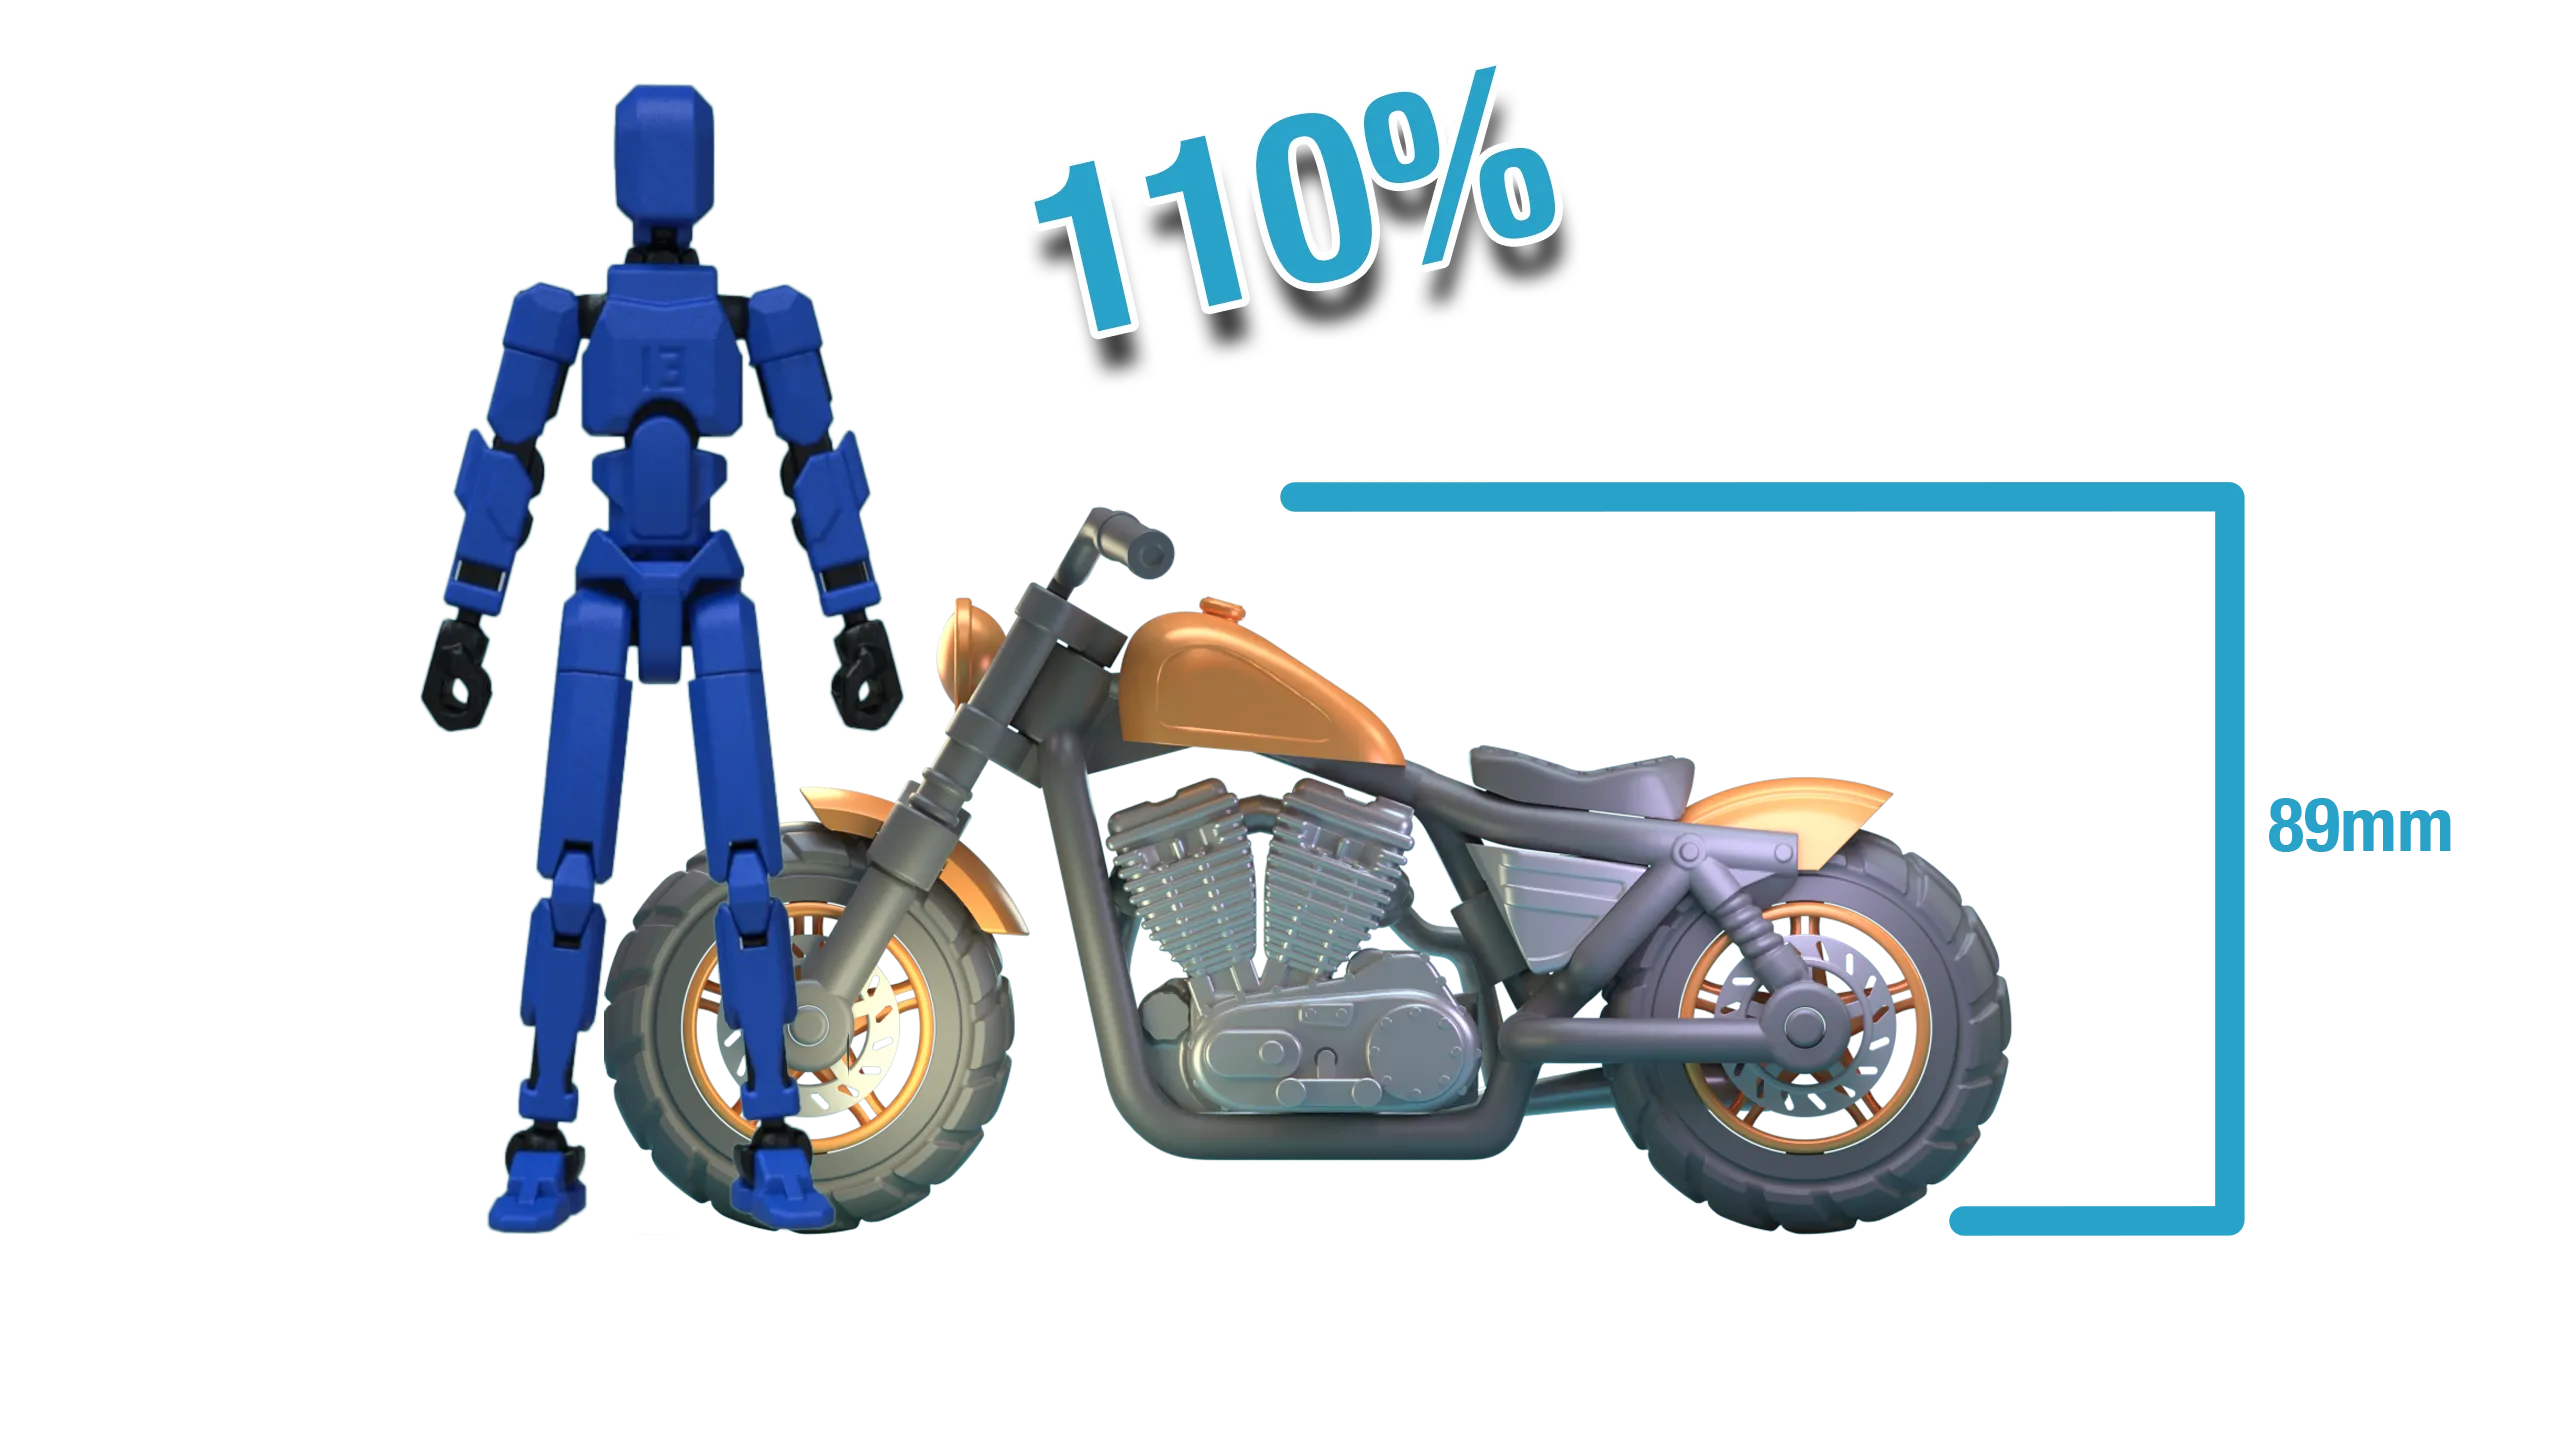
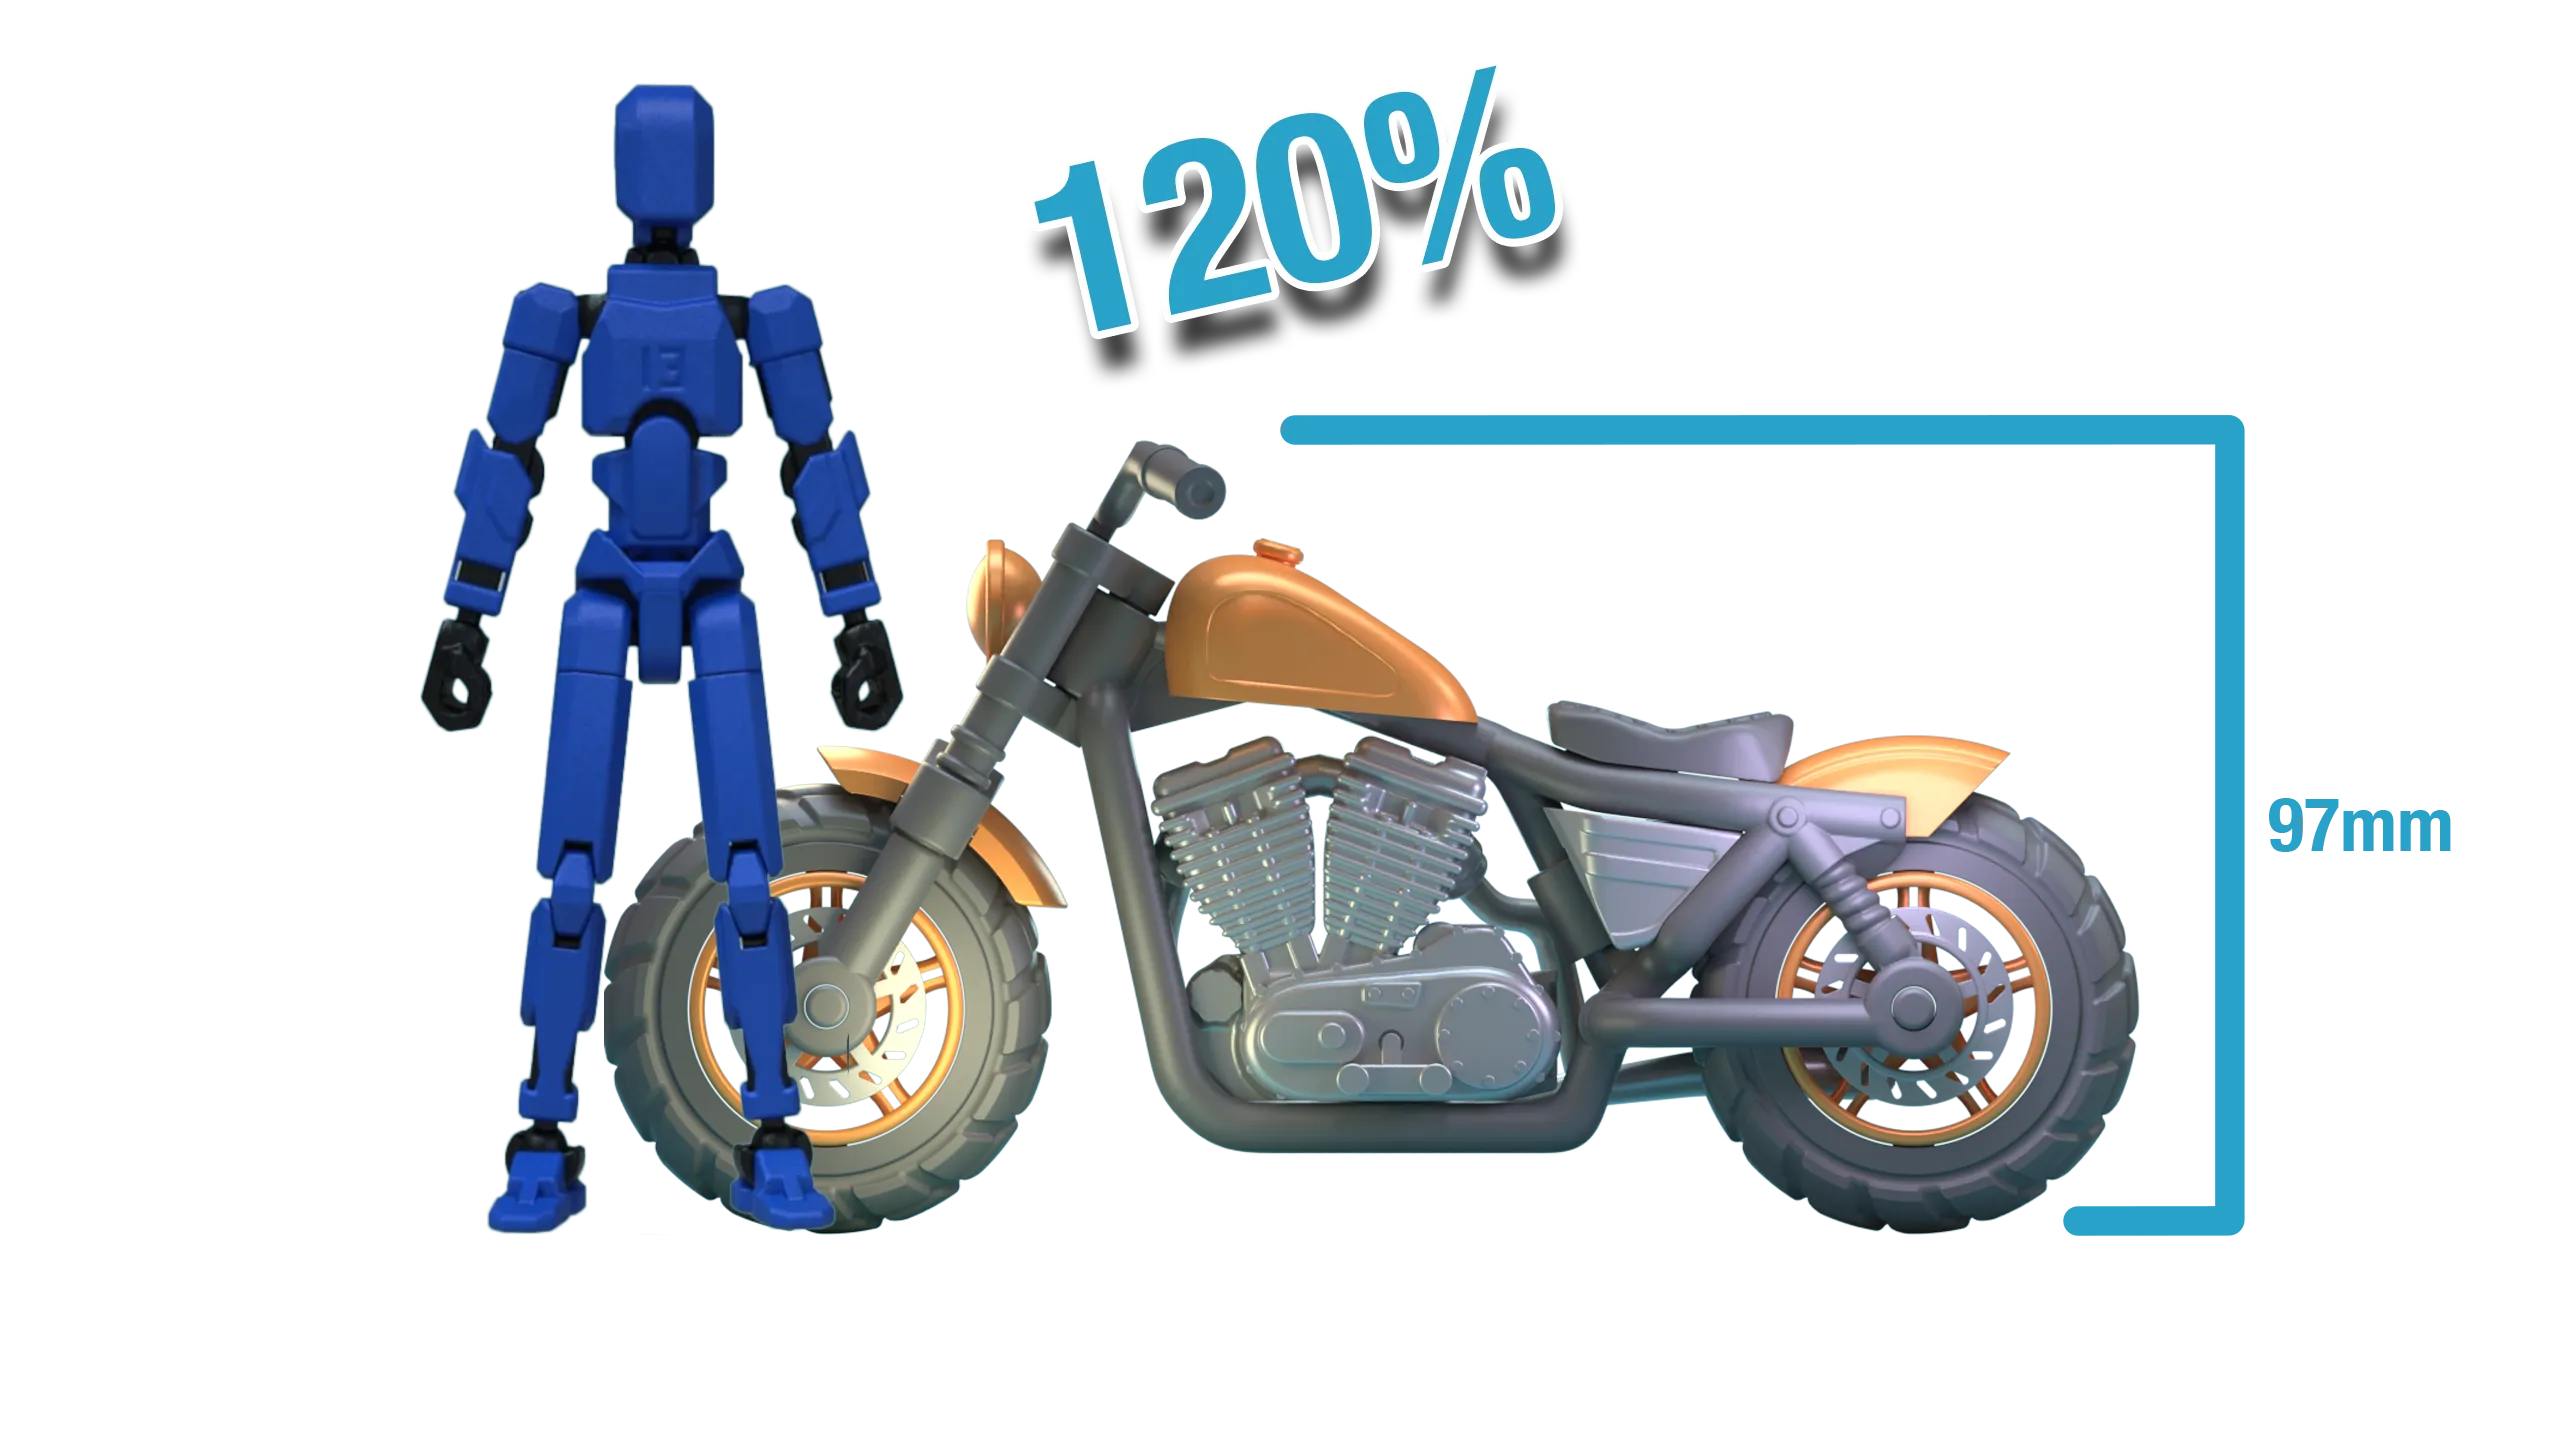
Q: Does it fit Dummy 13?
For use with Dummy 13 the 120% scale print profile is recommended. 100% scale works ok, but makes it feel more dirt-bike like in size.
 |  |  |
Assembly Guide:
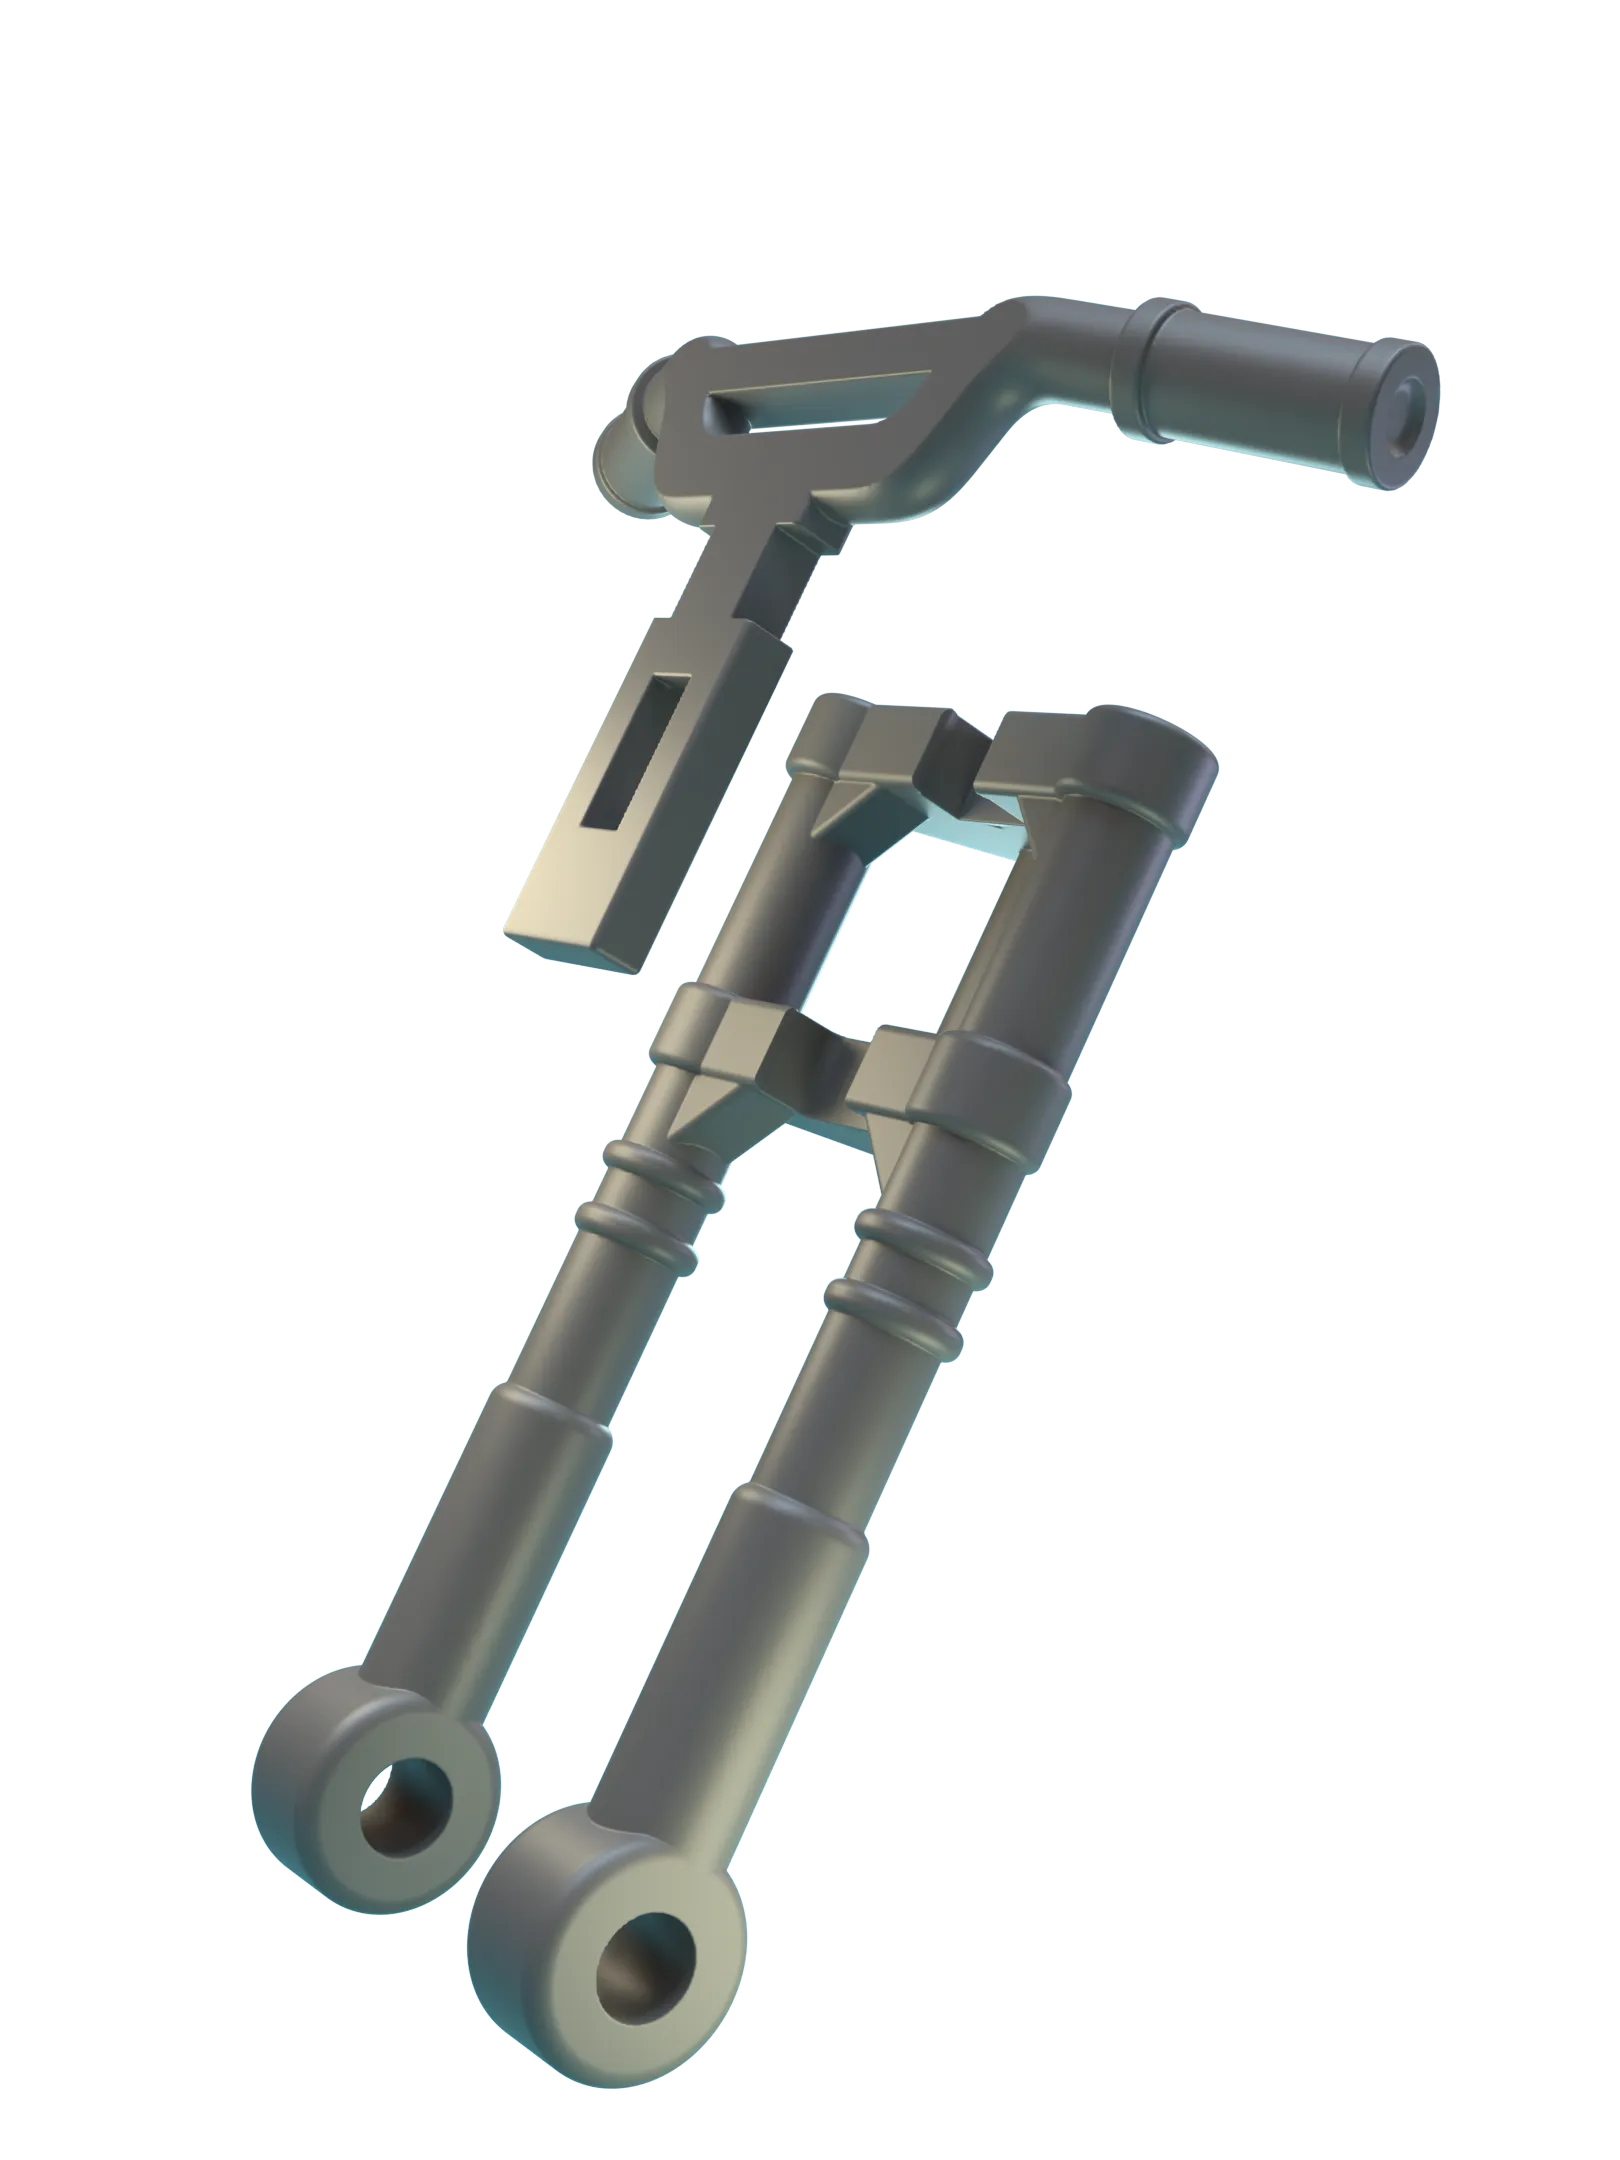 | 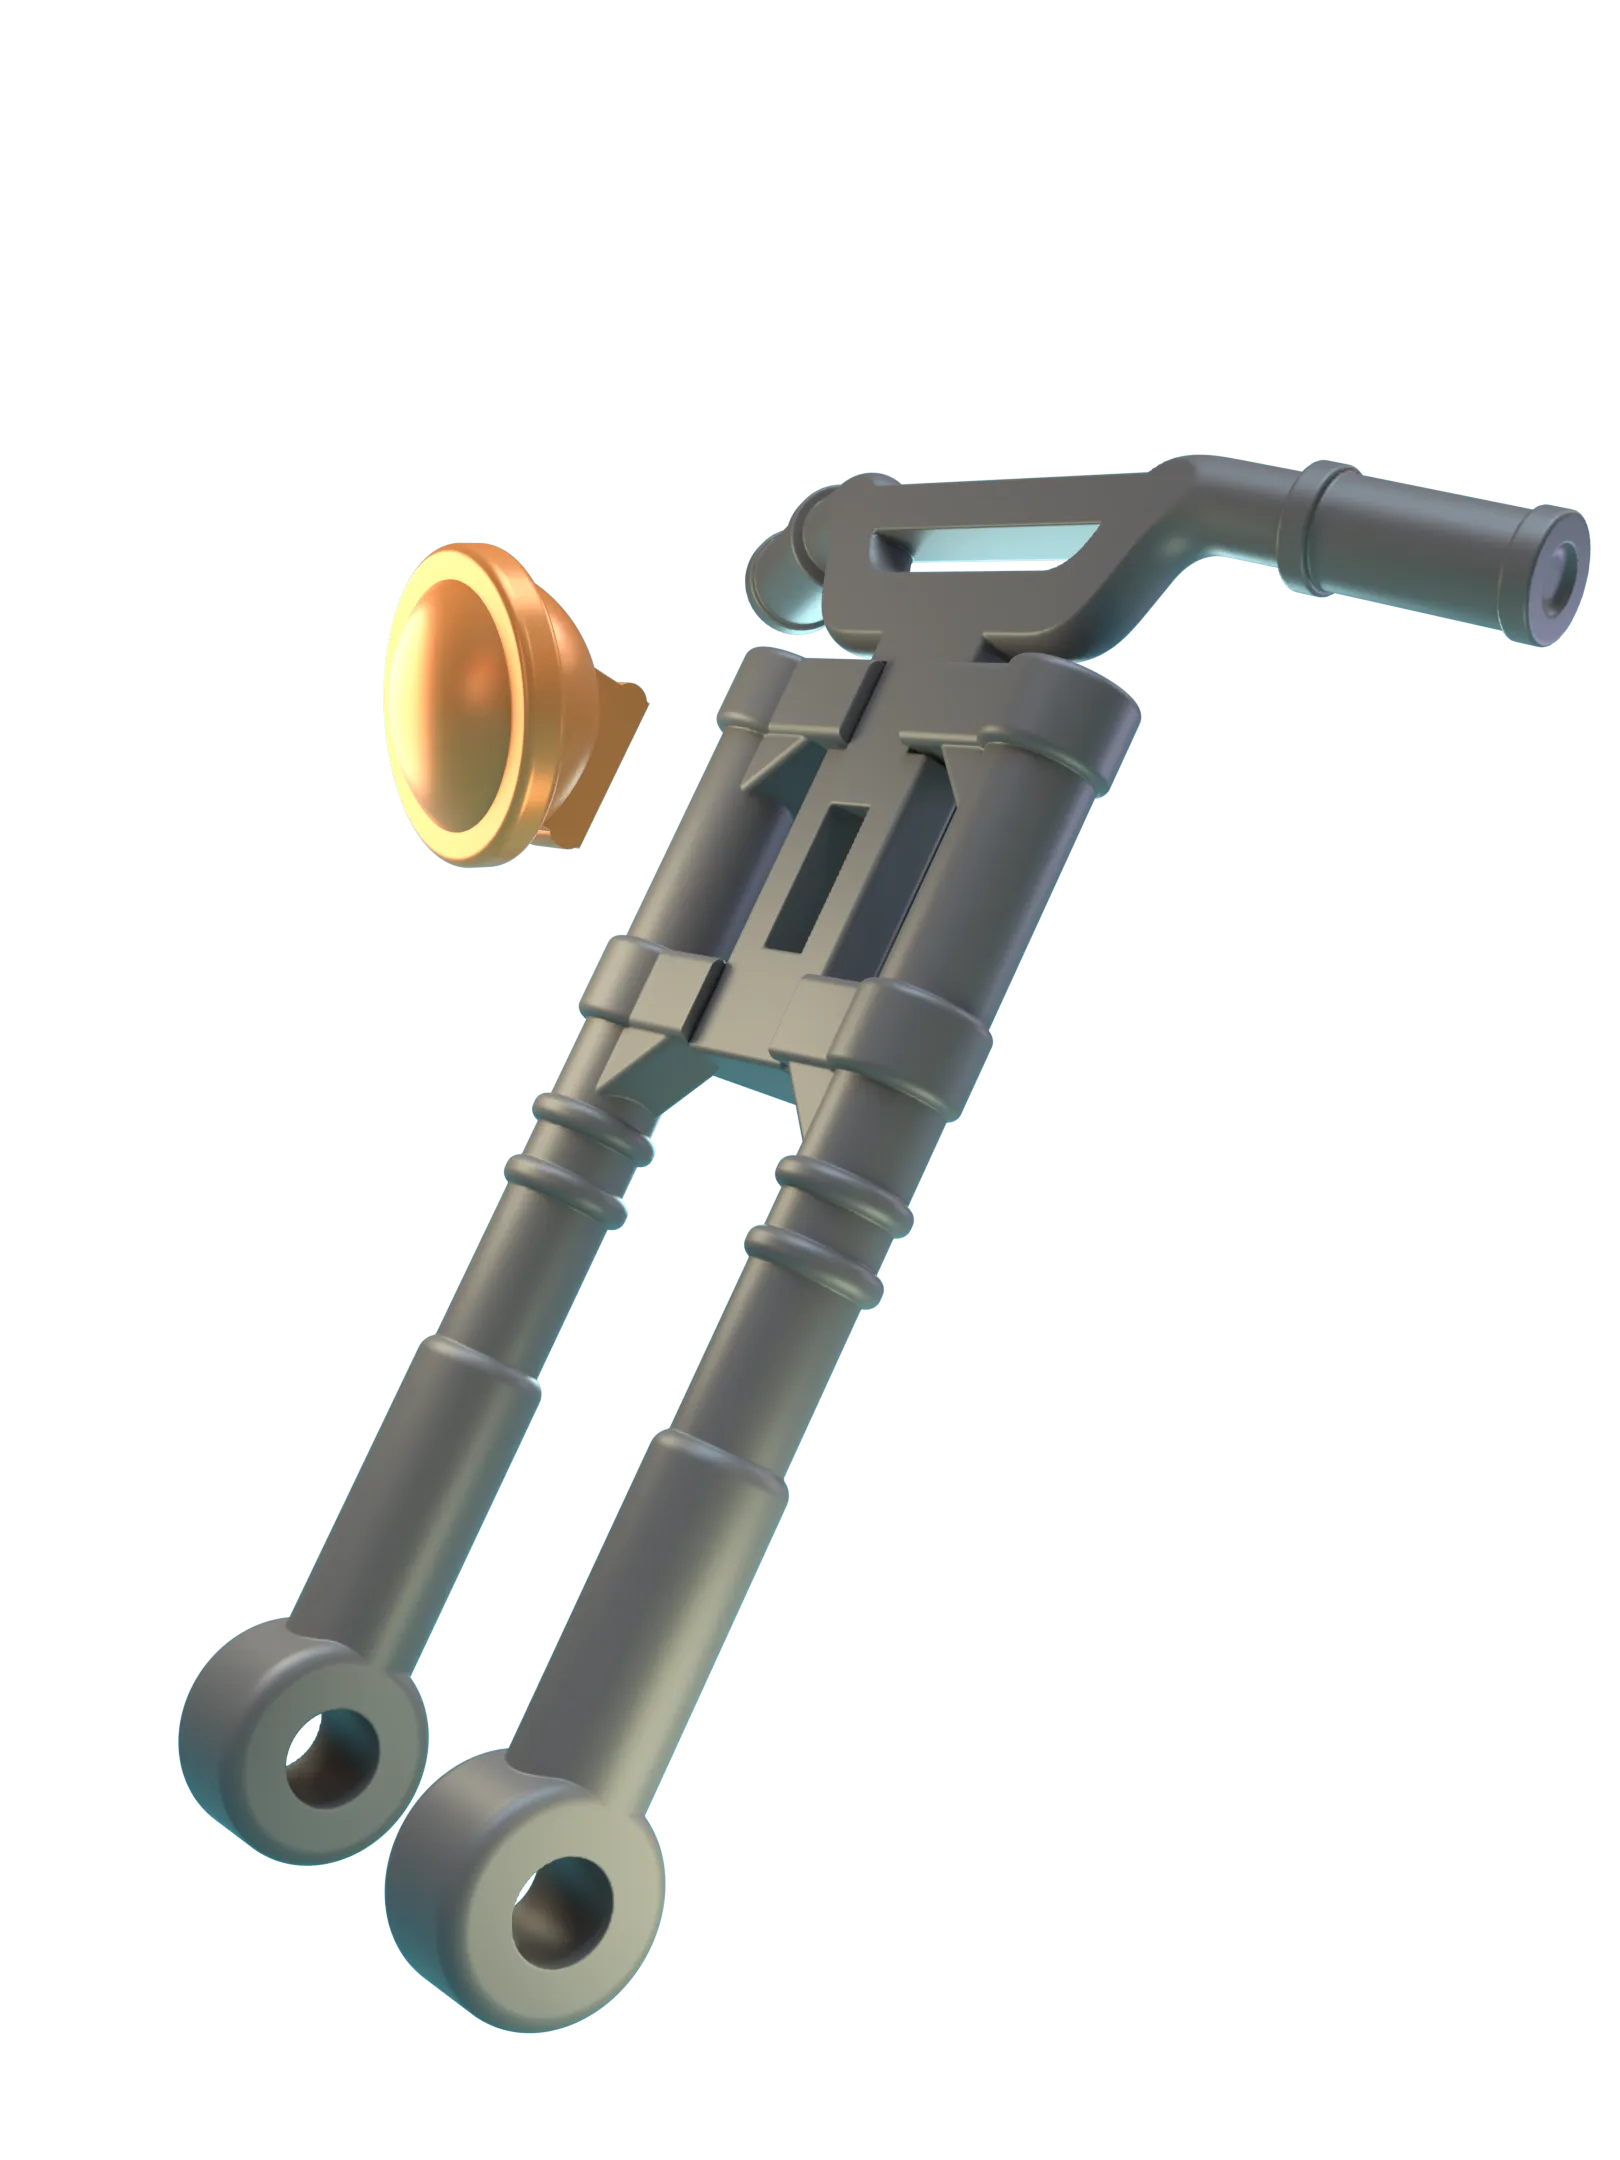 | 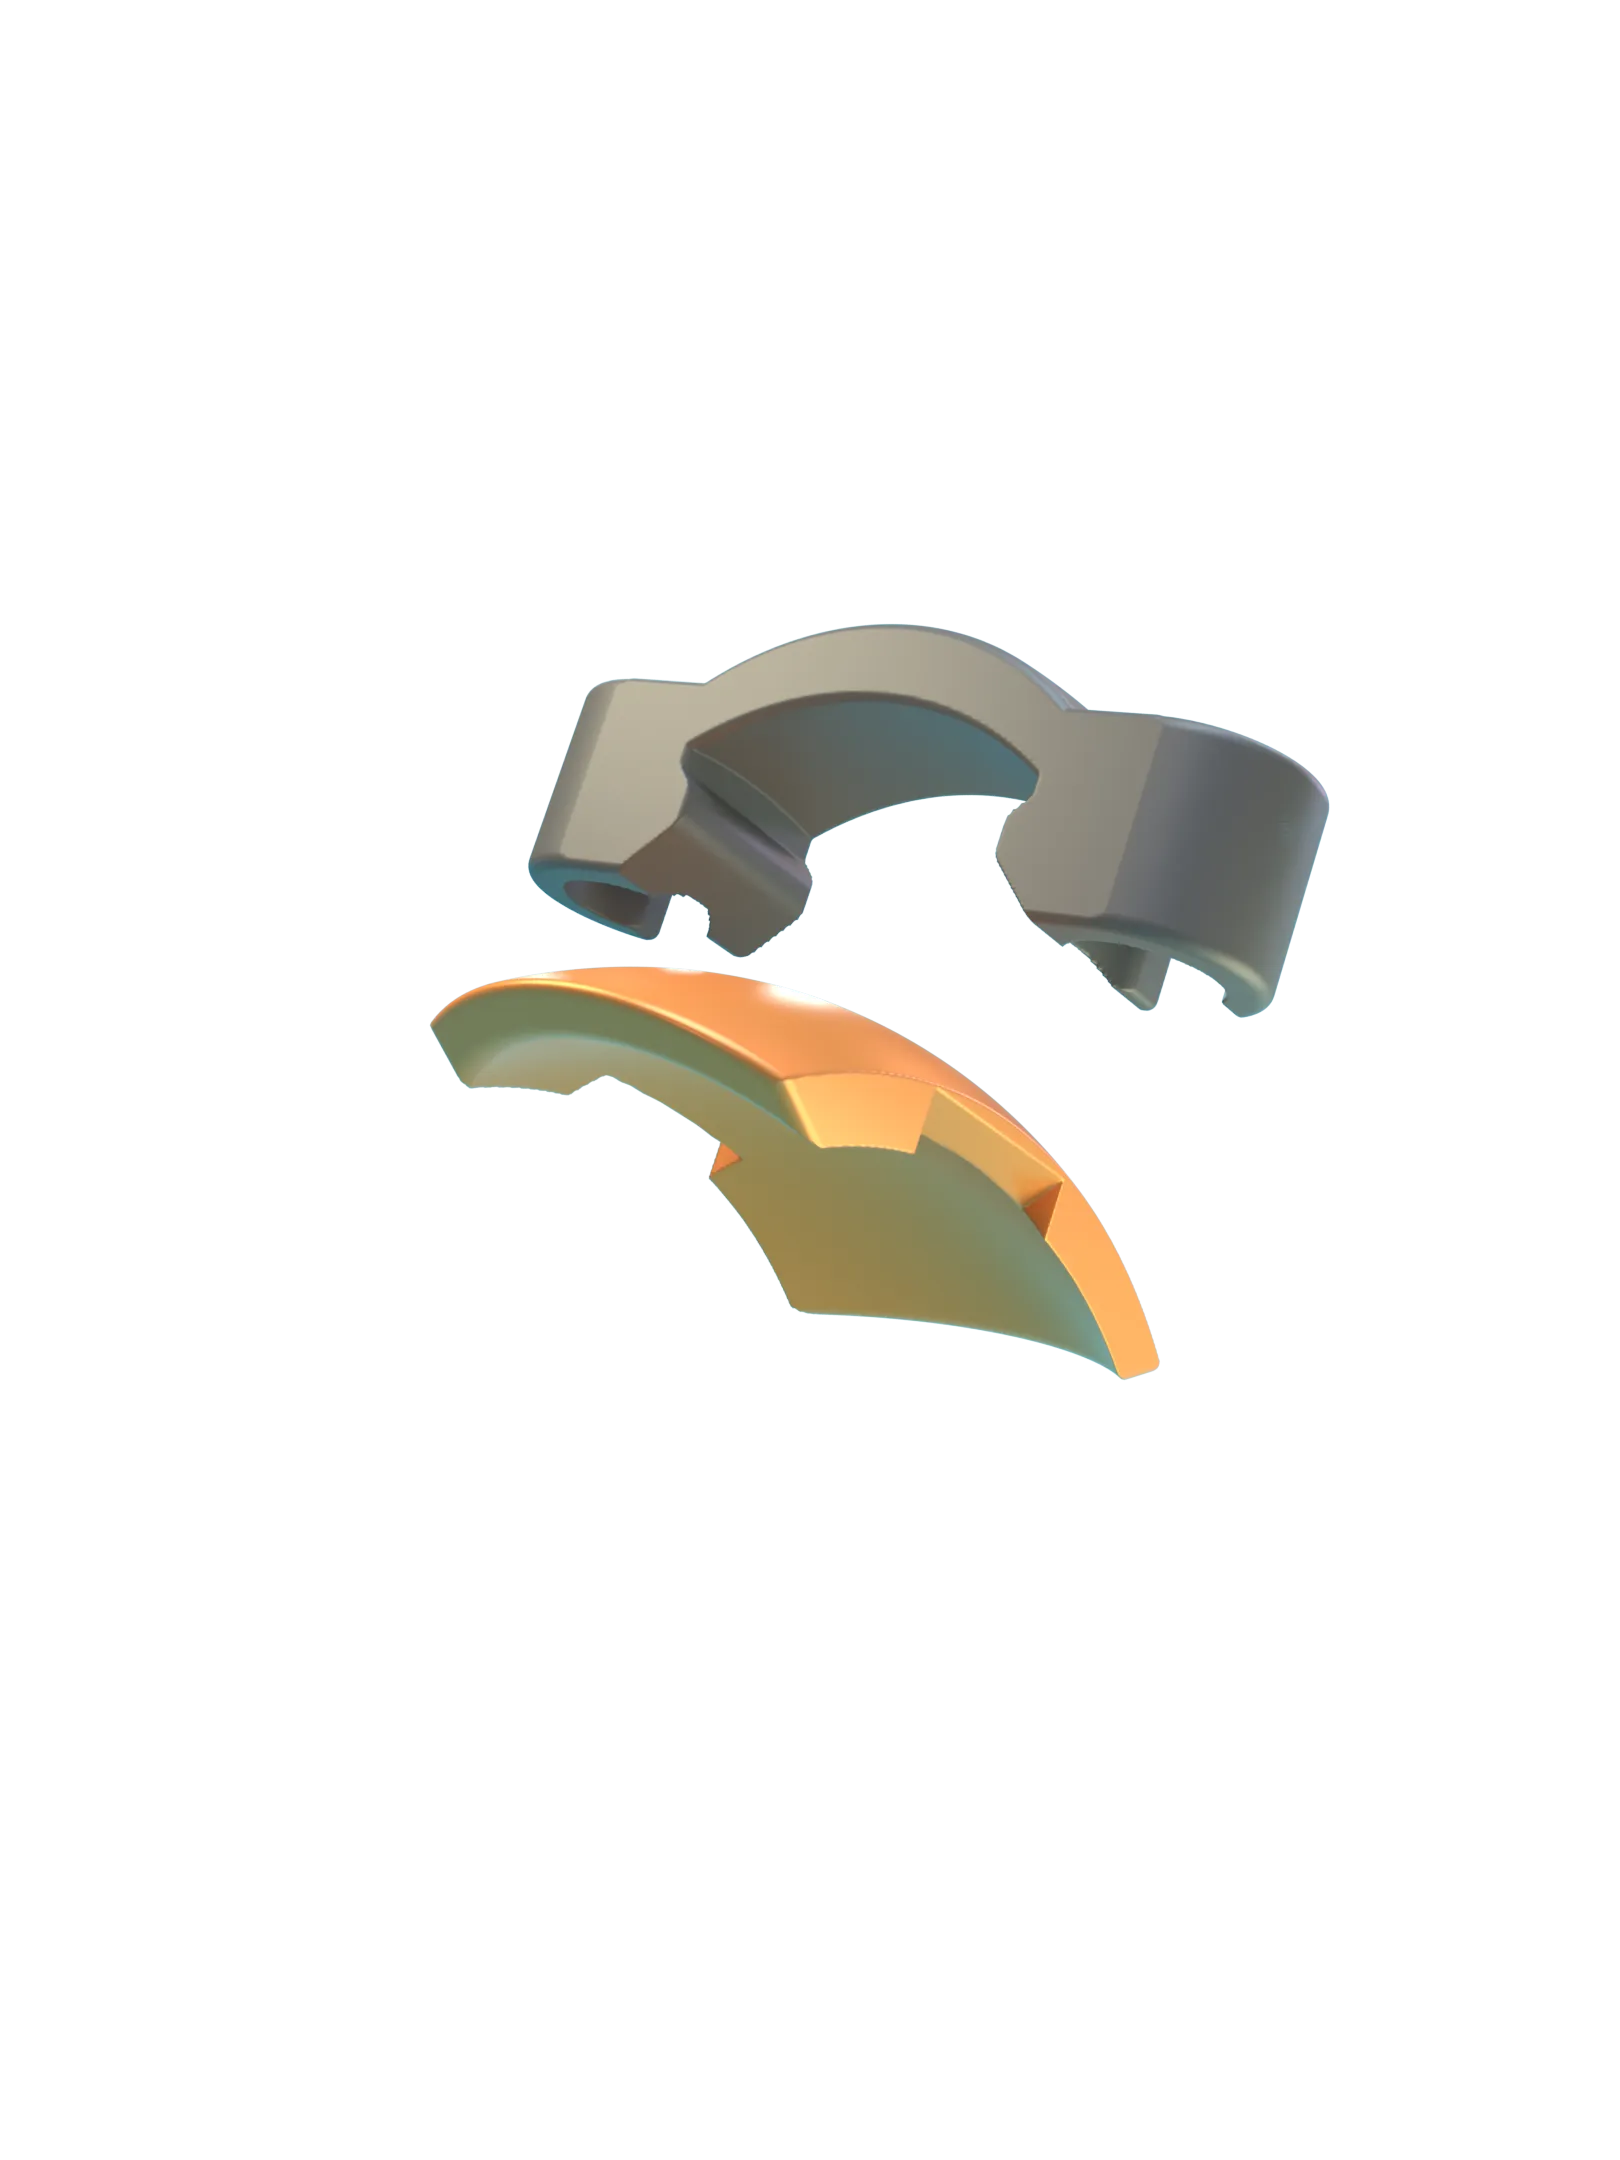 |
| Snap the handle bars into the front forks. | Push the headlight into the recess. | Press the fender into the front fender clip. |
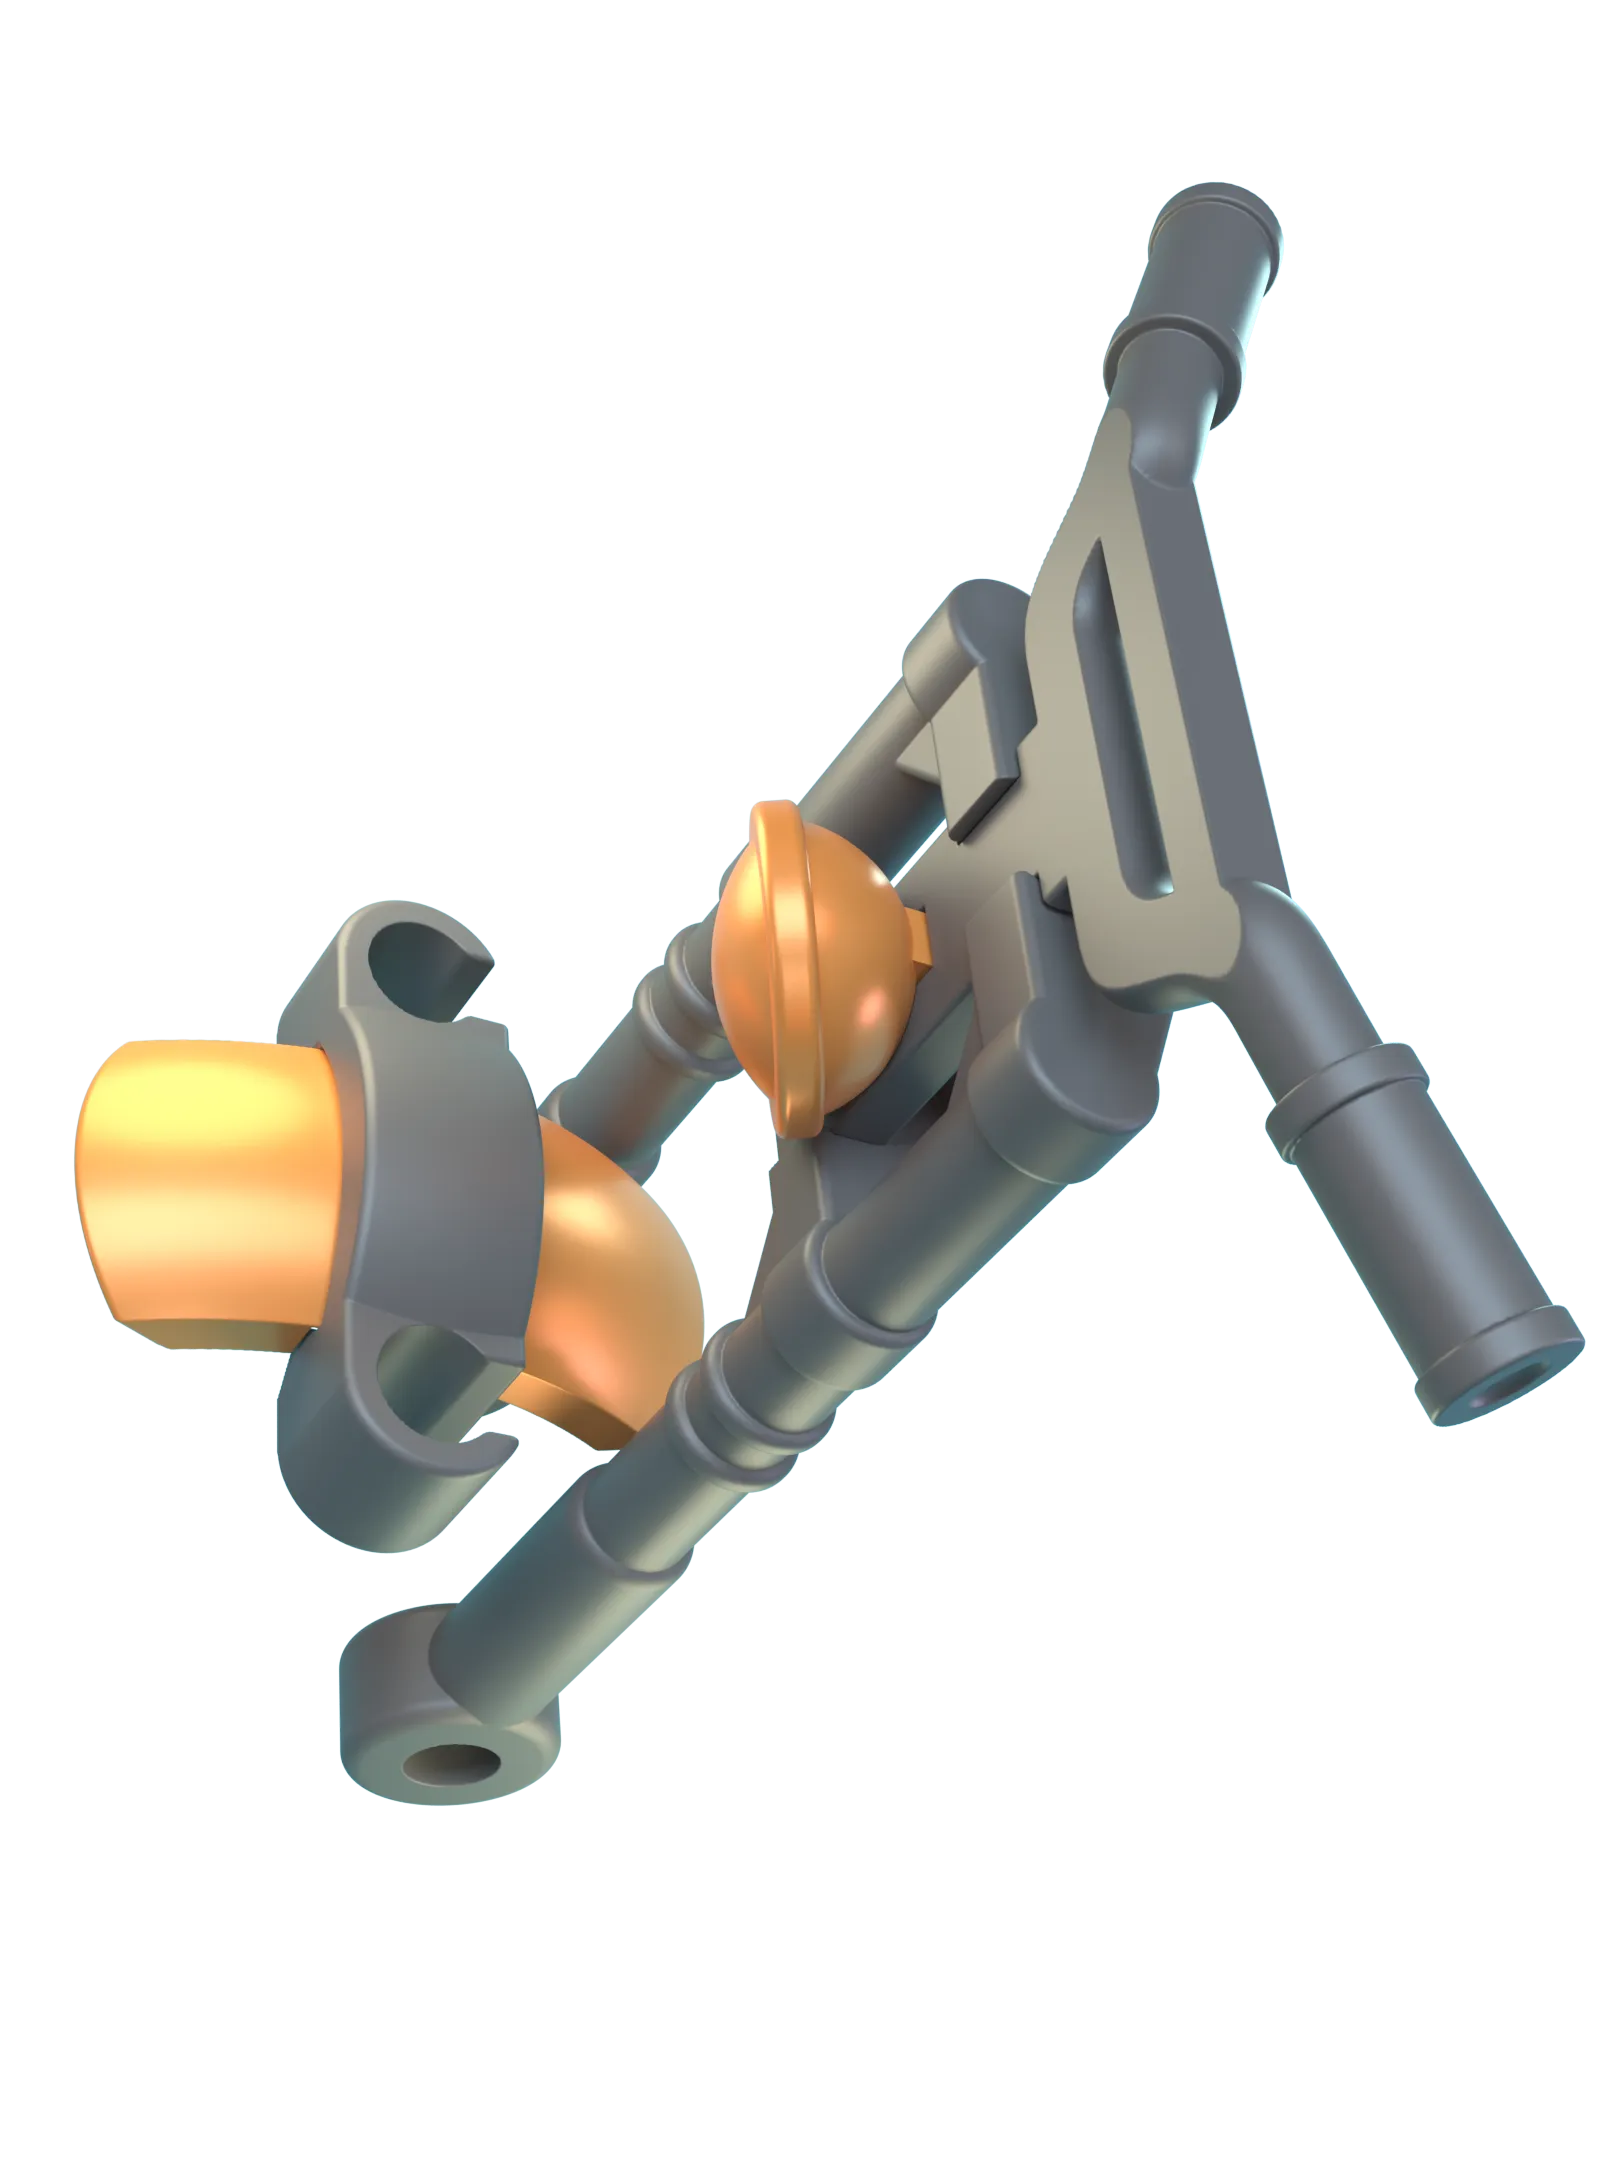 | 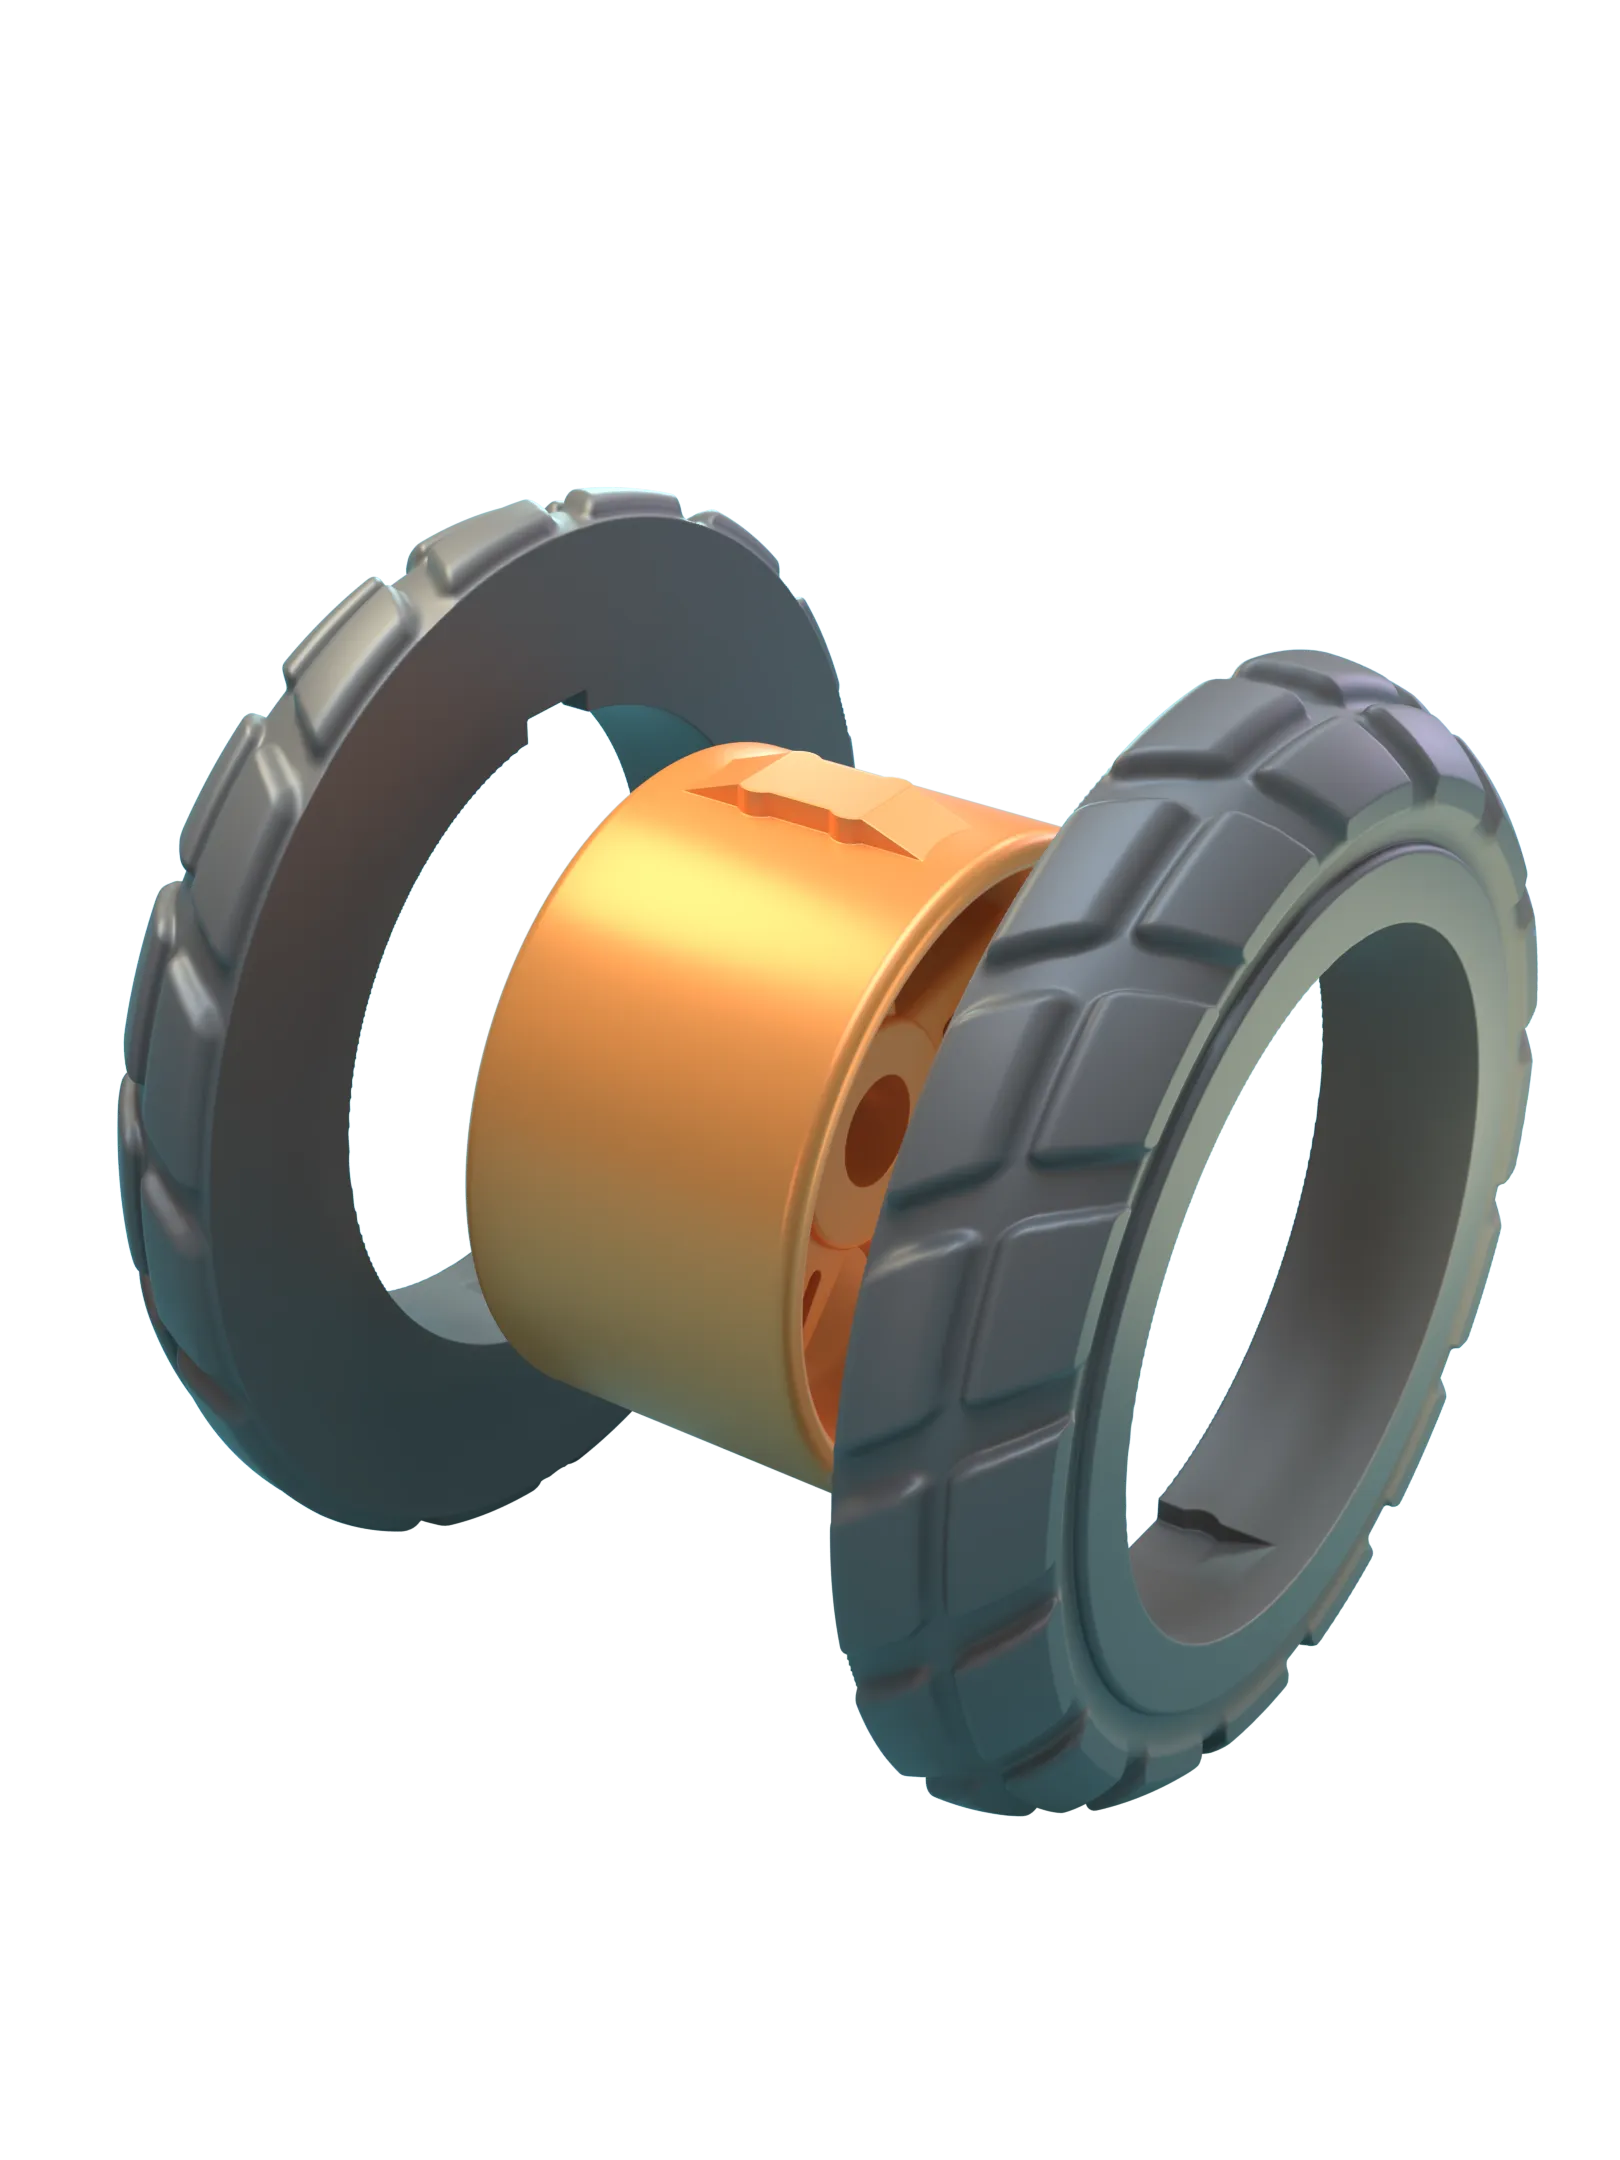 | 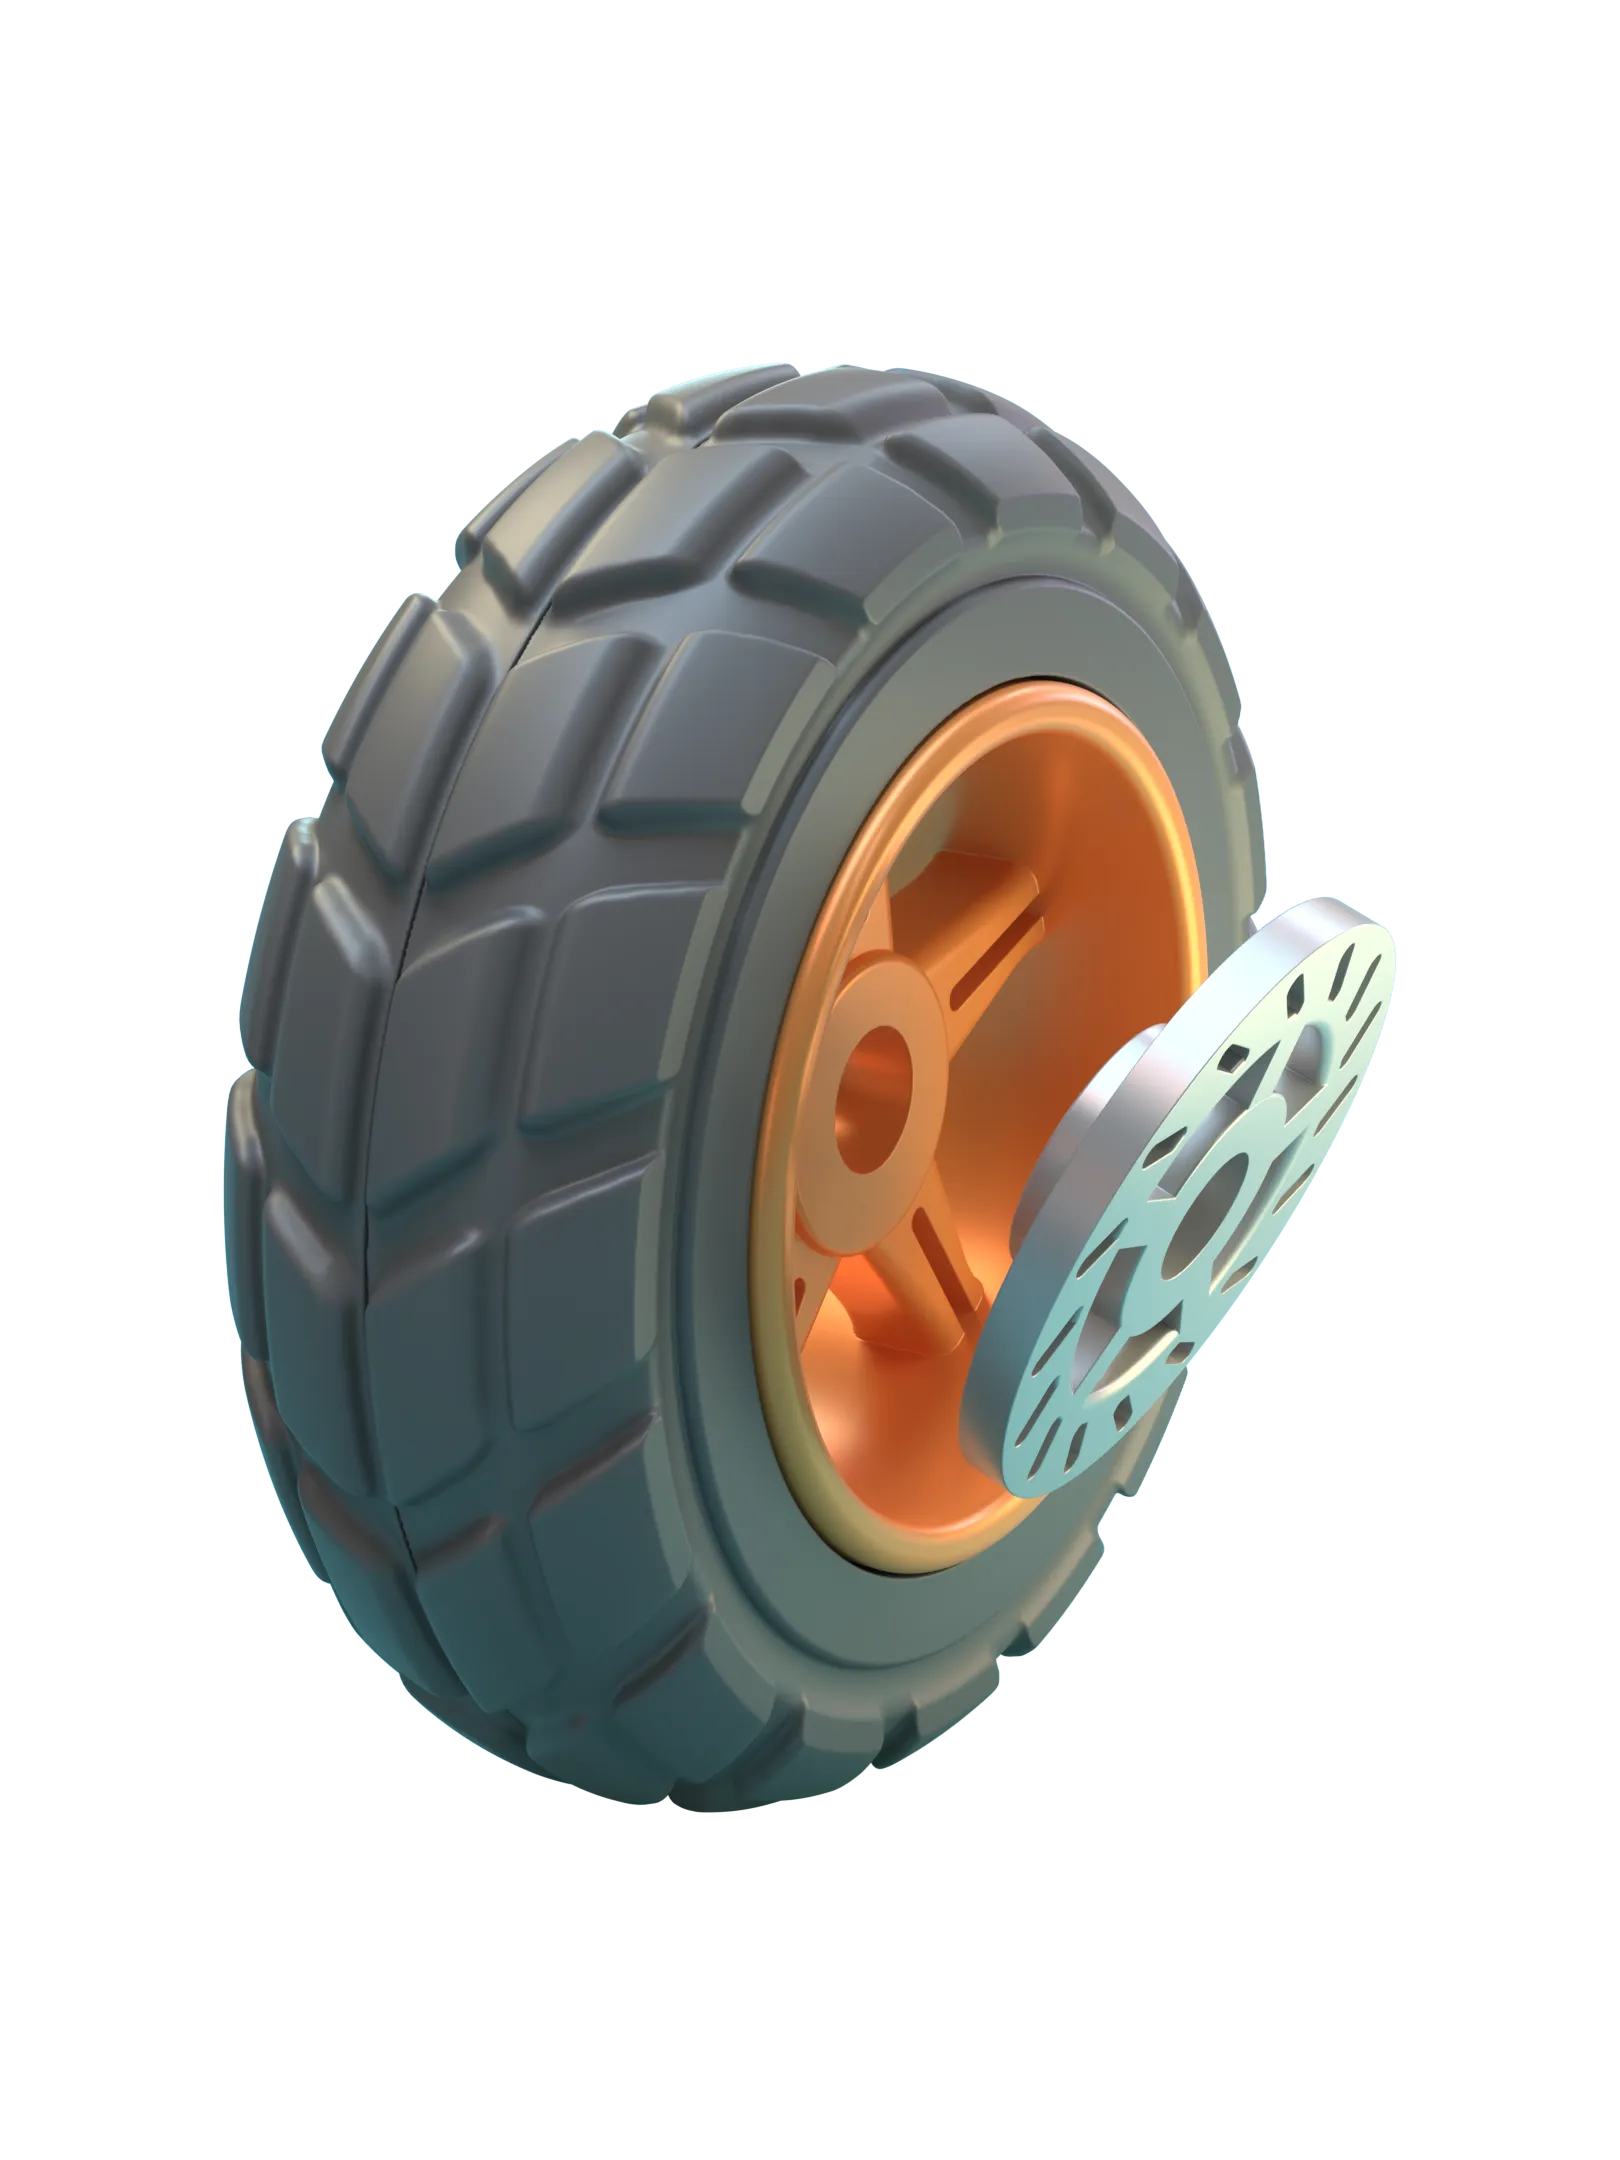 |
| Lock the Fender into place on the front forks. | The tire halves snap into position on each side of the rim. Push firmly to lock in place . | Put the brake pads into position with the flat side facing out. |
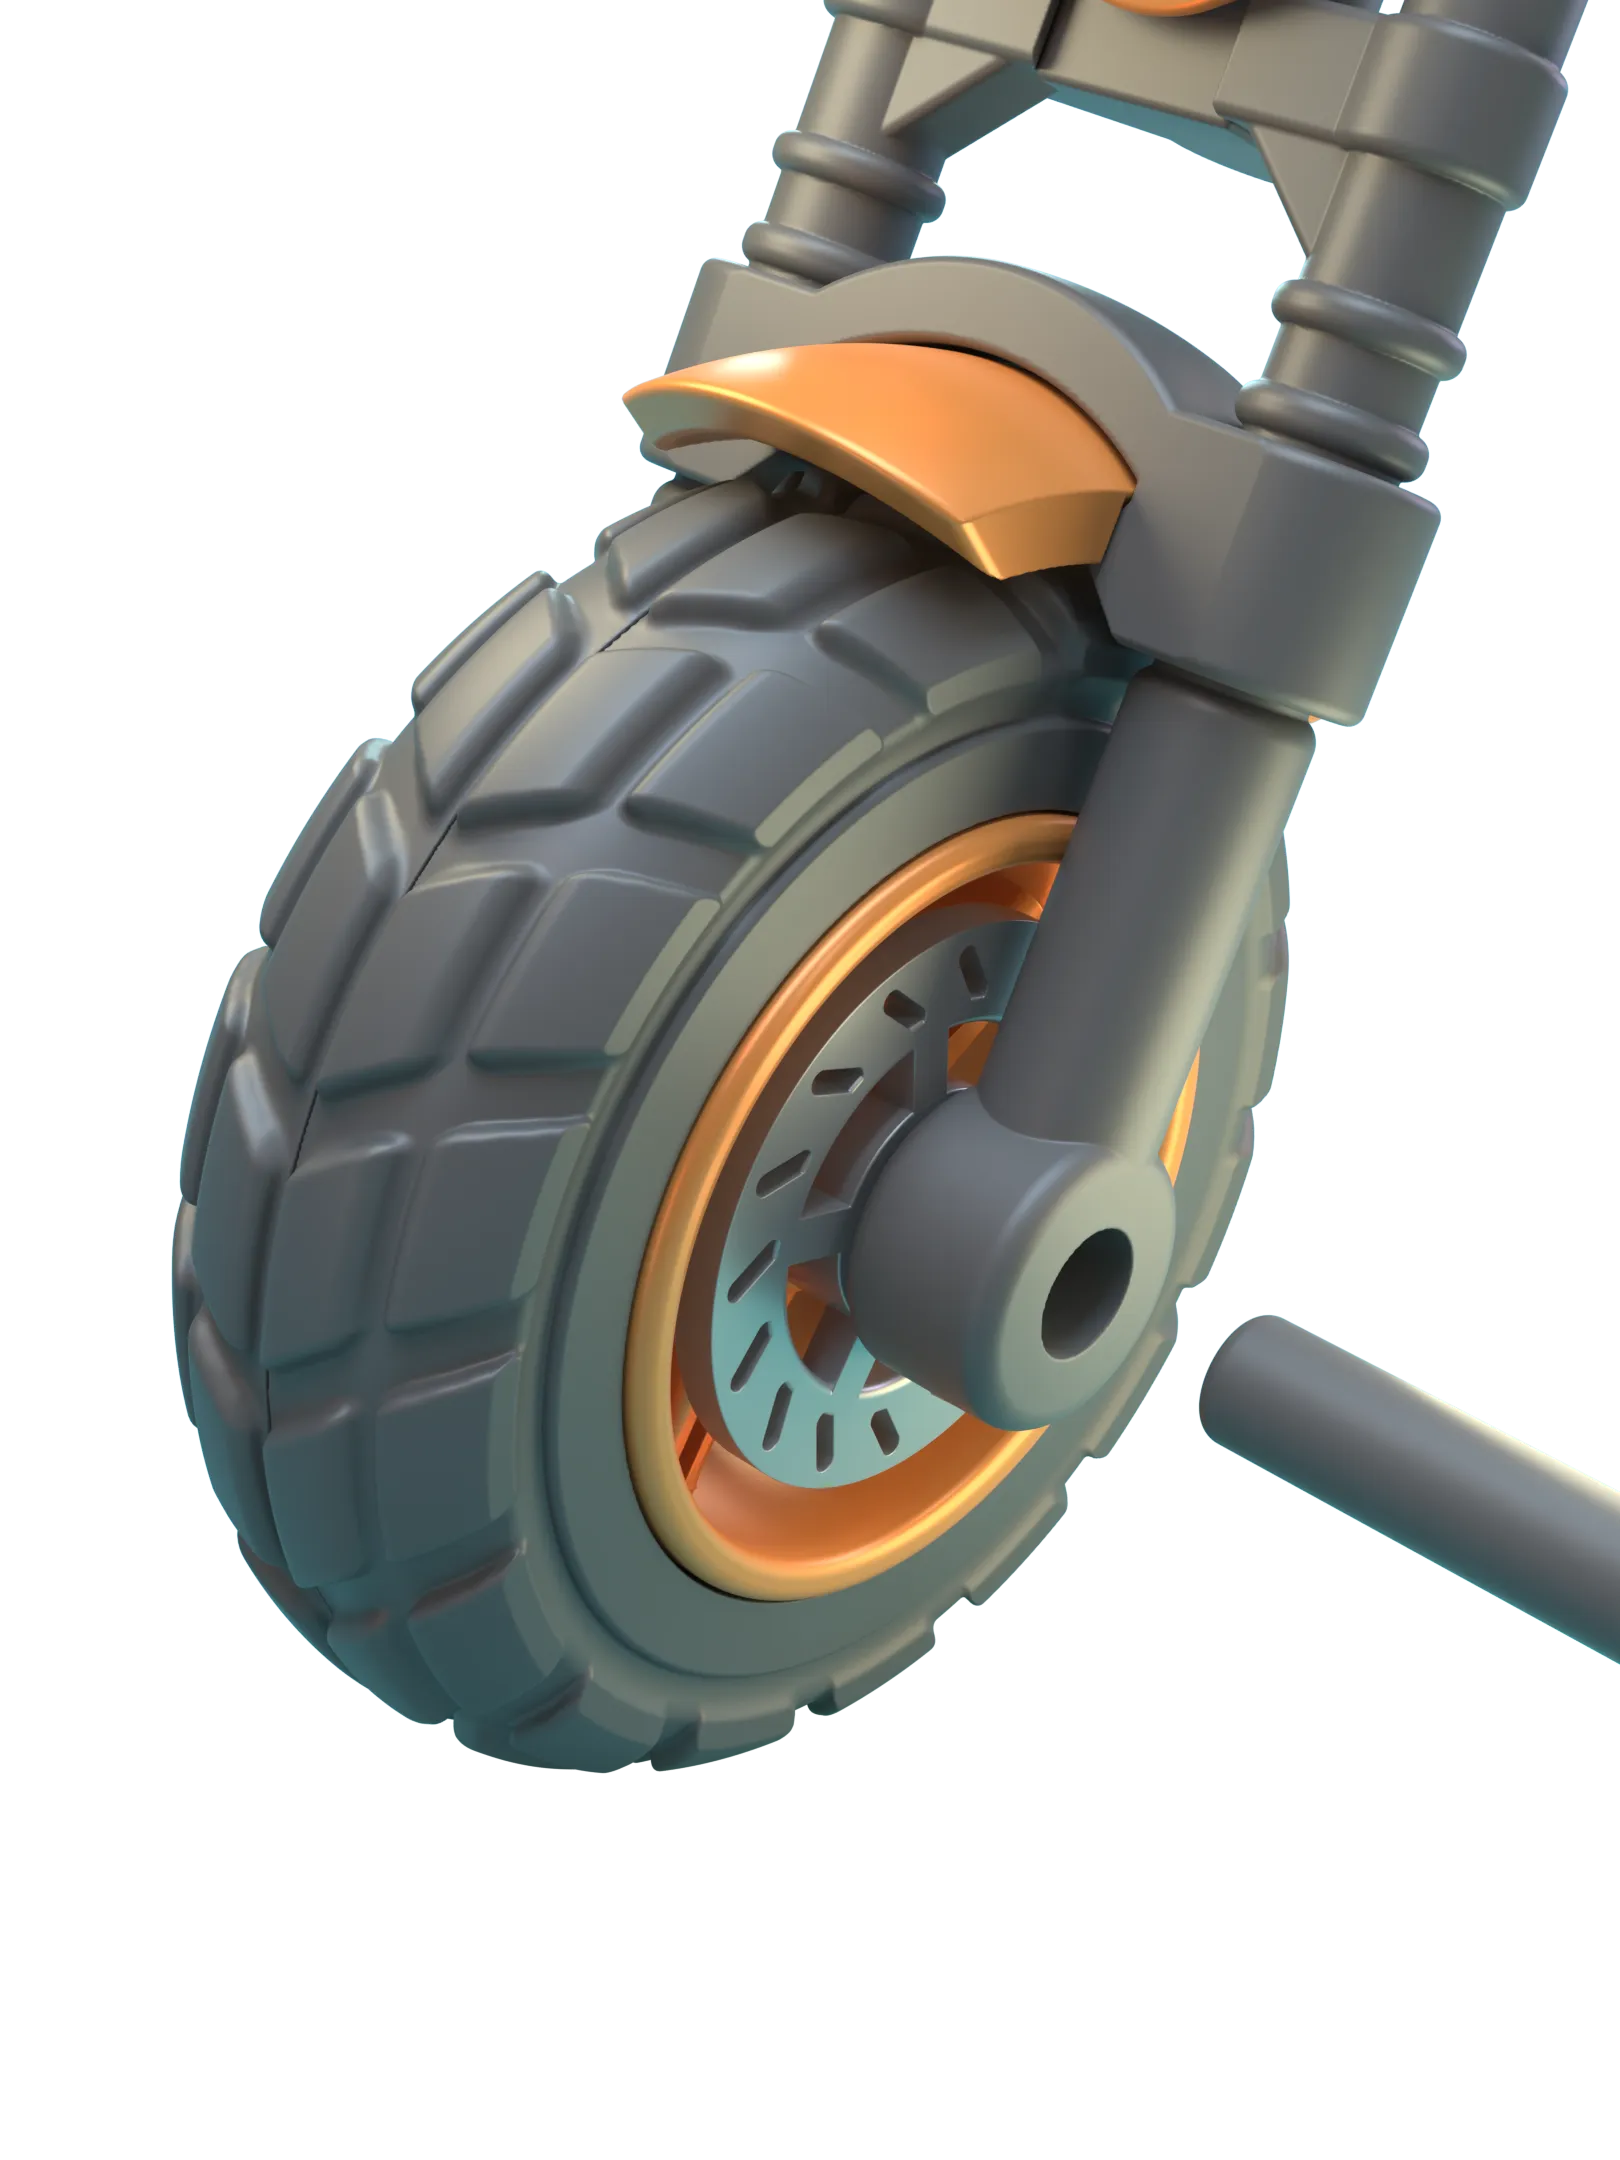 | 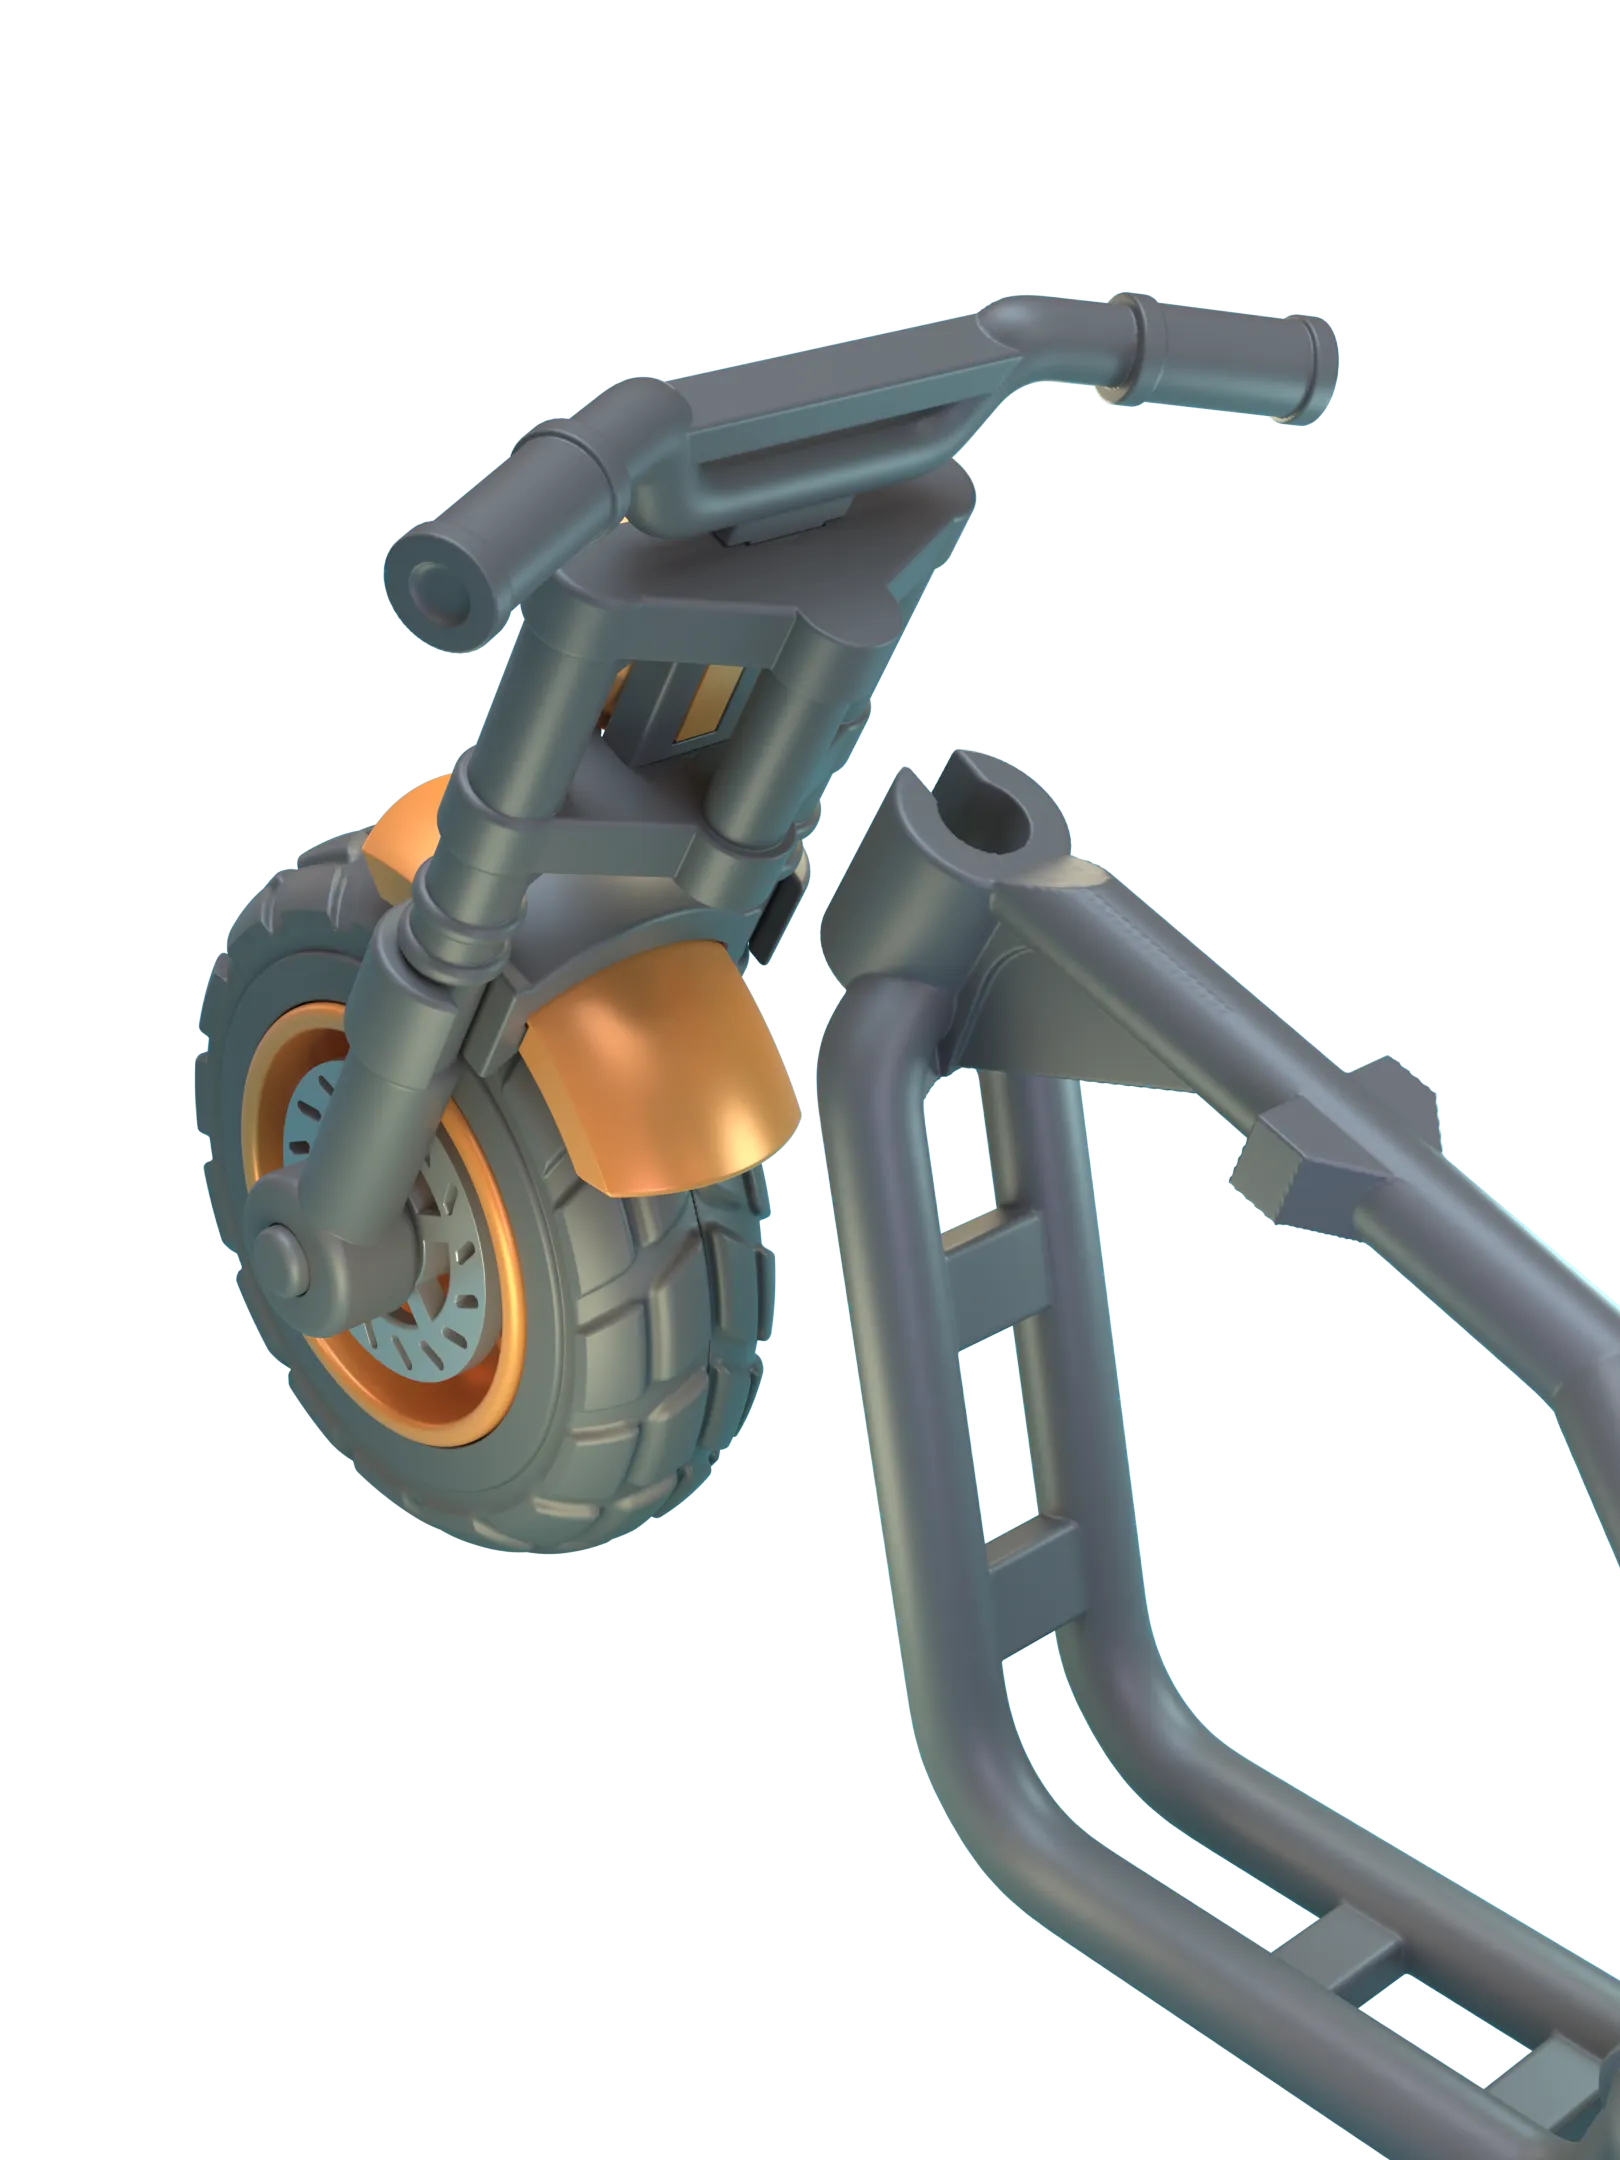 | 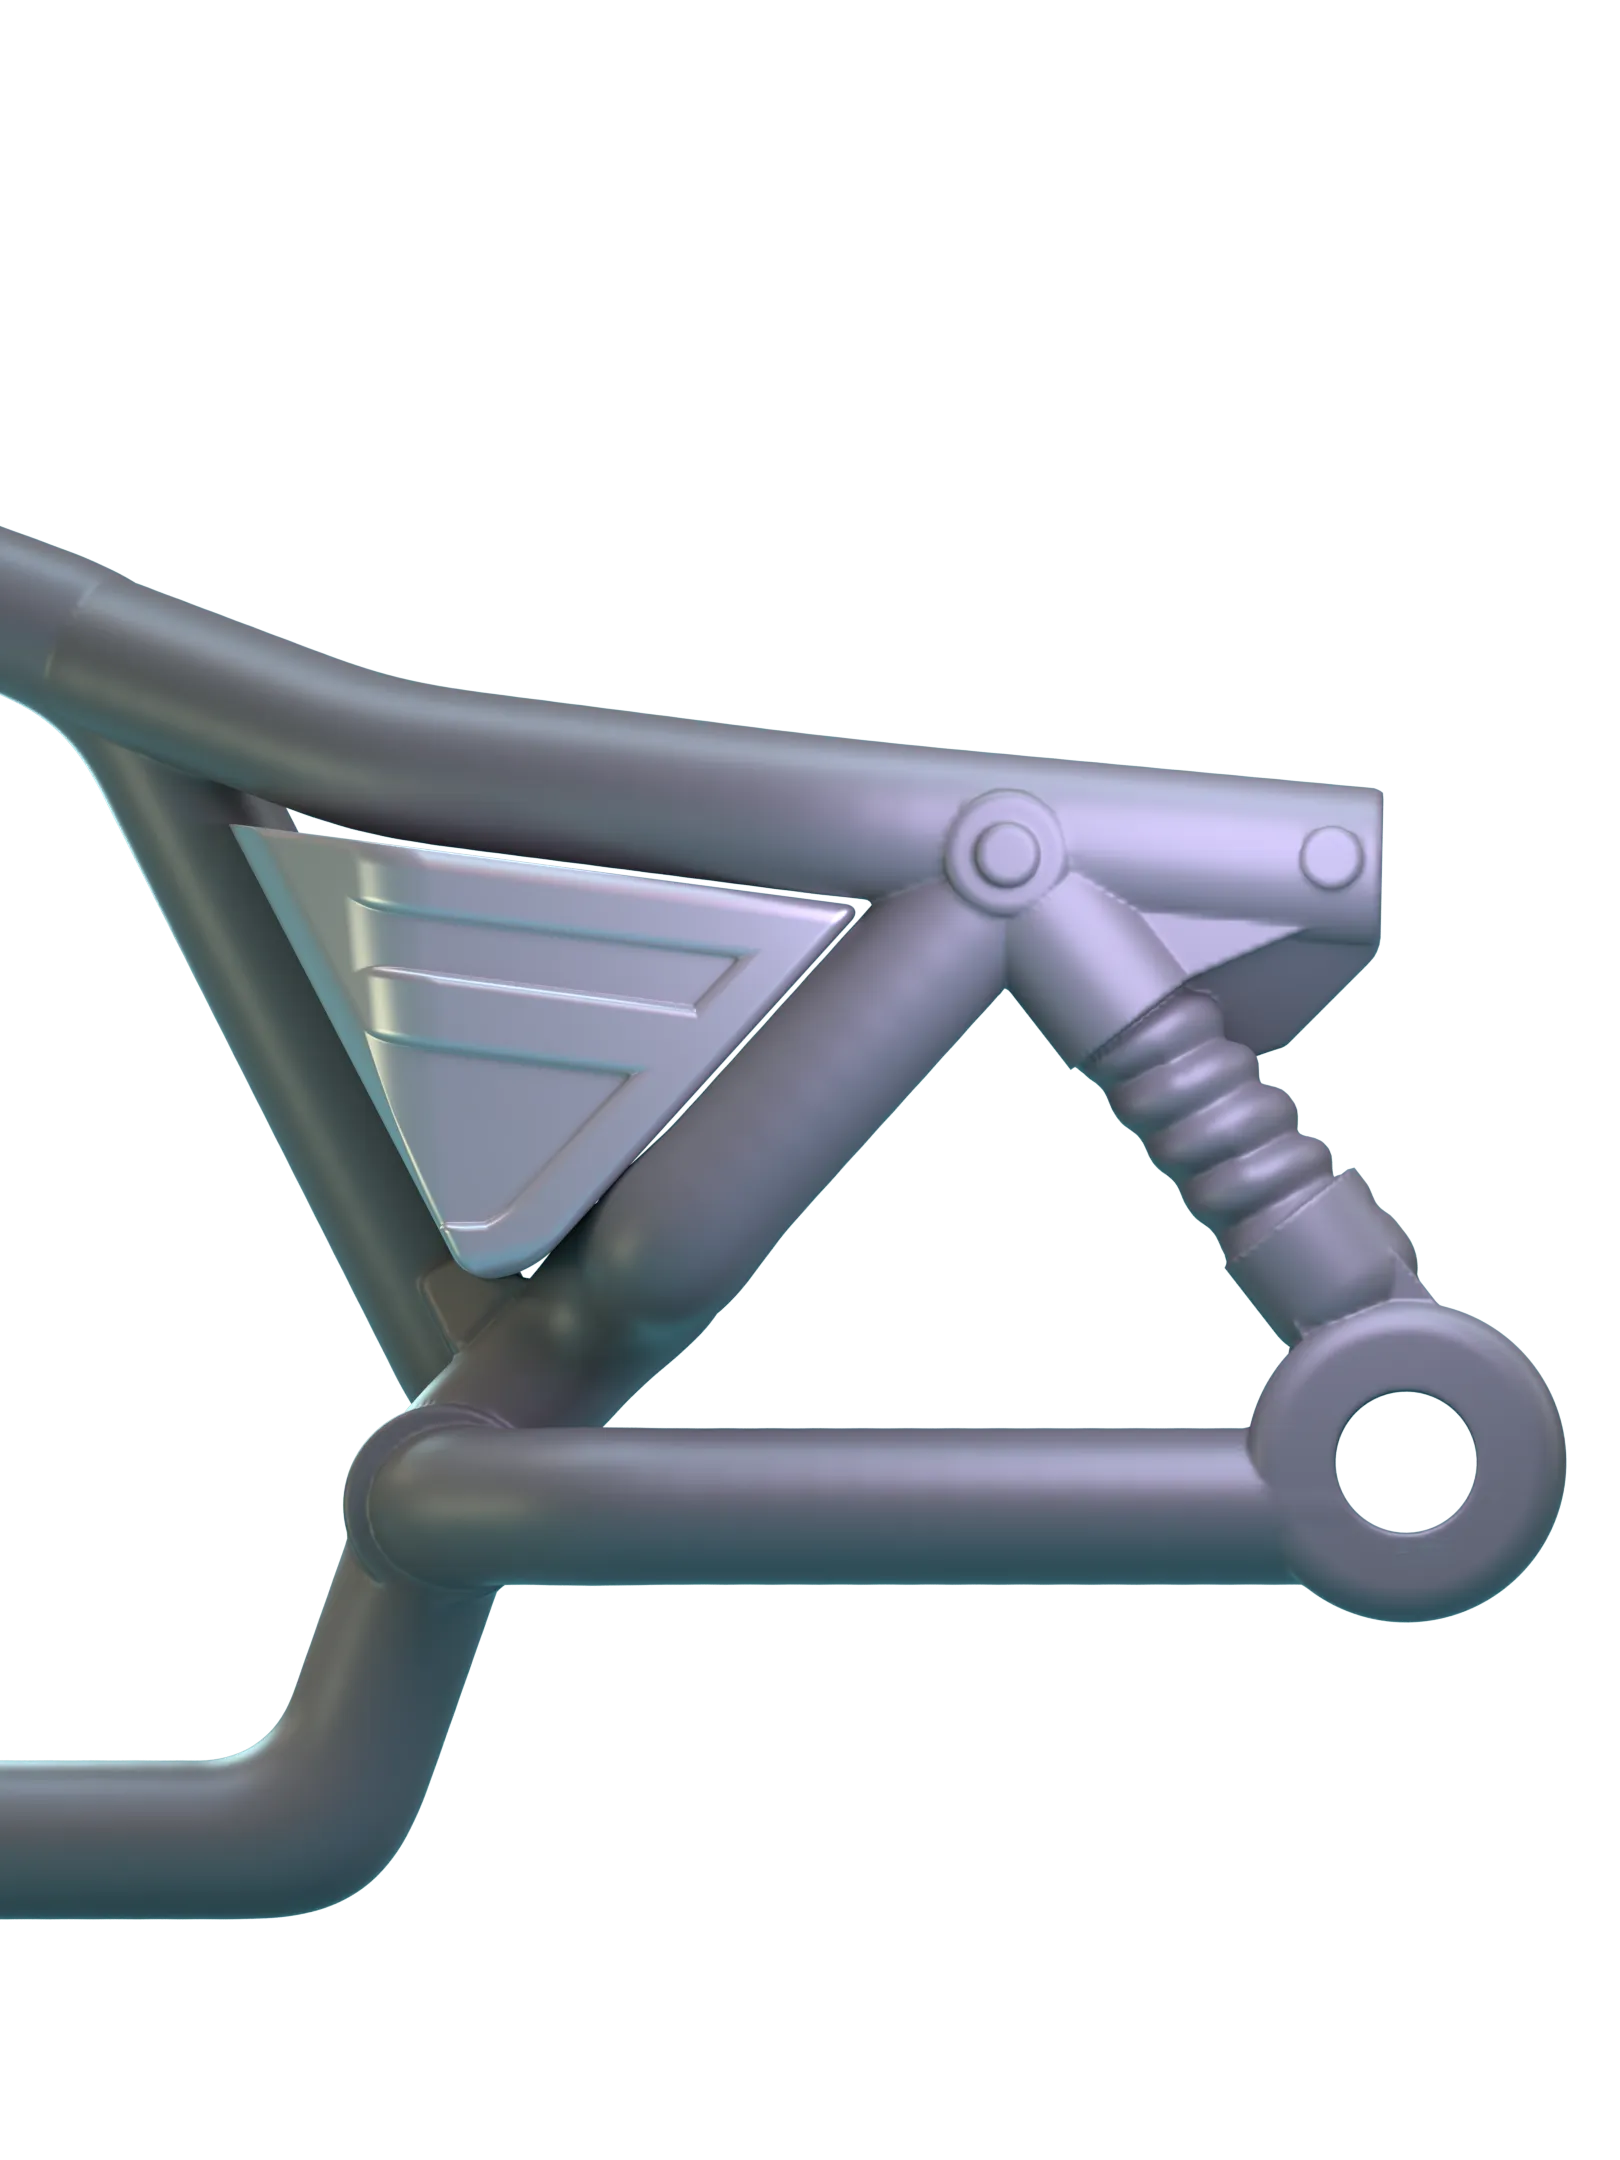 |
| Slide the axle through the front fork, brake pads, and assembled wheel. | The front forks snap into the top of the bike frame. | The battery compartment need to be oriented as shown to fit in the sides. |
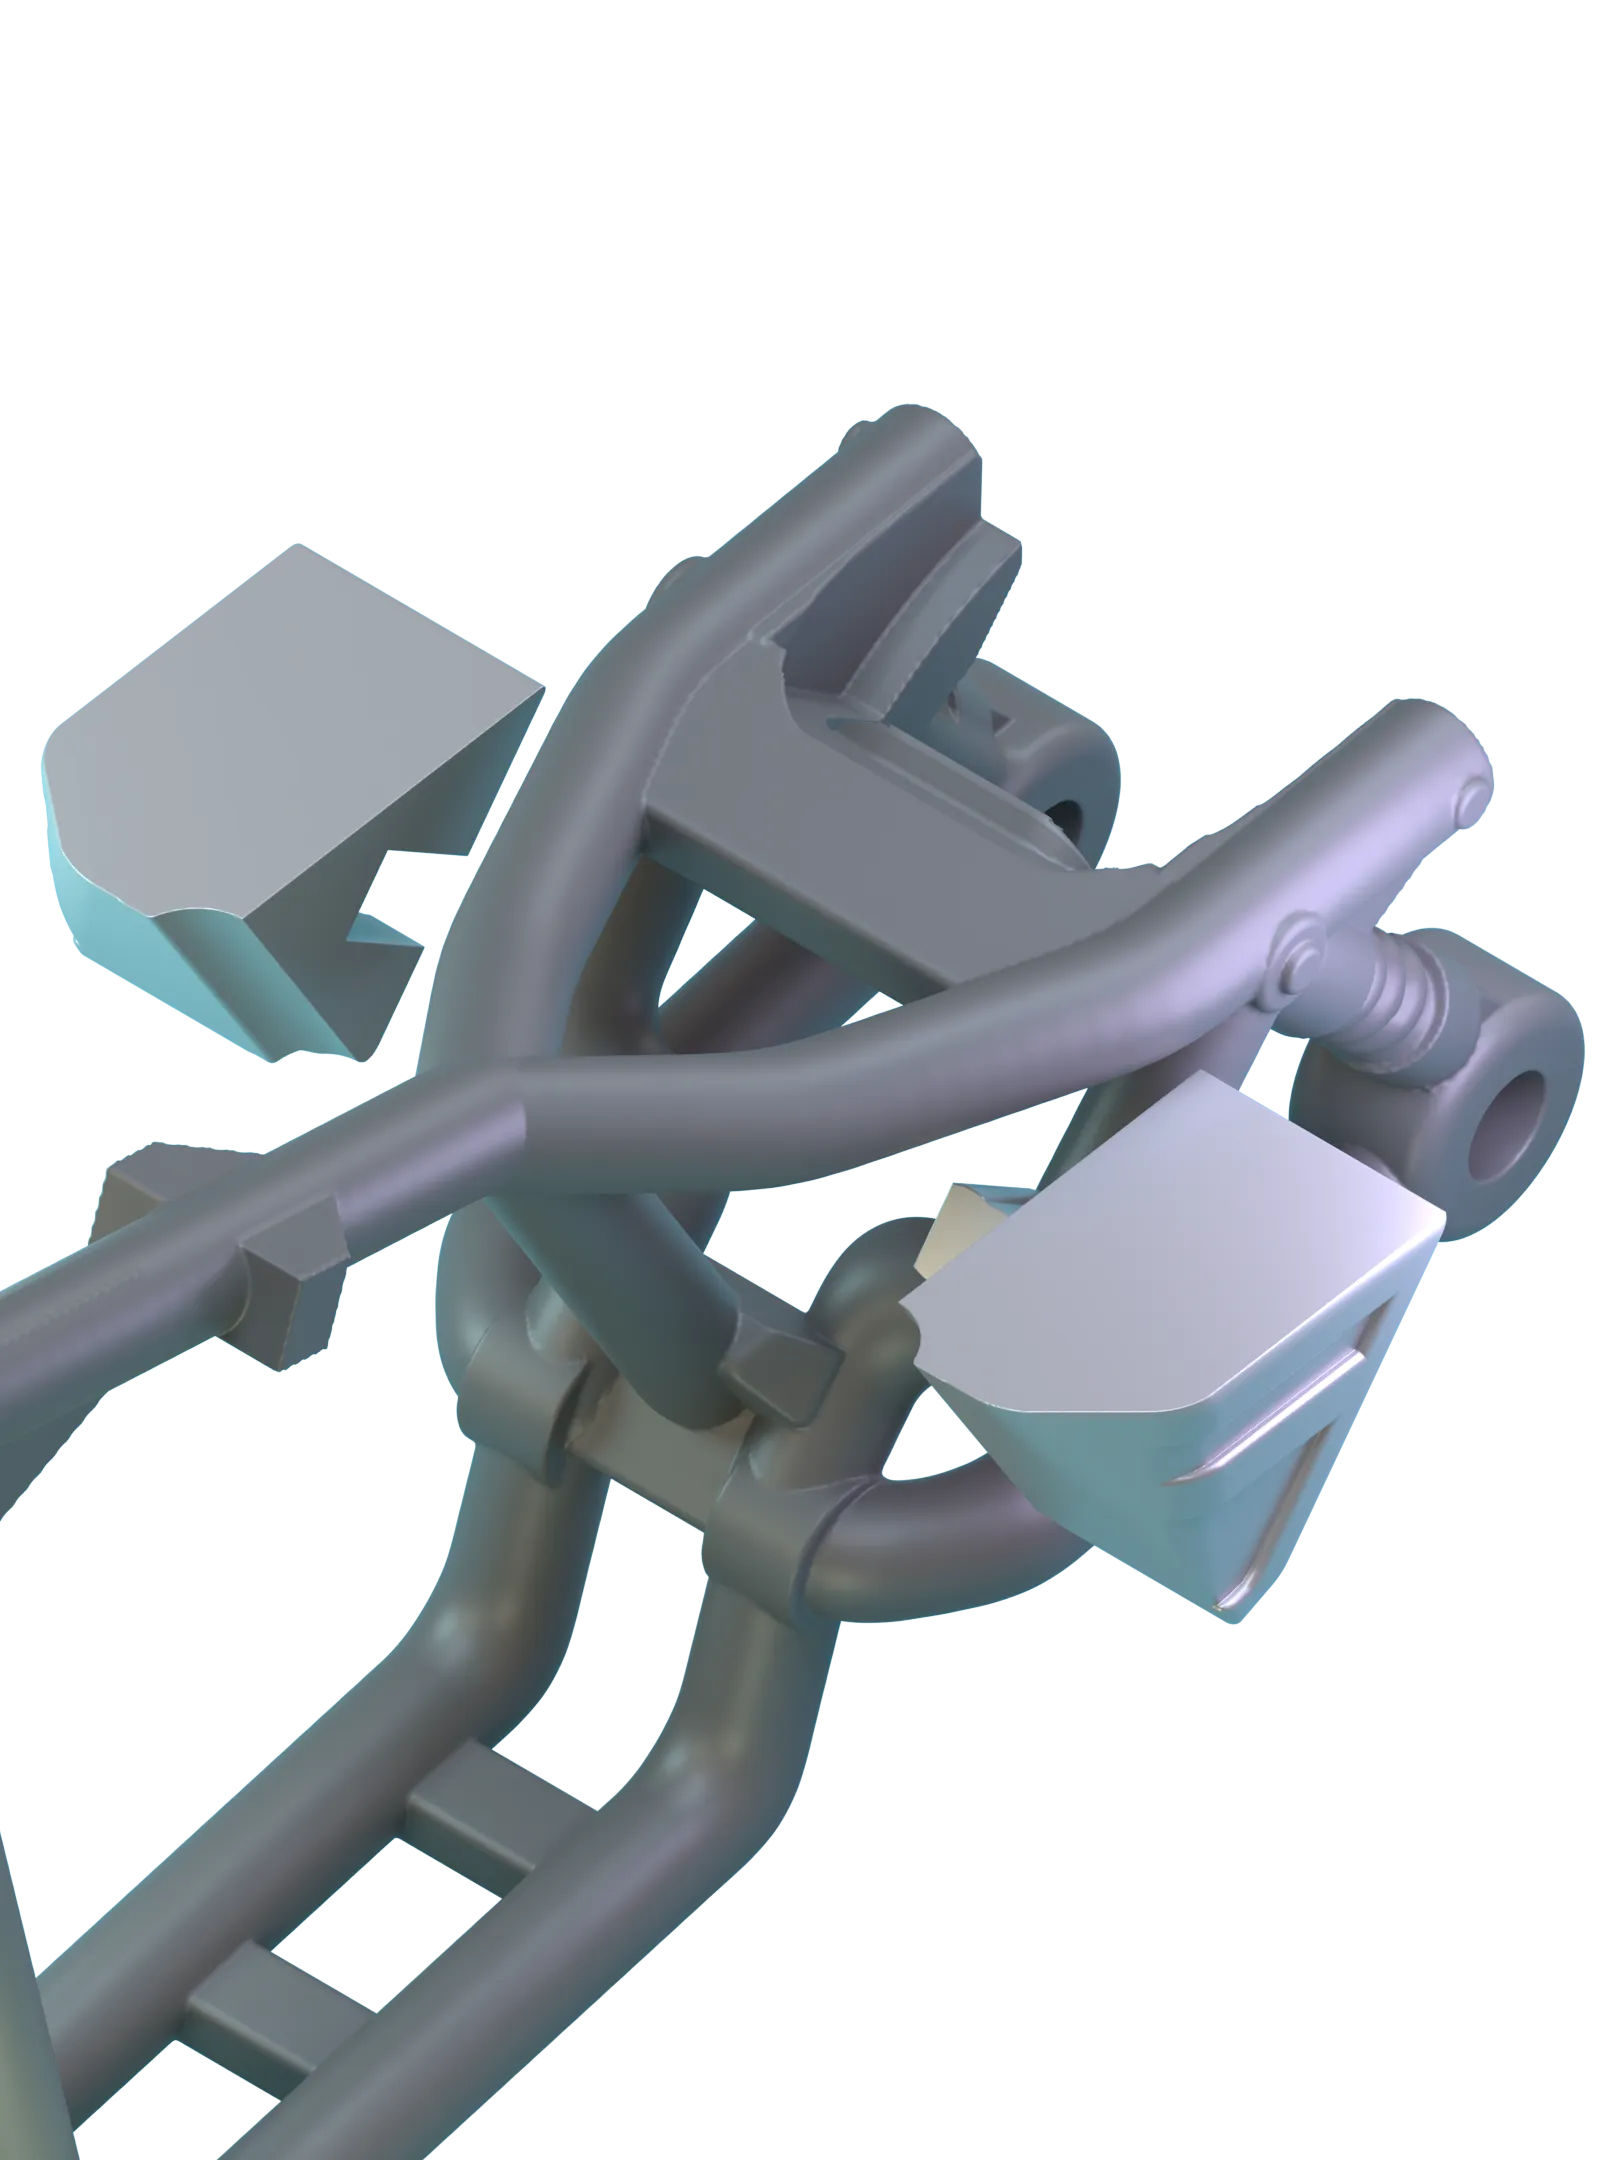 | 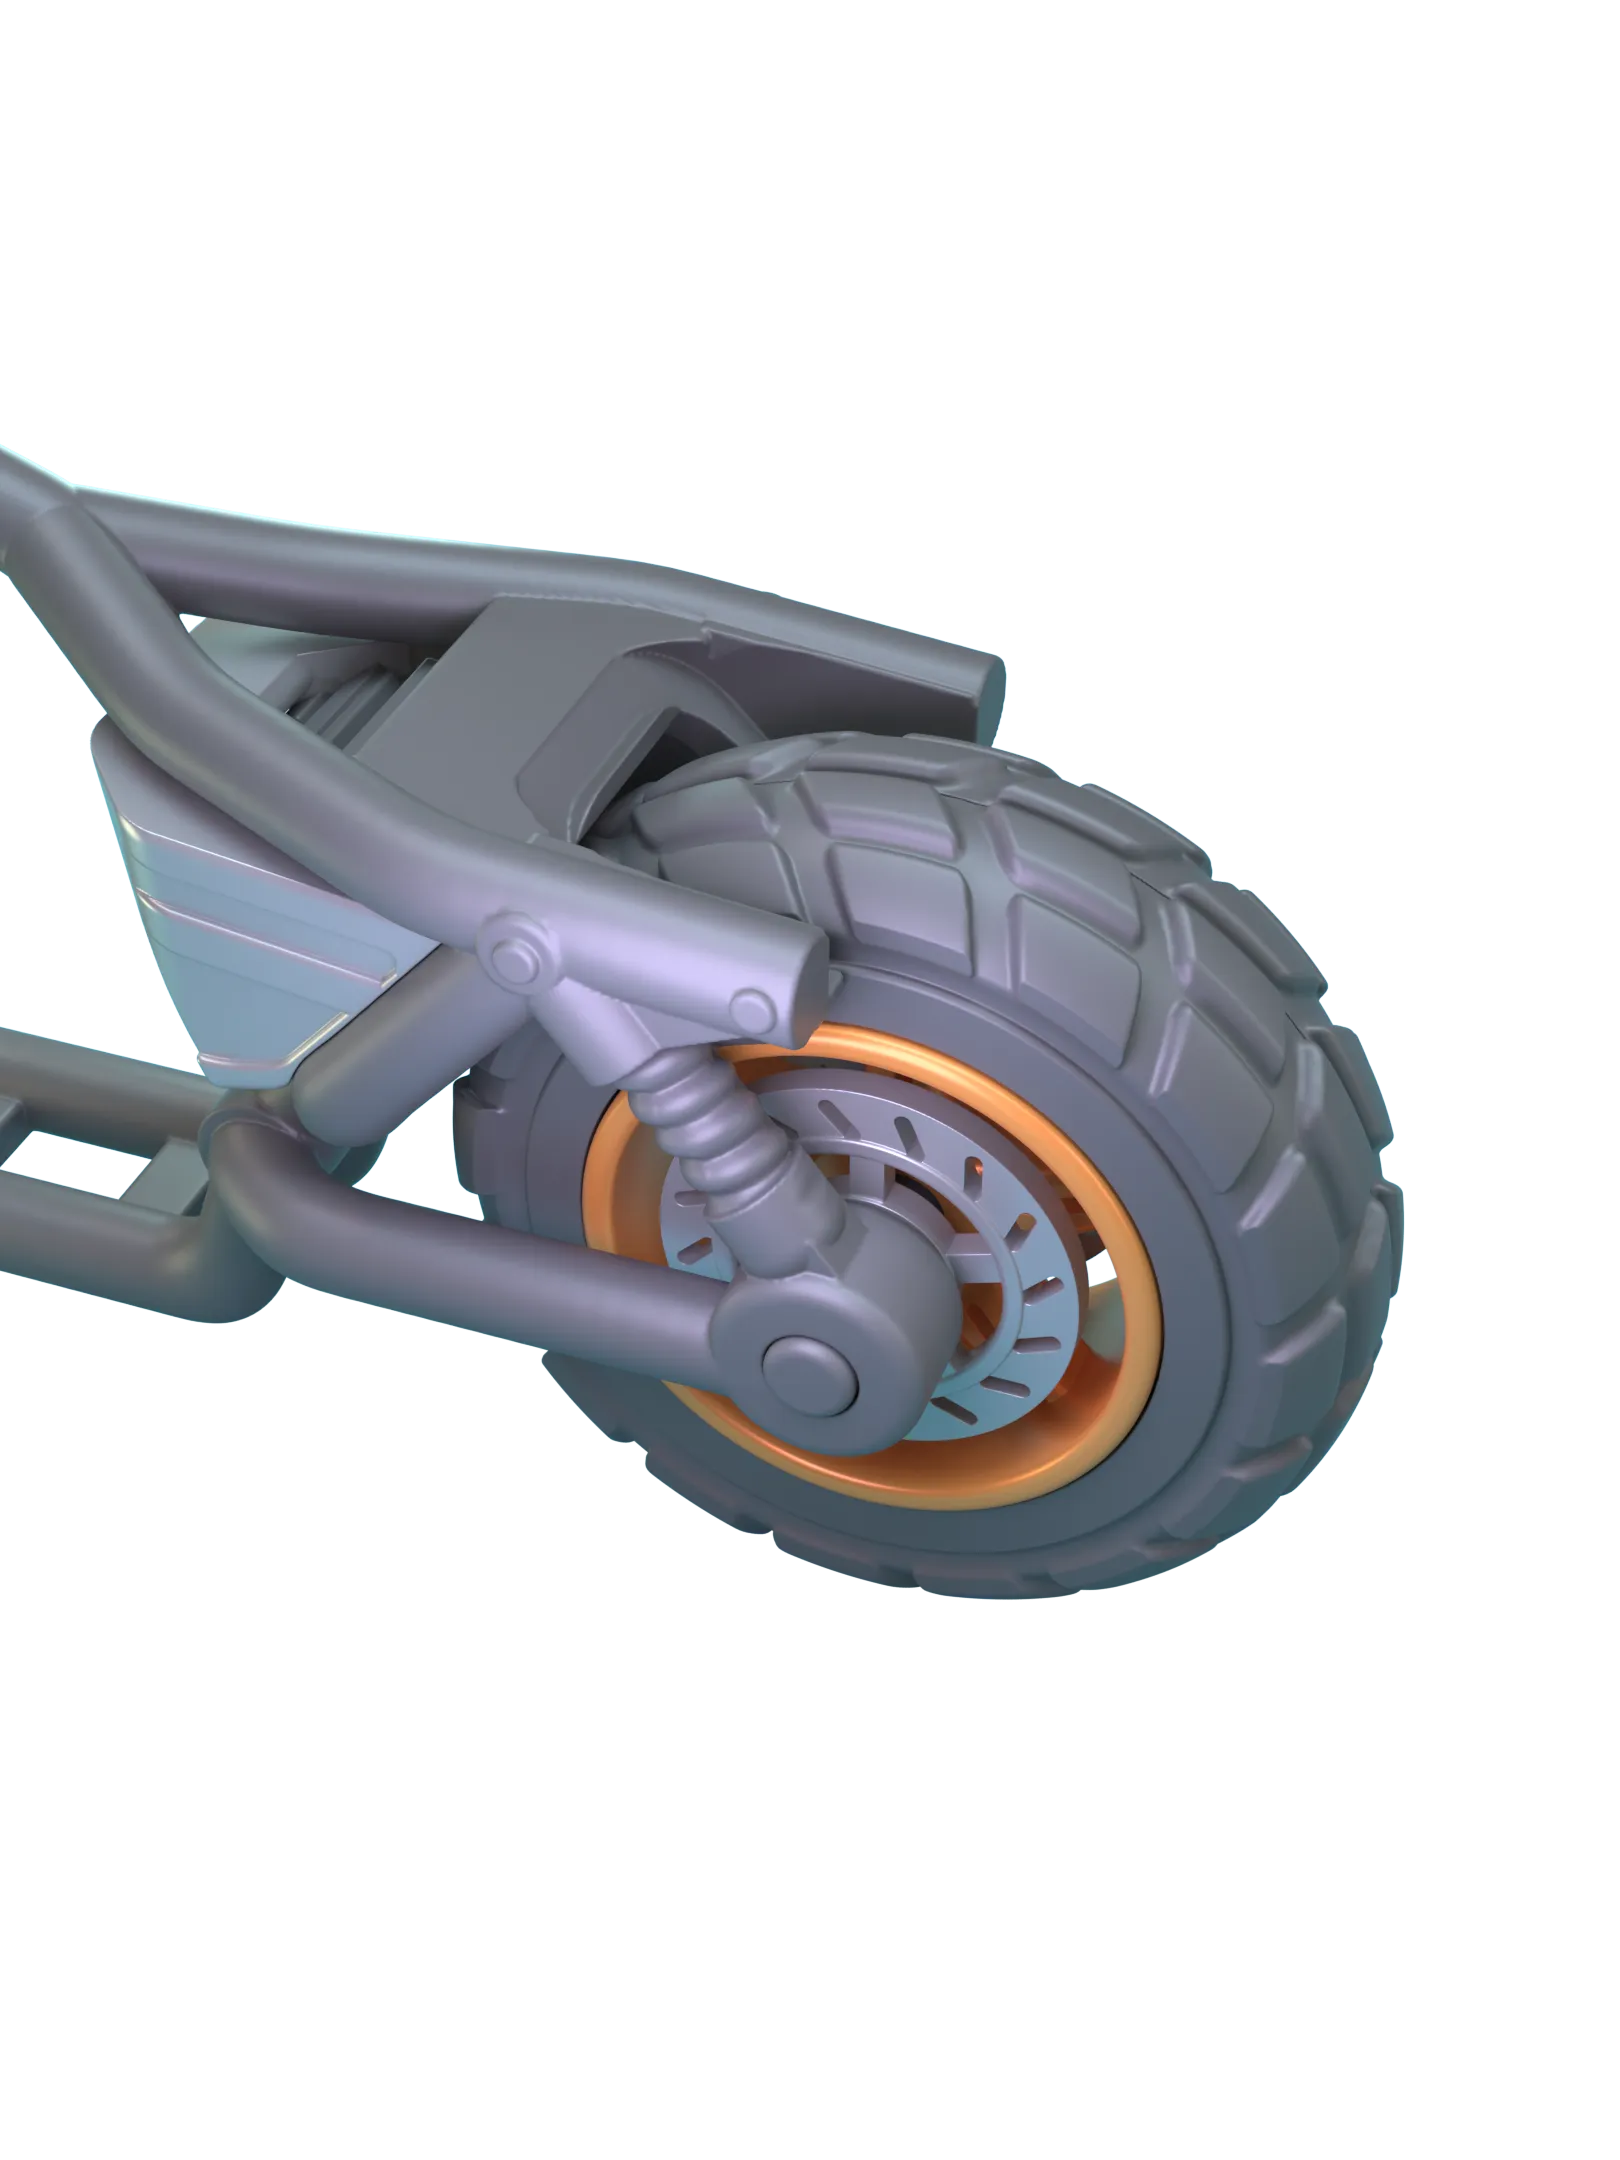 | 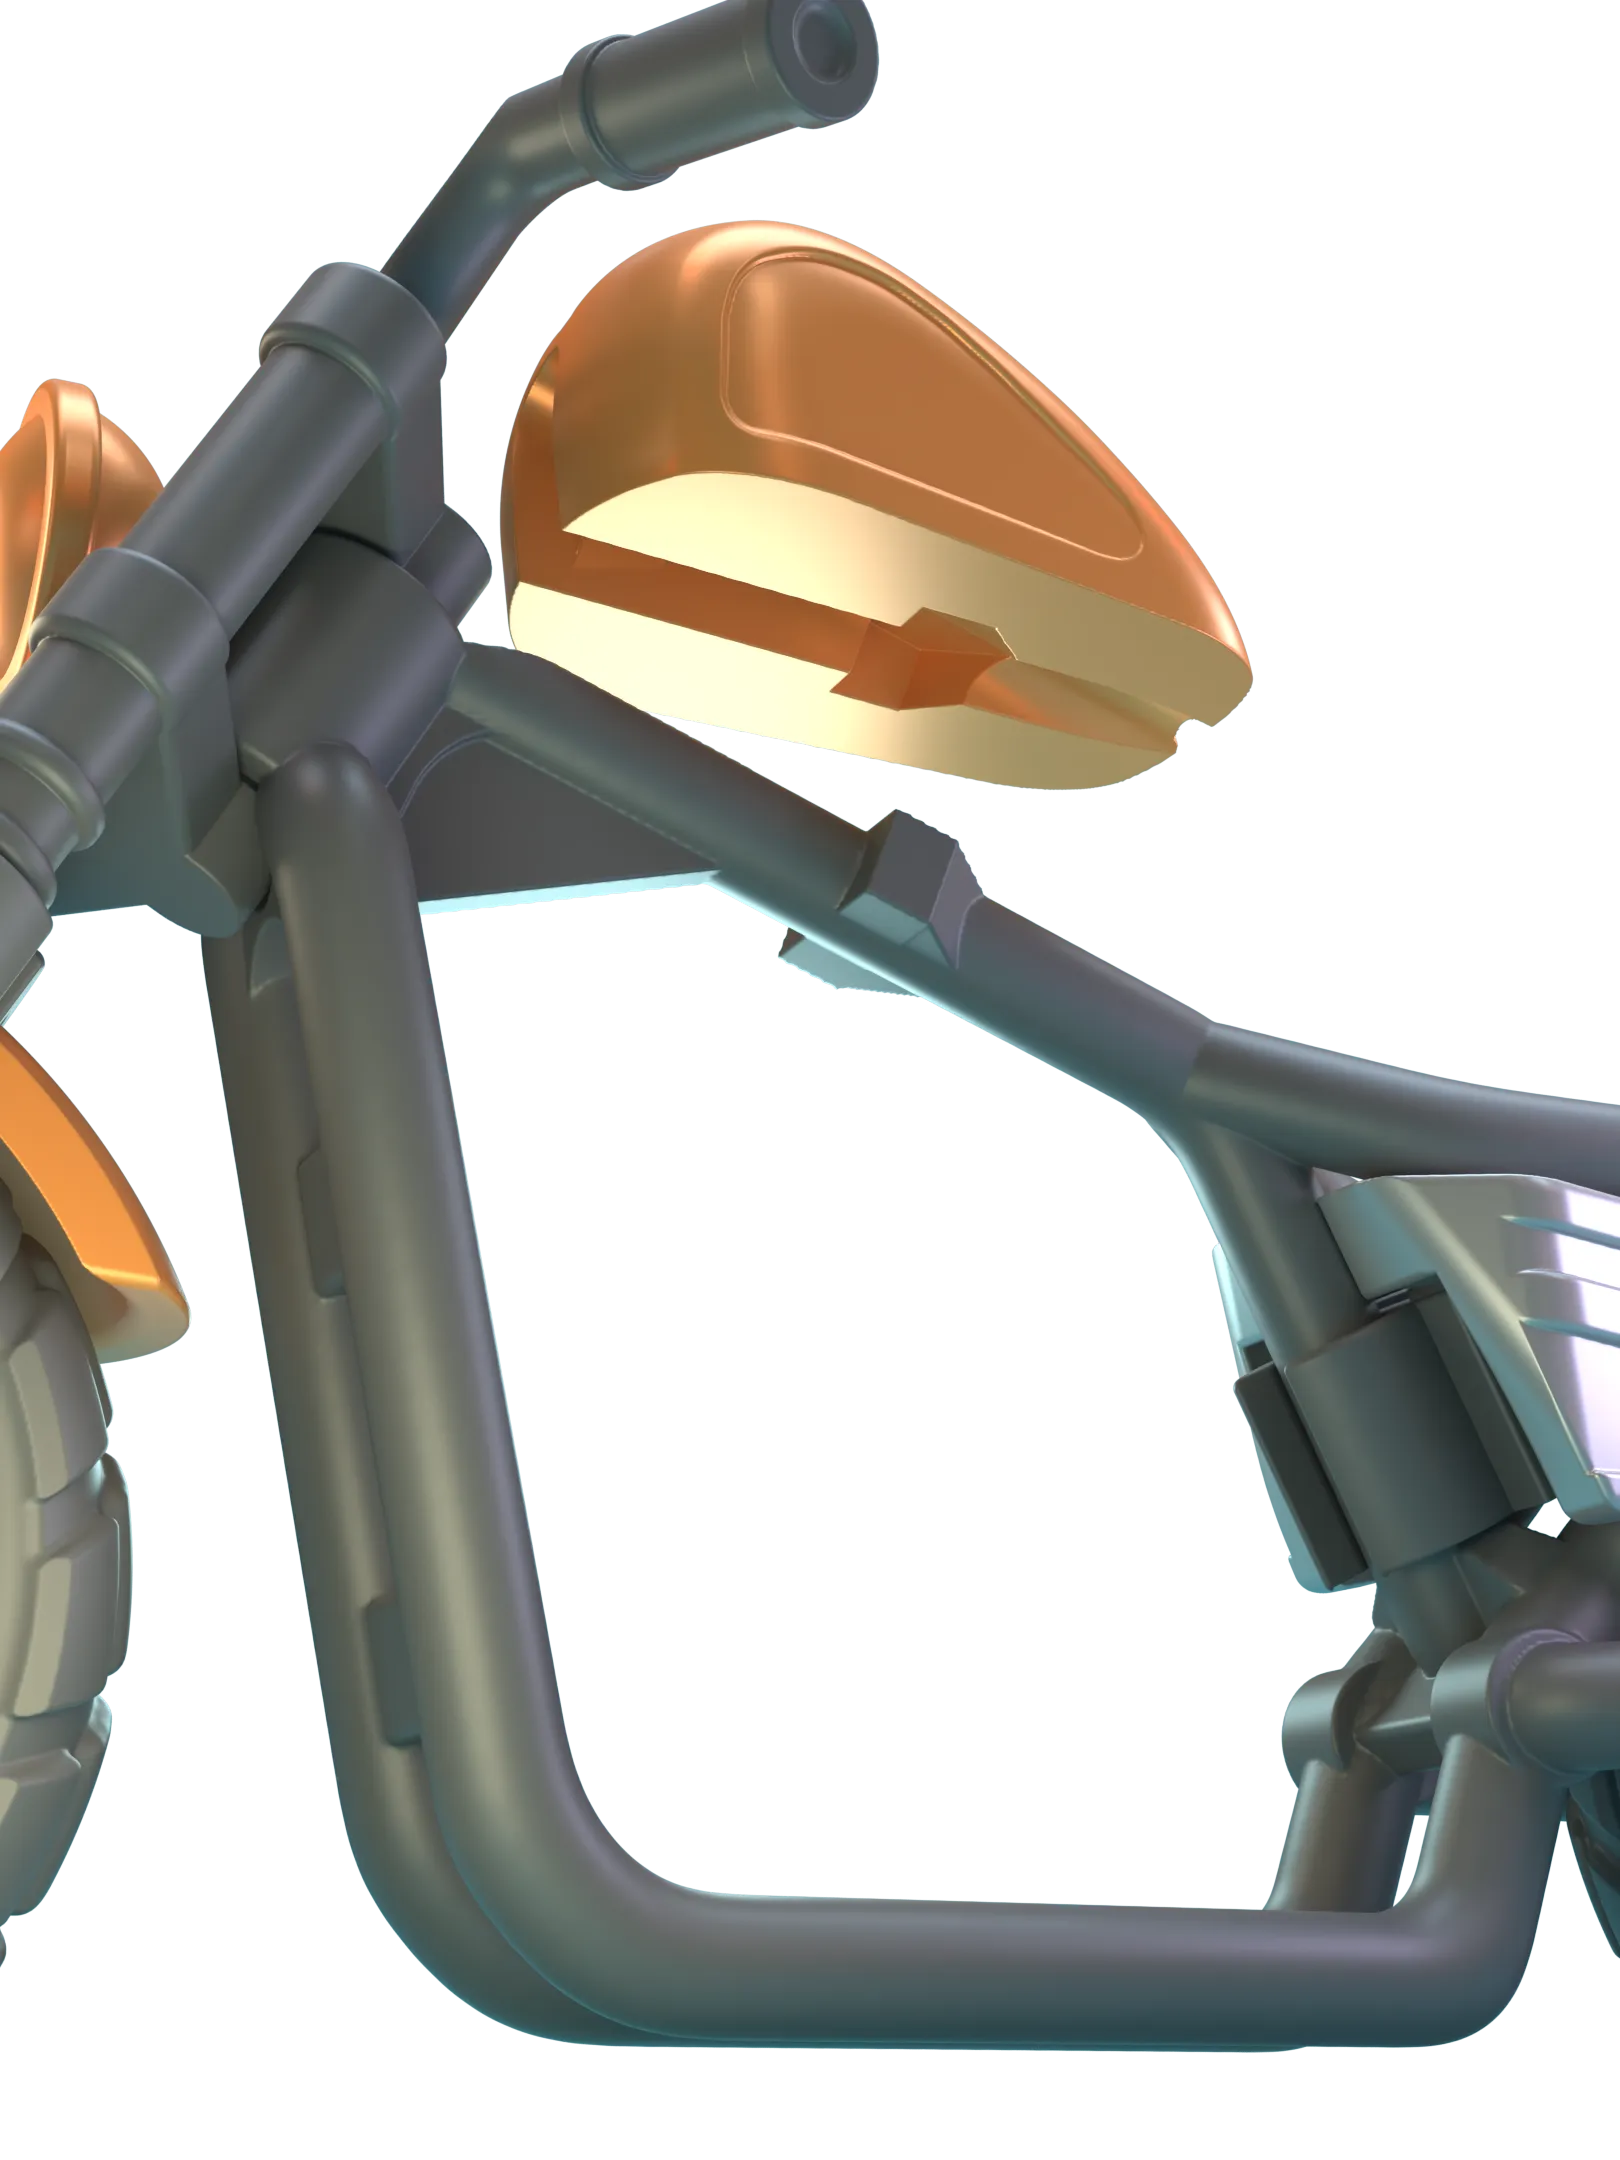 |
| Push the two sides together through the opening. Press firmly from each side until they click into place together. | You can now add the back wheel in the same way as the front. | Slot the gas tank into position atop the frame. Press down to lock into position. |
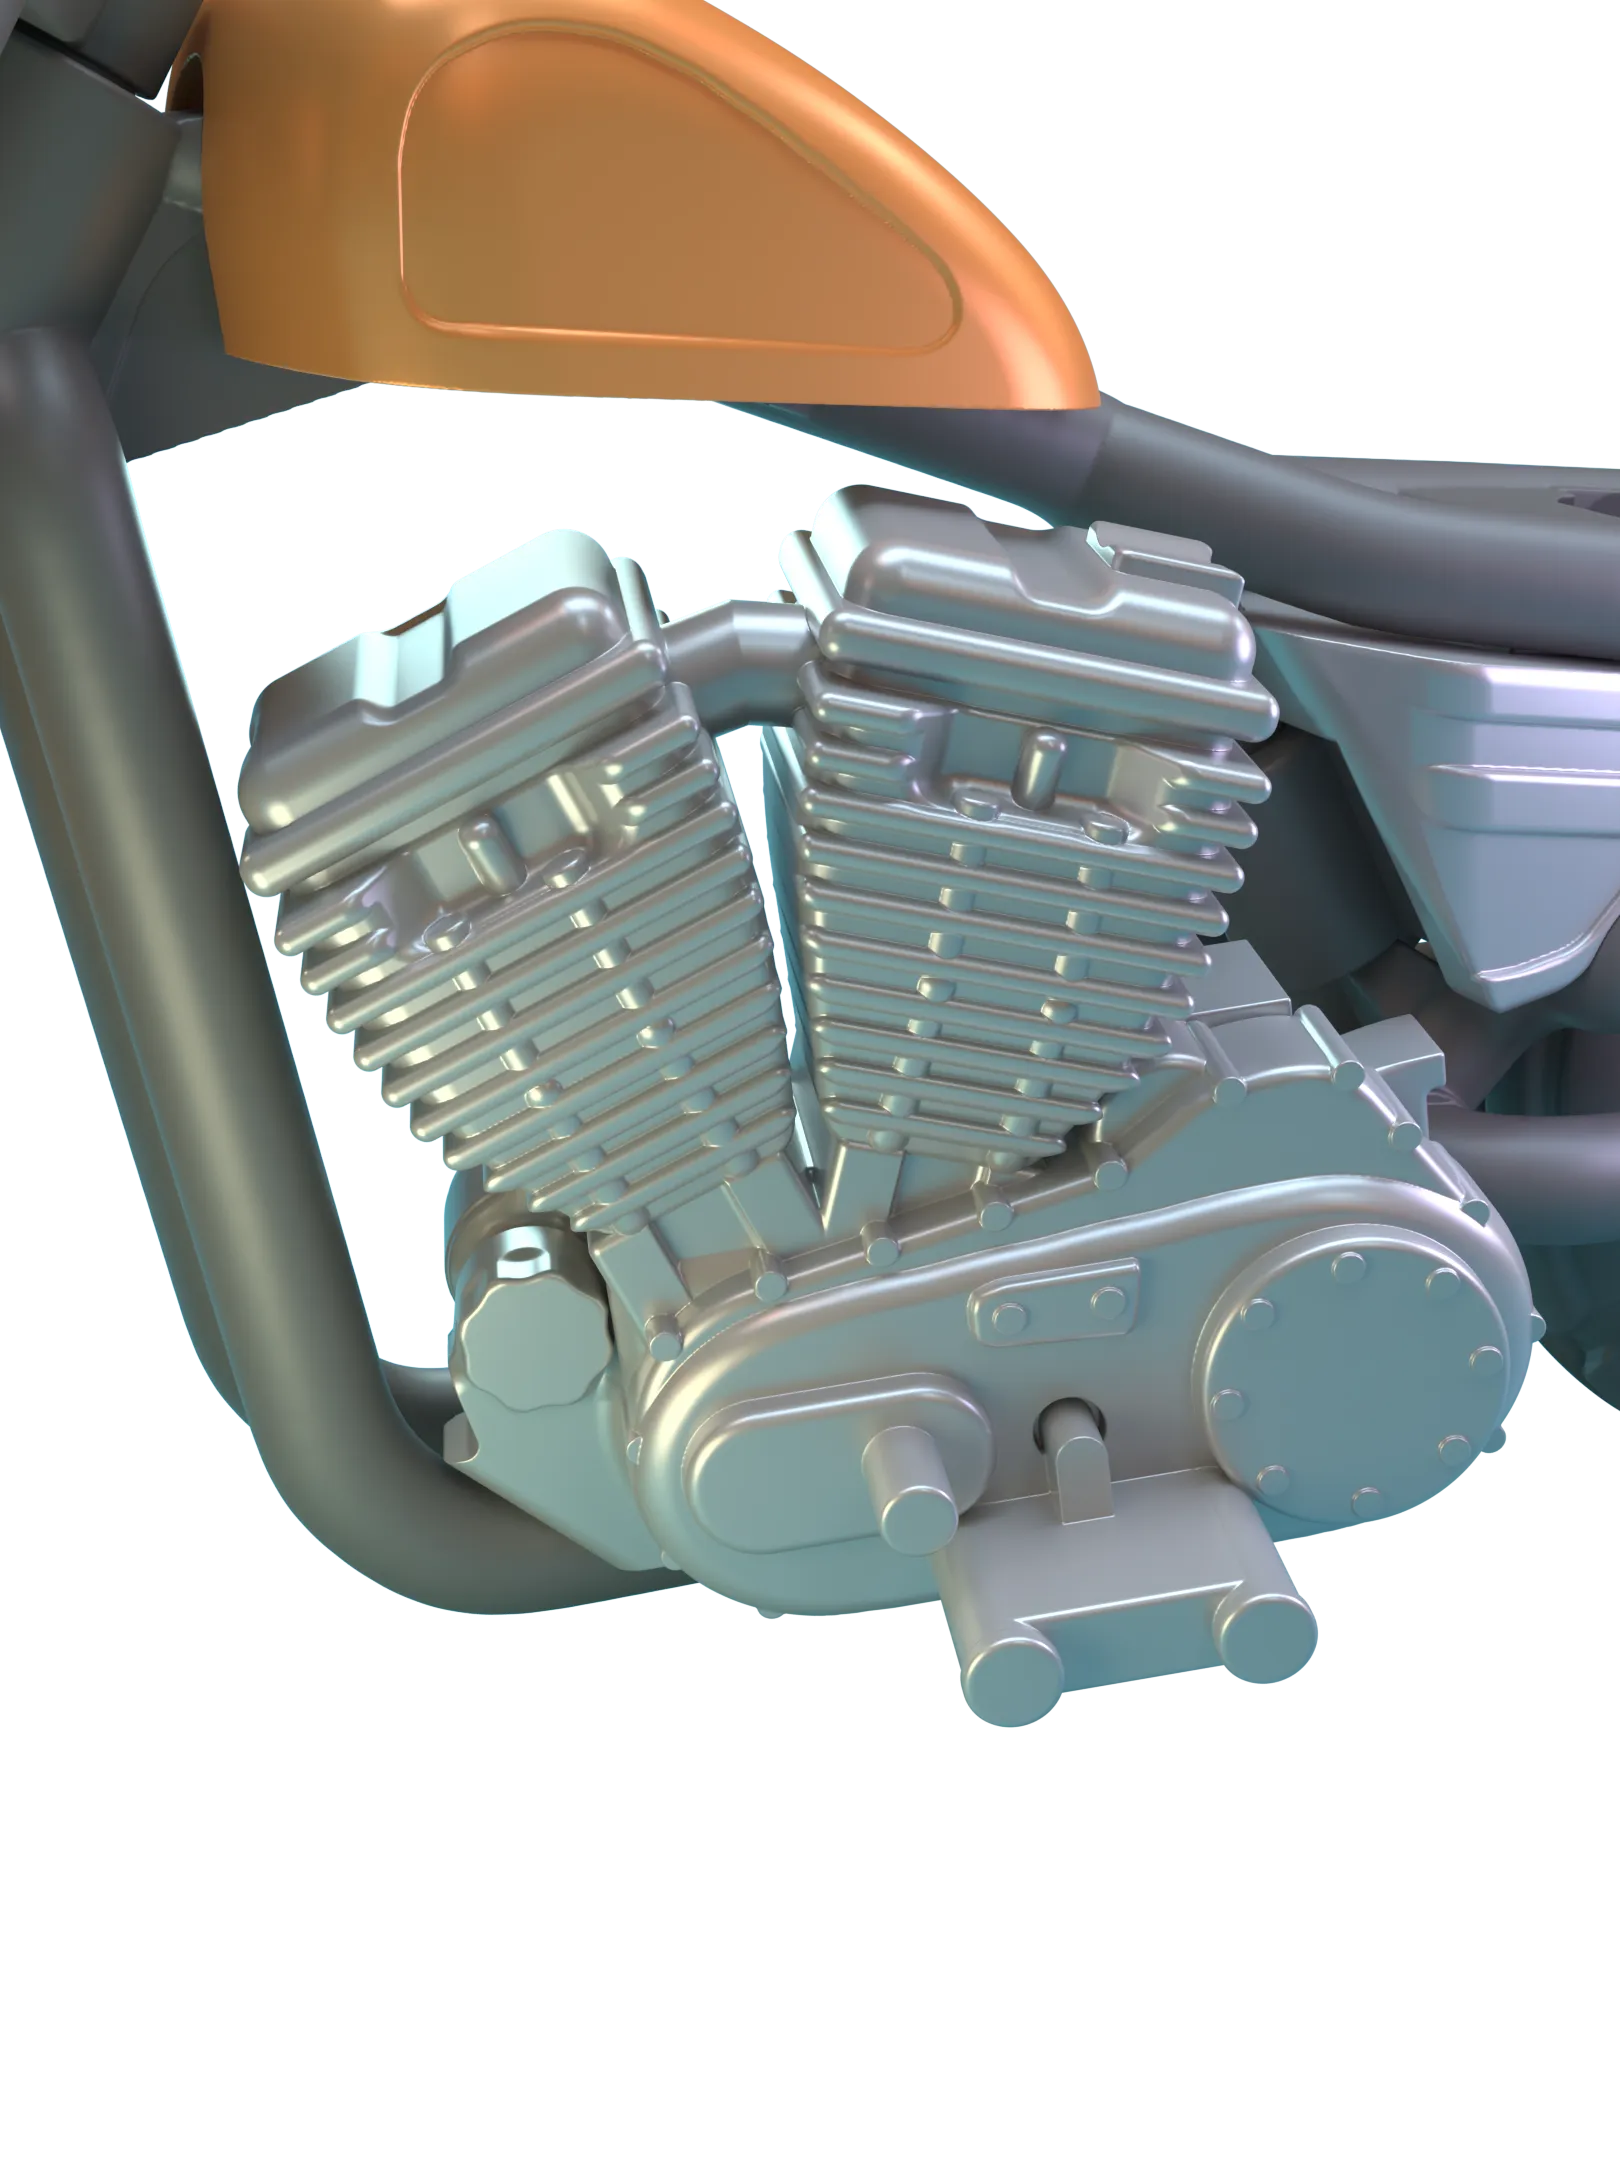 | 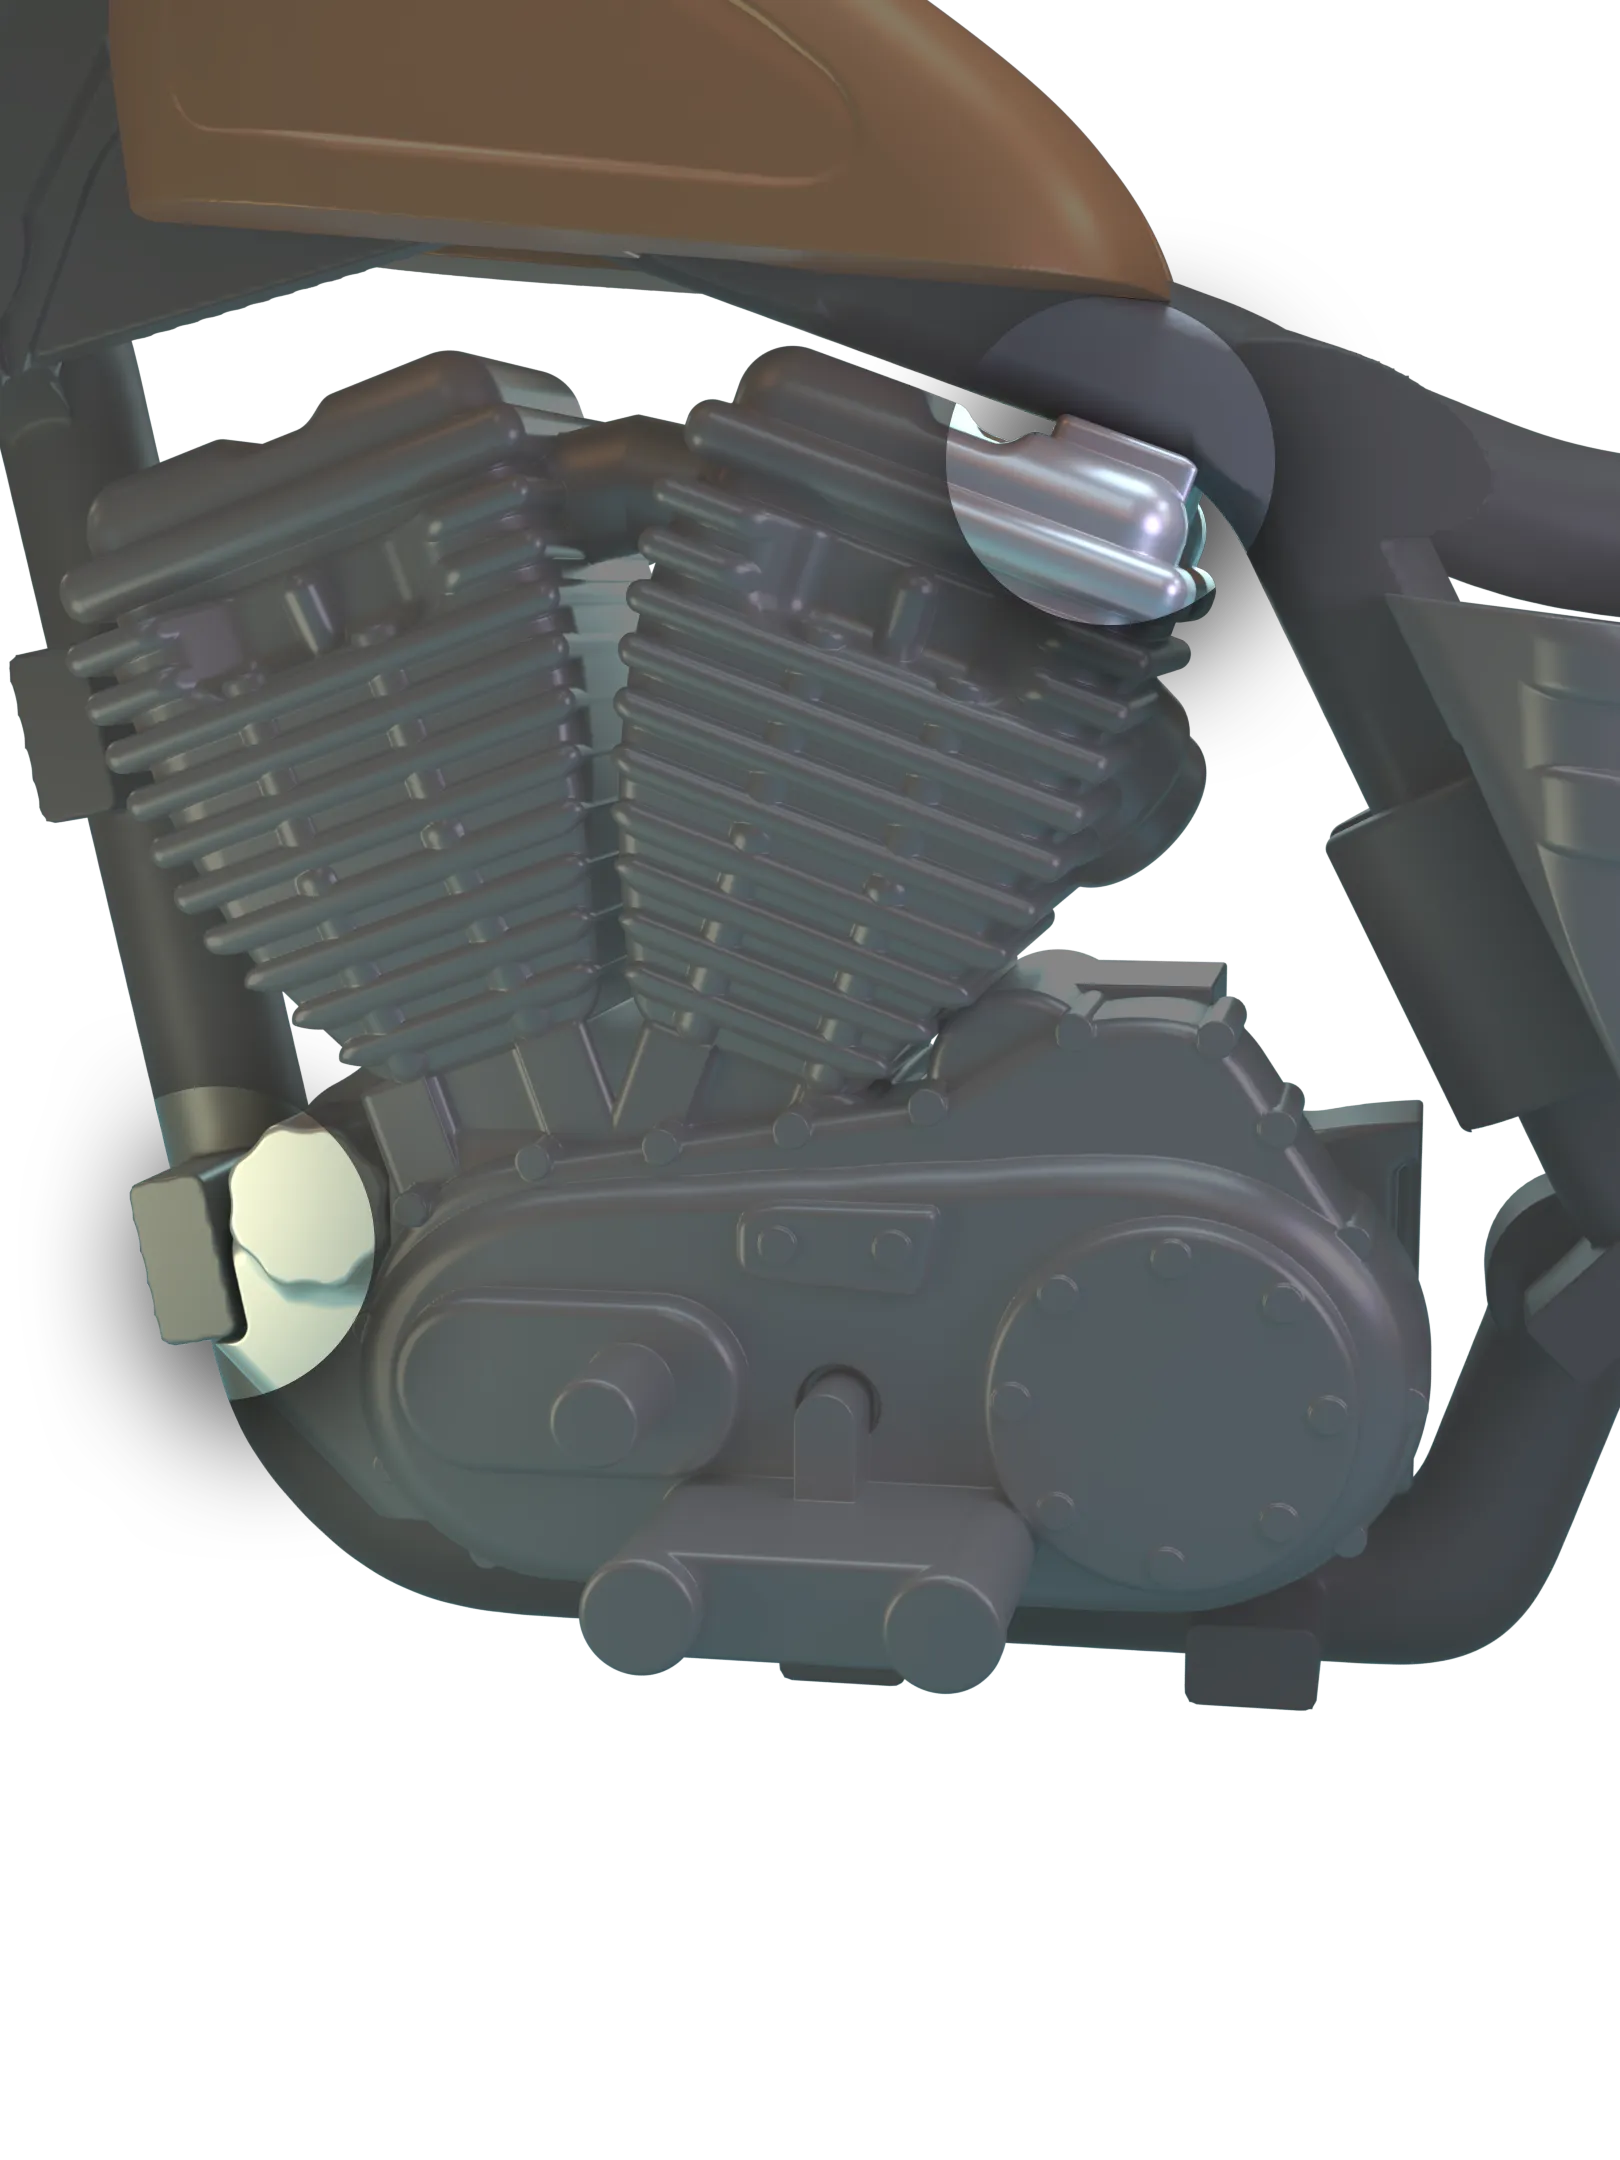 | 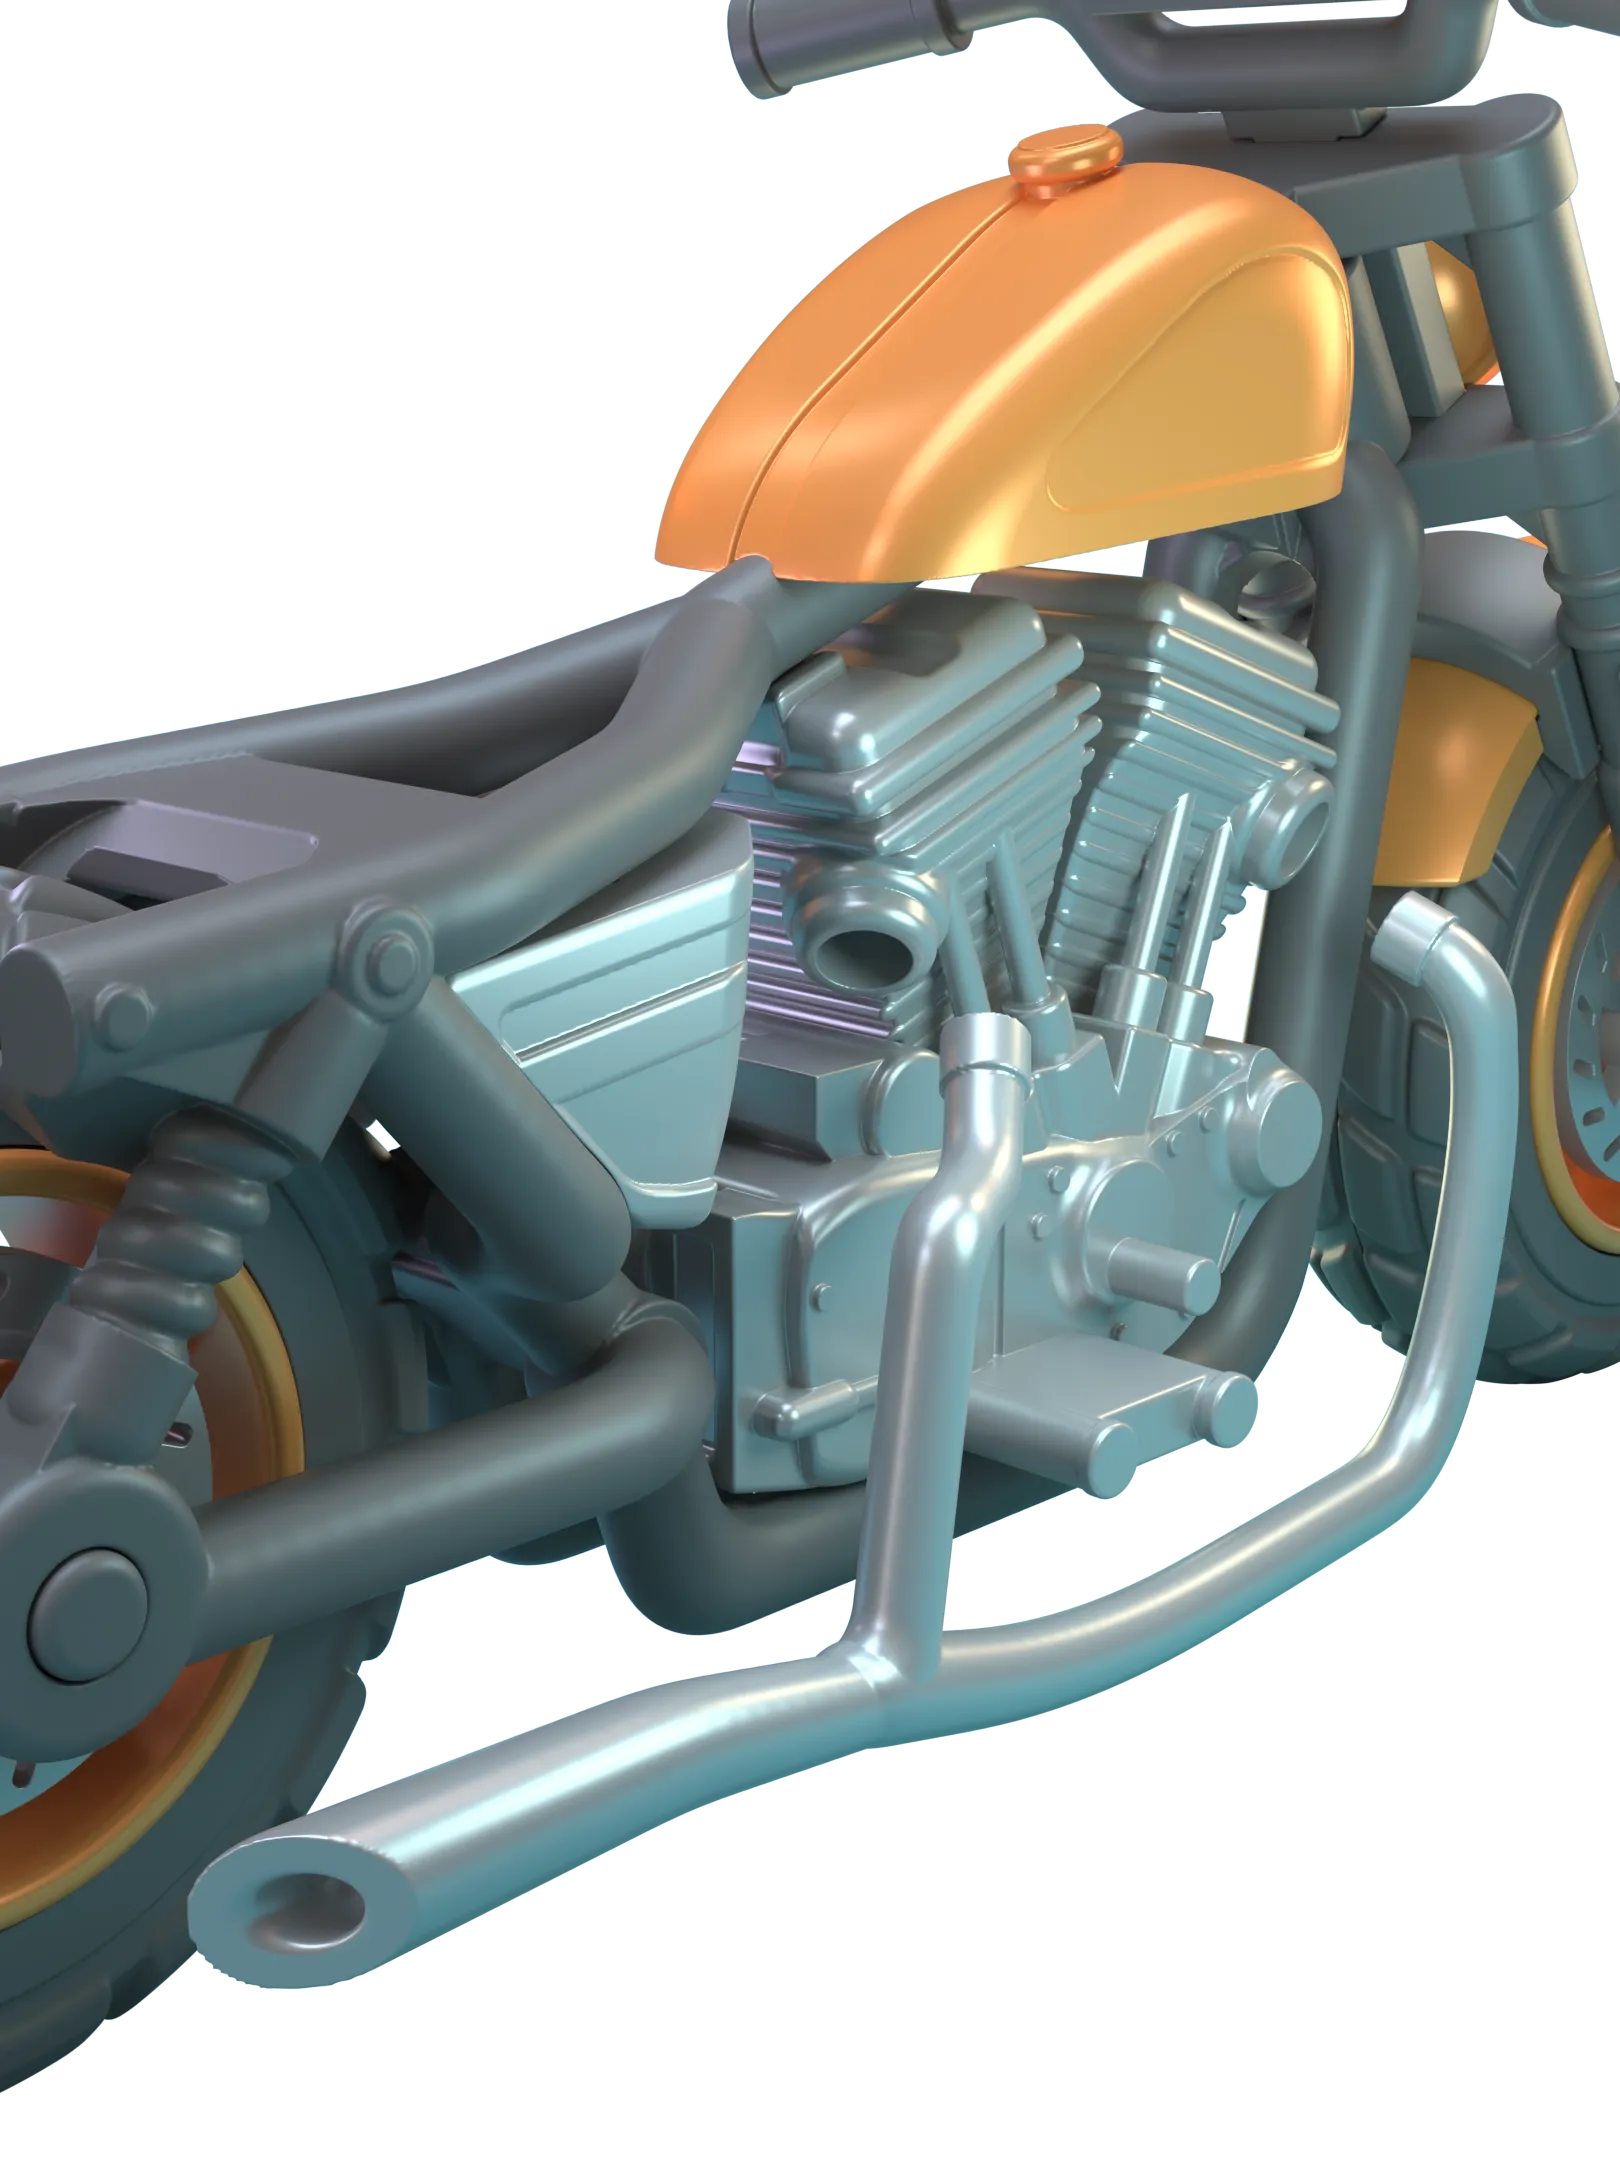 |
| Next slide the engine in from the side. | The lower lip should be inserted first and the top of the engine snaps onto the frame. | Next slot the exhaust into the openings on the side of the engine. |
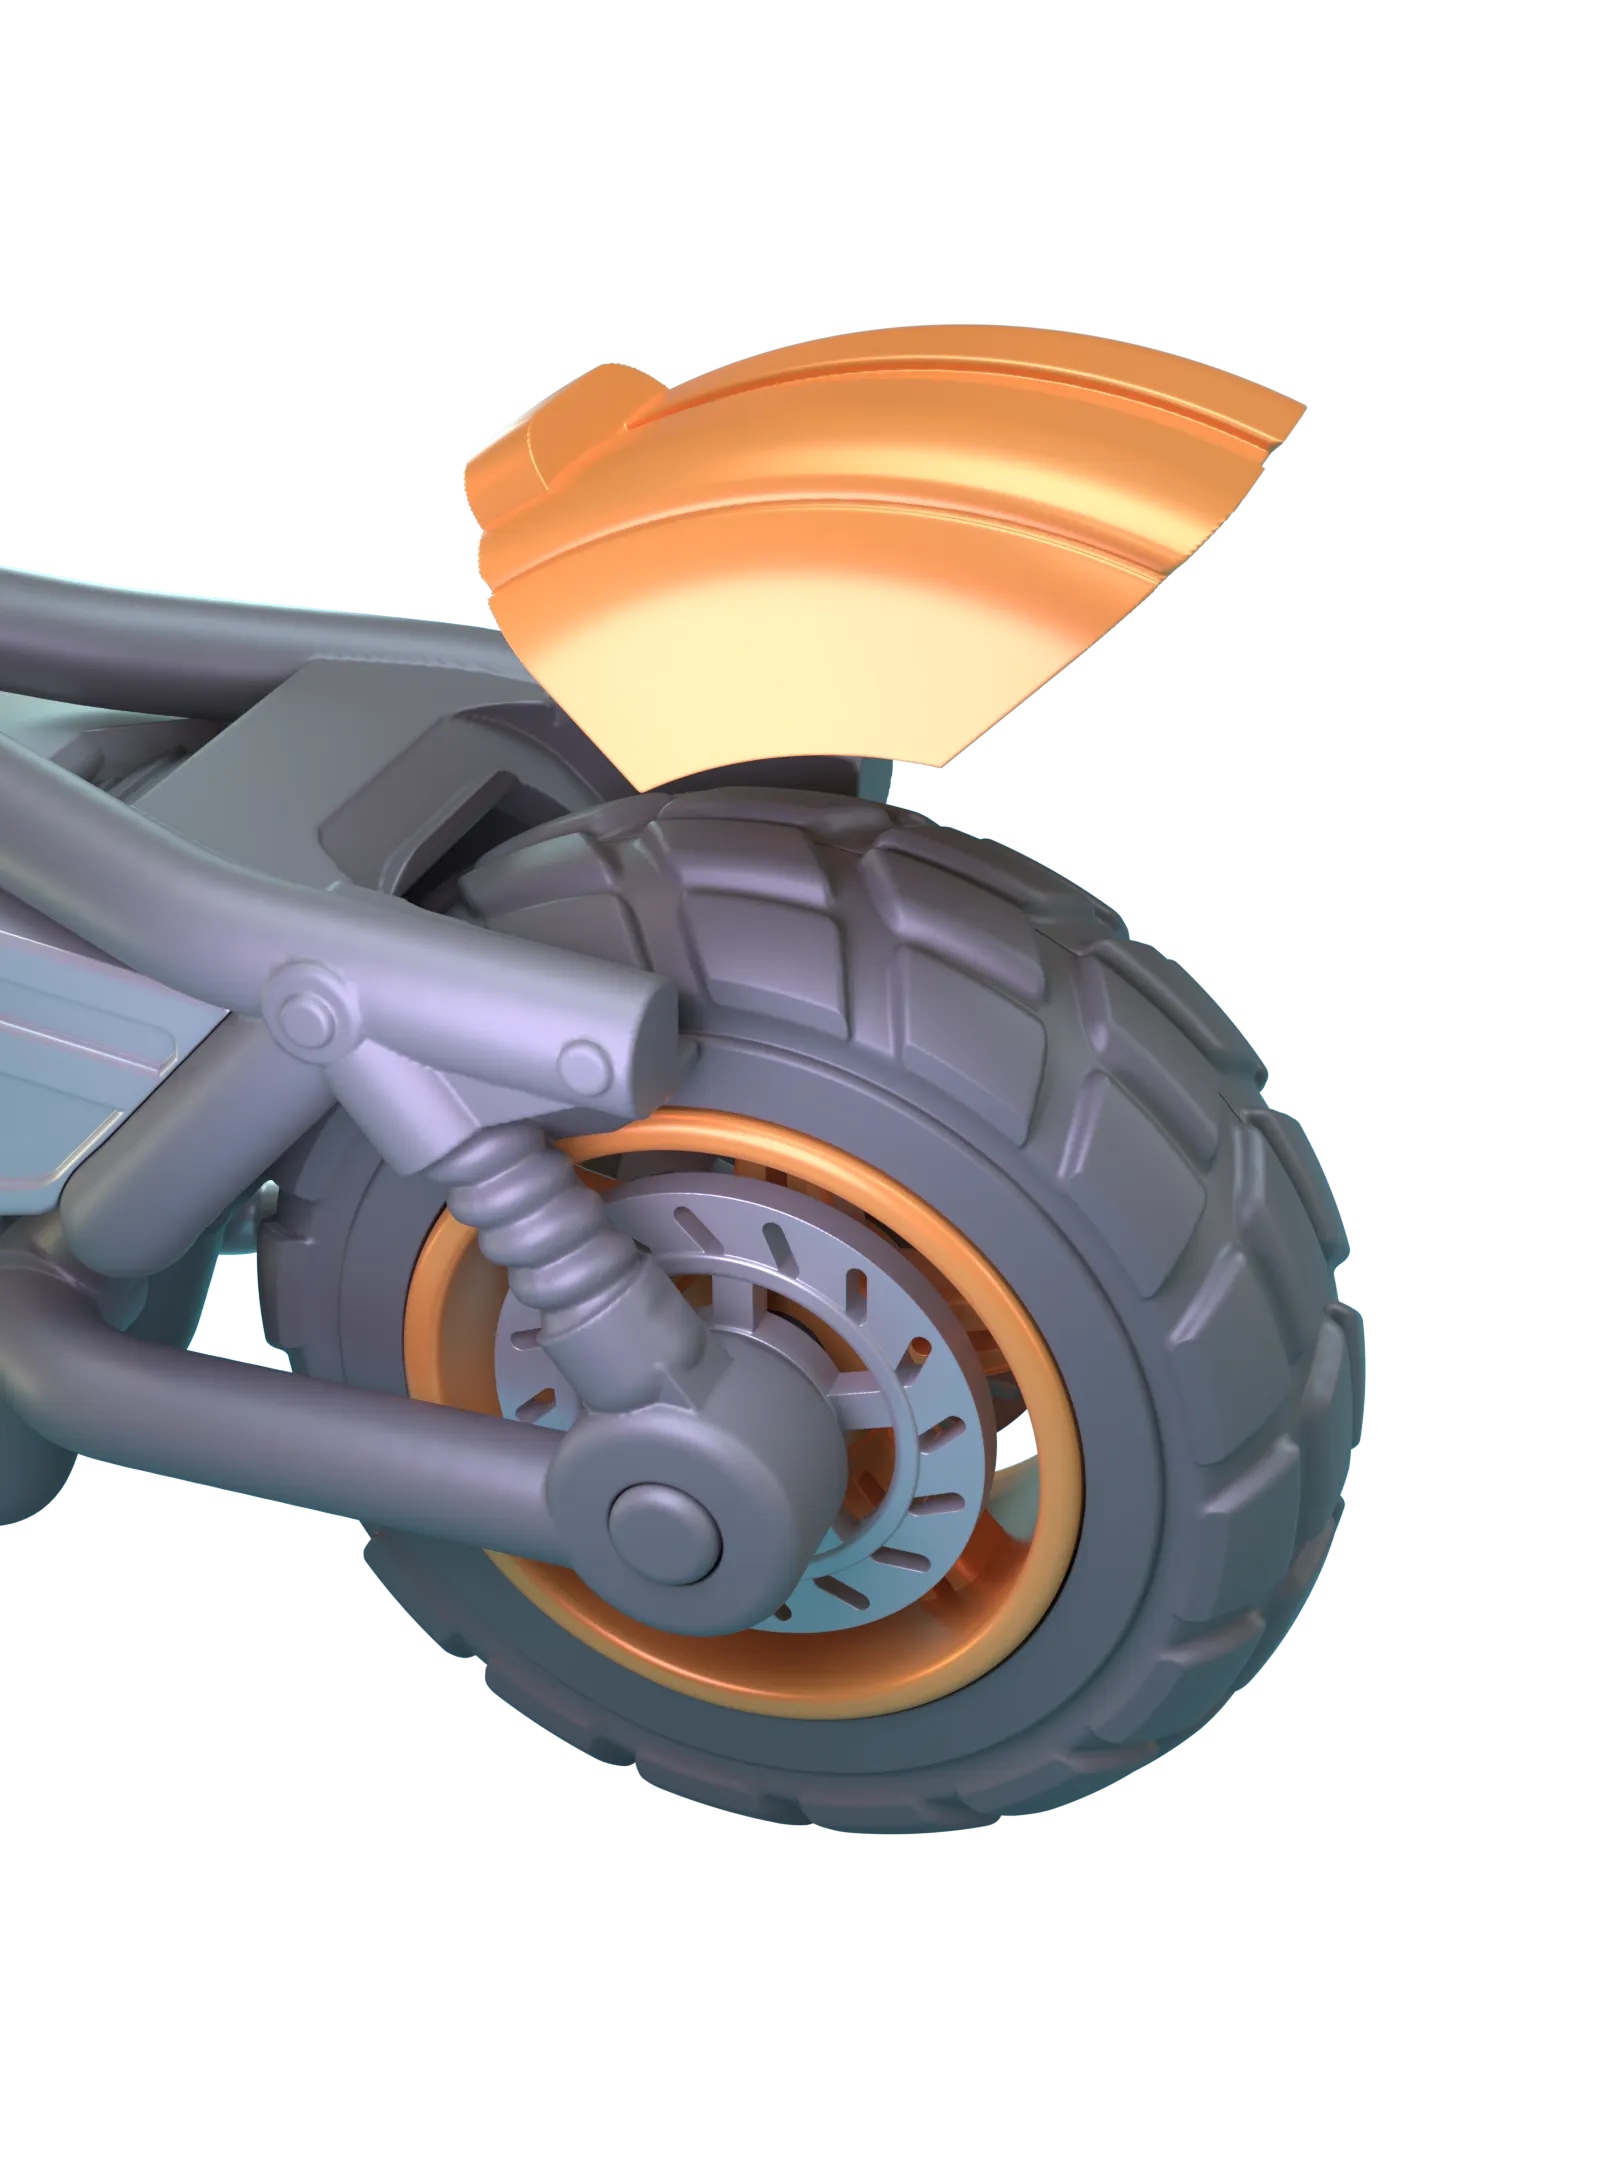 |  |
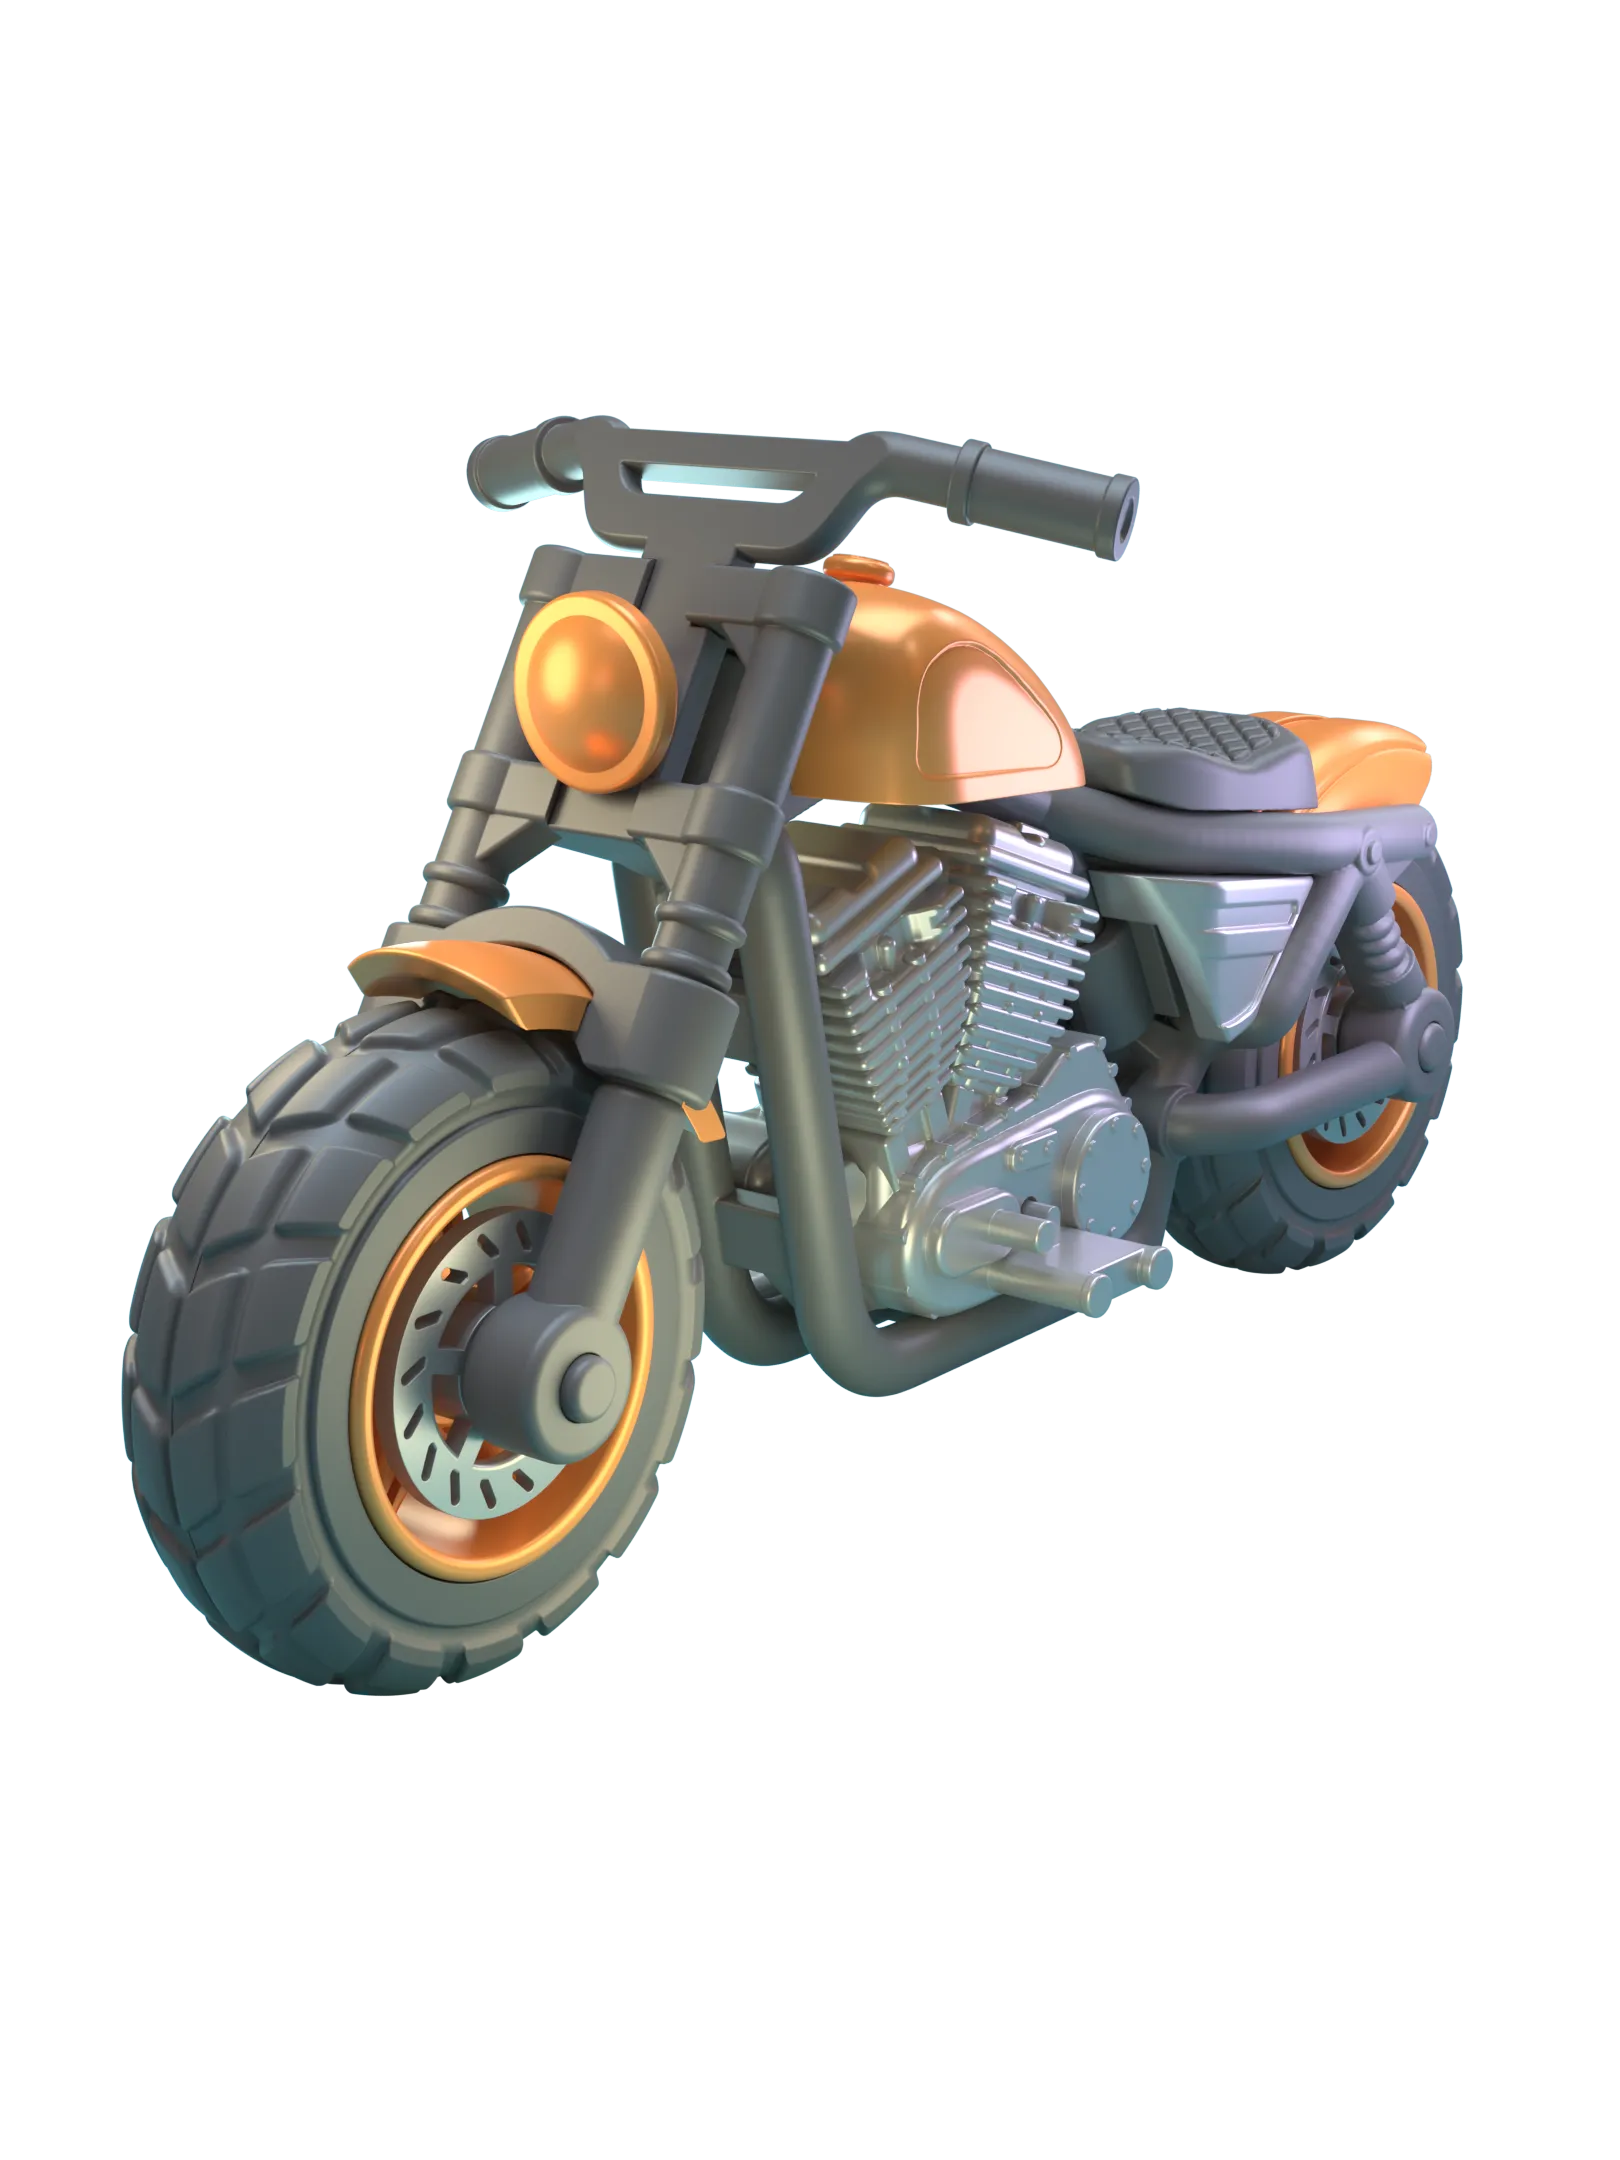 |
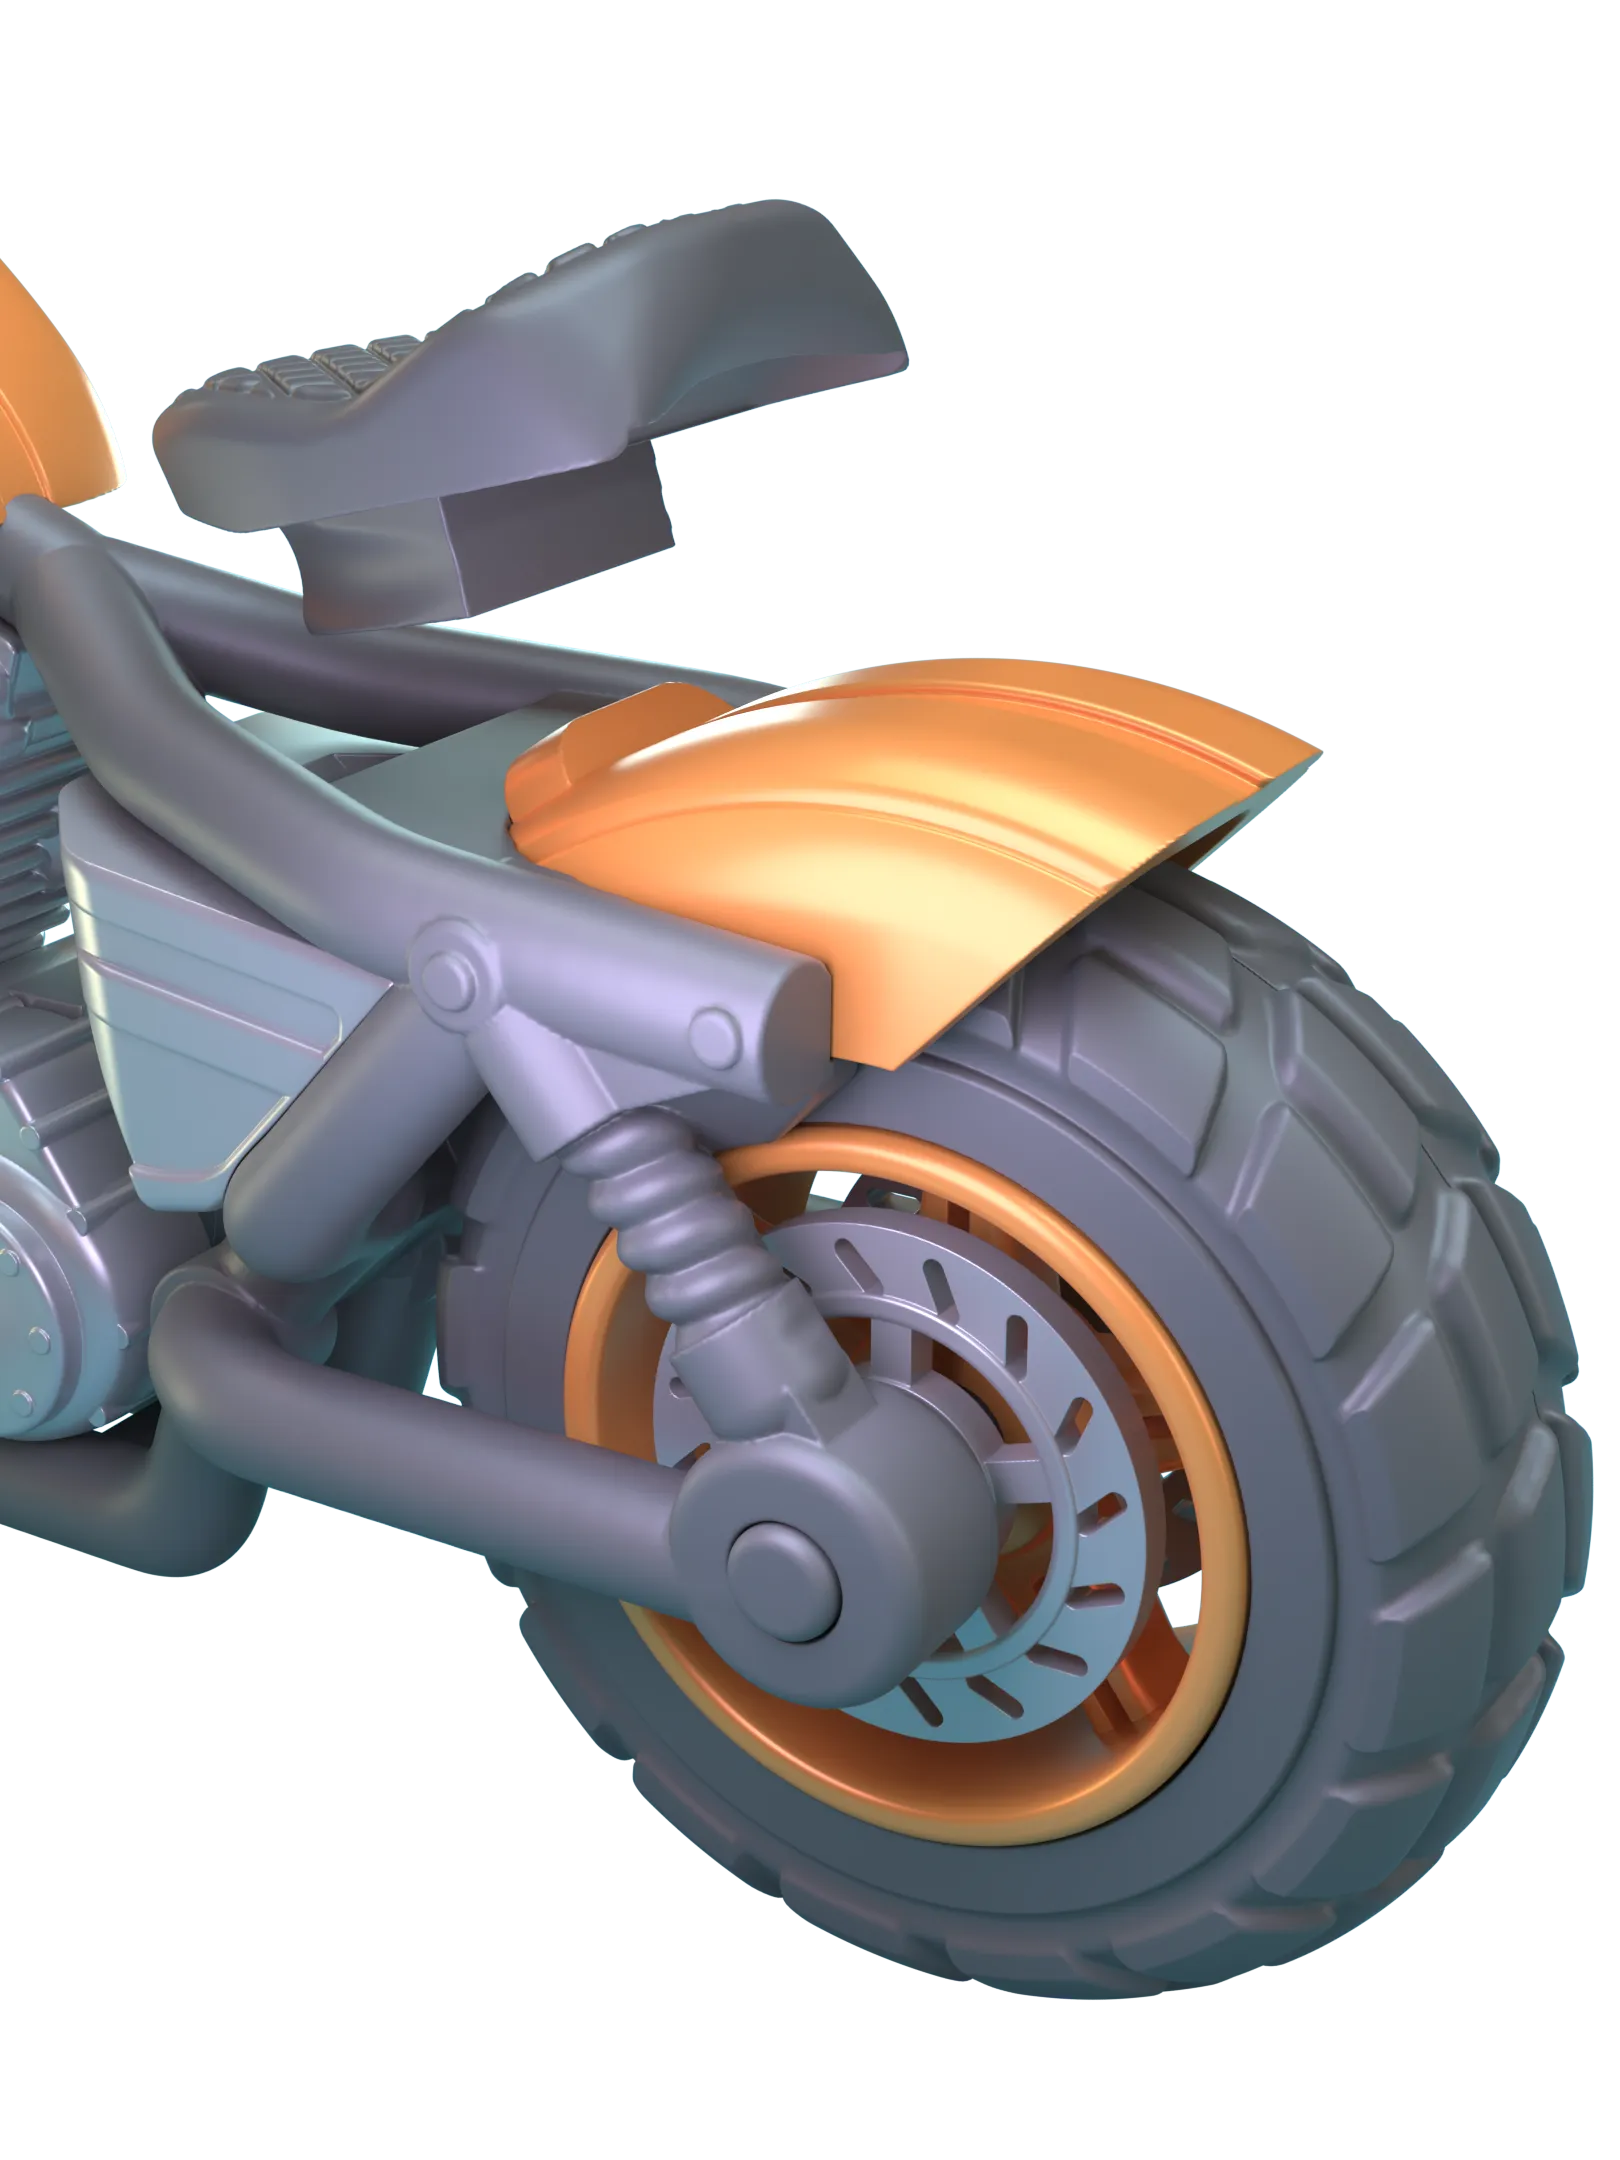
| Add the rear fender as shown. | Snap the seat in place to hold the fender down. This part could use a dab of glue if you plan on handling the bike and not just displaying. | Done! |
Boost Me (for free)
If you'd like to support me like, comment, or boost if you enjoyed! Cheers!
License

You shall not share, sub-license, sell, rent, host, transfer, or distribute in any way the digital or 3D printed versions of this object, nor any other derivative work of this object in its digital or physical format (including - but not limited to - remixes of this object, and hosting on other digital platforms). The objects may not be used without permission in any way whatsoever in which you charge money, or collect fees.


Comment & Rating (362)