Stonecutter Can to Stein v3 (12oz and 16oz)


Print Profile(1)

Description
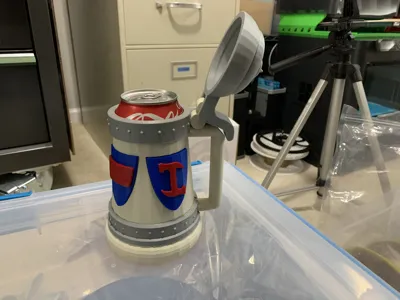
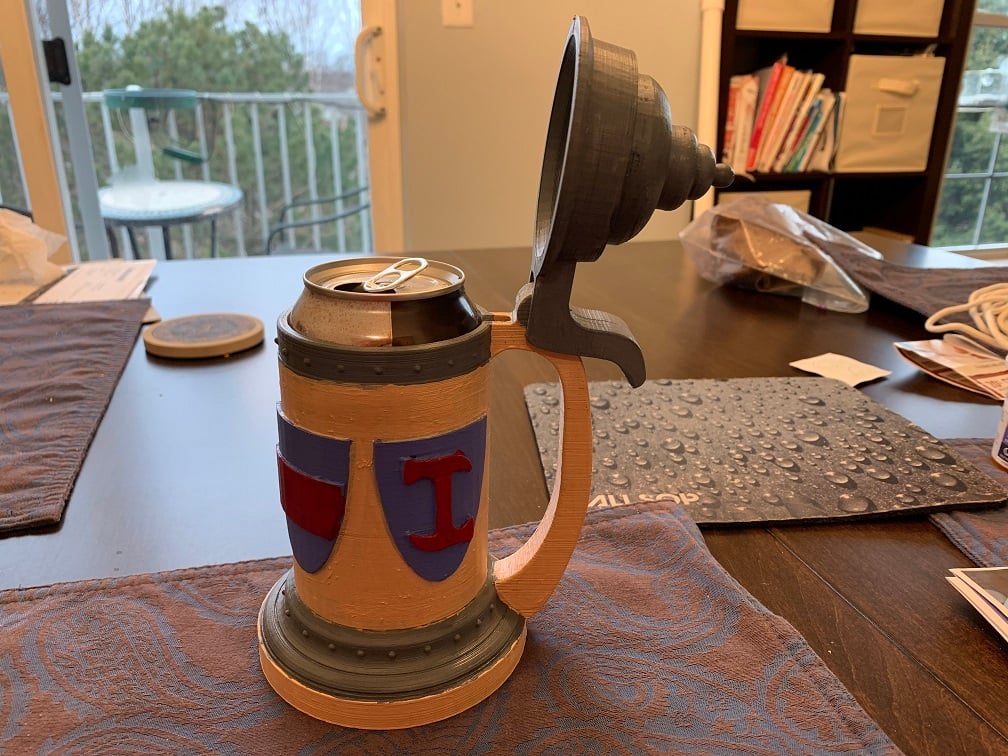
This complete redesign makes the main mug, handle, and lid match much closer with the version in the episode of the Simpsons "Homer the Great". And now the lid won't hit you in the face while trying to drink.
https://www.youtube.com/watch?v=dSpOjj4YD8c
Video demonstration:
https://youtu.be/AG-_UguZzHU
Some of the pieces have pre-applied supports. The left/right lid have perforated supports. There is a spacer included for allowing you to place a 12oz (instead of a 16oz) can inside (rather than having to print a differently sized stein).
Insert a 16oz can; or the spacer and a 12oz can. You can also use an unsealed can as an insert (available from micro-breweries and cideries upon request), or use tool that cuts the top off of a sealed/filled can.
This can be printed without an AMS by printing the individual pieces in the desired color, and glue them together. Optionally, there is a version of the mug body painted in the slicer.
If you print the AMS painted body, make sure you don't print pieces you no longer need. Such as the symbols, the shields, and the upper and lower rings.
You could hand paint the model... use the "I love wasting filament" plate, but "Erase all painting" from the Color Painting menu.
If you'd like to use a glass rather than inserting a can, I've tested this model with the Libbey Classic Can Tumbler Glass, and scaled all the model pieces to 114% and used the unscaled Libby insert to properly raise the glass.
https://www.amazon.com/Libbey-Can-Shaped-Beer-Glass/dp/B07BR5MVJS
I've printed these steins in both PLA and PLA+. They are not dish washer safe, nor food safe. However, your beverage is not actually coming into contact with the stein, you will always be drinking from the can inserted into the stein.
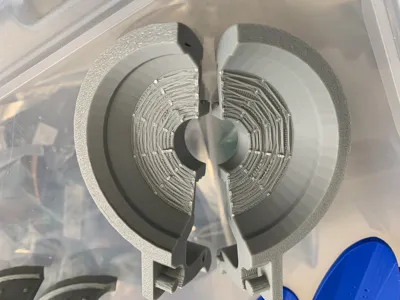
The Lid left and lid right have integrated perforated supports that must be removed after printing; in addition to other supports generated by the slicer.
16oz cans require no spacer. 12oz cans require the spacer. The Libby glass requires the model to be printed at 114% scale, and the Libby spacer to be added.
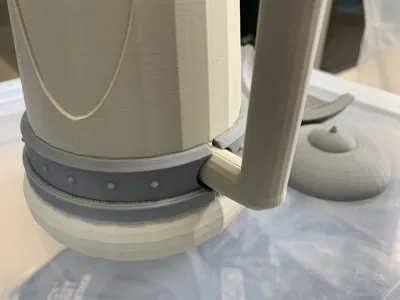
After printing, snap "Upper Ring" on to "Body". Glue is optional, but recommended. Glue "Lower Ring Left" and "Lower Ring Right" on to "Body" . Glue "Logo 1", "Logo 2", and "Logo 3" on to the shields. There are tiny dots on the back of the shields to indicate placement 1, 2, 3, or 4. Glue the completed shields on to the "Body" Assemble remaining components: Lid Left and Lid Right will slide into the top hinger of the stein. Once lined up, screw the "lid screw" on top "Lid Left" and "Lid Right" to keep them in place. The "Spacer" can be inserted when using a 12oz can (rather than 16oz) to adjust the height. For glass/Can Removal I suggested a 1-1/4" wooden dowel rod cut to at least 6" length. Place under stein, through the hole in the bottom. Gently push stein down, over the dowel rod. This will push the can or glass up, and out of the stein.
If gluing the pieces together, I found E6000 works better than Super Glue. The shields have dots on the back to try to correspond with the symbols, but somewhere along the way I screwed that up with the Stone Cutter symbols.
Who controls the British crown?
Who keeps the metric system down?
We do, we do!
Who leaves Atlantis off the maps?
Who keeps the Martians under wraps?
We do, we do!
Who holds back the electric car?
Who makes Steve Guttenberg a star?
We do, we do!
Who robs cave-fish of their sight?
Who rigs every Oscar night?
We do! We do!

Comment & Rating (3)