FNT plates holder adapter for Sanja 3D Riser Slide


Print Profile(2)


Description
Hello Makers!
Discover the full FNT buildplates holder family here and explore all the ways you can build your perfect setup.
The FNT family includes:
– AMS plates holders for 4, 6, or 8 build plates
– “Stack” or standalone mountable holders for 4 or 8 plates
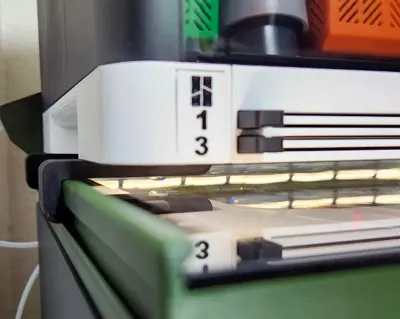
– customizable plate logos
– TPU feet
– adapters for AMS Raisers

FNT plates holder adapter for Sanja 3D Riser Slide
Thank you to everyone who helped me test the prototype model and also sent the photos you see here: Elite Software, Darami3D
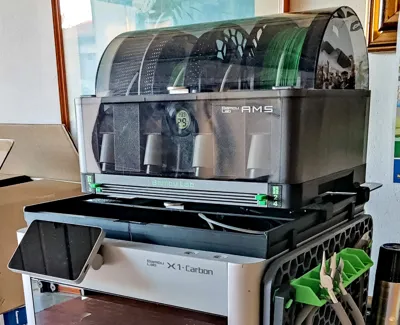
This adapter is designed for users of the Bambu Lab X1 and P1 printers who use the AMS Holder Riser Slider by Sanja3D and want to combine it with the FNT AMS Plates Holder for X1/P1. The adapter allows easy installation of buildplate holder directly onto Sanja3D's riser. It seamlessly merges the functionality of FNT holder with the existing riser setup, without the need for modifications. Ideal for those who want a clean, and fully compatible setup.
Non printable parts list:
- 4pcs of M4 nuts
- 4pcs of M4 screws that are 5 mm longer than those used for the original FNT AMS holder installation.
(Example: if you used 16 mm screws before, now use 20 mm. If 30 mm, now use 35 mm, etc.)

The adapter is very simple and consists of four parts. The installation is quick and easy:
- Detach the AMS unit. Remove the FNT AMS Plates Holder for X1/P1 from the printer.
- Flip the AMS holder and attach the two right-side adapters to the side labeled Right with M4 nuts and screws.
- Tighten the screws and nuts securely.
- Insert the left-side adapters into the Riser.
- Place the entire FNT AMS Plates Holder onto the Riser.
- Use M4 screws and nuts to secure the left-side adapters to the FNT AMS holder.

How to print:
Use the Strenght print profile, or alternative: 0.2mm layer, 6 walls, 25% infill. Outer brim recommanded

Happy printing!

Comment & Rating (43)