Audi A3 8L Turn Signal Bracket


Print Profile(1)

Bill of Materials


Description
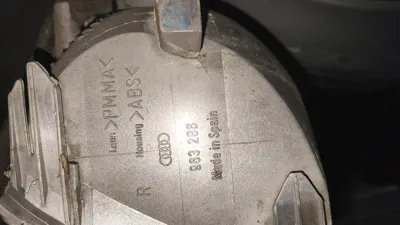
A3 8L Part Number: 963286 (Front turn signal, in this case, right)
The additional parts listed can also be easily obtained elsewhere.
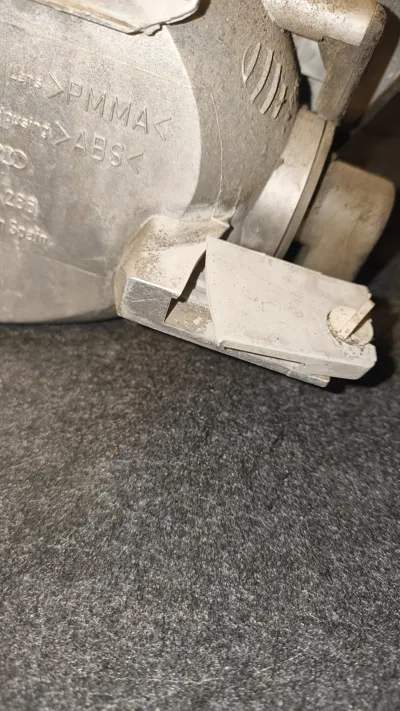
A classic problem with the A3 8L: you release the bracket's locking mechanism, push down on the bracket to remove it, and it breaks.
Since new turn signals/headlights are exorbitantly expensive, and used ones are often already broken because the ABS is old, here's the solution.
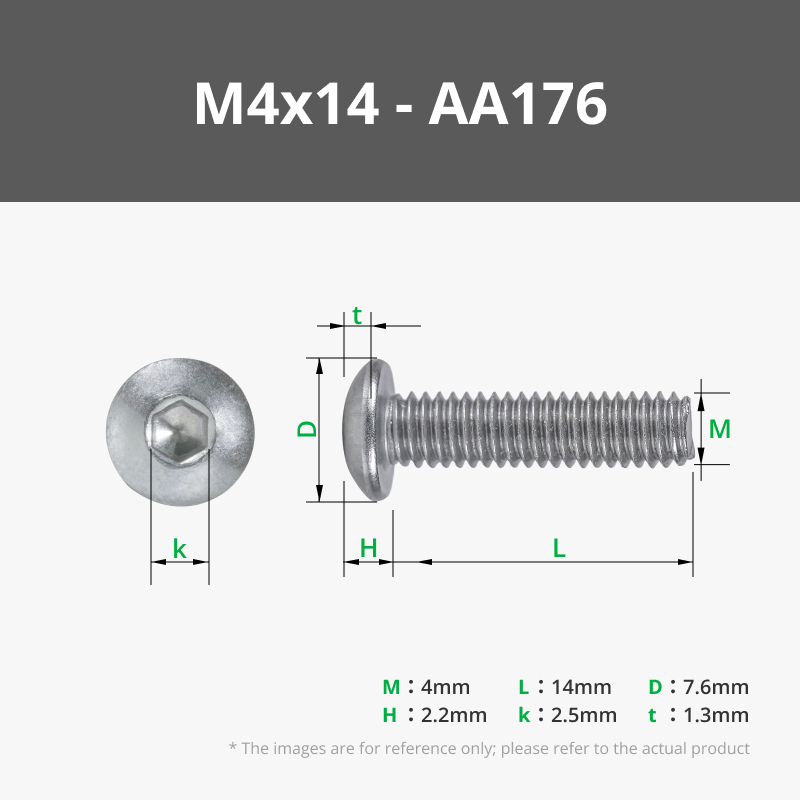
Print, glue in the nut and magnet (M4x15, magnets [from Gizeh cigarette paper packs] 5x2mm).
(Magnets aren't strictly necessary, but they make it significantly easier. A gas station should have something similar on the same day ;) )
Remove the old bracket until the new one fits correctly in terms of depth, so that the turn signal also sits correctly. Pay attention to the rotation and depth here; otherwise, it won't fit afterwards.
Glue the lower part with the nut to the turn signal (my print is made of PC due to heat resistance; super glue has held up perfectly so far).
Install the turn signal and let the bracket align itself using the magnet. It also works without a magnet, it's just a bit tight and fiddly.
The screw can be attached and detached through the hole in the lock carrier just like the old mechanism.
Good luck
Comment & Rating (0)