
Budget gym weights concrete form
Print Profile(2)
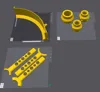
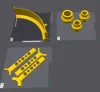
Description
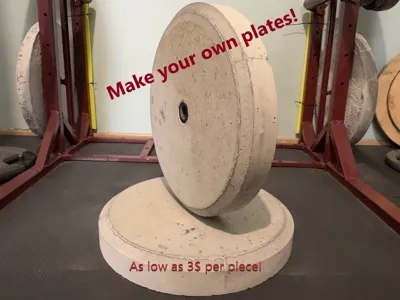
Ever wanted to mass produce your own gym weight plates ?
You dont feel like destroying a 4 gallon bucket every time you want to make a plate?
Then look no further, this easy to use form is the solution!
Simply choose between the 28mm and 50mm components, depenting on your barbell, and start printing!
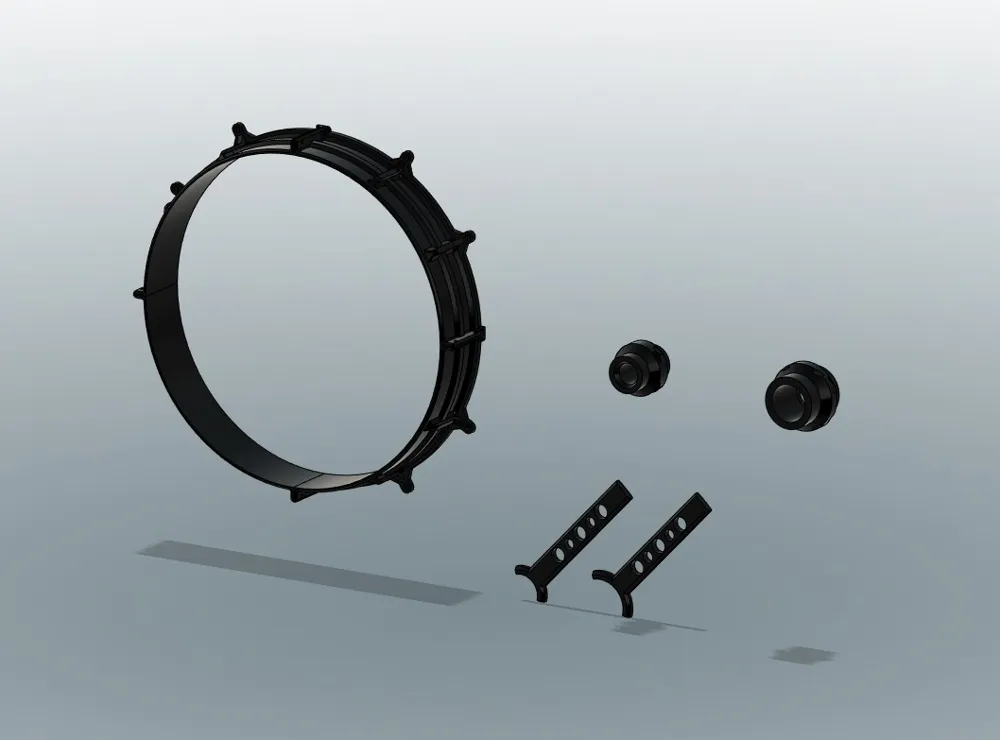
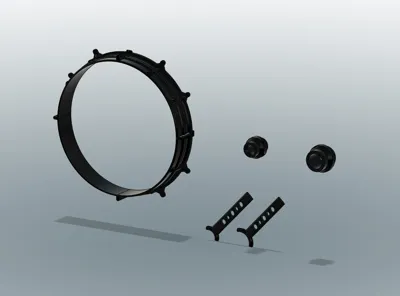
You will need to print:
- 4 times the outter form.
- 3 times the centering jig (choose for 28mm or 50mm barbell).
- 1 center plug for each plate (choose for 28mm or 50mm barbell).
You will also need:
- M4 X 25 Screws (x8) and M4 nuts (x8) to clamp the form together.
- One wooden board big enough so that the form can sit on it.
- 8 wood screws to secure the form on the piece of wood.
- A hot glue gun
- Arround 2 meters of M8 threadded rod/ 8mm rod/ 8mm pipe (to be used as a reinforcement for the concrete).
- Concrete premix that is ready to use, or you can make your own using the formula mentioned at the end of the description.
This form is good for plates from 15kg/35lbs to 25kg/55lbs
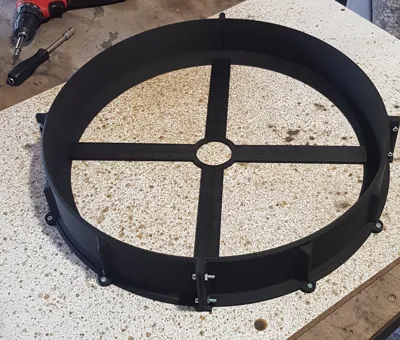
Start by clamping the form together using the M4 screws and nuts. Make sure that the 4 pieces are aligned perfectly.
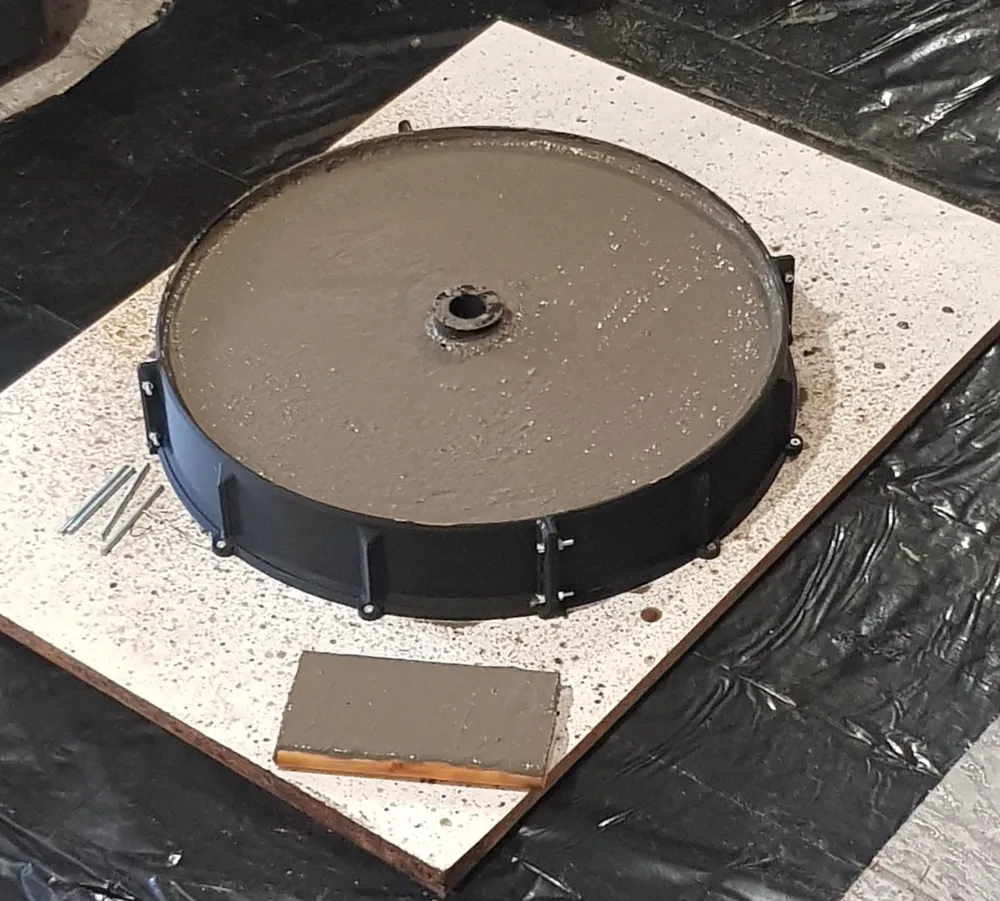
Next, you can screw the form on your wooden board. Double check that all four pieces are sitting evenly on the board without any gaps. This is to ensure that you will have no leaks throughout the pour.
Do NOT use any glue between the form pieces or between the form and the wooden board.
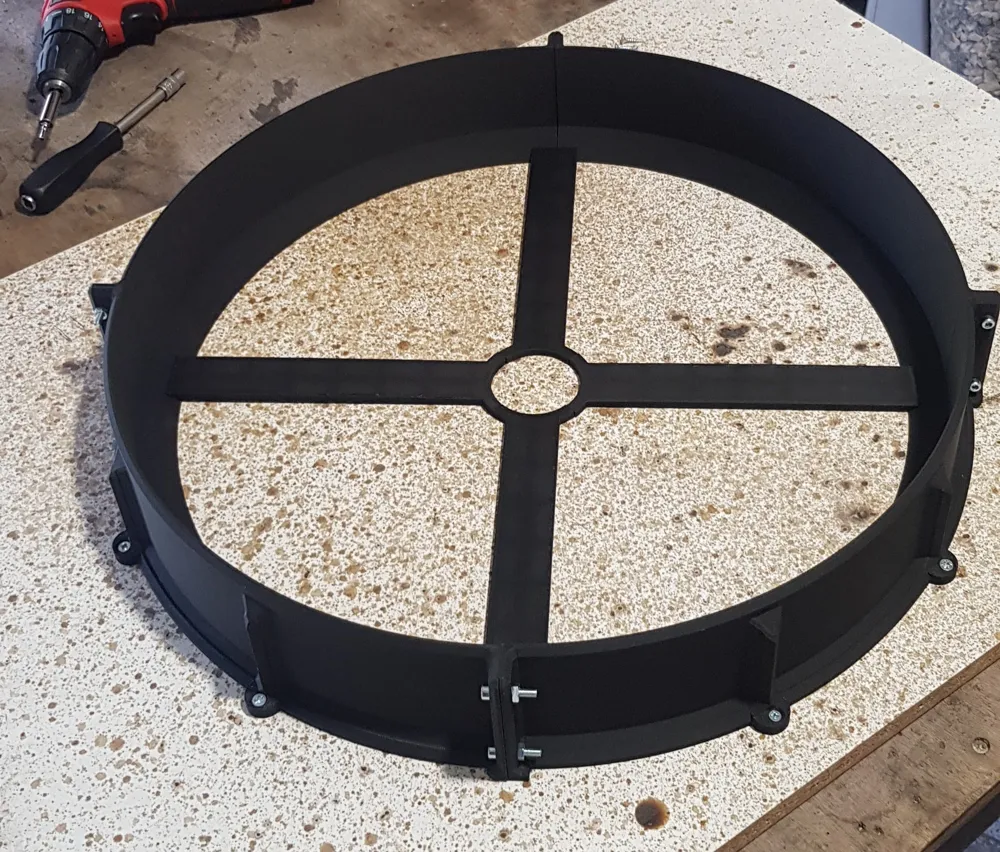
Then, you can place the three centering pieces, as seen here:
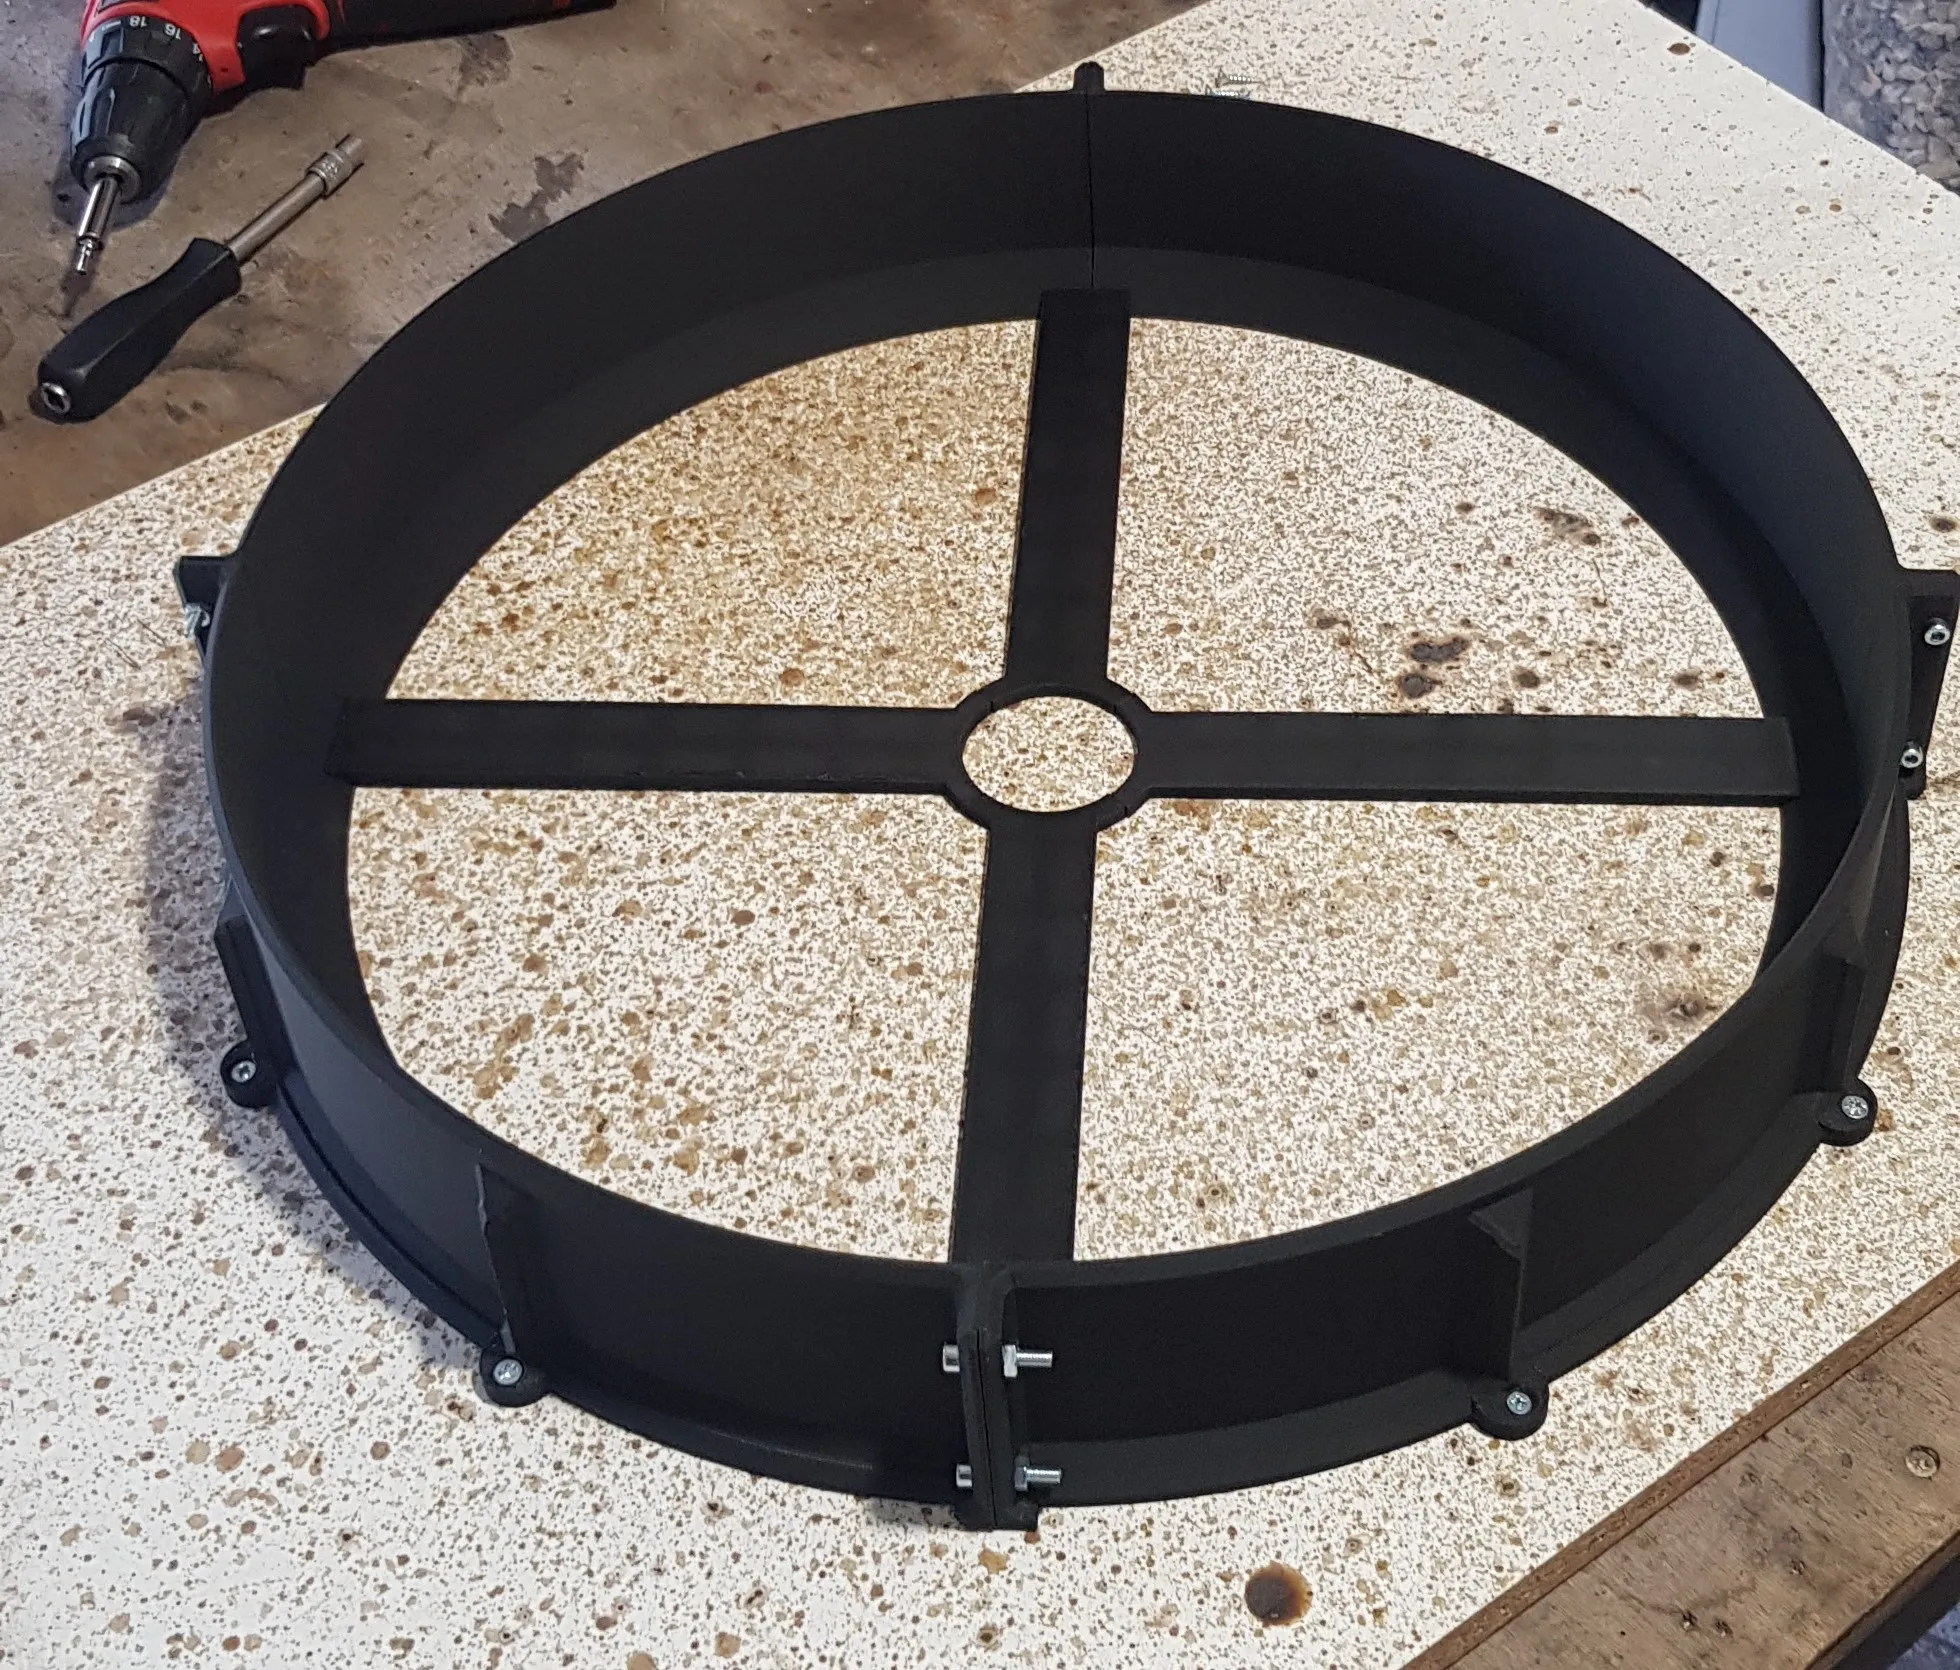
(yeah i say three but i show four, this pic is from a previous version)
Do not glue the centering jig pieces together because you will not be able to take them out.
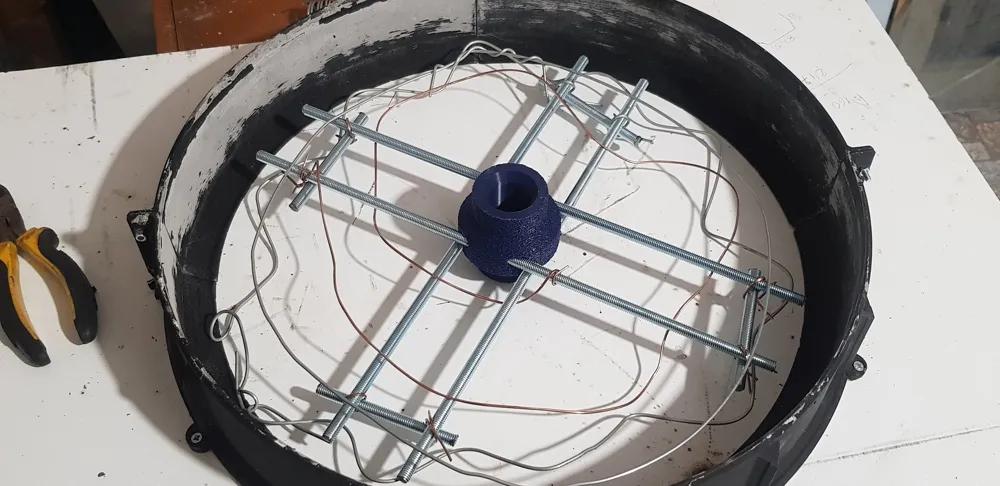
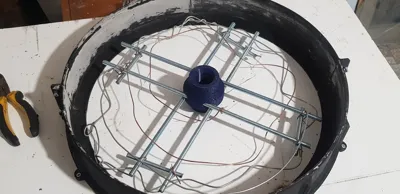
Next, prepare your center plug by cutting four pieces of the 8mm rod/ M8 threadded rod, arround 400mm and pass them through the four holes of the center plug.
After this step, you can insert the center plug in the center of the form. You can use a little bit of hot glue on the bottom of the center plug to ensure that it stays in place during the pour. Then, you can use more threaded rod to reinforce even more your plate.
I like to use also a little bit of thick wire, as seen here:
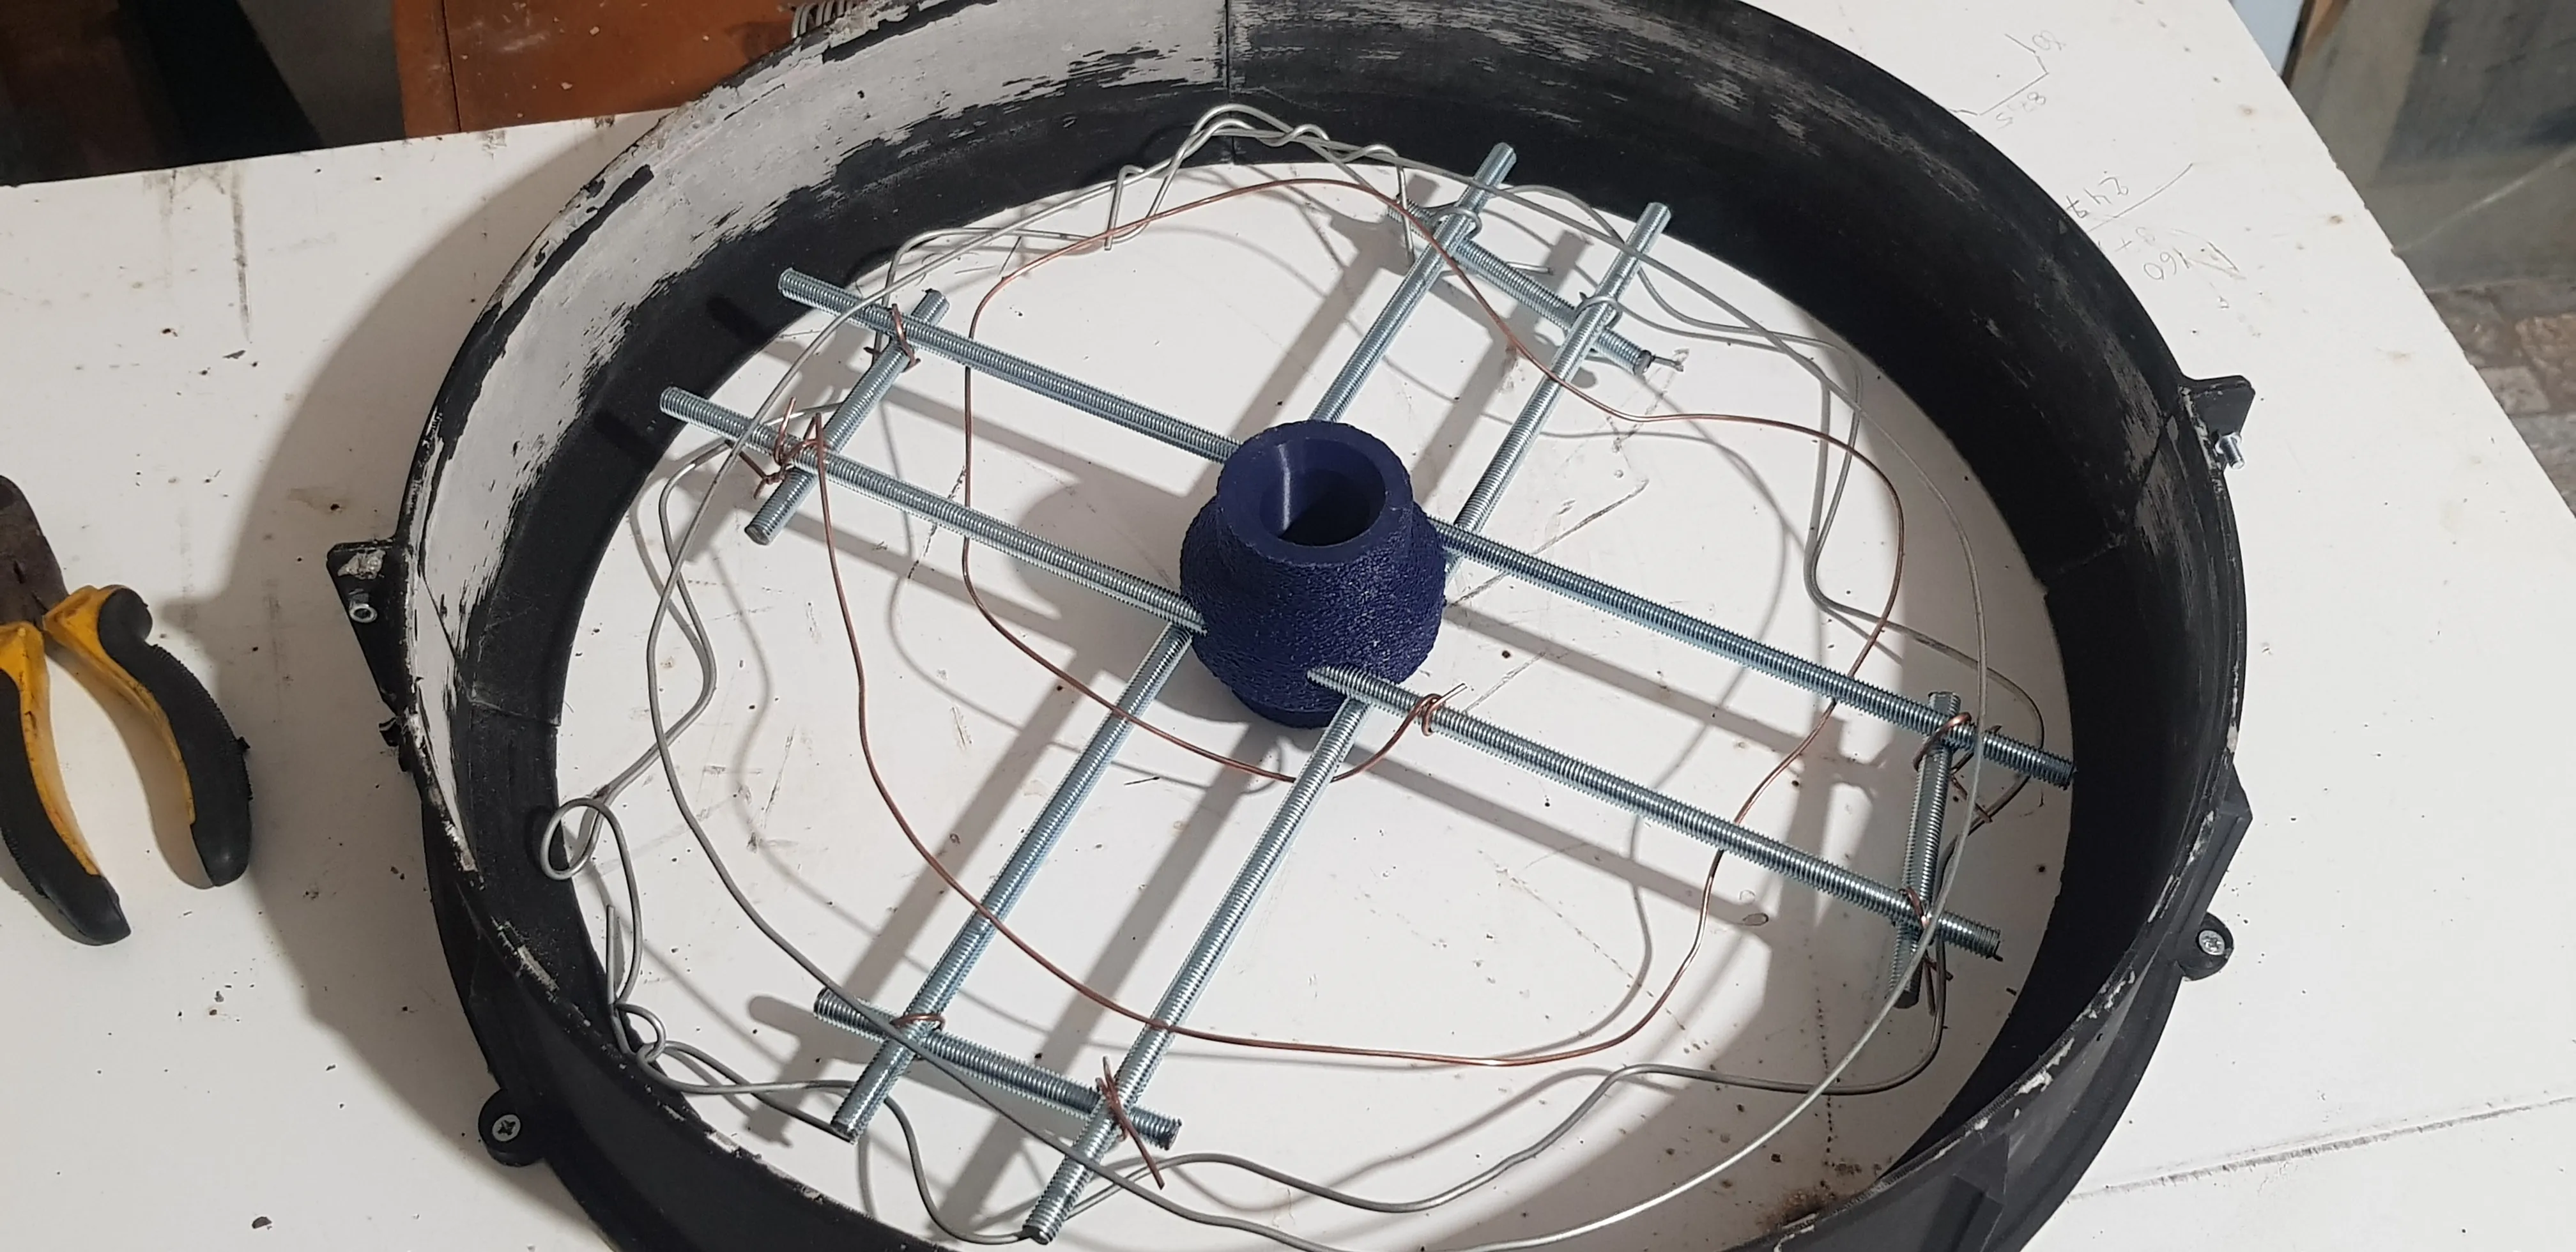
We are ready for the pour!
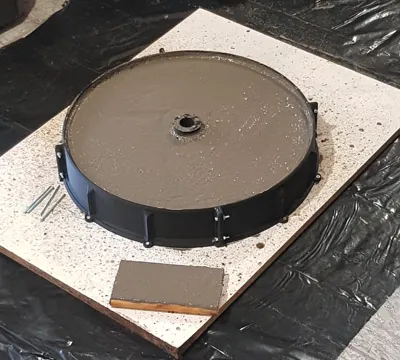
Double check that your center plug is not moving, mix your concrete and pour it right in!
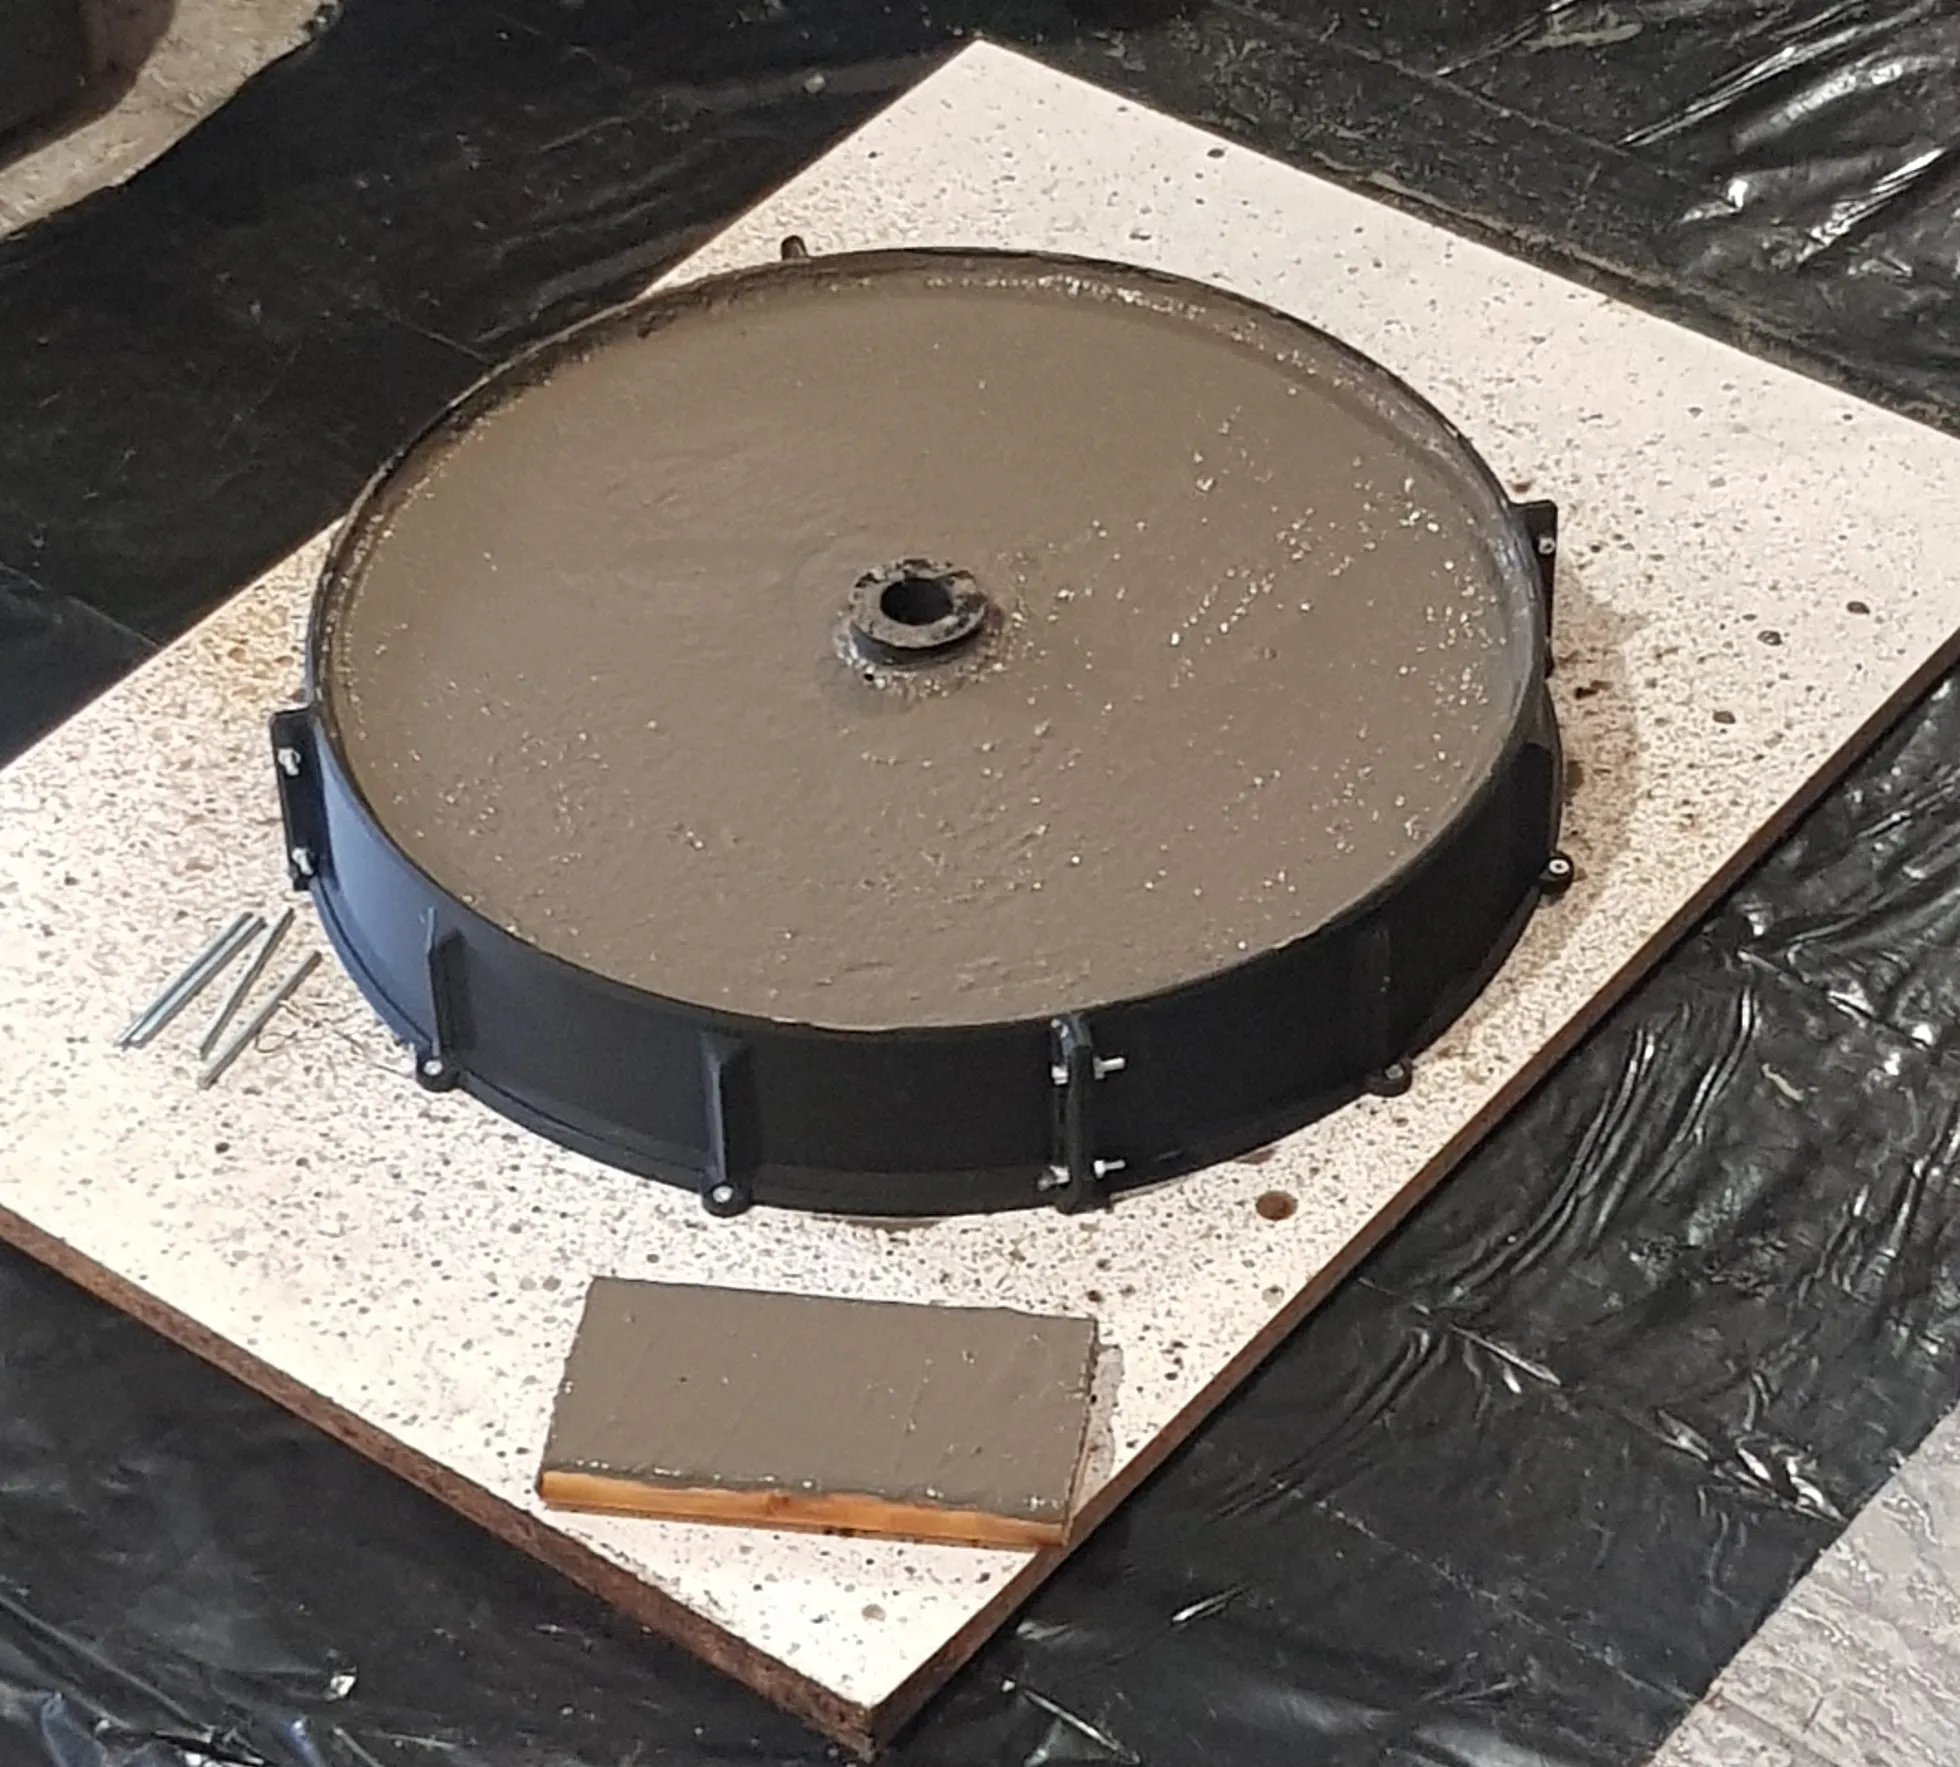
After the pour, you will notice that the center plug sticks out of the concrete. This is because different mixtures have different density. All you have to do is to cut off the excess when the concrete is fully dry (after 4 to 5days). Try to avoid unwanted vibrations on this step because the concrete might be still soft in it's core and you will introduce fractures.
At last, you can remove the wood screws, remove the screws that clamp the form together and split the pieces.
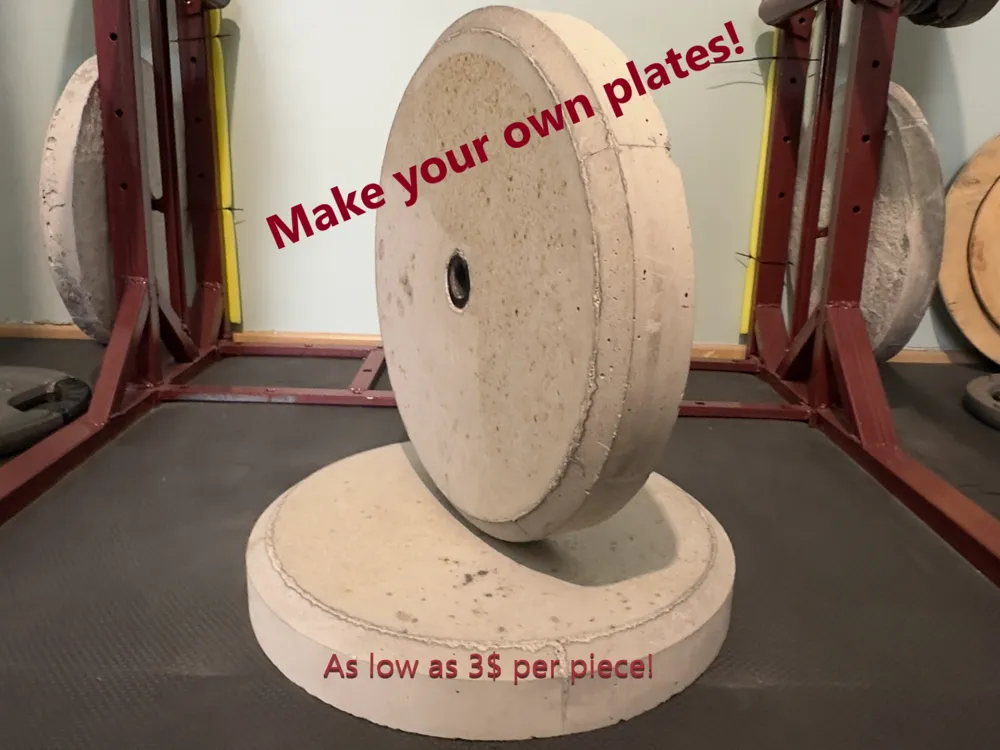
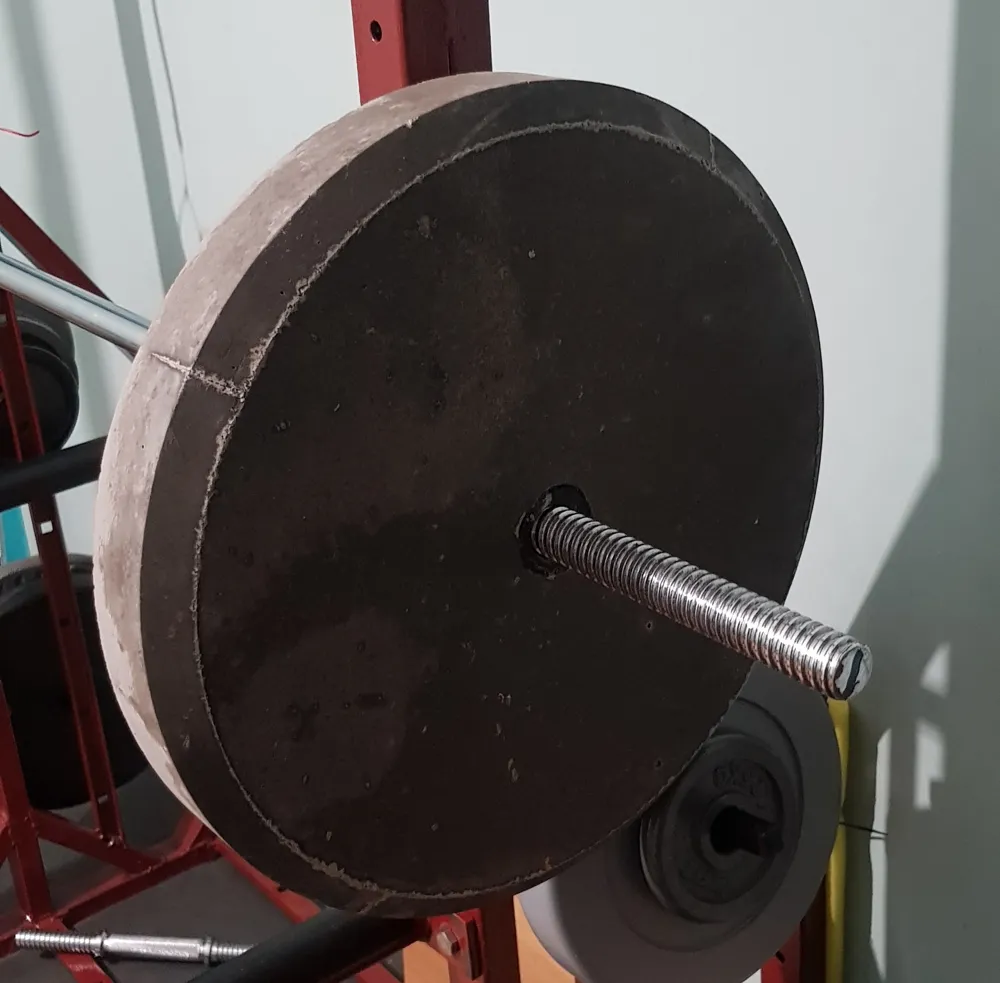
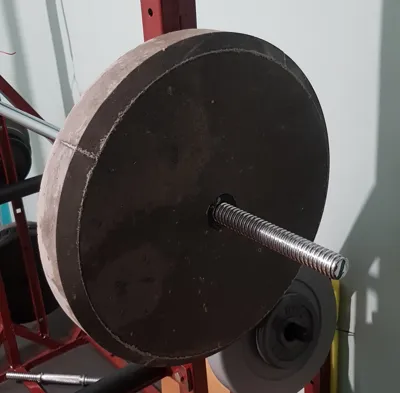
You now have a usable weight plate that requires a fraction of the money than the store bought ones!
The more you make, the cheaper it will be for you overall.
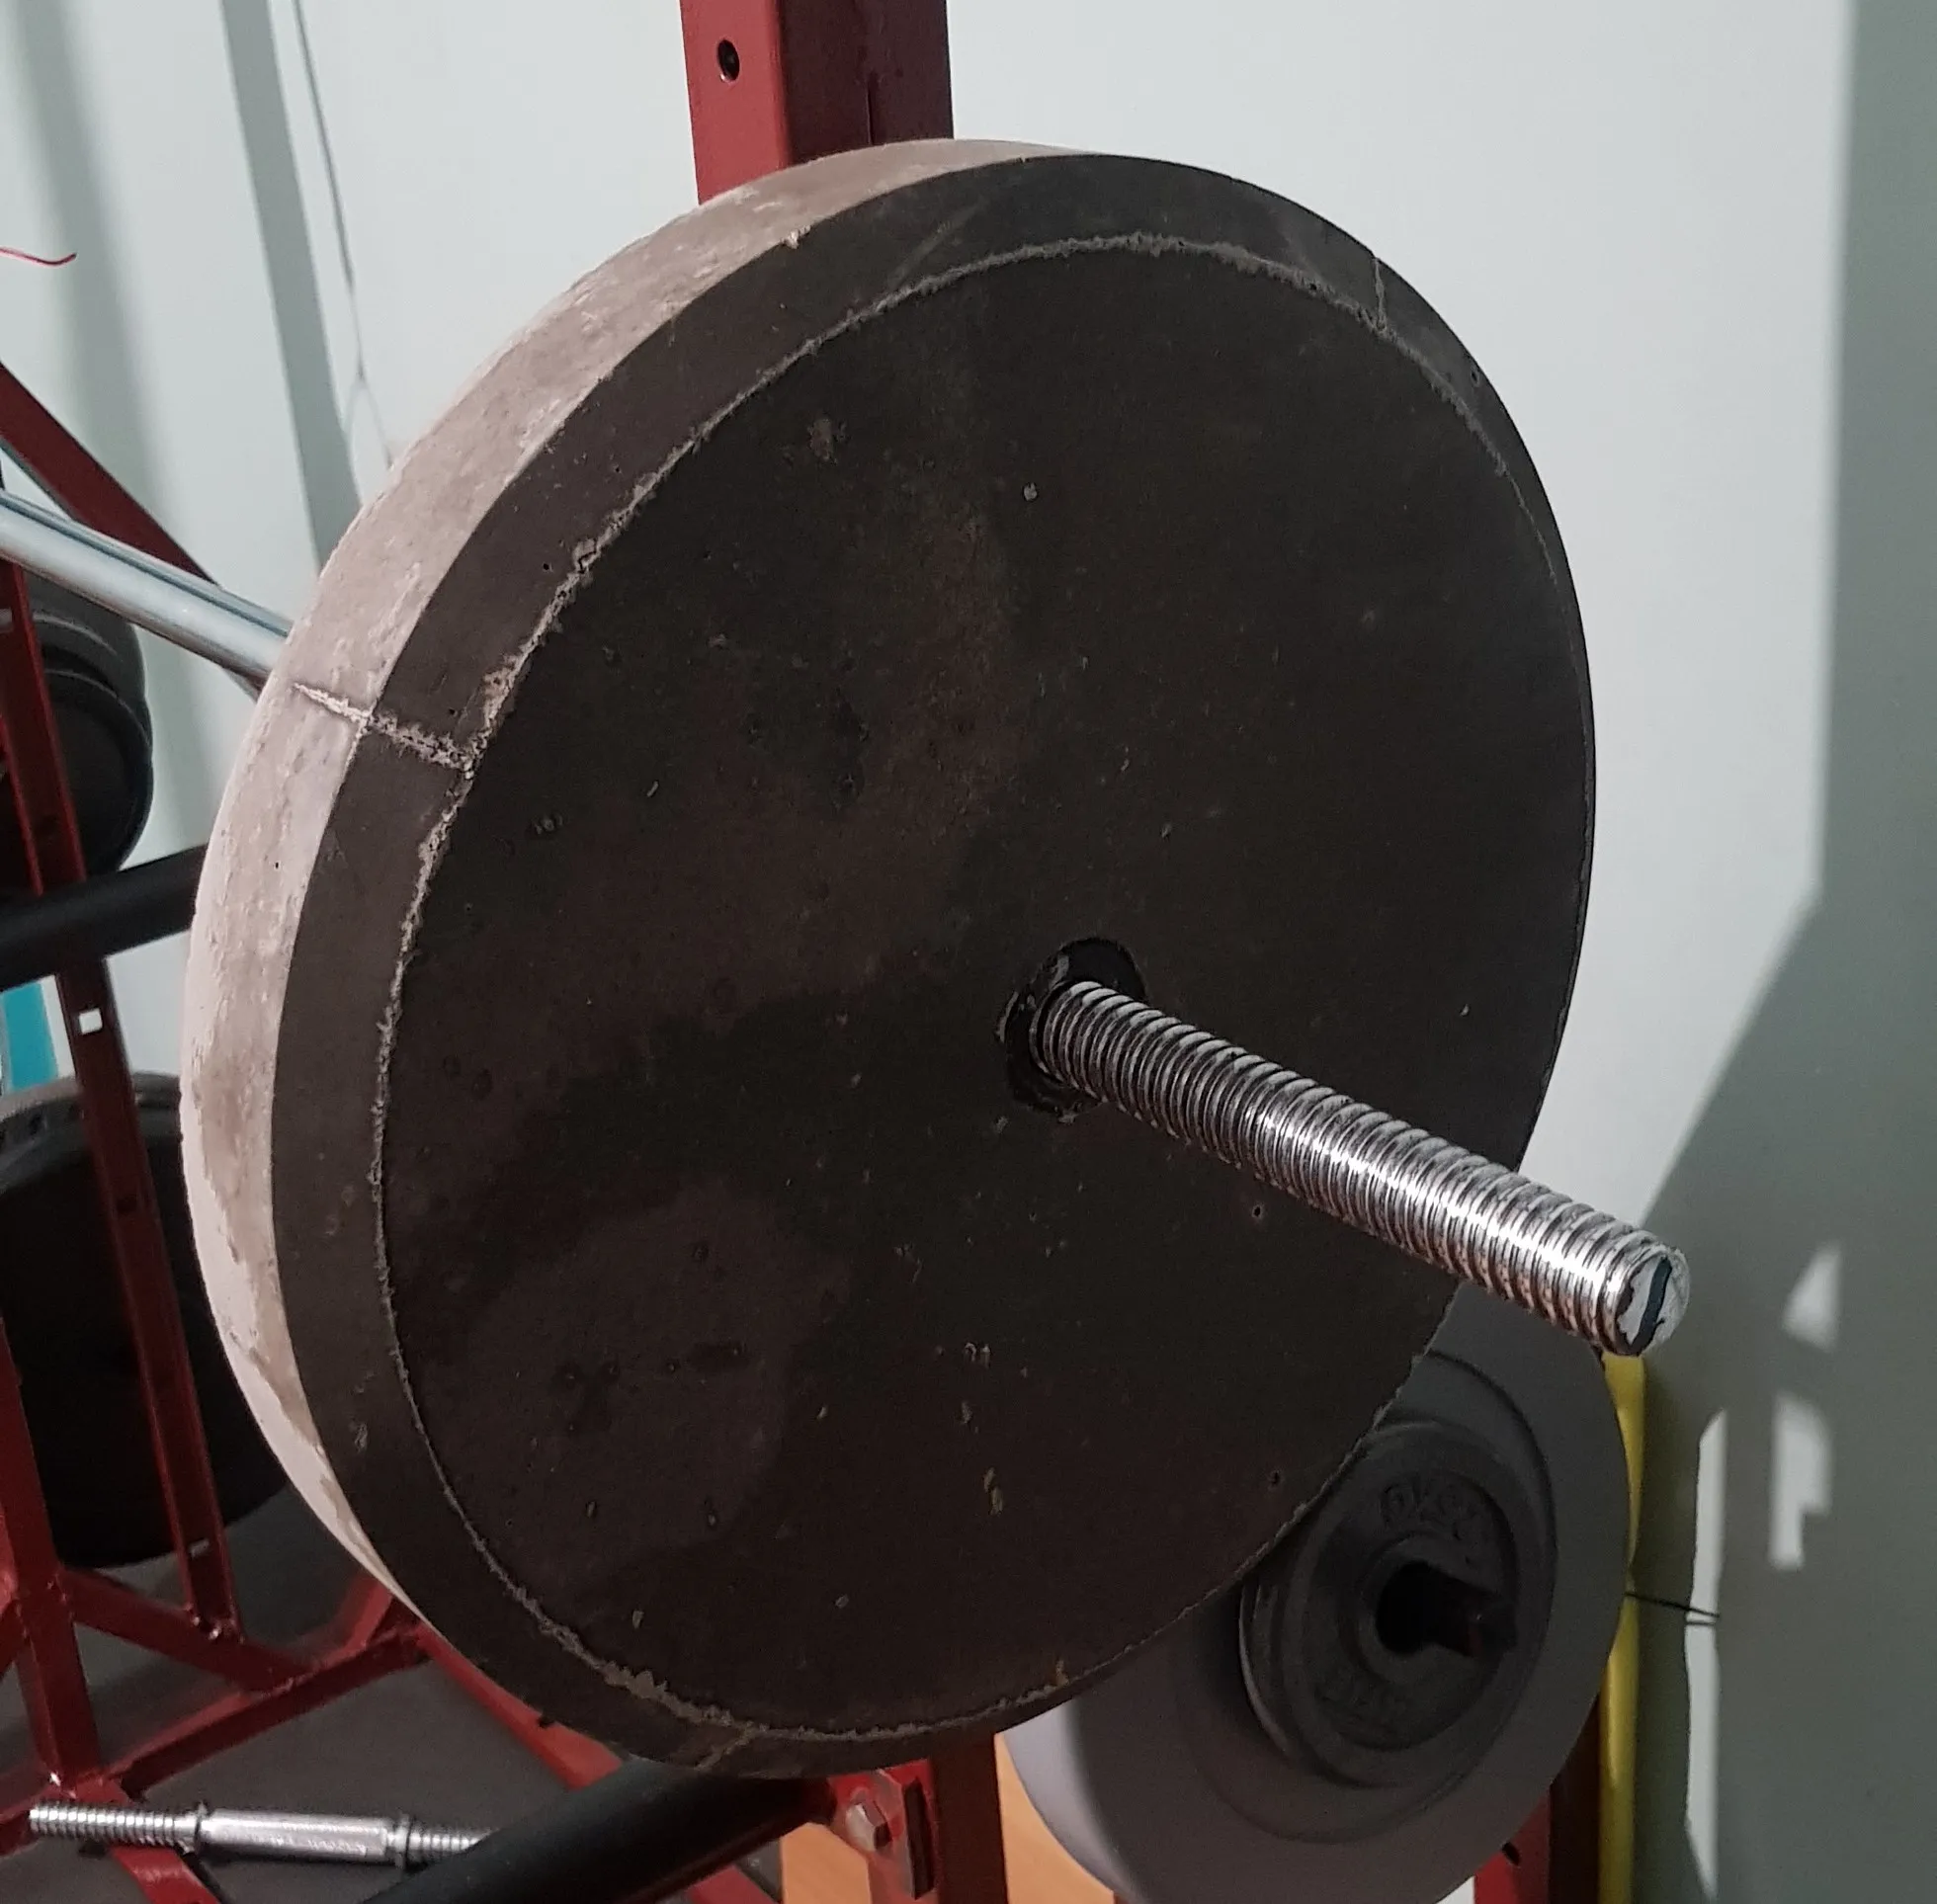
Finished product:
Concrete tips:
- Dont make it too watery, but dont make it too stiff either. We want the mix to flow and fill the form, going to all of the corners. If your center plug is glued down, you can throw the concrete with force in the form, little by little, to ensure perfect filling without air bubbles.
- After the pour, try to make the top surface flat and cover it with a plastic bag. This way you will keep the moisture from escaping too fast, making the concrete stronger after it cures.
- Concrete actually needs arround 30 days to fully cure. You can use your plate right away after its dry to the touch (takes arround 4 to 5 days) but you have to be carefull for these 30 first days.
- When mixing concrete, weight it dry and then add the water. During the curing process, your concrete will lose all of the water in the form of evaporation.
- If you can't find a good concrete premix (like me), just use the following table:
| Plate | 15kg/35lbs | 20kg/45lbs | 25kg/55lbs |
| Concrete | 2.6kg/5.7lbs | 3.6kg/8lbs | 4.4kg/9.7lbs |
| Gravel | 5.2kg/11.4lbs | 7.2kg/15.8lbs | 8.8kg/19.3lbs |
| Sand | 6.5kg/14.3lbs | 9kg/19.8lbs | 11kg/24.2lbs |
Enjoy!
Boost Me (for free)
If you liked this project, consider boosting me!
License

You shall not share, sub-license, sell, rent, host, transfer, or distribute in any way the digital or 3D printed versions of this object, nor any other derivative work of this object in its digital or physical format (including - but not limited to - remixes of this object, and hosting on other digital platforms). The objects may not be used without permission in any way whatsoever in which you charge money, or collect fees.


Comment & Rating (37)