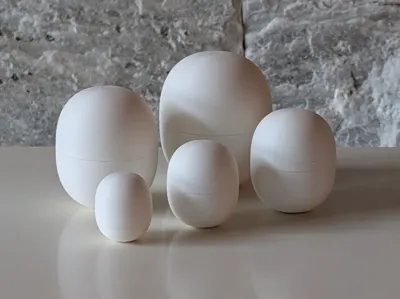
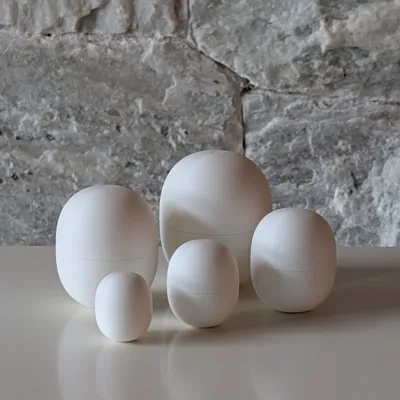
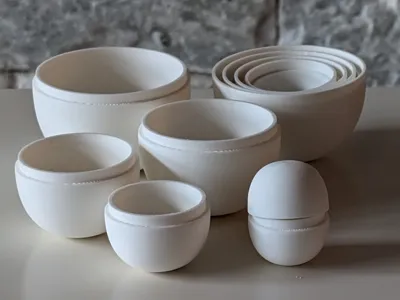
Supereggs - 5 nested eggs based on a superellipse


Print Profile(1)

Bill of Materials

Description
A superegg is an egg that is both a perfect ellipse and a perfect rectangle so it can stand on either end. These five nested supereggs based on the superellipse formula (sometimes referred to as a “squircle”) started out as a learning tool for my son and ended up as a learning tool for me as I figured out how to set up proper supports for printing them in a nested configuration.
Custom supports and infill
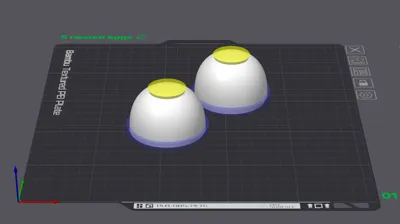
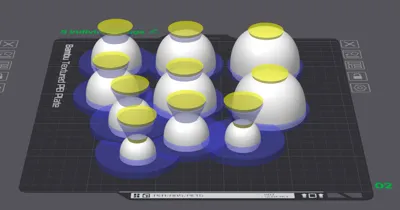
NOTE: Both the nested configuration (plate 1) and separated configuration (plate 2) use custom supports and infill.
To achieve proper balance and ensure the interconnecting edges print cleanly and consistently, the project features custom supports and infill through modifiers:
- The base cylinder support modifier adds robust support for the edge overhangs
- The conical support modifier adds supports between the egg domes
- The conical infill modifier adds solid infill at the round end of the eggs to provide weight and robustness
I do not recommend changing the settings for the nested eggs unless you want to do a bunch of reprints.
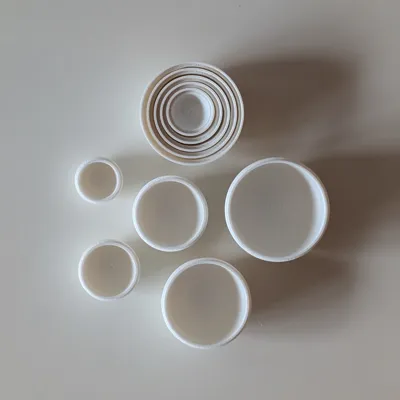
Breaking the nested eggs apart
Once printed, each half of the nested eggs should detach from the plate without issues. To break the individual segments apart I recommend holding the half in your hand round-end down and using your fingers to “roll” and push the center of the supports towards the outer edge. Eventually the segments will start coming loose one at a time and you can pull them out.

Each segment has supports around the edge and may have supports stuck to the inside or outside of the round end. These come off cleanly, but the inner supports may require some patience and dexterity. I used the back of a pair of tweezers. A butter knife will also do the trick. Patience is key for a clean result.
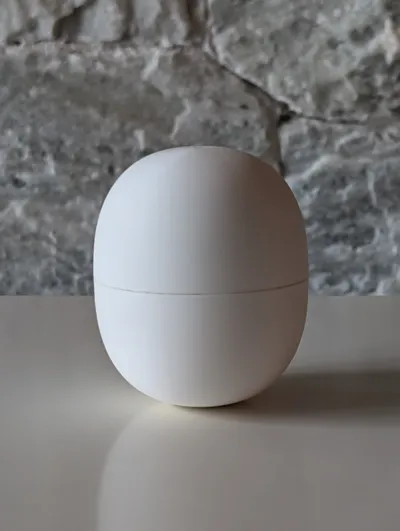
Printing just one egg
Plate 1 gives you five eggs. If you want just one egg, or multiples of a specific size, use plate 2 and manage the eggs to your liking.
Hot tip: For a different look and feel, use plate 2 to add texture to the outside of your egg. Just make sure to use a modifier so you don't add texture to the overlapping edges!
Boost Me (for free)
Want to see more of my ideas (and maybe even print some)? Give this project a boost so I know you like it!
Comment & Rating (3)