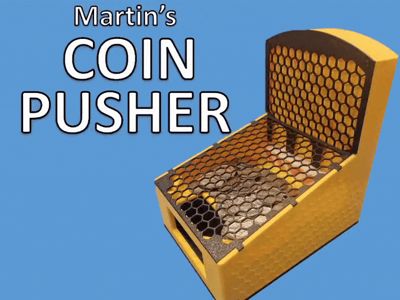
Martin's Coin Pusher V1.2


Print Profile(2)


Bill of Materials


Description
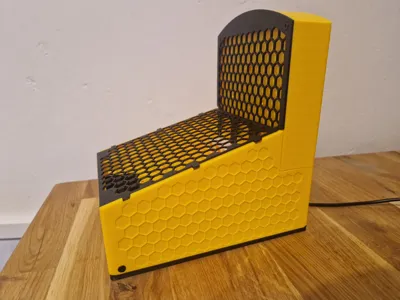
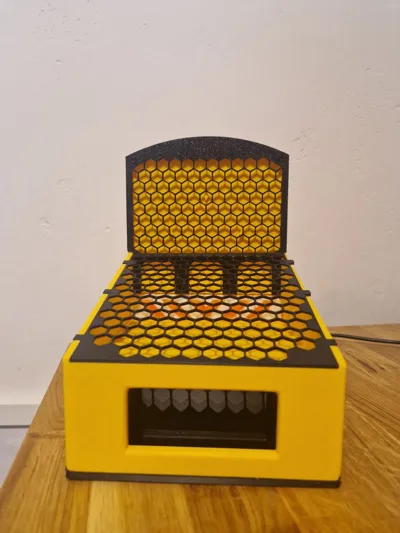
Welcome to Martin's Coin Pusher. This model is entirely 3D printed and requires just a few parts from the Makerworld shop to assemble your own desktop coin pusher.
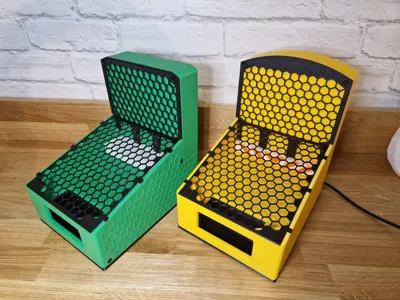
It's the ideal toy to have on your desk to build your own little arcade.
This coin pusher measures 130mm x 175mm by 190mm and all of the parts fits on your printer. It fits any coins up to 30mm diameter.
This coin dropper is entirely 3D printed and is so easy to assemble with a few parts available from Makerworld shop, it practically falls together. To make it easier, check out the assembly instructions (with GIFs) below.
Changes:
V1.1 - Fixed hole alignment issue
V1.2 - Added extra hole to secure back coin dropper to the side panels. Also published a cropped version to fit on an A1 Mini.
Assembly Instructions
Step 1 - Add Bearings to Pusher
Attach 4x 16mm x 5mm x 5mm bearings (625ZZ) to the Pusher using M5 x 10 button head bolts.

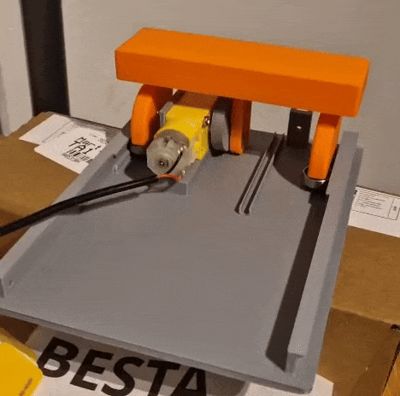
Step 2 - Add gear to motor
Push the gear on to the Motor (USB TT Motor) so it's flush with the gear shaft.

Step 3 - Add motor and pusher to Base
Put the pusher onto the gear then slide it onto the rails on the base.

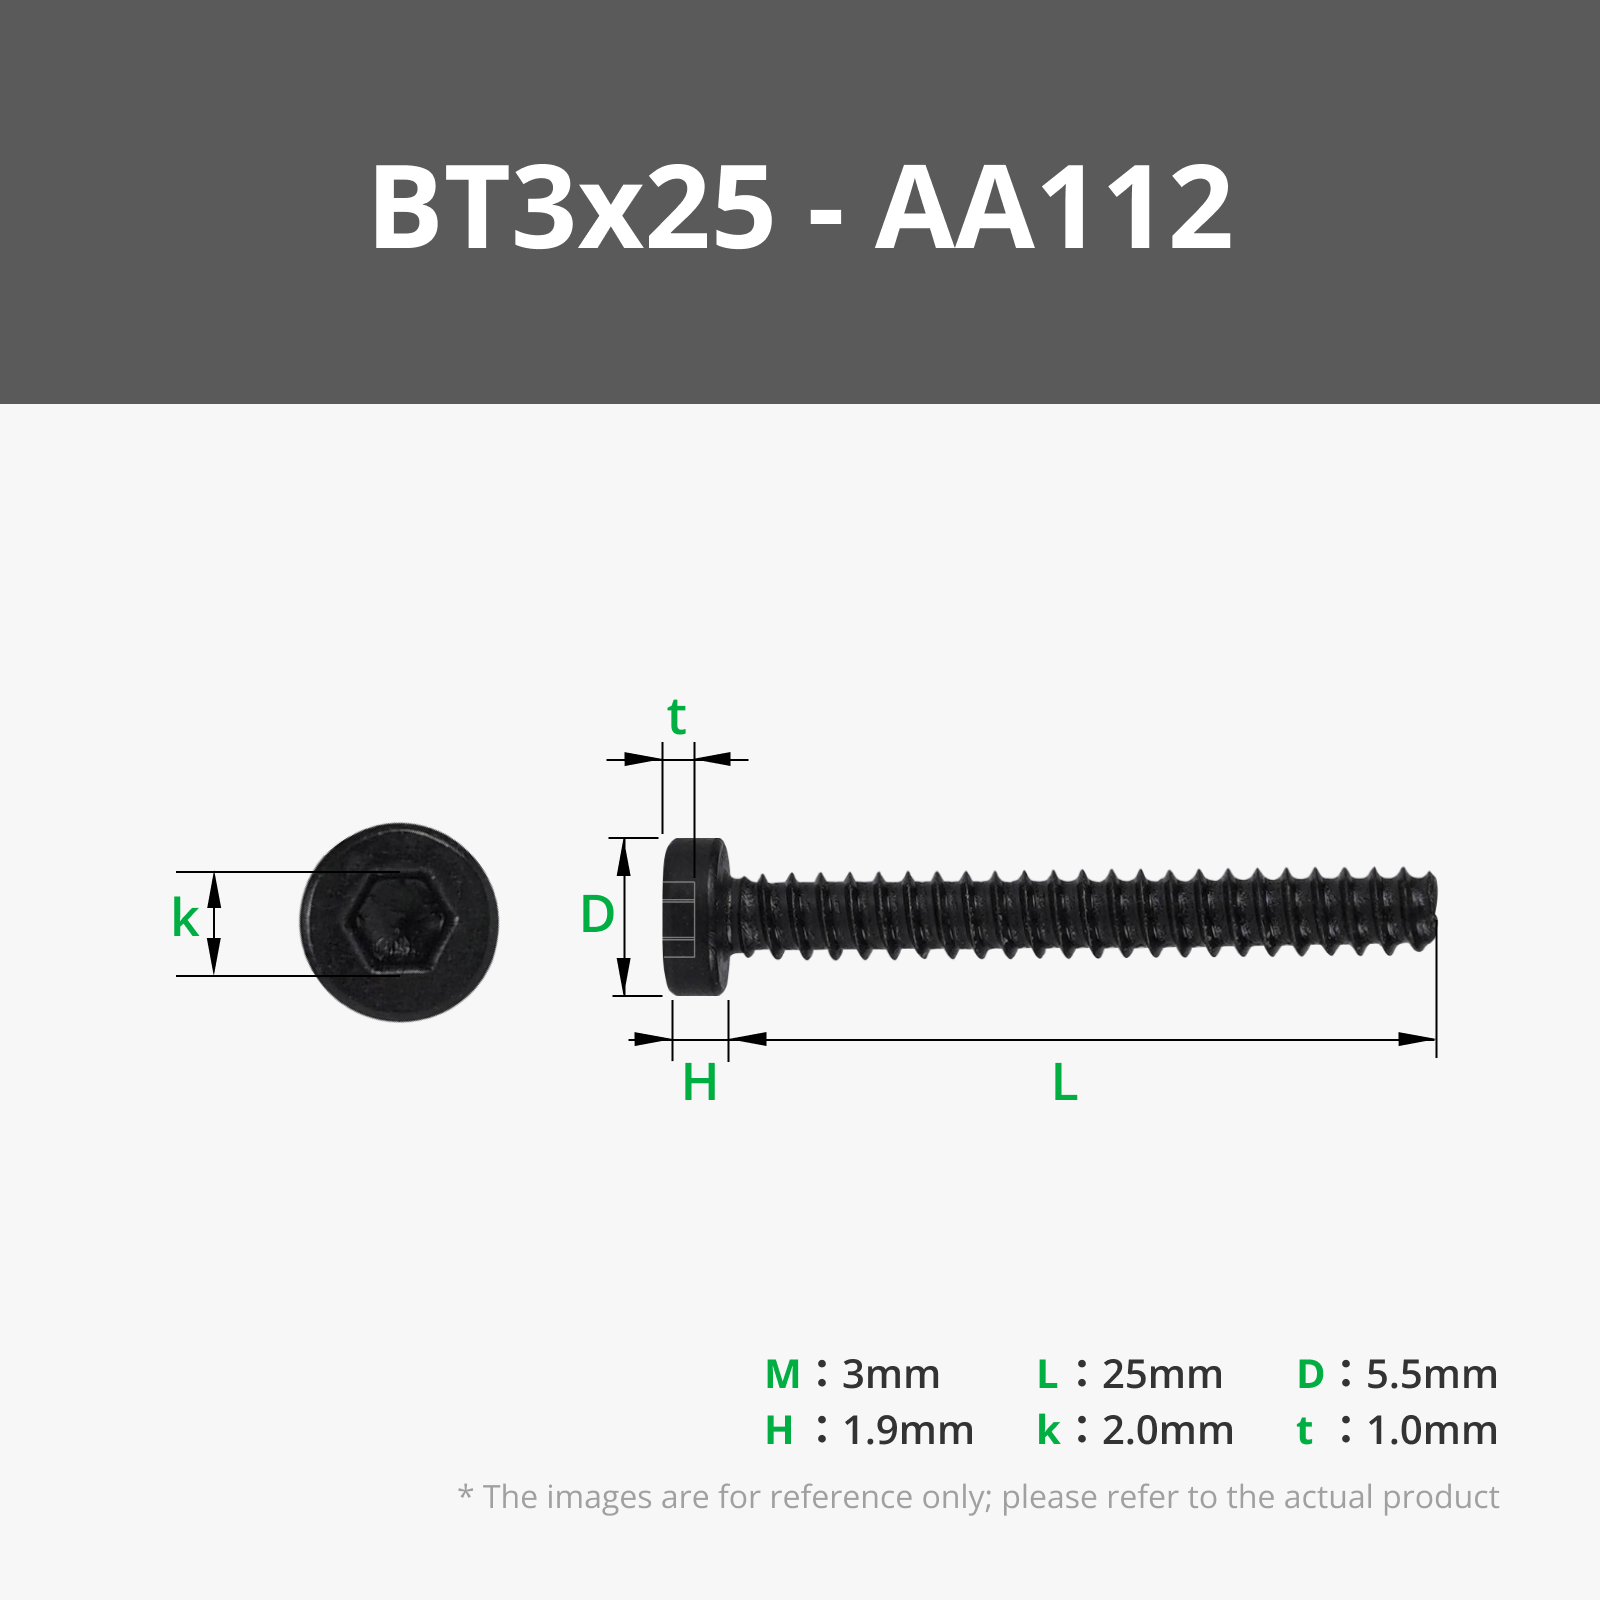
Step 4 - Secure the motor to the base
Insert 2x M3 x 25mm bolts (M3 x 25mm self taping screws) through the motor into the base.

Step 5 - Put the cable in the channel
Feed the cable to come out of the back of the base through the channel.

Step 6 - Slide on the surface and sides piece
This smoothly slides from the front on the side rails.
Secure with 2x M3 x 8mm bolts (M3 x 8mm self tapping screws) at the front of the sides.

Step 7 - Secure the coin dropper front cover
Secure with 4x M3 x 8mm bolts (M3 x 8mm self tapping screws)

Step 8 - Attach the Coin Dropper to the main assembly
This fits to the back and secure with 2x M3 x 8mm bolts (M3 x 8mm self tapping screws)
![WhatsApp Video 2025-04-06 at 20.25.56.mp4 [optimize output image]](https://makerworld.bblmw.com/makerworld/model/DSM00000001292594/design/fd96c807-5db4-4871-865f-6bda46cce56f.gif?x-oss-process=image/format,webp)
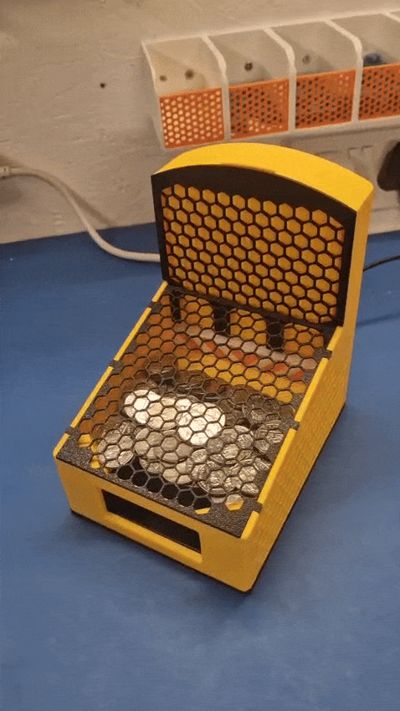
Step 9 - Plug in the USB and check the mechanism moves cleanly
![WhatsApp Video 2025-04-06 at 20.34.30.mp4 [optimize output image]](https://makerworld.bblmw.com/makerworld/model/DSM00000001292594/design/0456a985-2e78-4e17-8464-025f5384e67a.gif?x-oss-process=image/format,webp)
Step 10 - Fill with coins
![WhatsApp Video 2025-04-06 at 20.45.35.mp4 [speed output image]](https://makerworld.bblmw.com/makerworld/model/DSM00000001292594/design/b08a44fd-5d6c-49ee-b365-ae1a9cd4af87.gif?x-oss-process=image/format,webp)
Step 11 - Push fit on the coin cover
Check the filled hexagons are at the bottom. You may have to bend it on.
![WhatsApp Video 2025-04-06 at 20.51.52.mp4 [optimize output image]](https://makerworld.bblmw.com/makerworld/model/DSM00000001292594/design/416a72ad-5228-4463-b6b8-b1fe7bd3d0cf.gif?x-oss-process=image/format,webp)
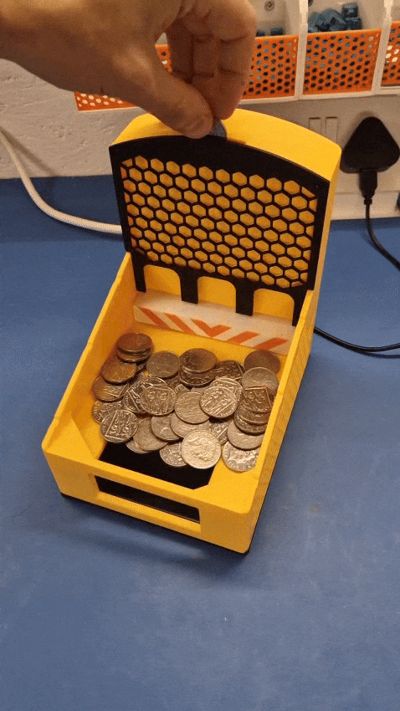
Step 12 - Enjoy Gambling
Insert your coins at the top and enjoy playing with this great desk toy.
![WhatsApp Video 2025-04-06 at 20.54.15.mp4 [optimize output image]](https://makerworld.bblmw.com/makerworld/model/DSM00000001292594/design/55e78694-279e-4413-9668-f95b4fe7270e.gif?x-oss-process=image/format,webp)
Step 13 - Boost this model
Boost Me (for free)
If you got this far, please boost the model!
It would help with my goal of adding more high quality models to Makerworld.
Or check out my other models. Thanks!
License
You shall not share, sub-license, sell, rent, host, transfer, or distribute in any way the digital or 3D printed versions of this object, nor any other derivative work of this object in its digital or physical format (including - but not limited to - remixes of this object, and hosting on other digital platforms). The objects may not be used without permission in any way whatsoever in which you charge money, or collect fees.
Comment & Rating (52)