
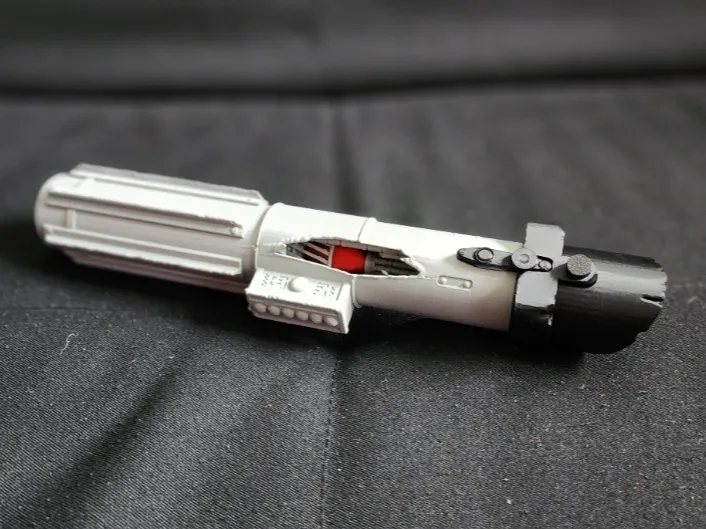

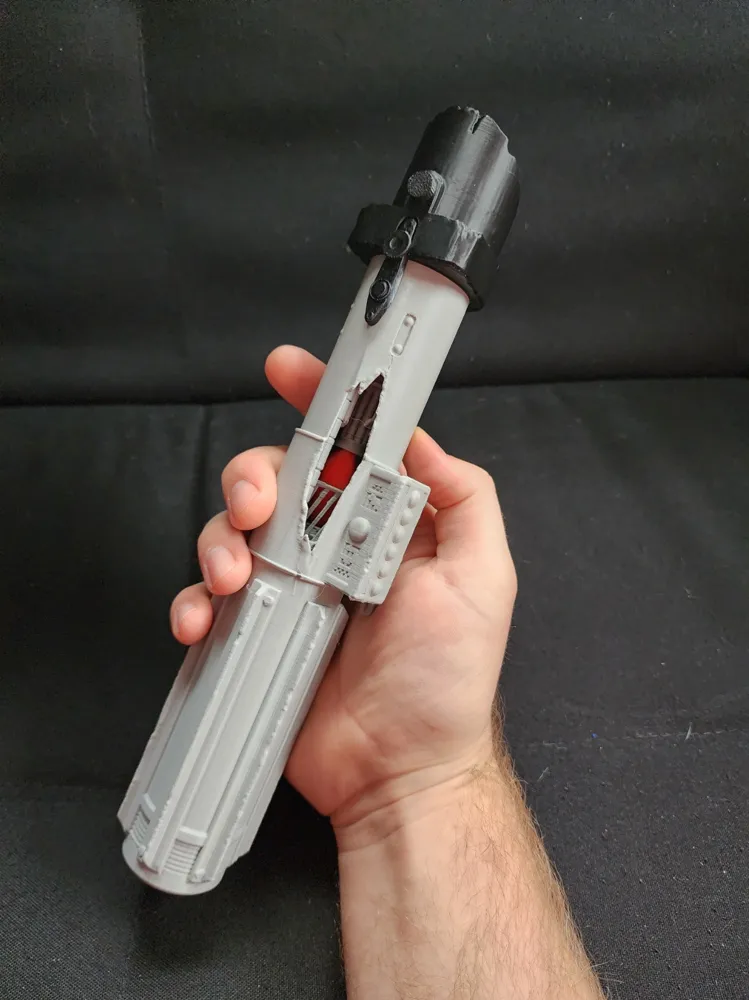
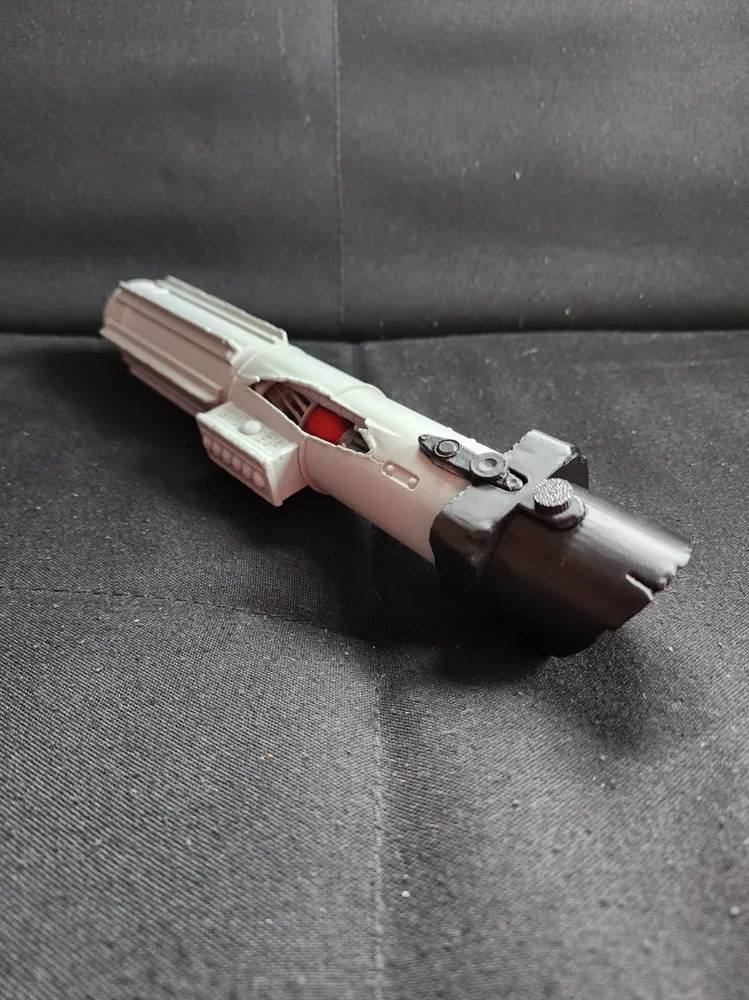
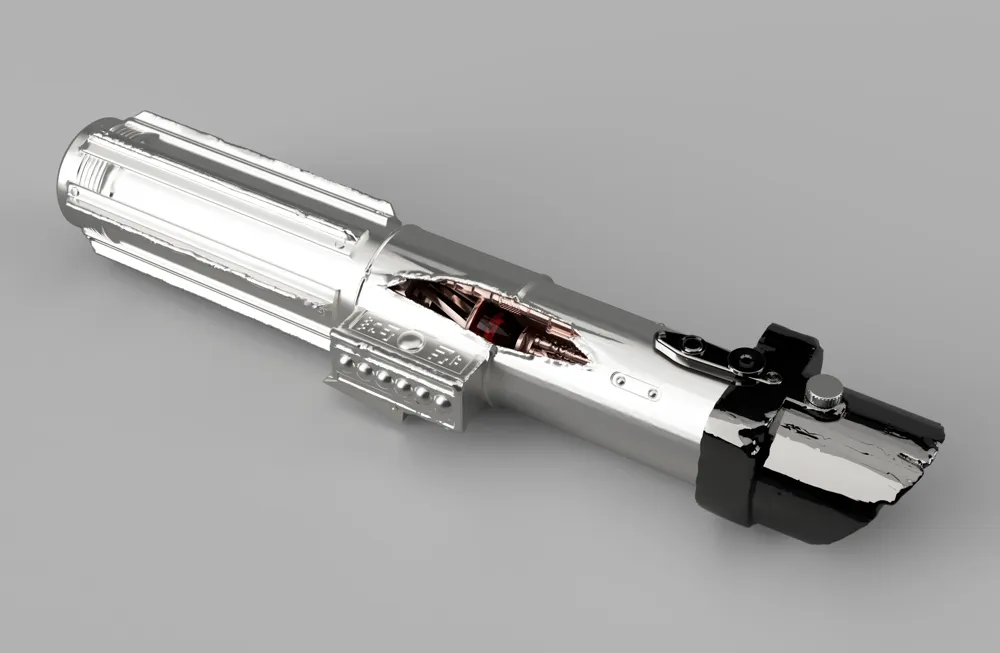
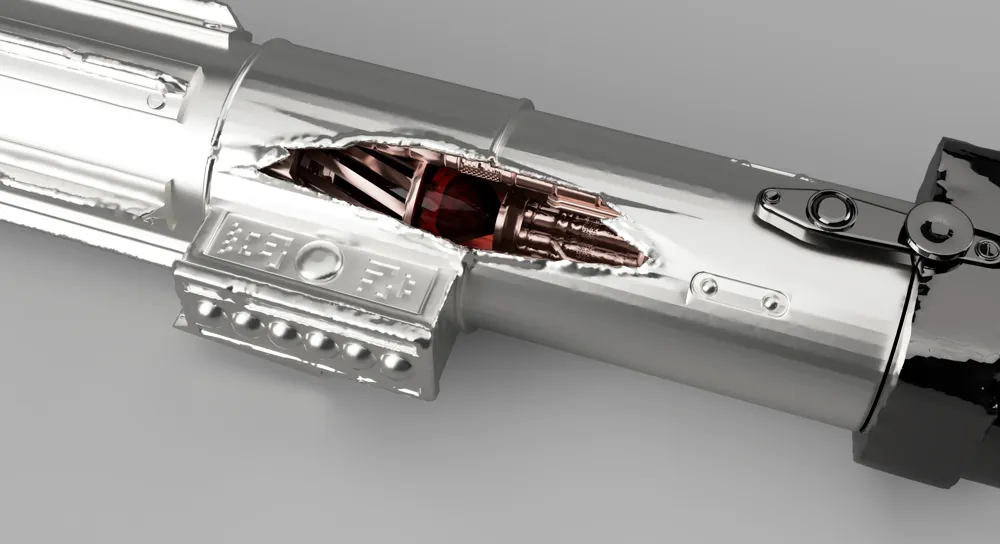
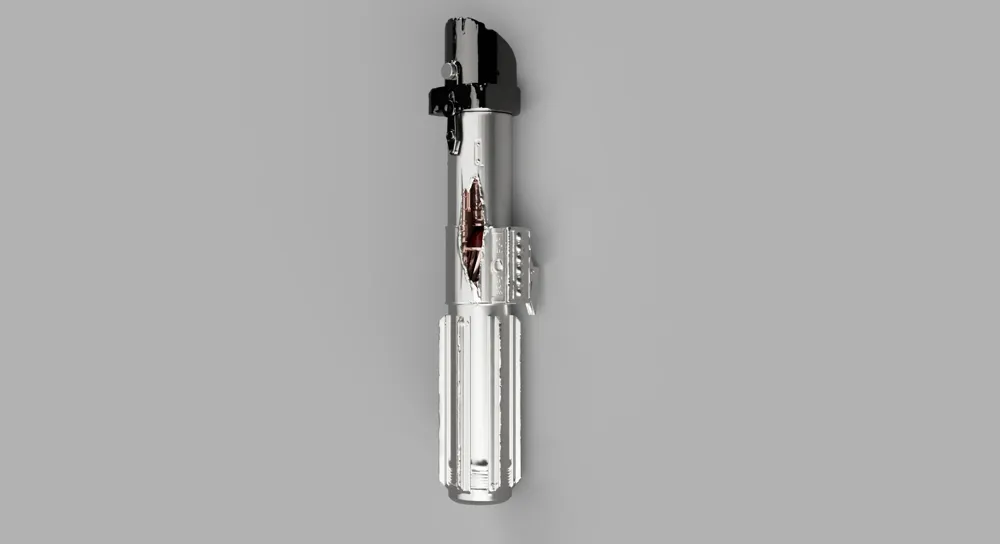
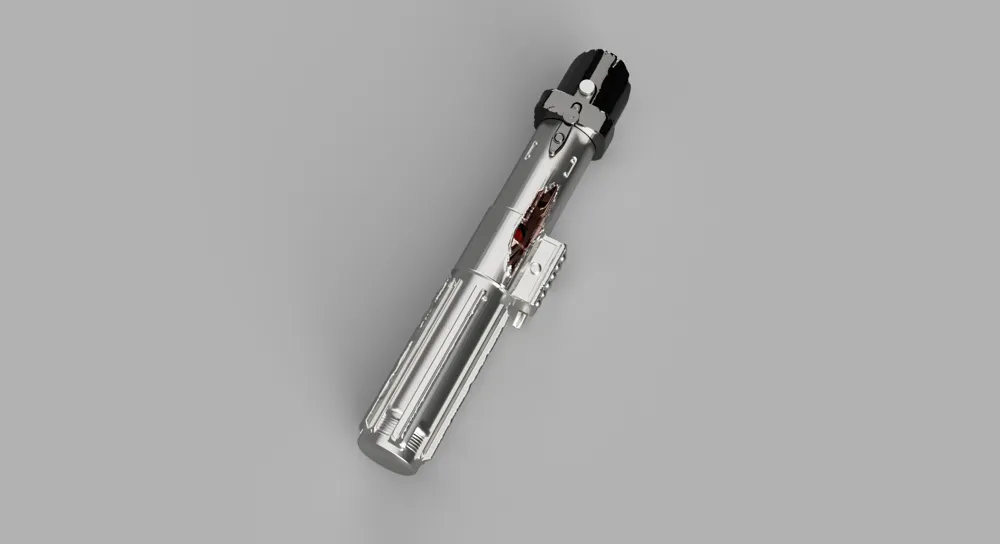
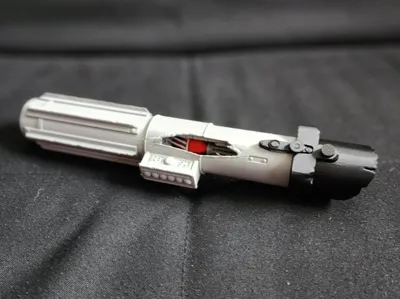
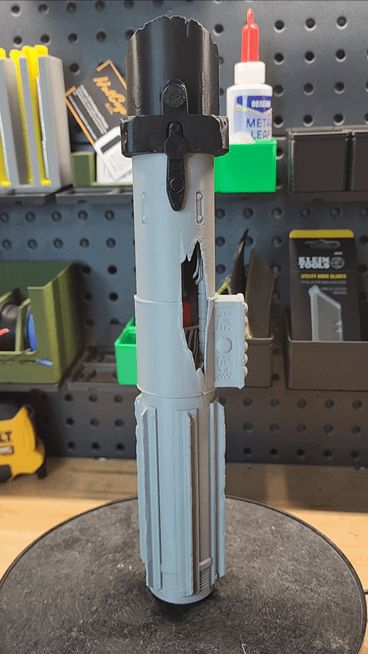
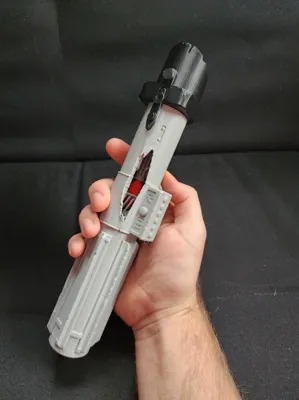
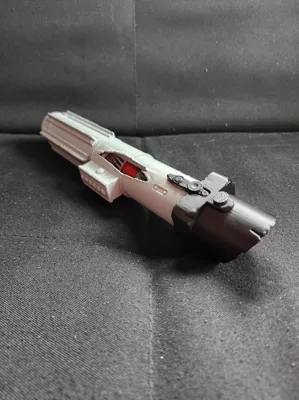
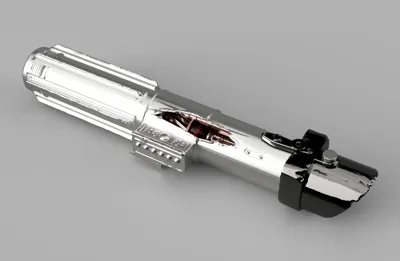
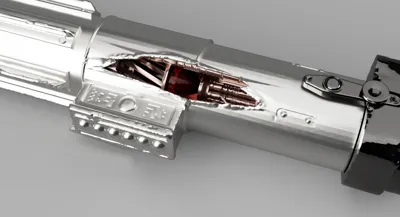
Darth Vader lightsaber - damaged - Exposed crystal
Print Profile(1)

Description
Boost Me (for free)
Boosts are much appreciated! They help me to continue working on models such as these!
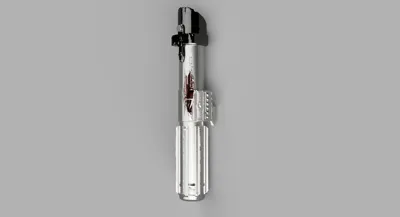
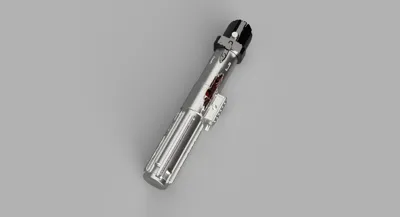
An awesome battle-damaged Darth Vader lightsaber that boasts an exposed kyber crystal. I had originally made these files (specifically the core) to be resin printed; however, you still get great results with a quality FDM printed as well.
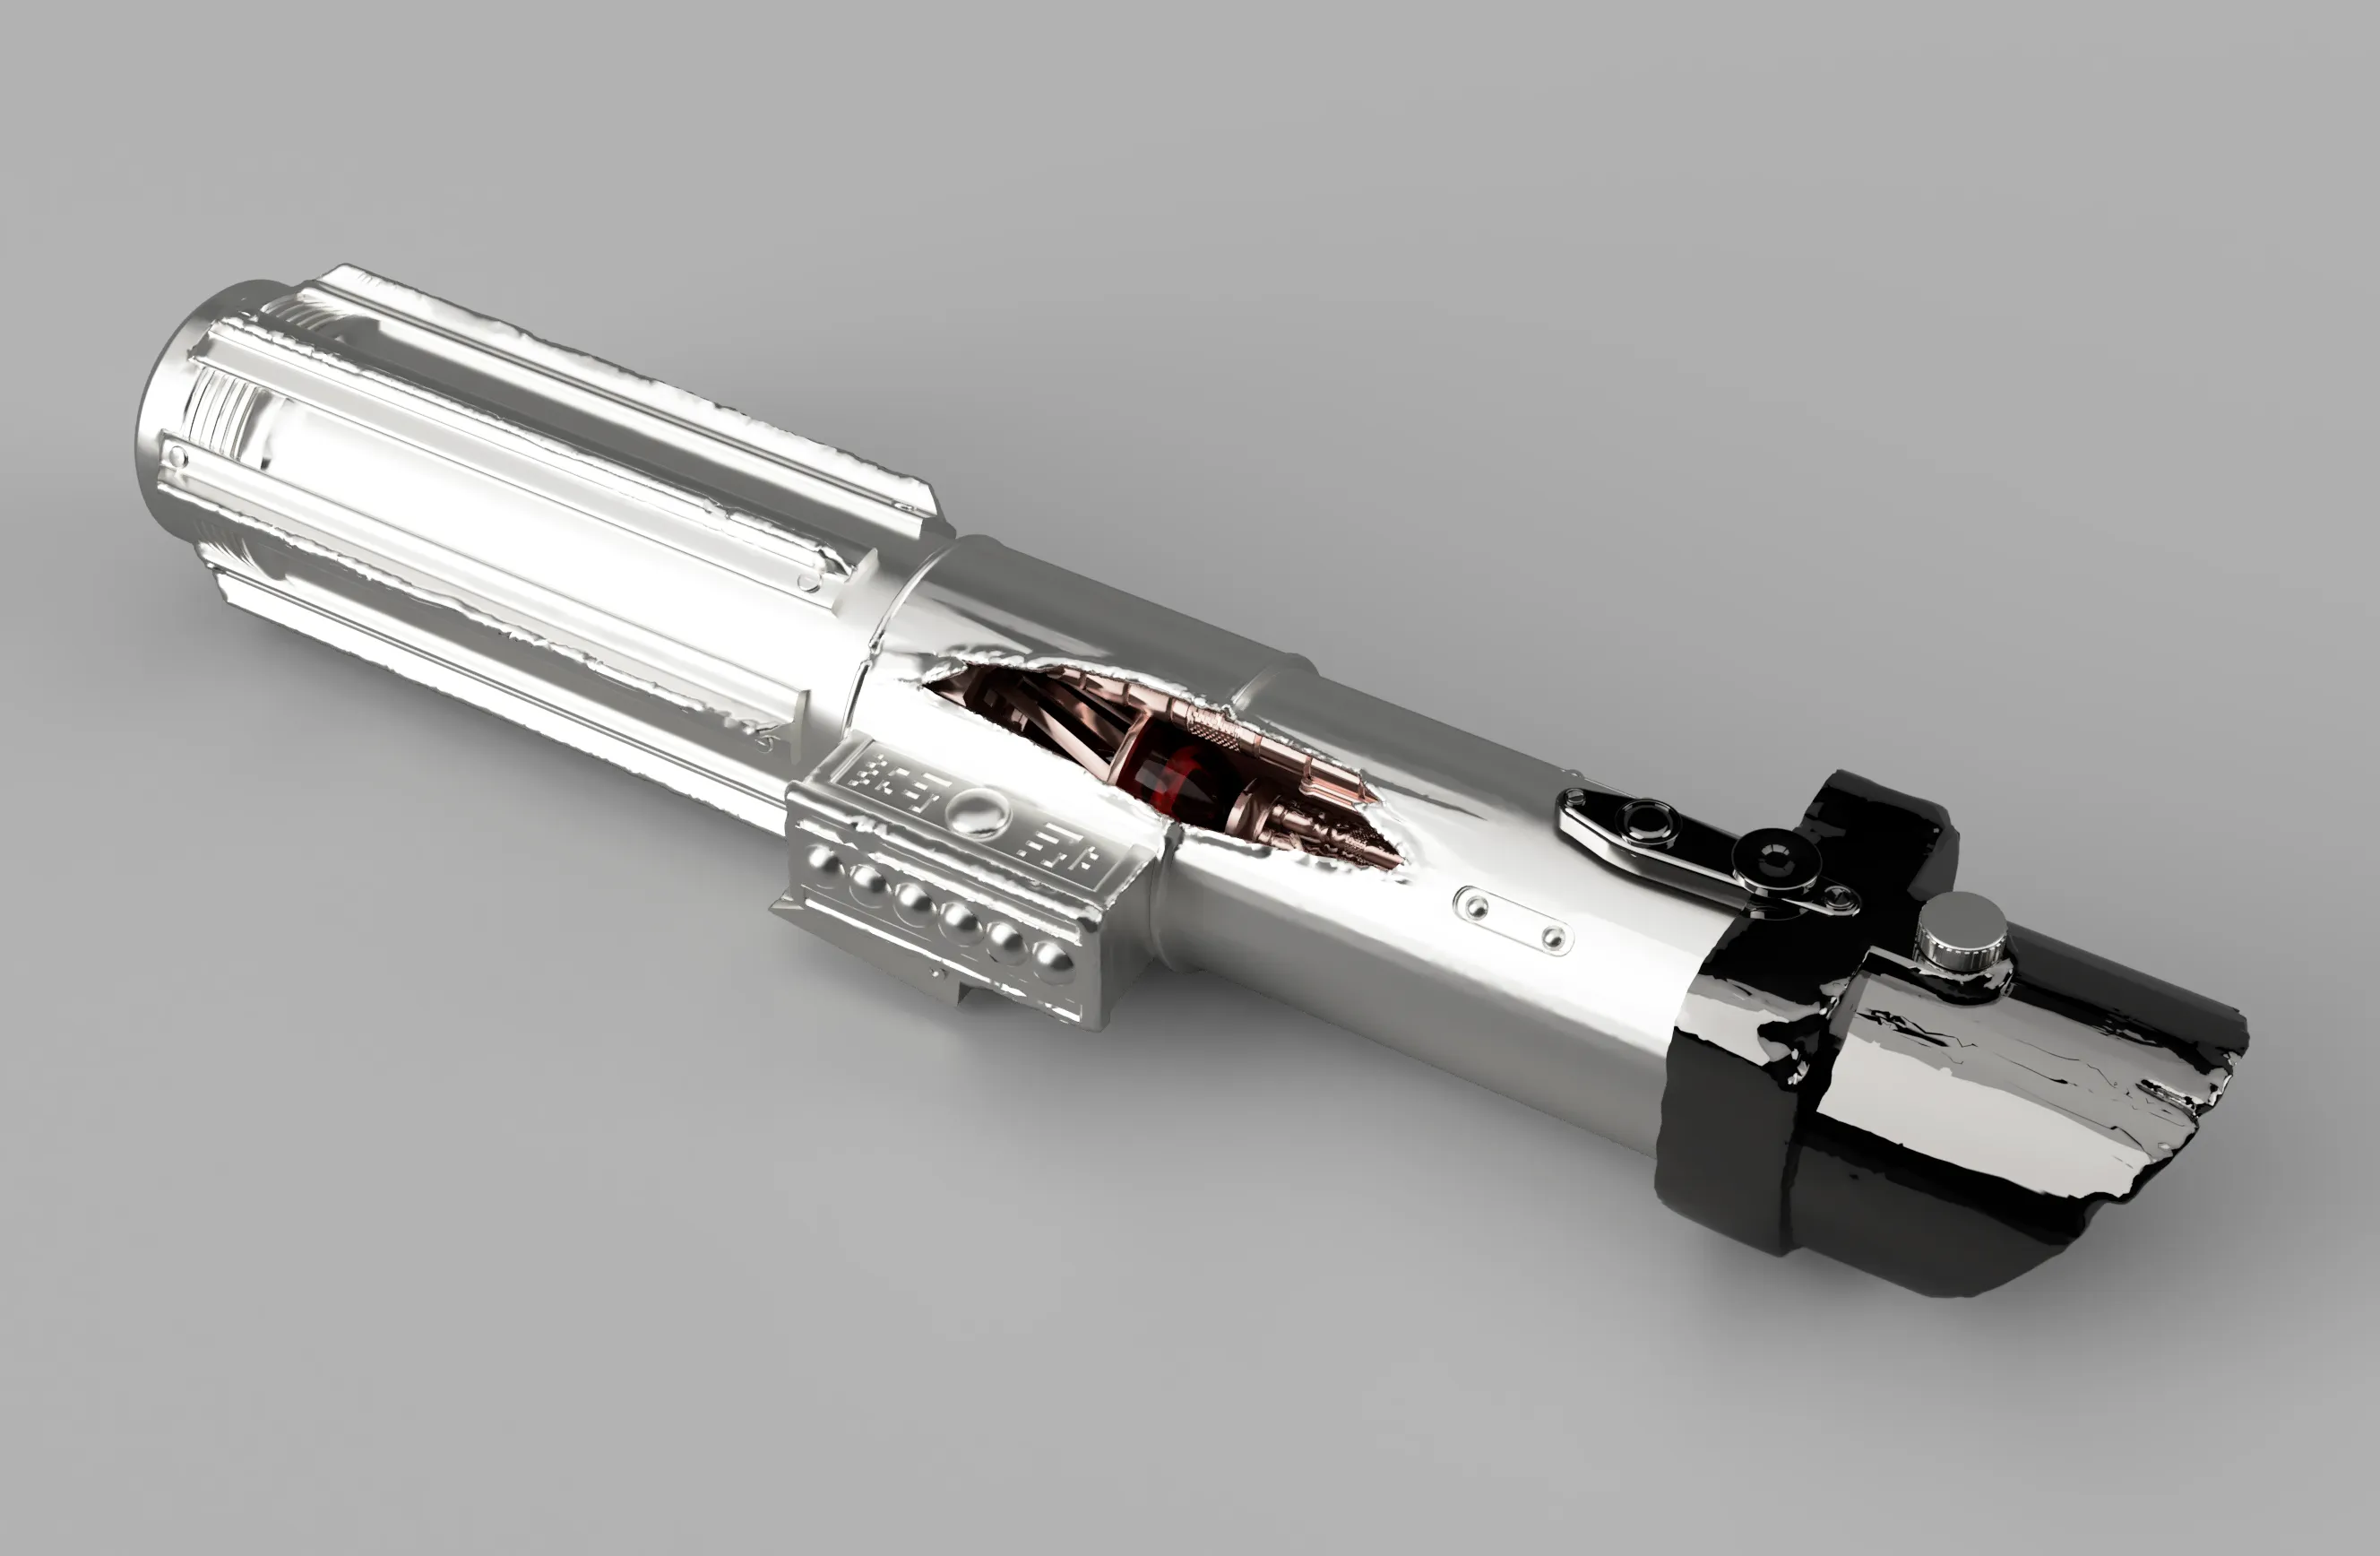
Step 1: Print all Pieces
Ensure you have a clean bed plate as the crystal requires good adhesion to print successfully. Everything else is pretty quick and easy to print. Plates are separated by color. Paint your pieces if desired.
Step 2: Assemble the Core
- Slide the alignment stick through the Core_bottom piece and leave a bit of the stick sticking out of the bottom.
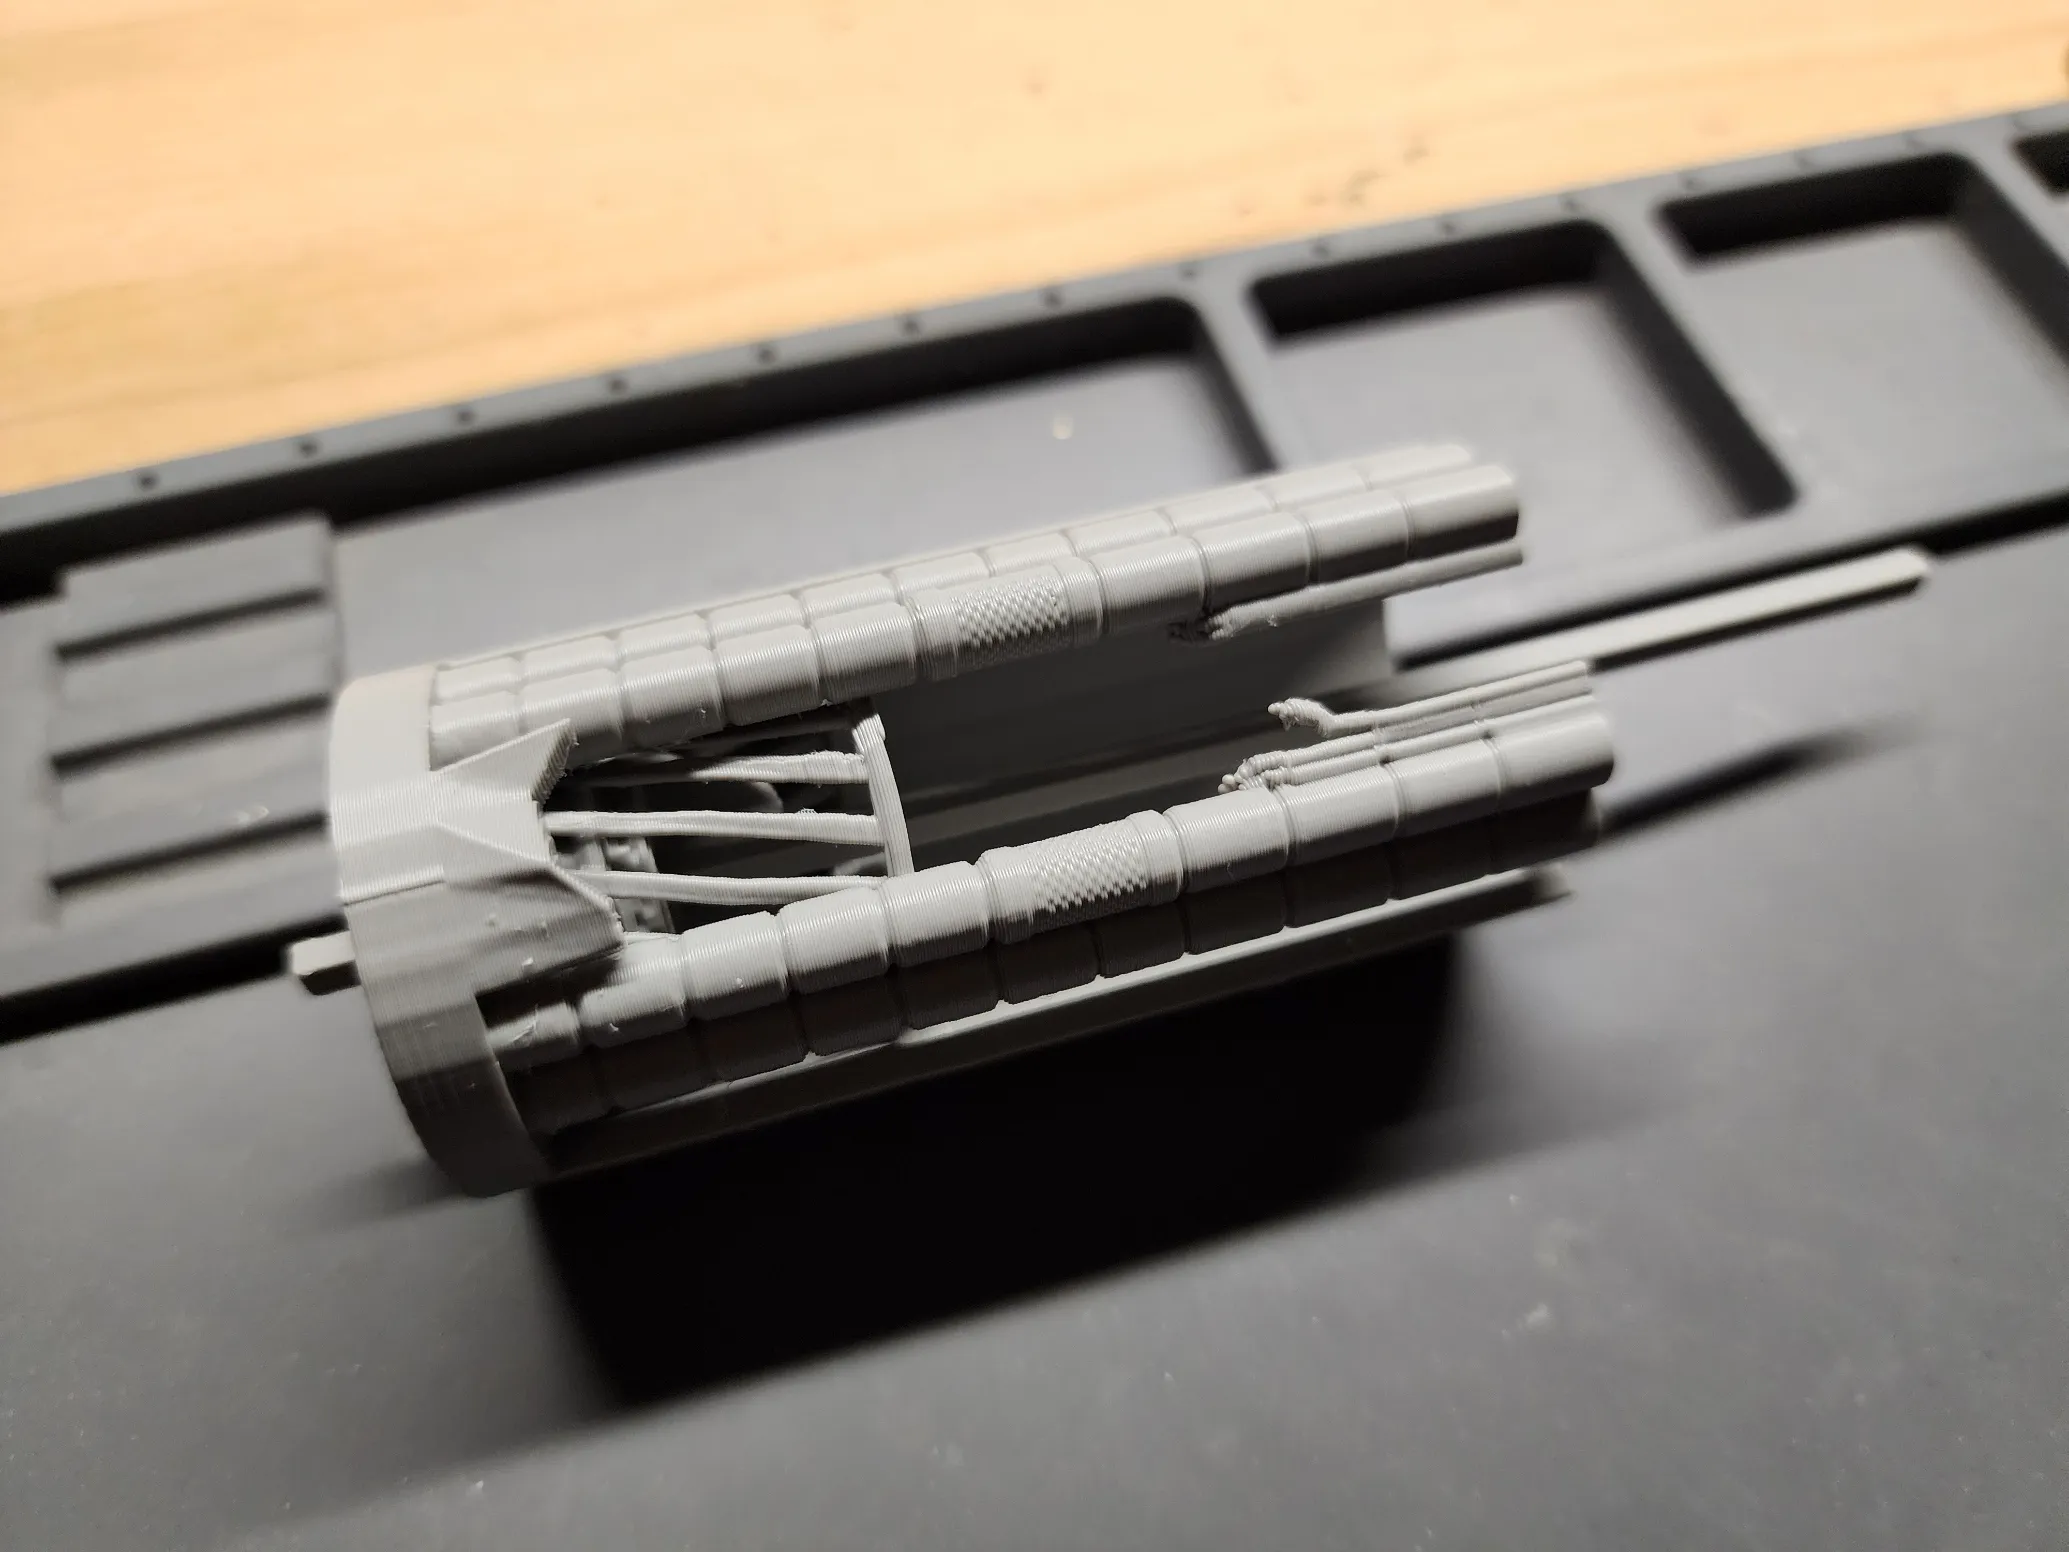
- Slide the crystal through the stick until it sits cradled inside Core_bottom
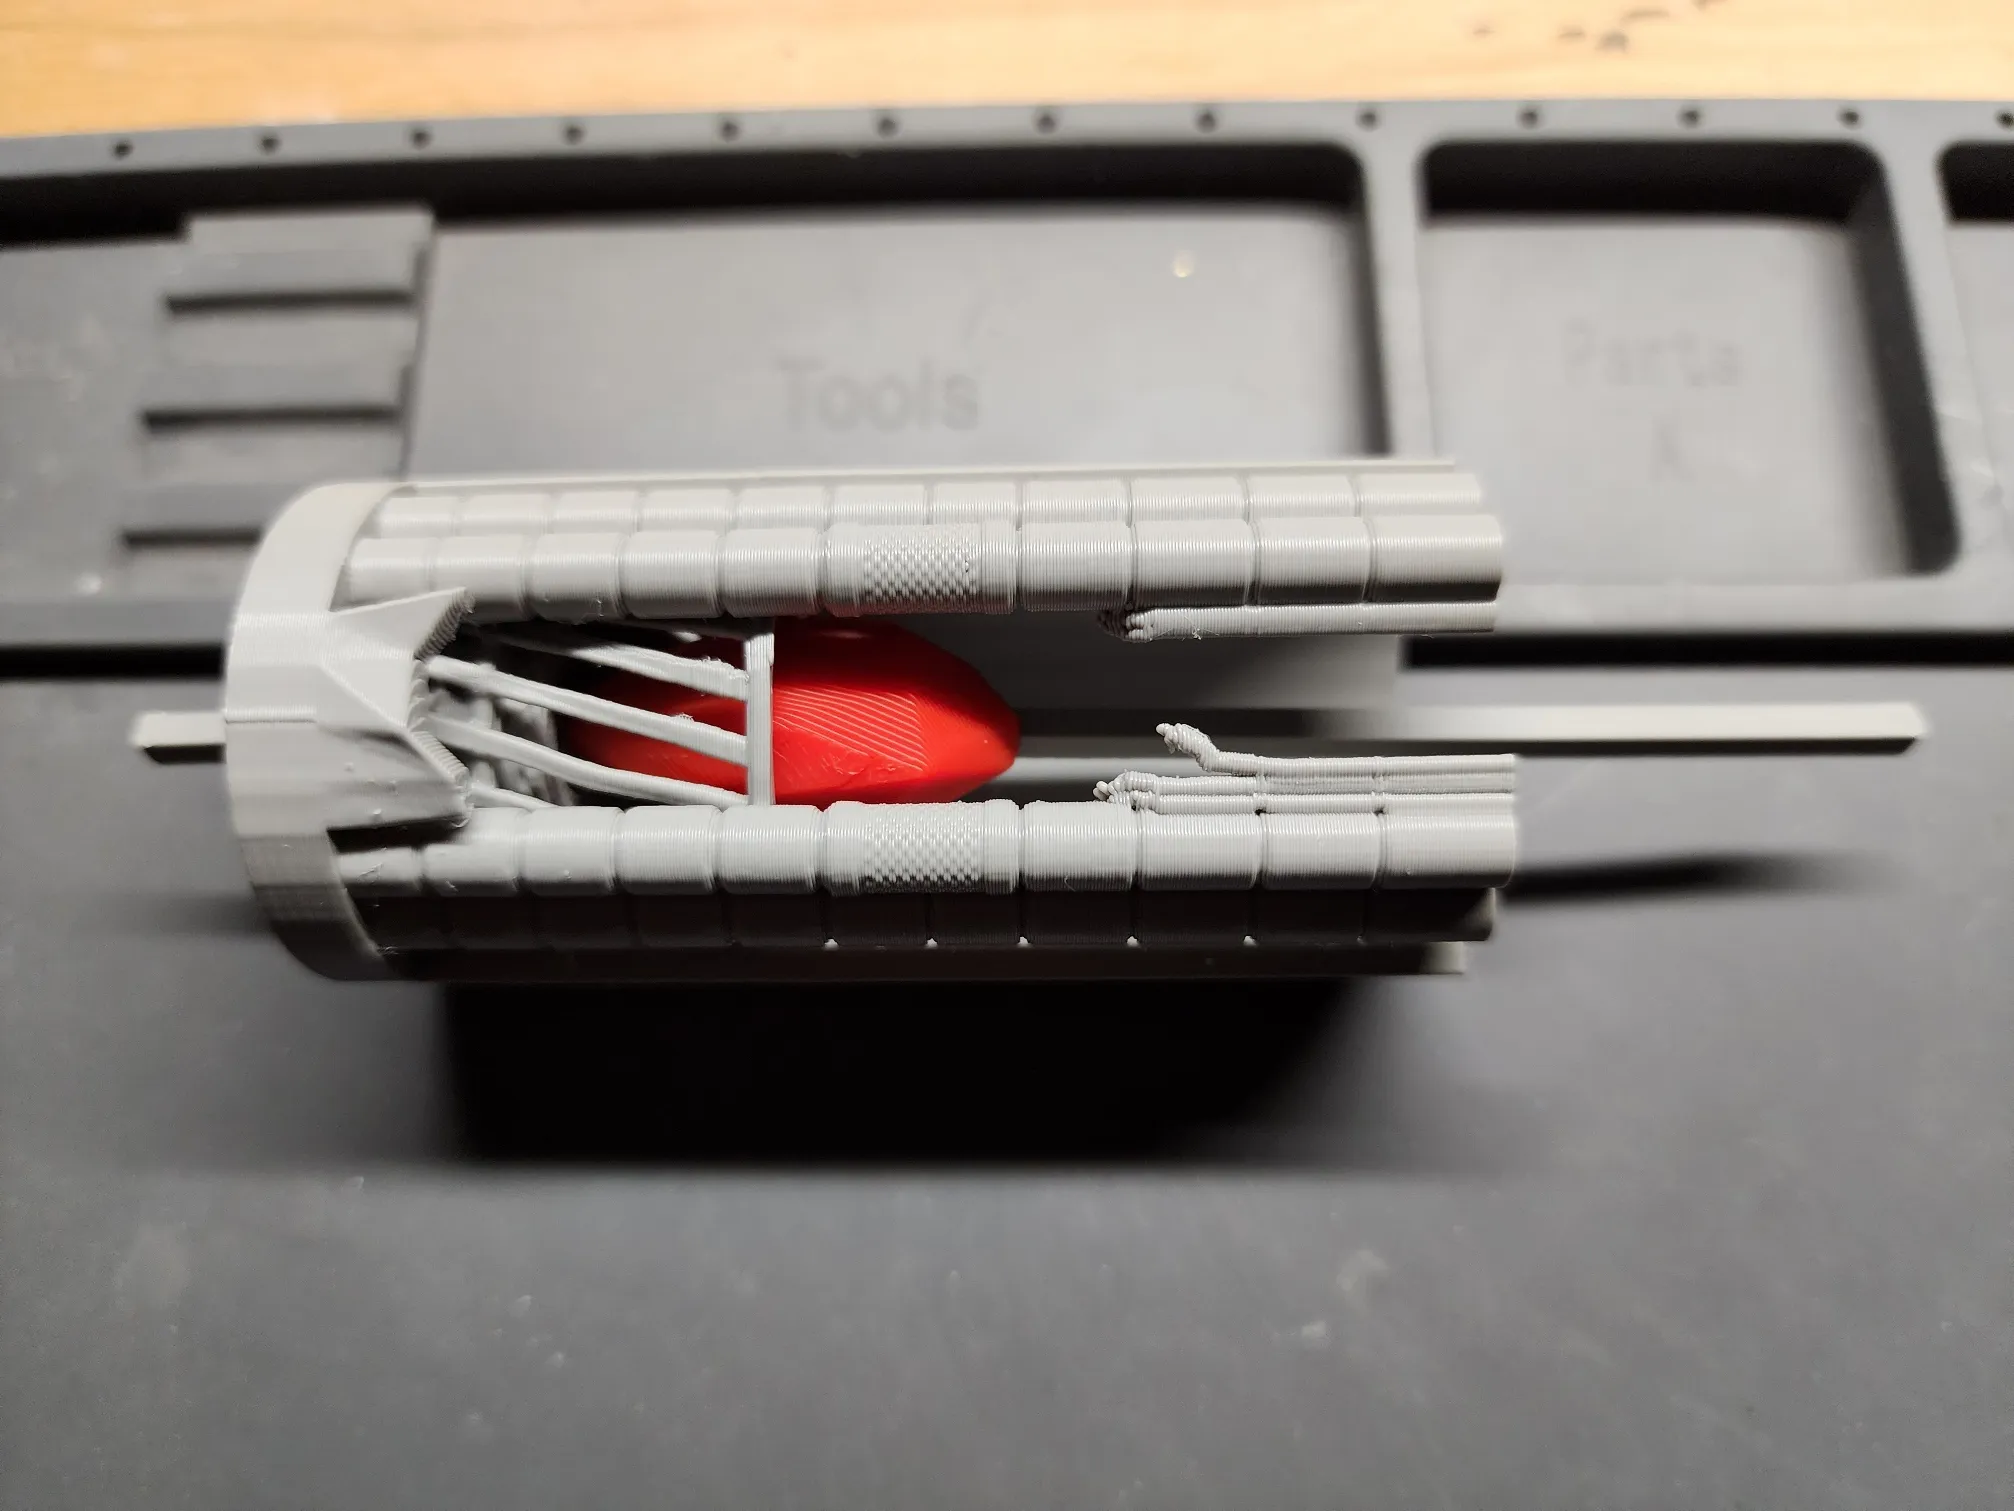
- Slide the Core_top piece through until it comes in contact with the crystal
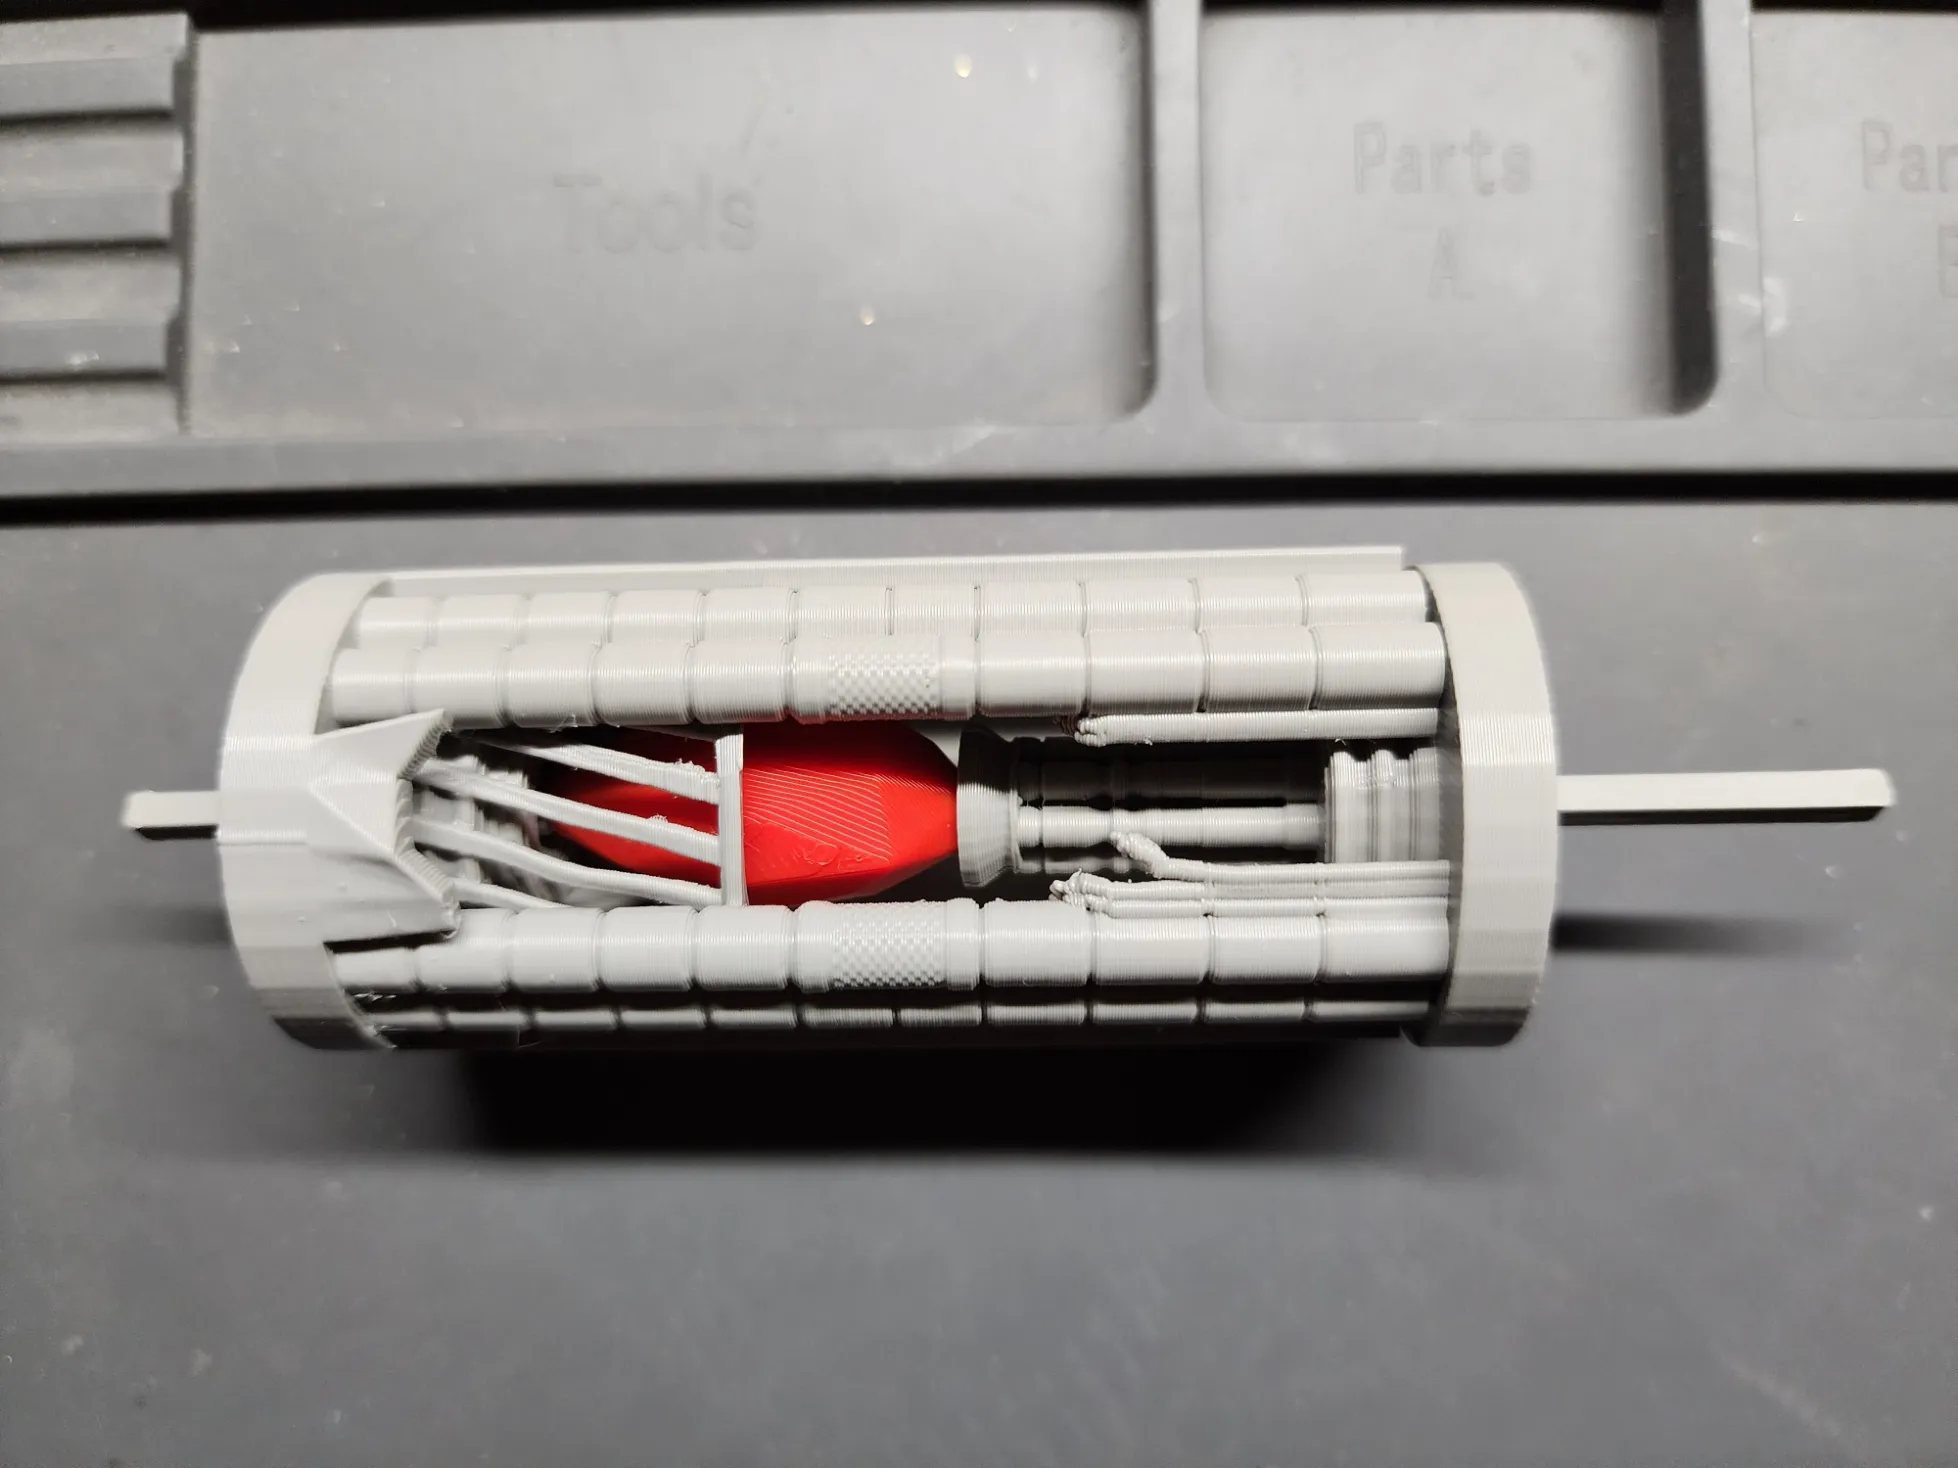
- Slide the assembled core into the hilt and push it down until it is fully seated. You will need to slide this core over the two nubs inside the upper portion of the hilt. This is expected and aids the core in staying put once installed
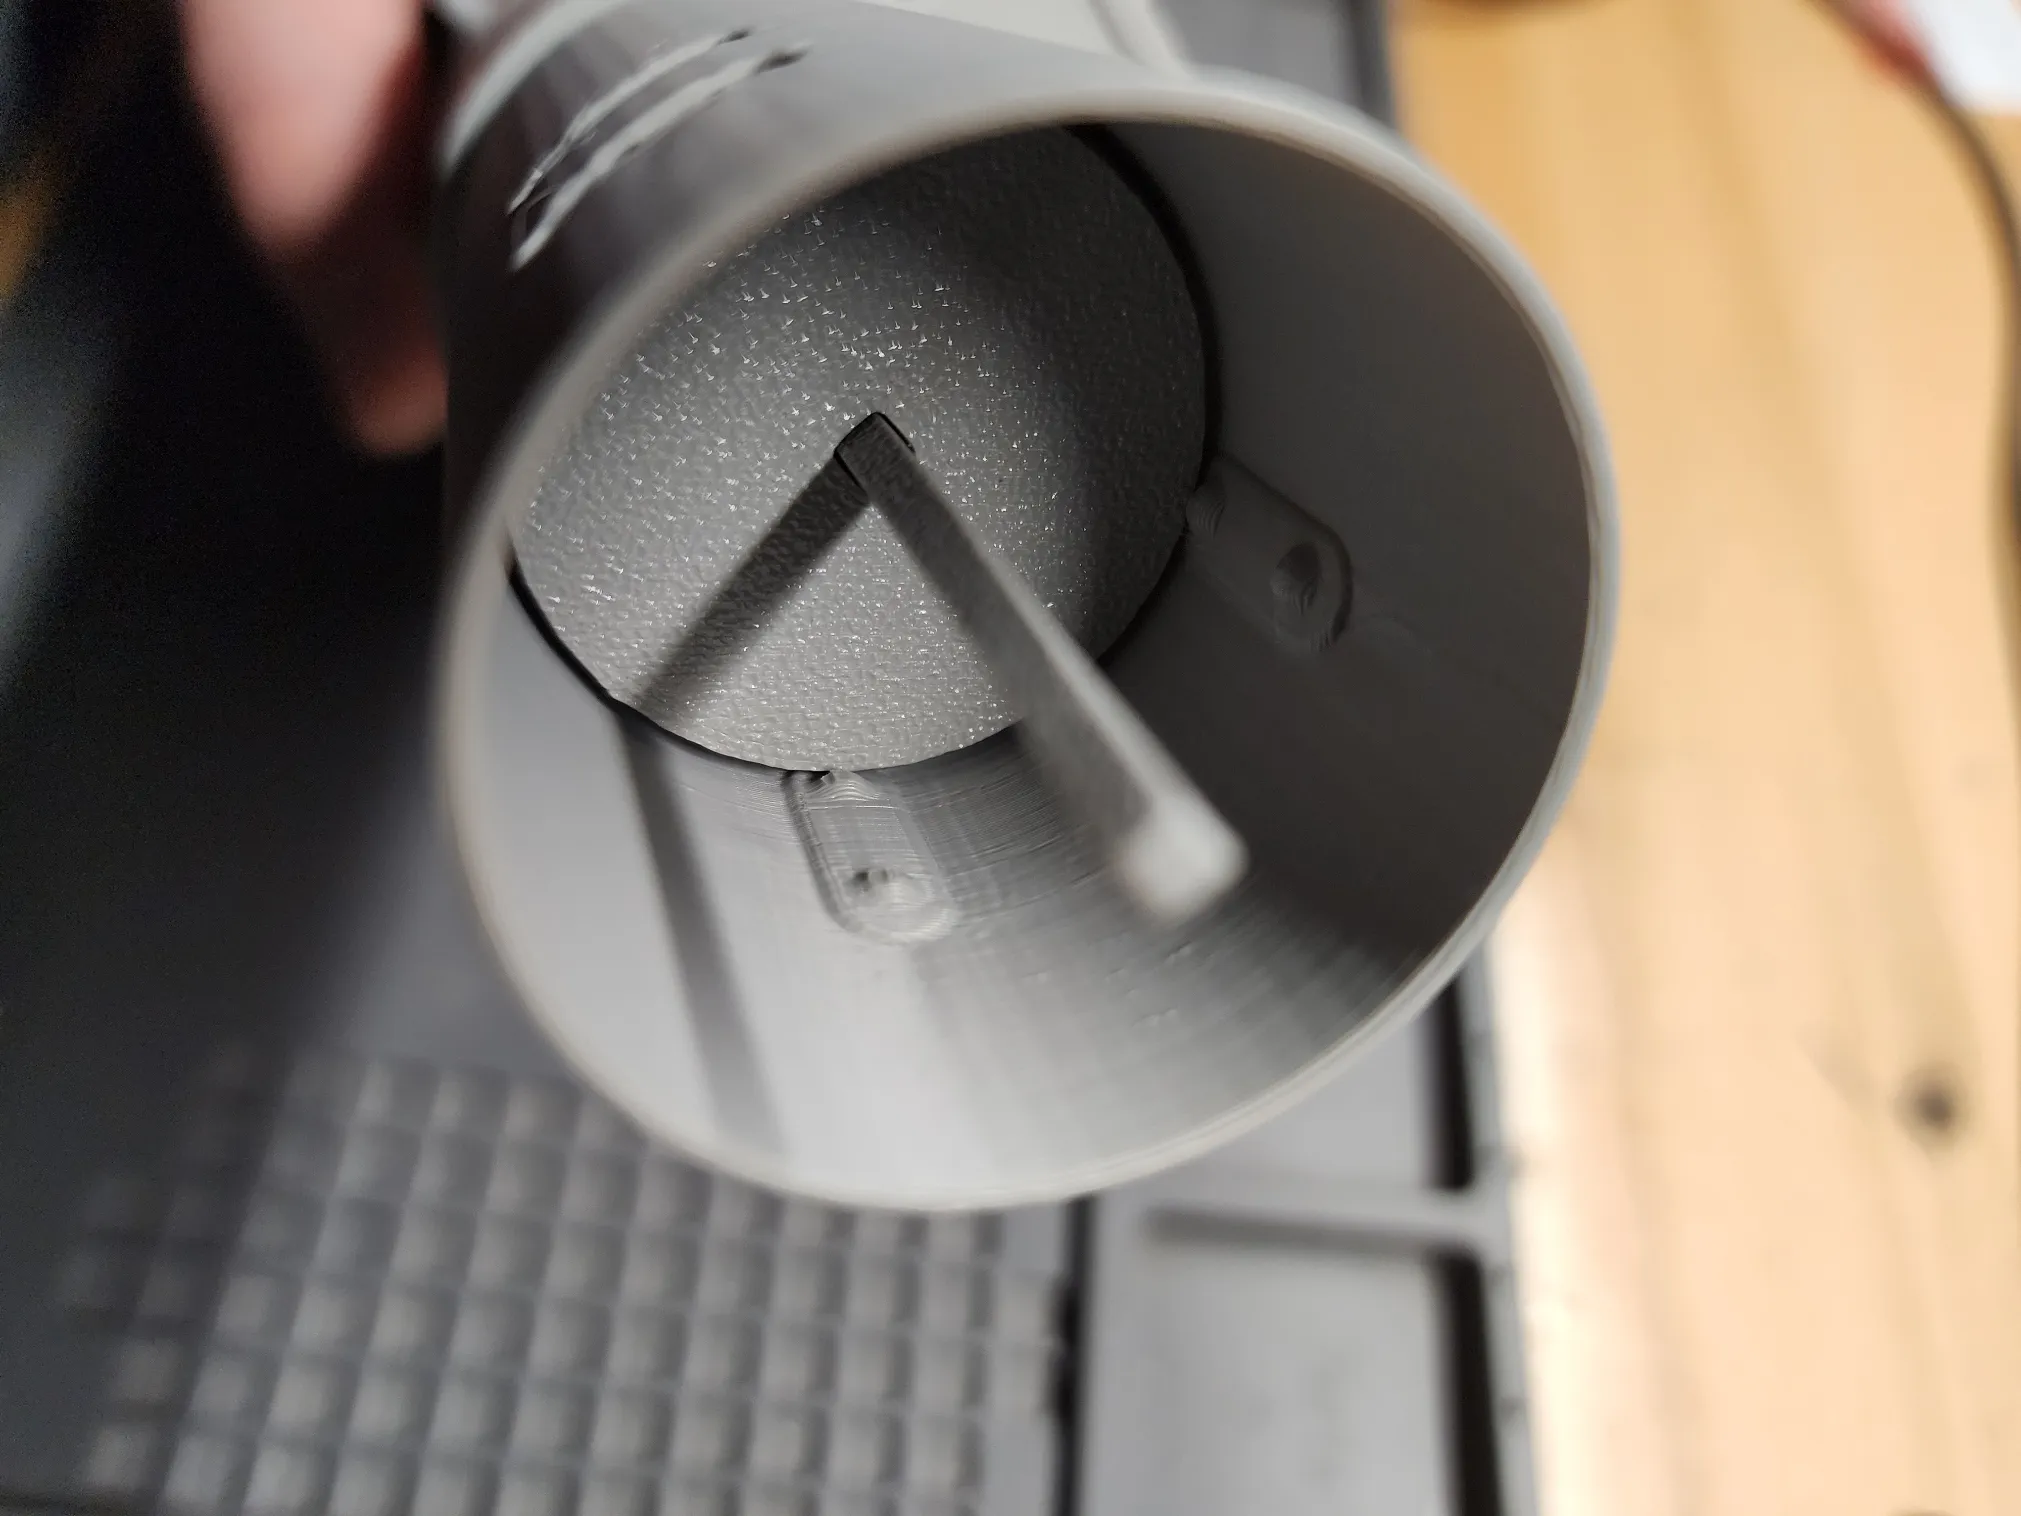
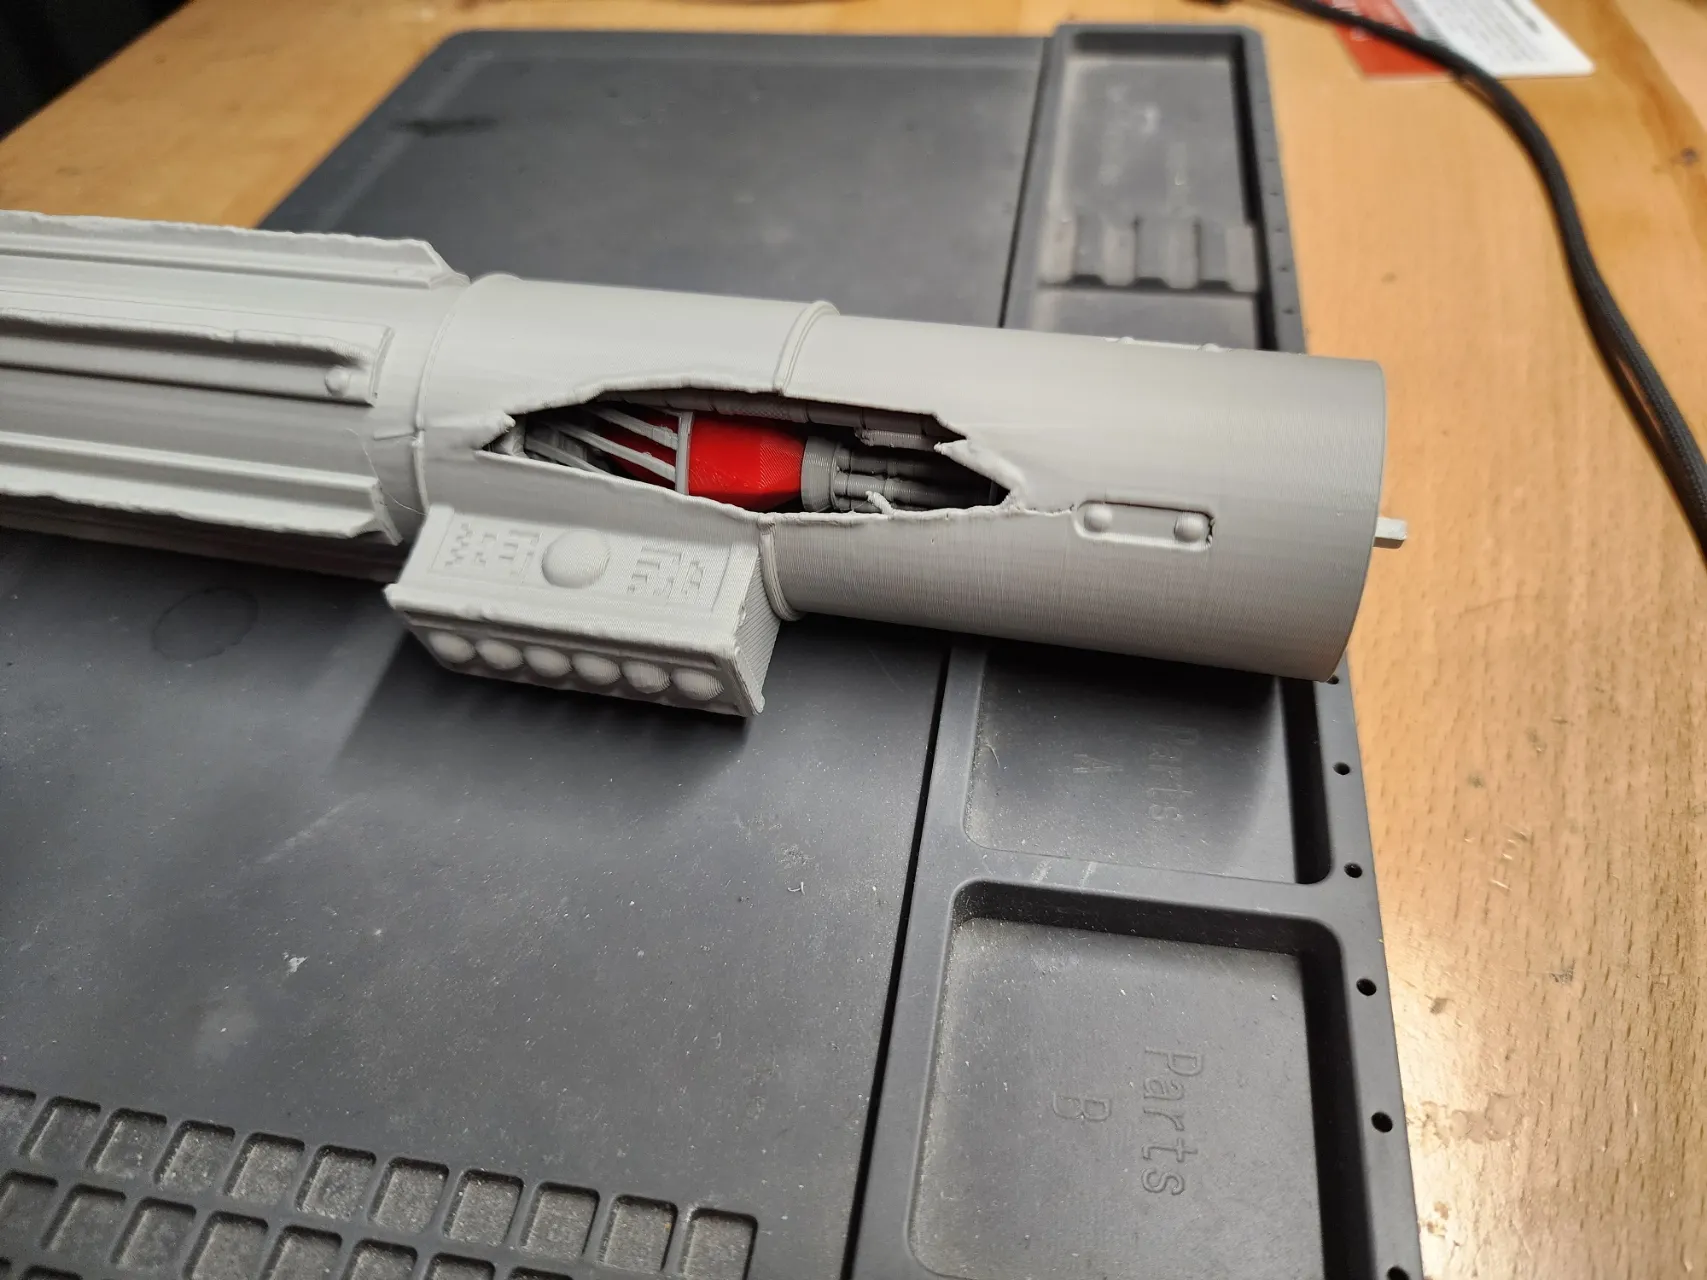
Put the top on the upper portion of the alignment stick. Add glue to the top of the stick if you'd like to permanently seal the saber.
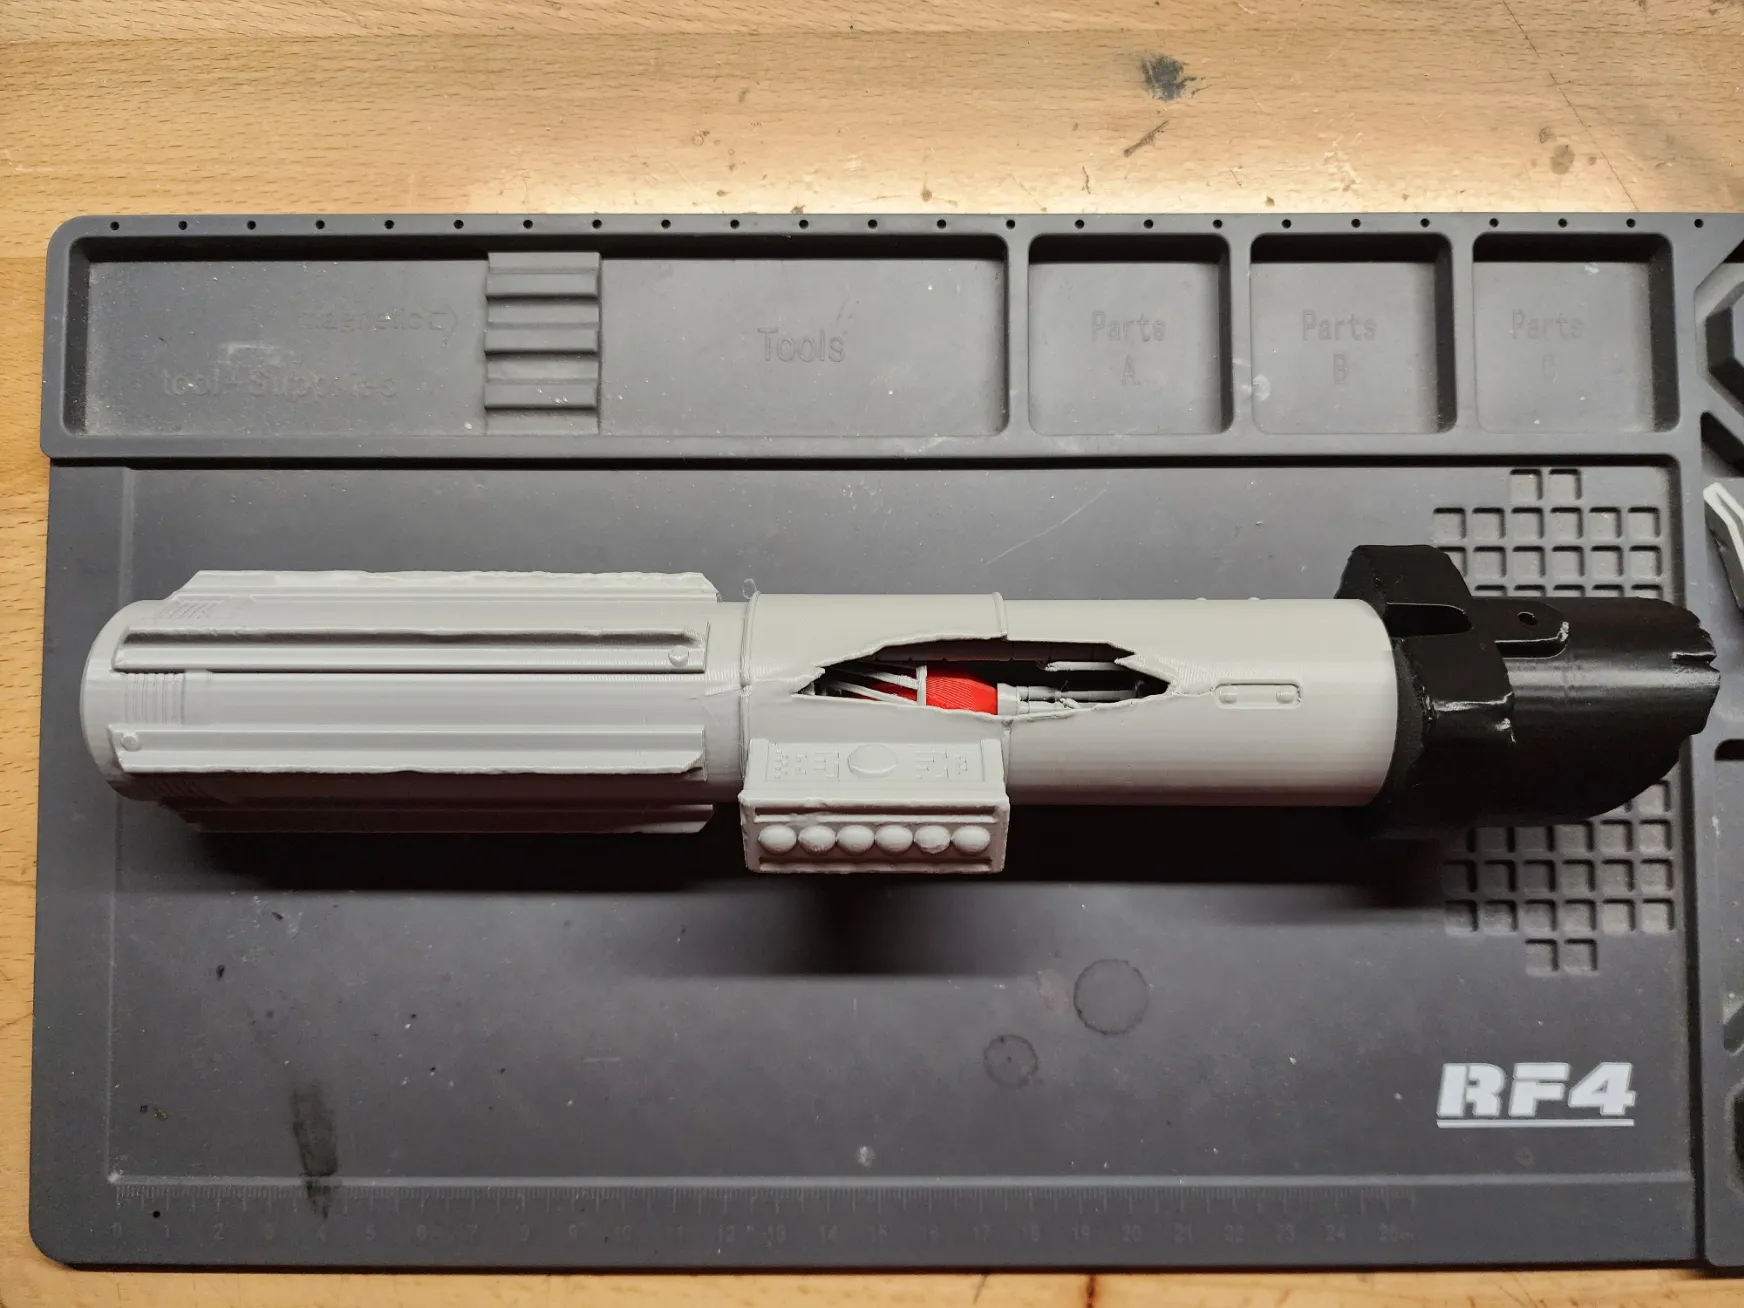
Step 3: Glue Remaining Pieces
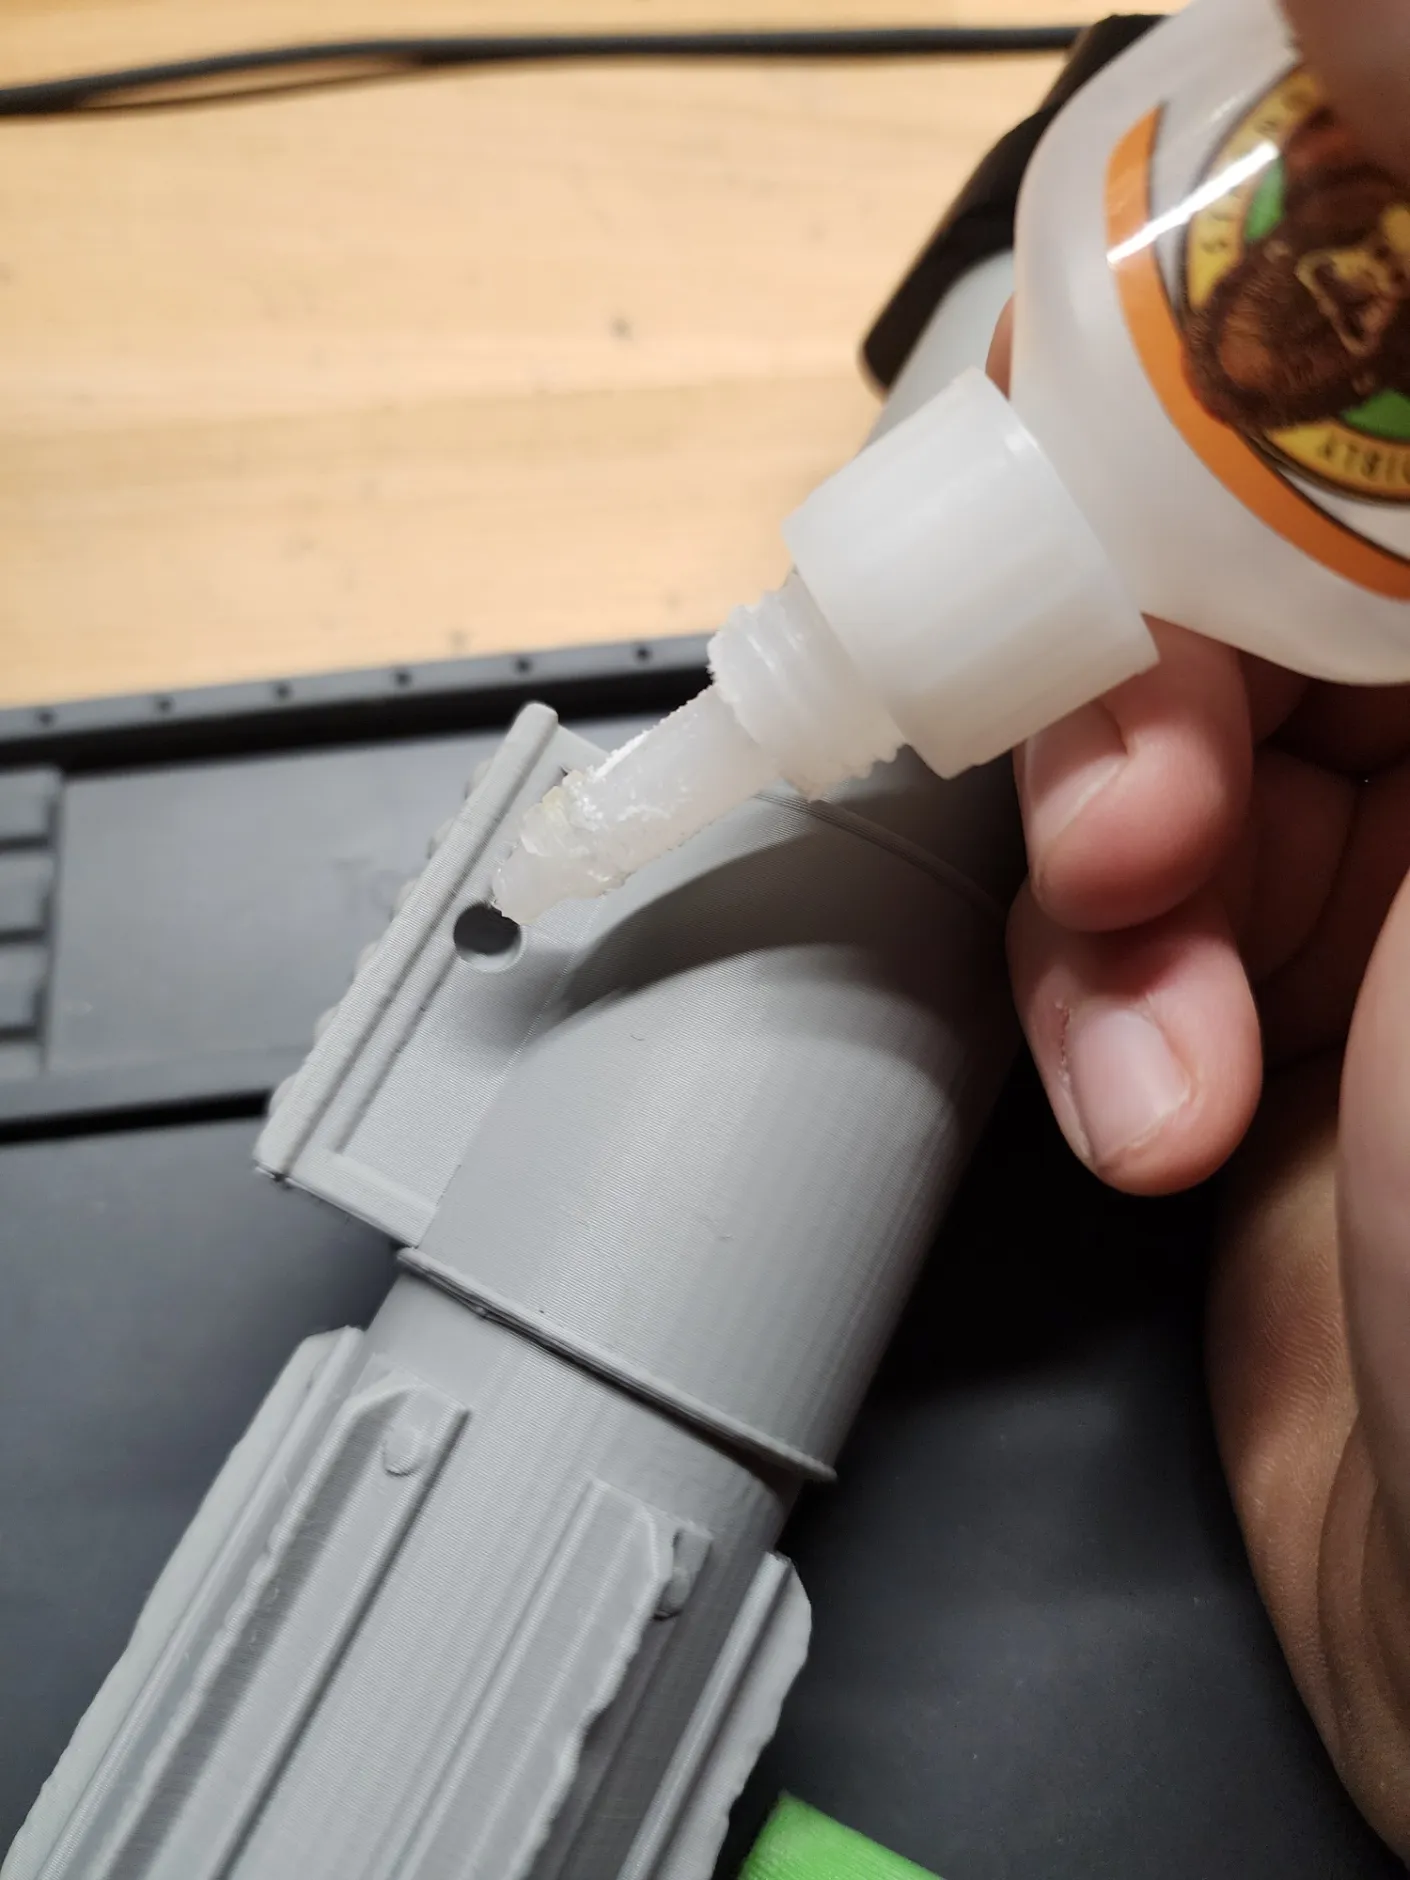
There are 3 remaining pieces that require glue to attach. I use Gorilla Glue gel, and it works great, but any super/hot glue should work
- Glue the backpiece. Put a drop of superglue on the bottom portion of the backpiece and allow it to adhere to the hilt's outer wall.
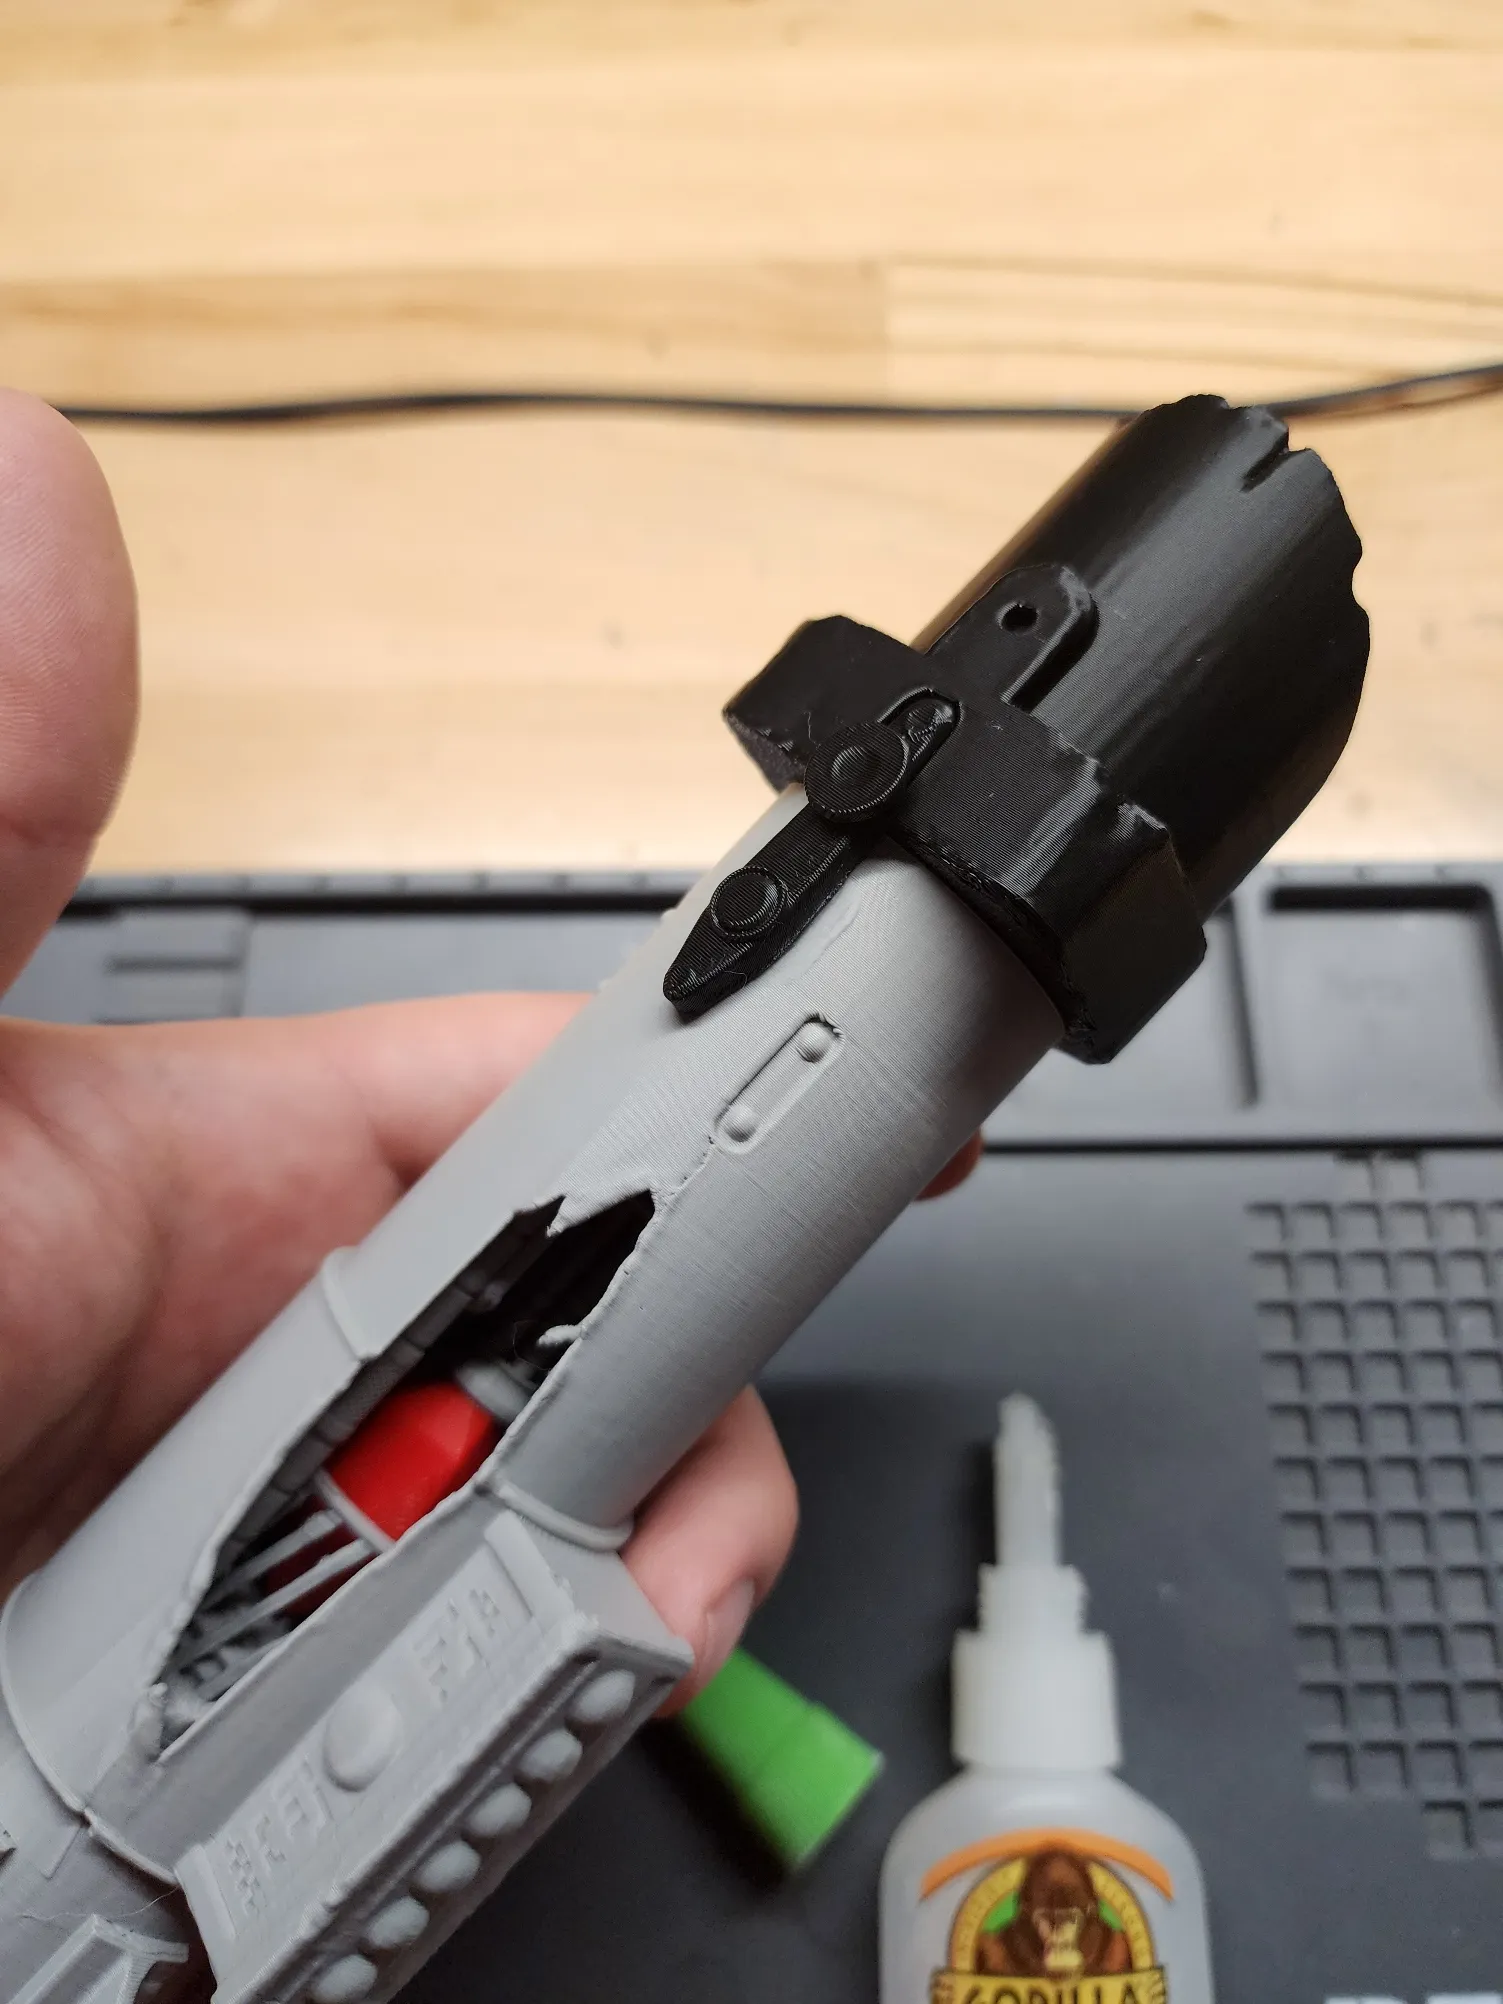
- Glue the knob on the top piece. Put a small drop of glue right in the hole on the top emitter piece and then press the knob into the top
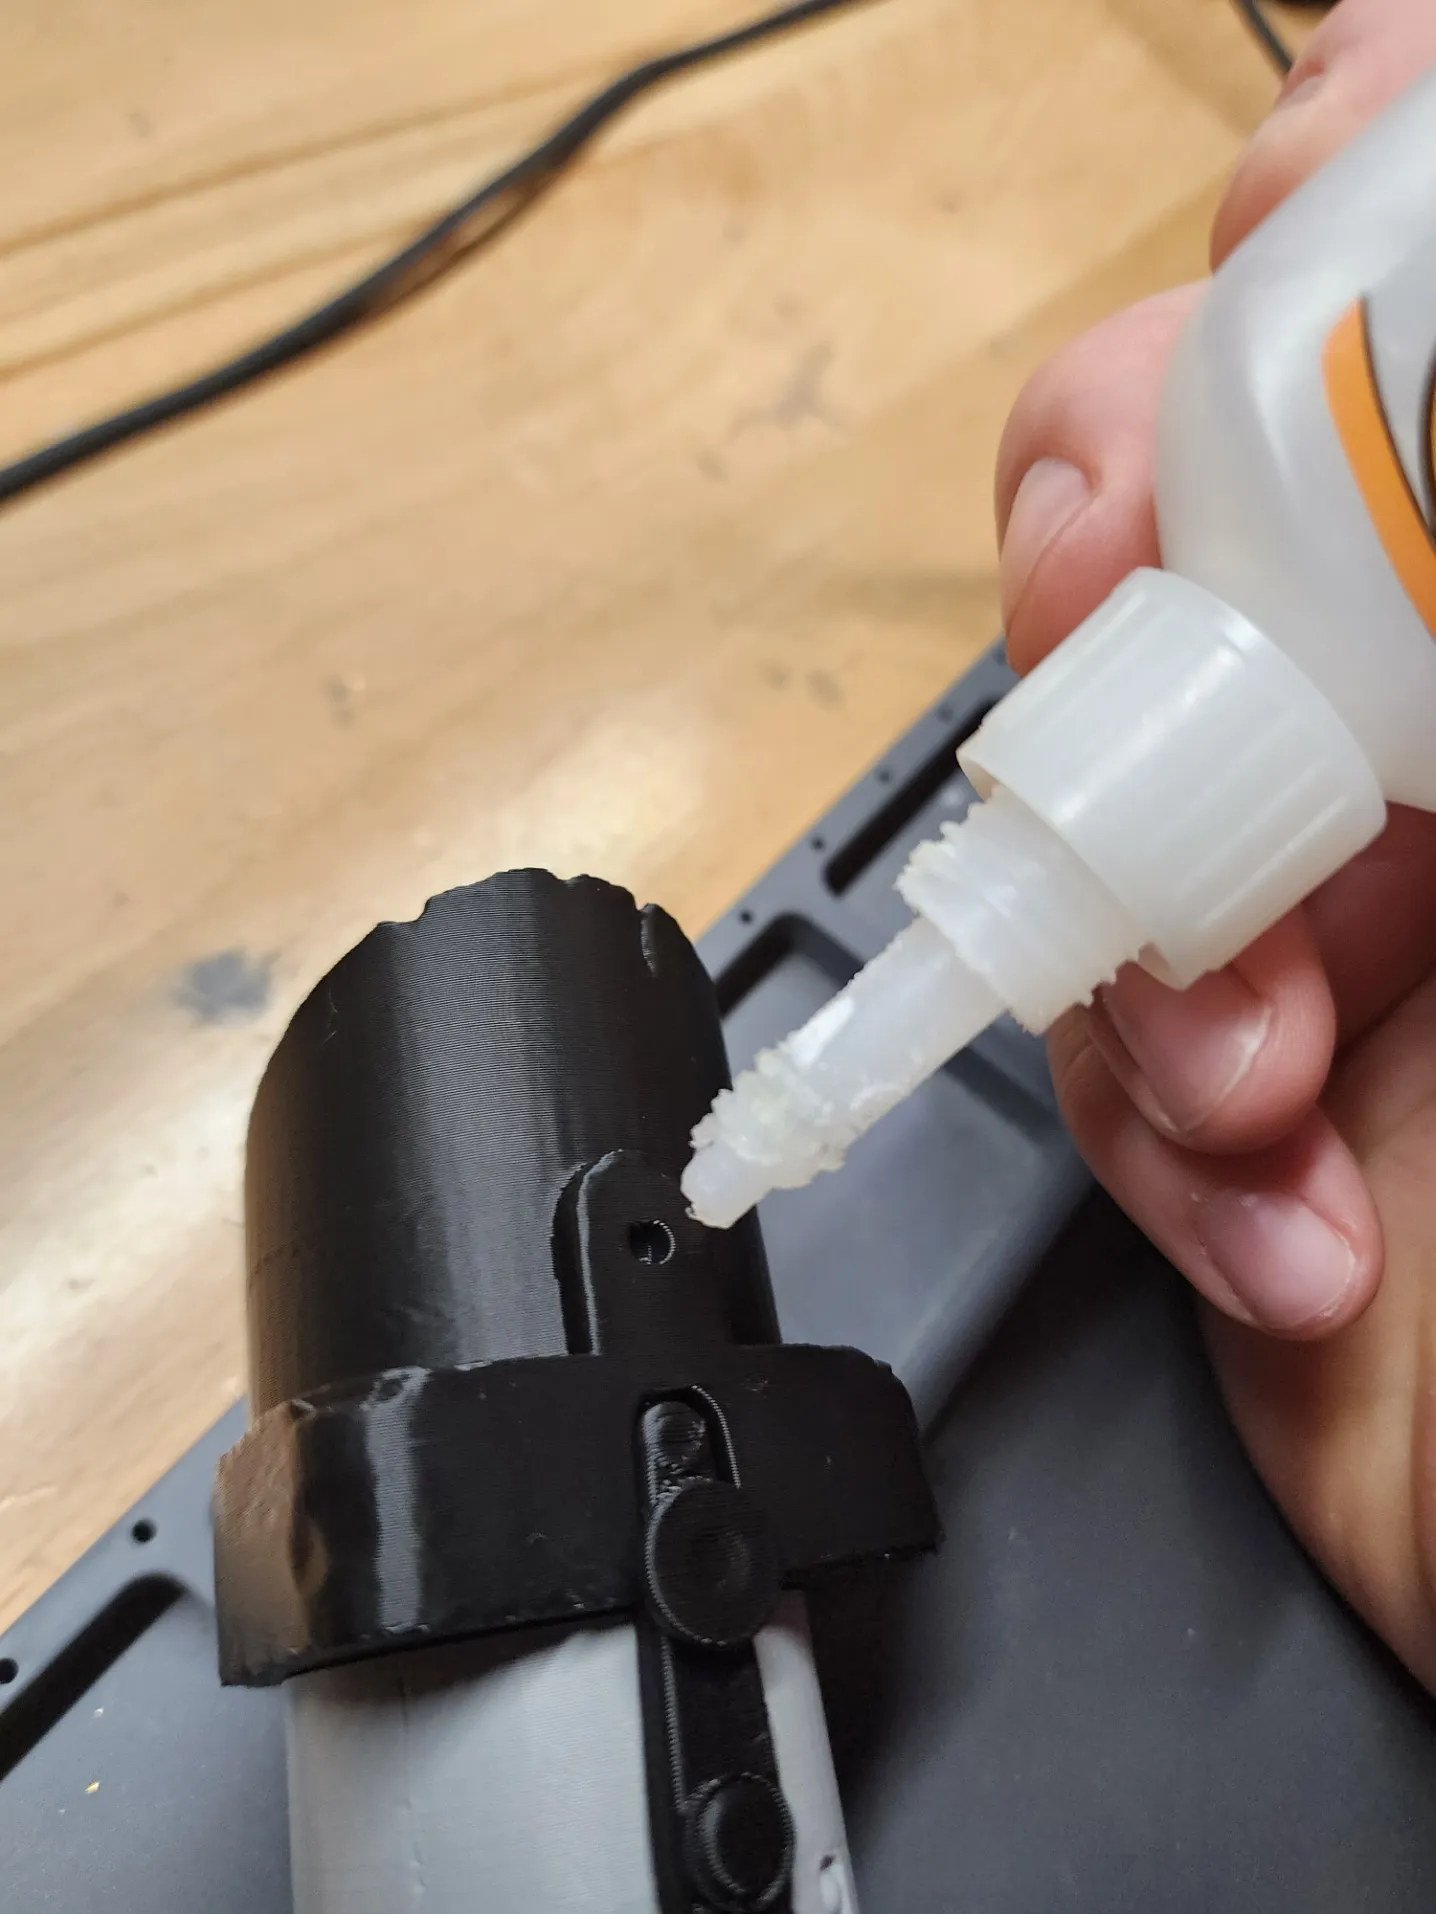
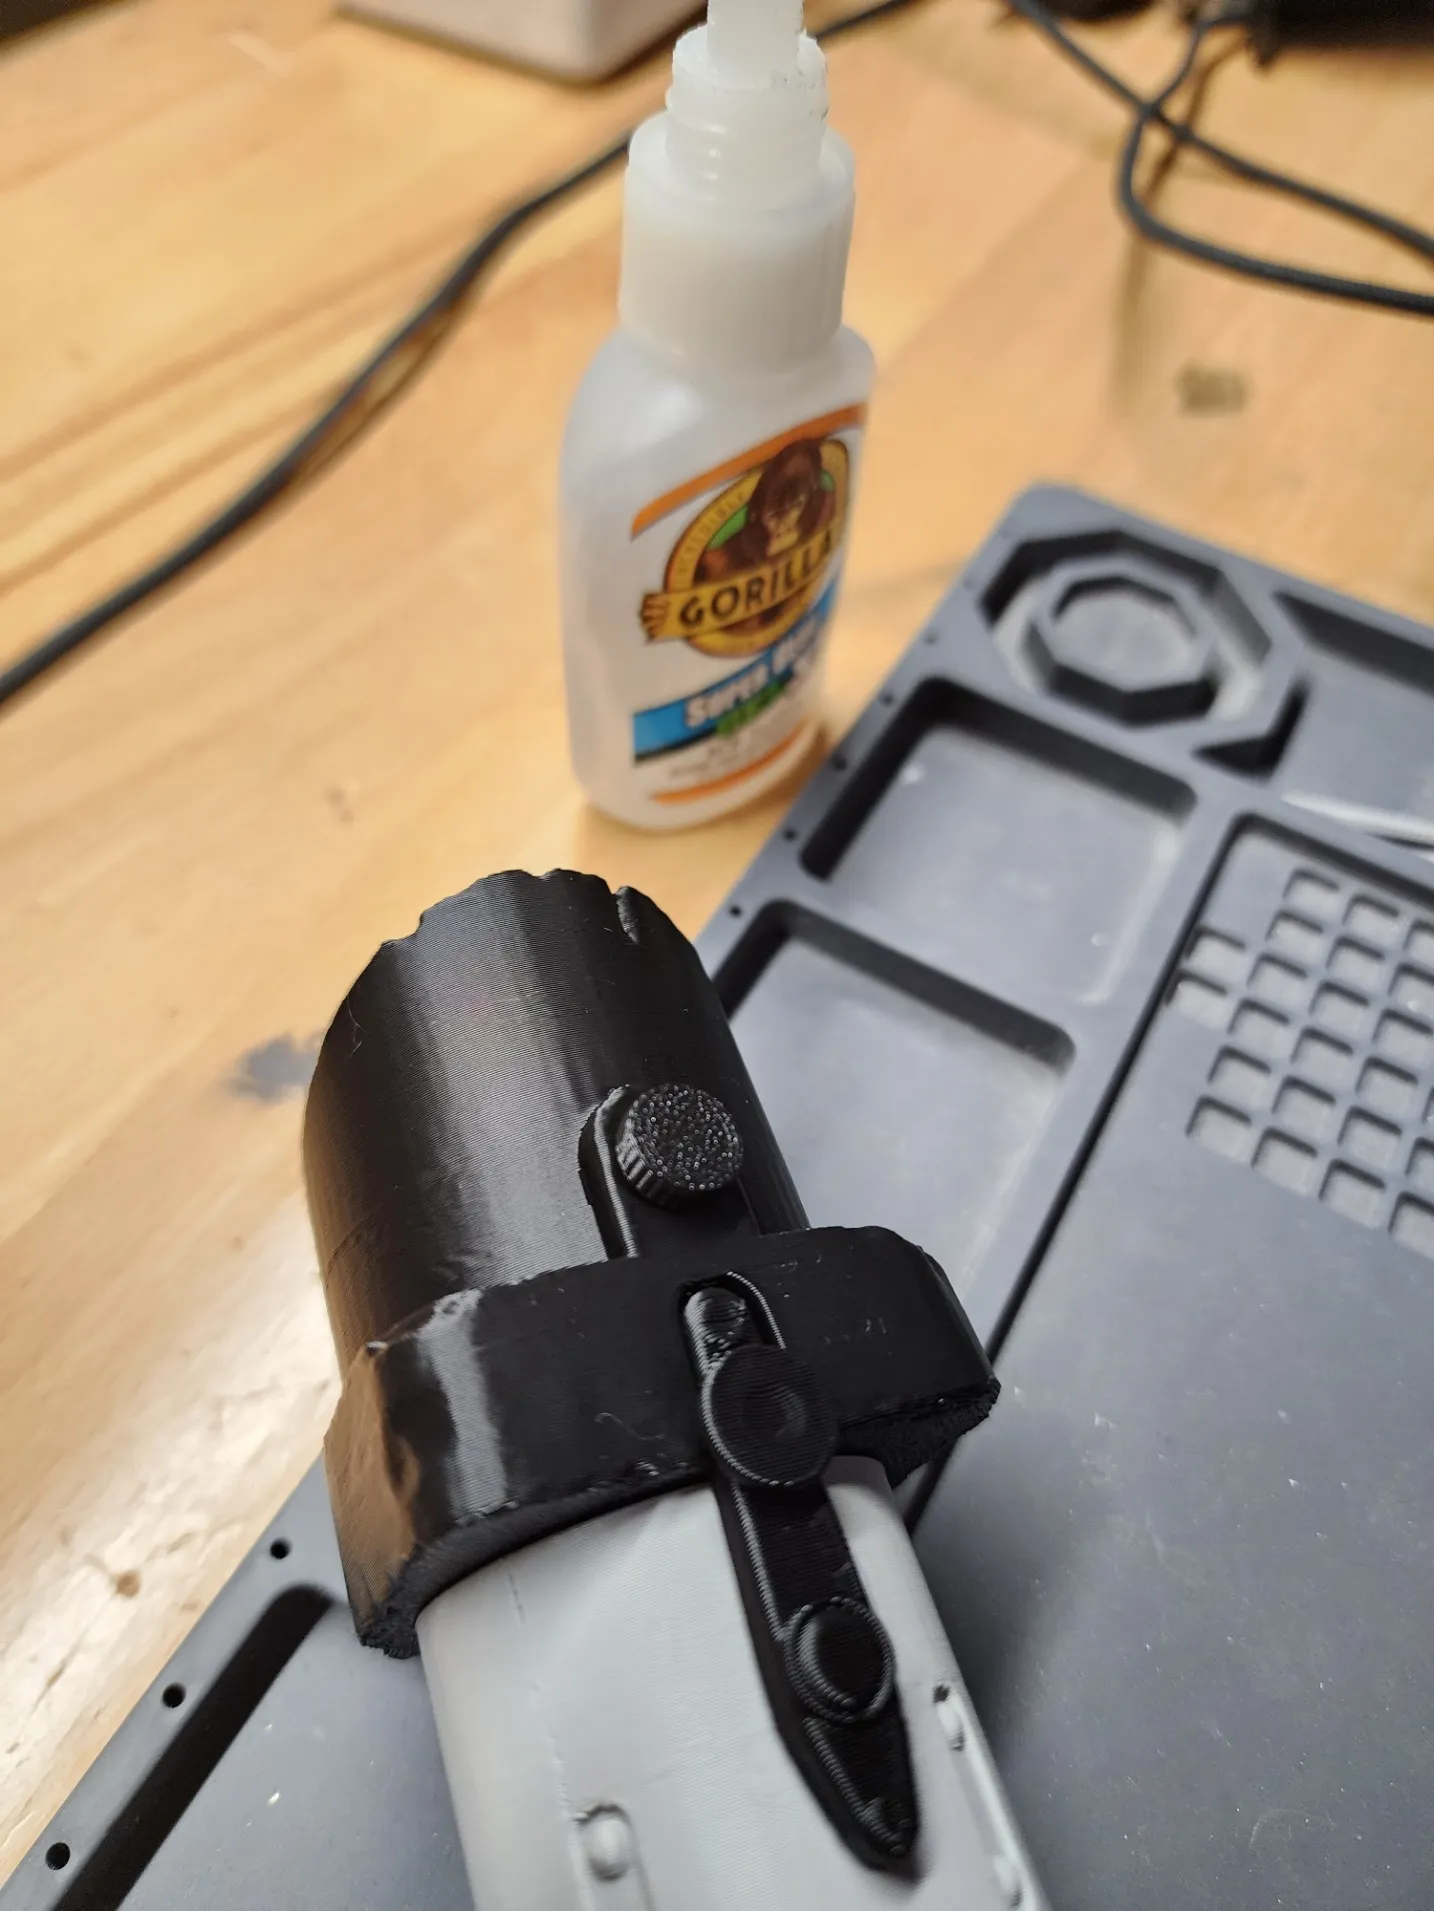
- Finally, glue the grey clip into the side of the hilt. Put a drop of glue into the hole and press in the clip
Step 4: Display!
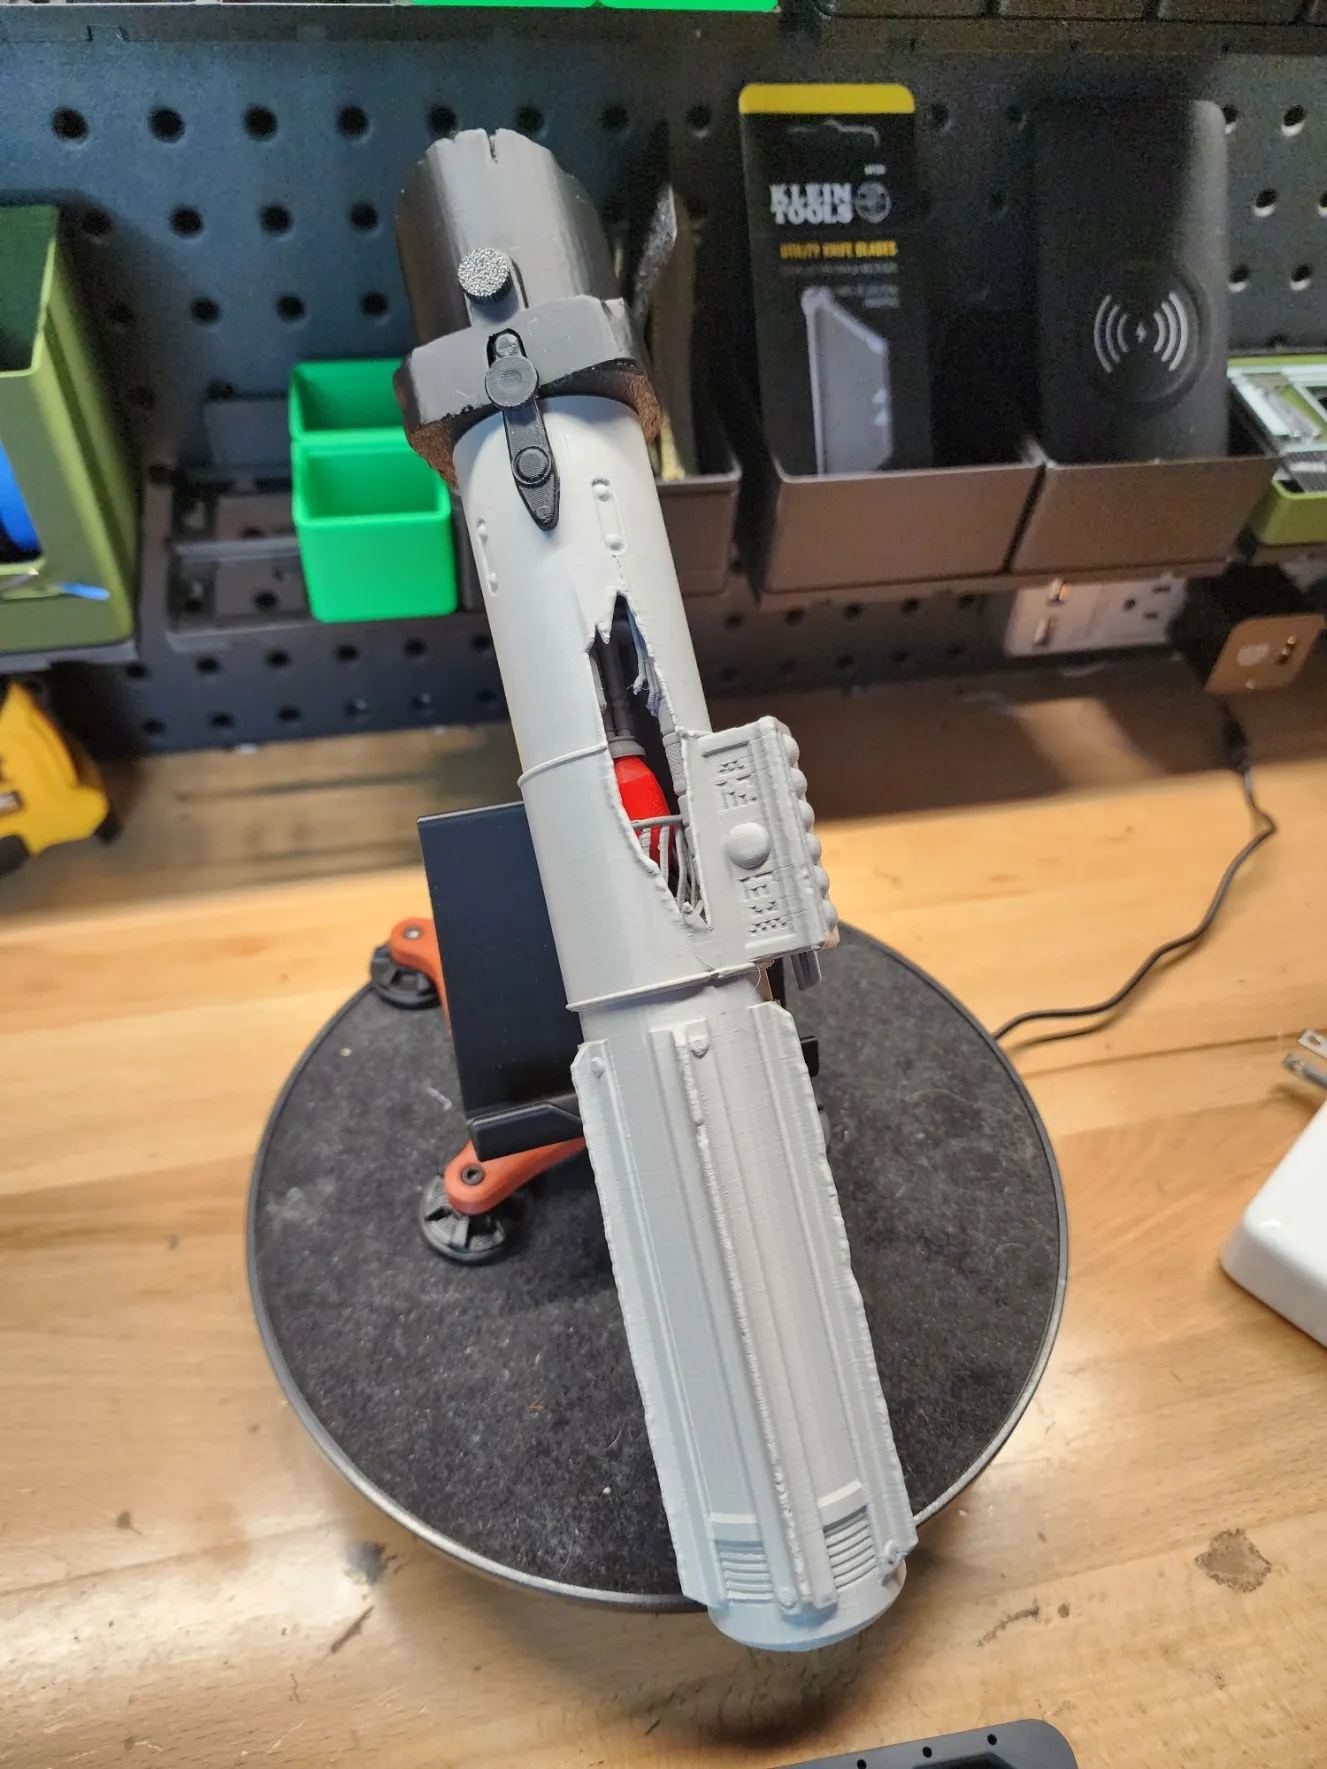
Congrats, your saber is constructed. May the Force be with you!
Membership
Want to sell this item for yourself?? Join my membership for a sellers license to everything in my account!
License

You shall not share, sub-license, sell, rent, host, transfer, or distribute in any way the digital or 3D printed versions of this object, nor any other derivative work of this object in its digital or physical format (including - but not limited to - remixes of this object, and hosting on other digital platforms). The objects may not be used without permission in any way whatsoever in which you charge money, or collect fees.


Comment & Rating (2)