
Mounting/Drill Indicator Tool for Holster Molding
Print Profile(1)

Description
Membership
Unlock full commercial rights to my designs and help support future projects by joining my membership. You’ll get permission to sell prints, early access to new models, and designs that are tested on real gear.
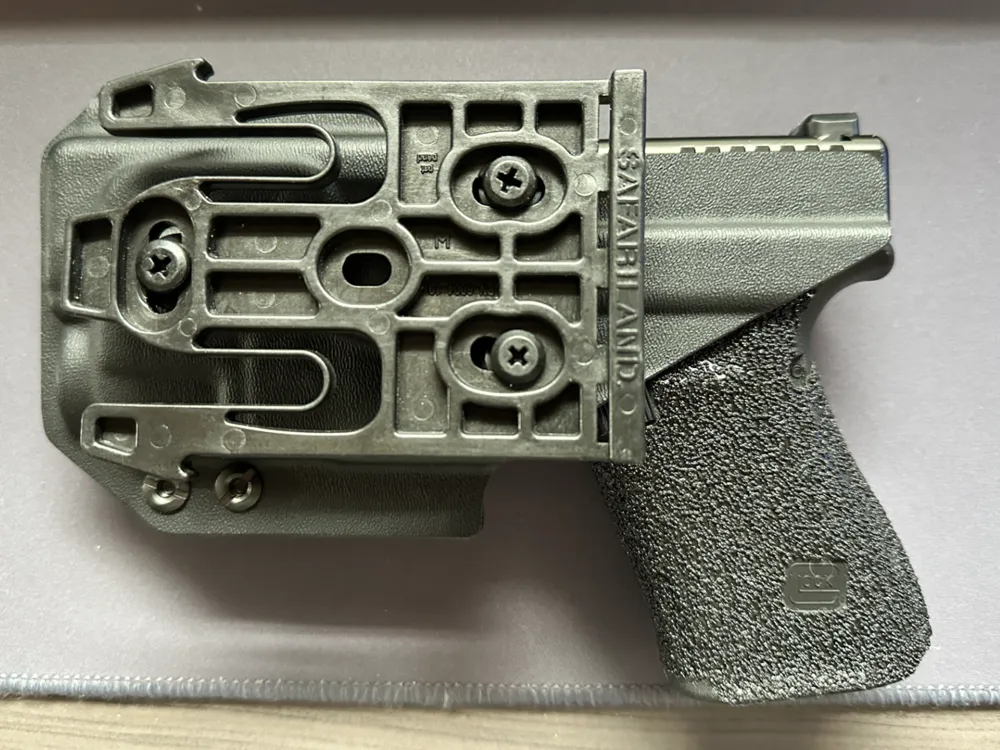
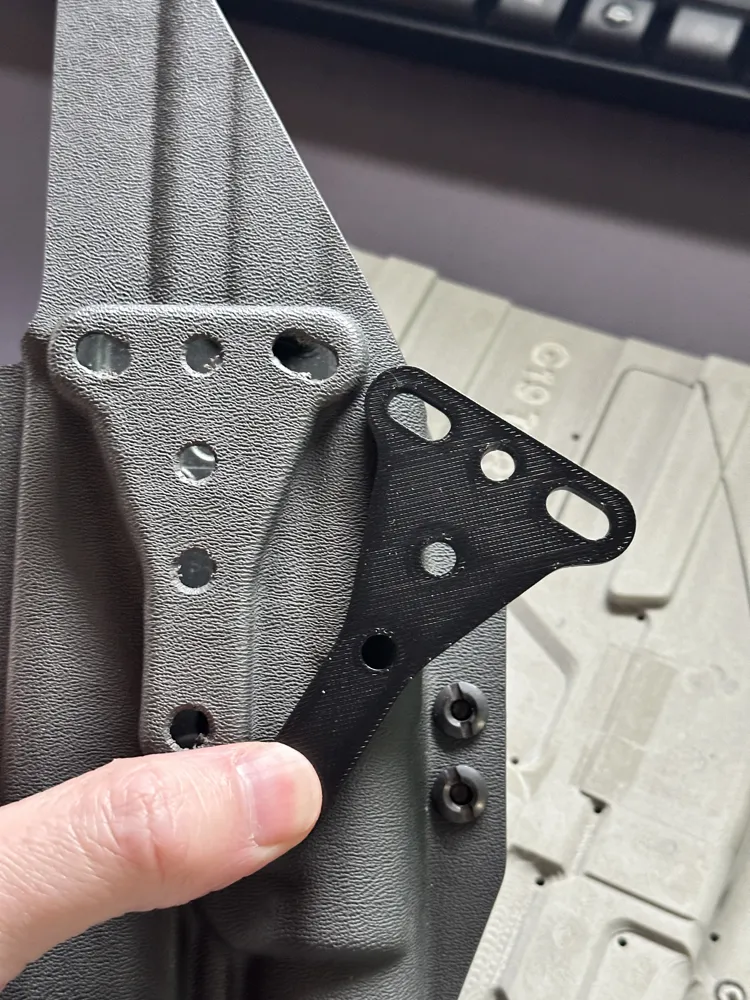
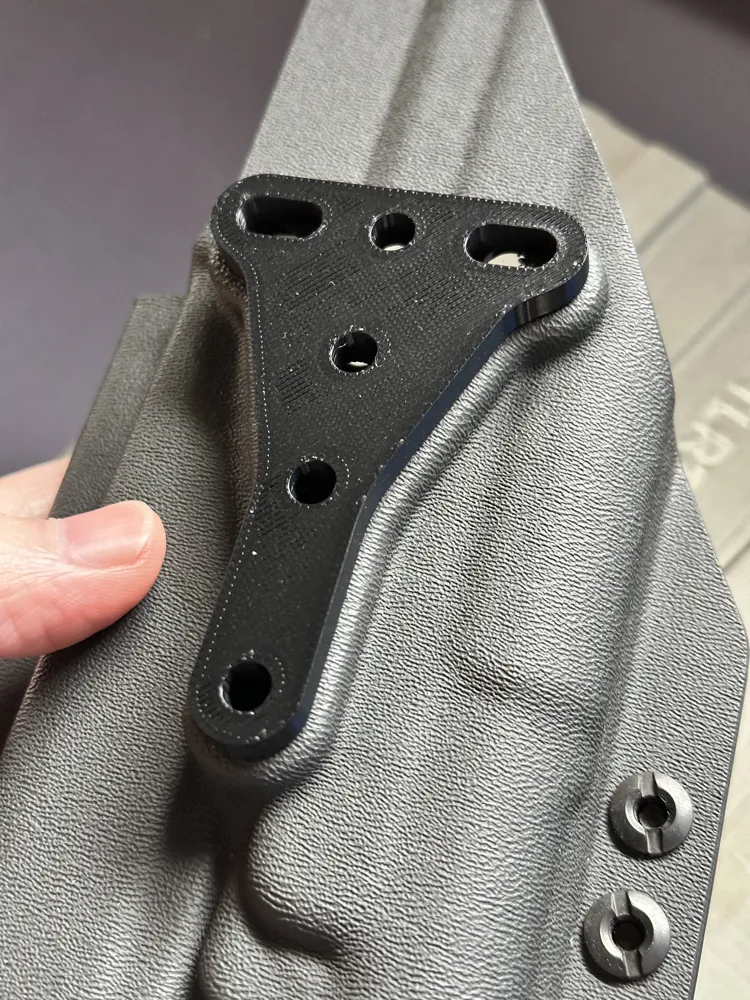
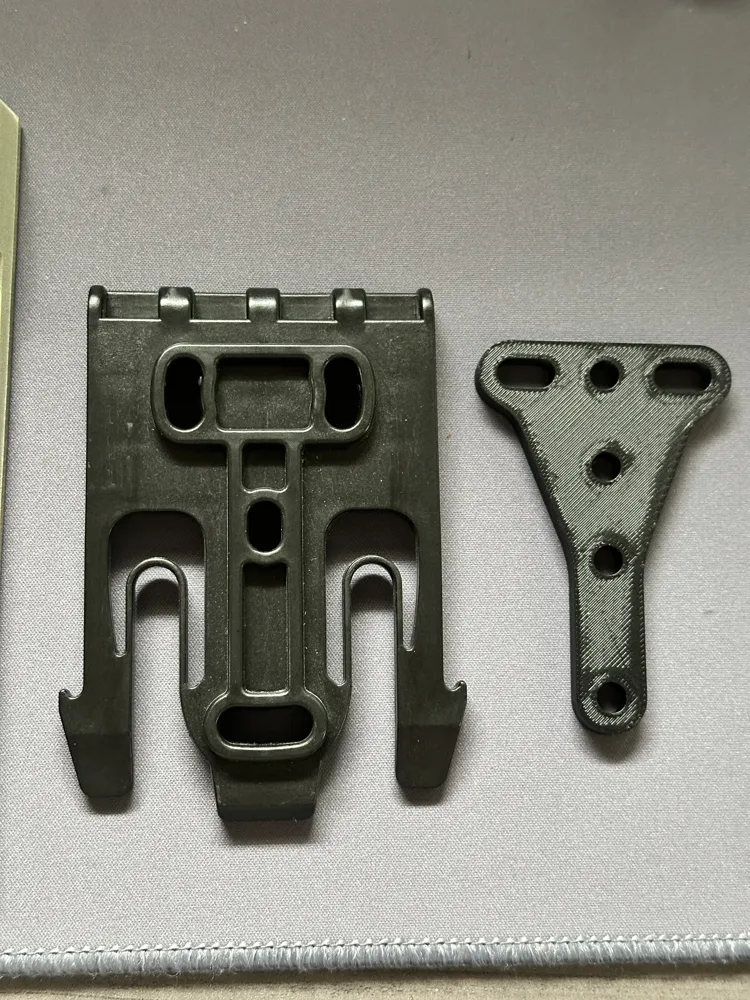
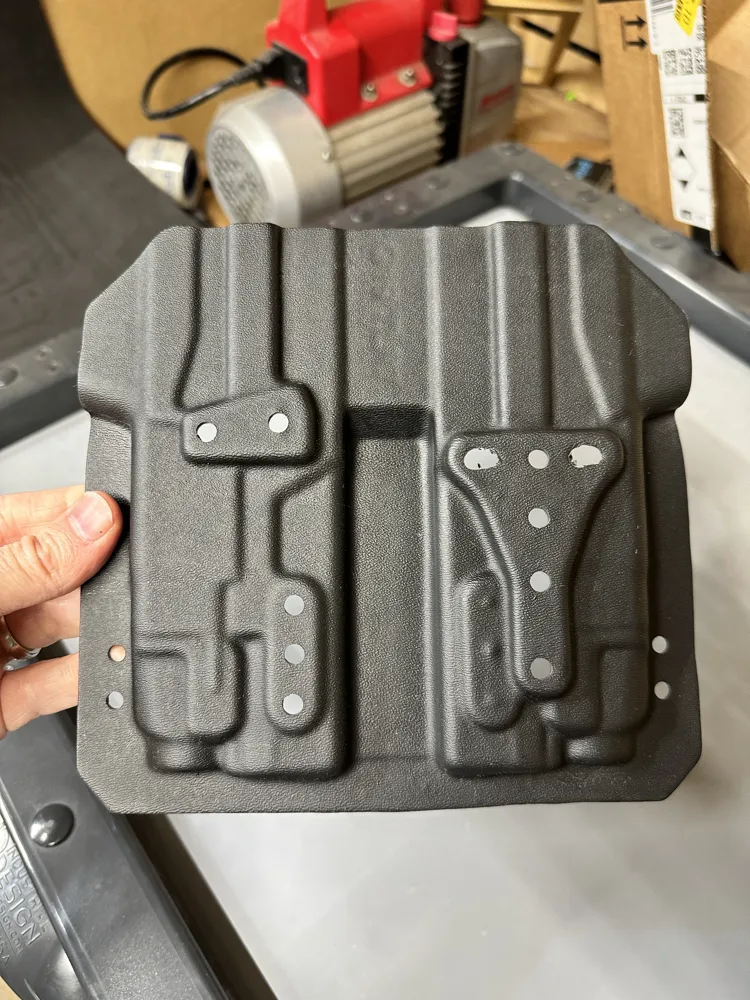
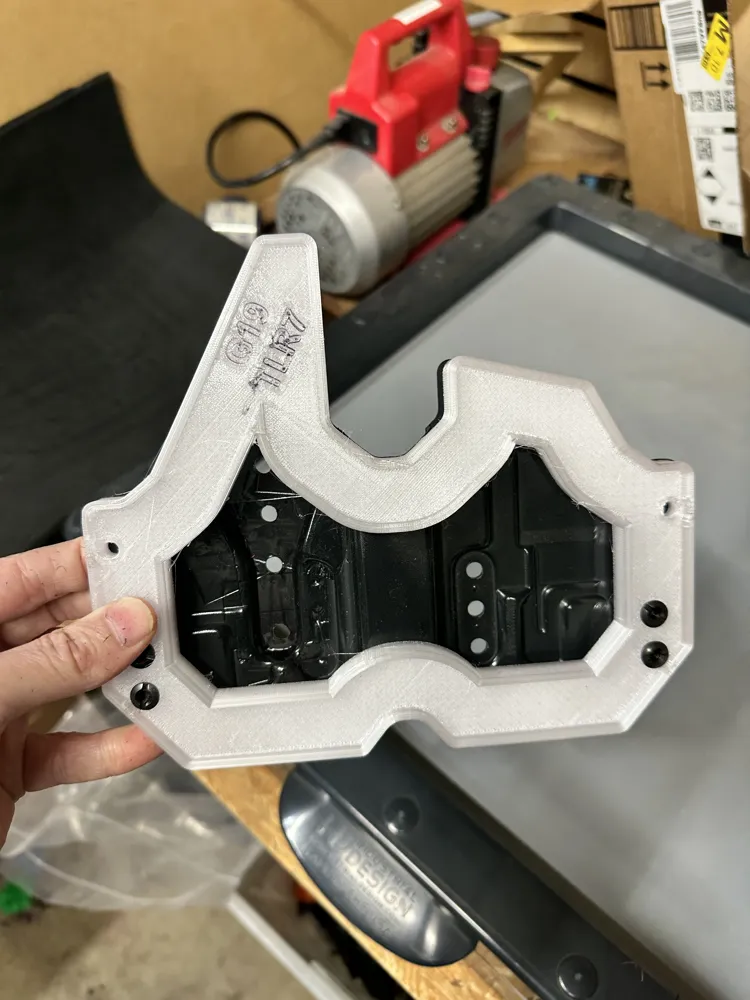
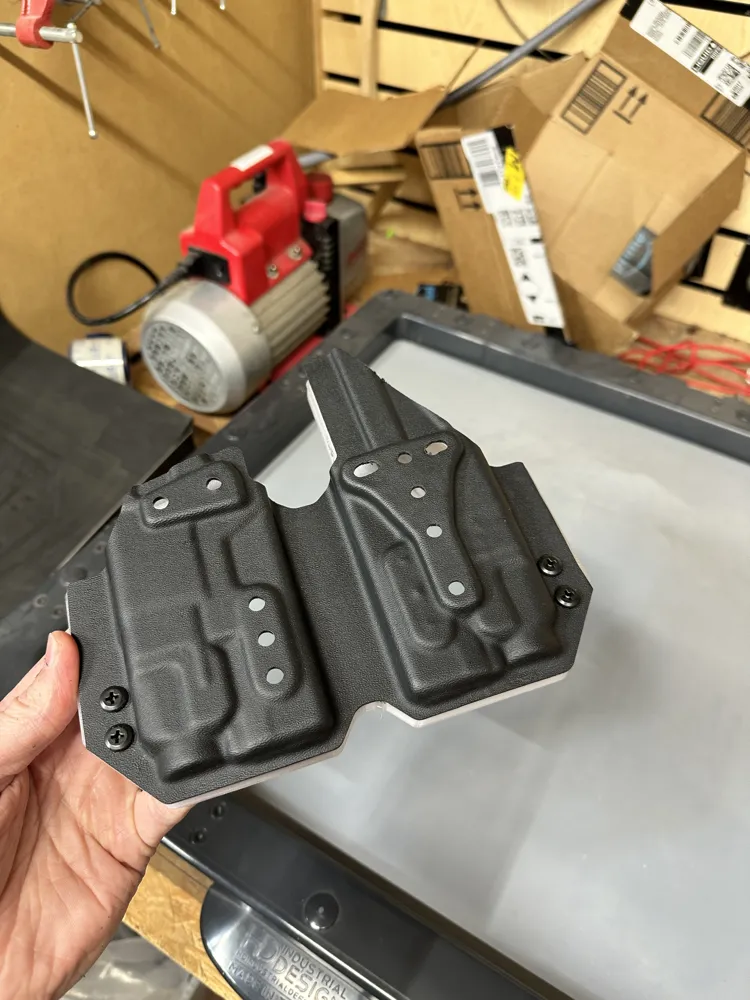
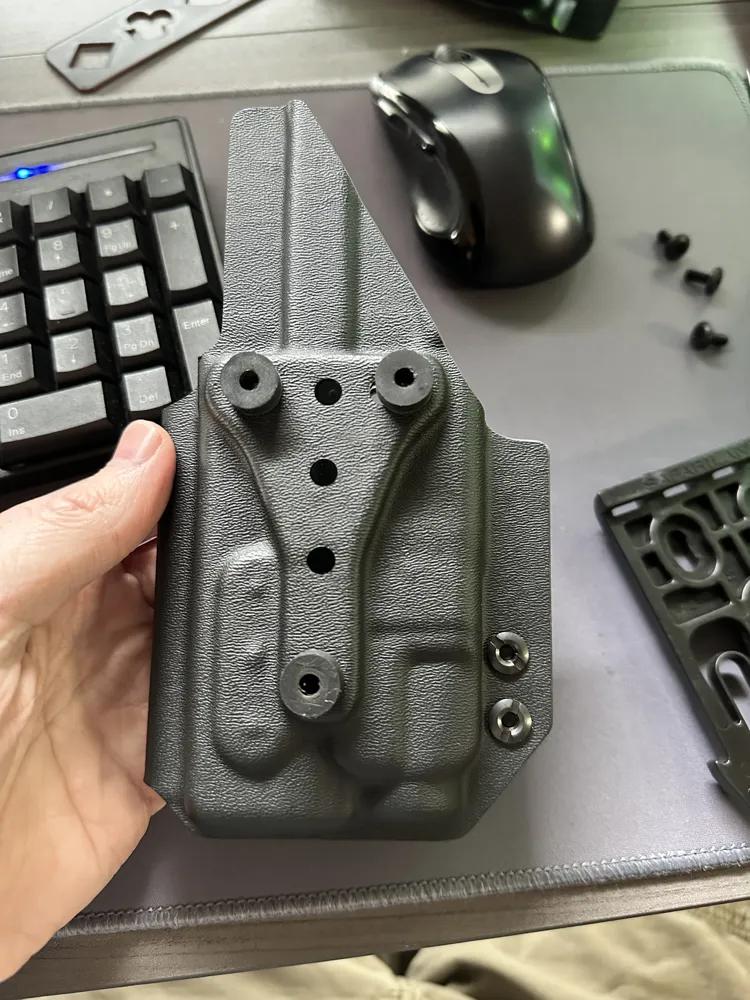
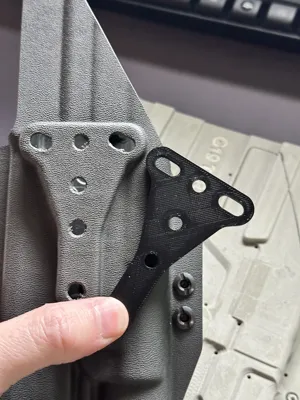
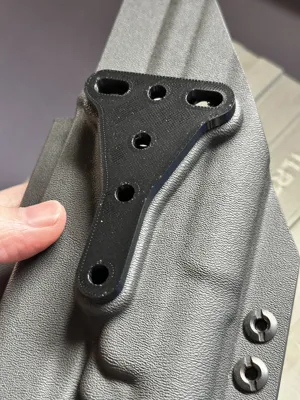
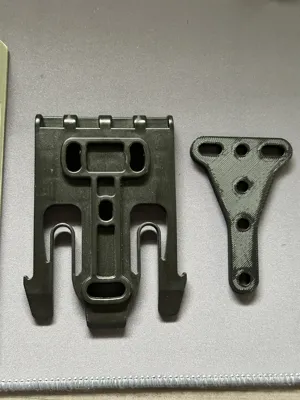
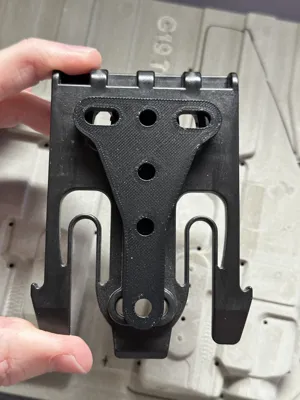
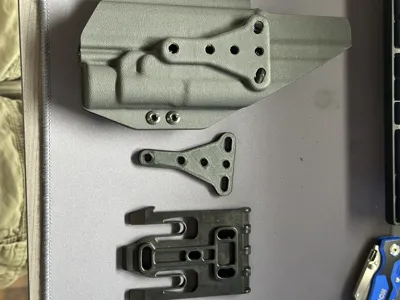
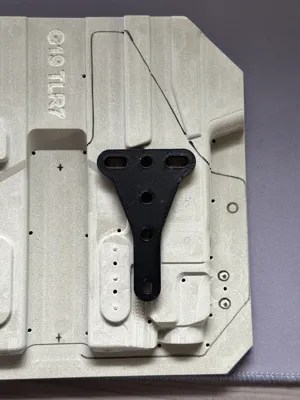
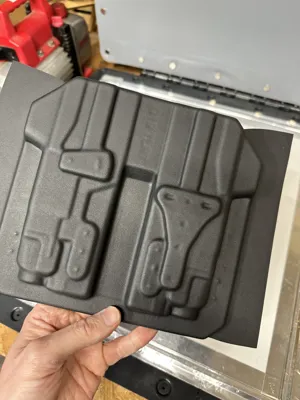
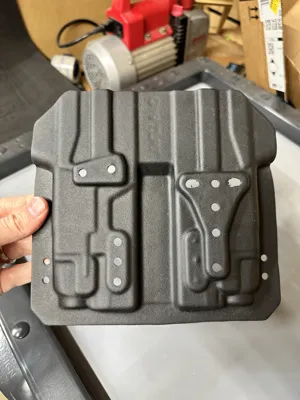
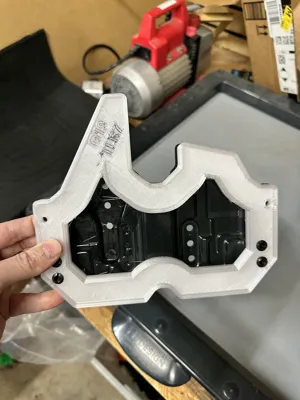
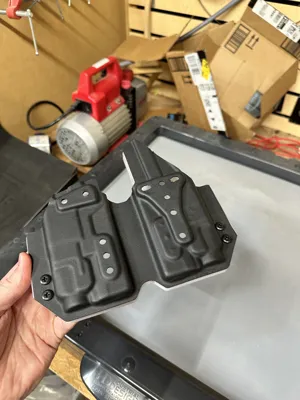
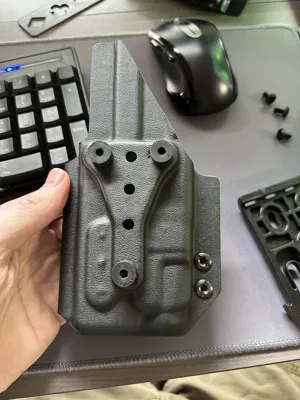
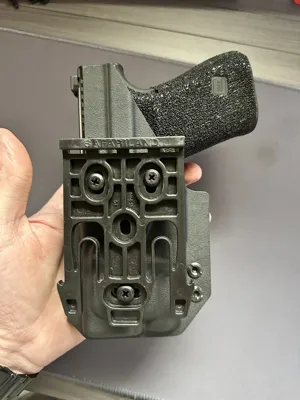
Mounting/Drill Indicator Tool for Holster Molding – DIY-Friendly Blocking Aid
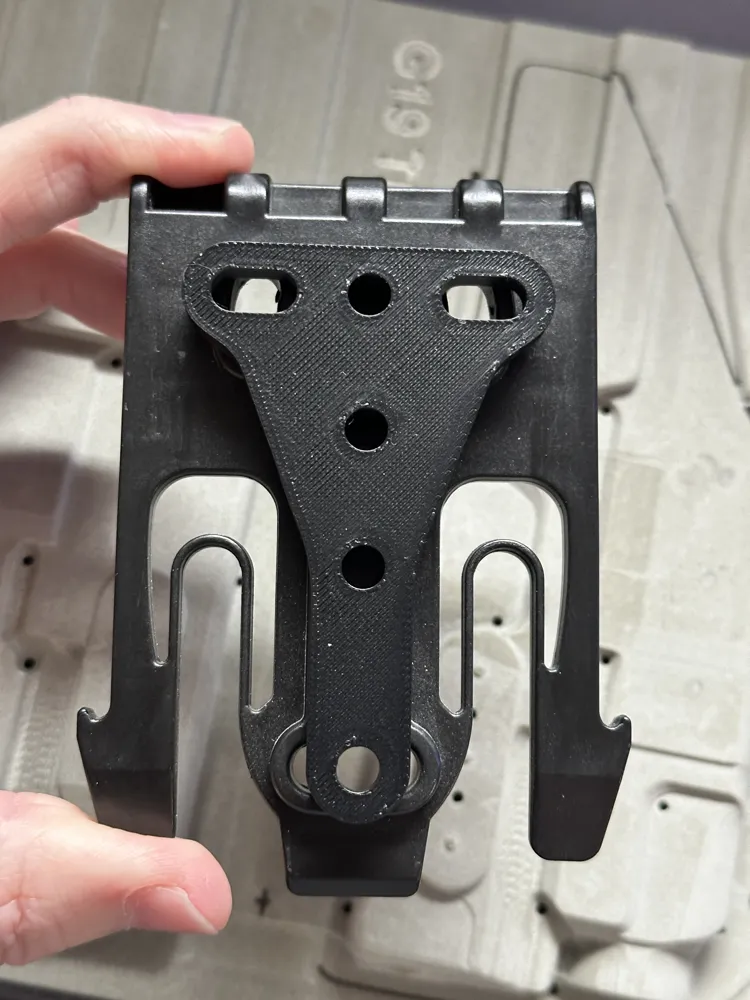
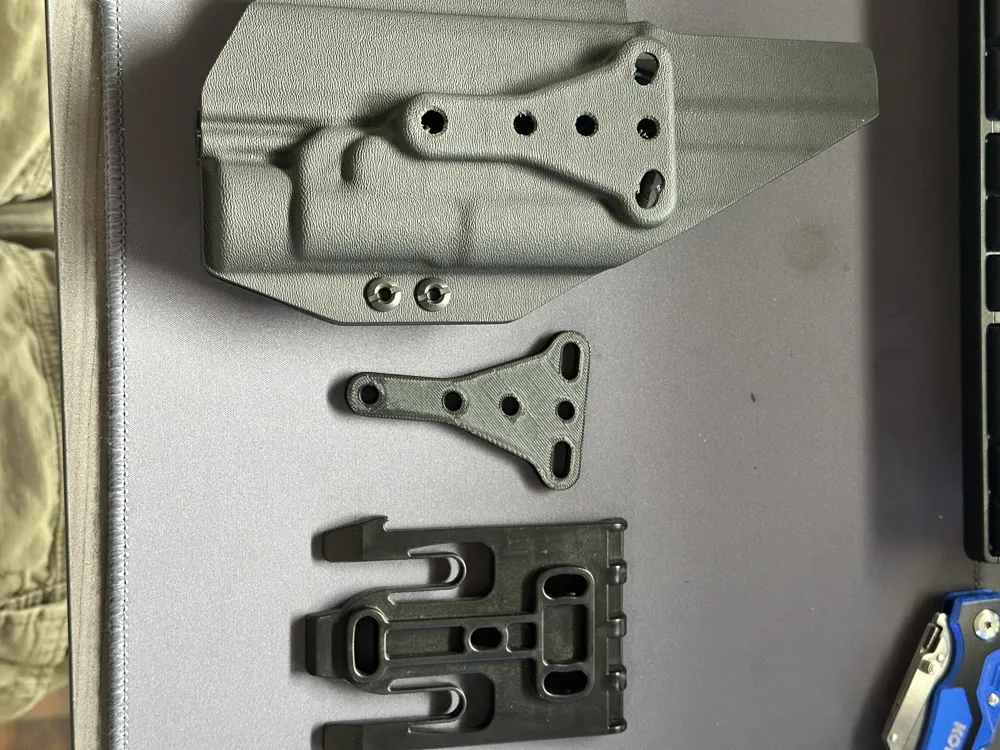
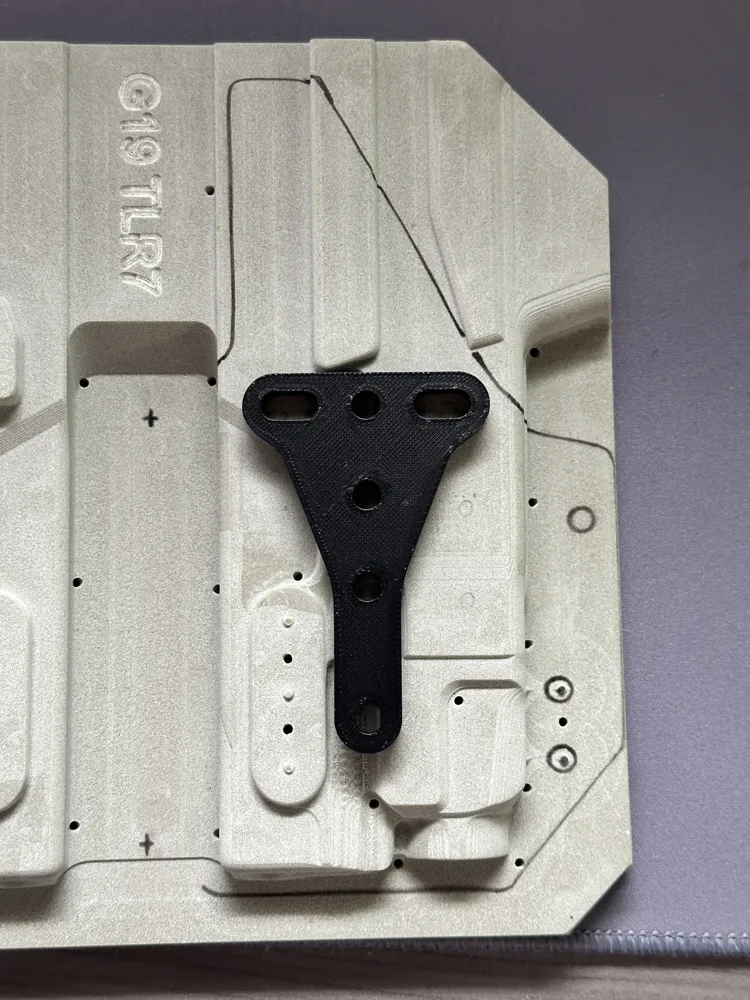
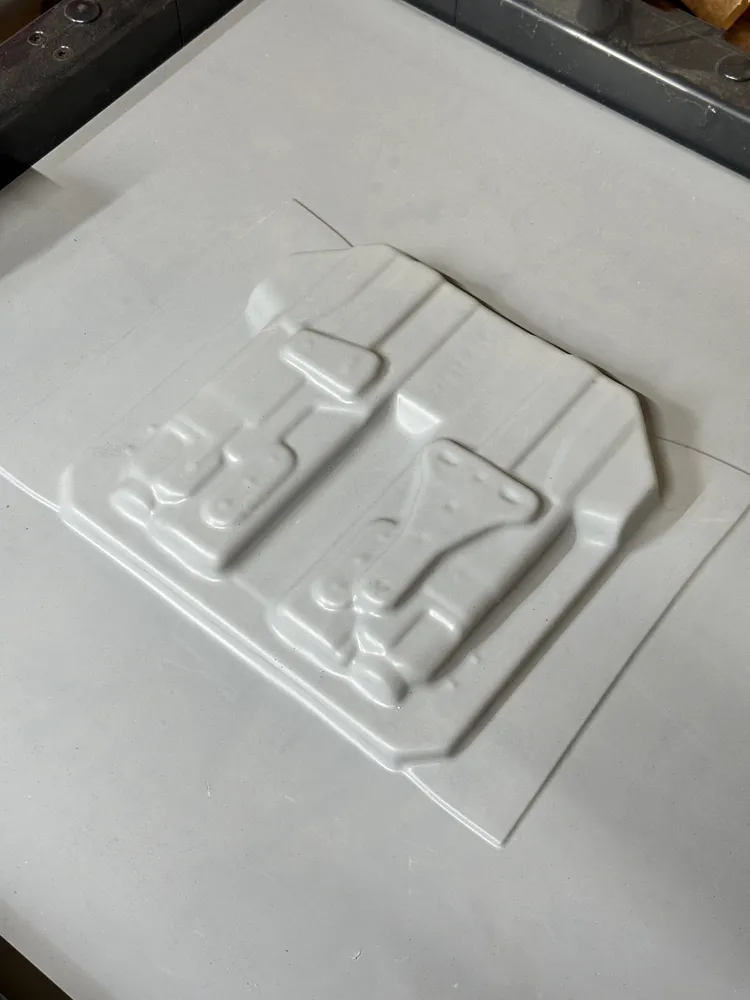
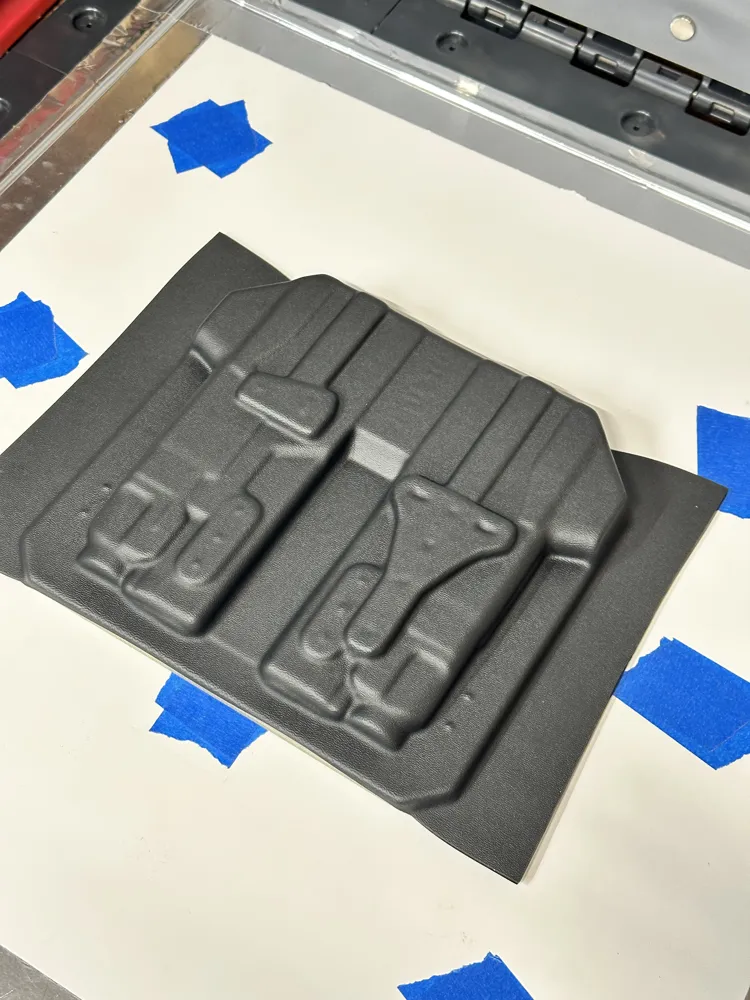
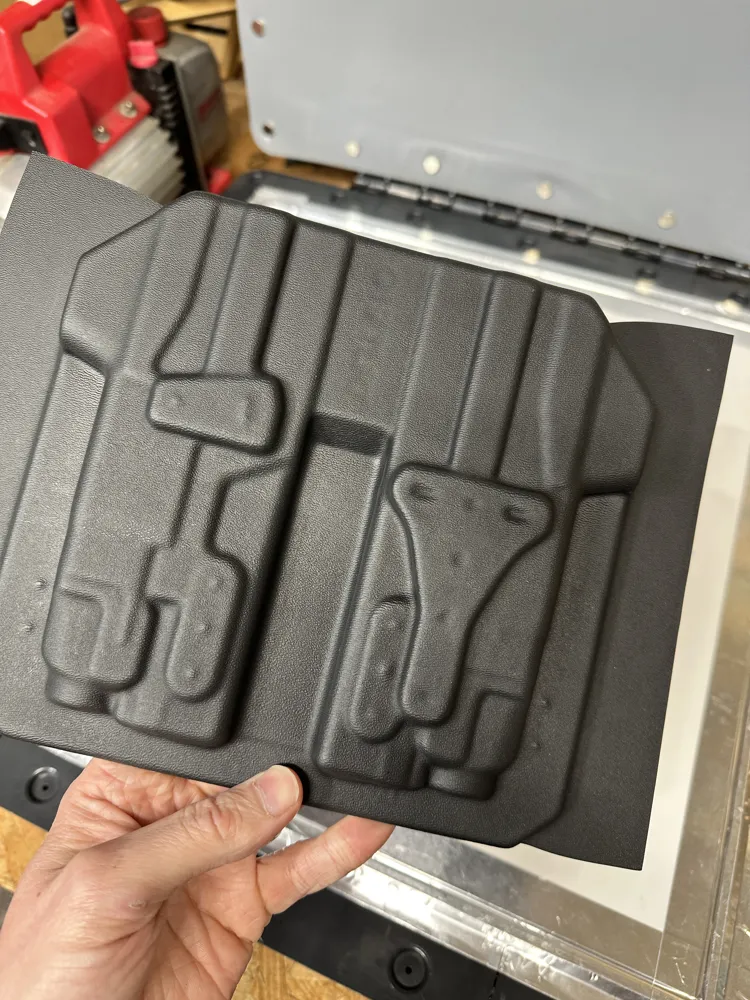
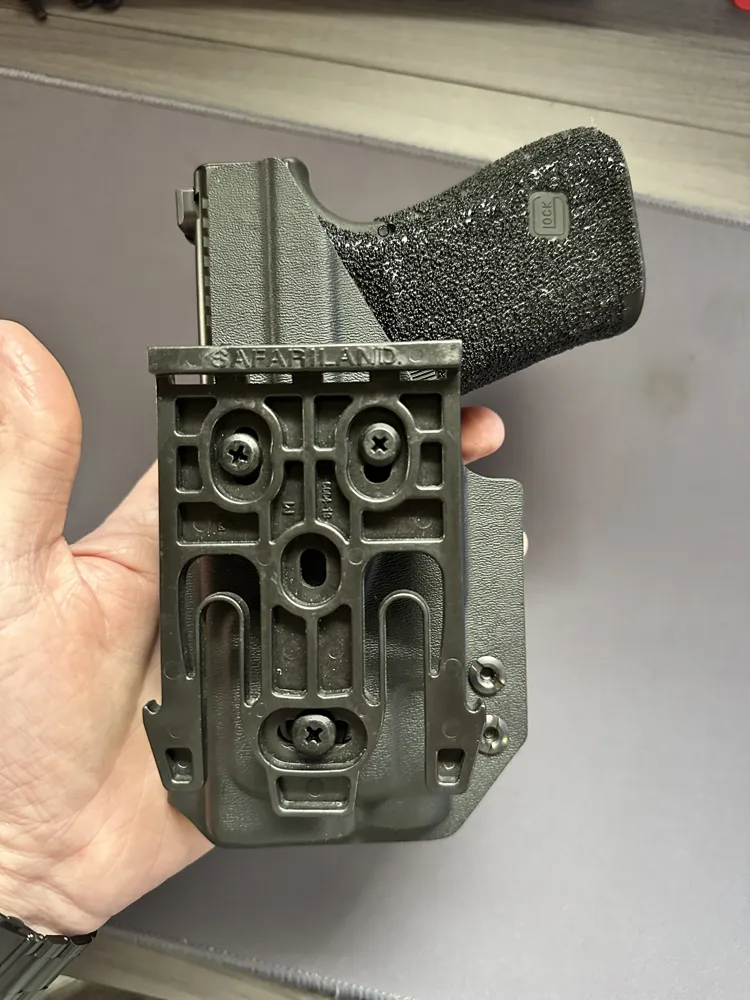
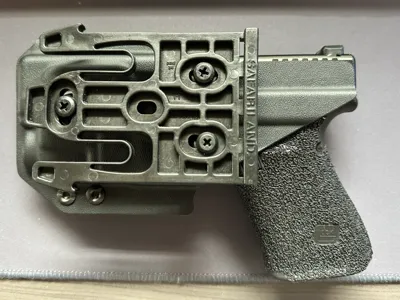
Skip the high-dollar steel jigs and streamline your holster-making process with this cost-effective, 3D-printable mounting/drill indicator tool. Designed with the DIY maker in mind, this blocking piece helps you create clean, accurate hardware mounting zones on your holster molds—making it easier than ever to align and install your favorite belt and drop attachments with confidence.
Compatible With Popular Attachments:
- Blade-Tech™: Duty Drop, Short Drop, Tek-Lok, DCL Combat Loop
- Safariland: UBL Duty Drop, Paddle
- G-Code: RTI GCA 33, 34, 35, and Belt Slide
Why It’s a Game-Changer:
- Affordable & Accessible: A reliable alternative to expensive steel blocks—just print as many as you need. No more sharing tools between setups.
- Time-Saving: Print duplicates and leave them attached to specific molds for repeat builds. It saves setup time and keeps your workflow smooth.
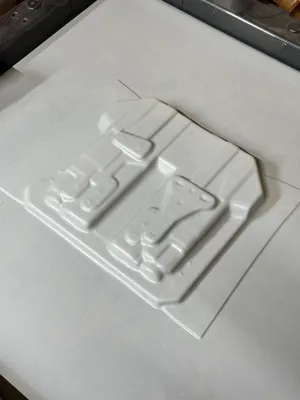
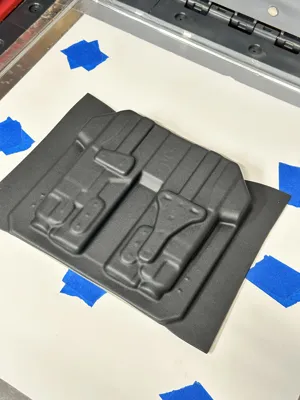
- Versatile: Works great with both vacuum forming and foam press setups, making it a must-have for any DIY holster shop.
DIY Pro Tips:
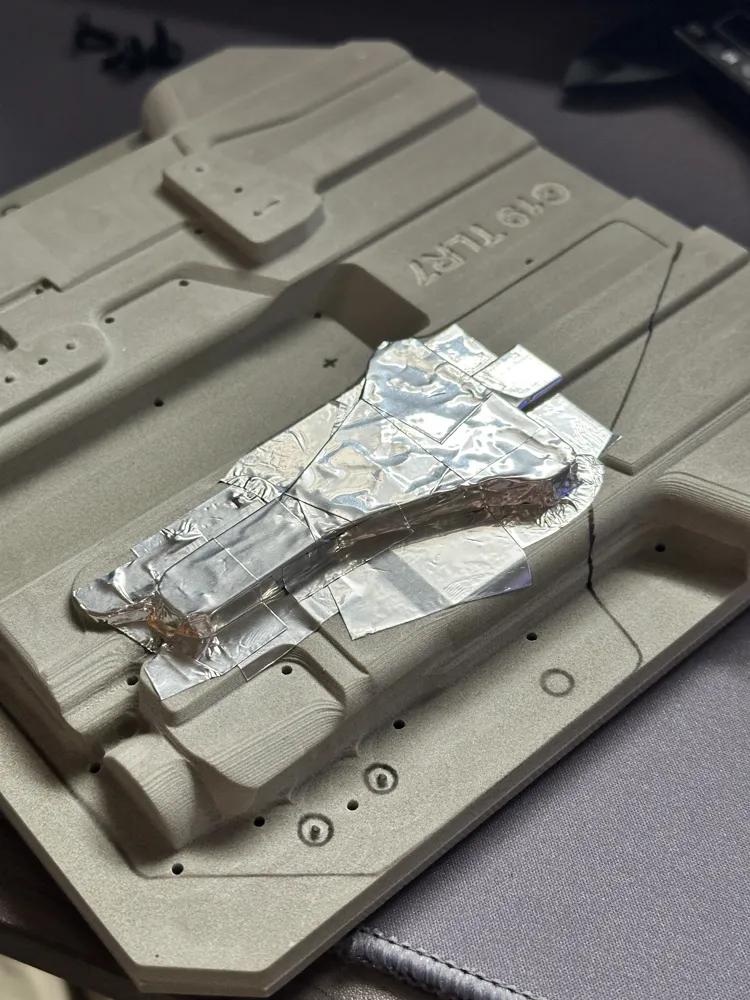
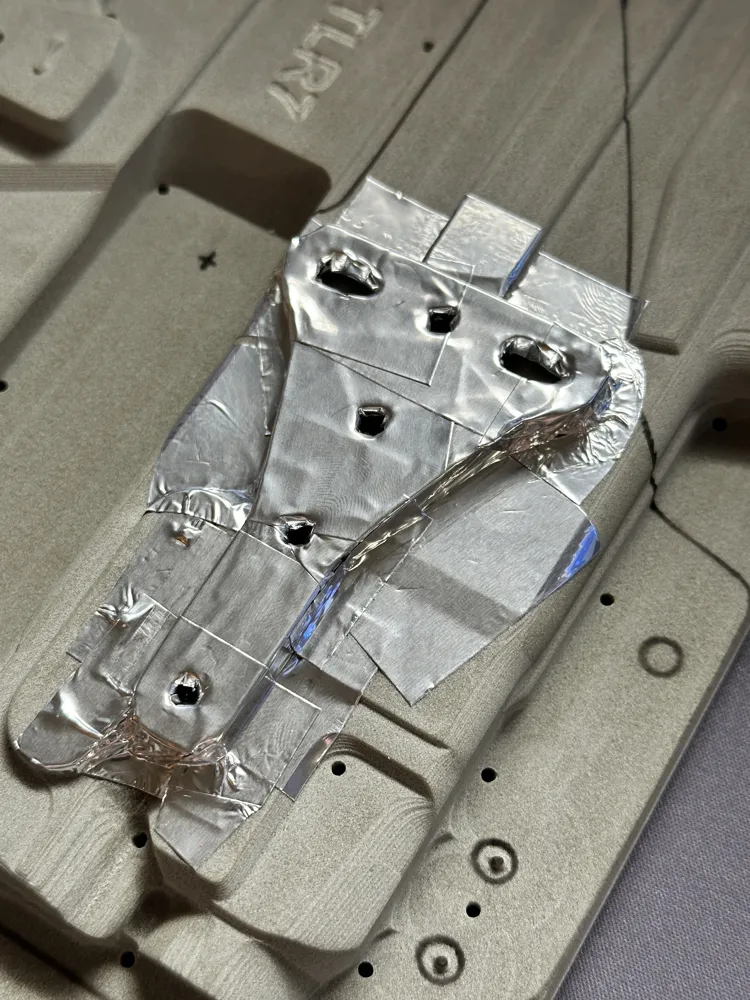
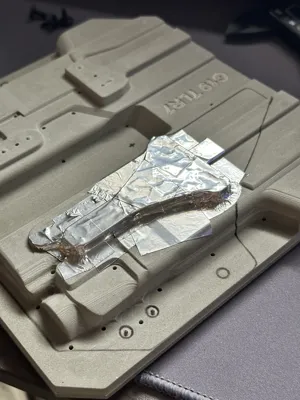
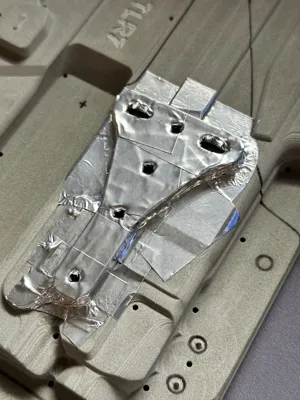
- Wrap It Up: Always wrap the blocking piece in tape—aluminum foil tape is ideal. This keeps hot Kydex from sticking and makes removal clean and easy.
- Support Matters: Prevent warping or shifting during forming by supporting the underside of the block before taping it to your mold. A shim or riser block helps maintain the correct angle and pressure.
- Secure the Edges (Vacuum Forming): When vacuum forming, make sure all edges of the blocking are taped down firmly and flush to the mold, perpendicular to the surface. If air pulls heated material underneath the blocking, it can trap the piece inside the shell, making it extremely difficult to remove without damaging your holster.
- Print Smart: PETG is the bare minimum recommended filament for this tool - If you're in a pinch and only eed to make a few pulls. Allow cooling time between puls and ensure proper support beneath the blocking. To get more life out of this tool, I highly recommend printing with higher heat resistant materials (PA6-GF, PAHT-CF, PPS-CF or PEEK), cooling time between pulls is still recommended.
Whether you're building your first custom rig or dialing in a battle-ready setup, this tool helps ensure your attachment points line up clean and true—so you can focus on function and fit, not fixes.
License

You shall not share, sub-license, sell, rent, host, transfer, or distribute in any way the digital or 3D printed versions of this object, nor any other derivative work of this object in its digital or physical format (including - but not limited to - remixes of this object, and hosting on other digital platforms). The objects may not be used without permission in any way whatsoever in which you charge money, or collect fees.


Comment & Rating (10)