
Bambu P1S/X1 235 Degree Door Hinge
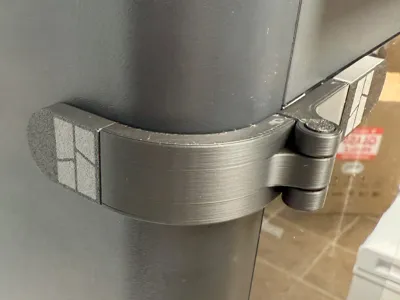
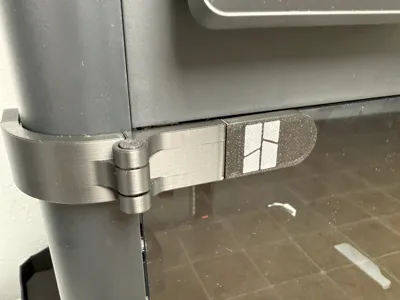
Print Profile(2)


Description
DETAILED INSTALLATION INSTRUCTIONS ARE AVAILABLE AND WILL HELP ENSURE THAT THE HINGES ARE ALIGNED AND INSTALLED CORRECTLY. PLEASE USE THEM!
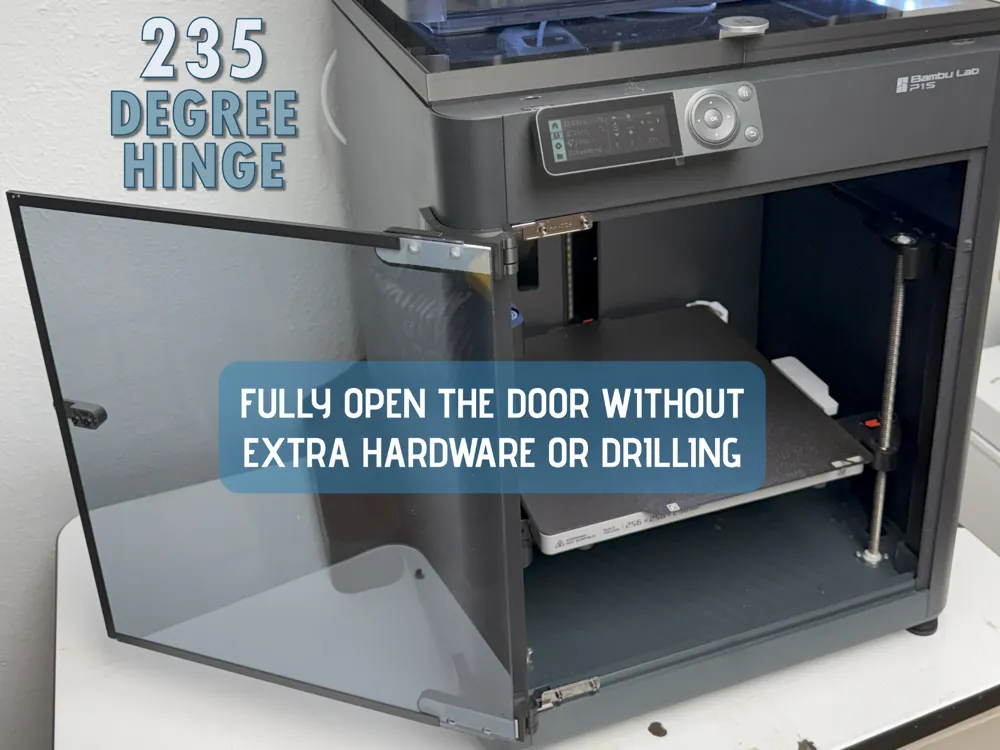
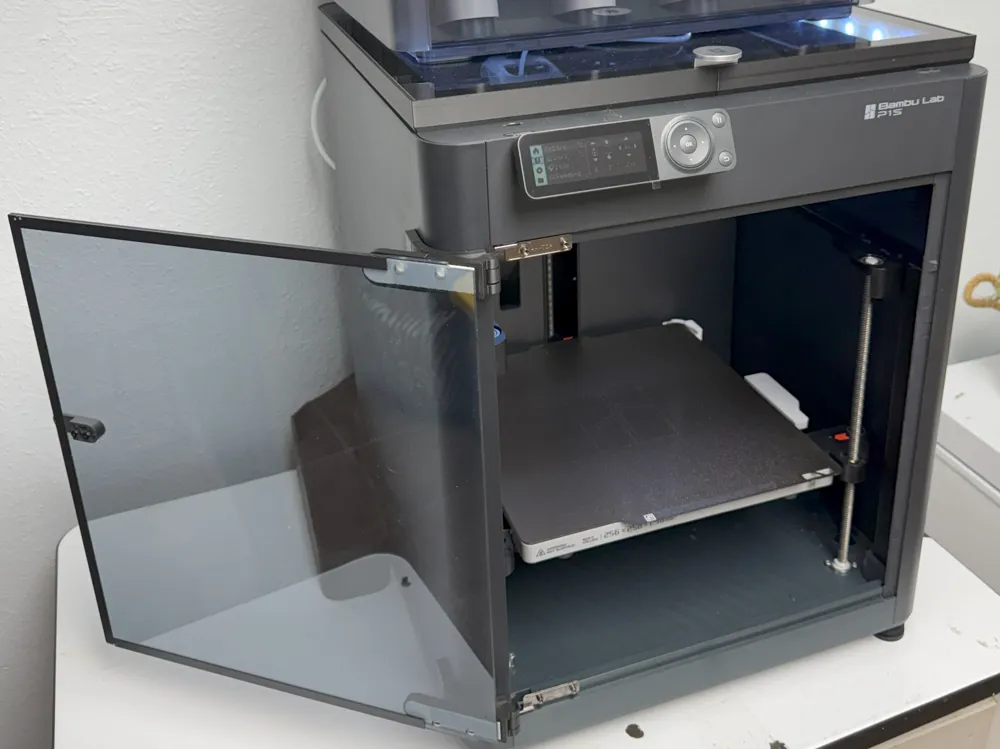
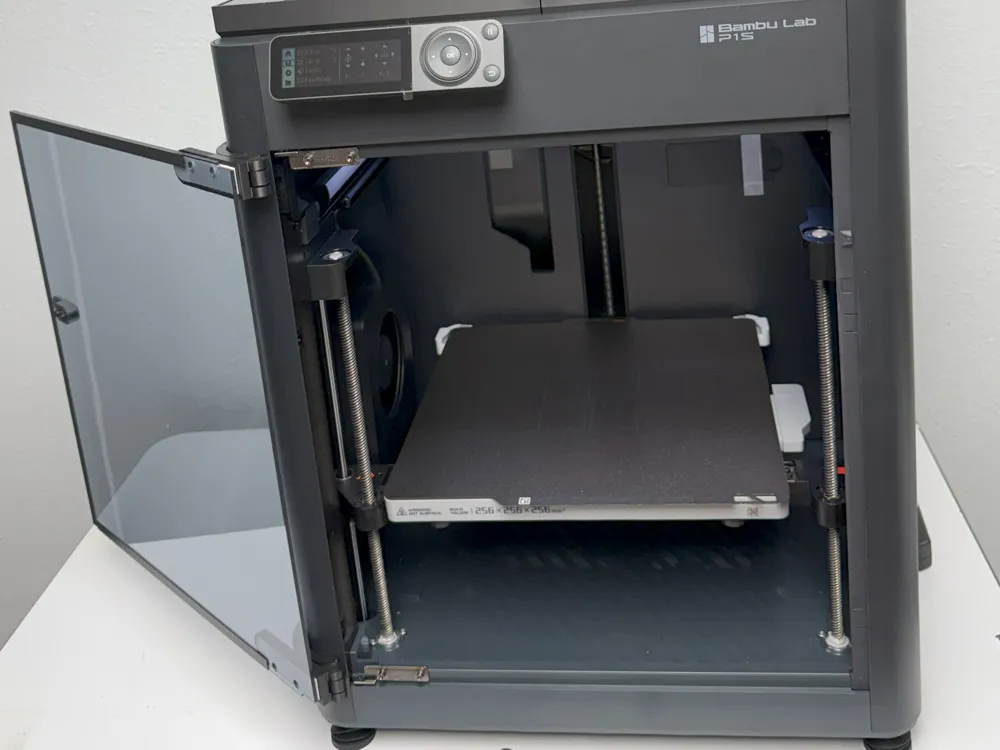
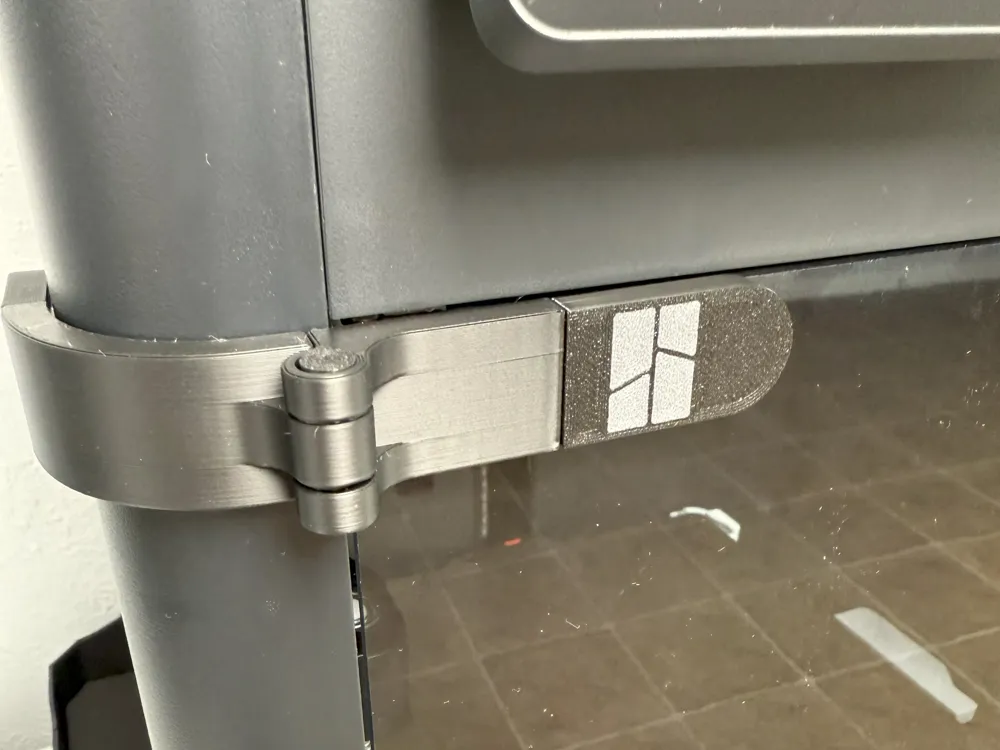
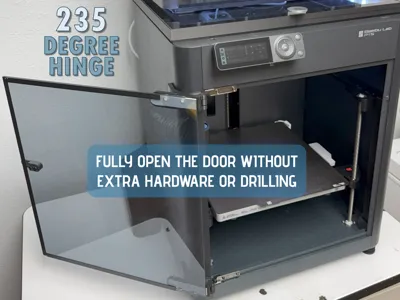
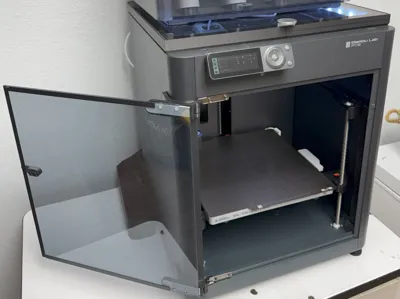
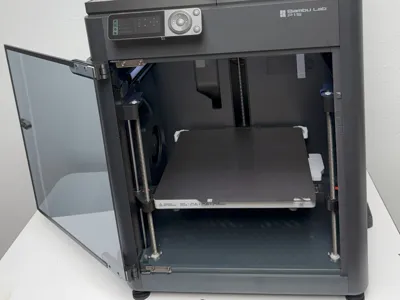
Finally, a hinge for the Bambu P1S and X1 that will allow you to fully open the door, without something sticking out from the front of the printer and without needing tiny screws that many people don't have. All you need to install these hinges is four 3M Command strips (Medium, “3 lb” or Large, “5 lb”). If you don't already have these laying around, they are readily available at many stores, online, or in your neighbors junk drawer.
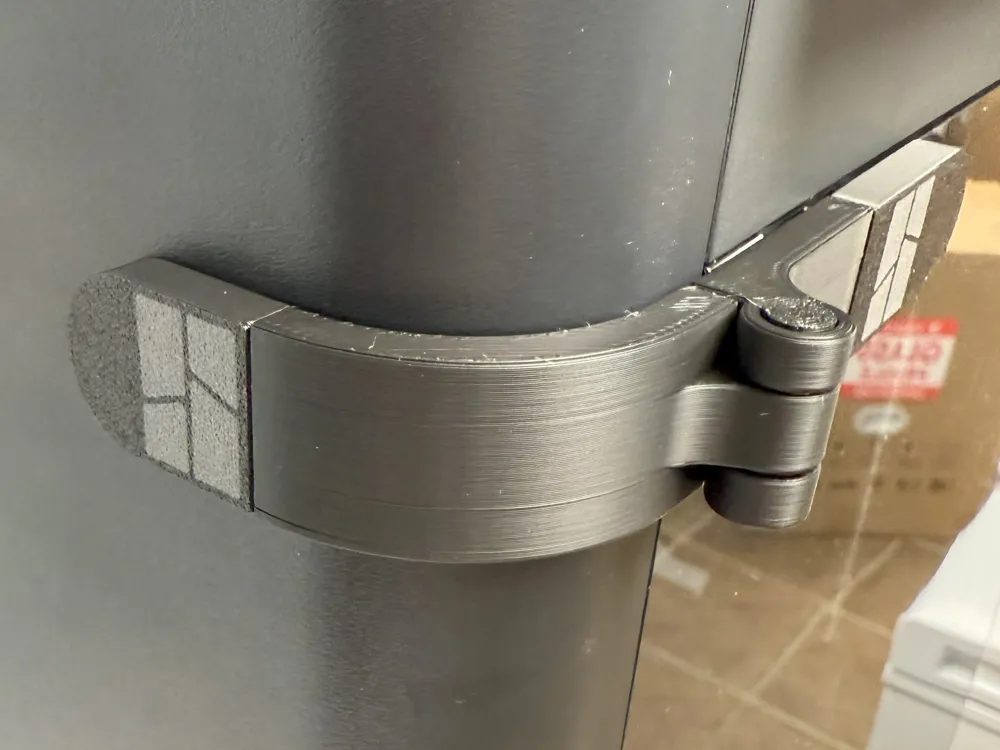
The factory hinge does not need to be removed, so installation is very simple, and can be done in a matter of minutes. Detailed instructions and pictures are provided, and the alignment jig will help ensure that the hinge is straight.
Note: Since the factory hinge remains in place, the protruding studs will help position the door when it's closed. However, these studs may catch slightly, but will not interfer with the door opening and closing.
Update: I've added a second print profile that contains slightly larger pins, than the original design. There are 4 different pin sizes on each plate (each is marked with the clearance, on the top), which can help to reduce the slop in the hinge. See which sizes work best for your printer.
You only need to print 1 of the available options/plates. I've provided designs for Medium (3 lb) and Large (5 lb) Command strips, so you can use whichever strips you already have or whichever are easier to find. The door is less than 3 lbs, so the Medium strips are sufficient. I've also provided a design for a glued version, if you'd prefer a more permanent hinge. This version has grooves on the back of the hinge, to help keep the glue from squeezing out.
- The “Medium Command Strip_Colored Logo” and “Medium Command Strip_Inset Logo” options use the Medium, 3 lb Command strips. The “Colored Logo” allows the Bambu logo to be printed in a different color, but the logo is only 1 layer deep, so filament waste is minimal. The “Inset Logo” does not require a second color and is ideal for those without an AMS or without the need for manual filament swaps.
- The “Large Command Strip_Colored Logo” and “Large Command Strip_Inset Logo” options use the Large, 5 lb Command strips. The “Colored Logo” allows the Bambu logo to be printed in a different color, but the logo is only 1 layer deep, so filament waste is minimal. The “Inset Logo” does not require a second color and is ideal for those without an AMS or without the need for manual filament swaps.
- The “Medium Glued_Colored Logo” and “Medium Glued_Inset Logo” options allow you to glue the hinge into place. The “Colored Logo” allows the Bambu logo to be printed in a different color, but the logo is only 1 layer deep, so filament waste is minimal. The “Inset Logo” does not require a second color and is ideal for those without an AMS or without the need for manual filament swaps.
Theoretically, you could move these hinges to the right side of the door. While I haven't tested this, there are a few things to consider. First, you'll need to mirror the “Door Bracket” parts, about the Y-axis, to make sure that the counterbore for the hinge pin is facing upwards. Second, since the factory hinges stay in place, you cannot rotate the door because the holes, in the door, are necessary to allow the door to close fully.
As with any other printer upgrade, you use these at your own risk. These have worked well on my printer, but I cannot predict how they will hold up in various printer locations and use cases.
Boost Me (for free)
If you find this print useful, please consider a Boost.
Documentation (1)
License

You shall not share, sub-license, sell, rent, host, transfer, or distribute in any way the digital or 3D printed versions of this object, nor any other derivative work of this object in its digital or physical format (including - but not limited to - remixes of this object, and hosting on other digital platforms). The objects may not be used without permission in any way whatsoever in which you charge money, or collect fees.


Comment & Rating (157)