
Original Assembled Posable Metal Scorpion Mech Kit
Print Profile(2)


Description
To ensure model detail, the model's arrangement features numerous small components; using adhesive and reducing print speed effectively safeguards model quality
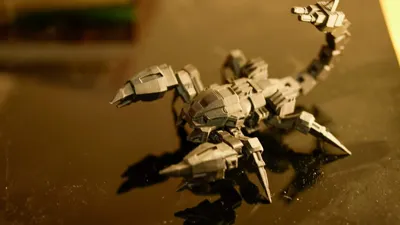
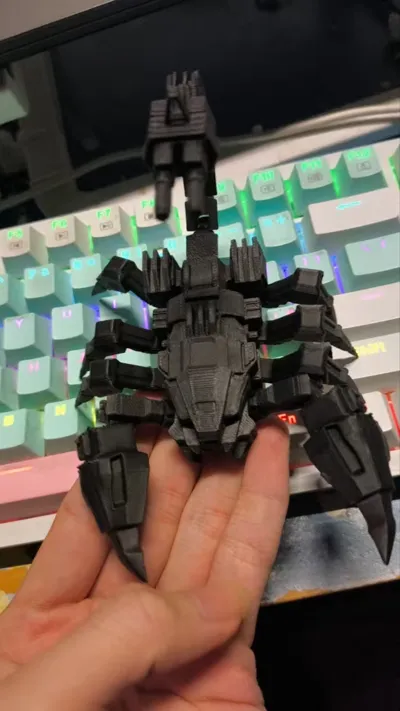
View of the model's base
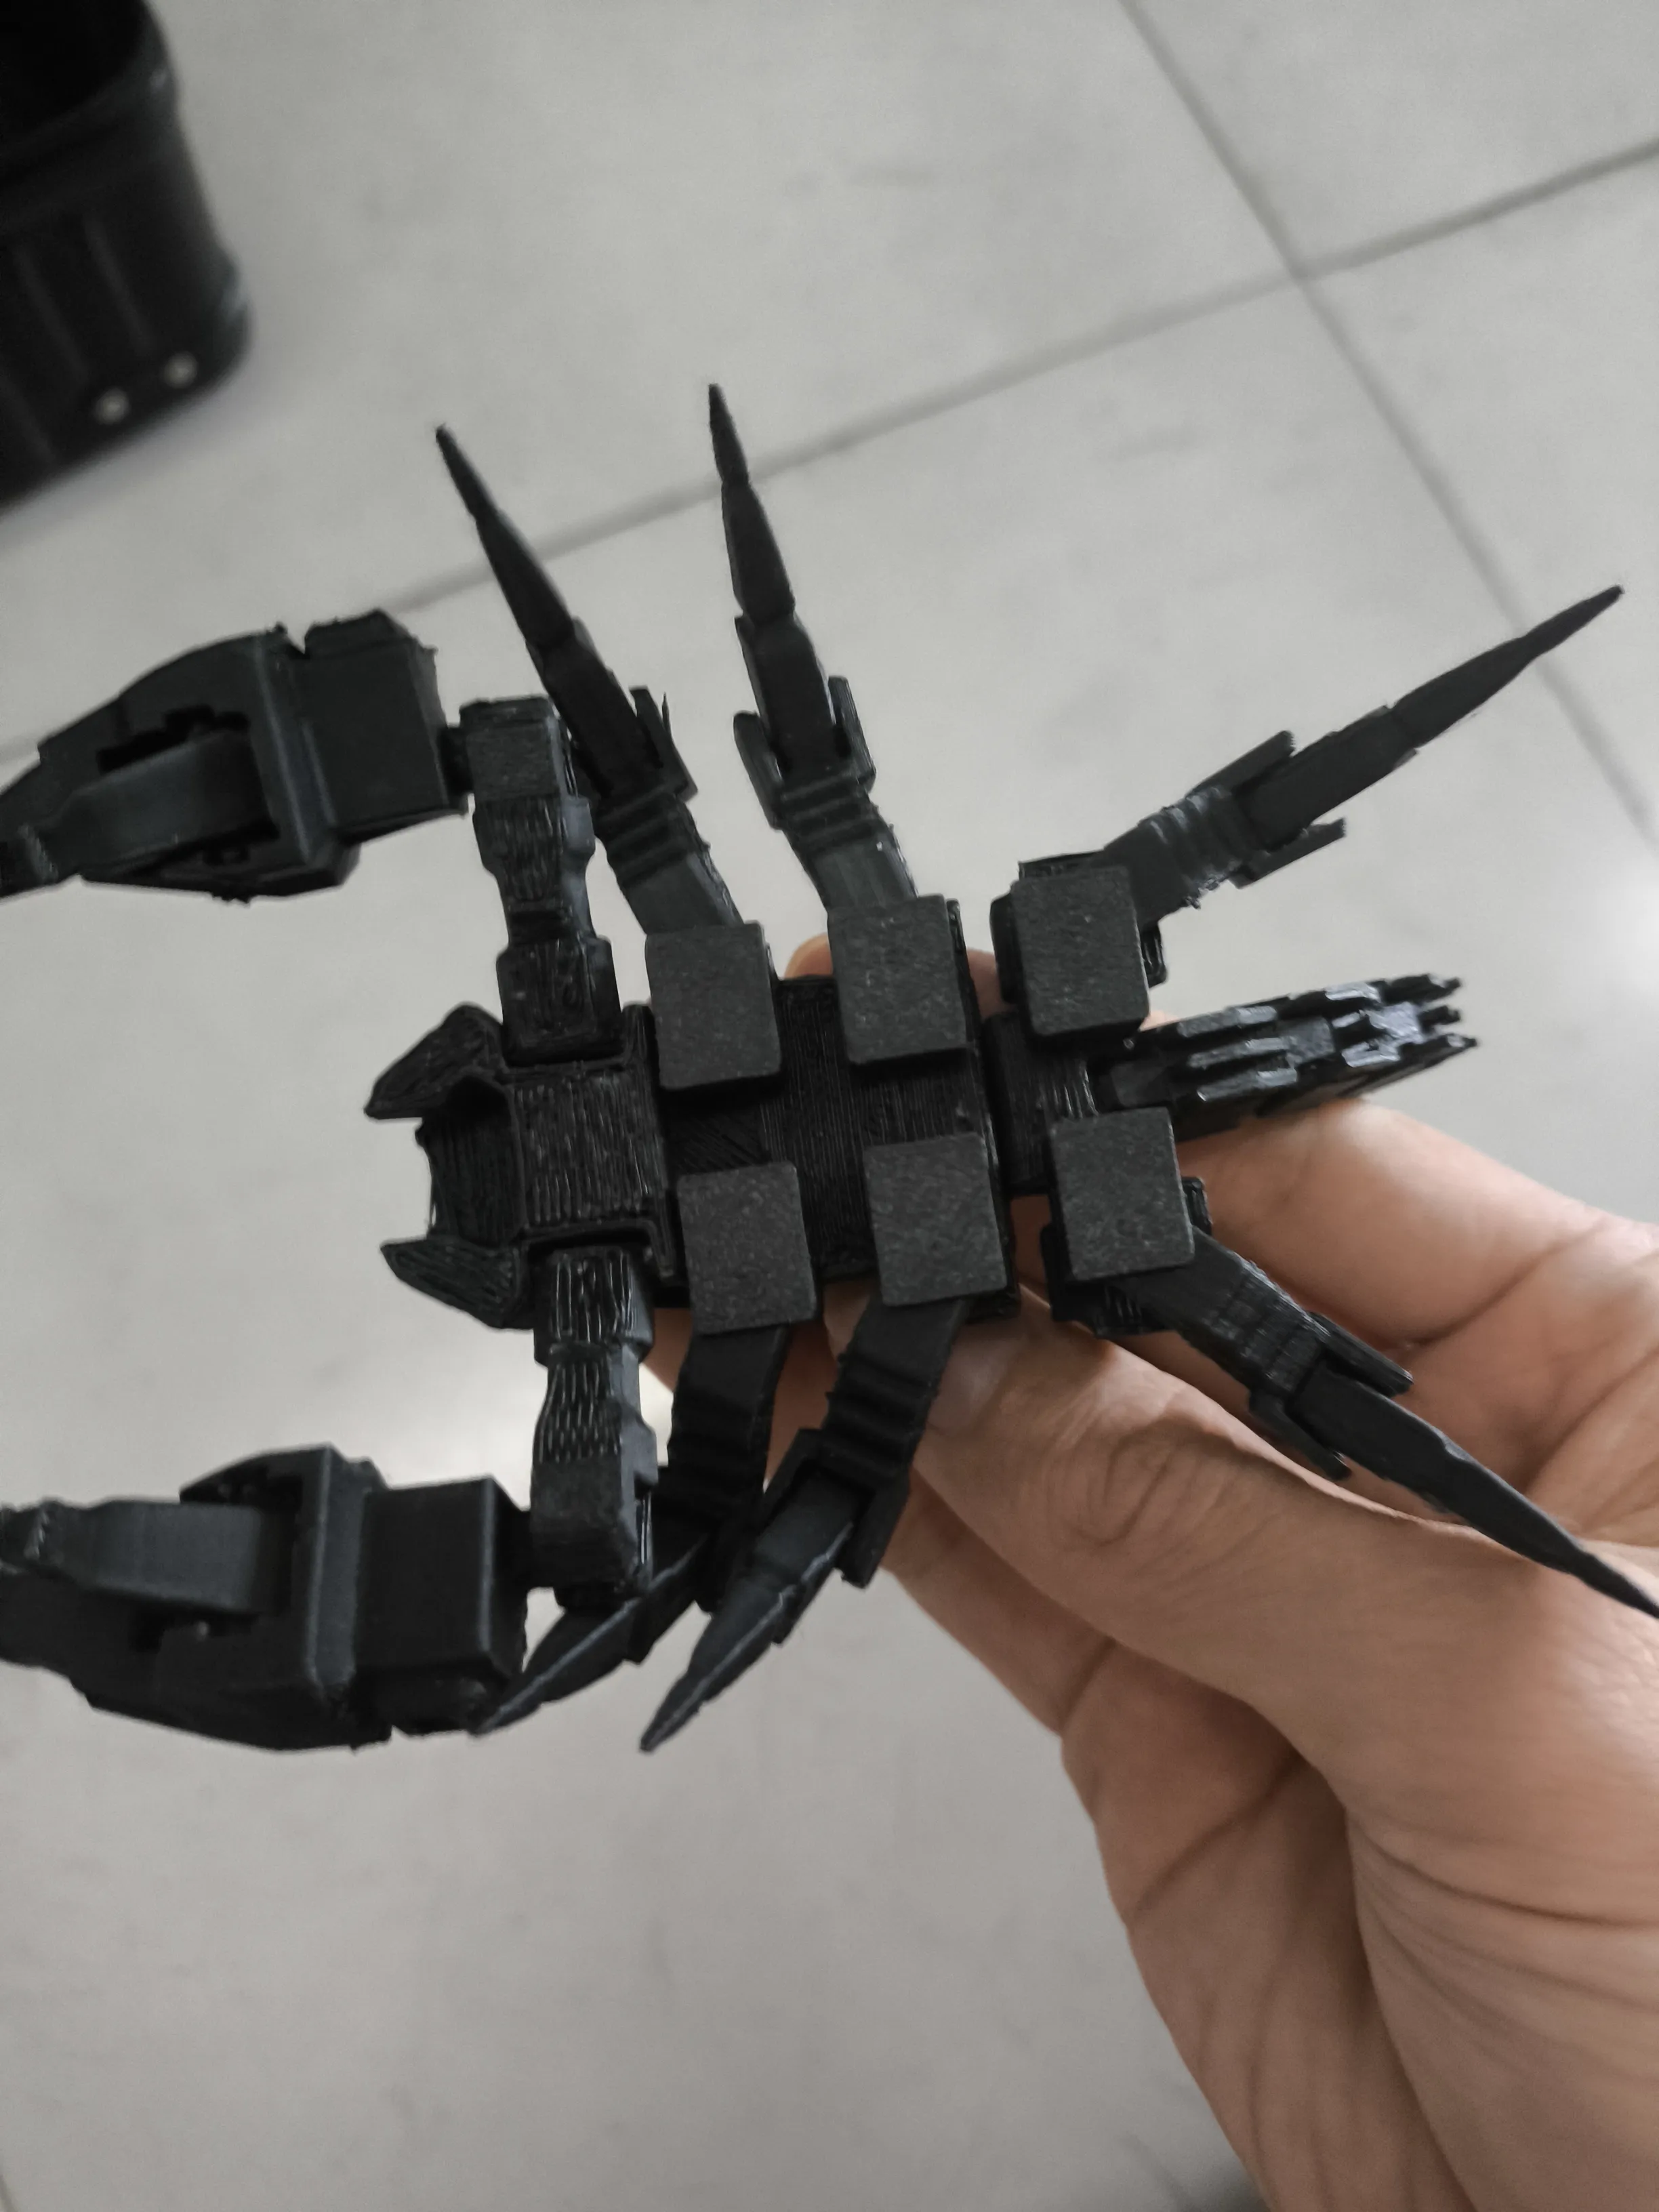
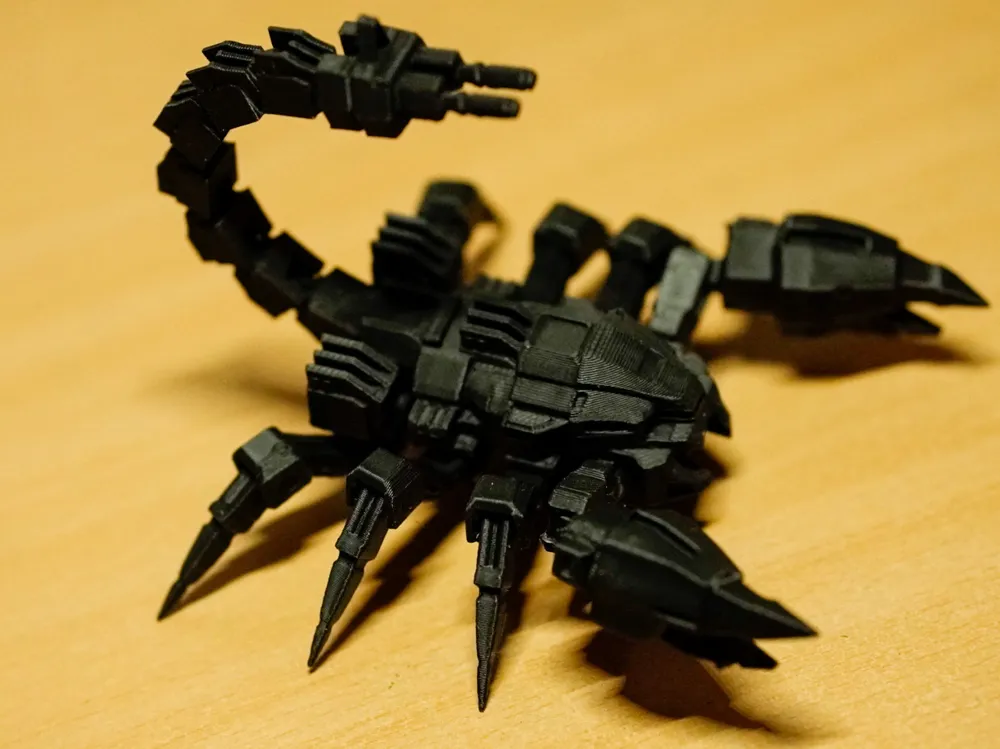
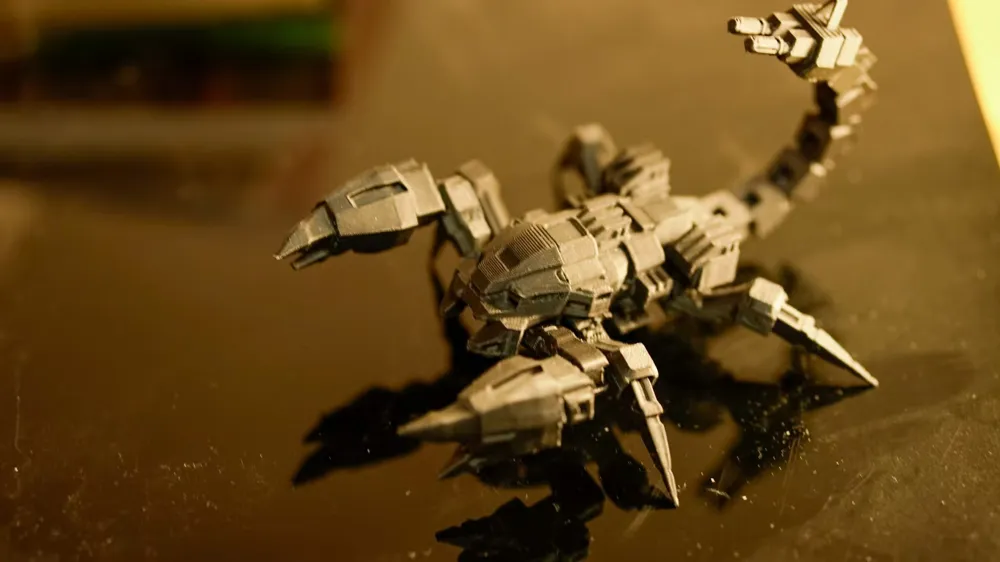
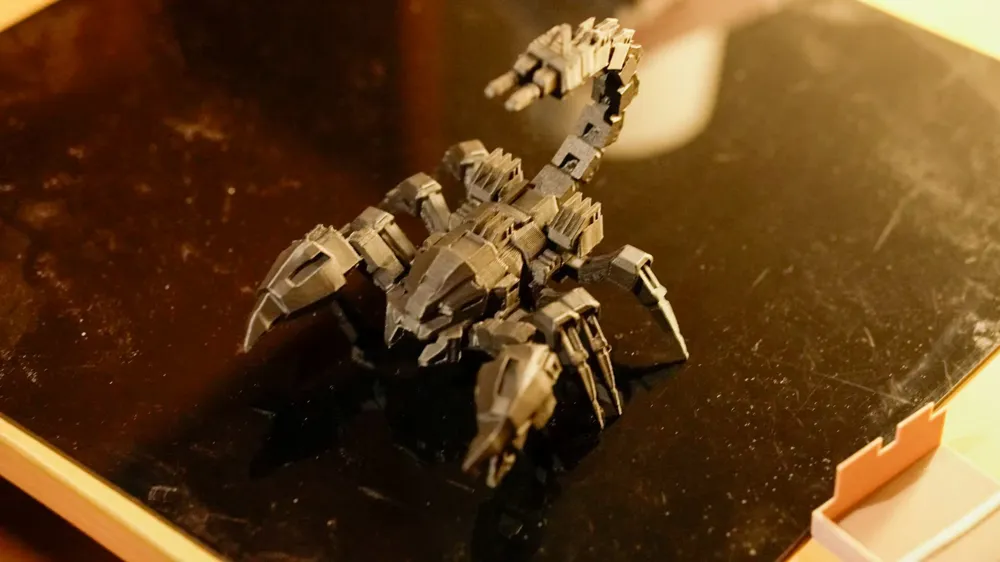
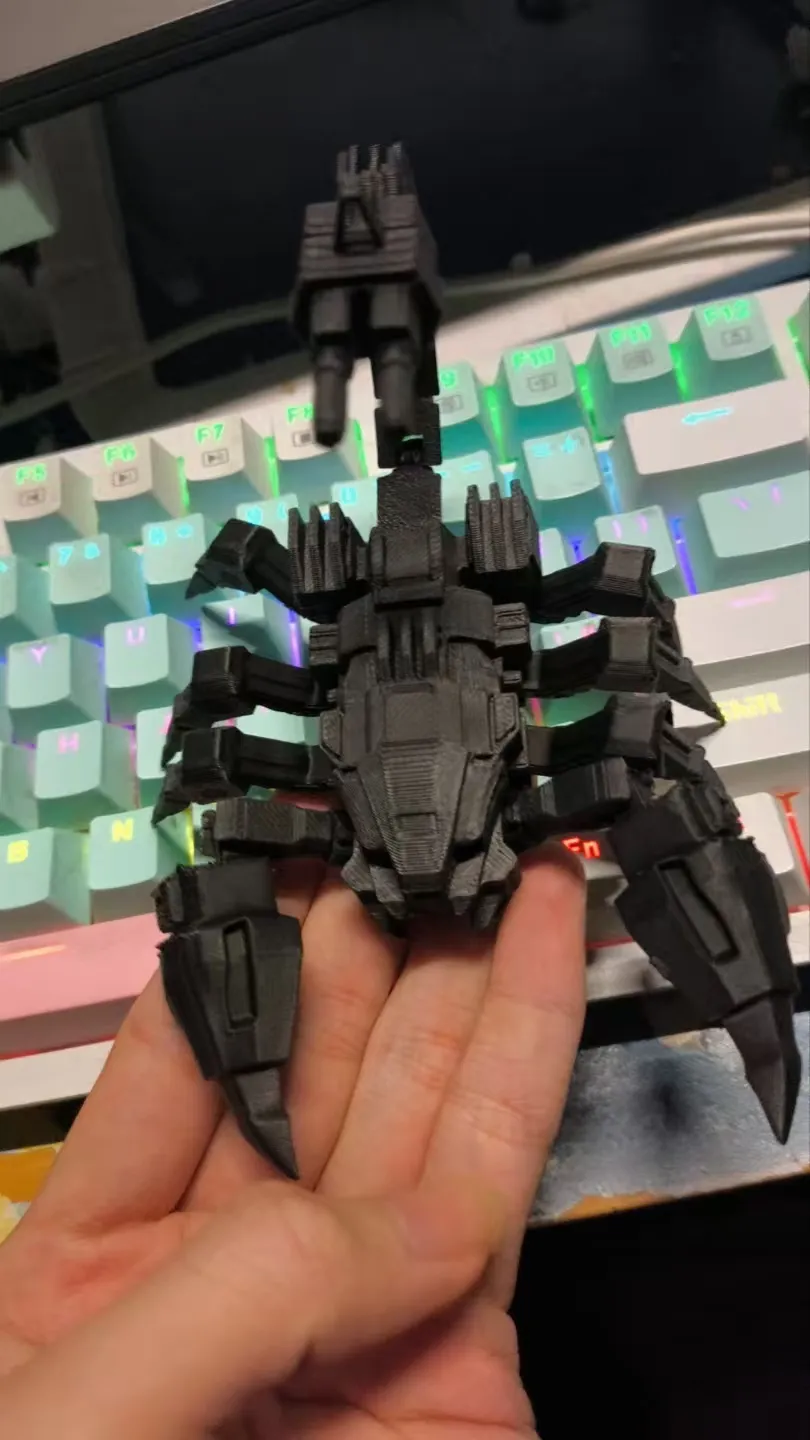
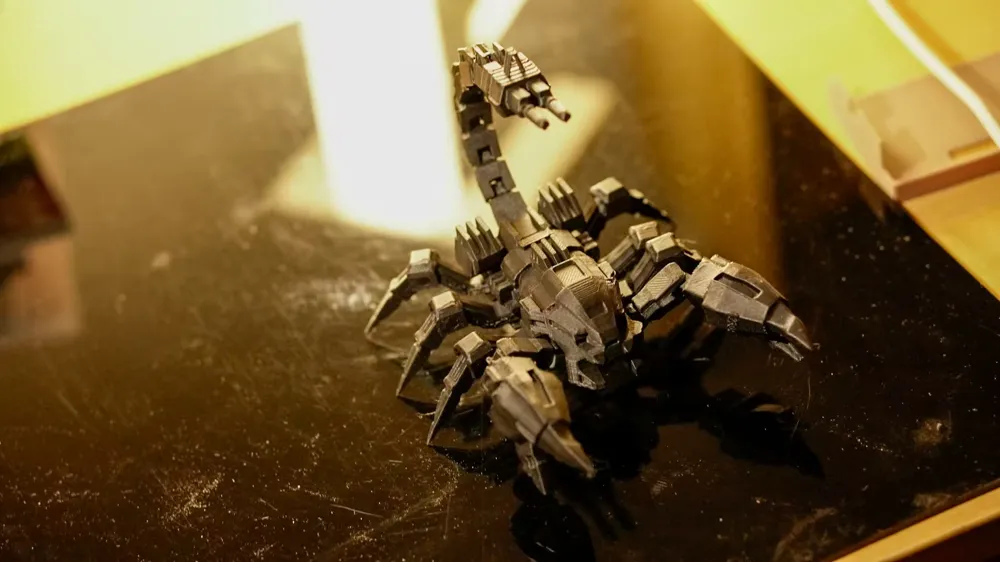
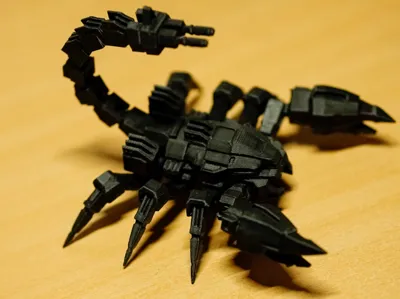
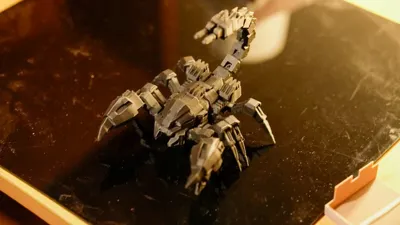
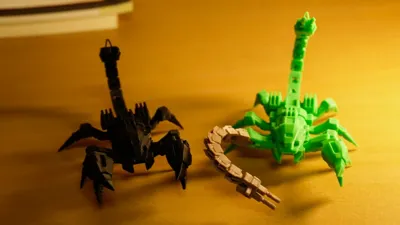
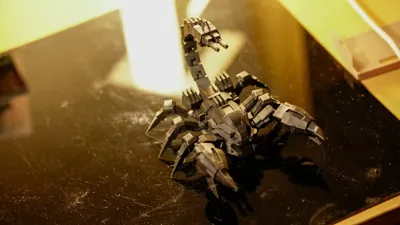
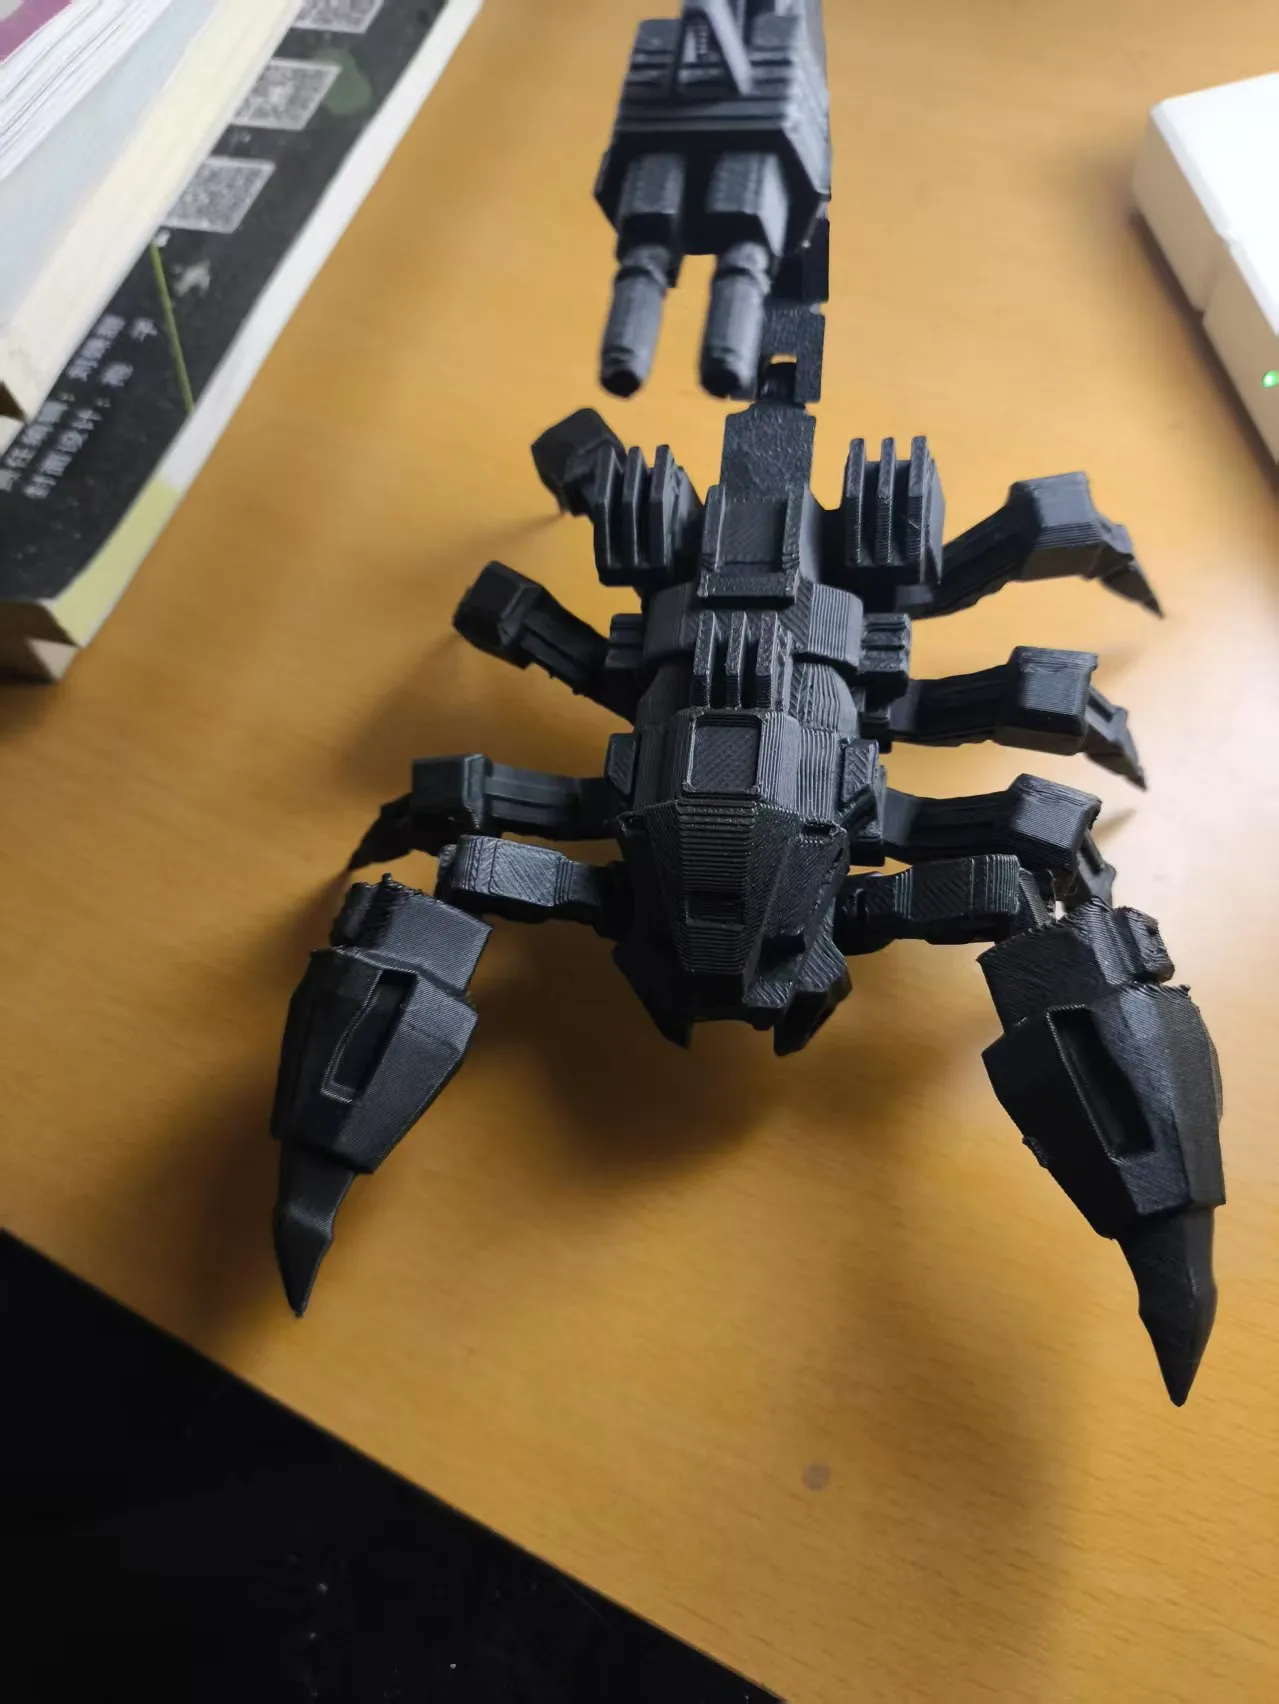
Following the immense popularity of the previous Mecha Mantis, this is the next iteration in the series: Mecha Scorpion 03
The previous Mantis model sacrificed some articulation for a print-in-place design. This time, to enhance articulation and playability, an assembly-required design has been adopted
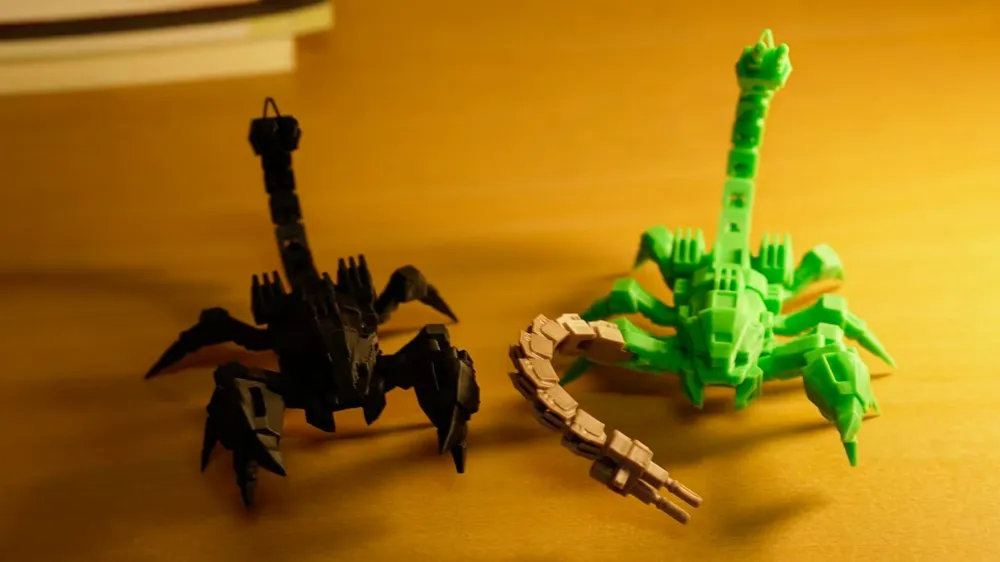
Articulation points include six legs, claws (with opening and closing functionality), tail (hinged), and interchangeable joints between the tail and forelimbs
Extensive testing was conducted to refine the assembly process, optimizing for ease of construction without compromising articulation (the images shown represent merely a fraction of the testing conducted)
!!! Due to limited filament availability, the testing primarily employed matte PLA. Other filaments remain untested; thus, the fit may vary, and your understanding is appreciated (silk filament is not recommended due to its brittleness)
Multi-color testing is currently underway
Boost Me (for free)
This creation required considerable effort. Those who can, please provide financial support; otherwise, a free boost or download and print would be greatly appreciated
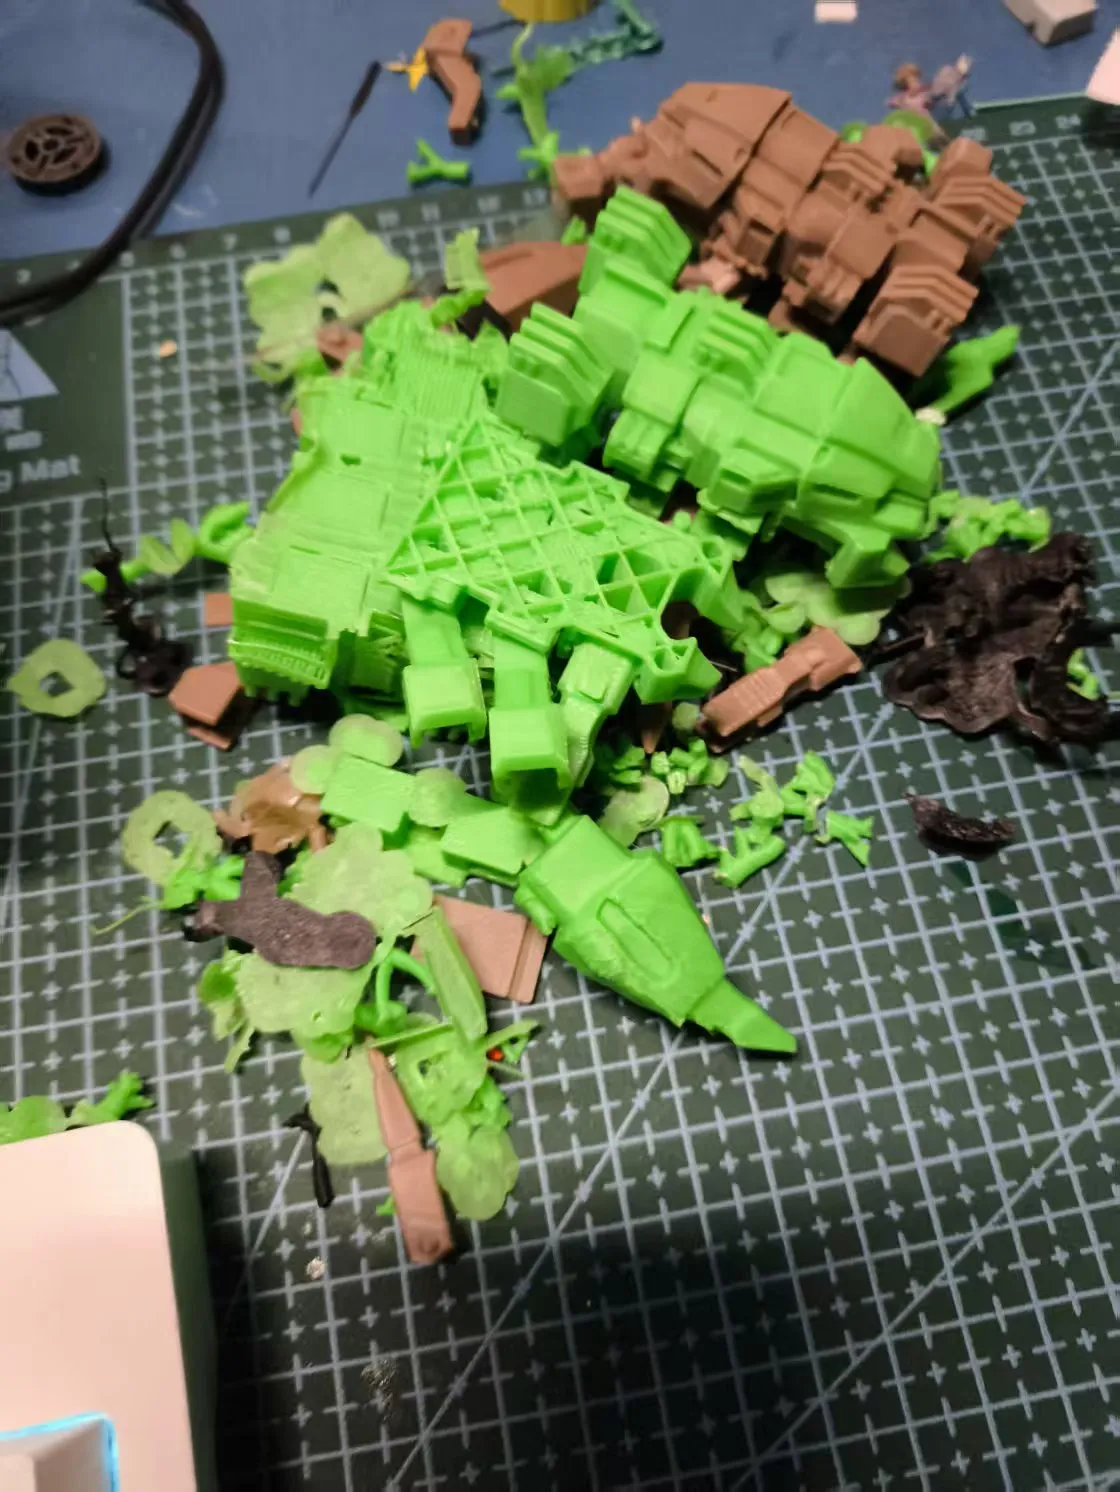
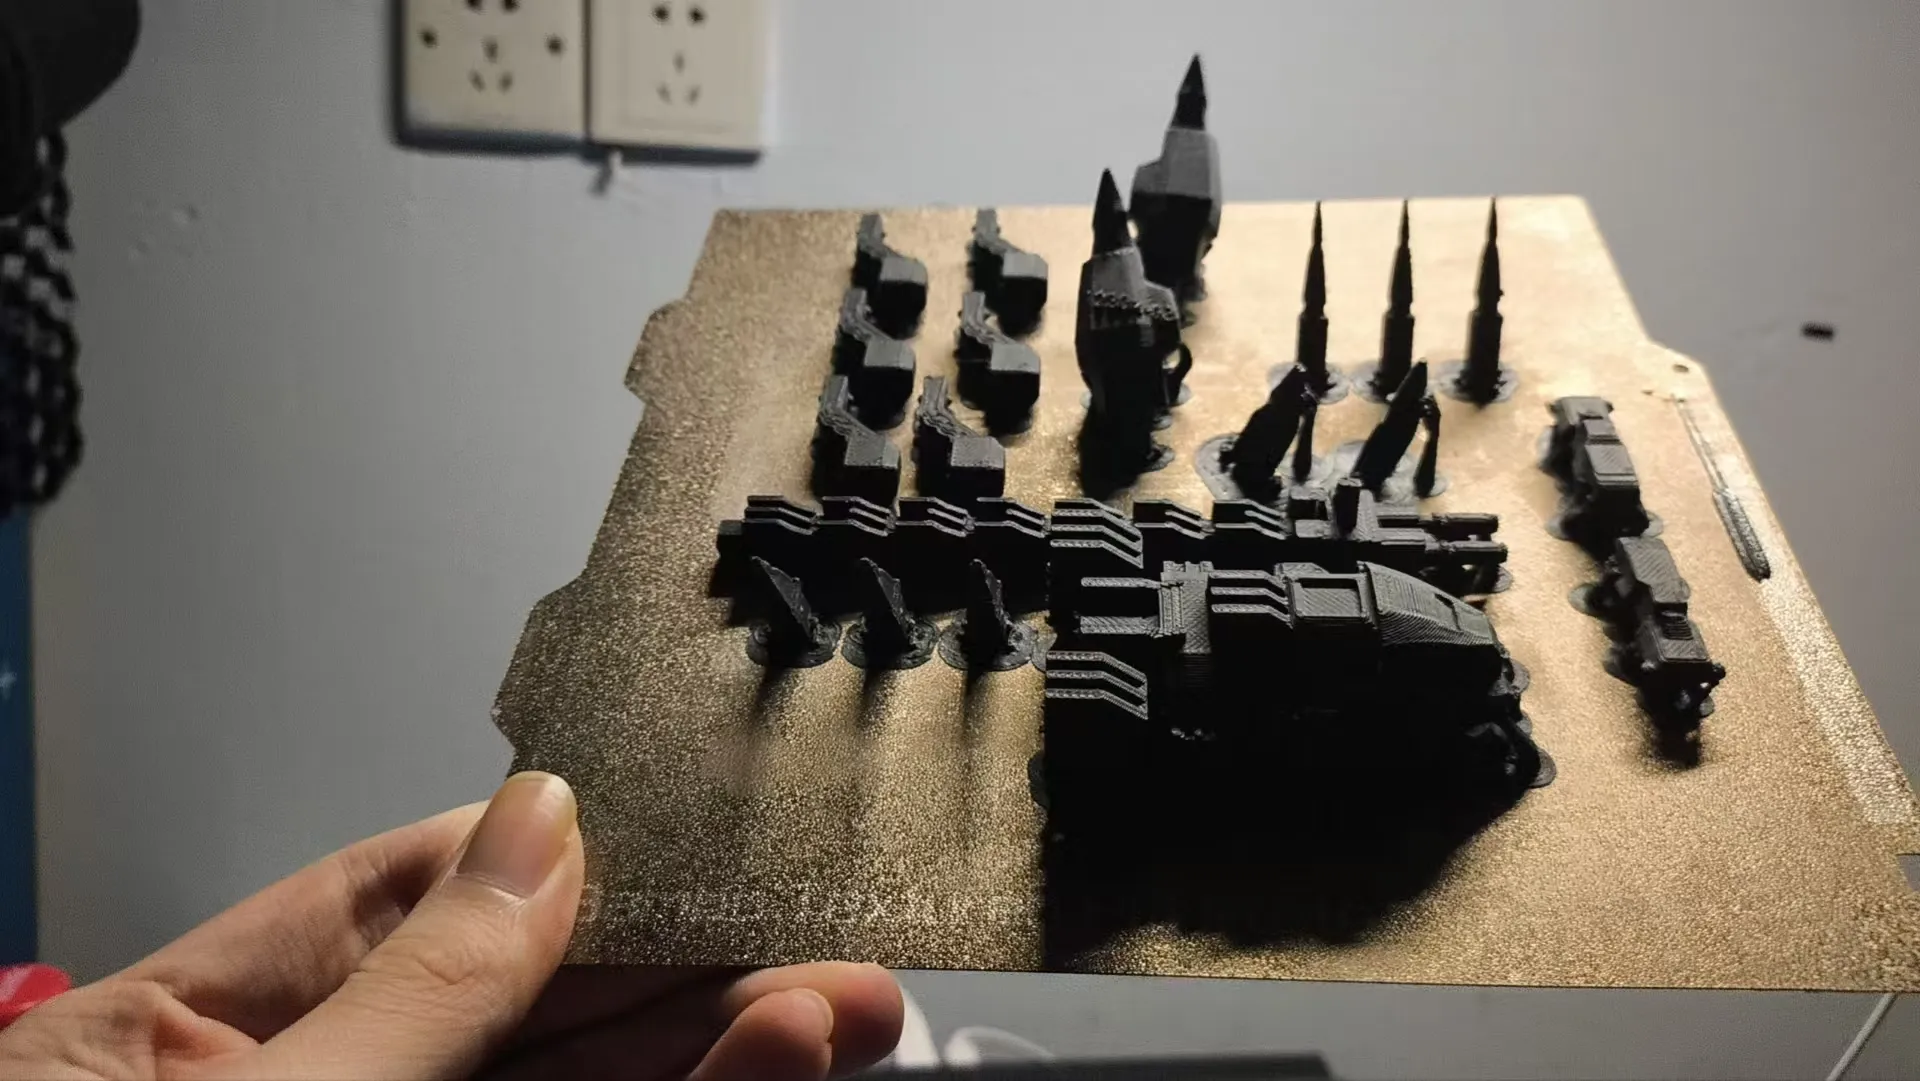
Assembly Instructions
1. Insert the tail into the rear slot, ensuring the textured side faces upward (this ensures the tail's curvature aligns correctly)
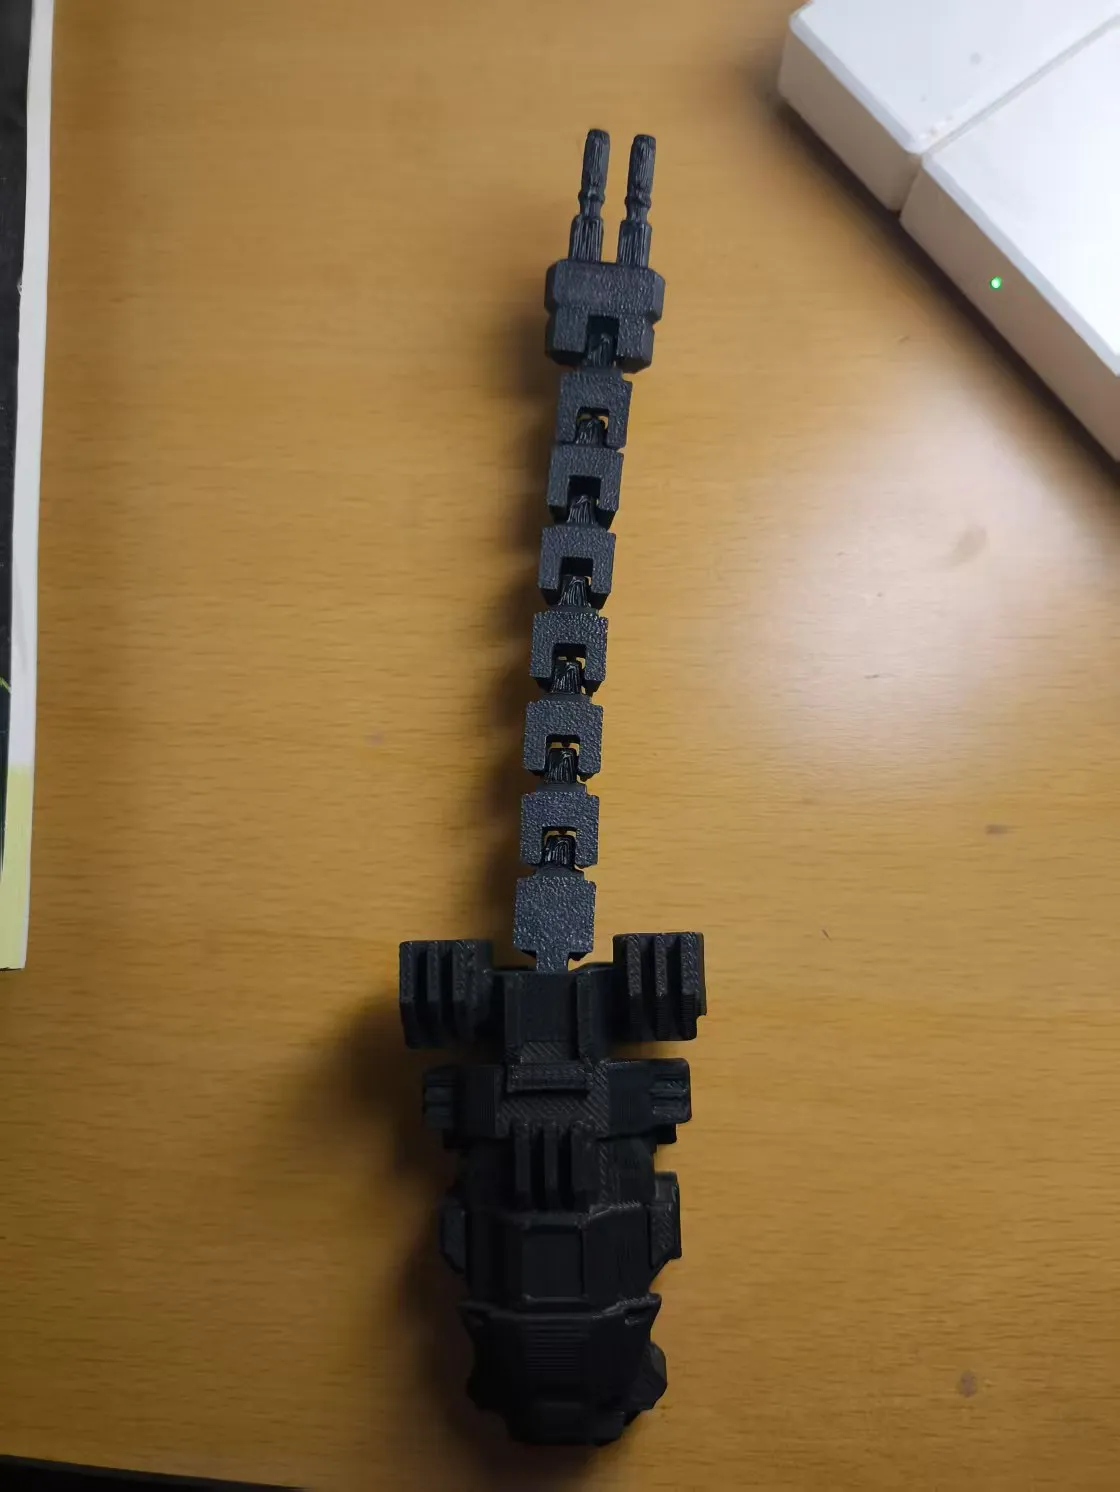
2. Assemble the lower and upper leg sections
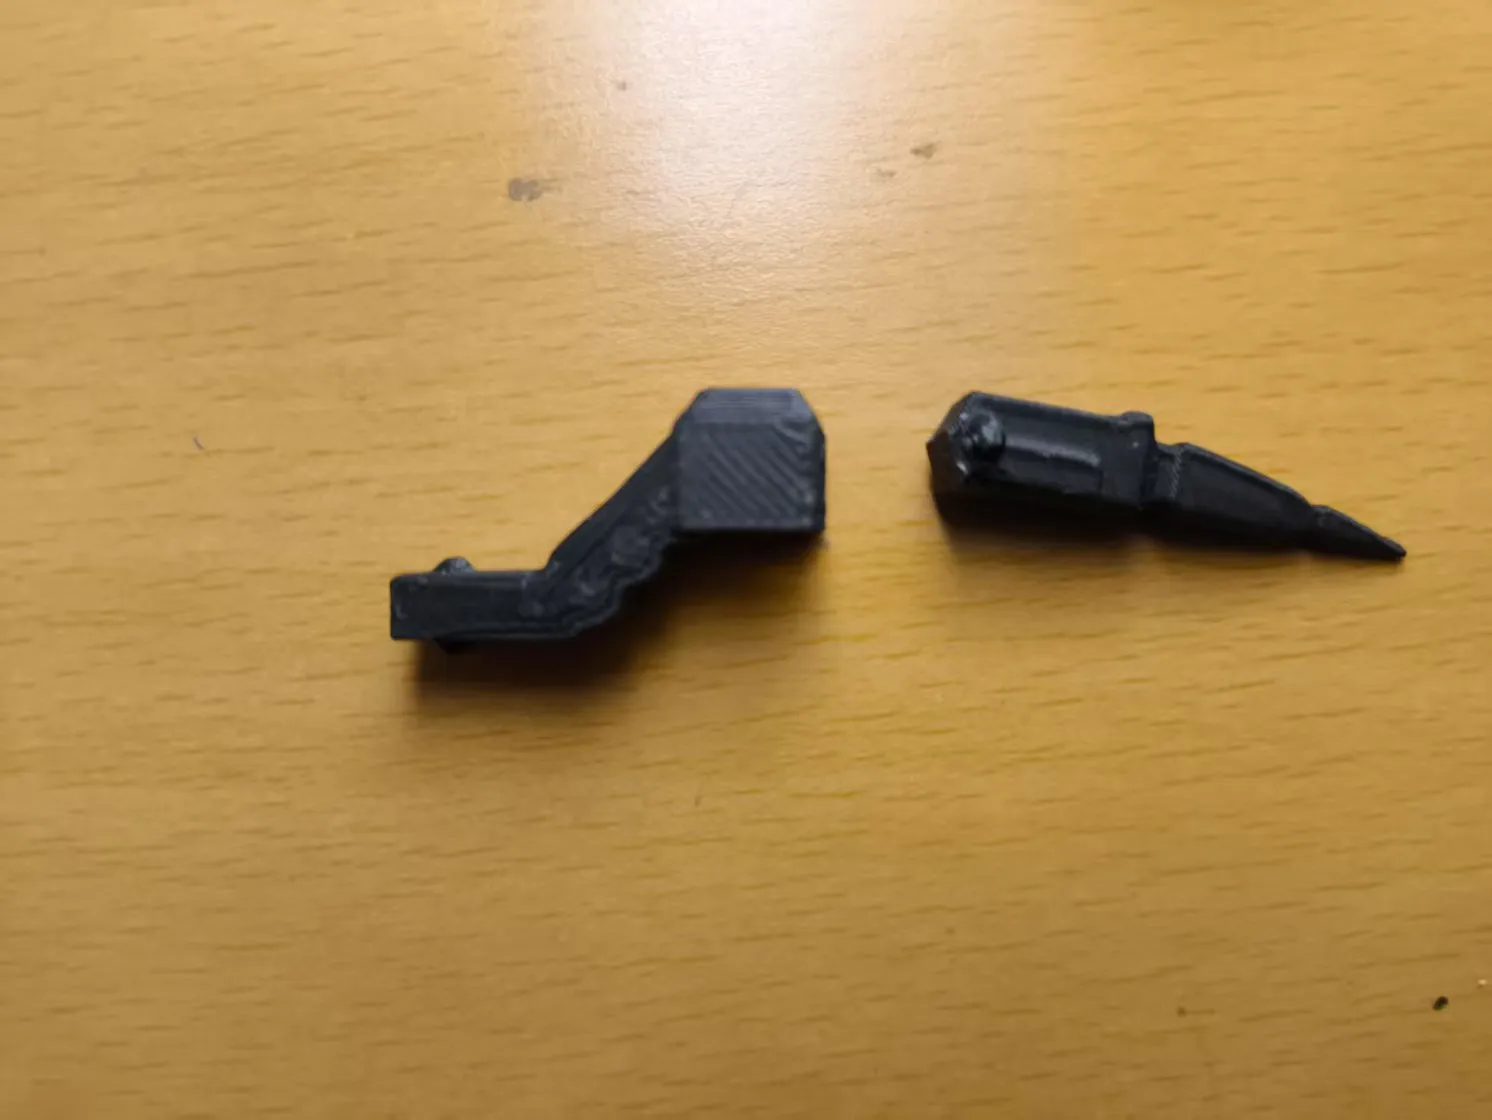
3. Insert the assembled leg into the leg socket (all six legs are essentially identical)
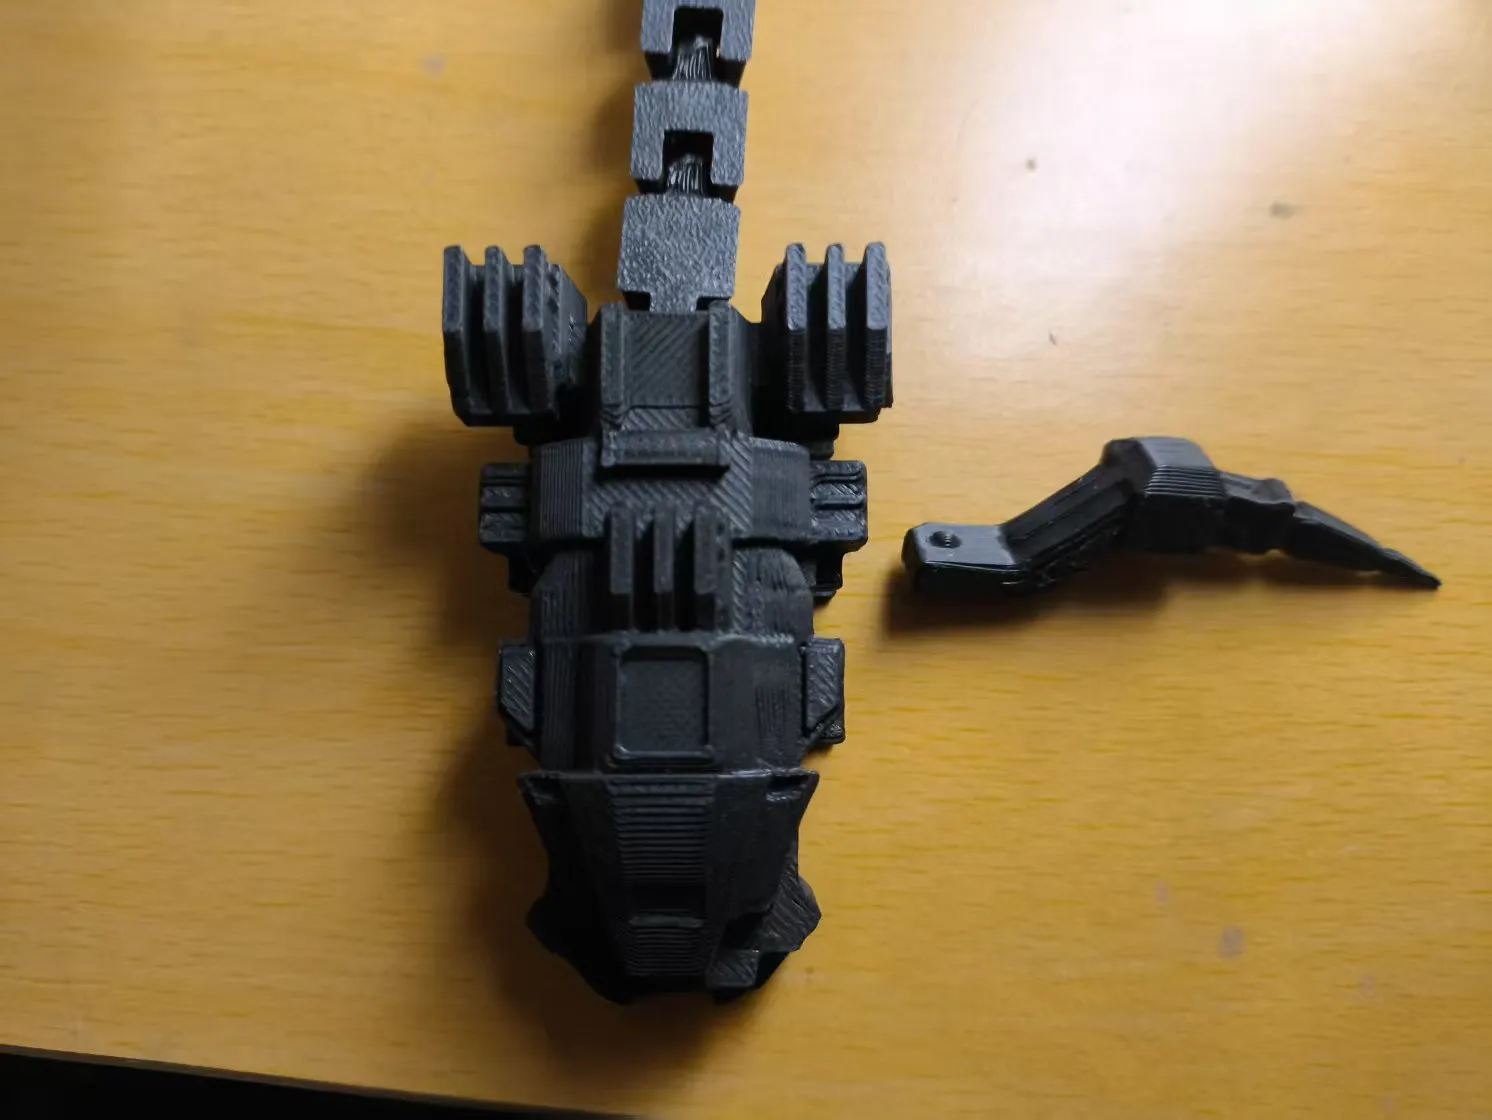
4. Insert the smaller claw segment into the larger claw
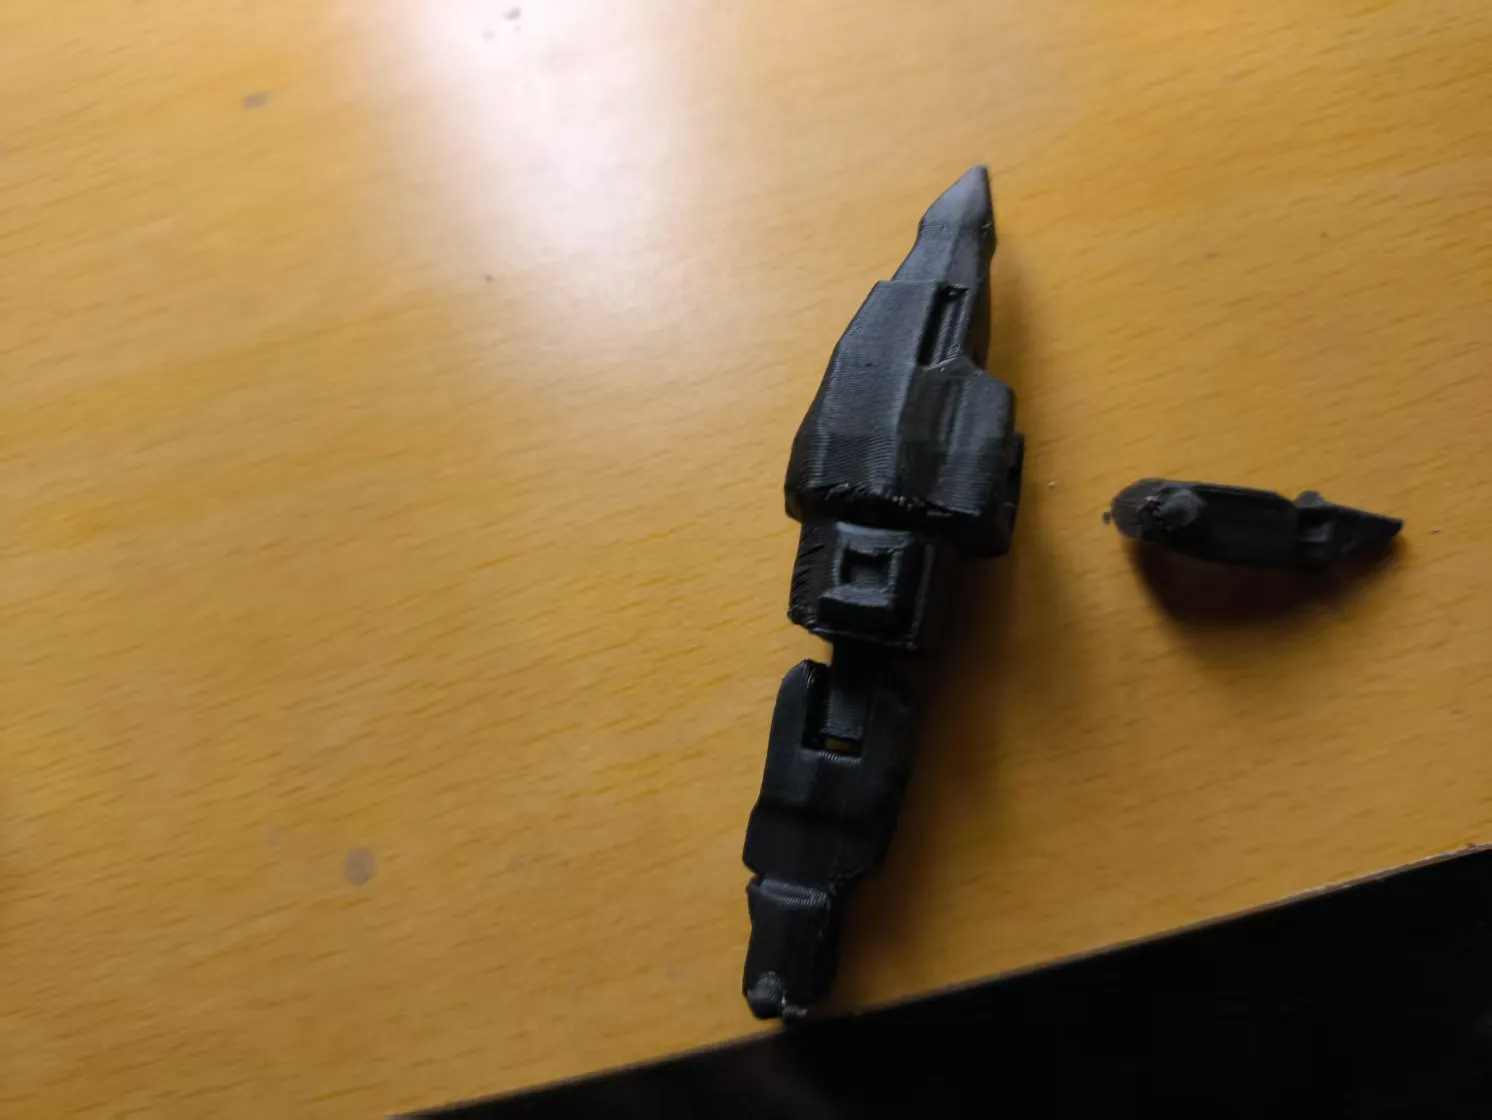
5. Attach the assembled claw to the elbow joint
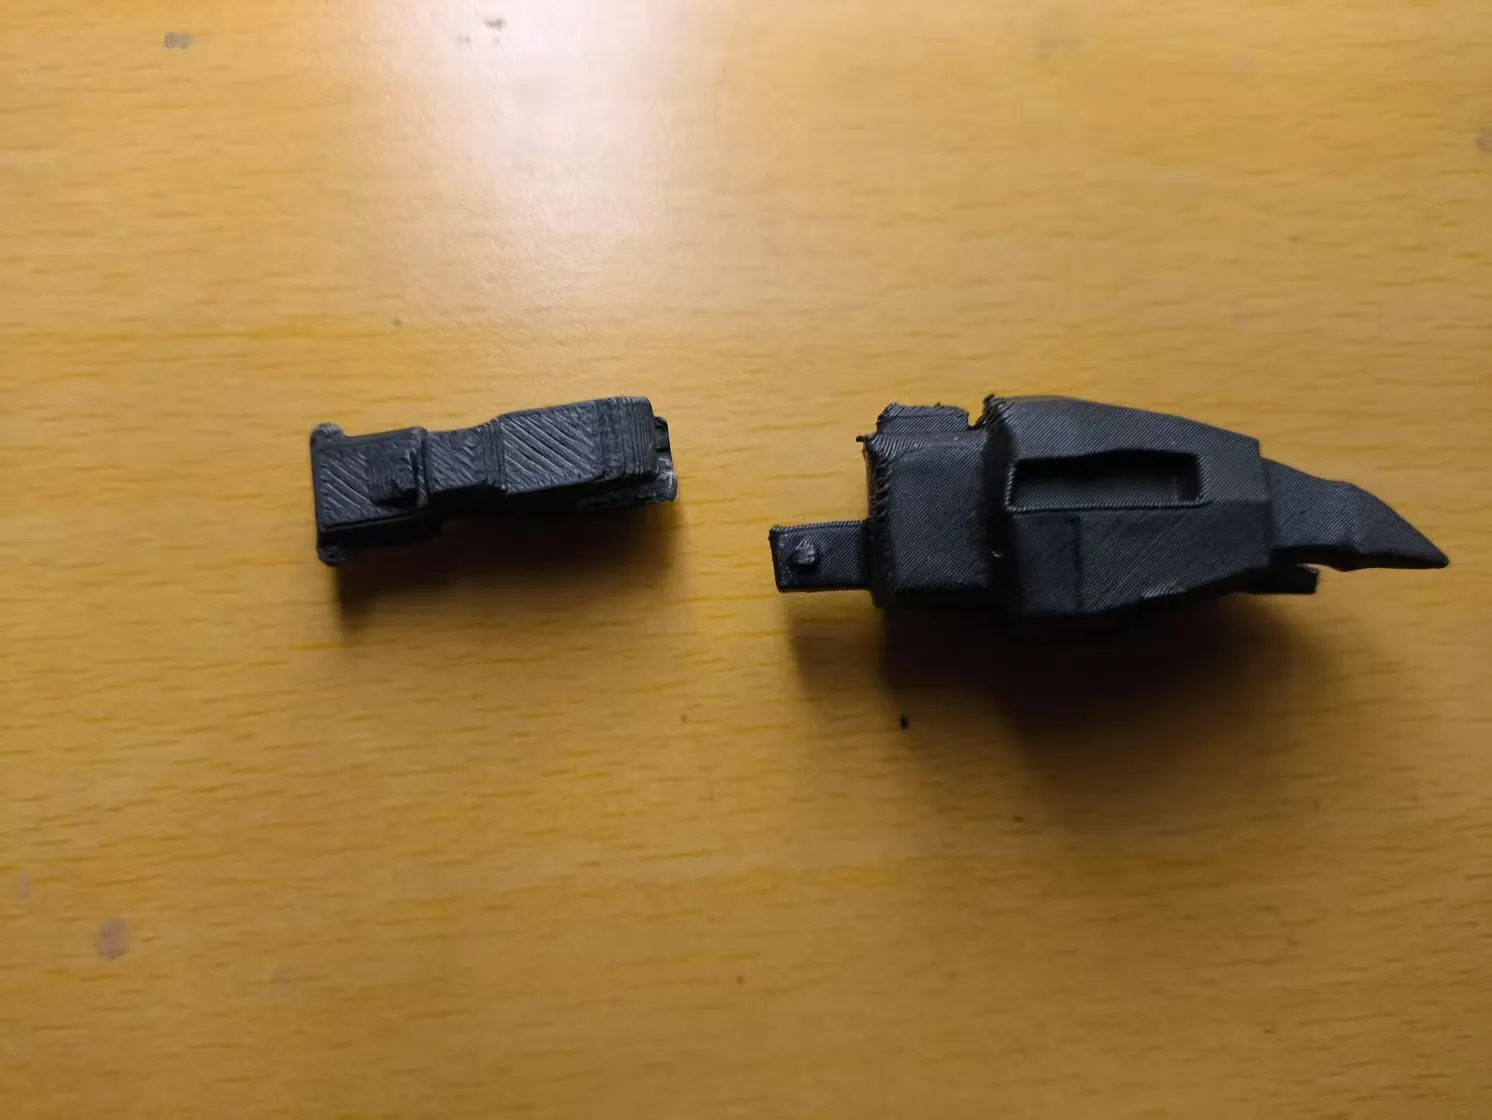
6. Secure the entire claw assembly into the foremost joint
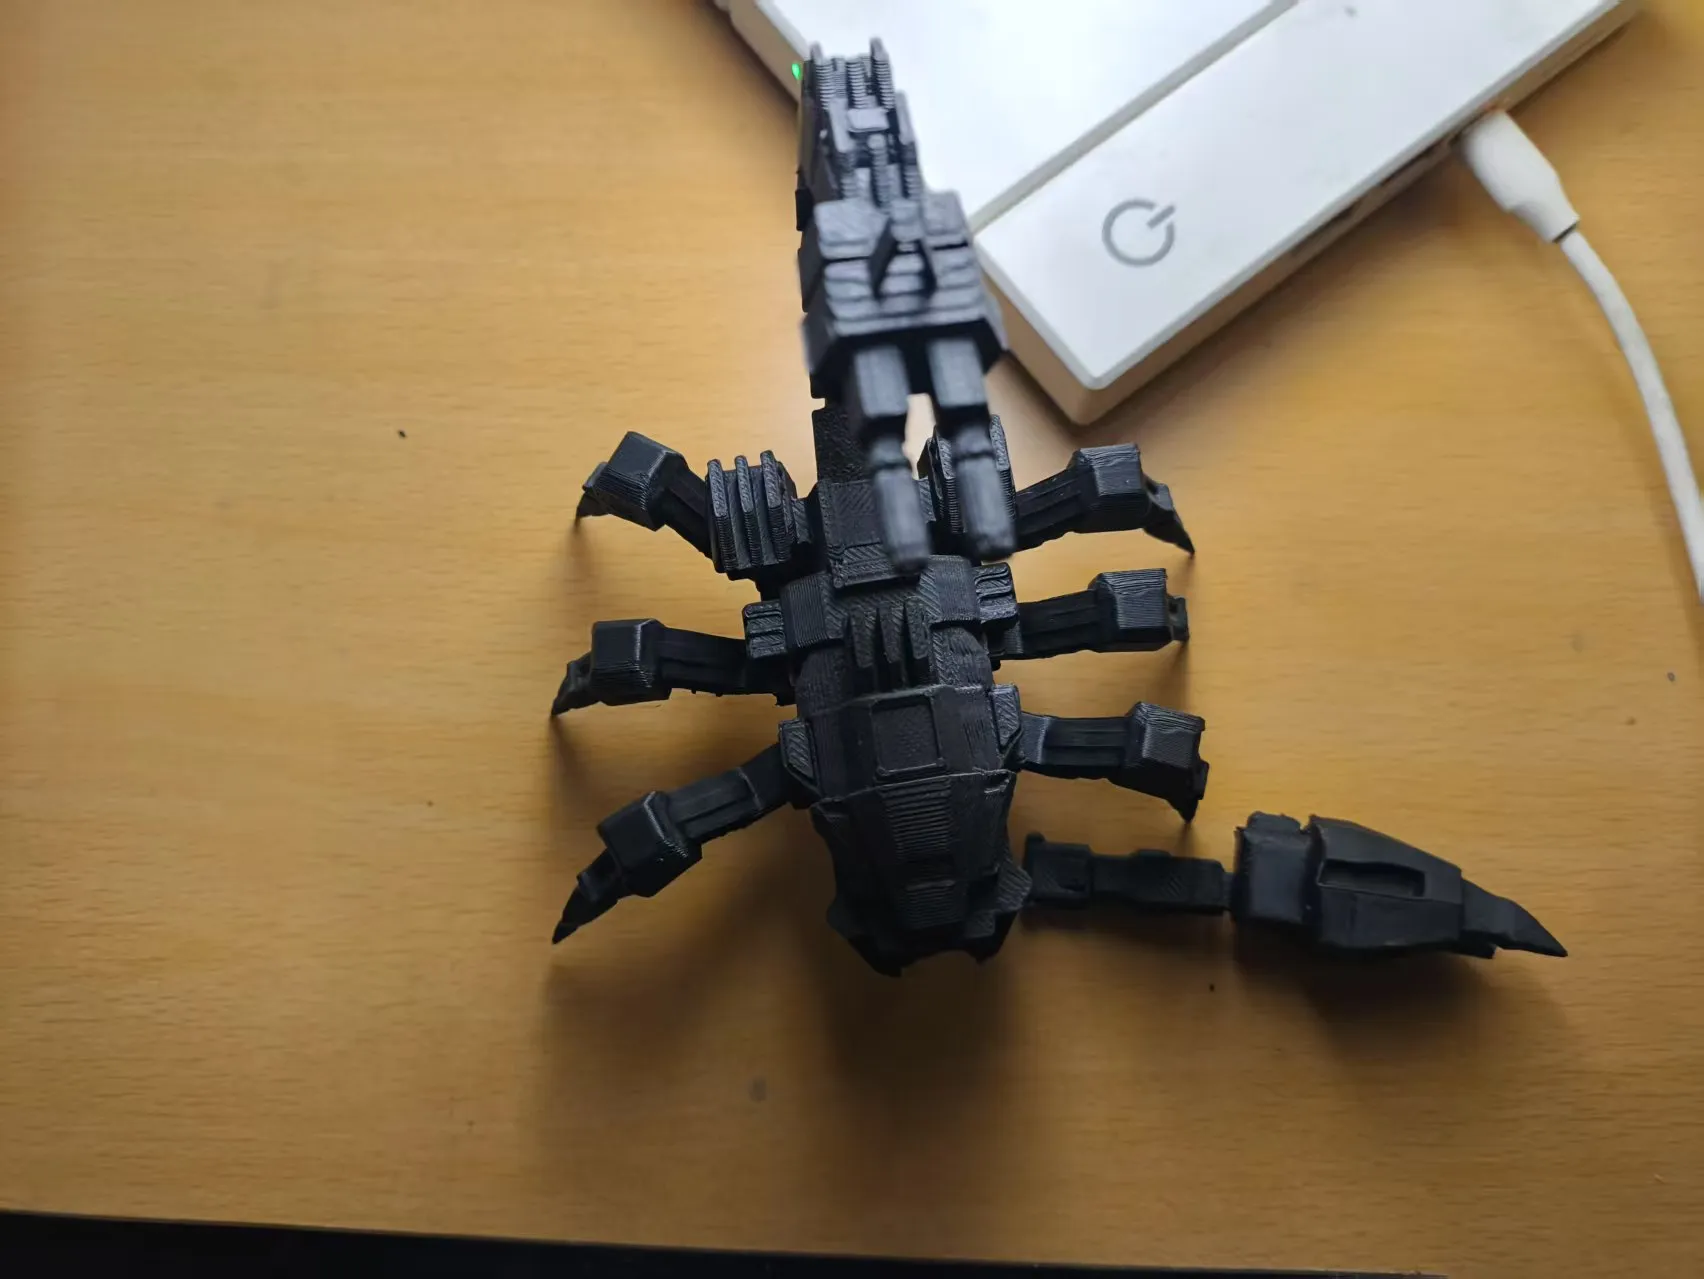
7. Assembly complete
License

You shall not share, sub-license, sell, rent, host, transfer, or distribute in any way the digital or 3D printed versions of this object, nor any other derivative work of this object in its digital or physical format (including - but not limited to - remixes of this object, and hosting on other digital platforms). The objects may not be used without permission in any way whatsoever in which you charge money, or collect fees.


Comment & Rating (32)