
Hex Shelf – Modular Wall System


Print Profile(2)


Bill of Materials


Description
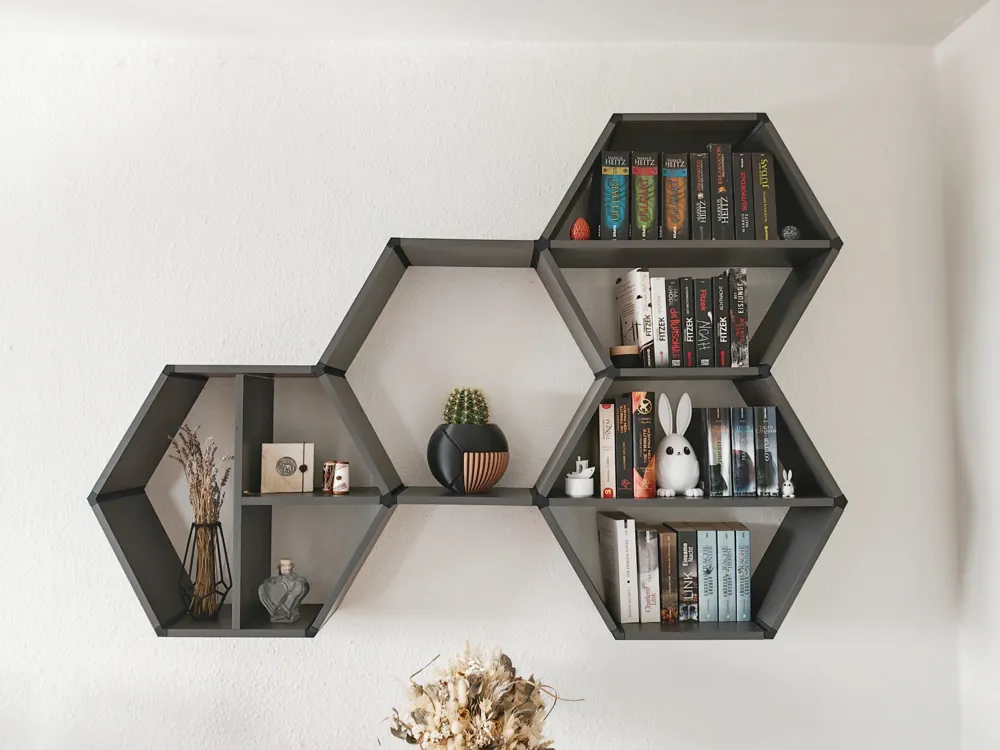
Hex Shelf – Modular Wall System with Seamless Printed Connectors
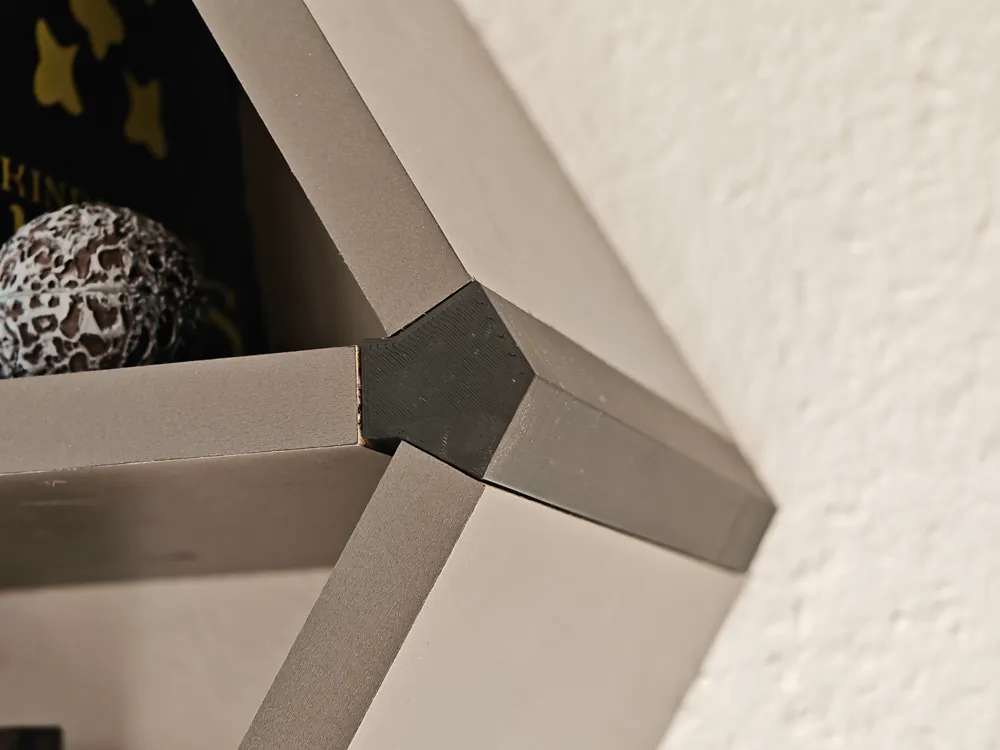
This fully customizable hexagon wall shelf system combines the warmth of wood with clean 3D printed corner connectors for a minimalist, seamless look. Only the connectors and rails are printed – the shelves are made from standard 200 mm × 16 mm wooden boards, which slide into place using a clever snap-fit system.
The layout is entirely up to you: by mixing 2-way, 3-way, 3-way horizontal, and 4-way connectors, you can build any hexagonal design you like. Each joint consists of two printed parts — a mount base (which can be wall-mounted) and a snap cap (which clicks into place once all boards are inserted).
A printable drill guide is included to ensure perfect alignment of all screw holes.
Boost Me (for free)
🪵 Materials & Parts (for the shown setup)
Wood boards:
- 22 × 275 × 200 × 16 mm
- 2 × 566 × 200 × 16 mm
- 1 × 508 × 200 × 16 mm
Printed parts:
- 44 × rail
- 9 × 2-way mount base
- 9 × 2-way snap cap
- 3 × 3-way mount base
- 3 × 3-way snap cap
- 2 × 3-way horizontal mount base
- 2 × 3-way horizontal snap cap
- 3 × 4-way mount base
- 3 × 4-way snap cap
- 1 × drilling guide
Screws:
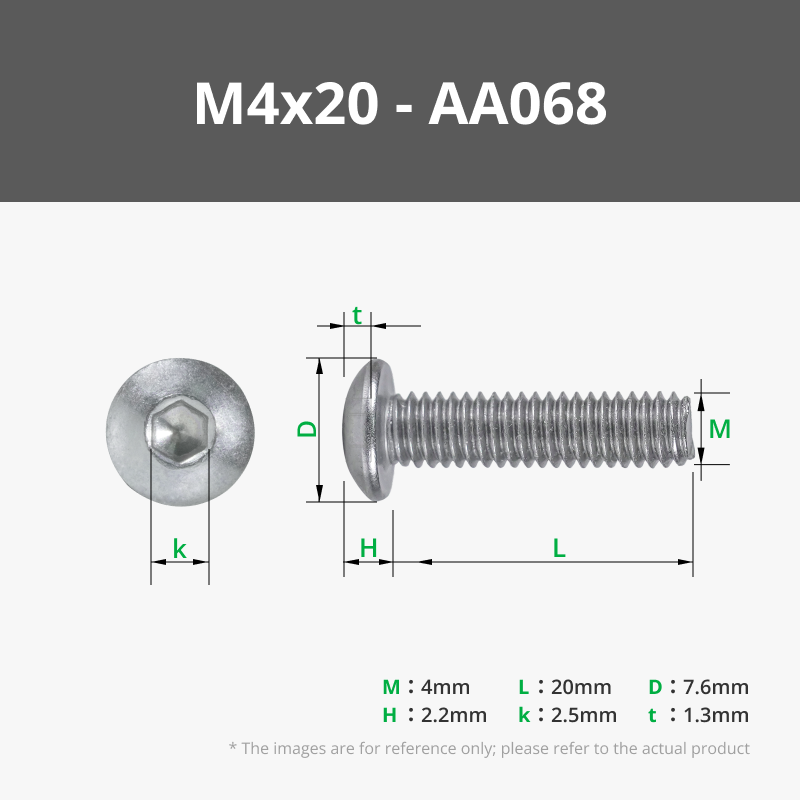
- 88 × 4×20 mm countersunk wood screws or BHCS
- ~10 × 4.5×60 mm countersunk wood screws + wall plugs (for mounting the bases)
Optional:
- A printable shelf board version is included if you're overflowing with filament — but wood is strongly recommended for rigidity, aesthetics, and practicality.
🛠 Assembly Instructions
- Print the drilling guide and use it to mark and drill the rail holes at the ends of each board.
- Attach the rails using the 4×20 mm wood screws.
- Lightly insert a mount base (e.g. a 2-way base) onto the rails of your starting board.
- Hold the board up to the wall, level it carefully (a smartphone app works great), and press a 4.5×60 mm screw through the mount base to mark the wall position.
- Take it down, drill the hole, insert a wall plug, and screw the mount base to the wall.
- Slide the board back into the mounted base using the rails — it should lock firmly into place with the built-in push pin system.
- Continue corner by corner, building outward. Use a level to keep consistent 30° angles.
- Once all board slots are filled at a connector, press the snap cap on until it clicks into place.
🧱 Mounting Notes
You don't need to mount every connector to the wall. I only secured the top row and a few sagging corners in the middle. The rest holds together just with the push-fit rail system.
License

You shall not share, sub-license, sell, rent, host, transfer, or distribute in any way the digital or 3D printed versions of this object, nor any other derivative work of this object in its digital or physical format (including - but not limited to - remixes of this object, and hosting on other digital platforms). The objects may not be used without permission in any way whatsoever in which you charge money, or collect fees.


Comment & Rating (107)