
A1/mini AMS Lite Hub Retainer
Print Profile(3)



Description
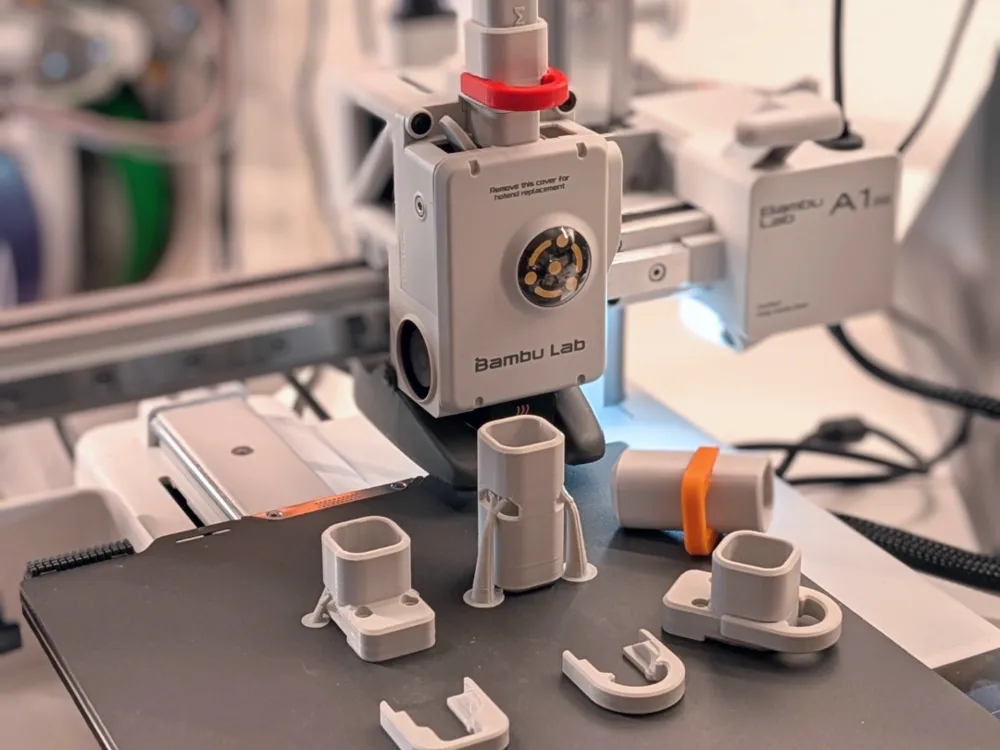
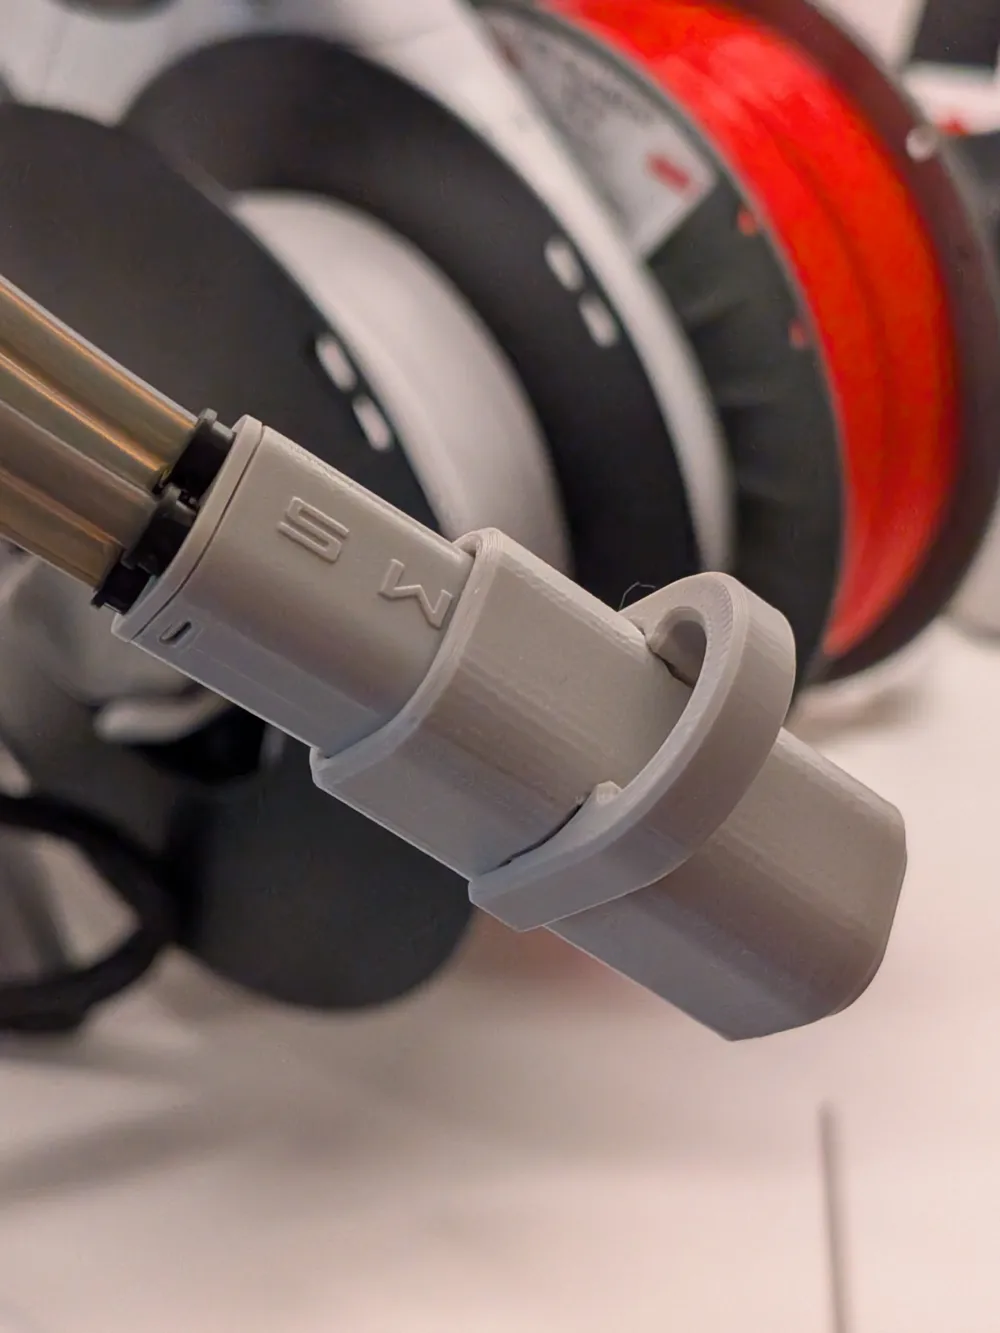
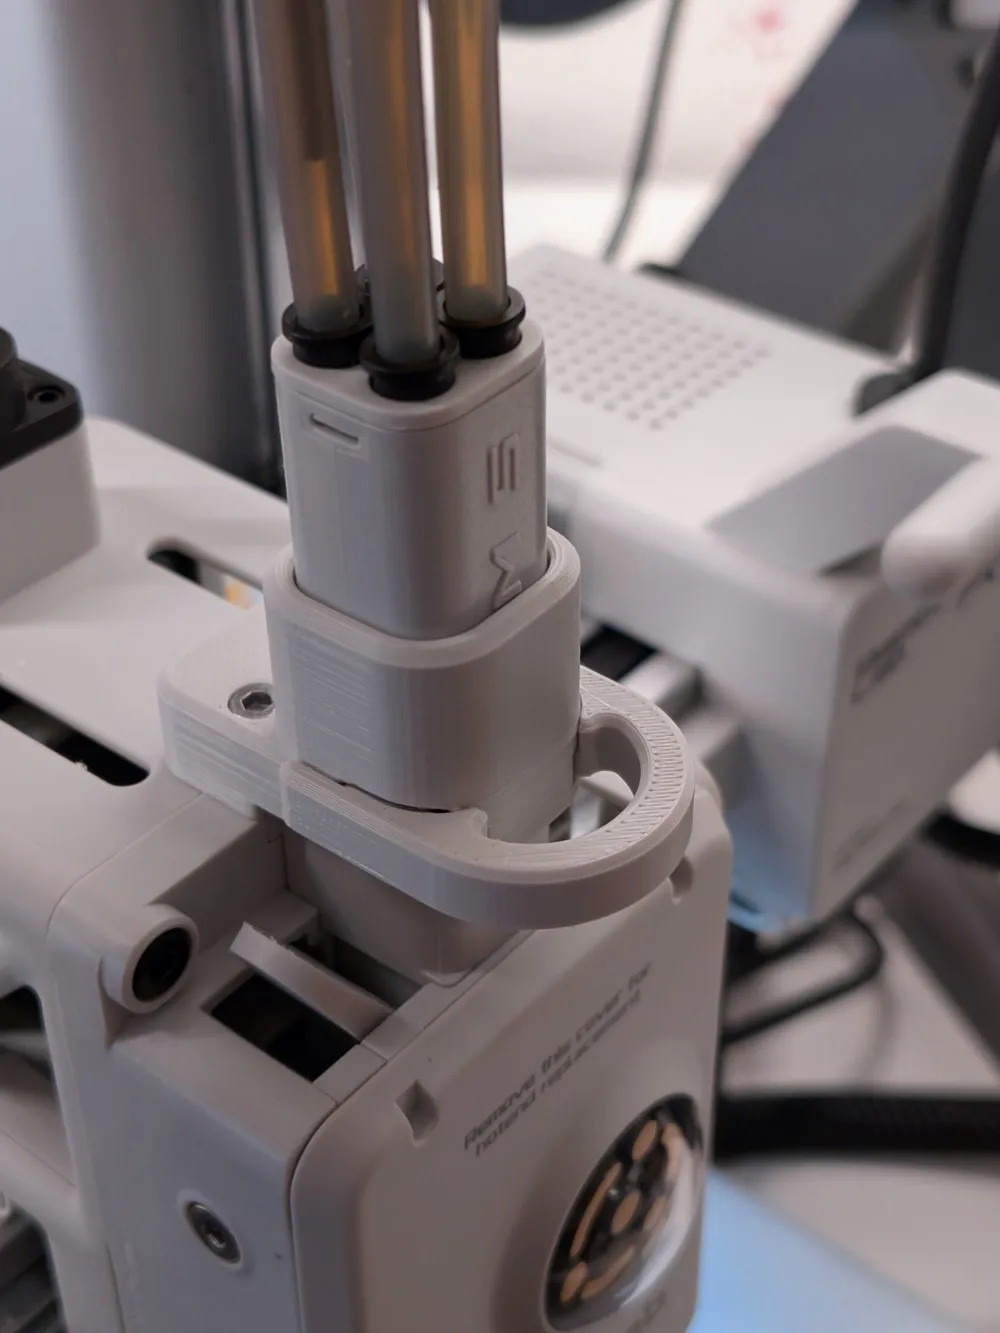
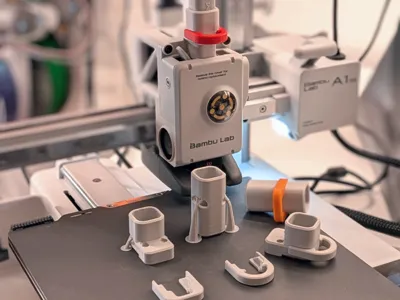
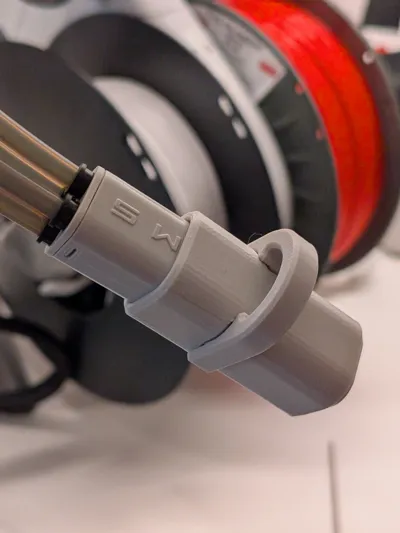
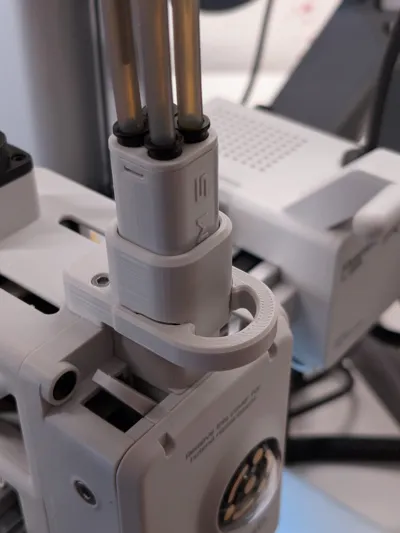
This is a replacement for the AMS lite hub retainer collar that comes stock on A1/A1 mini. It allows to easily remove and insert the AMS lite hub without a hassle. The hub is free to move as in the stock configuration.
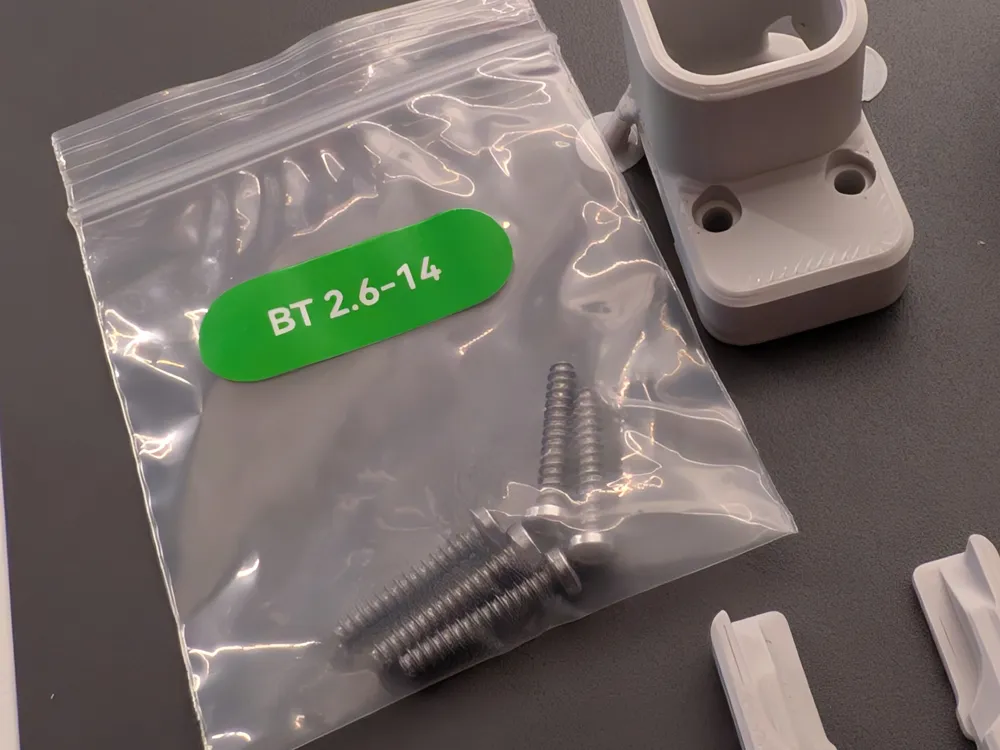
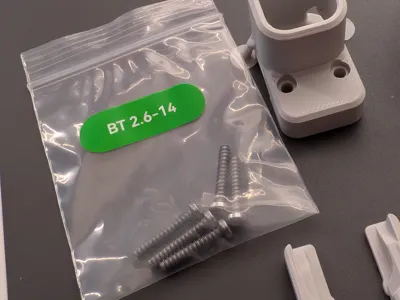
IMPORTANT: You need 2x BT 2.6x14 self tapping socket head screws. They're currently only available with the bambulab A1-Series screws kit. There is no other way to get them than the screws kit. You only get one with your printer (for the filament cutter) and that one is used on the printer. The original screws for the filament sensor are too short to offer any meaningful thread engagement. BT2.6x14 is not a standard screw, you cannot find it anywhere else than from Bambulabs A1-Series screws it.
Features
- Replaces stock retention collar
- Easy removal/insertion of the hub
- Better guidance and more stable hold of the hub
- Smoother sliding motion
- Hub retention with the clip is more secure
V2 Update Notes
- V1 hub stop positions where off by around 1mm, V2 fixes this
- Better clip snap fit, easier operation, tighter fit, redesigned sliding surfaces
- Prints easier (the problem overhang is reduced)
- Different strength clips. Rounded handle clips are a bit stronger and forgiving of tolerances, the tighter clips plate has a version of each with a tighter snapping surface. Some filaments print loose and others tight, try which strength suits you best.
- Longer hub holding collar, improved clearances
- Added a hub cap so the greased hub end stays clean when not inserted in the printer
Install
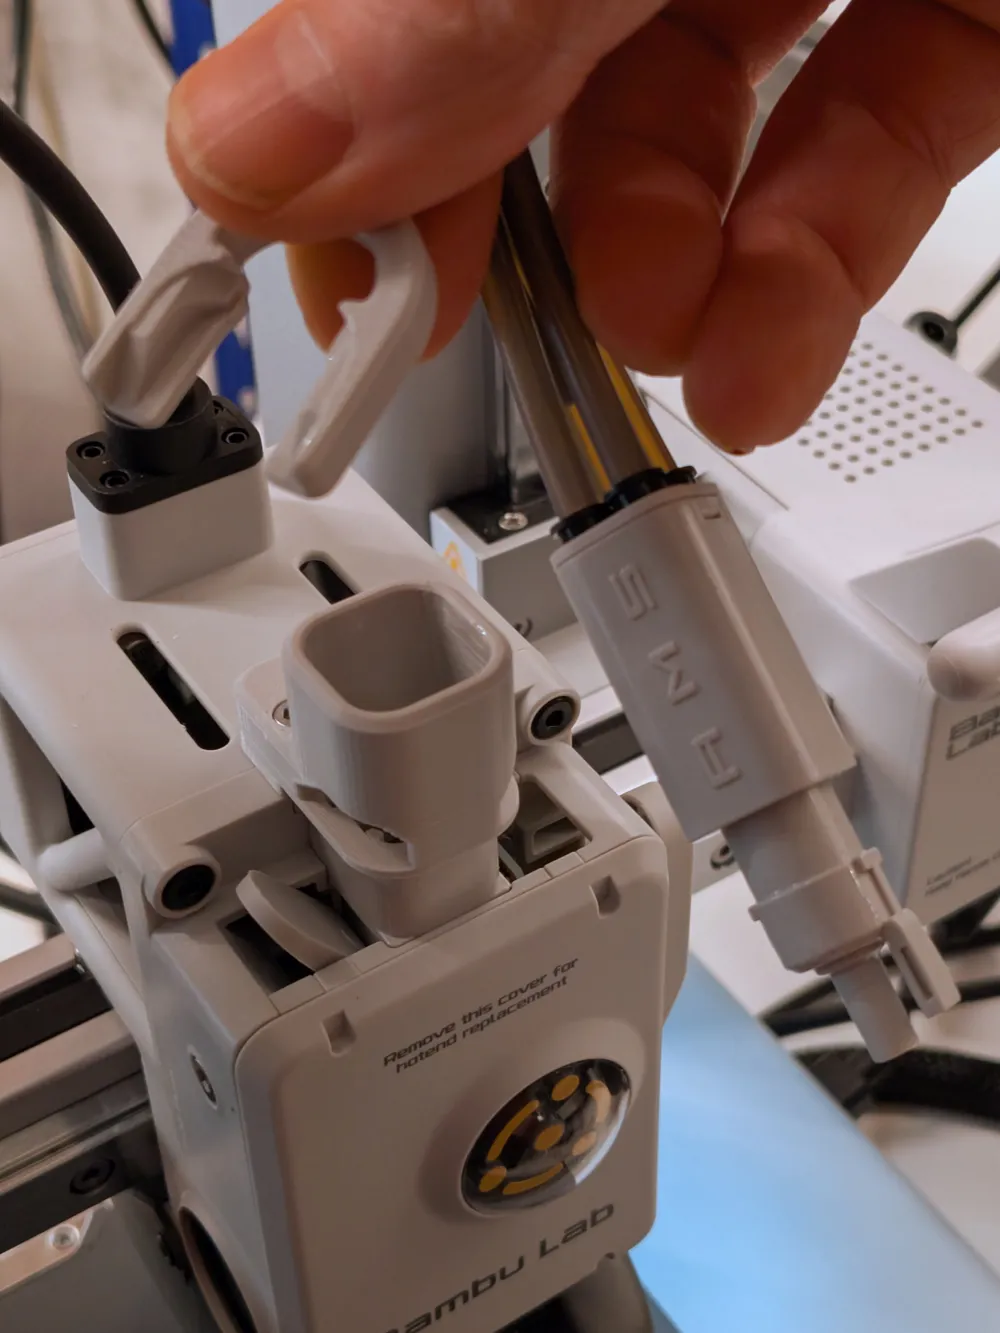
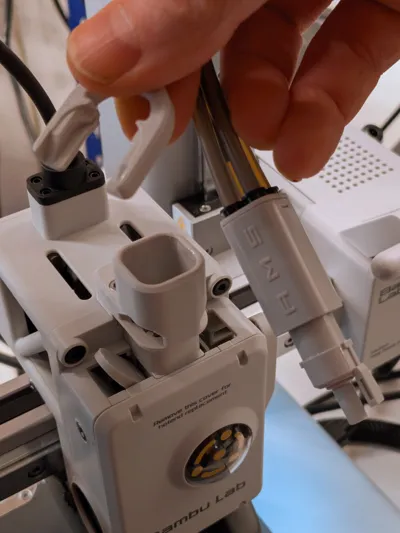
- Remove the hub from the toolhead
- Remove the two screws holding in the filament sensor (but leave the filament sensor in)
- Put the bracket in place on top of the toolhead, hook into the front lip first and then set it down
- Insert the BT 2.6-14 screws into the two screw holes and tighten them appropriately, be careful not to overtighten as these are plastic screws.
- Insert AMS Lite hub and compress the spring slightly
- Insert the retention clip
License

You may create derivative works based on this object, provided that all such derivative works are published exclusively on the MakerWorld platform and include proper attribution to the original creator. You may not share, upload, host, distribute, or publish this object—or any derivative work of this object—on any other digital platform, marketplace, or distribution channel. Commercial use of this object and any derivative works is strictly prohibited. This includes, but is not limited to, selling, renting, sublicensing, or using the object in any context in which you receive monetary compensation or other financial benefits.


Comment & Rating (134)