X-axis Belt Tensioner for Malyan M150


Print Profile(0)
Description
Summary
I looked at some solutions for wanhao and similar i3 clones like http://www.thingiverse.com/thing:1672640 and the remixes but they all don't really fit Malyan M150 properly as M150 comes with 3 linear bearing blocks that are different in size from Wanhao (and especially different from those upgrades ppl put on Wanhao) hence all the files I tried didn't really work. I tried editing them but it's tedious work to edit STL (why don't ppl upload source files still is beyond me) so I reworked it from scratch .. so it is similar to /thing:1672640 but it properly fits Malyan M150. It also works perfectly in conjunction with http://www.thingiverse.com/thing:1906153 :)
NOTE: DO NOT OVER-TIGHTEN YOUR X BELT! When you plan to change the X belt tension do that when the X assembly is at the bottom or at the top of the printer, do not tighten too much as you can easily bend the Z guide rods! Especially if you are increasing tension while X assembly is at the middle of the Z!!
UPDATE: changed geometry, used better dimensions, the thing:1672640 I was using at starting point assumes poorly calibrated printer so everything is "sloppy" and loose :( ..
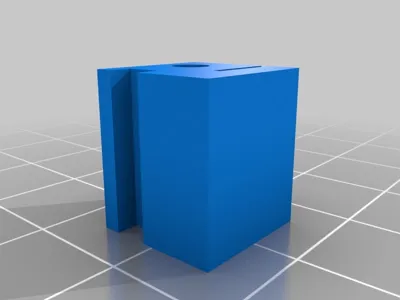
UPDATE 201611231820: new image of v1.1 fitted, works flawlessly :D
UPDATE 201611250215: added "x-belt tensioner for M150 - linear" if you don't like loop you can use this one to attach your belt to the fixed side with teeth grove like it is on the variable size
UPDATE: Forgot to write this before, when I was designing, printing, using this piece I was unaware the Malyan M150 already have embedded X belt tensioner in the frame so this part is actually completely not needed!!! you can leave it as is, remove the spring thing from the belt and use the screw on the right to tension the belt. (If you look carefully there is a notch on the right Z beam, drop your Z to that notch and trough that notch you can access the screw to tighten/loosen the X belt, exactly the same tensioning system like exist for Y)
Print Settings
Printer:
self made
Rafts:
Doesn't Matter
Supports:
No
Resolution:
0.25mm
Infill:
30%
Notes:
there's a thin wall 0.4mm on the object. Print using 0.4mm "line" or configure your slicer to detect thin walls, anyhow even if that thin wall is not printed at all (as if you don't detect thin wall and your slicer is configured to print with larger line then 0.4mm it will be ignored) the part is still 100% functional!
main tensioner block is properly rotated for printing, sliding block you have to rotate 180 degrees (around x or y) so that screw head hole prints properly.
How I Designed This
onshape
            onshape source of the whole project available:
https://cad.onshape.com/documents/7cb155e953d26af39c1b9508/w/cac13f9b8a666666c8f0e621/e/8dbd92b8547ecb7d5ffd2531
Comment & Rating (0)