Printing Material: PLA silk for enhanced aesthetics
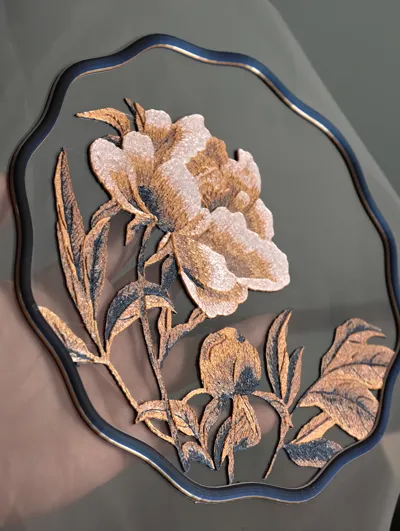
Mesh Specifications: 80-denier polyester mesh
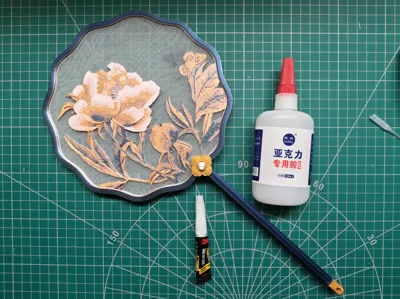
Adhesive Type:
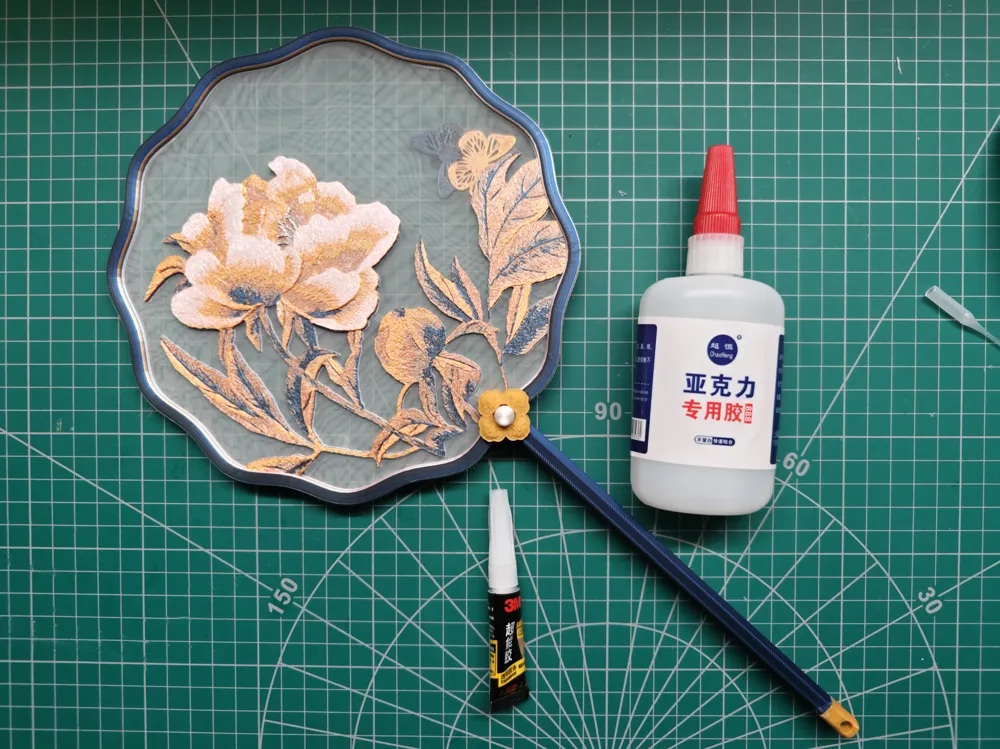
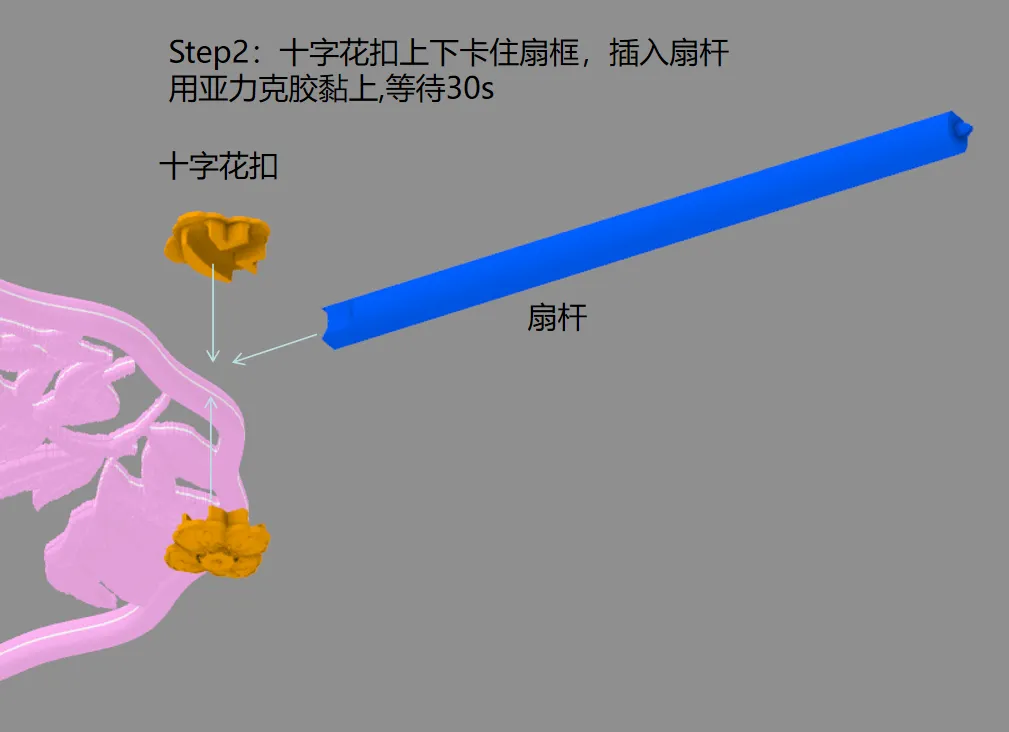
Acrylic adhesive, for bonding: the fan handle and frame
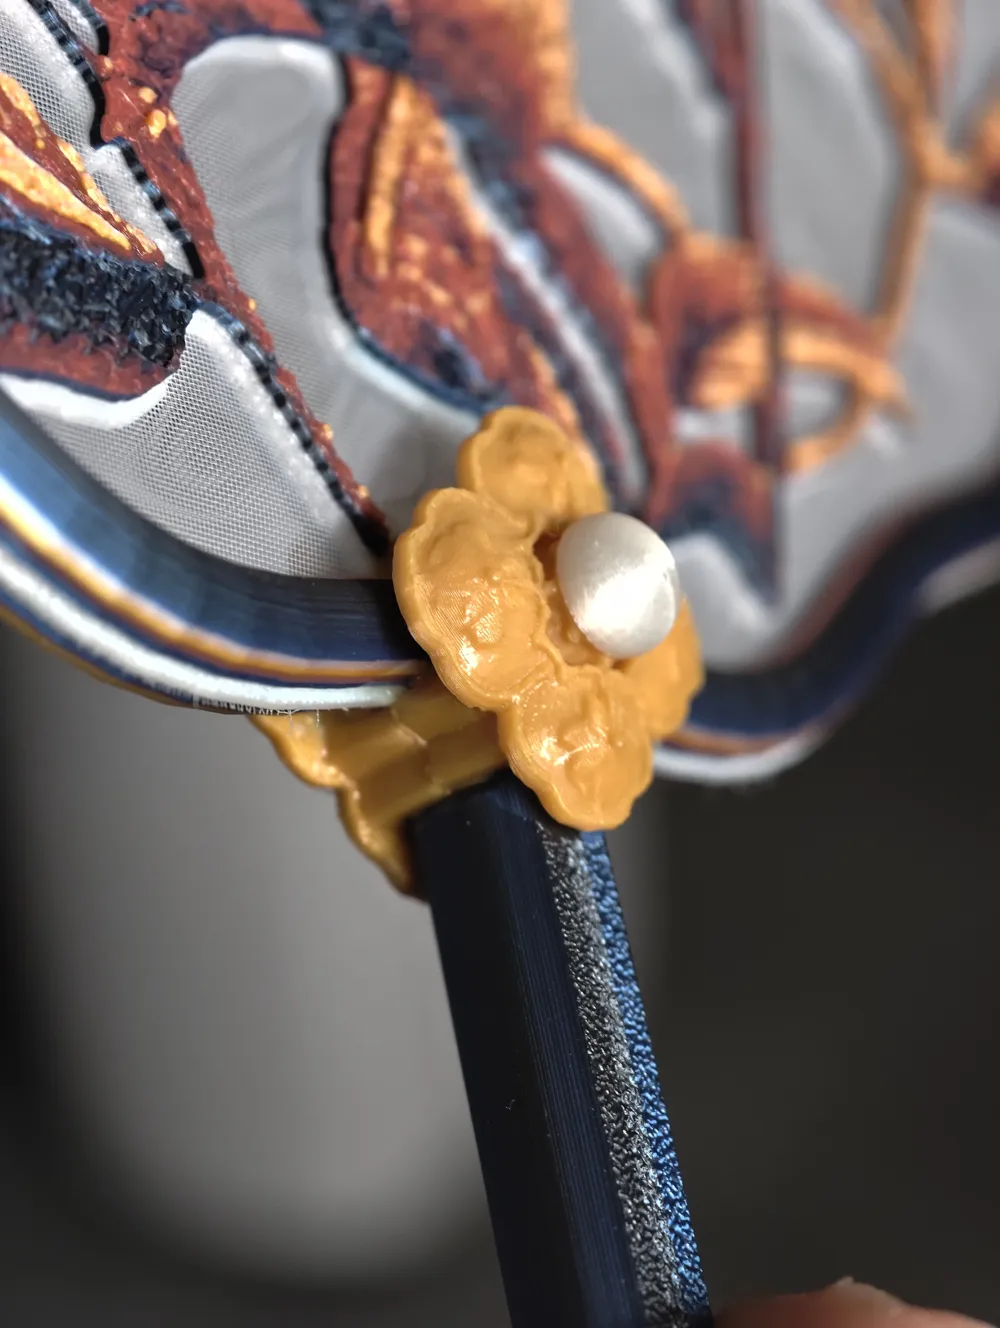
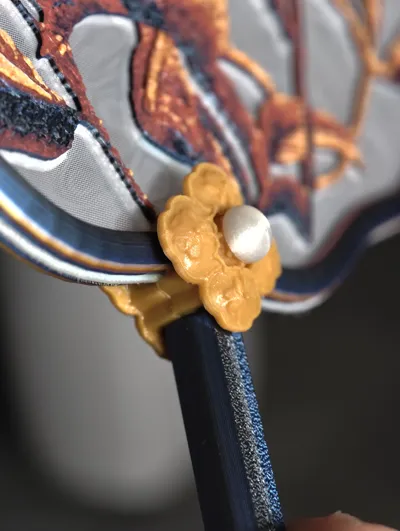
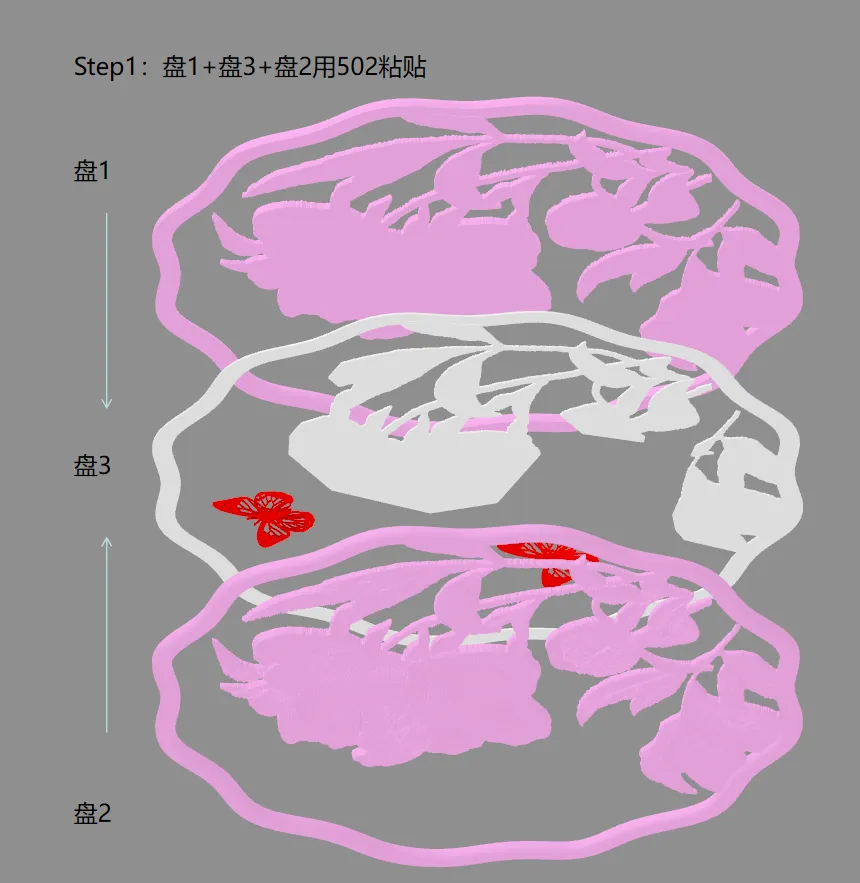
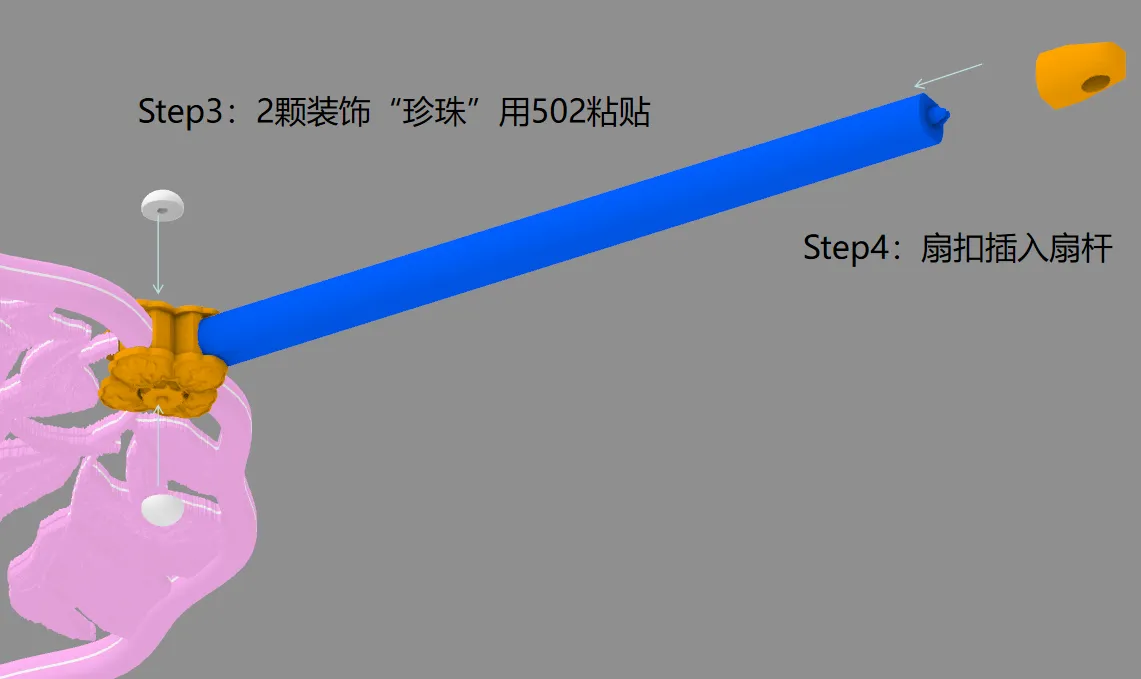
502 adhesive, for bonding: the three layers of the fan face and decorative beads on the handle
The model's design features a relatively fragile connection between the handle and frame; please purchase high-strength acrylic adhesive with excellent bonding properties (however, its high fluidity makes it unsuitable for minute components)!
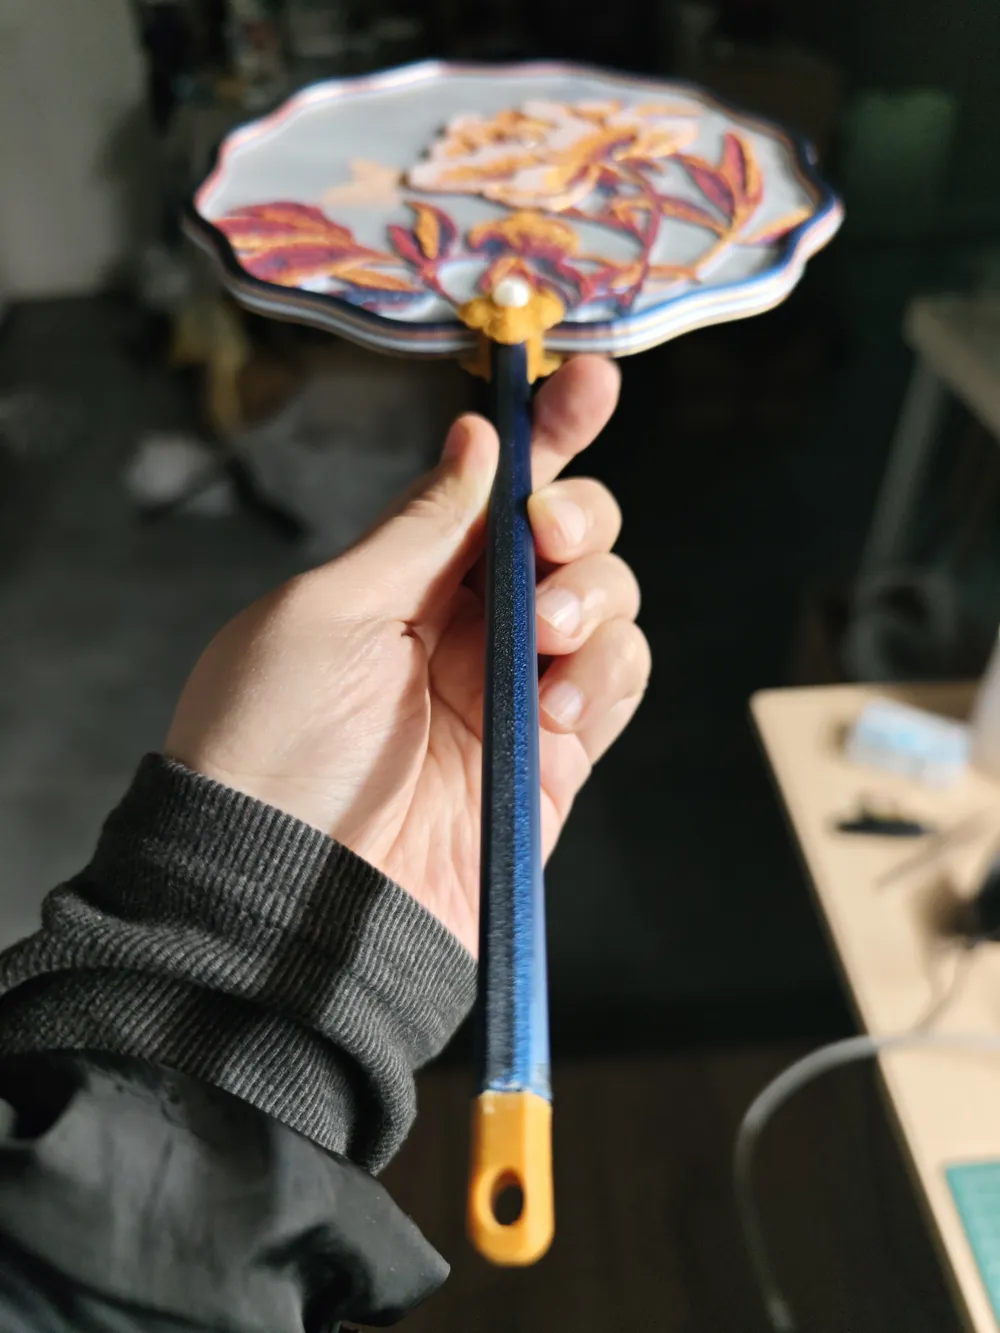
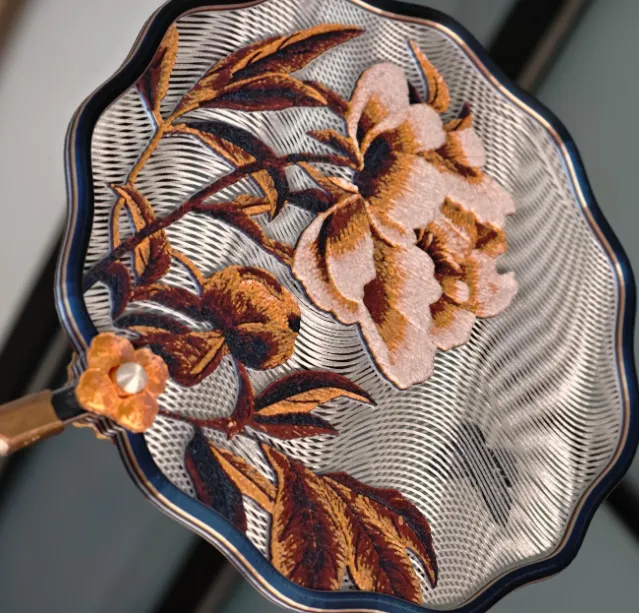
Testing confirms the fan's operational functionality—it can both oscillate and rotate~~~
Operational demonstration: 【Imitation Paeony Double-Sided Embroidered Hand Fan—bilibili】 https://b23.tv/oyrmzsP
Printing Instructions:
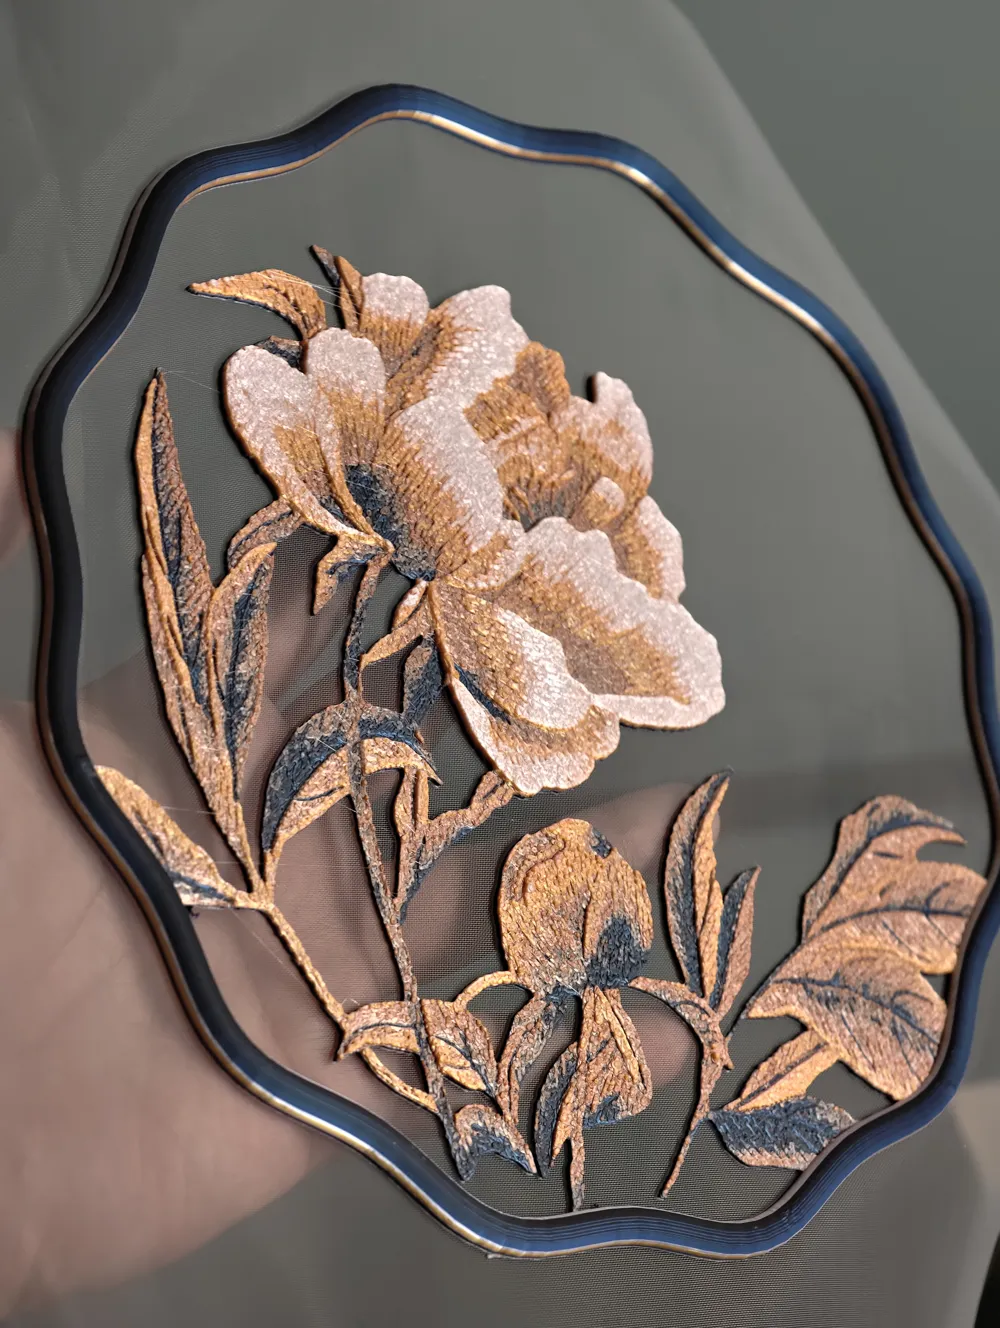
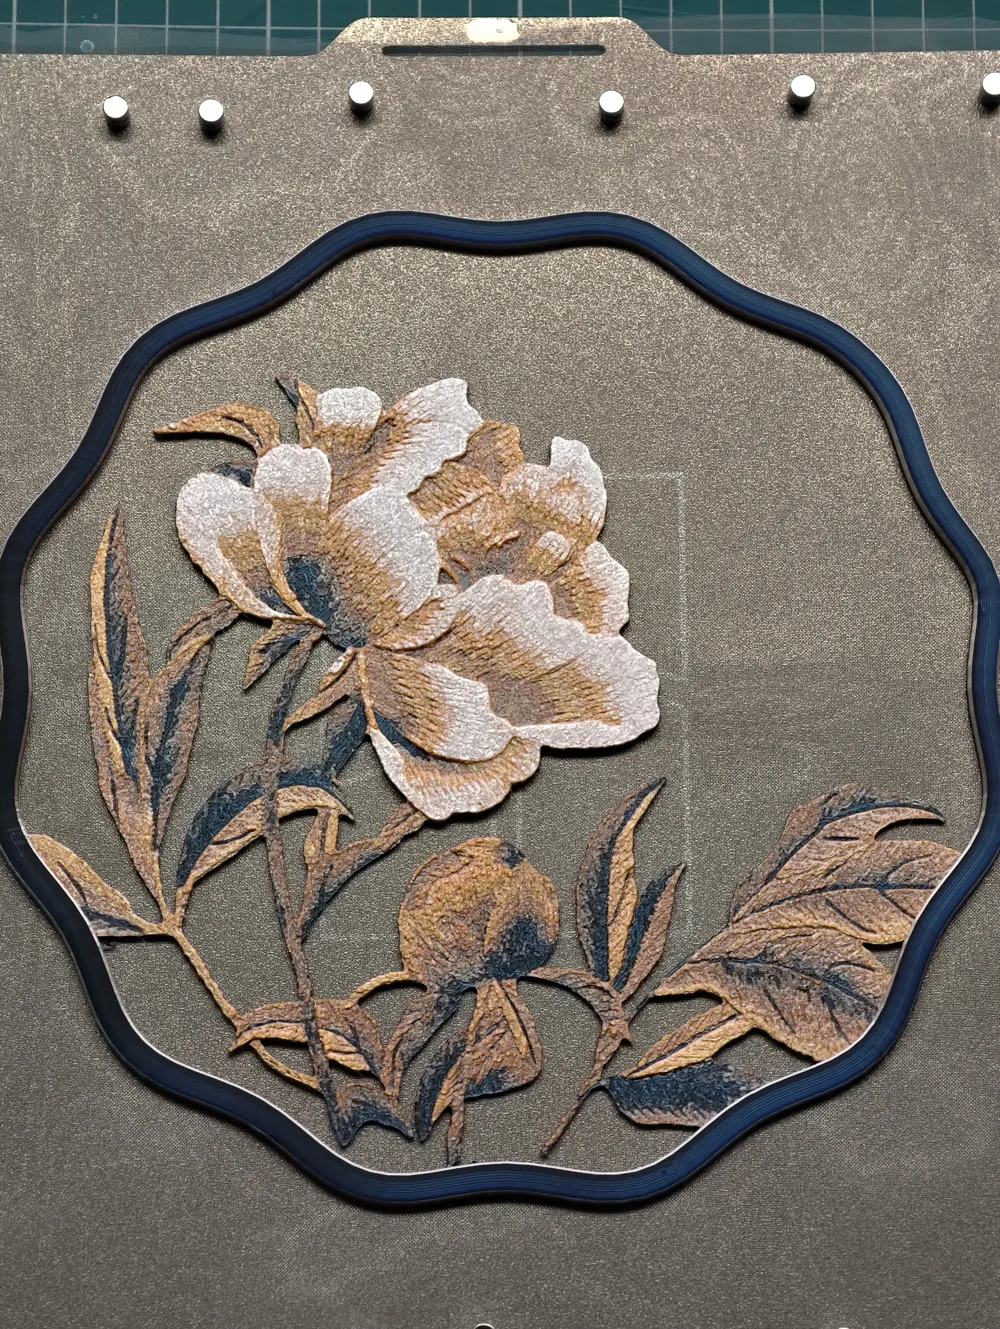
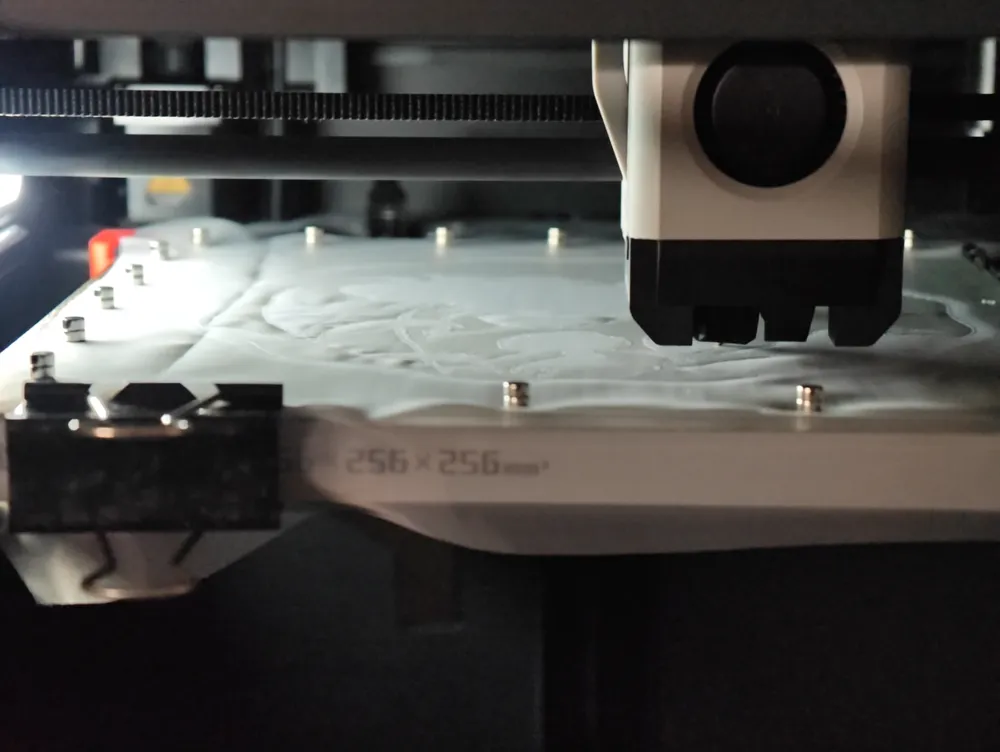
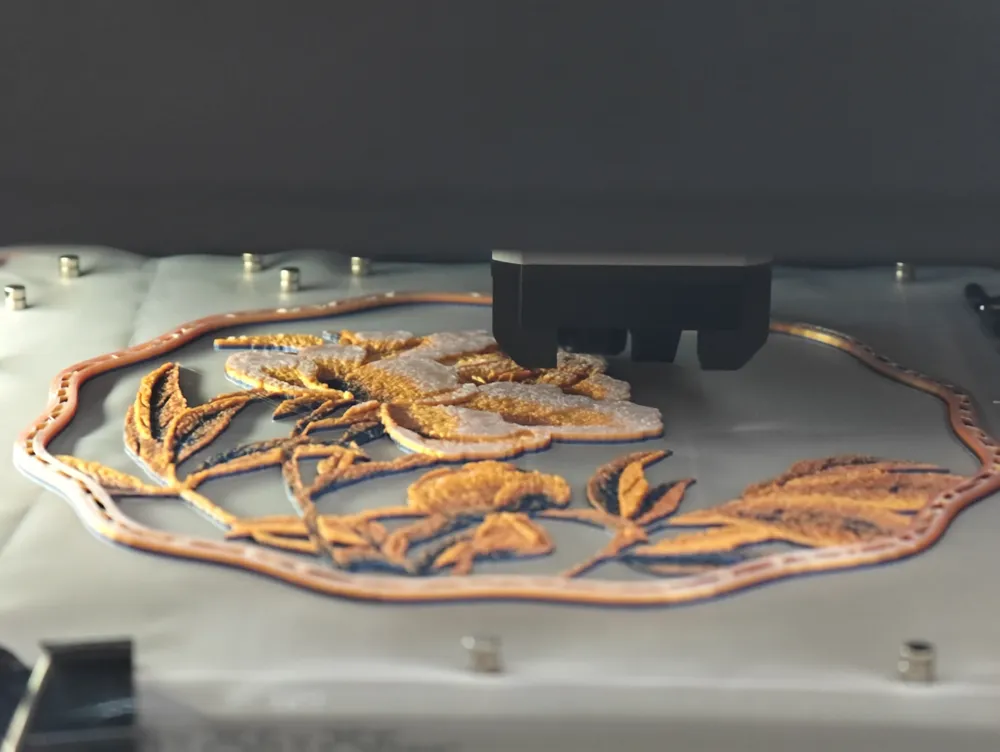
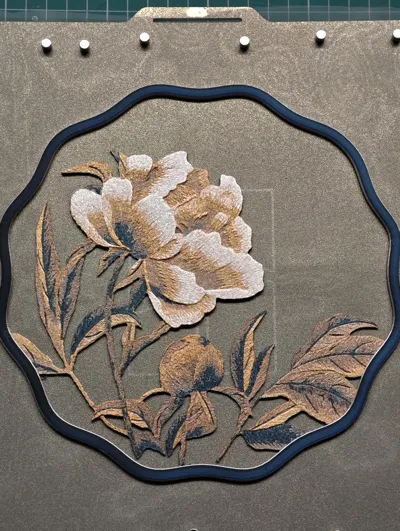
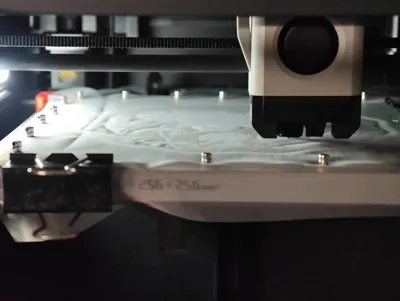
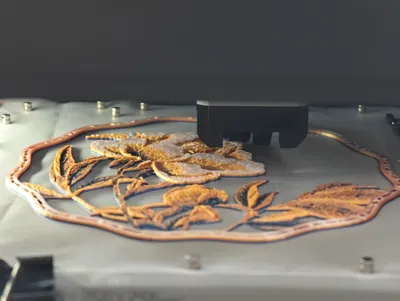
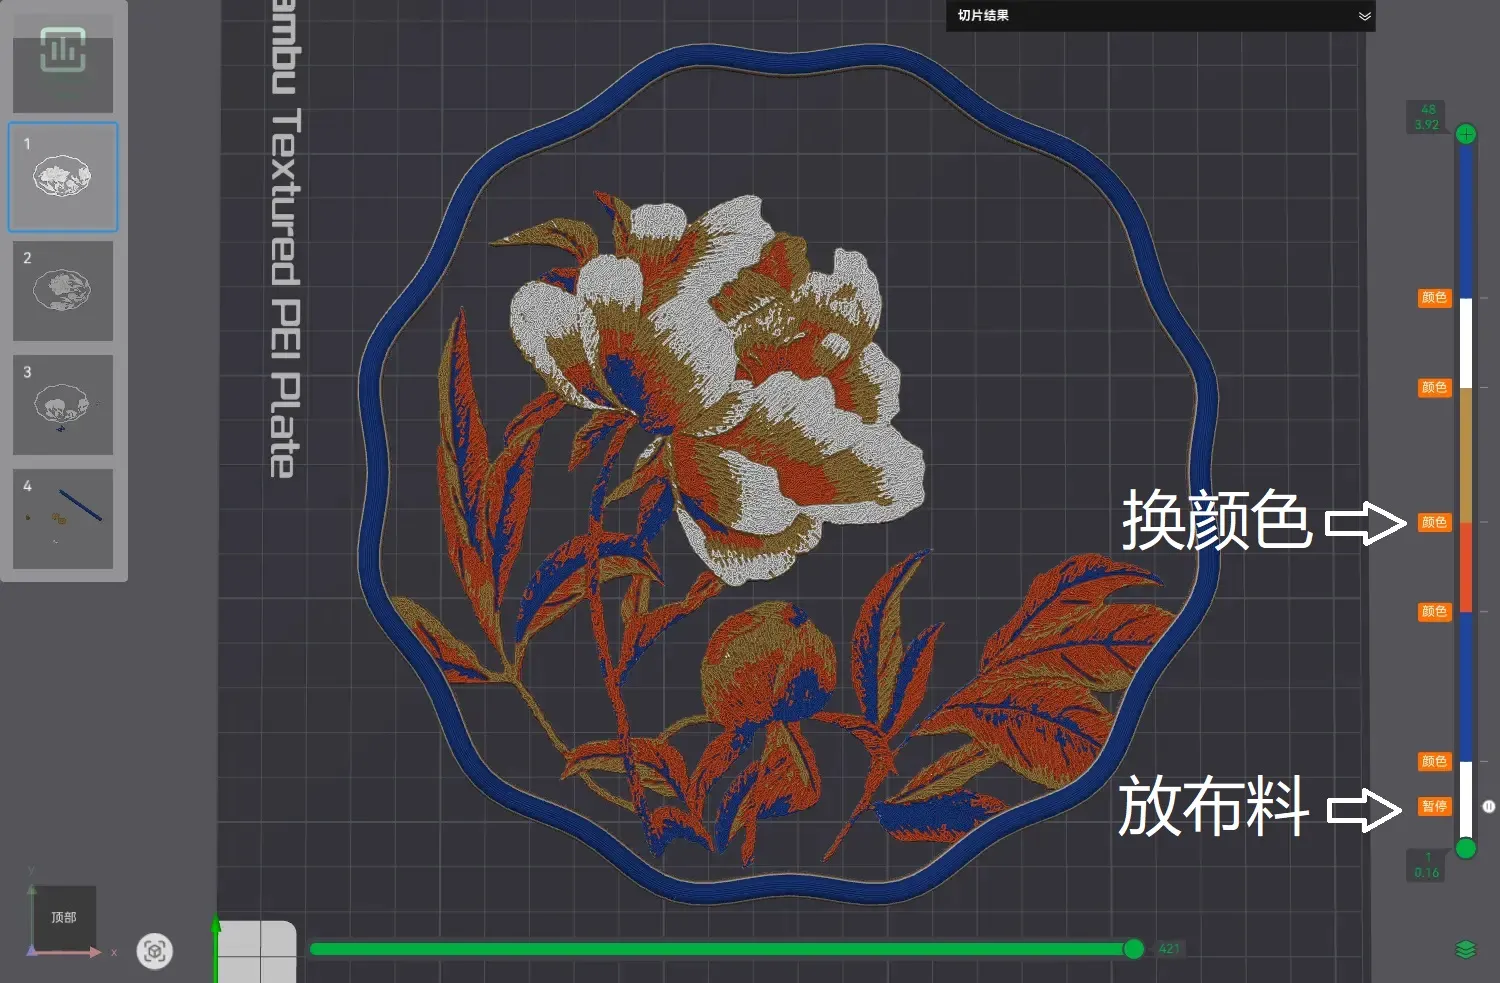
Plate 1-2, two-layer fan face printing method: place the mesh during the pause layer, gently sliding it from the center to the edges using a magnet, aiming for even distribution (use clamps for enhanced stabilization if possible)
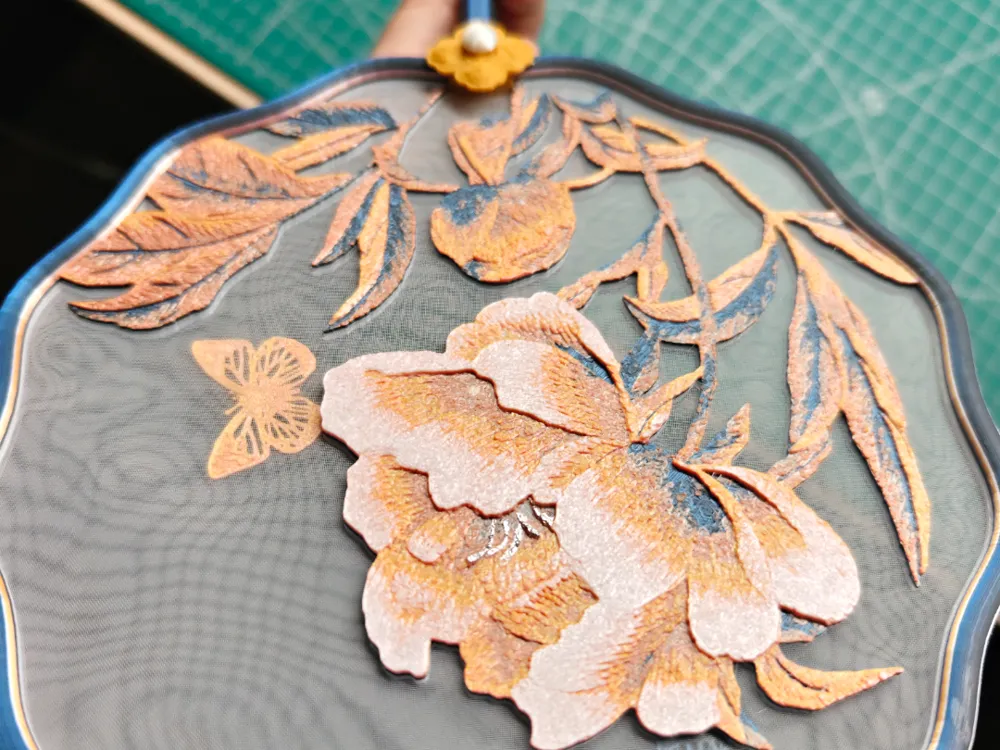
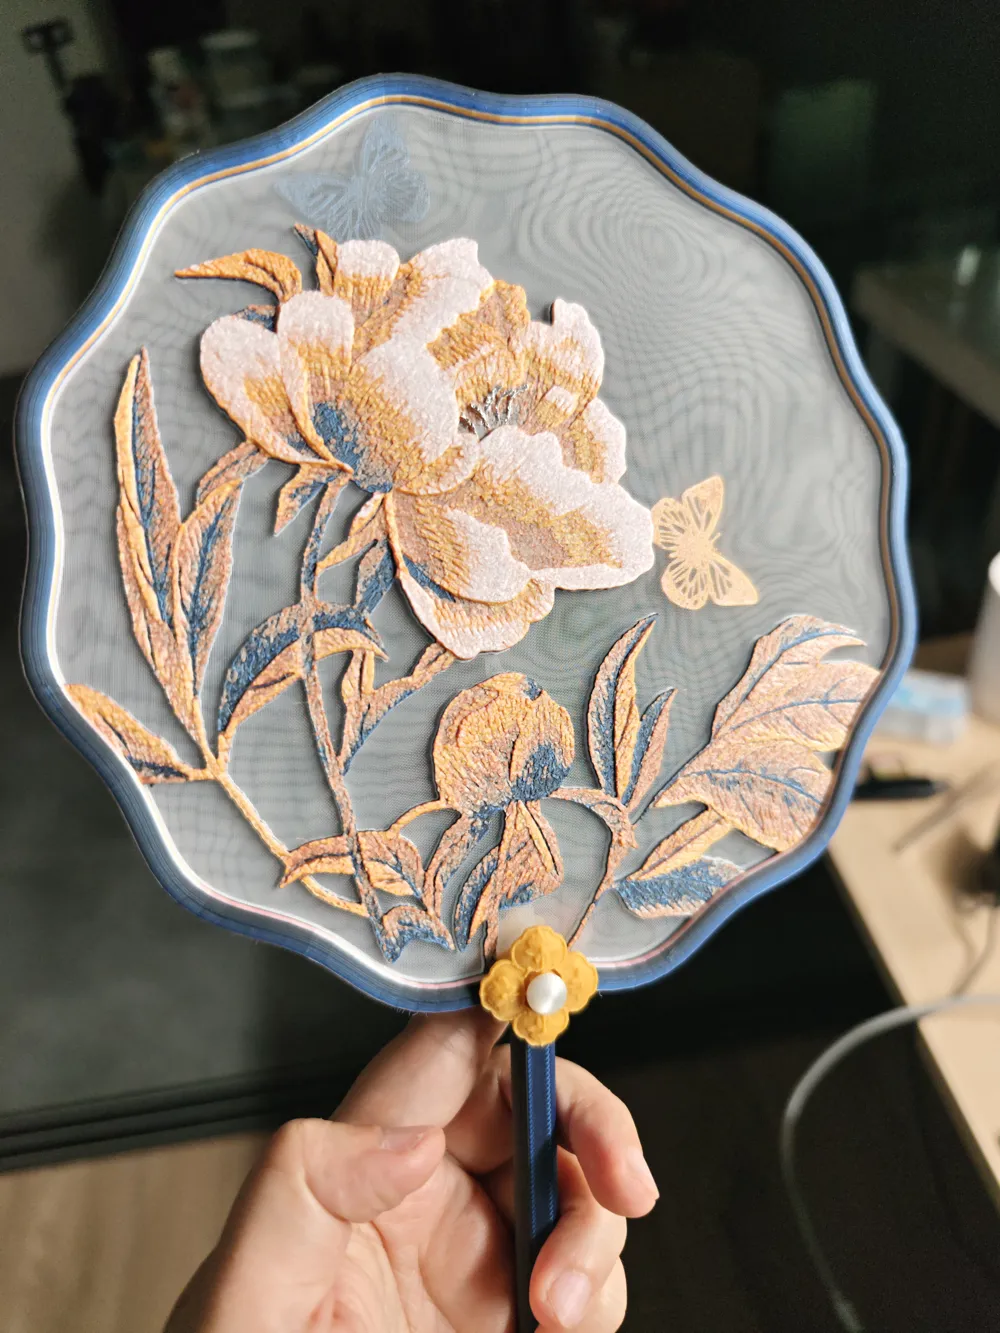
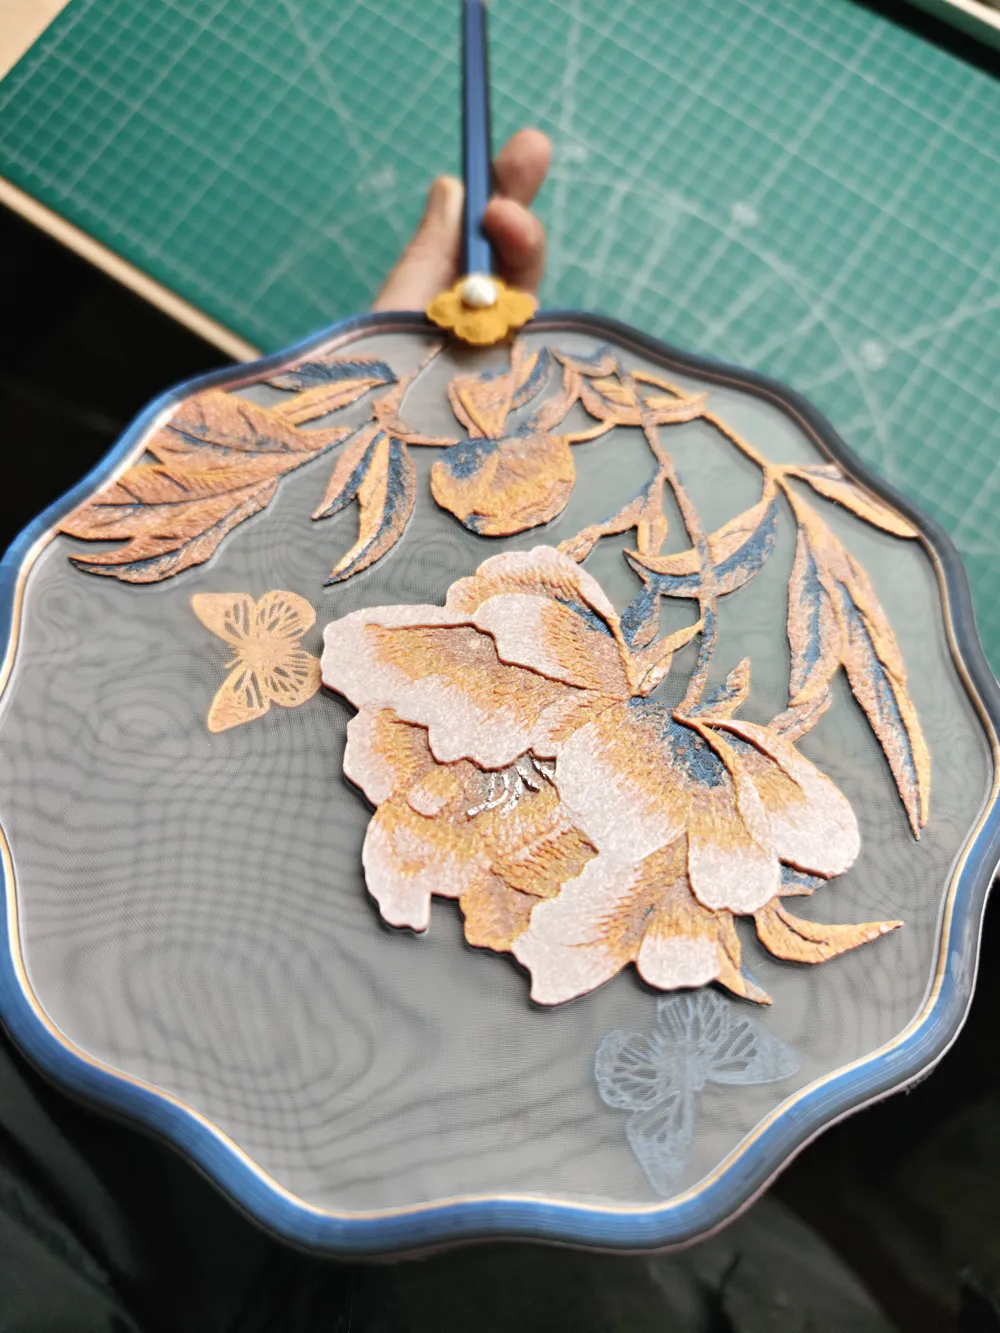
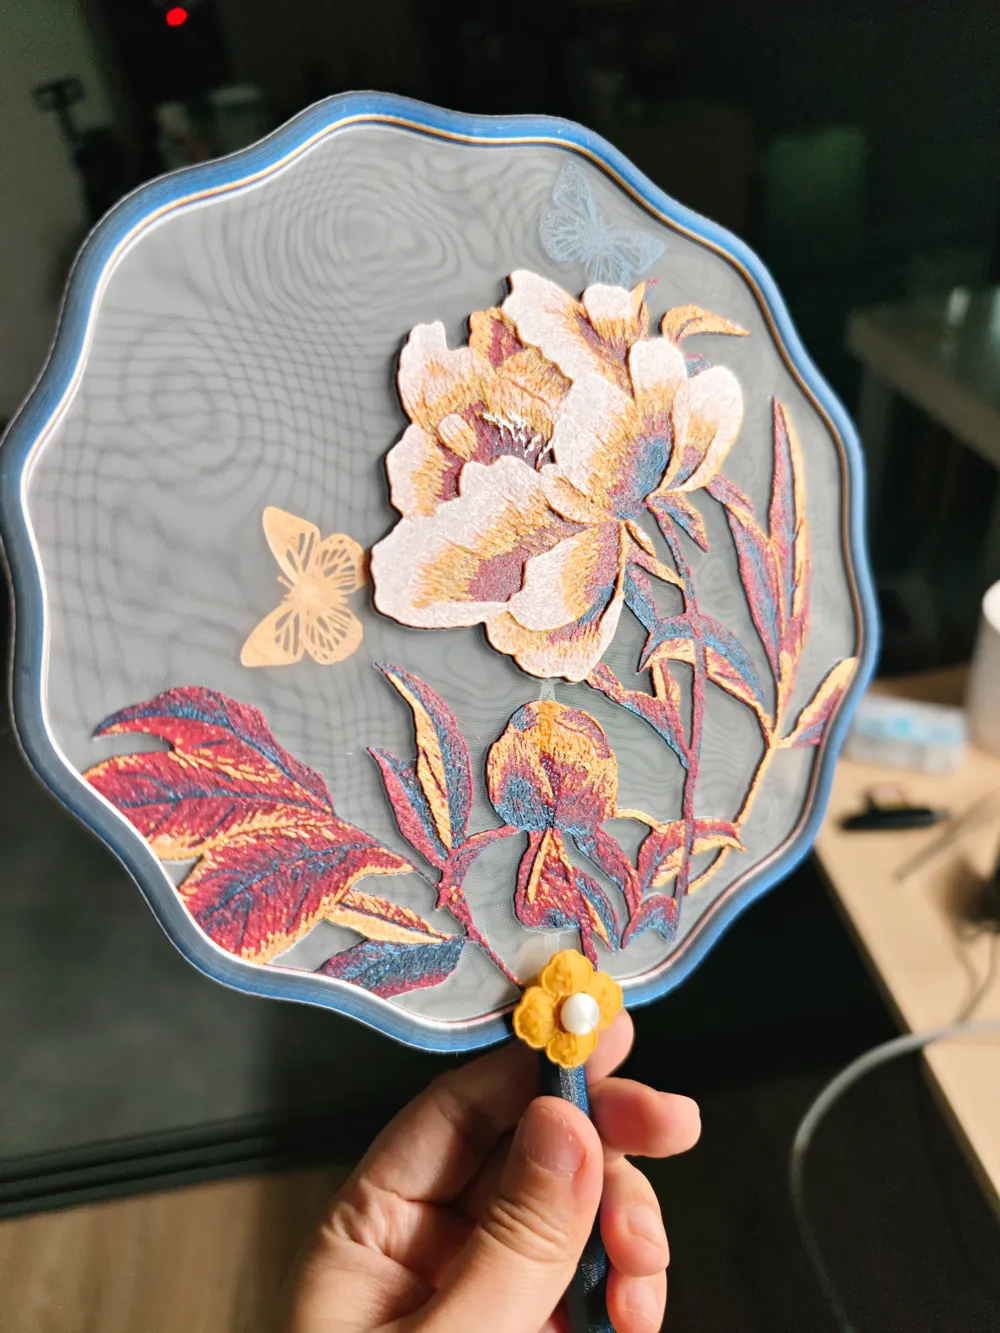
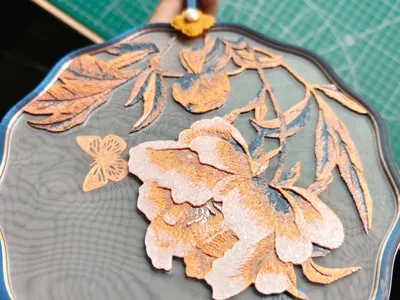
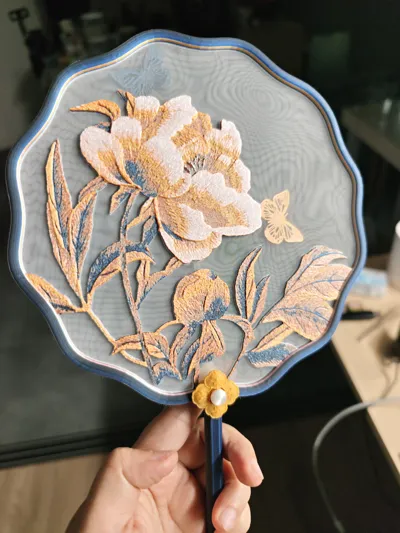
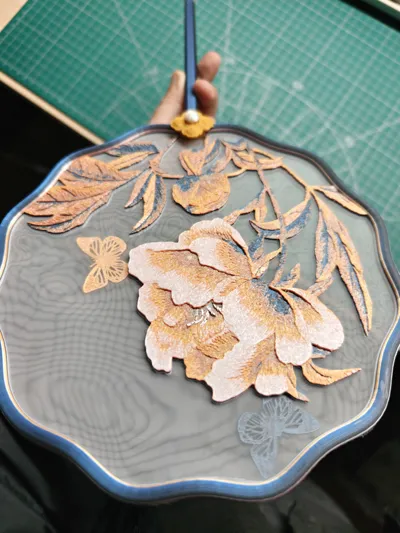
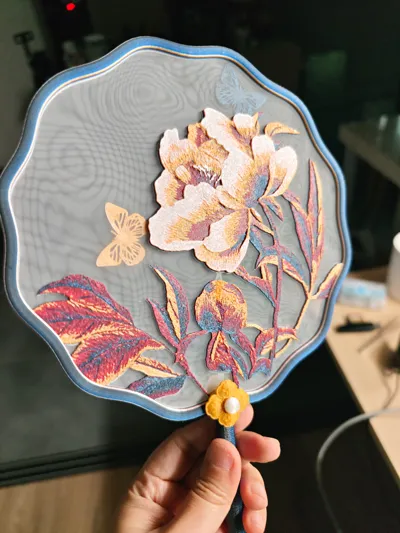
The intermediate layer of the fan face provides space for the two butterflies, creating a captivating "among the blossoms" effect
Pause and color change layers pre-configured!!!
Incorporate fabric during the pause layer and resume printing
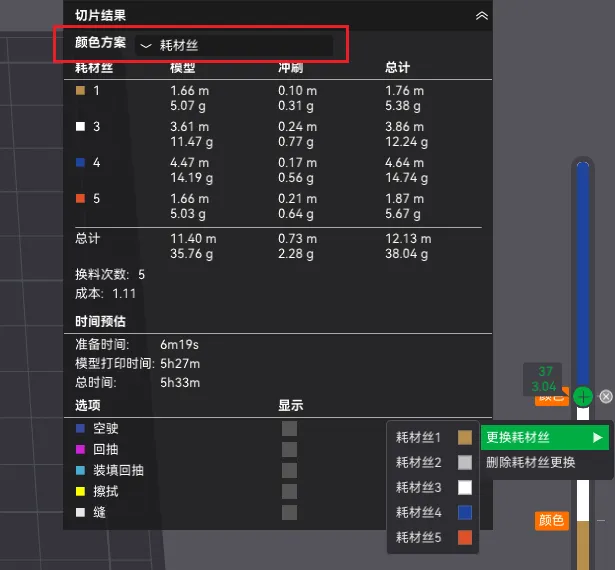
At the color change layer: right-click to switch filaments to those available, and refer to the "Filament" preview for results
Without AMS, convert these color change layers into pause layers and manually change materials
During the printing of Plates 1-3, disable the wipe tower to prevent collision with the fan face!
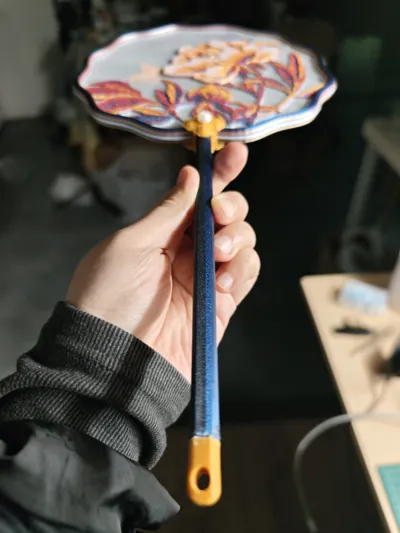
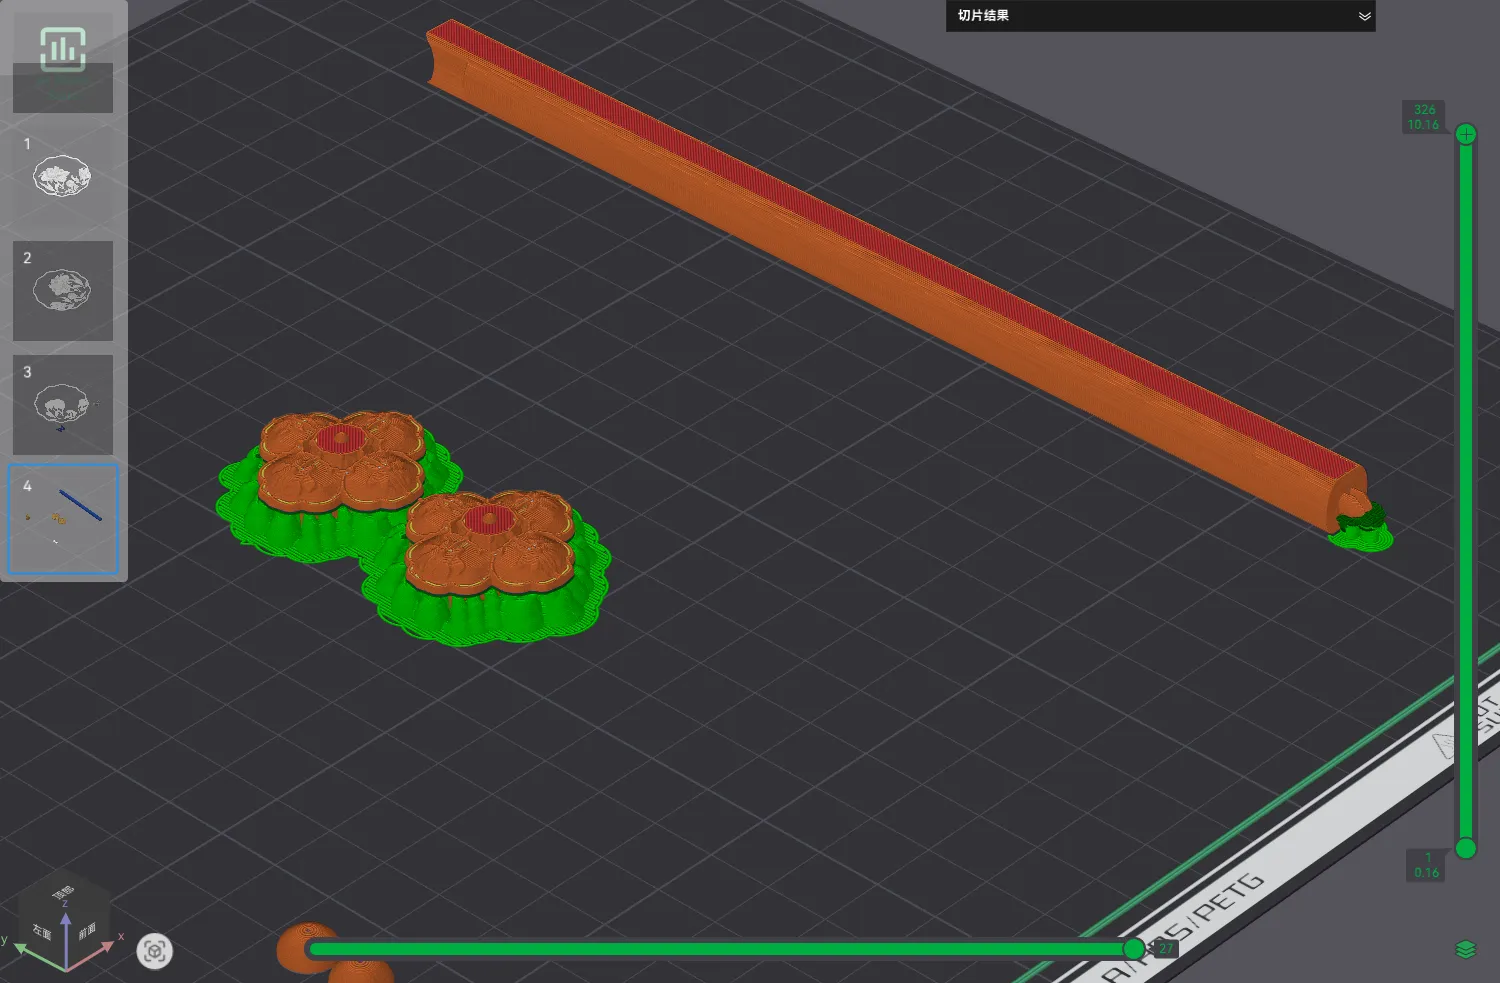
Plate 4 requires supports, especially for: the golden cross-shaped clasp connecting the frame and handle
This user content is licensed under a Standard Digital File License.
You shall not share, sub-license, sell, rent, host, transfer, or distribute in any way the digital or 3D printed versions of this object, nor any other derivative work of this object in its digital or physical format (including - but not limited to - remixes of this object, and hosting on other digital platforms). The objects may not be used without permission in any way whatsoever in which you charge money, or collect fees.





Comment & Rating (0)