
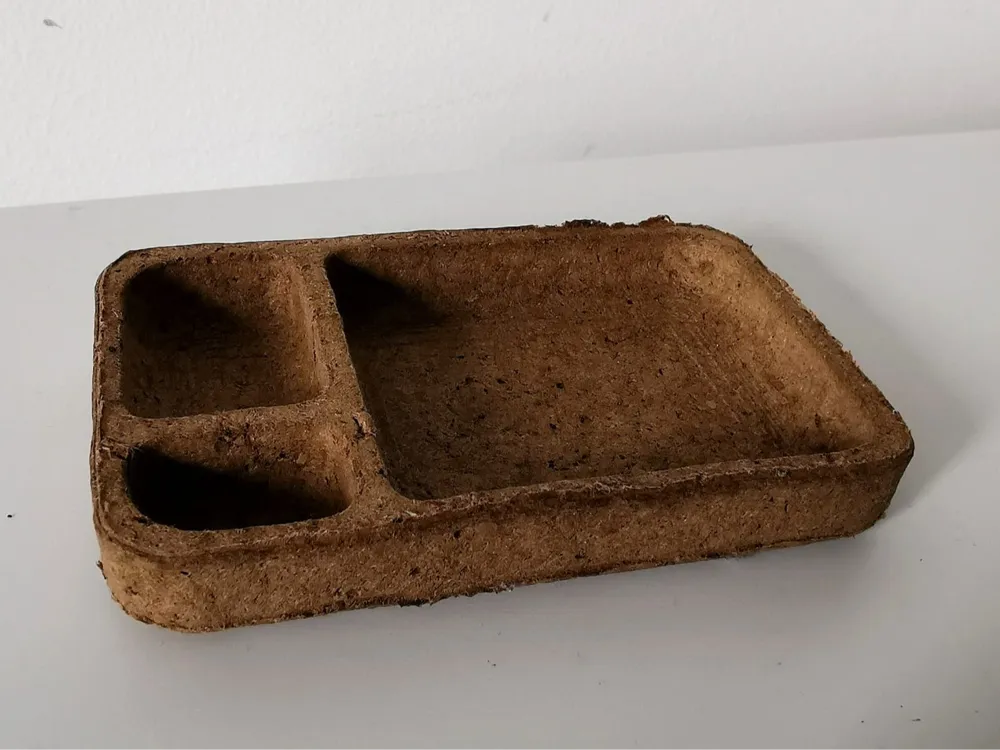
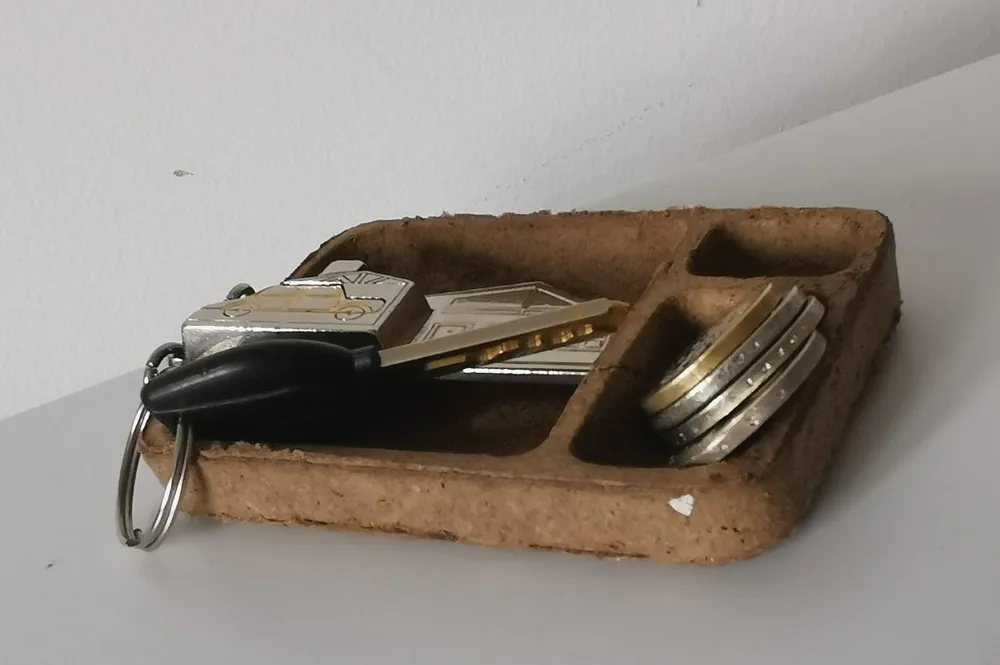
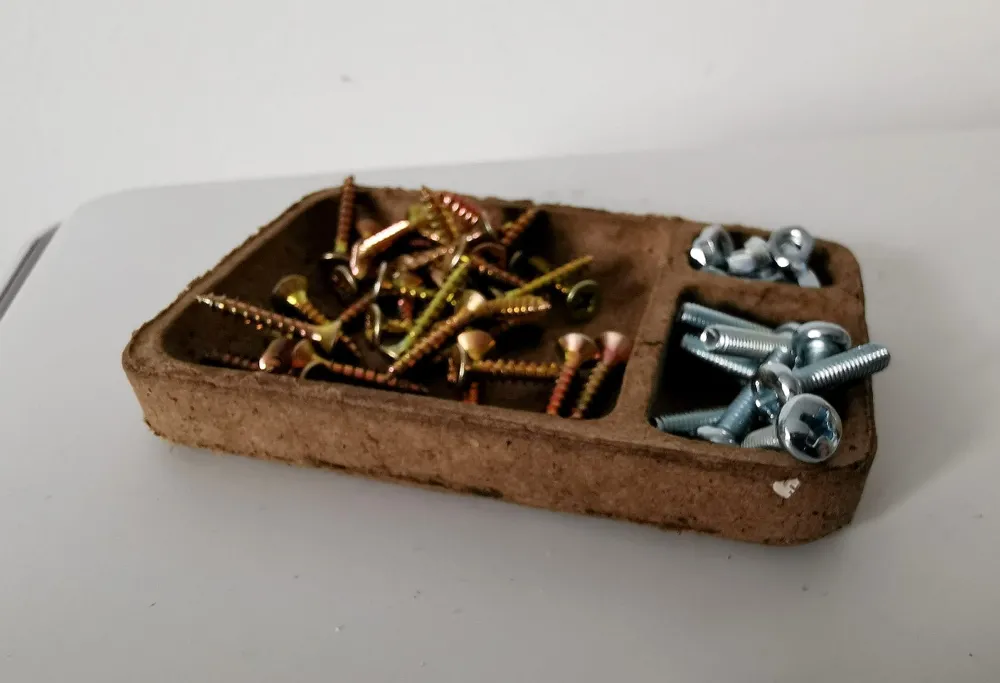
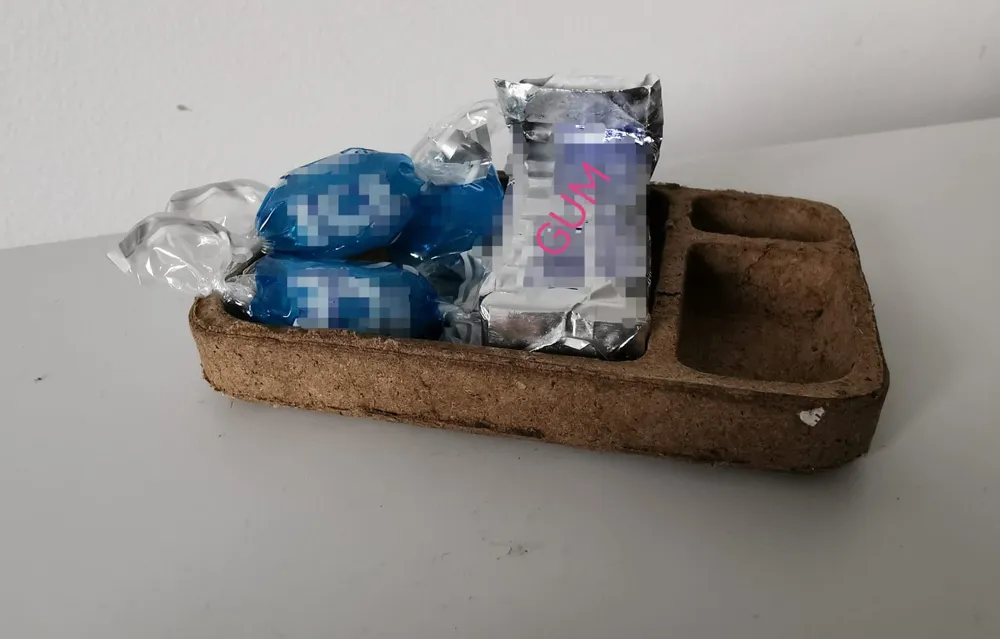
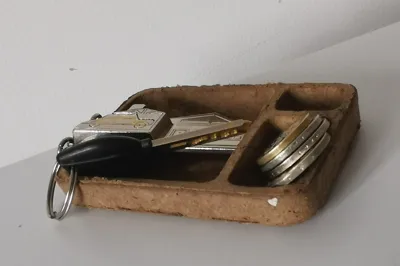
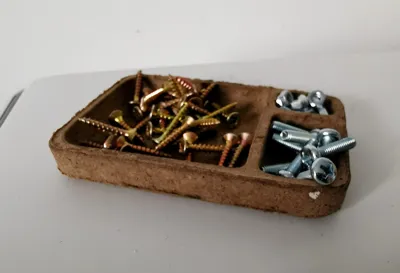
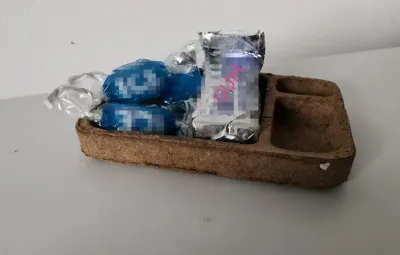
Recyclet Cardboard Spool / Organizer
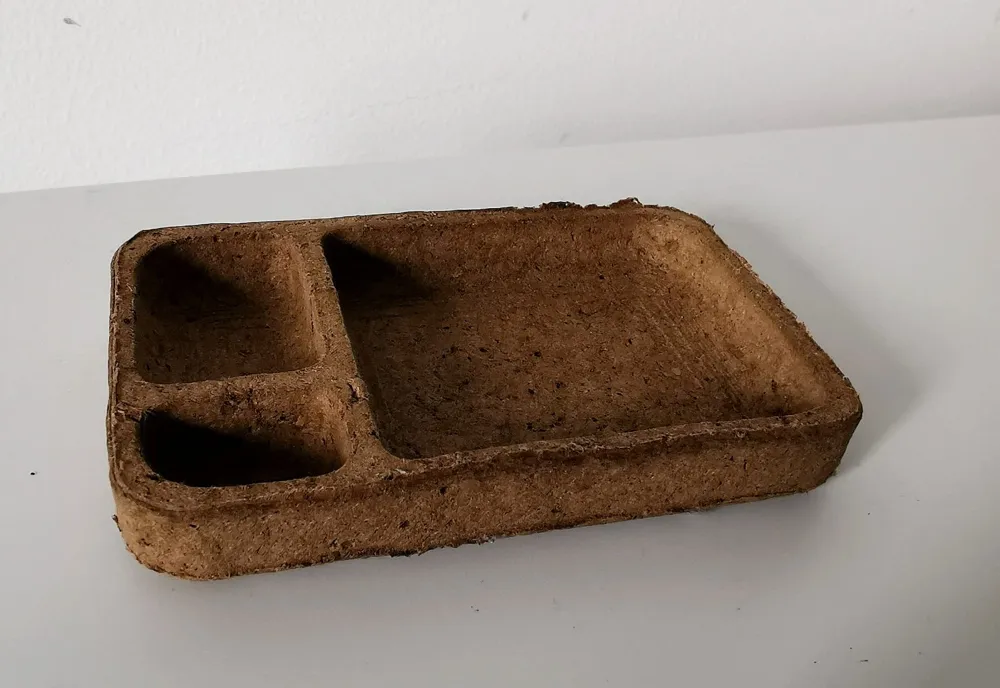
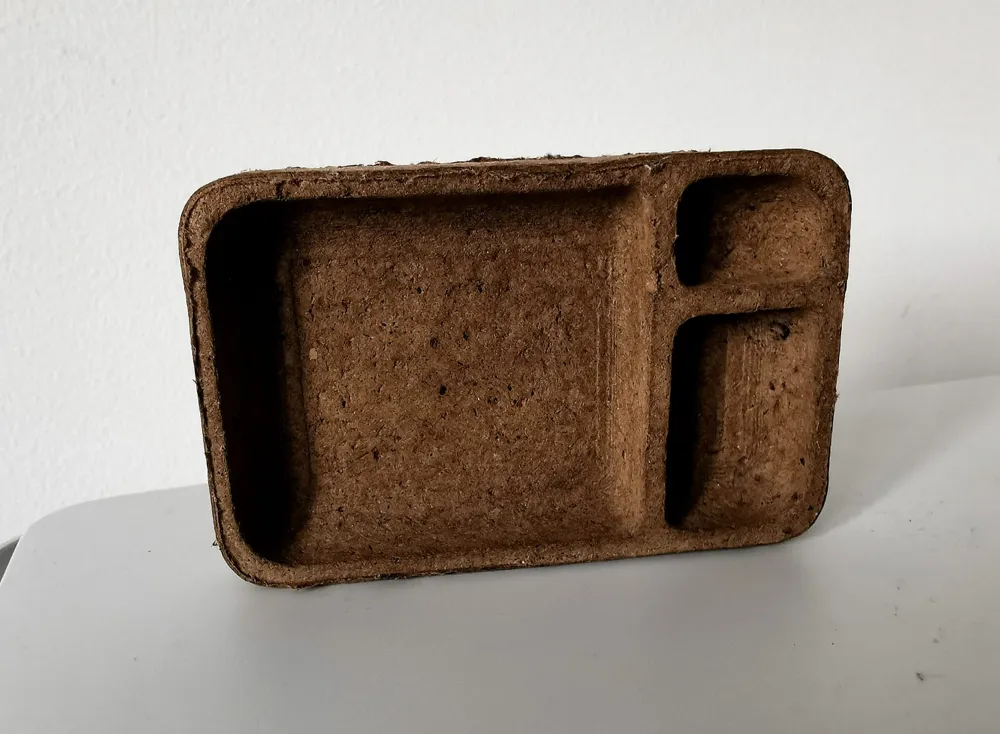
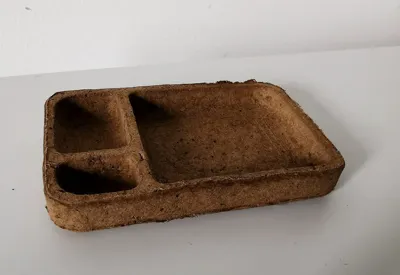
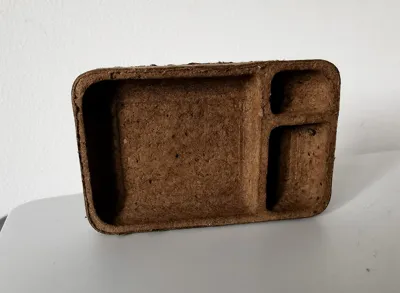
Print Profile(2)

Bill of Materials

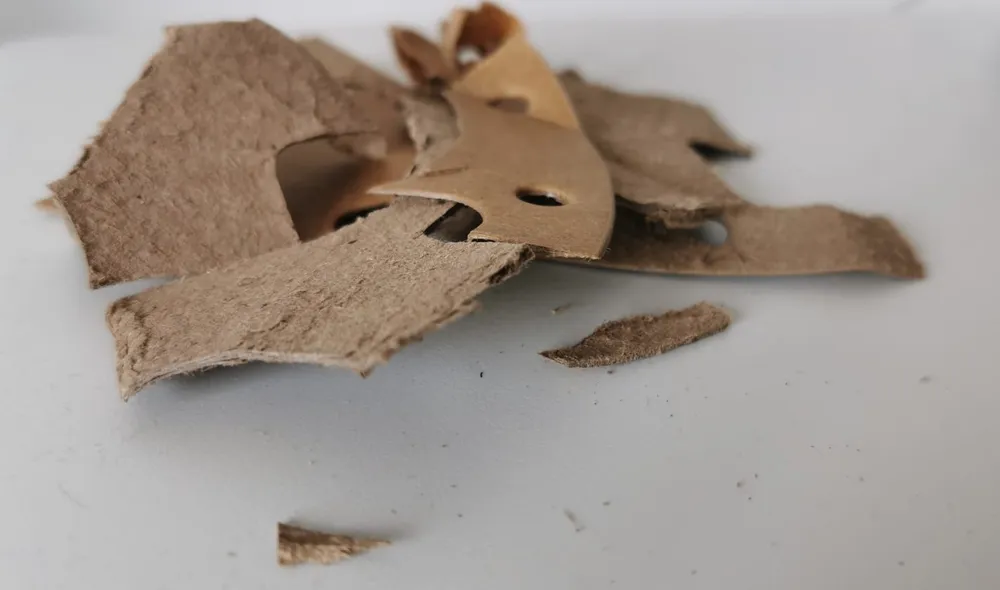
- Cardboard x 1: in best case without plastic
- Boiled rice x 1:
- blender x 1:
Description
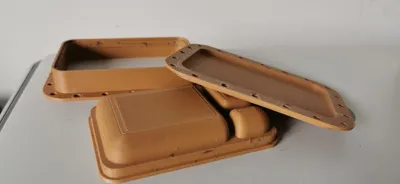
This is my idea: Instead of integrating the cardboard spool into a model,
I thought about reusing and reshaping it to give it a new purpose.
Follow this tutorial to successfully create your own organizer.
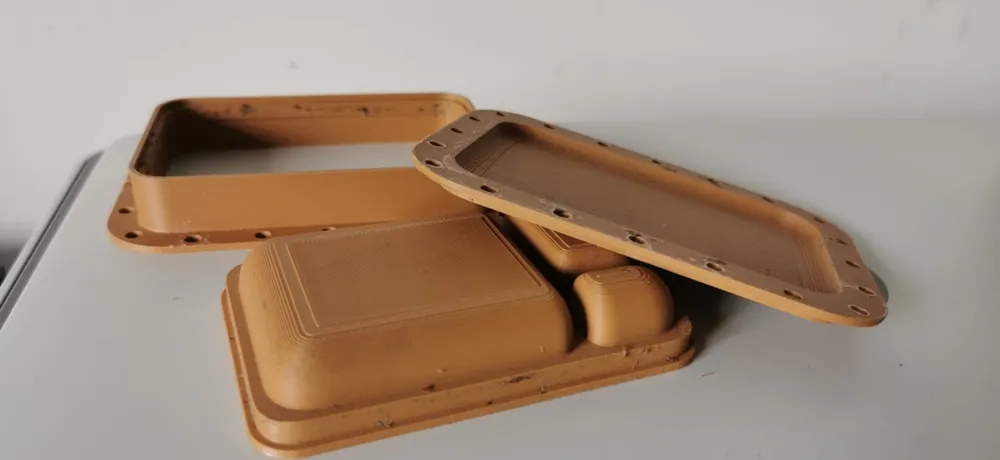
Step 1: Assemble the Mold
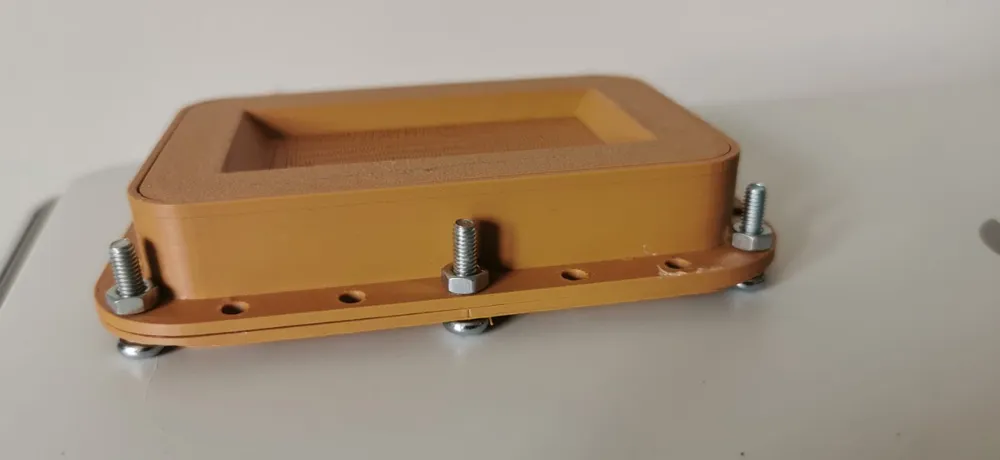
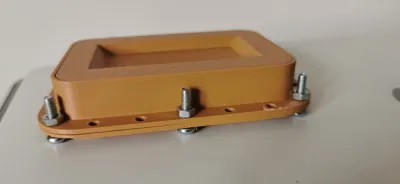
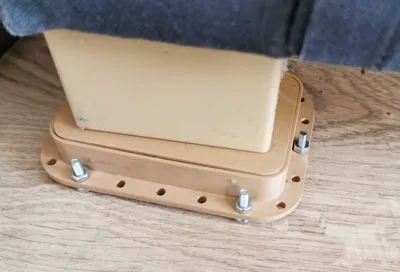
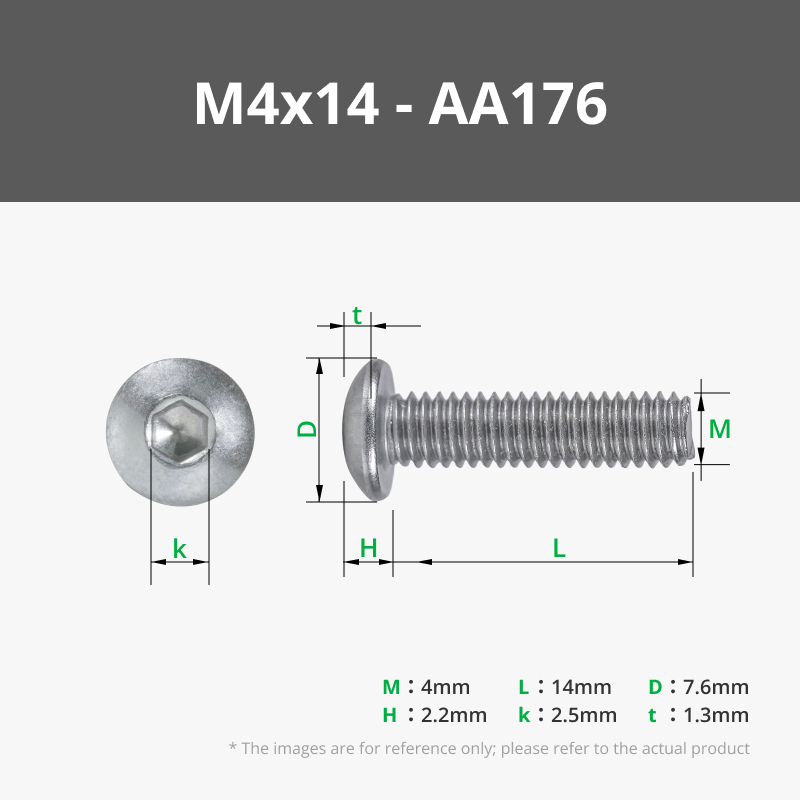
Secure the base of the mold to the container using M4 screws and nuts.
Step 2: Prepare the Cardboard Pulp
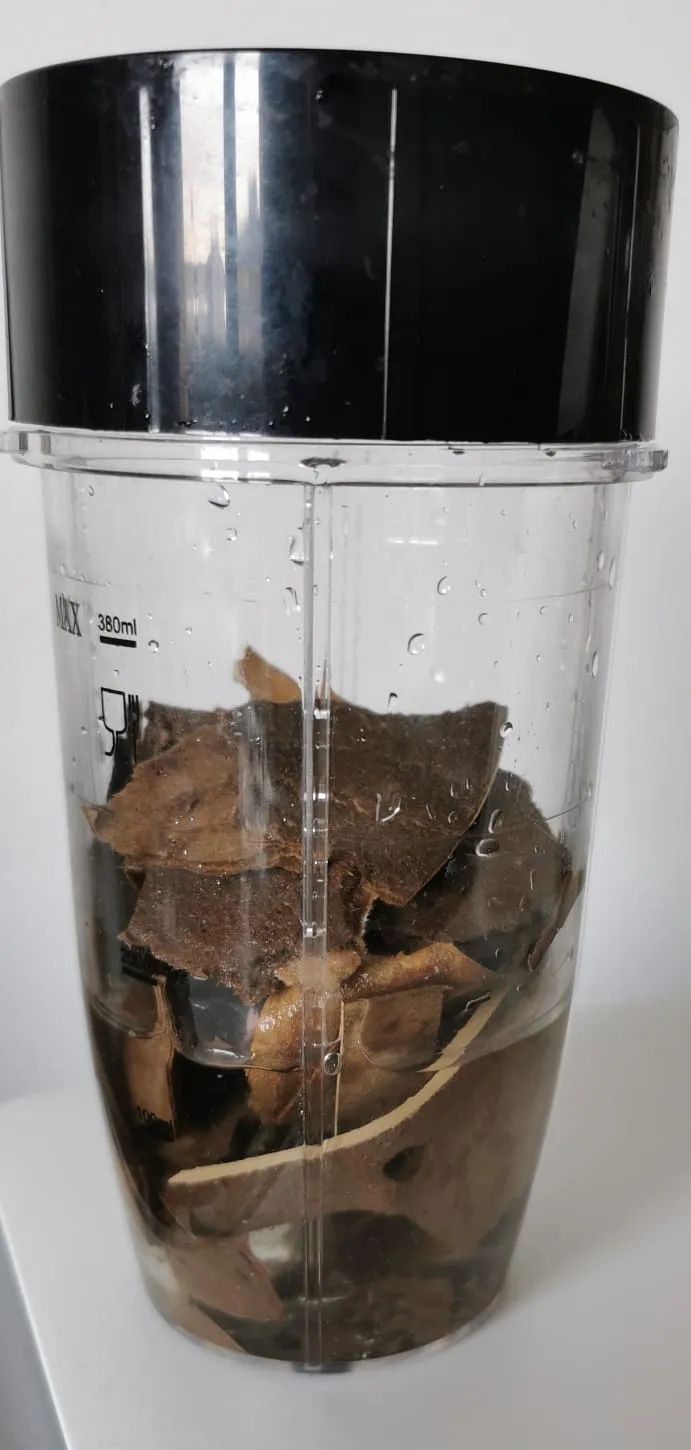
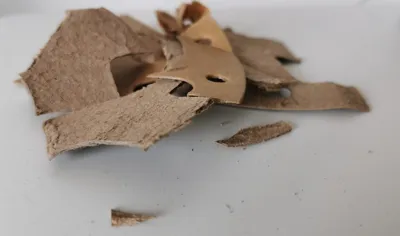
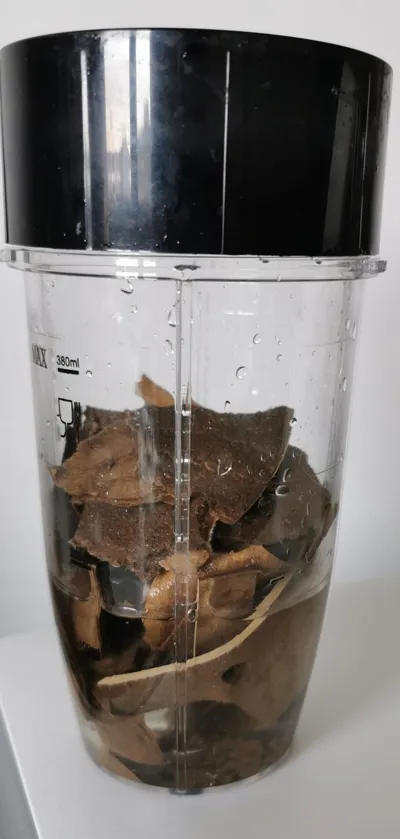
- Cut your cardboard into small pieces and place them in a blender (I don’t know the exact chemical composition of the cardboard, so I used an old blender that I no longer use for food preparation. If you’re comfortable using your regular blender, you may do so at your own risk).
- Add a small amount of water and blend until you achieve a uniform pulp.
Step 3: Make Rice Paste (Natural Glue)
- Cook rice until very soft—this will act as a binding agent.
- Add the cooked rice to the blender and mix again until a smooth, watery paste forms.
Step 4: Drain the Pulp
- Squeeze out as much water as possible from the mixture until it reaches a clay-like consistency. You can use a sieve or simply press it by hand.
Step 5: Fill the Mold
- Press the pulp into the mold, layer by layer, compacting it tightly each time. Repeat until the mold is completely filled.
- To reinforce thin sections (like the lid), add extra pulp and press firmly before closing the mold one final time.
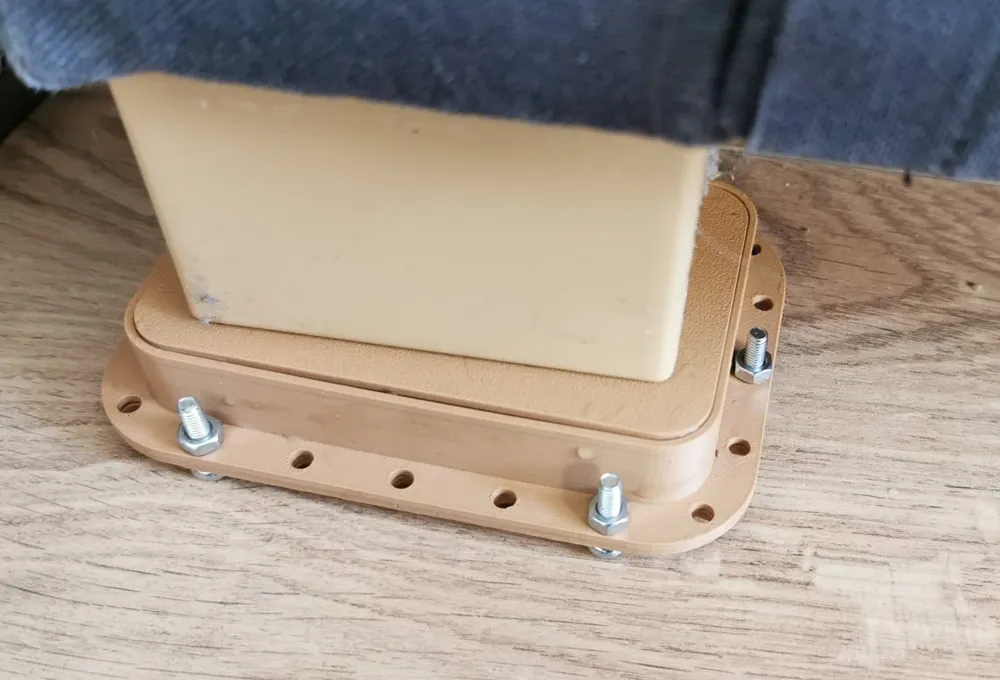
Step 6: Dry Under Pressure
- Place a weight (e.g., a brick) on top of the mold and let it dry for 24 hours.
Step 7: Remove and Final Drying
- Carefully unscrew the base and gently remove the under body.
- Let it air-dry in a warm, dry place (sunlight works well). Once firm, carefully demold it.
- For extra durability, allow it to dry for a few more days before use.
Finished!
Congratulations—you now have a unique organizer! If this project was successful (and fun!), let me know in the comments. If there’s enough interest, I can create larger versions or variations of this design.
Feel free to ask questions—I’m happy to help!
License

You shall not share, sub-license, sell, rent, host, transfer, or distribute in any way the digital or 3D printed versions of this object, nor any other derivative work of this object in its digital or physical format (including - but not limited to - remixes of this object, and hosting on other digital platforms). The objects may not be used without permission in any way whatsoever in which you charge money, or collect fees.


Comment & Rating (127)