Search models, users, collections, and posts
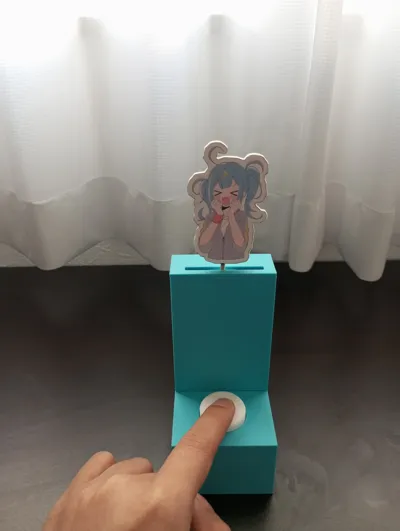
Button-Elevated Sign (Telepathy Style)
IP Report


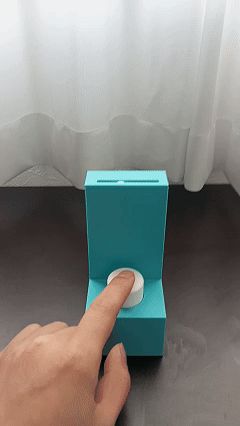
GIF
Print Profile(1)

0.2mm layer, 2 walls, 15% infill
Designer
4.6 h
4 plates
Open in Bambu Studio
Boost
27
26
1
2
8
2
Released
Description
Content has been automatically translated.
Original image from DECO*27 - Telepathy feat. Hatsune Miku's sign lifting structure.
Uses a telescopic clamp structure for a large lifting distance with a short button press.
Because there are many parts, I will simply write down the production process.
※The spring part requires a brim to adhere well to the heating plate
※If there are too many parts and printing fails, please print them separately (some parts are too small and prone to falling off)
1.Assemble the telescopic clamp (assemble according to the structure below, the top and bottom two layers have slightly different structures, remember to distinguish them)


2.Use rings and glue to fix the telescopic clamp (except for the bottom two holes, all need 10)

3.Connect the gear and the middle baffle plate (the right side is a slightly longer gear, positioned at the bottom of the groove, finally fixed with two rings)


4.Fix the rack and the rear baffle plate (raise the rack to the highest position, then use the rear baffle plate to fix the gear center)
This is relatively difficult, try several times, but don't let the initial position shift


5.Fix the product of 4 with the baffle plate and the base

6.Fix the button with glue (the button consists of two upper and lower parts, all fixed)


7.Add the spring to the base, then put 6 in (the base has corresponding fixing)


8.Add the base front cover, then insert the front baffle plate


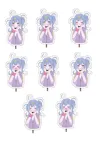
9.Fix the two accessories of the sign and stick on the sticker, then put it into the slot of the front baffle plate
(Sticker printing file is in the assembly guide)


10.Close the top cover, confirm that the button operates normally, and then seal the shell with glue

Boost Me (for free)
Documentation (1)
Assembly Guide (1)
License
This user content is licensed under a Standard Digital File License.
You shall not share, sub-license, sell, rent, host, transfer, or distribute in any way the digital or 3D printed versions of this object, nor any other derivative work of this object in its digital or physical format (including - but not limited to - remixes of this object, and hosting on other digital platforms). The objects may not be used without permission in any way whatsoever in which you charge money, or collect fees.
Comment & Rating (1)