
Alcohol Dispenser
Print Profile(1)

Bill of Materials
Description
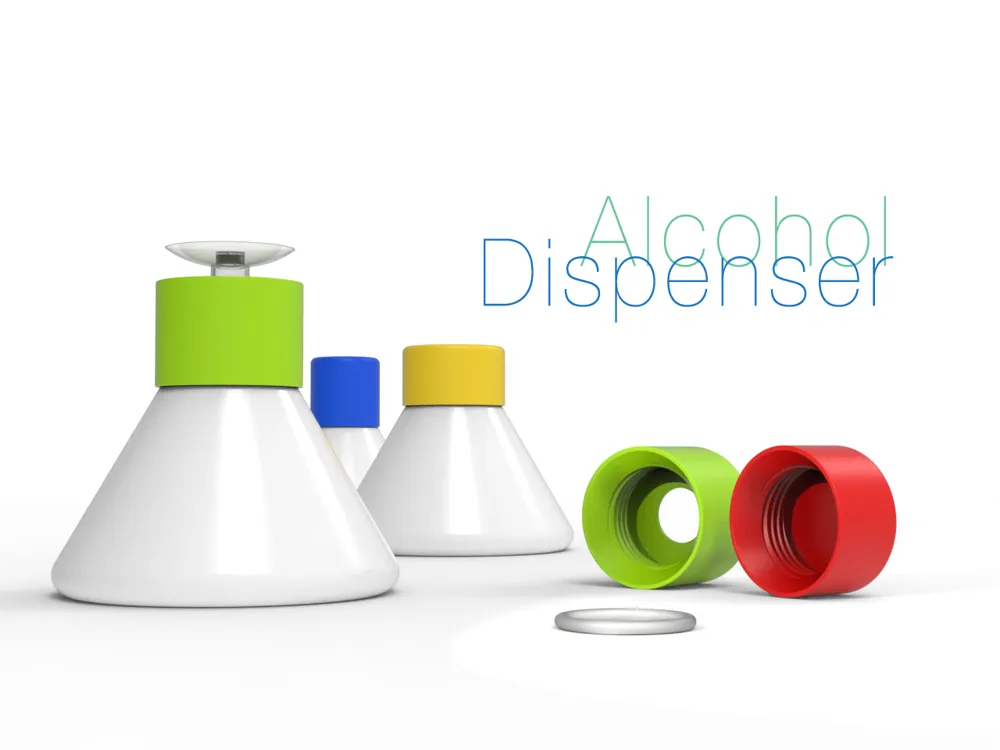
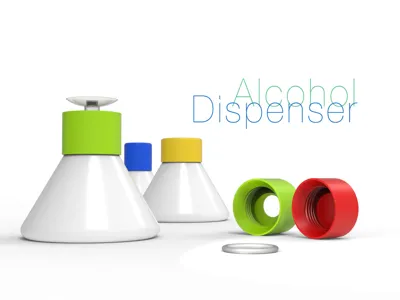
Alcohol Dispenser
It may seem like an insignificant and barely noticeable tool on the table, but an alcohol dispenser is used constantly. However, its malfunction or absence causes a whole range of inconveniences.
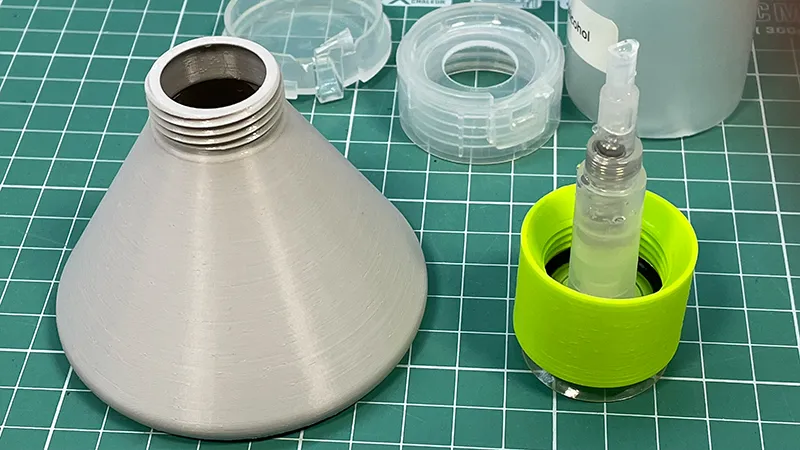
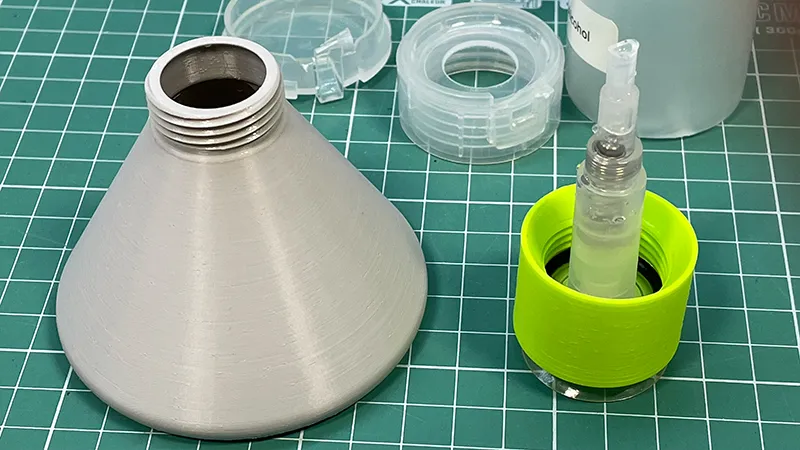
Over the years, I have tried many dispensers, but none satisfied me for various reasons. Some were unstable on the table and tipped over when pressed, while others were poorly sealed. A few years ago, I bought a small polyethylene dispenser with a flip-top lid. Its mechanism was perfect, but the material itself was short-lived—the lid broke. This led me to the idea of combining its pump with my own printed model, which would be stable and fully meet my requirements.
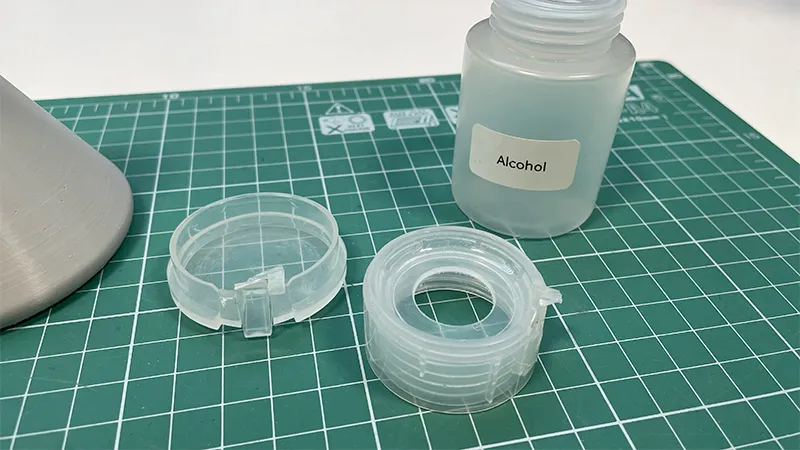
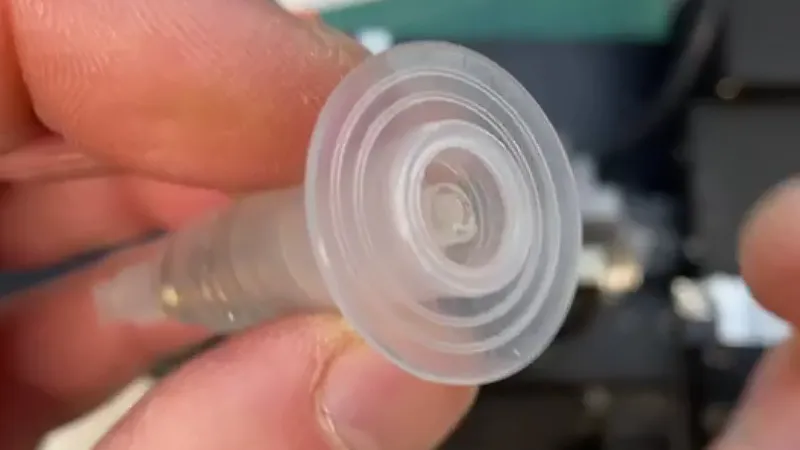
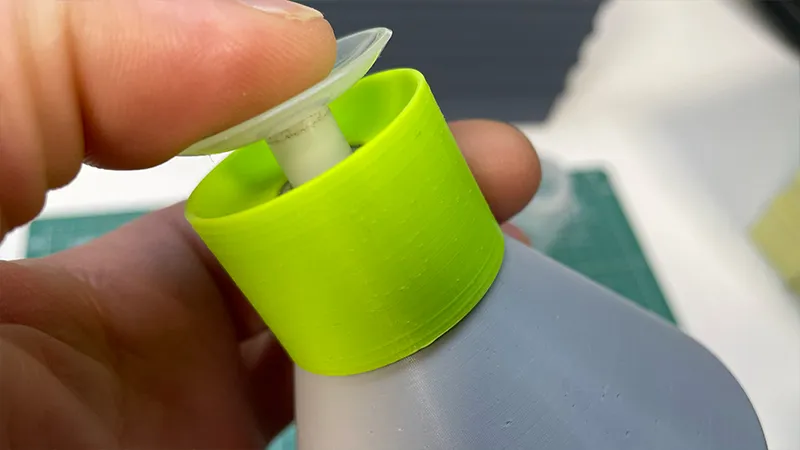
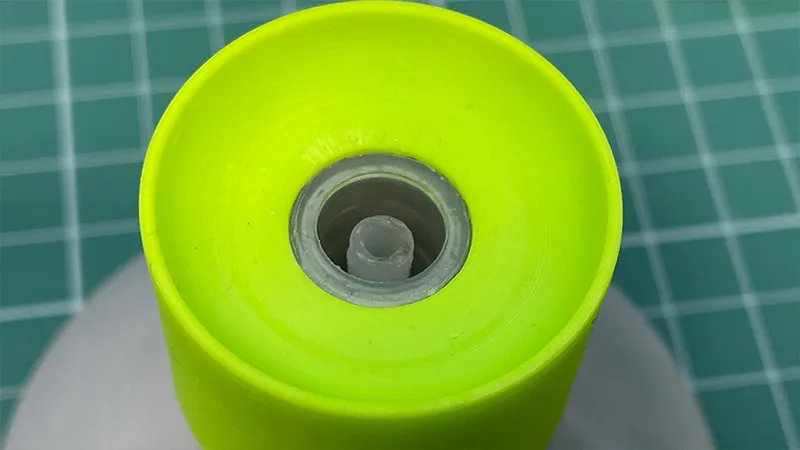
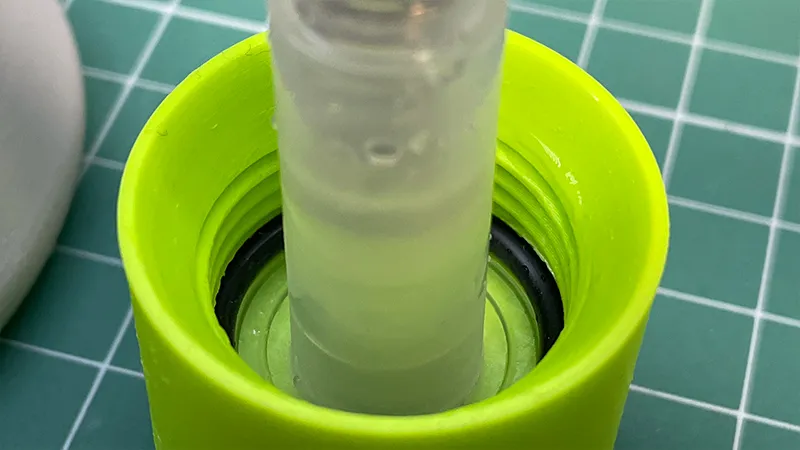
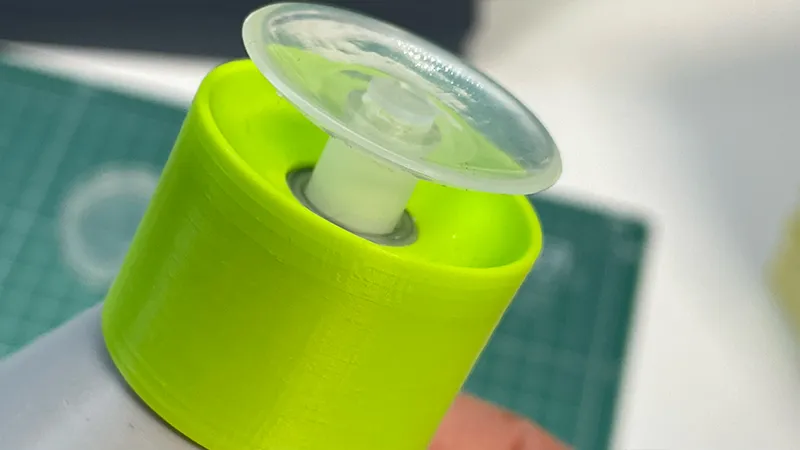
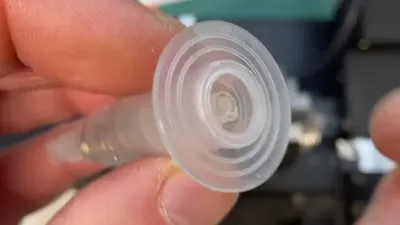
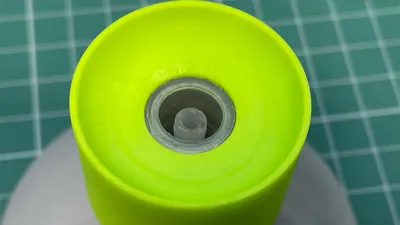
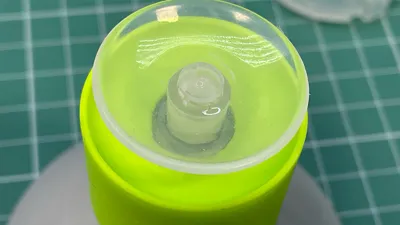
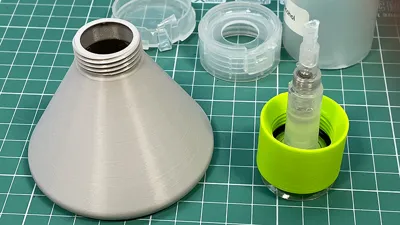
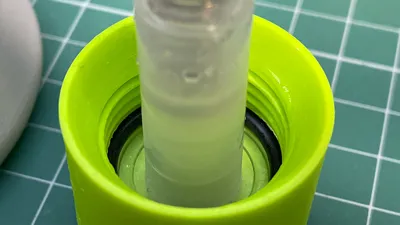
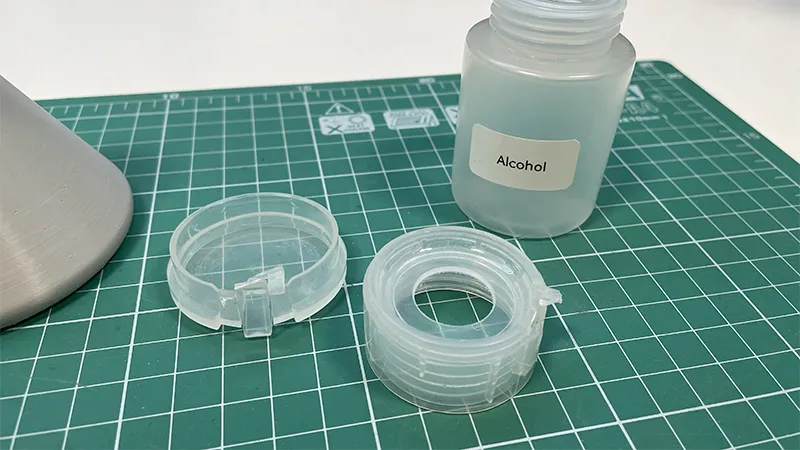
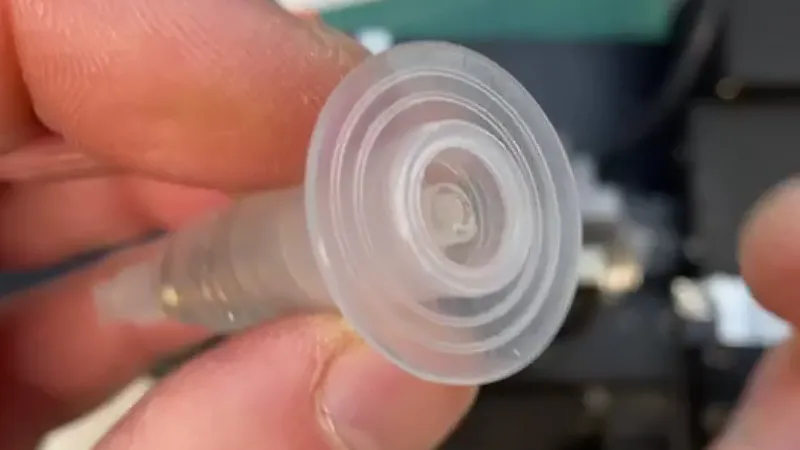
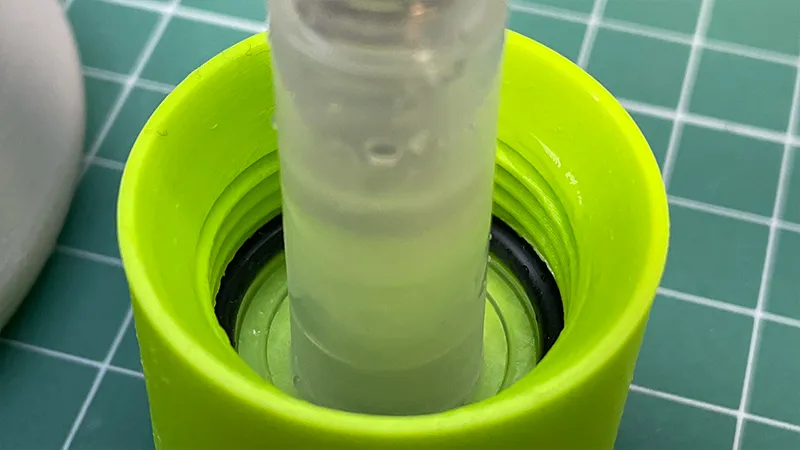
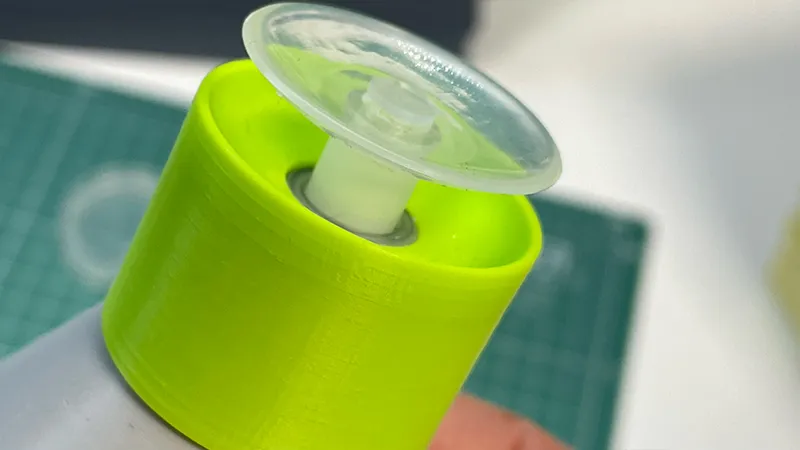
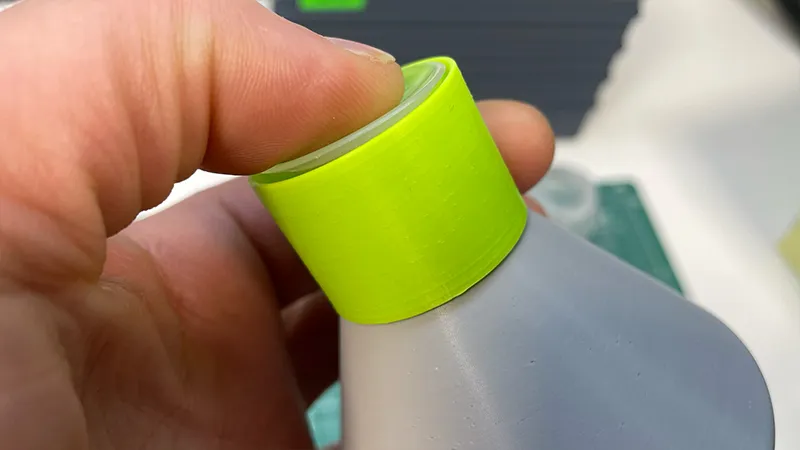
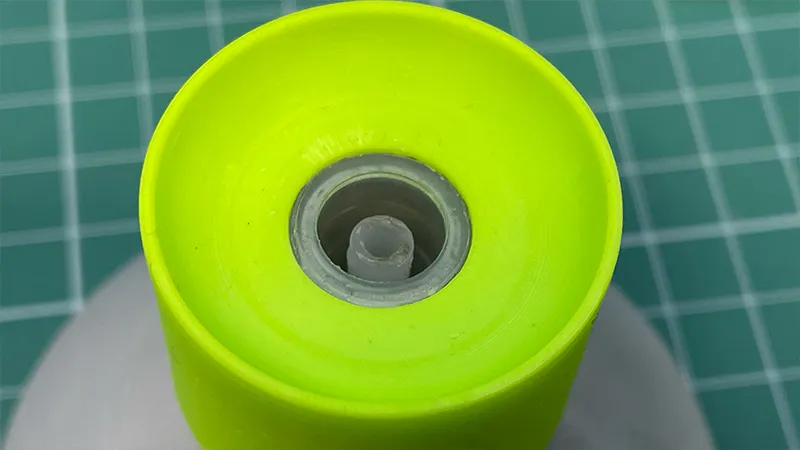
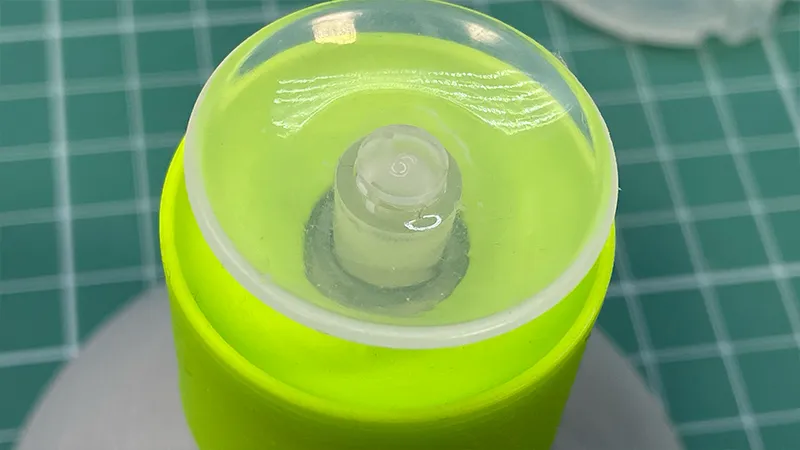
I created the drawings and got to work. To assemble it, you need to extract the pump from the original dispenser—it is tightly secured but can be disassembled. You will also need the small tube left in the lid, which must be carefully cut off. The method depends on the available tools: you can do it manually, with a drill, or on a lathe, as I did. The diameter of the remaining flange of the tube is 13 mm.
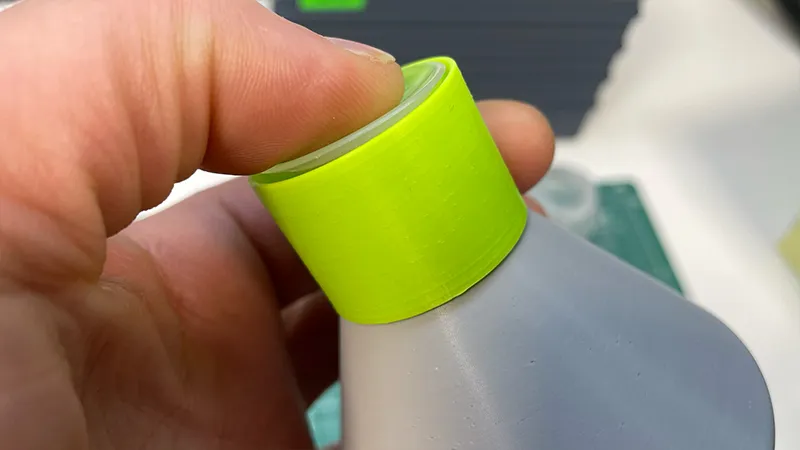
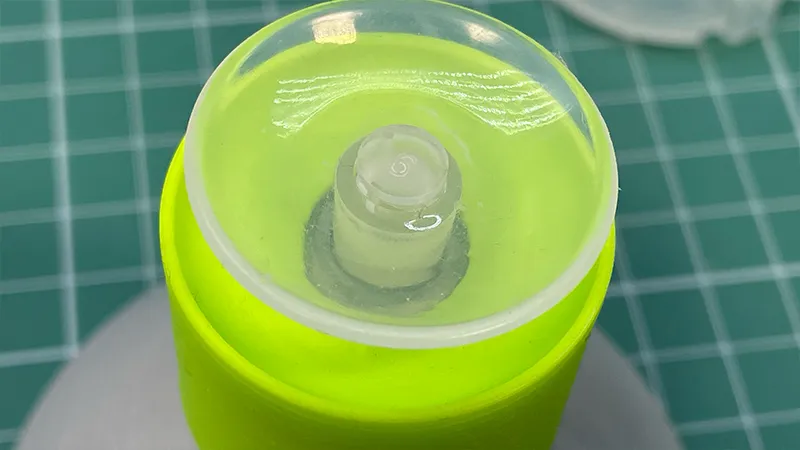
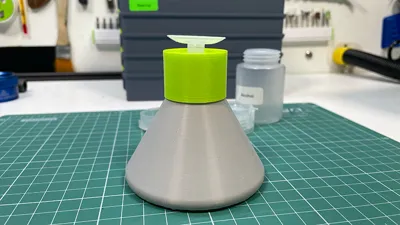
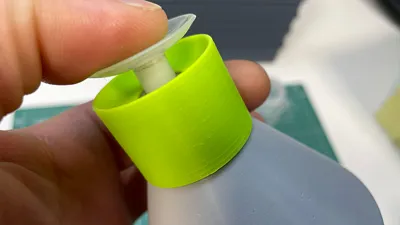
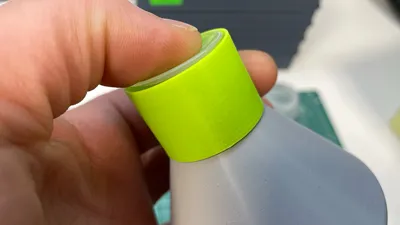
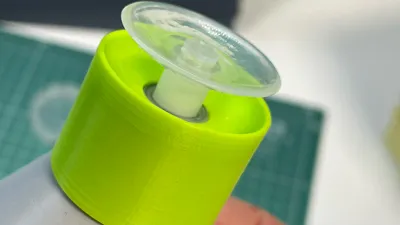
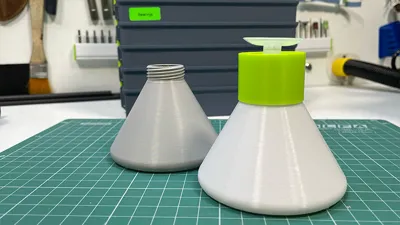
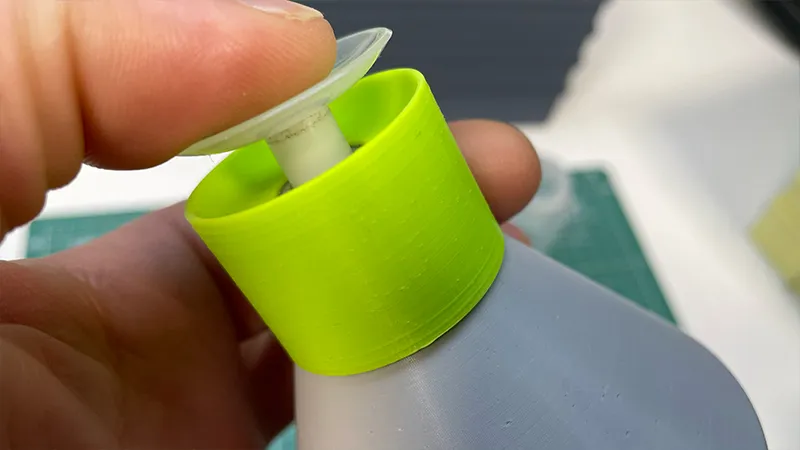
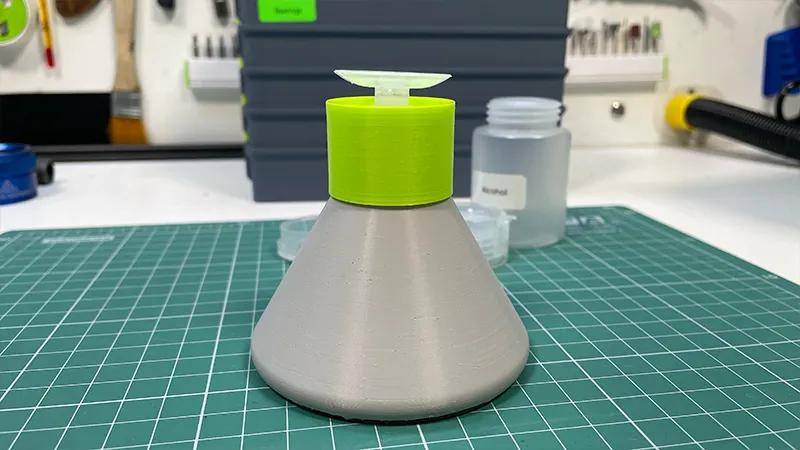
My model offers several usage options. It can be simply a container with a lid for storing liquids or a fully functional dispenser. The outer cap is not mandatory since the pump itself already has a sealing valve with a spring and a ball.
Assembling the pump with the printed lid requires effort, but if you have the right skills, you will manage. If you have doubts, it’s better not to start at all.
Printing
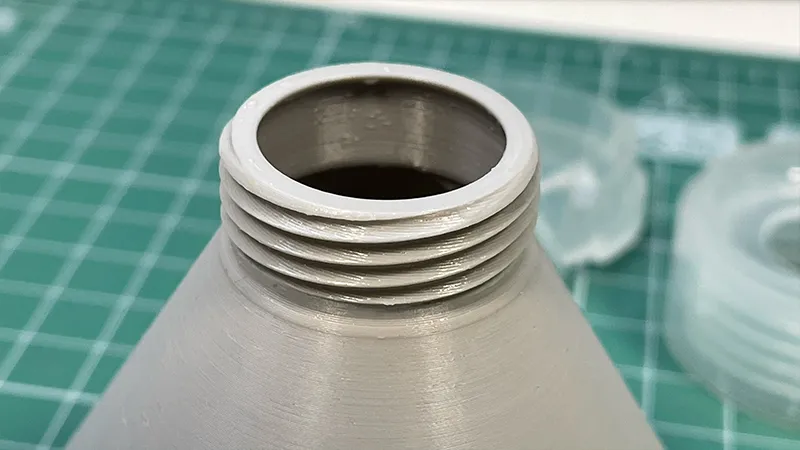
I printed the lid from ABS. The material is not critical since its contact with alcohol is minimal. Ideally, the bottle should be printed from polyamide or polycarbonate, but these plastics require drying and experience. I used PETG instead—it is inert to alcohol and easy to print. However, not all PETG types have good interlayer adhesion. If the seal is imperfect, you can treat the inner walls with dichloromethane, which will fill microcracks. Alternatively, you can increase the plastic flow rate but disable automatic flow calibration if your printer supports it.
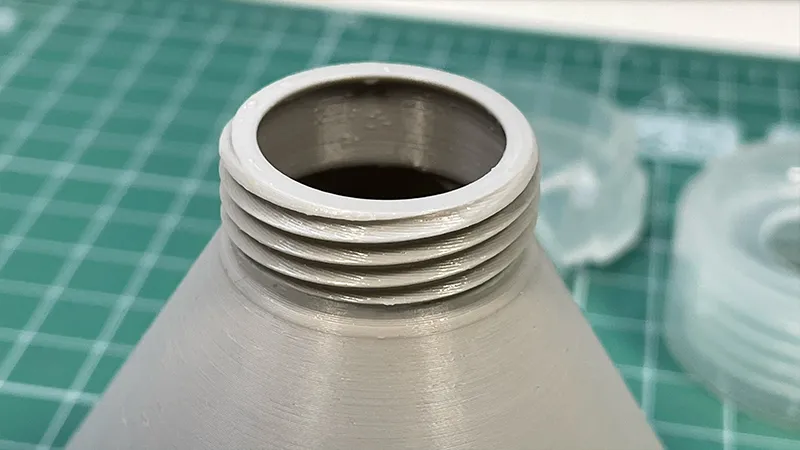
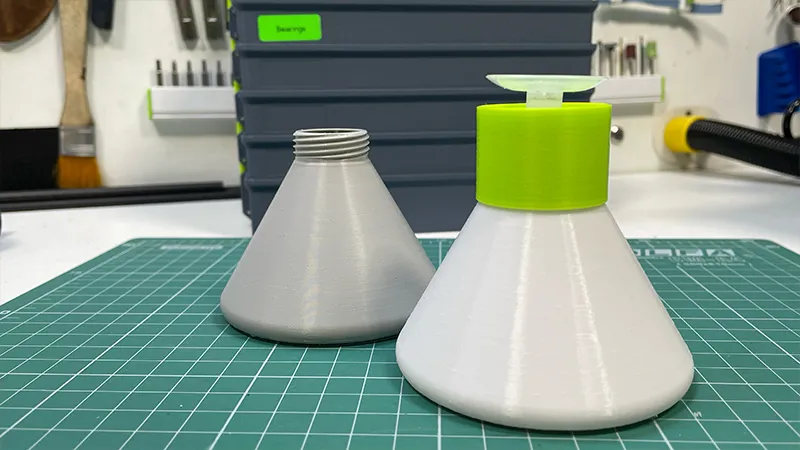
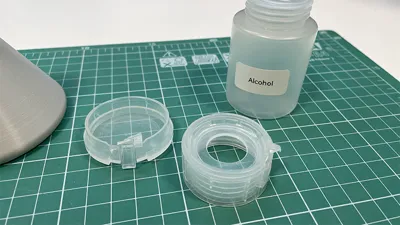
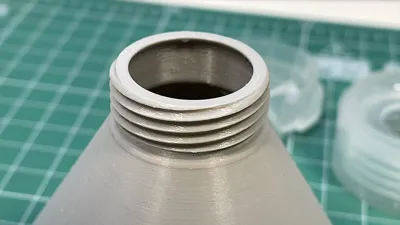
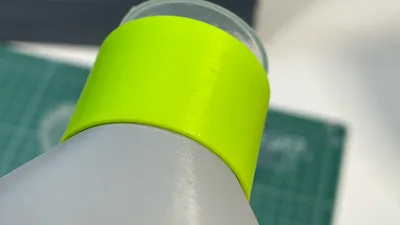
I used two types of PETG: regular and high-speed. The high-speed one turned out to be less airtight, while the regular one was perfect. For easier lid screwing, I designed a triple-start thread with a large pitch. The lid was printed with a 0.08 mm layer (0.4 mm nozzle), and the bottle with a 0.12 mm layer. The seam was set to random, making it invisible to the eye and only slightly noticeable to the touch.
Stability and Ergonomics
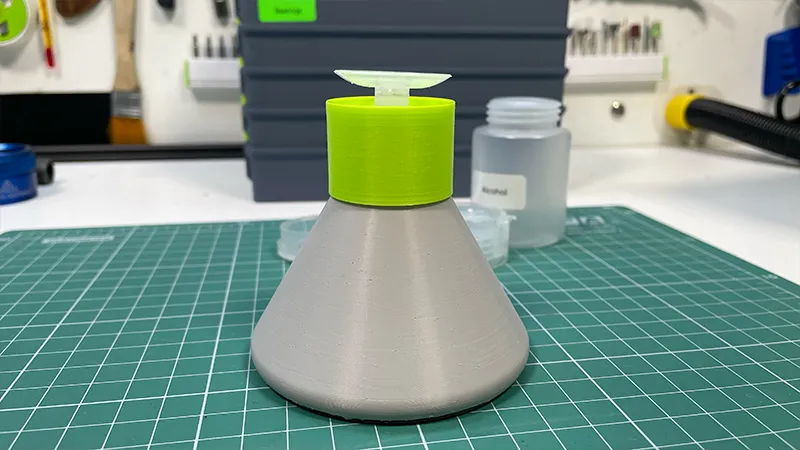
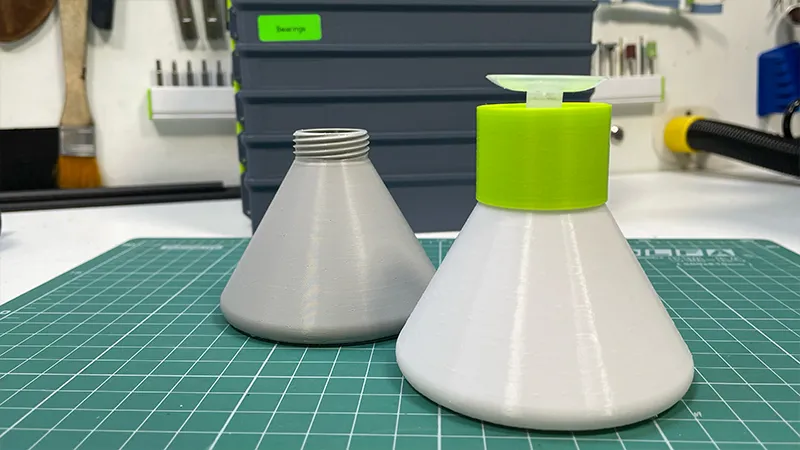
The bottle’s shape provides excellent stability on the table. It is difficult to tip over and stays in place even when bumped. The dispenser is convenient for cleaning tables, parts, and can also be useful for manicure professionals.
For assembly, you will also need a silicone ring with an outer diameter of 26 mm and a thickness of 2.4 mm. I hope you like this dispenser as much as I do.
The link below allows you to purchase the original dispenser bottle, which will serve you for some time. Once the lid breaks, you can replace it with my printed model. I didn’t want to wait weeks for a new purchase, so I just printed my own version—and the next day, it was already in use. Highly recommended!
Post-Processing
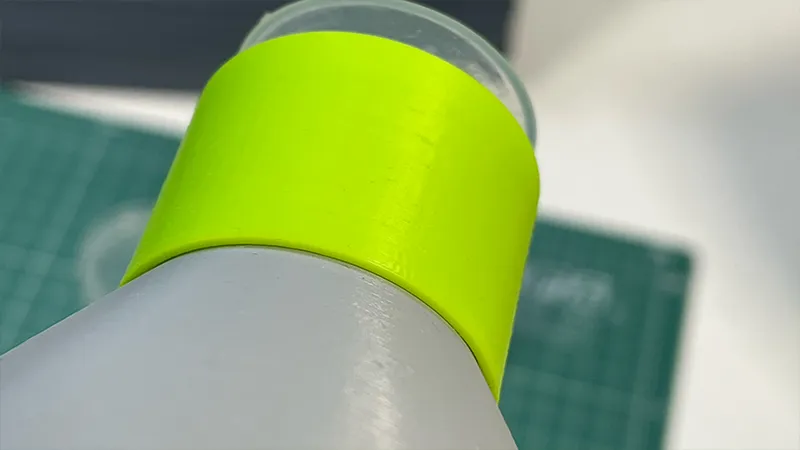
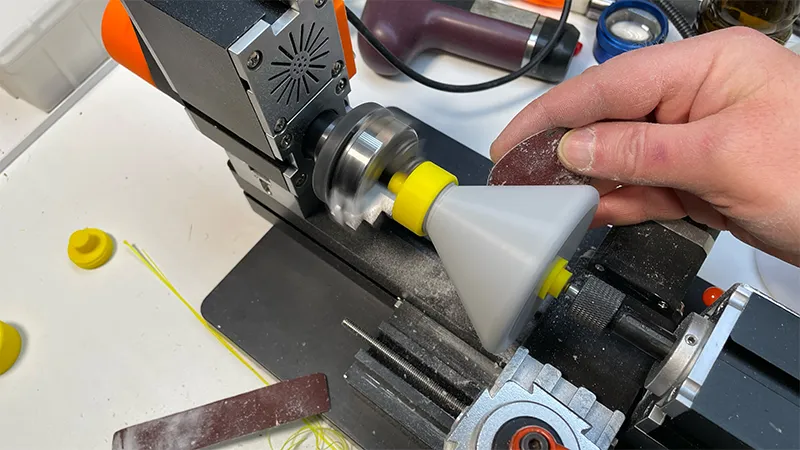
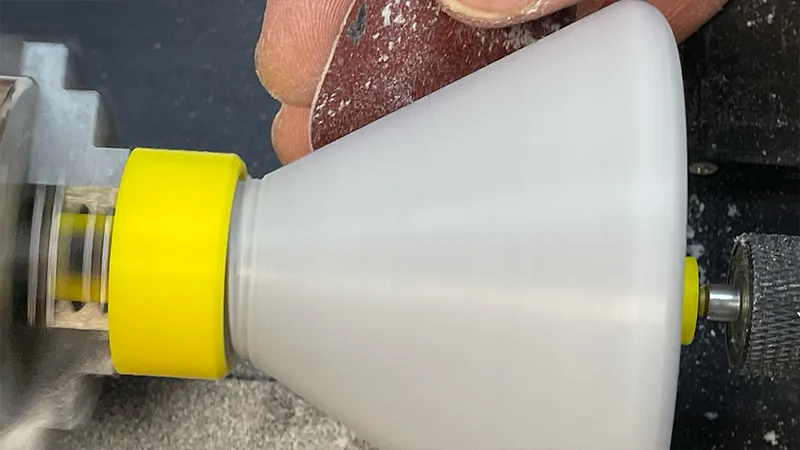
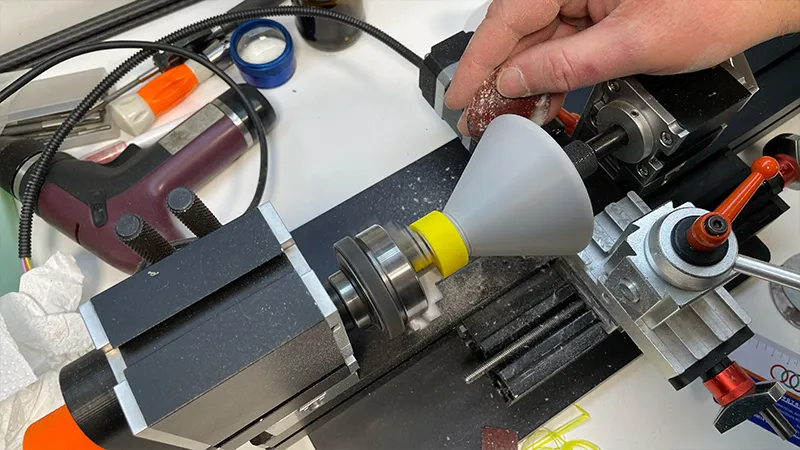
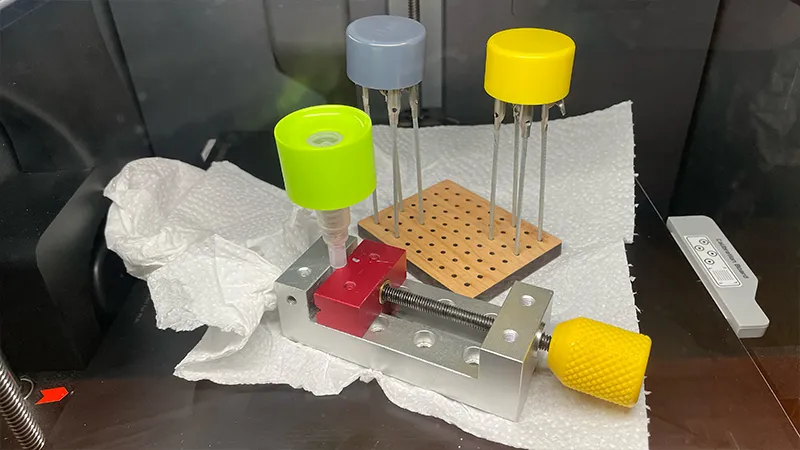
I just couldn’t resist leaving the surface unfinished. To refine it, I made a fixture to secure the bottles and lids in a benchtop lathe. After that, I sanded them down, and since the lids are made of ABS, I coated them with a clear matte acetone-based lacquer. This gave the lids a more natural, finished look—after sanding, of course.
For the bottles, I opted for dichloromethane sealing. I poured about 5 ml into the bottle, swirled it around to fully coat the inner walls, then poured it out and let it dry. PETG is highly susceptible to deformation and flow when exposed to dichloromethane, so the inner walls became perfectly smooth and completely sealed, almost as if the bottle were injection-molded.
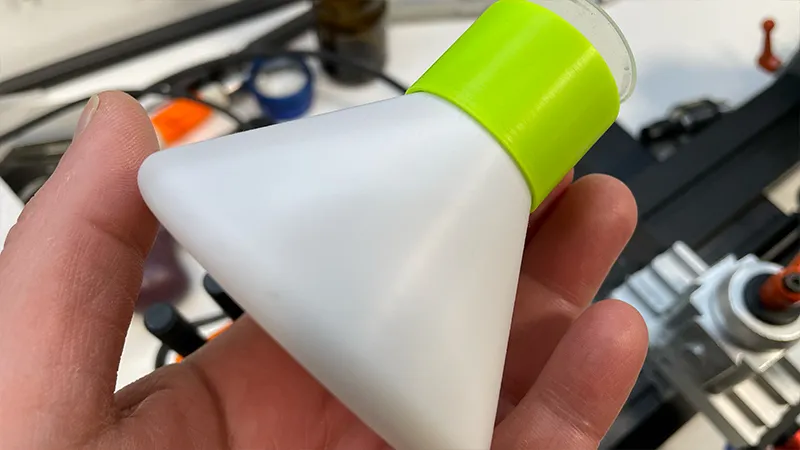
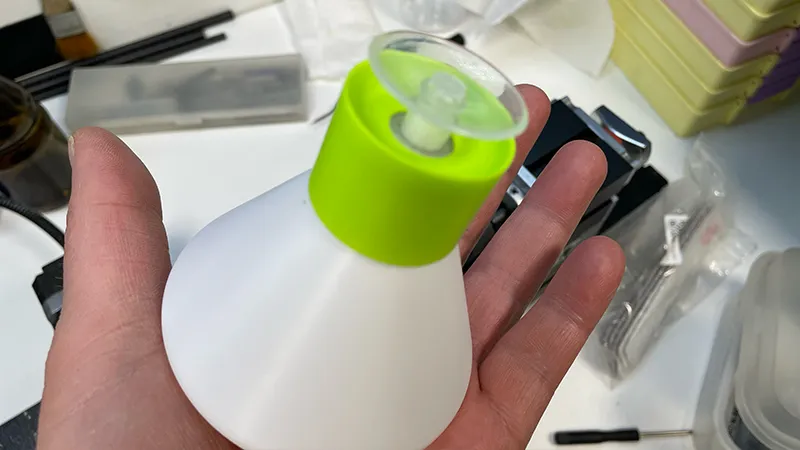
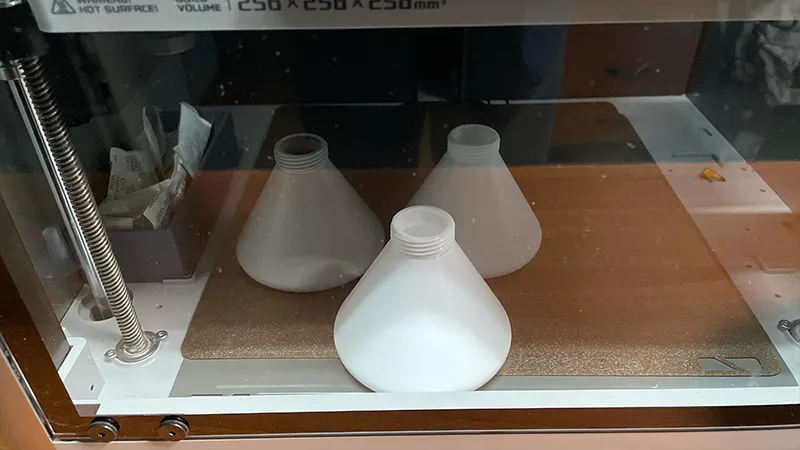
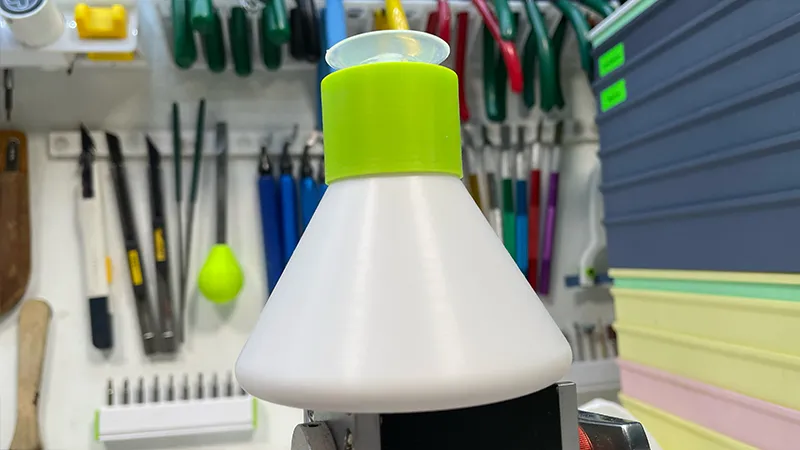
The bottle’s capacity is approximately 120–130 ml.
If you liked this thing - let me know by putting like!
Parts links below:
Links to used tools:
My new machine:


My favorites:
Thank you for every tip or donation,
it means great recognition for me and helps a lot to keep going!

BTC:bc1qplpzq36ghw84hty4nn2zzu4ps4sdh4th0v93j8
ETH:0xc766ebbeAa76aaf629788c8F99C33A8d80d48977
My some other things:

License

You shall not share, sub-license, sell, rent, host, transfer, or distribute in any way the digital or 3D printed versions of this object, nor any other derivative work of this object in its digital or physical format (including - but not limited to - remixes of this object, and hosting on other digital platforms). The objects may not be used without permission in any way whatsoever in which you charge money, or collect fees.


Comment & Rating (0)